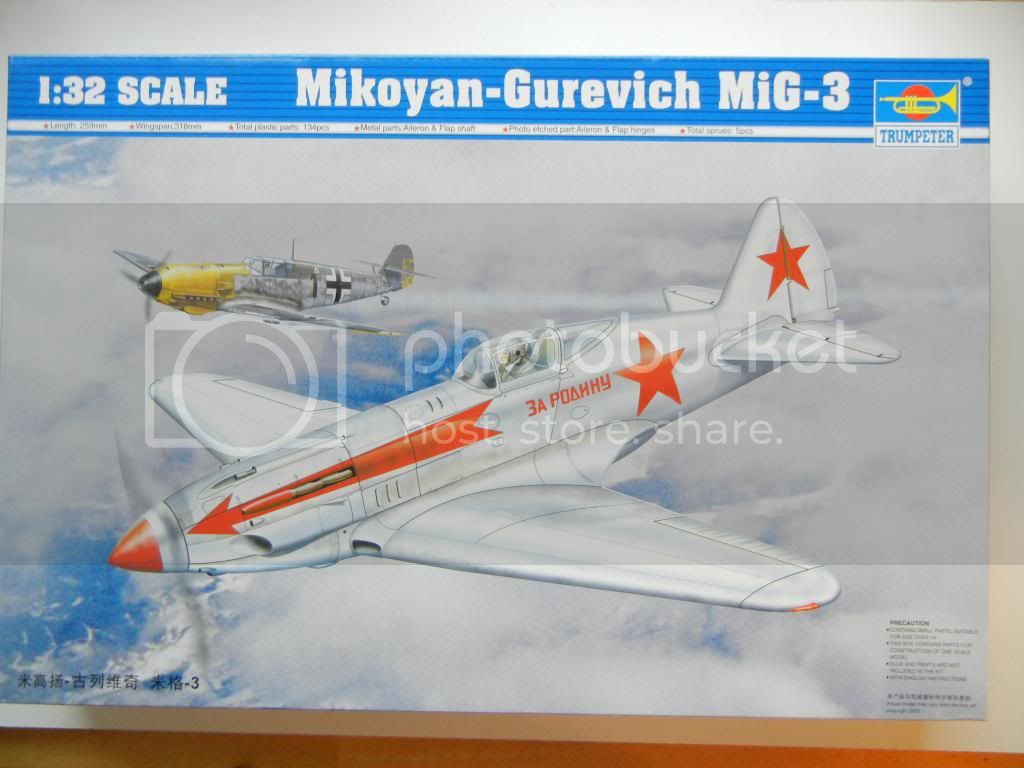
After finishing off my Romanian 109E, I had to decide what to build next. As it is winter, I decided to build something in a winter scheme and chose this fine model as the basis of my build:
Having generally good things about the kit, and since there are a couple slackers here who started builds, but have yet to finish them I decided to build this one.
I used to think Luftwaffe colors were a mess, but after researching the colors for my Yak 1b, and now starting to research colors for this bird, I can only say that Russian VVS colors have to be the biggest mess. I decided to get started as I usually do, and put together the cockpit sub-assemblies and paint them black:
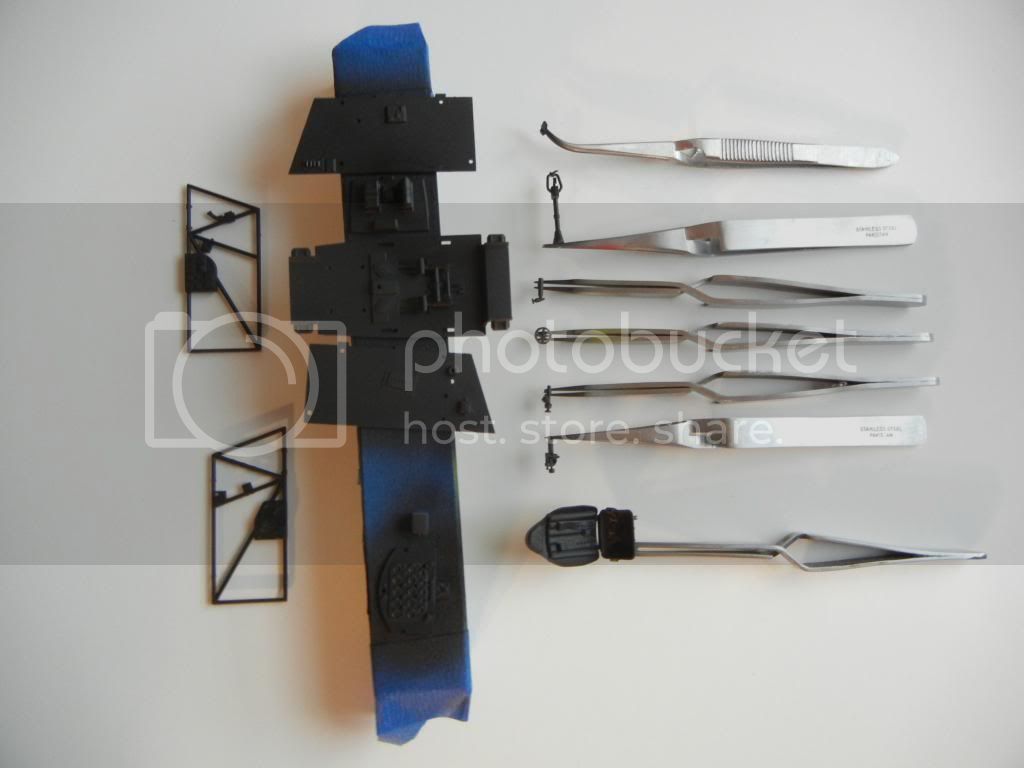
I will be building this kit OOB, with the exception of a Quickboost seat and exhausts. I thought about the Aires cockpit, as it is more accurate, but in the end decided the kit parts will be good enough for me.
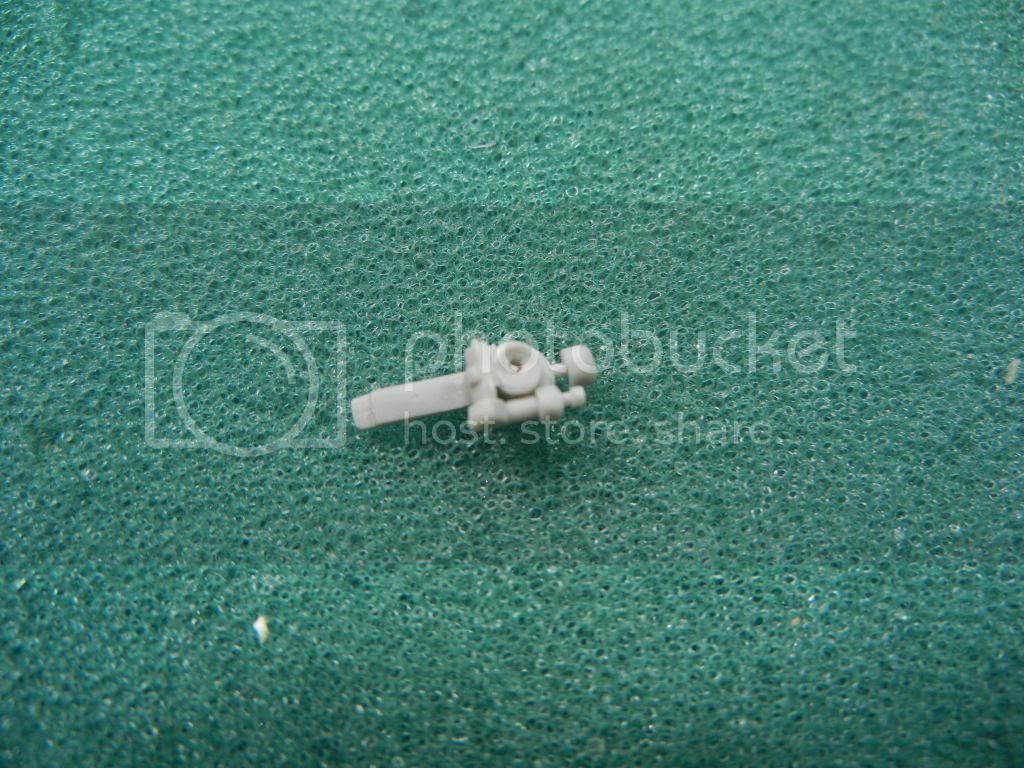
I modified the kit gunsight slightly, and drilled out the optical part so I can add an MV lens for a better look. The kit clear part is pretty rough on one side, so I will cut a piece of acetate to shape and use that instead:
After reading through the good info on Massimo's VVS (and other) sites, I think I am pretty close to getting the colors I want to use for the interior nailed down.
Stay tuned for more later. Thanks for looking! Comments/critique/questions always welcome.
Doug
Hosted by Rowan Baylis
Trumpter 1/32 MiG-3
DougN1
Georgia, United States
Joined: August 08, 2011
KitMaker: 410 posts
AeroScale: 409 posts
Joined: August 08, 2011
KitMaker: 410 posts
AeroScale: 409 posts
Posted: Thursday, February 20, 2014 - 05:04 AM UTC
Posted: Thursday, February 20, 2014 - 06:18 PM UTC
Doug,
Excellent - I've been waiting for someone to tackle a big VVS model, and the MiG-3 is one of the few VVS planes I like.
I await your next post.
Excellent - I've been waiting for someone to tackle a big VVS model, and the MiG-3 is one of the few VVS planes I like.
I await your next post.
Posted: Thursday, February 20, 2014 - 06:19 PM UTC
Quoted Text
...there are a couple slackers here who started builds, but have yet to finish them
Guilty as charged!
Posted: Thursday, February 20, 2014 - 08:54 PM UTC
Hi Doug
Nice one - I'm looking forward to following this.
The Mushroom book on the MiG-1/MiG-3 is well worth getting if you don't already have a copy. Plenty of colour cockpit shots to inspire and confuse. The restored example seems to sport Wood Aerolak as the basic colour, with olive green and black fittings, but Erik Pilawskii wrote of the MiG-3 in Soviet Air Force Fighter Colours, 1941-1945:
"MiG fighters, no doubt due to the transitional and confused nature of their manufacture wore a perplexing mix of internal finishes. Many pre-war cockpit colour schemes existed, including AII Blue and AII Aluminium uniformly painted cockpit surfaces. Uniform Wood Finish cockpits were common, and completely unfinished cockpits were very typical of manufacture during the late summer of 1941."
In other words - pick any of the period VVS interior colours and anyone will have a hard time proving it wrong...
All the best
Rowan
Joel_W
Associate Editor
New York, United States
Joined: December 04, 2010
KitMaker: 11,666 posts
AeroScale: 7,410 posts
Joined: December 04, 2010
KitMaker: 11,666 posts
AeroScale: 7,410 posts
Posted: Friday, February 21, 2014 - 04:43 AM UTC
Doug,
Will be following your build for sure.
Joel
Will be following your build for sure.
Joel
DougN1
Georgia, United States
Joined: August 08, 2011
KitMaker: 410 posts
AeroScale: 409 posts
Joined: August 08, 2011
KitMaker: 410 posts
AeroScale: 409 posts
Posted: Friday, February 21, 2014 - 08:16 AM UTC
Thanks guys! Looks like there is some interest in this build
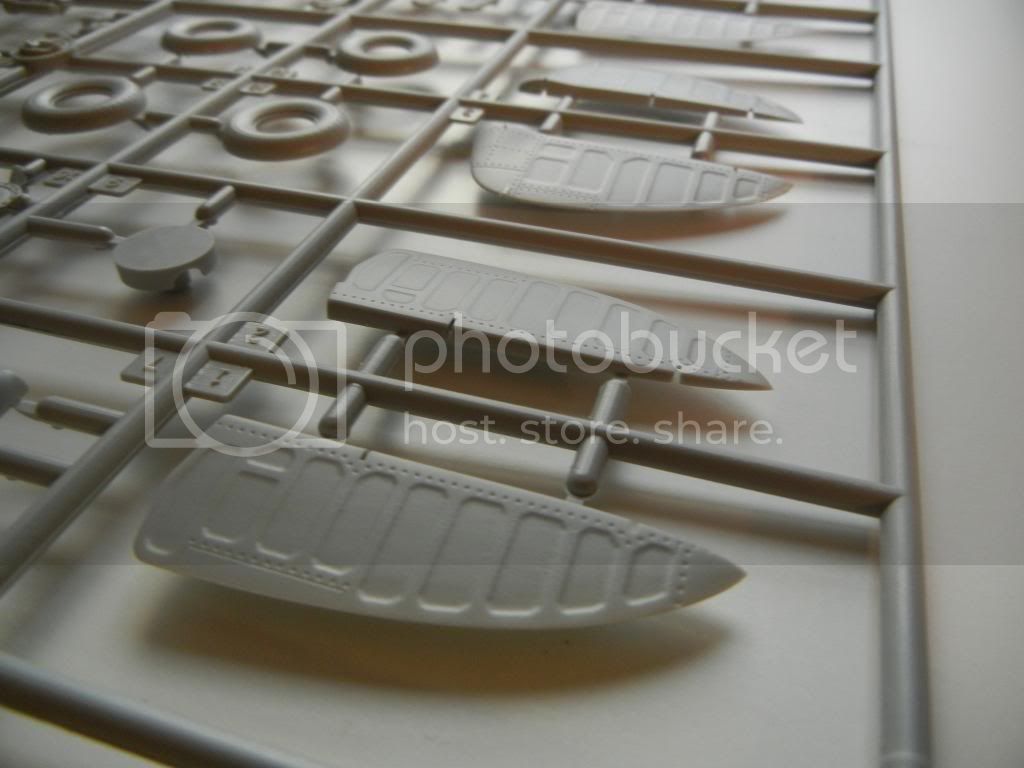
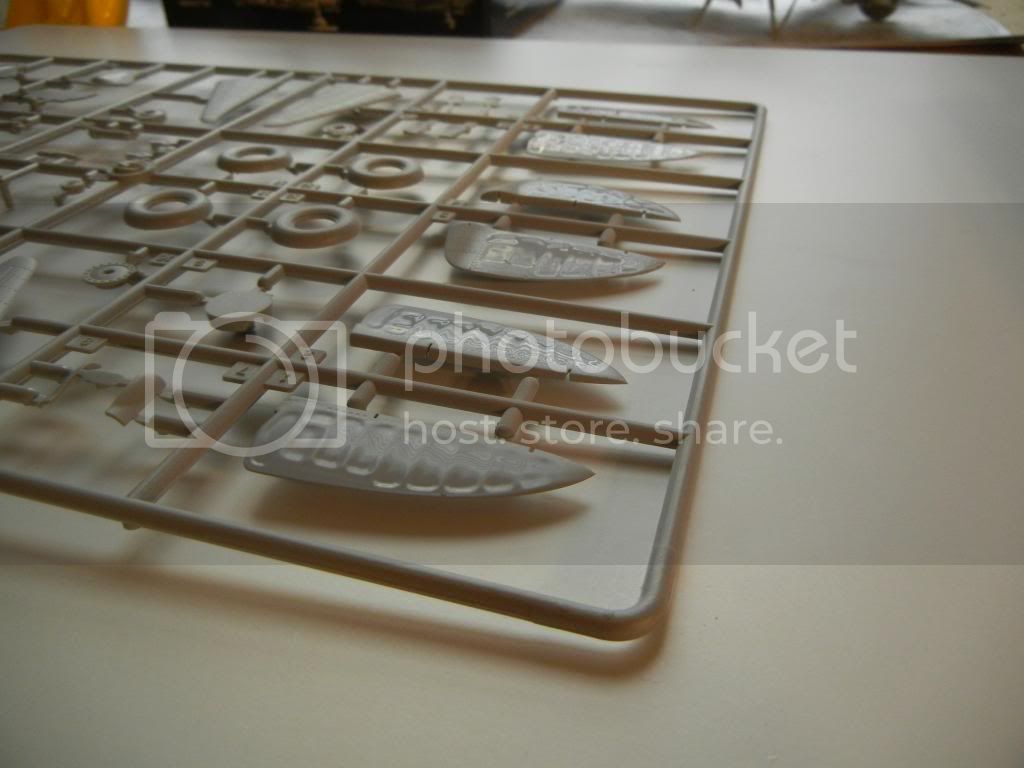
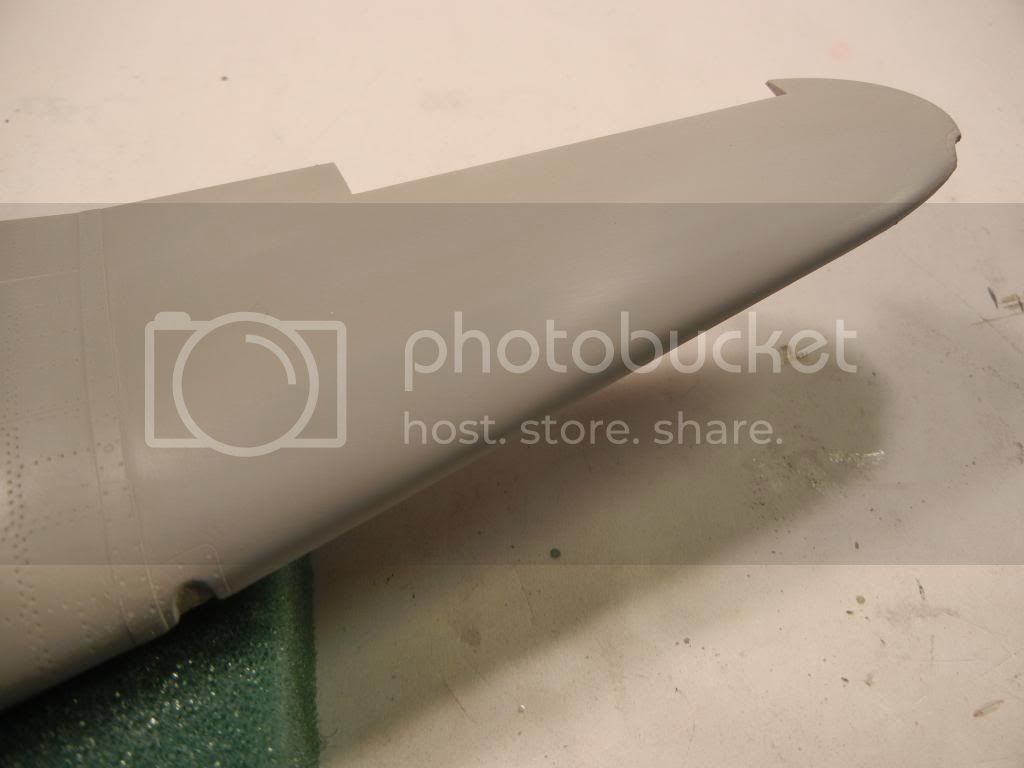
While waiting for things to dry, I started on some other areas of the kit that could use some improvement. One is the control surfaces. Looking at photos of the real thing, they look like typical fabric covered control surfaces. However, Trumpy has made them look like pressed/stamped metal to me:
This is not too hard to make look a bit better. First step is to give them a very heavy coat of Mr. Surfacer:
Once this gets good and dry, I'll start sanding and that should tone down the pressed/stamped metal look.
Thanks for looking!
Doug

Posted: Friday, February 21, 2014 - 08:31 AM UTC
Hi Doug
I usually use a very thick coat of paint to get the same effect - it dries with a hint of sag as it contacts, and once sanded back, it hides the "pressed/stamped metal" look (good description).
All the best
Rowan
I usually use a very thick coat of paint to get the same effect - it dries with a hint of sag as it contacts, and once sanded back, it hides the "pressed/stamped metal" look (good description).
All the best
Rowan
Joel_W
Associate Editor
New York, United States
Joined: December 04, 2010
KitMaker: 11,666 posts
AeroScale: 7,410 posts
Joined: December 04, 2010
KitMaker: 11,666 posts
AeroScale: 7,410 posts
Posted: Friday, February 21, 2014 - 09:10 AM UTC
Can't understand why in this day and age Trumpeter could get the look and feel so wrong on a fabric covered surface. Theirs indeed looks like pressed & stamped metal.
Joel
Joel
DougN1
Georgia, United States
Joined: August 08, 2011
KitMaker: 410 posts
AeroScale: 409 posts
Joined: August 08, 2011
KitMaker: 410 posts
AeroScale: 409 posts
Posted: Friday, February 21, 2014 - 09:27 AM UTC
Quoted Text
Can't understand why in this day and age Trumpeter could get the look and feel so wrong on a fabric covered surface. Theirs indeed looks like pressed & stamped metal.
Joel
Keep in mind this kit is 10 years old now I'm guessing they went off a set of plans and that is how the plan showed the internal structure, which they mistook for the outer shape of the control surfaces. Interestingly, most every build I could find left them as is
Doug
Joel_W
Associate Editor
New York, United States
Joined: December 04, 2010
KitMaker: 11,666 posts
AeroScale: 7,410 posts
Joined: December 04, 2010
KitMaker: 11,666 posts
AeroScale: 7,410 posts
Posted: Friday, February 21, 2014 - 09:56 AM UTC
Quoted Text
Quoted TextCan't understand why in this day and age Trumpeter could get the look and feel so wrong on a fabric covered surface. Theirs indeed looks like pressed & stamped metal.
Joel
Keep in mind this kit is 10 years old now I'm guessing they went off a set of plans and that is how the plan showed the internal structure, which they mistook for the outer shape of the control surfaces. Interestingly, most every build I could find left them as is
Doug
Doug, It's hard to believe that they never bothered to even look at pictures of the actual airplane. Even though the kit is 10 years old, it's still a 2003 model. Not exactly what I would call ancient.
Joel
Posted: Friday, February 21, 2014 - 10:12 AM UTC
Hi Joel
Representing fabric surfaces well is an art - and not one that's always translated successfully into the increasingly CAD-dominated world of kit production. My favourites of recent years are still the hand-crafted patterns produced by the likes of Rest Models, MPM, Silver Wings and Vector (among others). To be fair, Trumpeter have come out with some true horrors (look at their SM.79...), so the MiG is actually pretty reasonable by comparison.
All the best
Rowan
Jessie_C
British Columbia, Canada
Joined: September 03, 2009
KitMaker: 6,965 posts
AeroScale: 6,247 posts
Joined: September 03, 2009
KitMaker: 6,965 posts
AeroScale: 6,247 posts
Posted: Friday, February 21, 2014 - 10:14 AM UTC
Better a little heavy-handed on the detail than not having it at all. You can always sand what's there down a bit but it's much more difficult to add something which just isn't there.
Joel_W
Associate Editor
New York, United States
Joined: December 04, 2010
KitMaker: 11,666 posts
AeroScale: 7,410 posts
Joined: December 04, 2010
KitMaker: 11,666 posts
AeroScale: 7,410 posts
Posted: Friday, February 21, 2014 - 11:05 AM UTC
Jessica, how true.
Rowan, I'm no expert on CAD design, or creating molds. I just thought that if someone would have compared what they're calling a fabric covered surface to the real deal, they would have seen just how poor of a representation they did. Whether or not they accept it as the best the can do would be another matter.
Joel
Posted: Saturday, February 22, 2014 - 08:28 PM UTC
Hi Joel
You'd think so, wouldn't you. I've never figured out how the "saggy fabric" look in kits became so established, as properly maintained fabric surfaces are drum-tight. Perhaps it goes right back to old tin-plate models, and now modellers have come to expect an exaggerated effect some kit designers feel obliged to perpetuate the look?
All the best
Rowan
Joel_W
Associate Editor
New York, United States
Joined: December 04, 2010
KitMaker: 11,666 posts
AeroScale: 7,410 posts
Joined: December 04, 2010
KitMaker: 11,666 posts
AeroScale: 7,410 posts
Posted: Sunday, February 23, 2014 - 01:59 AM UTC
Rowan,
Could very well be. Just look at how those Invasion Strips are duplicated in decals or masking and painting, they're spot on perfect. Yet, as we've come to learn, they were for the most part hand painted with brushes, brooms, or what ever was available.
Joel
Could very well be. Just look at how those Invasion Strips are duplicated in decals or masking and painting, they're spot on perfect. Yet, as we've come to learn, they were for the most part hand painted with brushes, brooms, or what ever was available.
Joel
DougN1
Georgia, United States
Joined: August 08, 2011
KitMaker: 410 posts
AeroScale: 409 posts
Joined: August 08, 2011
KitMaker: 410 posts
AeroScale: 409 posts
Posted: Monday, February 24, 2014 - 01:35 AM UTC
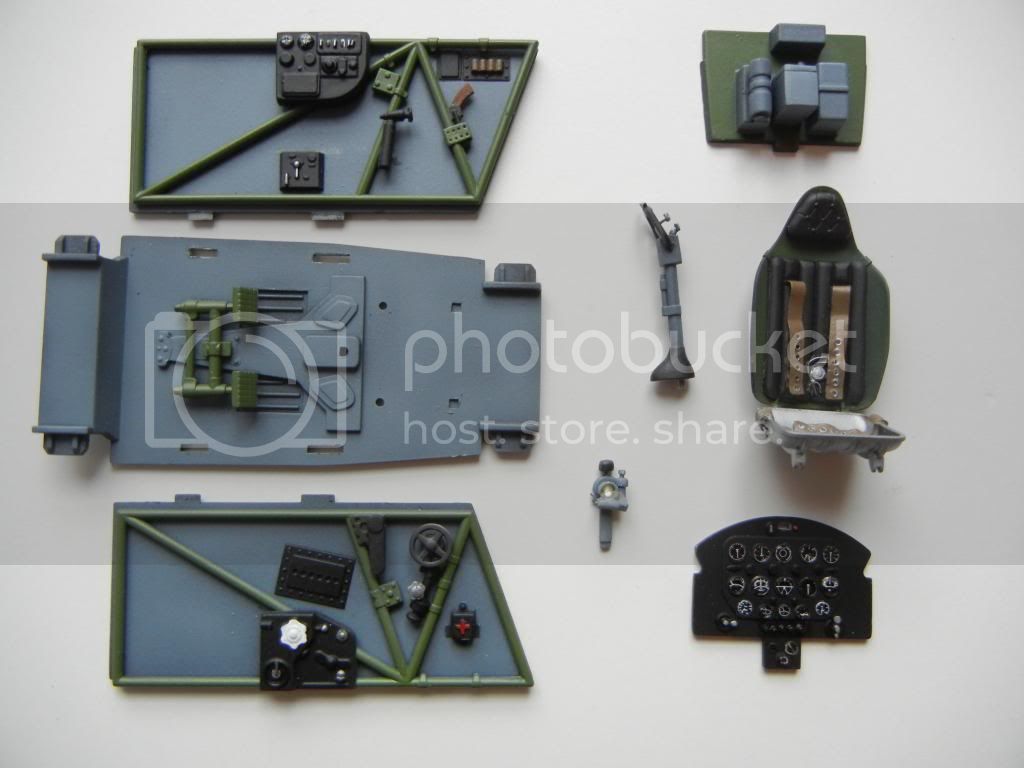
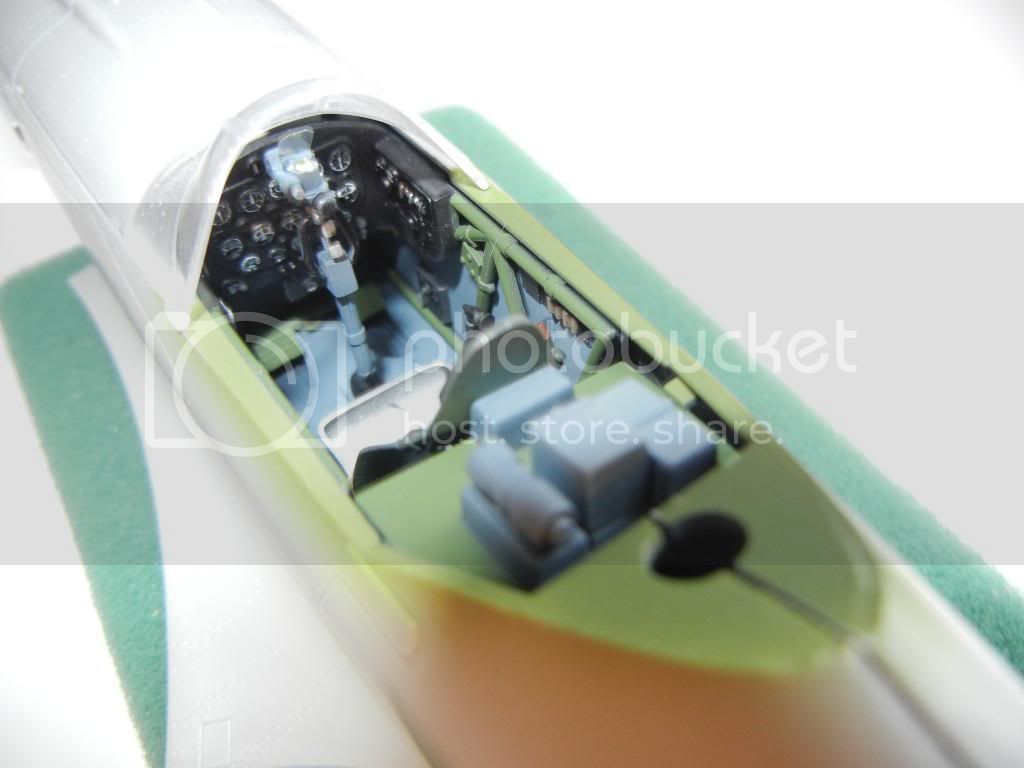
I got the cockpit bits all painted up and ready for installation. As mentioned above, there seem to be lots of different options, and as my goal here is not a 100% accurate model, I decided to go with the most colorful combination, based on some photographic study.
I painted the sidewalls interior grey, the framing, seat back, rudder pedals and rear deck green, and added a aluminum seat pan as recommended. I'm happy with the result:
I added an MV lens and acetate clear part to the gunsight and used Airscale IP decals for the IP instruments.
I couldn't resist dry fitting everything together to see how it looked:
That's it for now, thanks for looking! Comments/critique/questions always welcomed
Doug
Joel_W
Associate Editor
New York, United States
Joined: December 04, 2010
KitMaker: 11,666 posts
AeroScale: 7,410 posts
Joined: December 04, 2010
KitMaker: 11,666 posts
AeroScale: 7,410 posts
Posted: Monday, February 24, 2014 - 01:47 AM UTC
Doug,
Your pit really looks quite good. I especially like the IP and the seat with the harness & belts.
Joel
Your pit really looks quite good. I especially like the IP and the seat with the harness & belts.
Joel
DougN1
Georgia, United States
Joined: August 08, 2011
KitMaker: 410 posts
AeroScale: 409 posts
Joined: August 08, 2011
KitMaker: 410 posts
AeroScale: 409 posts
Posted: Thursday, February 27, 2014 - 02:41 AM UTC
A bit more progress! Glued the fuselage together, but not much to see as only the cockpit floor and sidewalls are glued in place. Since the top and bottom of the fuselage nose is to be attached later, it makes it easy to install everything else later. Fit was great, with the exception of the bottom of the fuselage where it meets the rear of the wing. Added some Mr Surfacer and got it sanded out, only to discover that it was totally unnecessary as that area is covered by the radiator fairing!
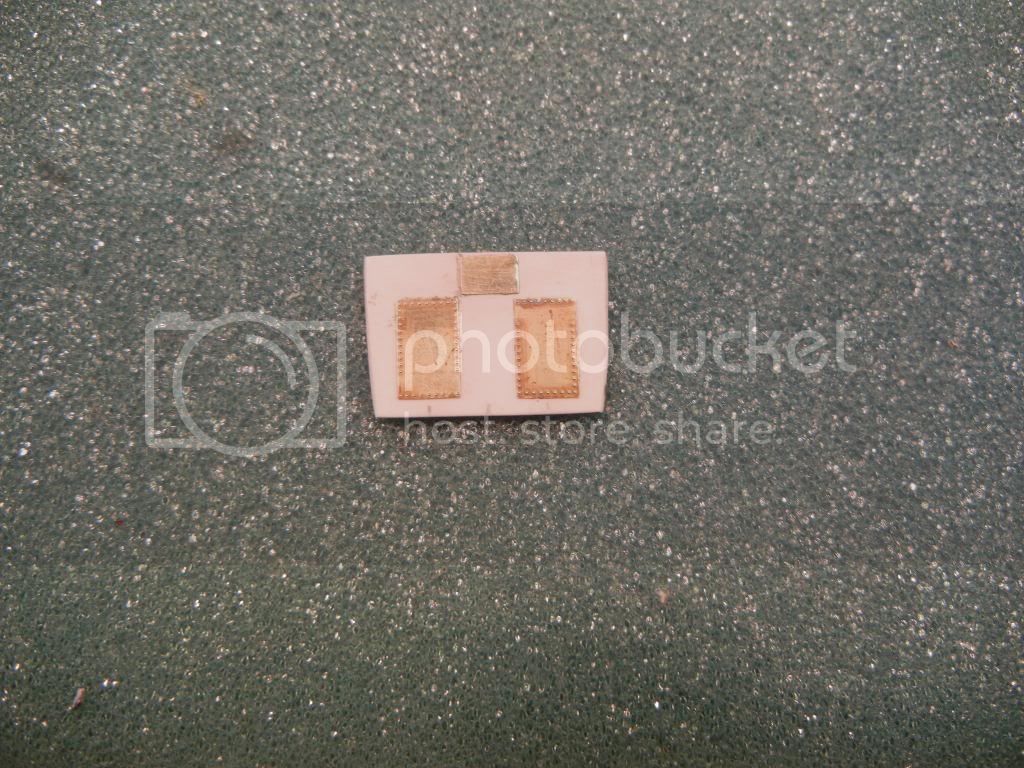
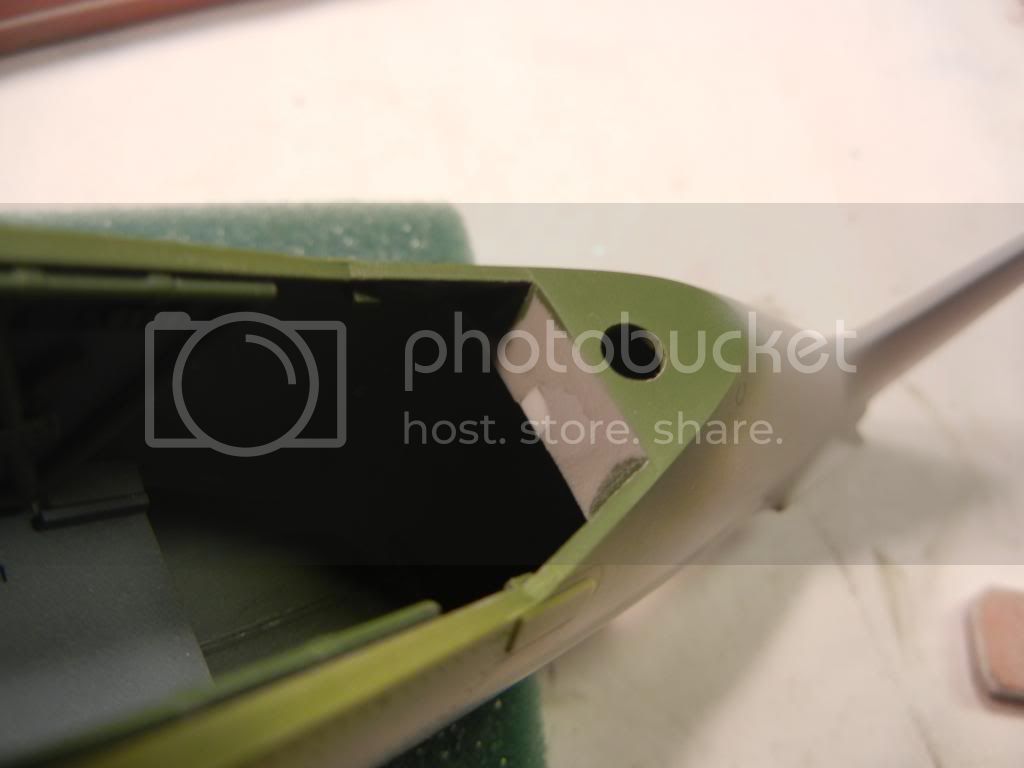
In checking my references it seems the aircraft I am modeling did not actually have the radios installed (the boxes behind the seat) even though the aerial wires are present (I guess they removed them for weight savings). So, I decided to make a new rear shelf from sheet styrene and some old PE parts from the bin:
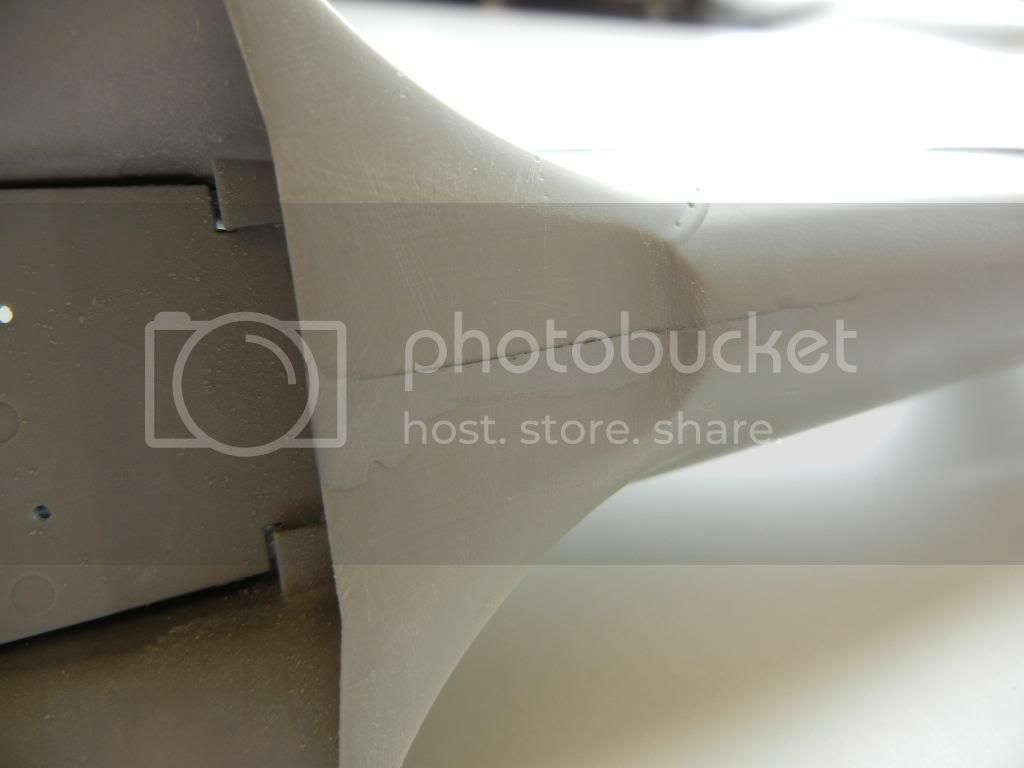
I also had to fill the slot where the kit part mated to the rear shelf:
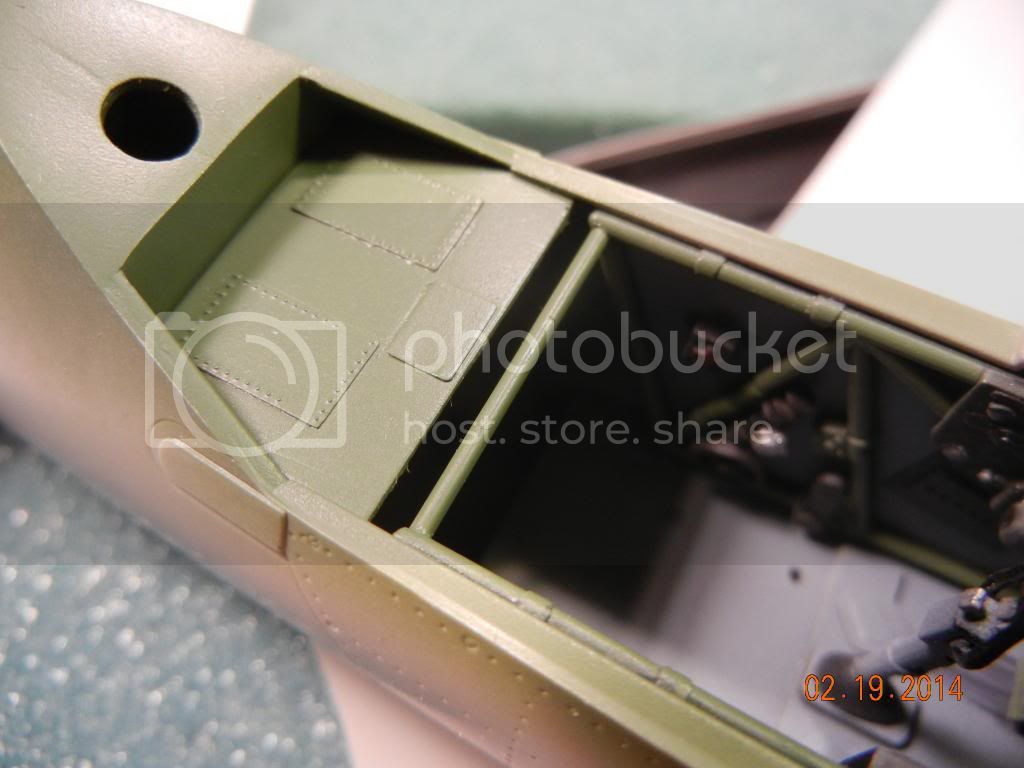
Here is the new part I made painted and installed in the fuselage. I also added a cross-brace (present on the real aircraft) for the Quickboost seat to attach to:
That's all for now. Thanks for looking!
Doug
Joel_W
Associate Editor
New York, United States
Joined: December 04, 2010
KitMaker: 11,666 posts
AeroScale: 7,410 posts
Joined: December 04, 2010
KitMaker: 11,666 posts
AeroScale: 7,410 posts
Posted: Thursday, February 27, 2014 - 03:37 AM UTC
Doug, coming along quite nicely. Strange that they would remove the radios just to save weight. Doesn't seem like it would have made that much of a difference.
Joel
Joel
DougN1
Georgia, United States
Joined: August 08, 2011
KitMaker: 410 posts
AeroScale: 409 posts
Joined: August 08, 2011
KitMaker: 410 posts
AeroScale: 409 posts
Posted: Friday, February 28, 2014 - 10:00 AM UTC
I'm not sure why they would have removed them Joel, maybe they didn't have enough radios to install them at the factory? It is strange that the aircraft would have the aerials but no radio gear
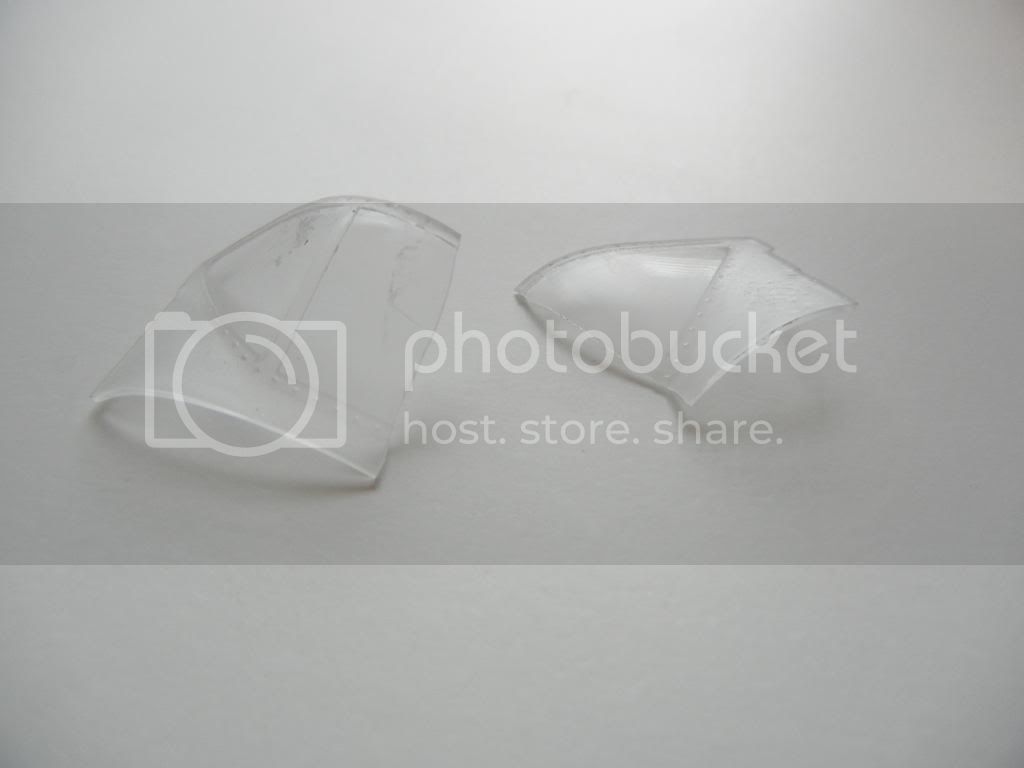
Had a bit of a disaster today The kit windscreen has some molded on framing (in the frosted plastic) that does not belong. Seems that the windscreen was indeed 3 pieces of plexi, but they were just glued together. So, no metal framework, just joins where the framing is. I decided it would be easy to address by simply sanding the framing down a bit and polishing it up. Unfortunately, this occurred:
I'm hoping the canopy fairy will be able to help me get another but it does seem very difficult to get Trumpy replacement parts. I'll press on with the rest of the build, and if I can't find a spare somewhere, I guess I'll have to get another kit to swipe one from.
Thanks for looking!
Doug
Jessie_C
British Columbia, Canada
Joined: September 03, 2009
KitMaker: 6,965 posts
AeroScale: 6,247 posts
Joined: September 03, 2009
KitMaker: 6,965 posts
AeroScale: 6,247 posts
Posted: Friday, February 28, 2014 - 12:42 PM UTC
It appears as though it broke along one of the framing lines. In that case, wouldn't it be acceptable to (veeeeery carefully) glue it back together and keep on polishing?
DougN1
Georgia, United States
Joined: August 08, 2011
KitMaker: 410 posts
AeroScale: 409 posts
Joined: August 08, 2011
KitMaker: 410 posts
AeroScale: 409 posts
Posted: Sunday, March 02, 2014 - 03:23 AM UTC
Jess, actually it broke inside the "frame" and it's not a straight break so gluing won't really work. I'm also not good with vac canopies, so a replacement is the only real option. I'm hoping the canopy fairy will come through
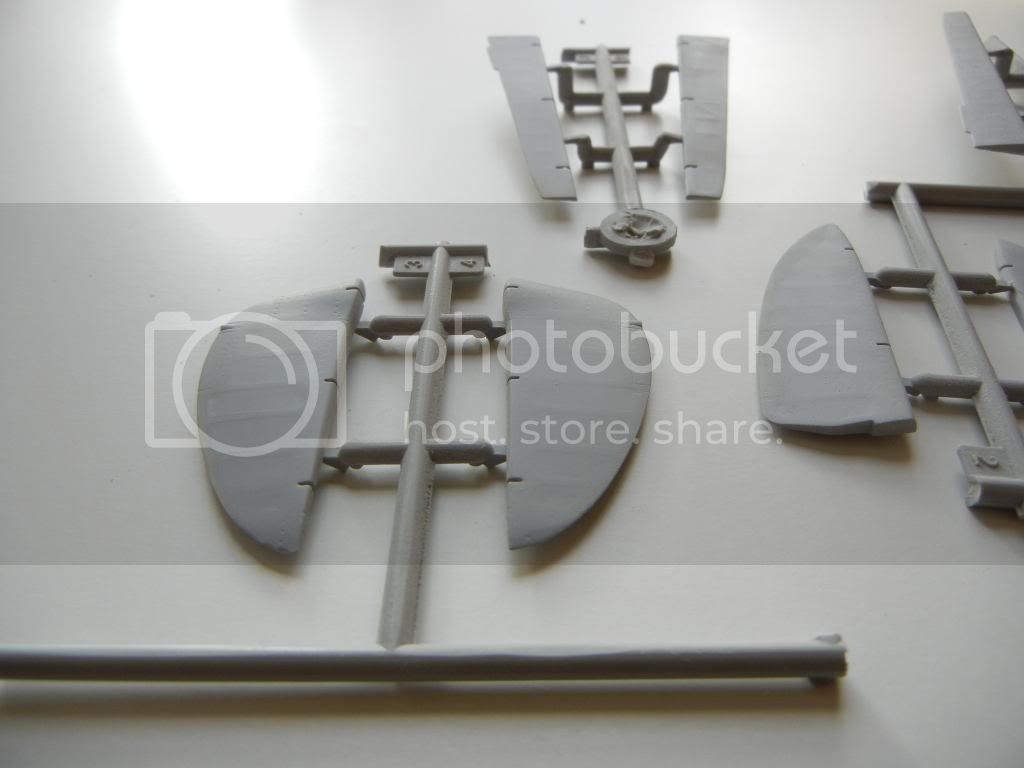
Pressing on, I've sanded the control surfaces after the heavy application of Mr Surfacer dried well. They are already looking much better:
I'll apply some more Mr Surfacer and do final sanding after I get them assembled.
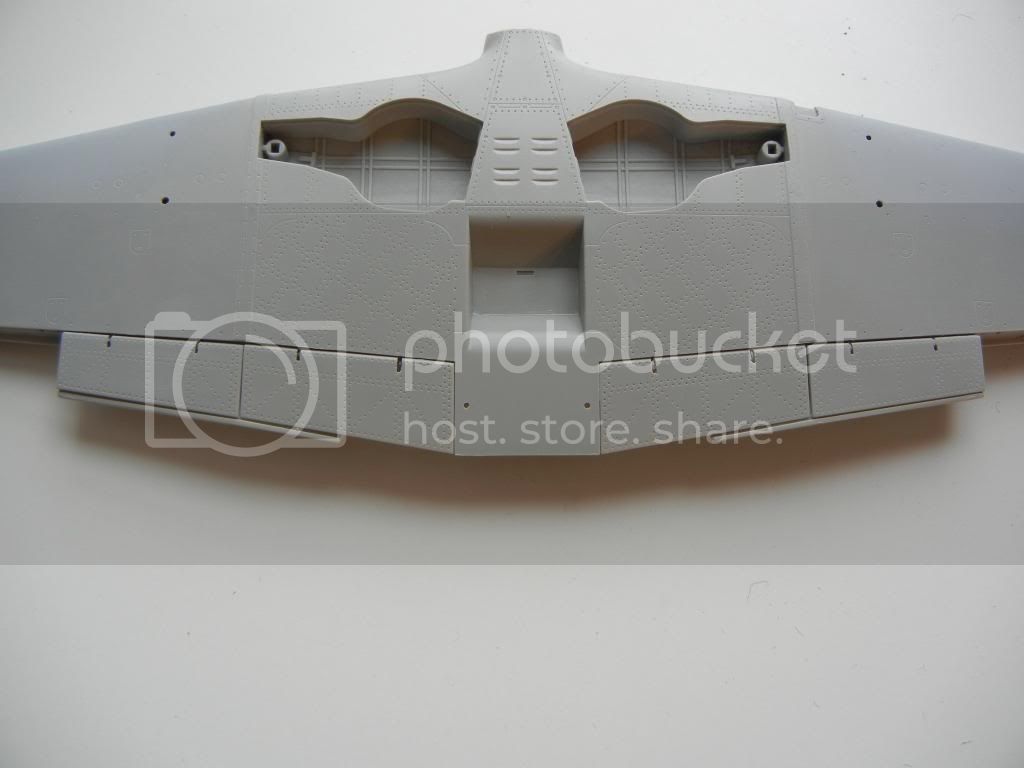
I also got the wings together, which included adding the flaps before closing up the wings. The PE hinges worked well, but since just about every photo I've located shows the flaps up when parked, I'll leave them up. For anyone who wants to display them down, Eduard does a very nice PE set to provide internal details:
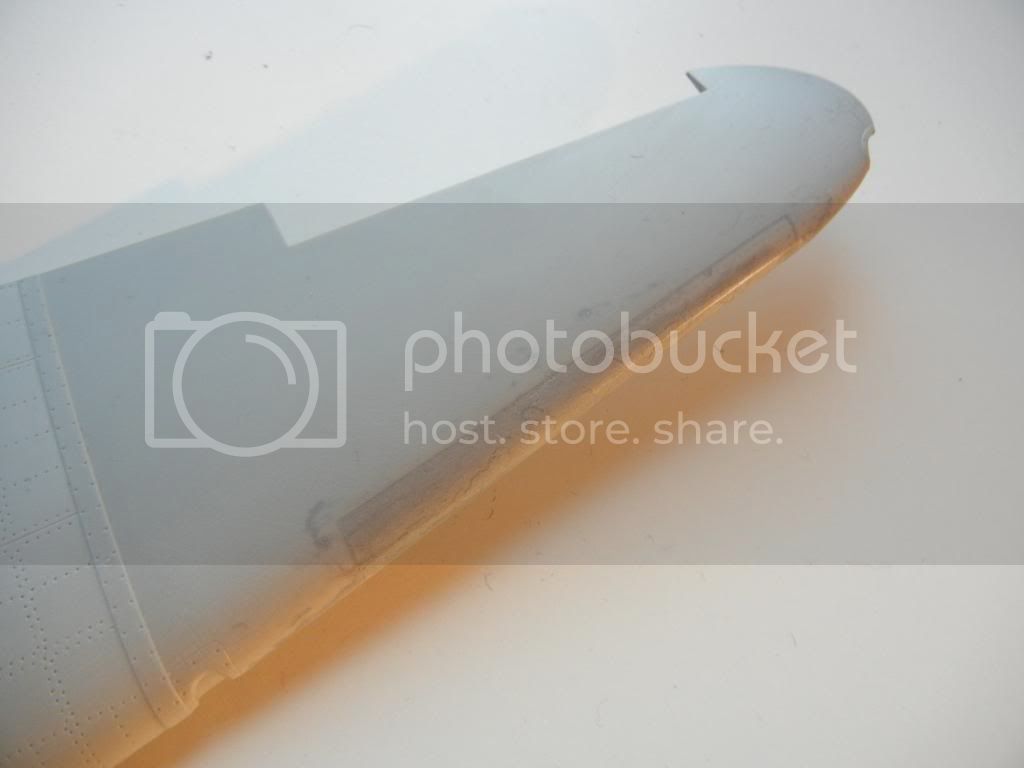
The aircraft I am modeling is a late type (which the kit is) but the outer wings are the earlier type without slats. While the general fit of the kit is excellent, this is one area that is not. I attached the slats as best I could and applied some putty over them to blend them in:
After spraying some Mr Surfacer it looks good:
That's all for now, thanks for looking! Comments/questions/critique welcomed!
Doug
Joel_W
Associate Editor
New York, United States
Joined: December 04, 2010
KitMaker: 11,666 posts
AeroScale: 7,410 posts
Joined: December 04, 2010
KitMaker: 11,666 posts
AeroScale: 7,410 posts
Posted: Sunday, March 02, 2014 - 05:08 AM UTC
Doug, just a great job on the flying surfaces. Now they look like fabric covered frames.
Joel
Joel
DougN1
Georgia, United States
Joined: August 08, 2011
KitMaker: 410 posts
AeroScale: 409 posts
Joined: August 08, 2011
KitMaker: 410 posts
AeroScale: 409 posts
Posted: Friday, March 14, 2014 - 05:36 AM UTC
Thanks Joel
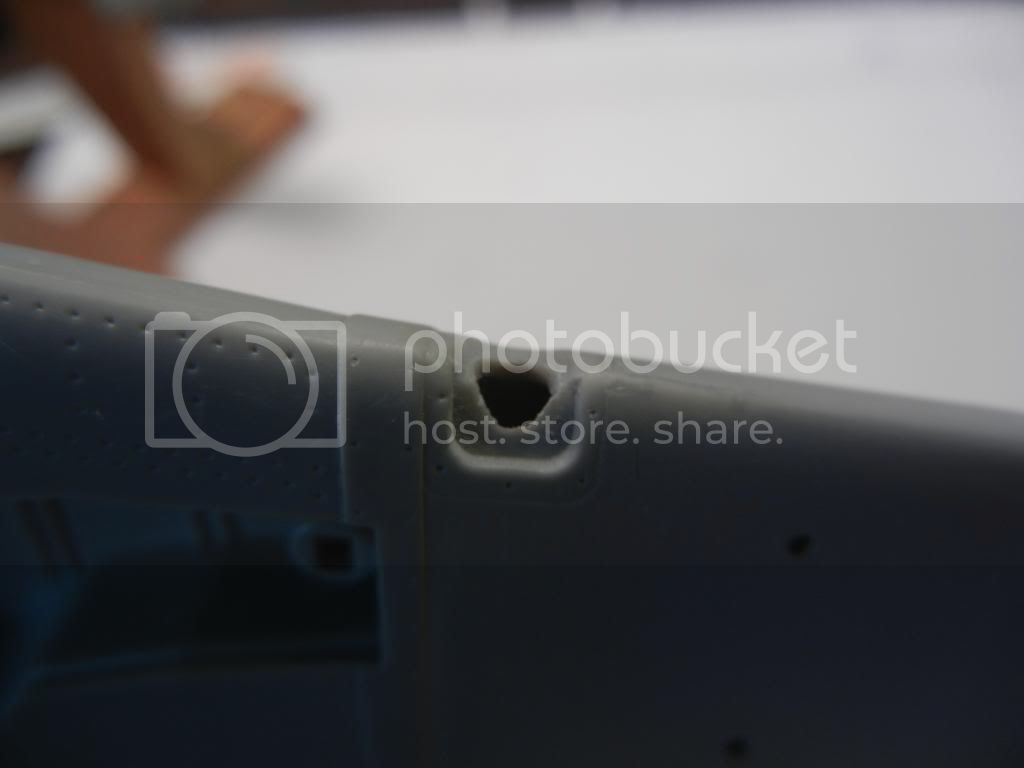
I guess it's time for an update. The port wing has a landing light in the leading edge, which in the kit is represented by a simple recessed area with a clear part cover. I decided to try to improve upon that, and started by drilling out a hole in the recessed area:
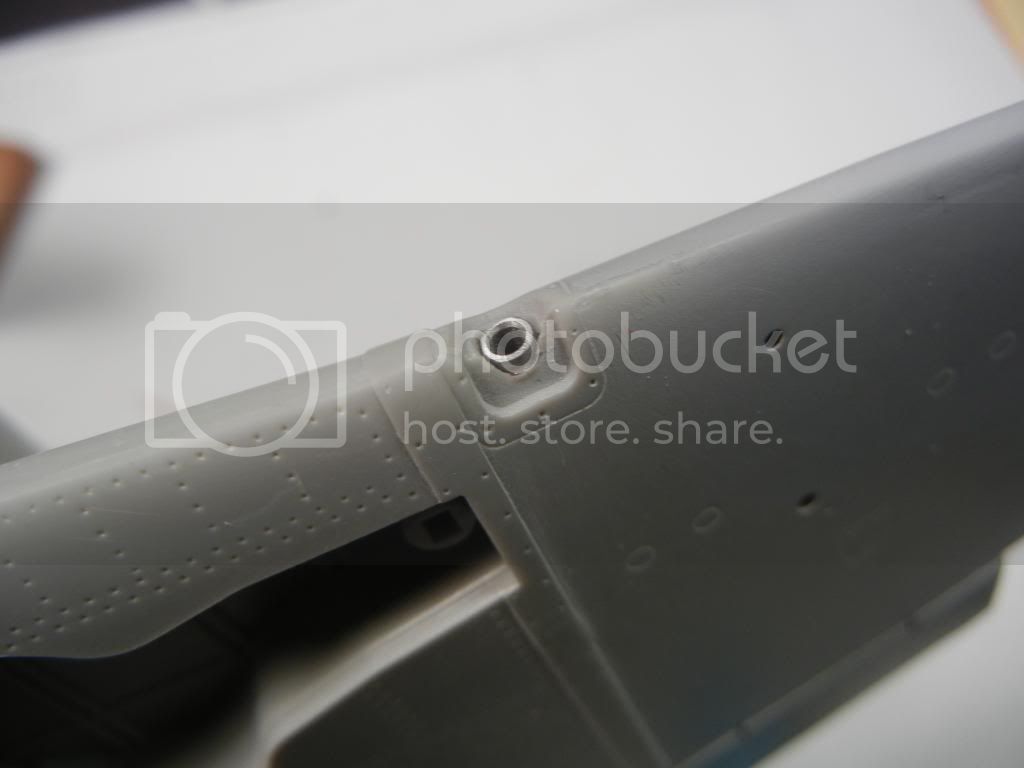
I then cut a piece of aluminium tube to fit in the hole:
The finished result waiting for the addition of an MV lens to finish it off:
More soon! Thanks for looking!
Doug
Posted: Friday, March 14, 2014 - 09:14 AM UTC
Hi Doug
Lovely work on the slats and the lamp.
I hope there may be a helpful canopy fairy out there somewhere for this build (I imagine it'd be someone with either a trashed kit or one they know they'll never finish...), but I have to say I'd bite the bullet and repair the windscreen as a pattern to be ready to attempt either a crash-mould/vacuform or resin-cast replacement.
All the best
Rowan