I have built quite a few of Eduard's Fw 190A-family, five to be exact and they look like this...
Fw 190A-8 R2 - Eduard's Royal Class boxing and built in the beginning of my return to the hobby, which means few skills and no airbrush and an upside down "8".
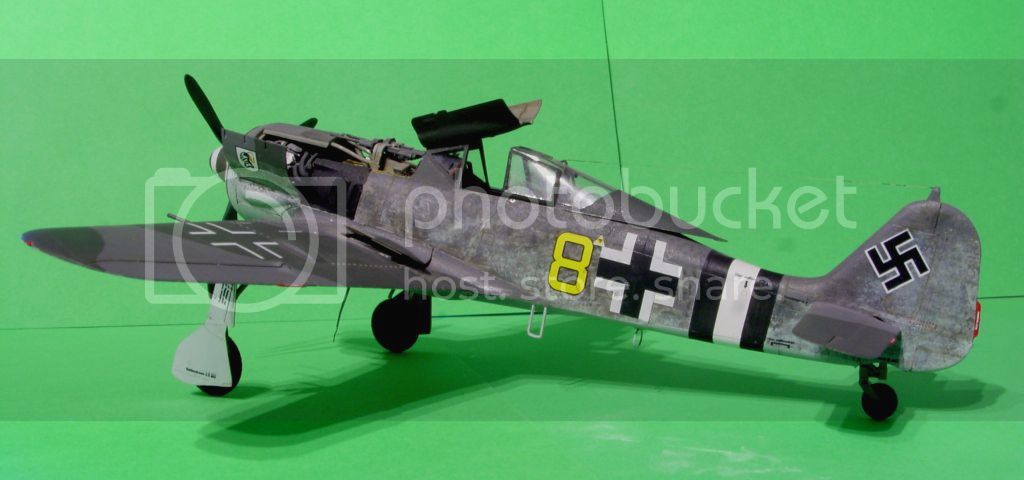
Fw 190A-8 R2 - a new version of the same aircraft as above.
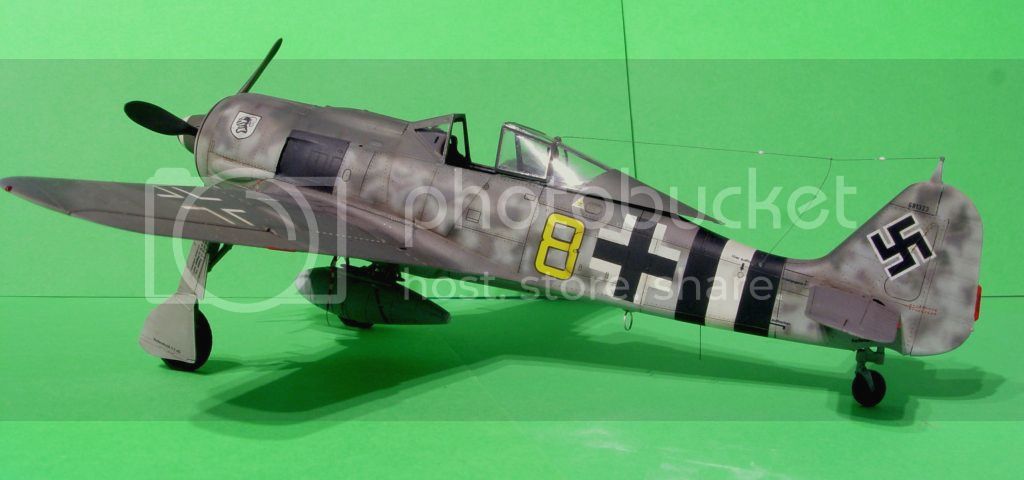
Fw 190A-8 - the other model from the Royal Class box.

Fw 190A-7
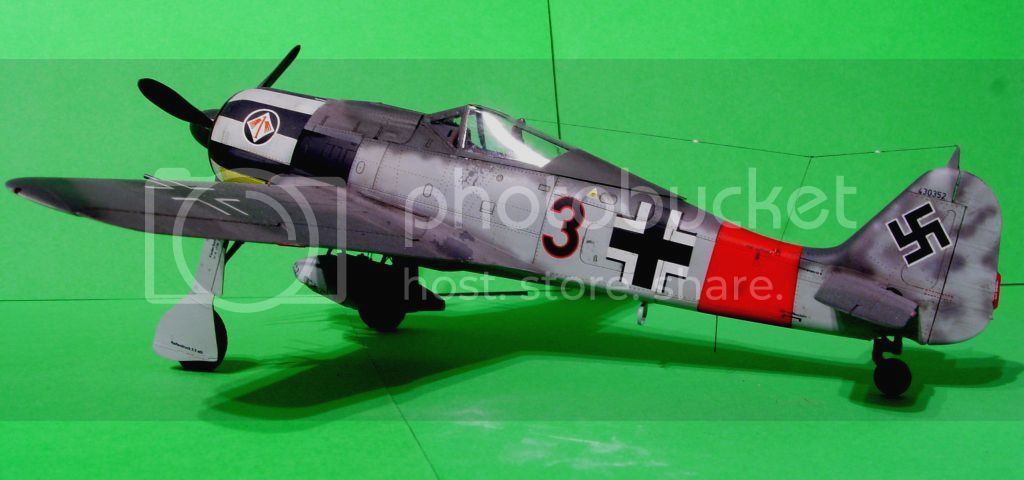
Fw 190A-8 R2 - my most serious attempt so far at super detailing.
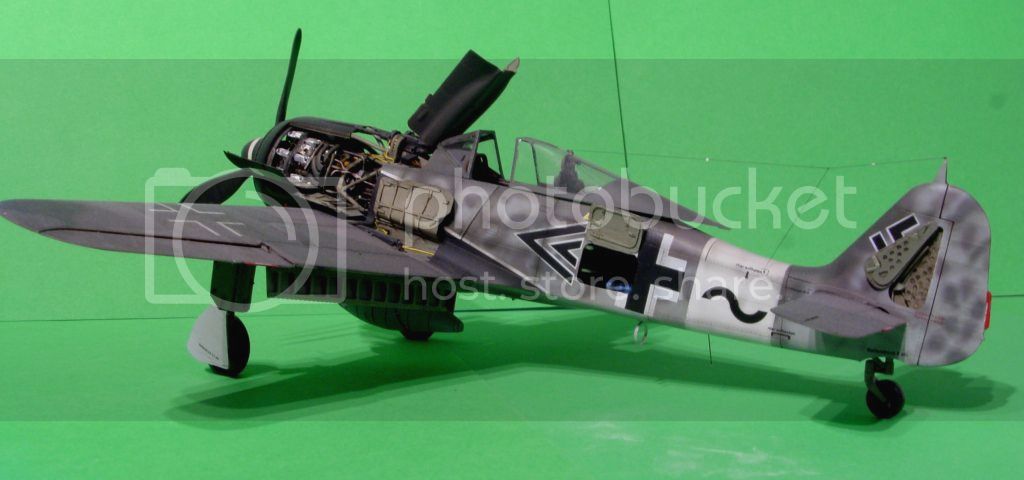
Fw 190A-6 - the new build. After this build there are only the A-5 and A-9 left from Eduard's 190A-family.

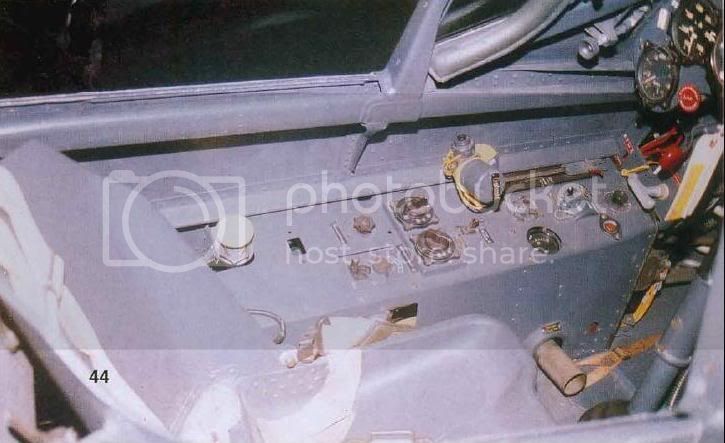
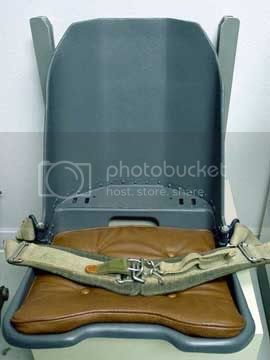
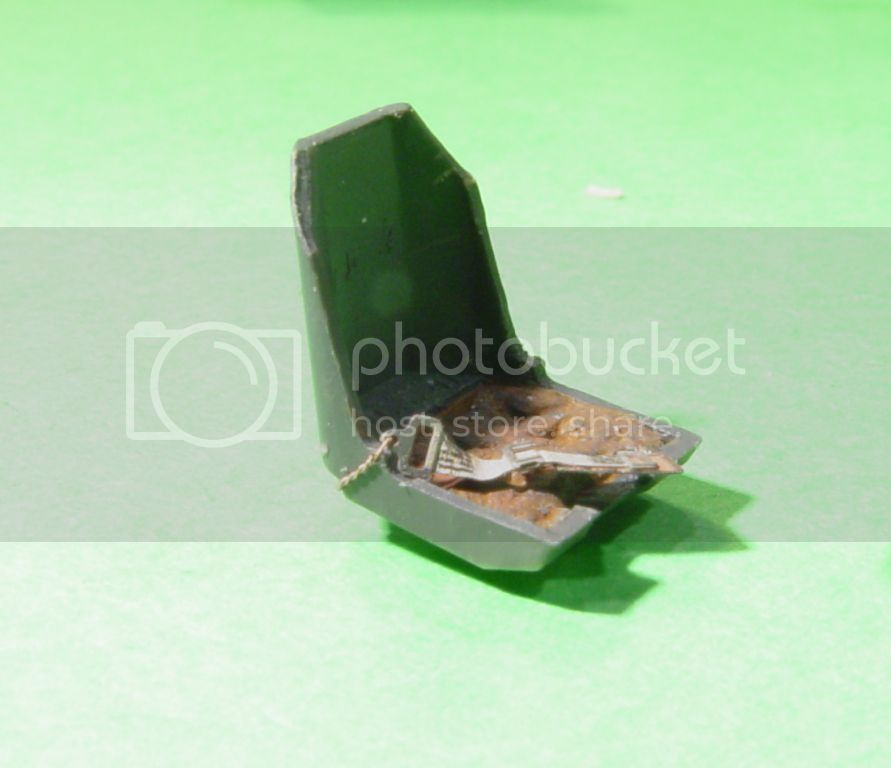
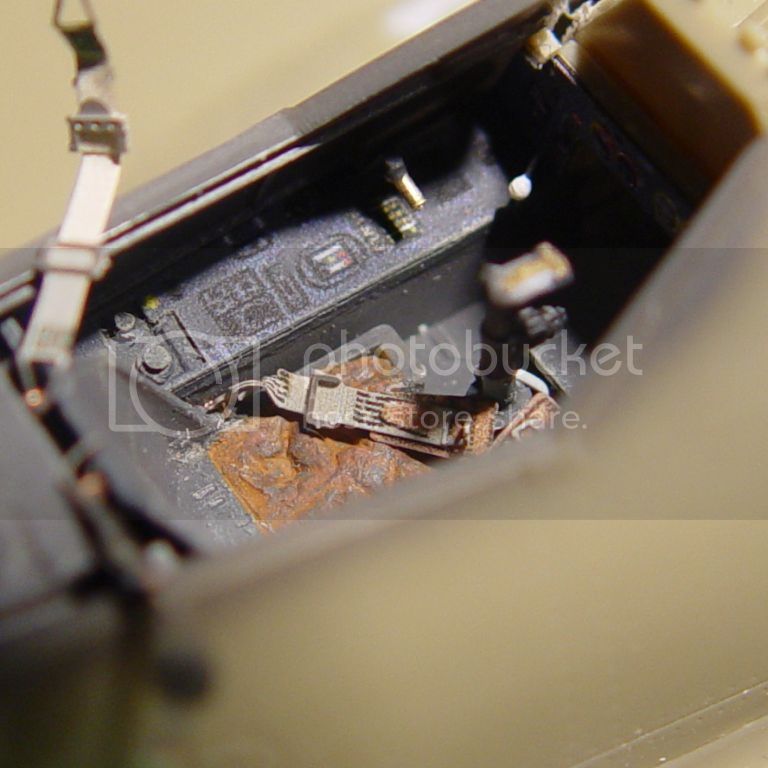
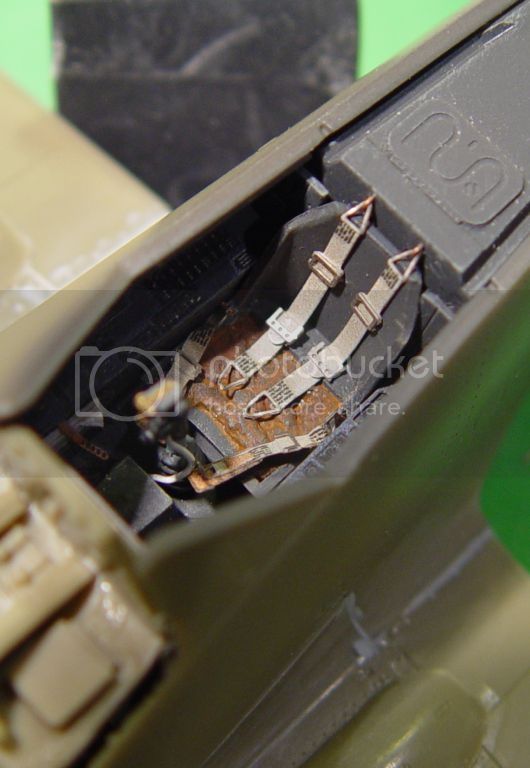
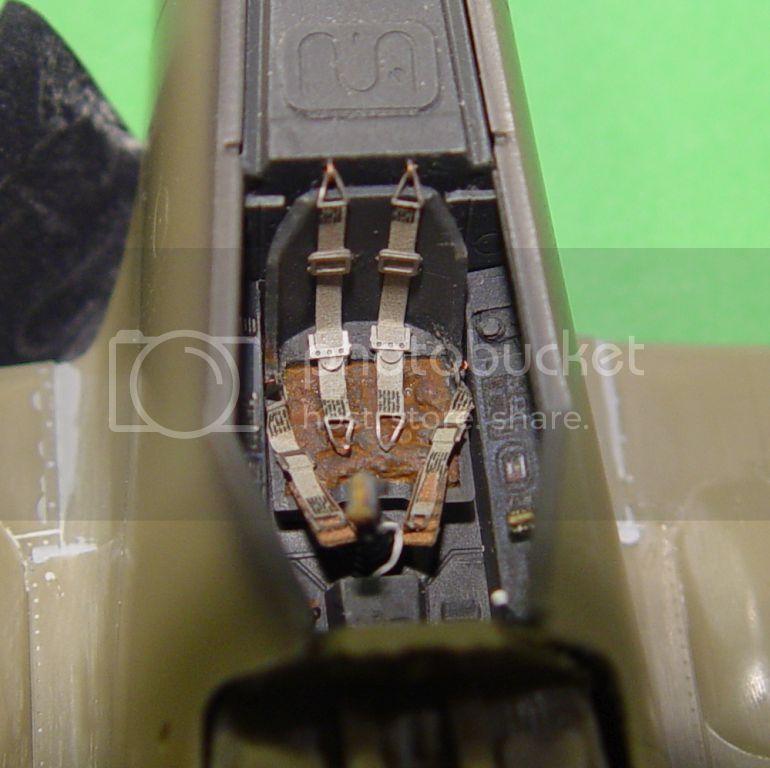
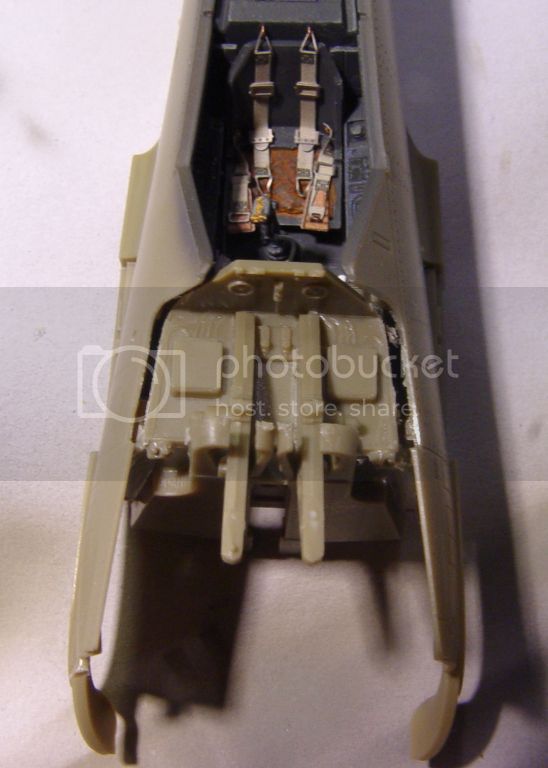
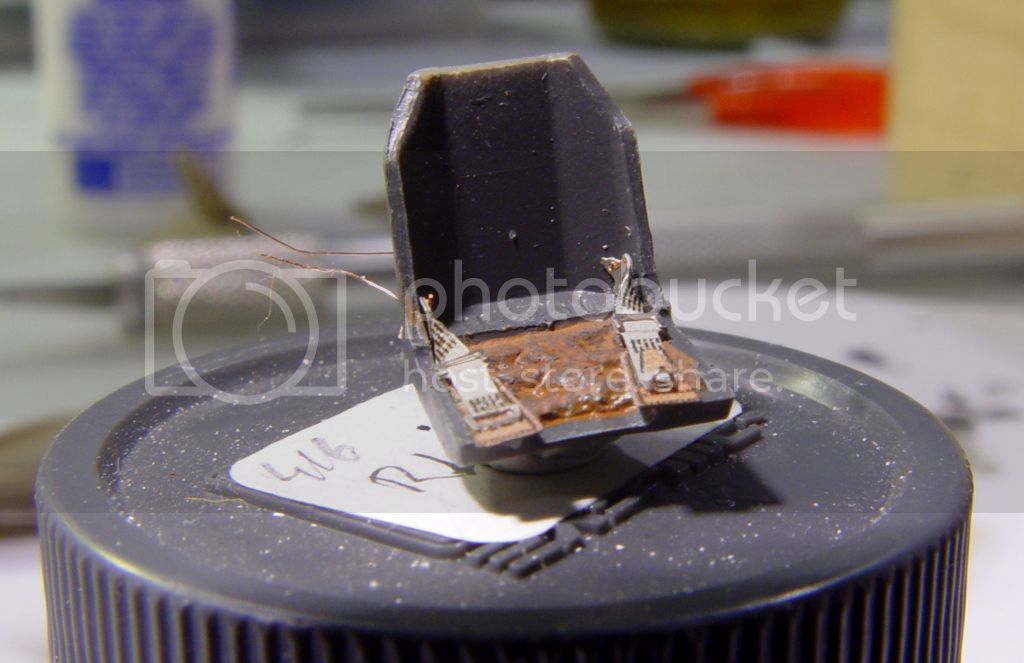
The build started with the cockpit and I've always had a problem with getting the seatbelts to stick to the seat. This time I drilled a hole in the seat and used a thin copper wire to form a bolt. A much more secure way of fastening the belts. I've also made a cushion out of Milliput.
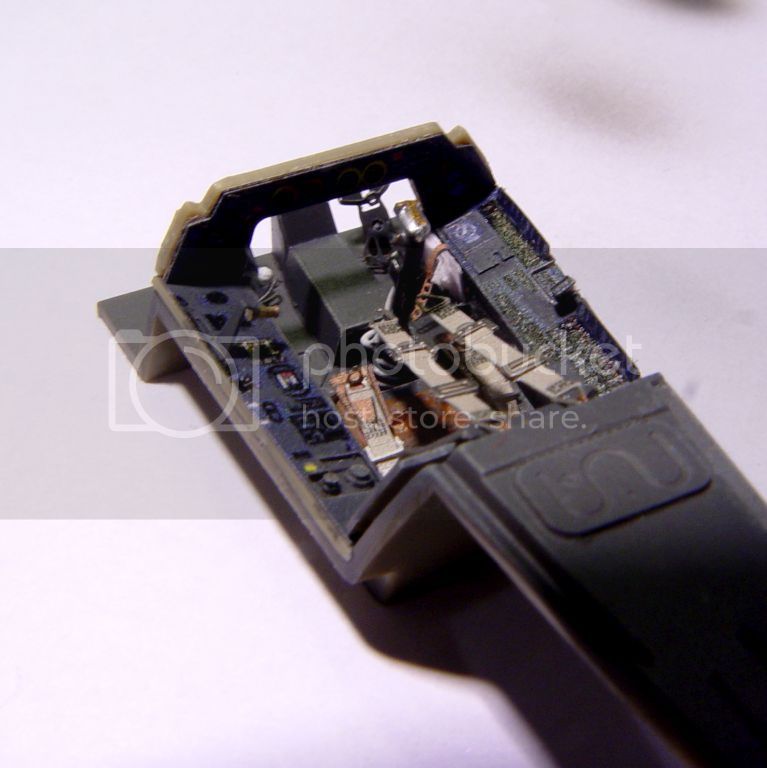
All the etched things have been installed in the cockpit. The shoulder straps have also been secured using copper wire, without these "loops" there are no attachment points for the seatbelts. You can also see that there is a colour difference between the RLM66 of the pre-coloured etch and the Gunze RLM66 that I've used. For this reason I had to over-paint the etch, but the blue tone still shows clearly in the photographs - it doesn't show as clearly in reality.

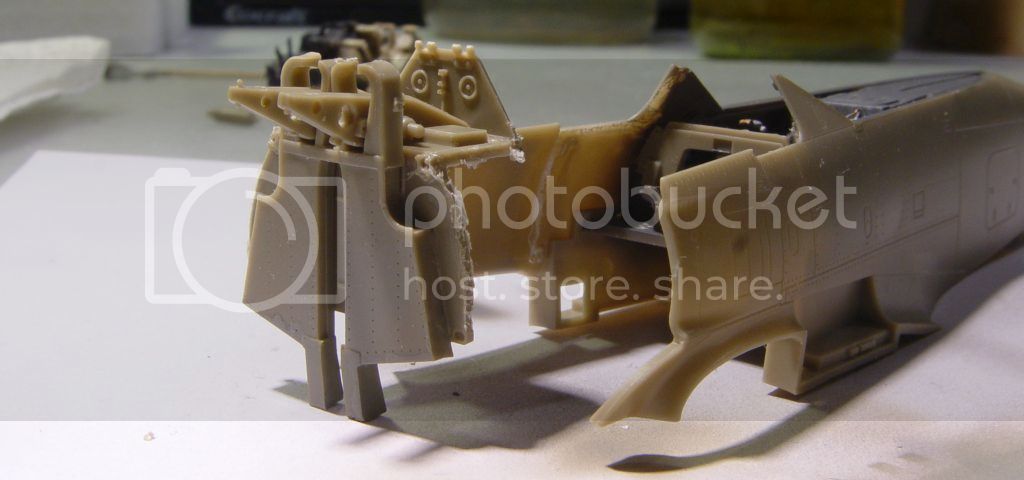
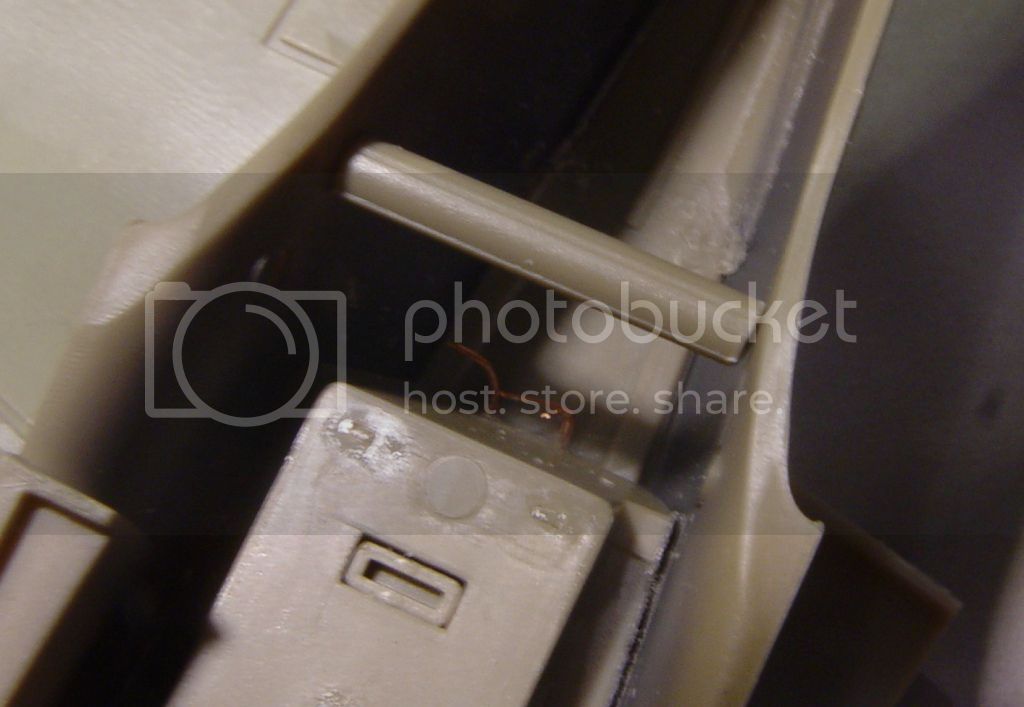
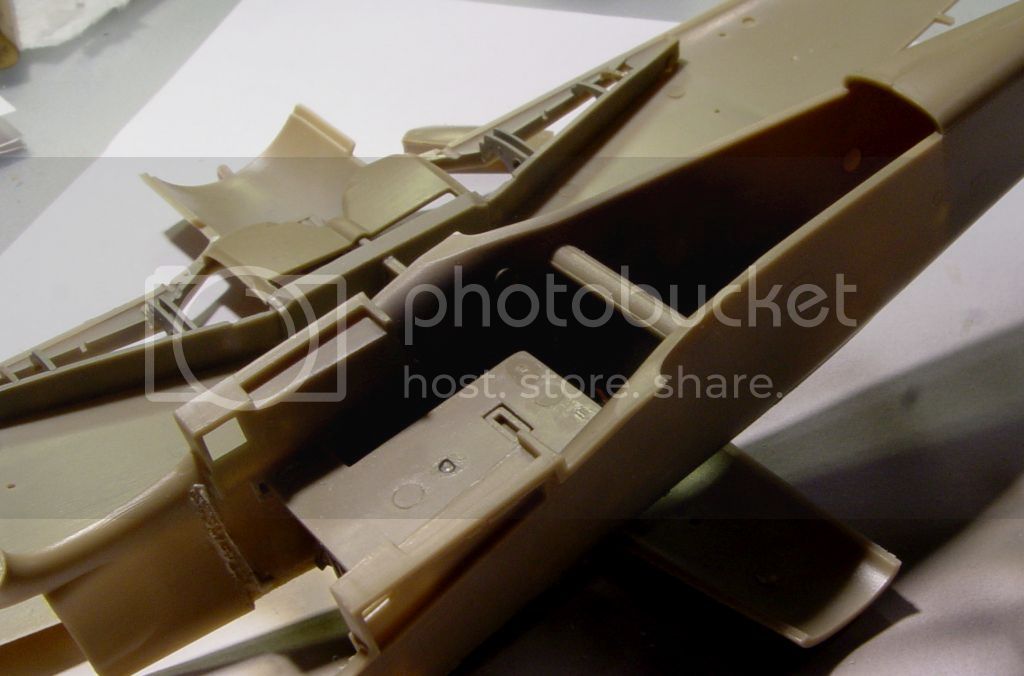
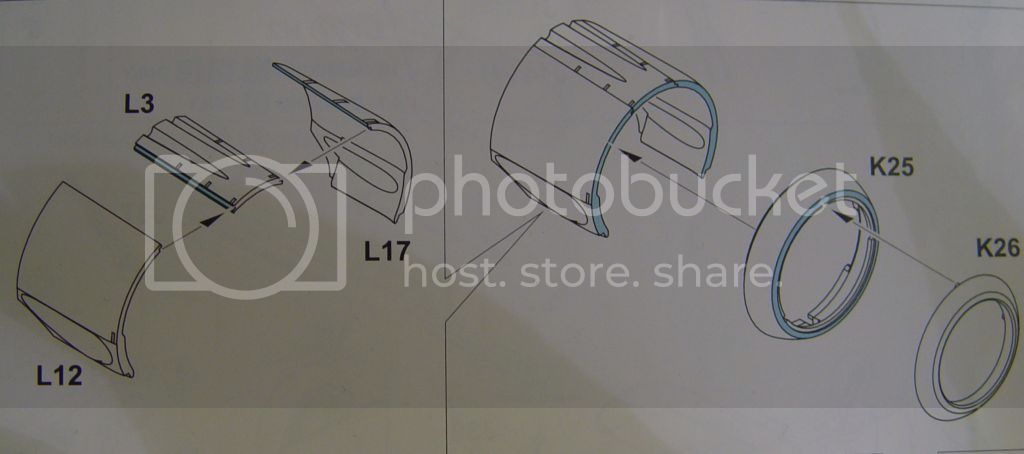
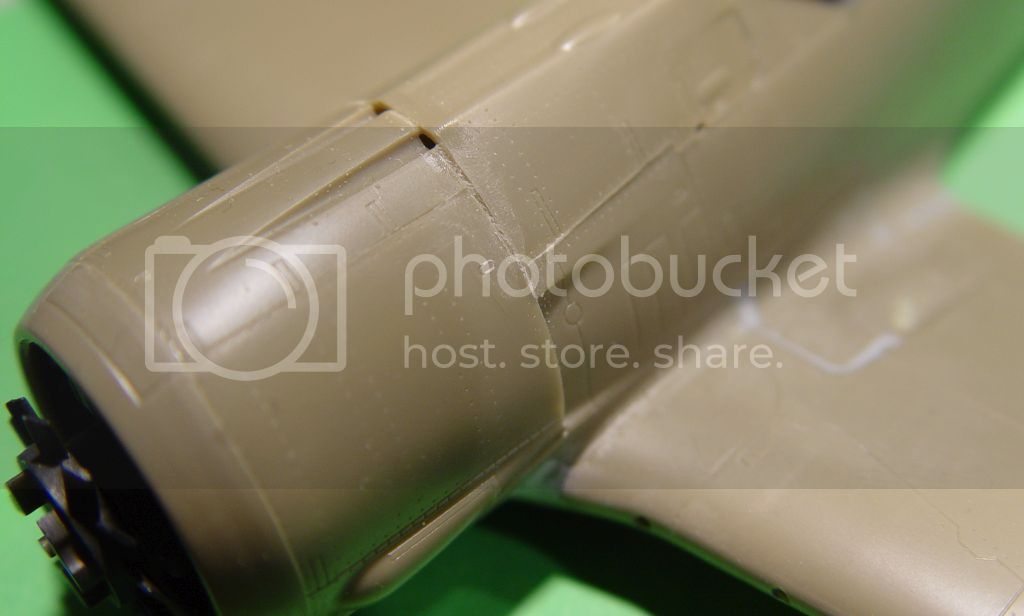
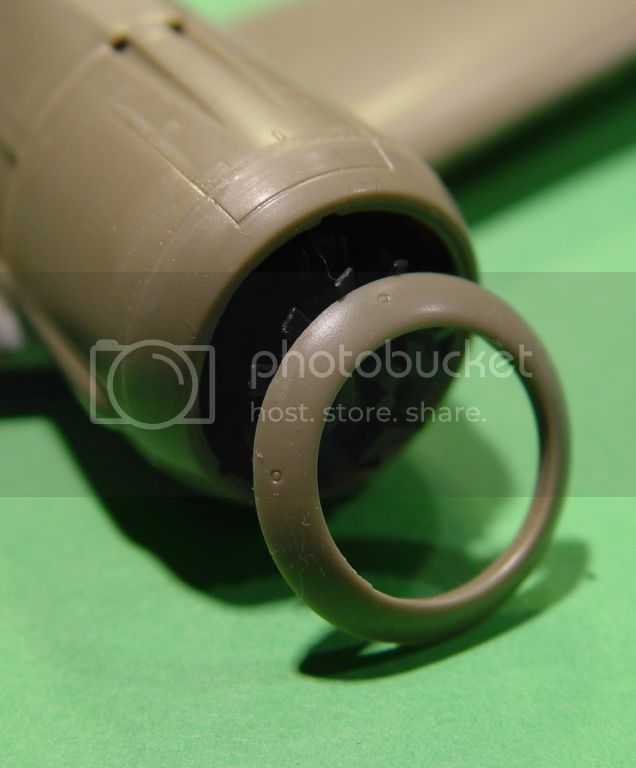
The engine will be painted black, but nothing but the fan at the front will be visible in the end. You still need the engine to fit the exhausts and the propeller, but this is clearly one area where the kit is problematic if not over-engineered. Eduard's 190A is problably easier to build if you leave the different engine and gun panels open. Problems do occur when you try to close everything up.

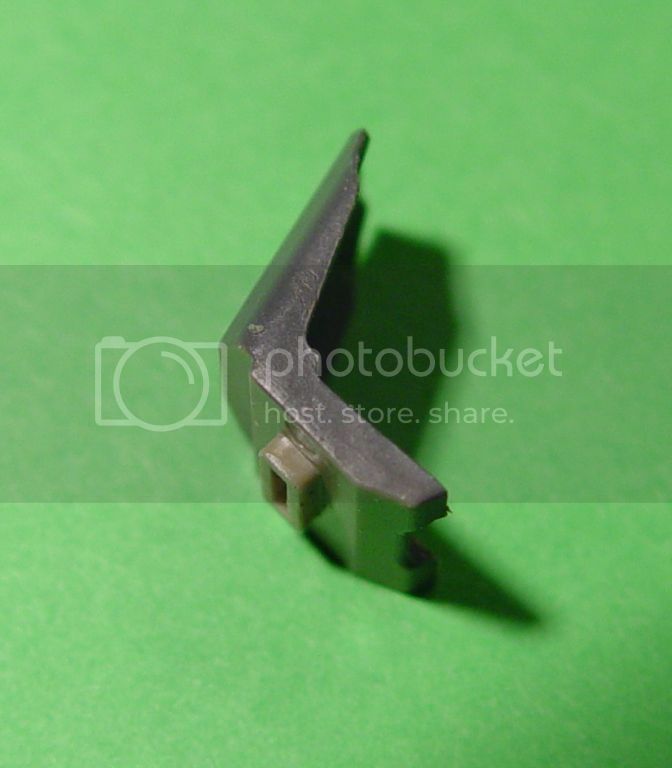
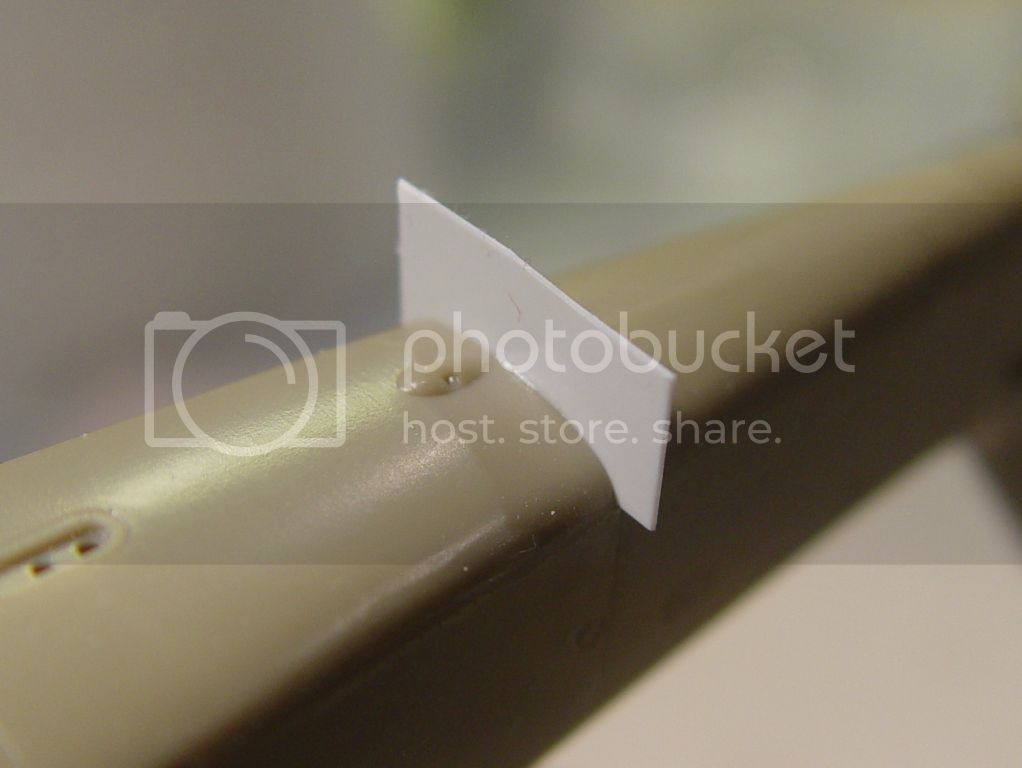
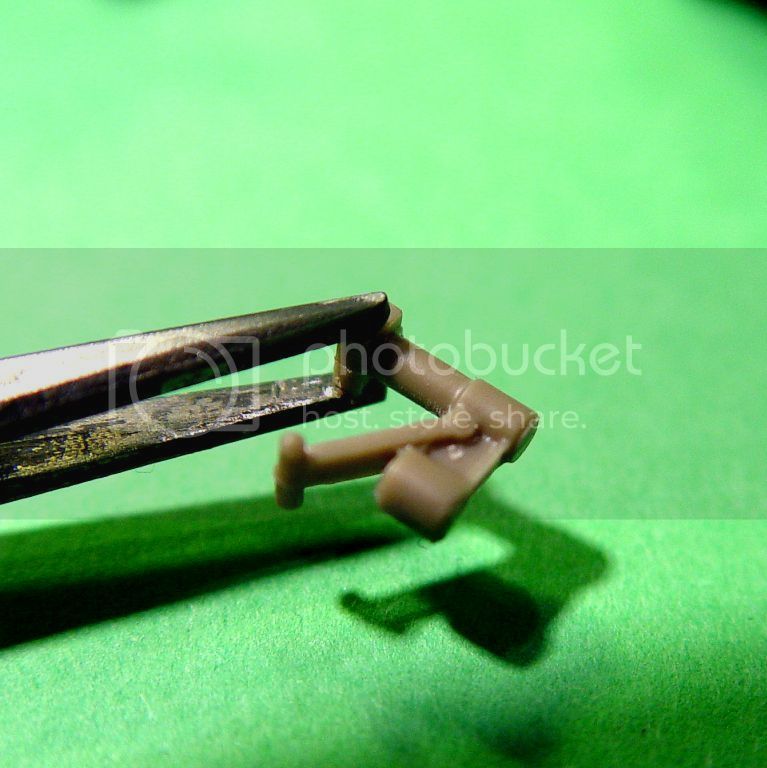
In the last couple of 190-builds I've managed to break of the fork of the tail wheel strut. This time I took it of from the beginning on purpose.
More progress in a later post...
/Fredrik


