Their excellent builds, out of the box, show just how nice this kit is to build.
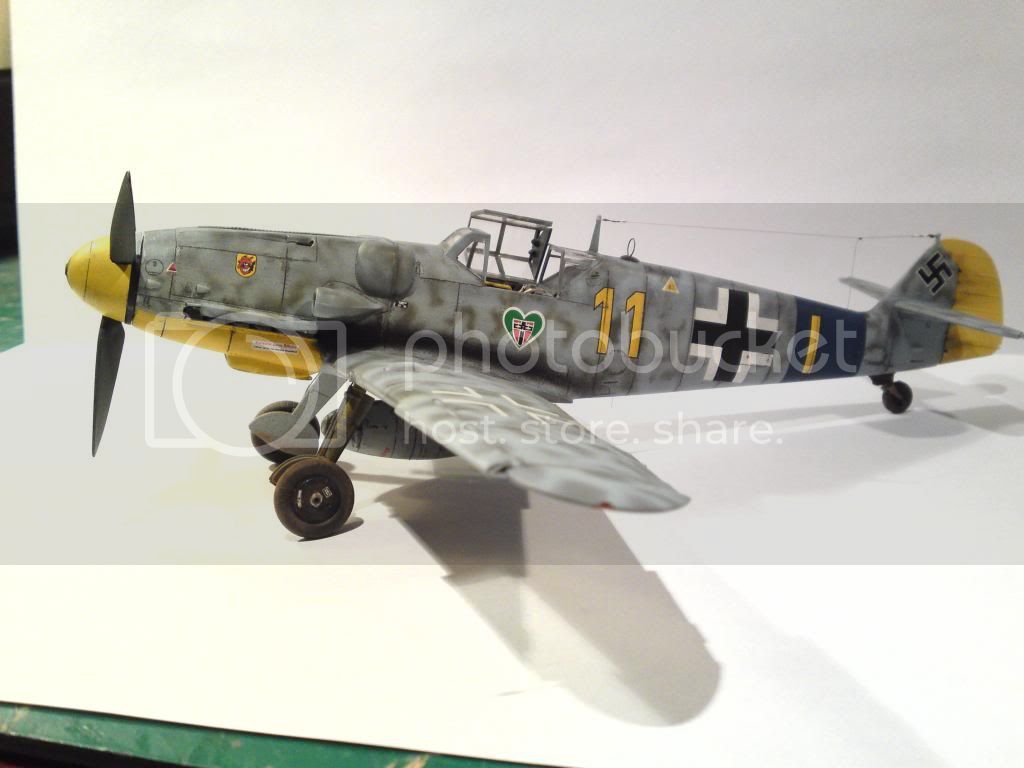
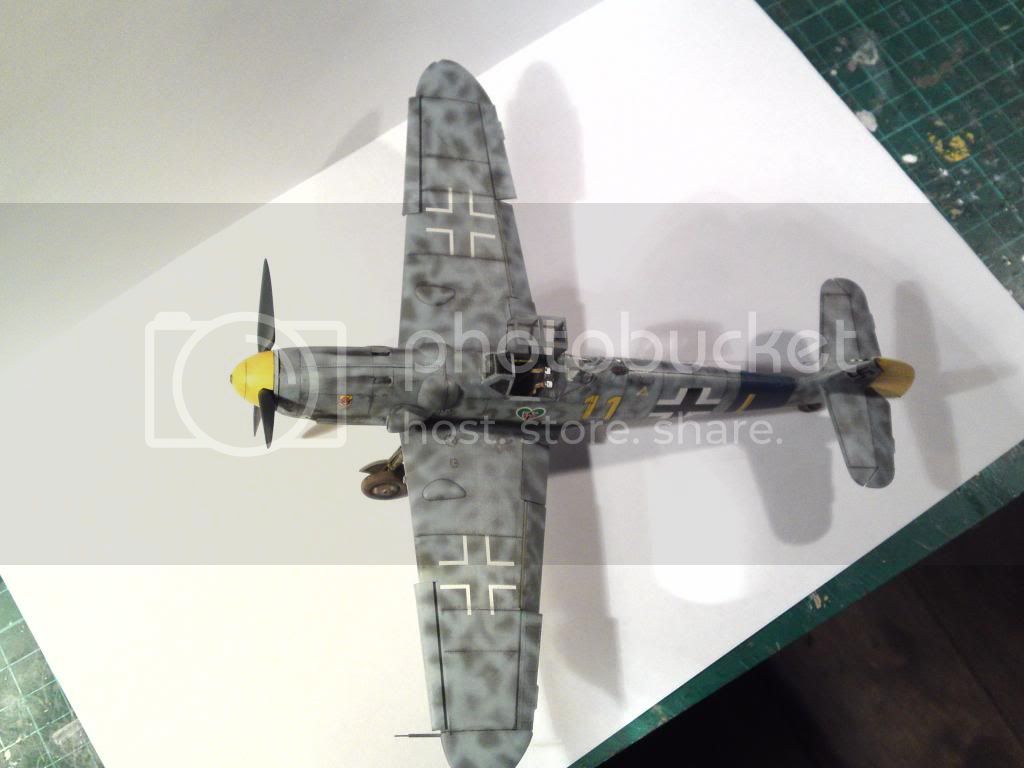
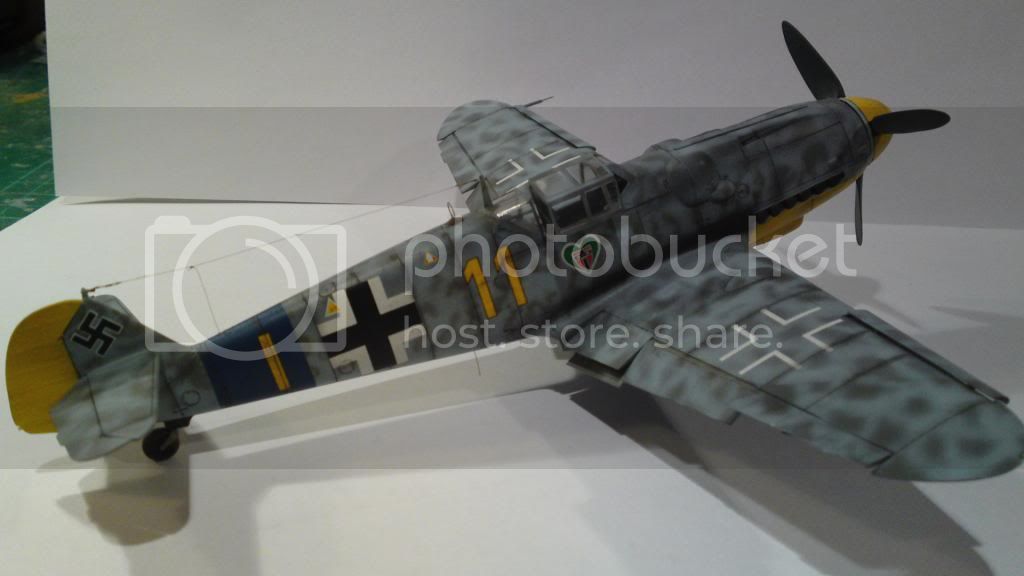
I want this kit to stand along my other 109 builds and not to look out of place which is why I am attempting this fix plus as stated above it's, despite the faults, an excellent kit.
I know Stefan thinks this is likely to cause unforeseen problems, but I'll try to do it anyway and will happily accept ' I told you so!' if it fails!!
This first part is a repeat of my post on Rowan's article ( just in case you recognise it).
Back to the Eduard kit!
Ive been following some of the other forums on line in the knock the new Eduard 109 debate as well as the builds on Aeroscale. Having pre-ordered the kit, falling prey to the manufacturers claims for the kit.
On opening the box I was extremely impressed with the contents, a Bf109G in todays standards. Then I began to see the criticisms of the kit and decided to check them out.
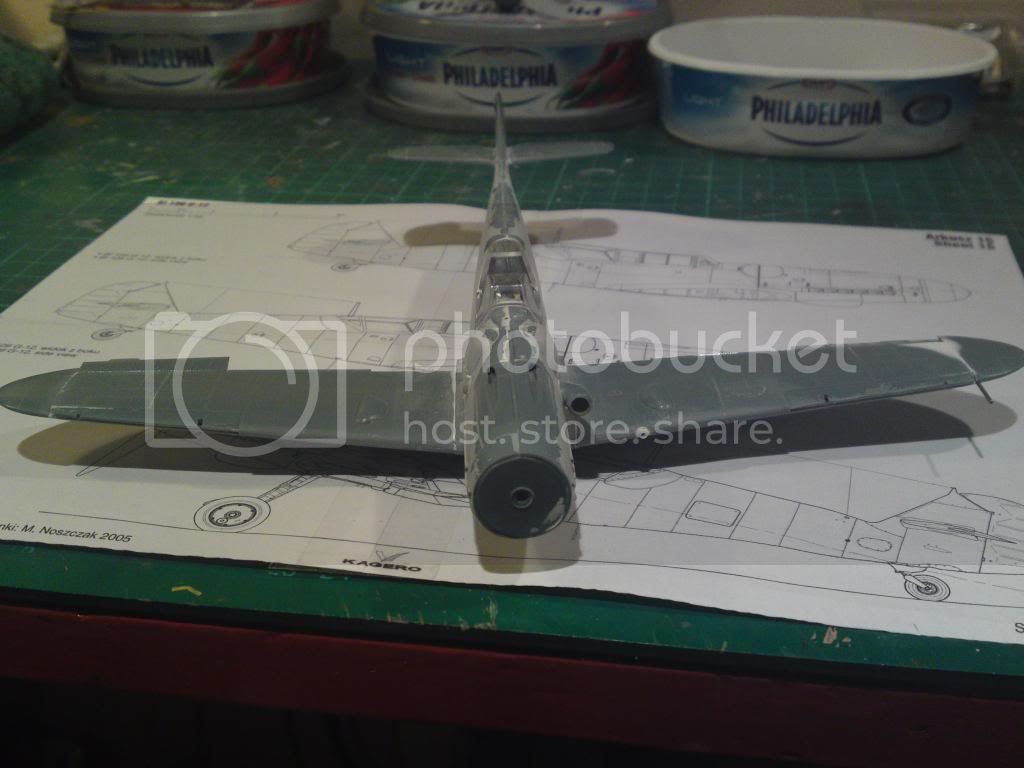
Deciding to standardise on references I used the Kagero 1/48 scale plans and comparison to Hasegawas 109s.
LET ME EMPHASISE HERE THESE REFERENCES WERE A PERSONAL CHOICE FOR MY 109 COLLECTION.
I am not a rivet counter (spent too much time in the 60s & 70s sanding them off!!!) but do like my finished collection to look as they were produced by the original manufacturer i.e. Messerschmitt or one of their sub contractors.
Anyway to begin with I do not believe Eduards 109 to be overscale, yes it is too long in fuselage length and wingspan (this is where Eduards claim turned round and bit them). However compared to the Kagero plans the outlines are accurate in my opinion, wing chord and fuselage height are correct. In comparison the Hasegawa kit is shorter and slightly lacking in height. Comparing the kits together Hasegawas comes in a little undersize.
So I set about modifying Eduards 109G to my references using the Kagero plans and the HT Model Special Bf109G-6.
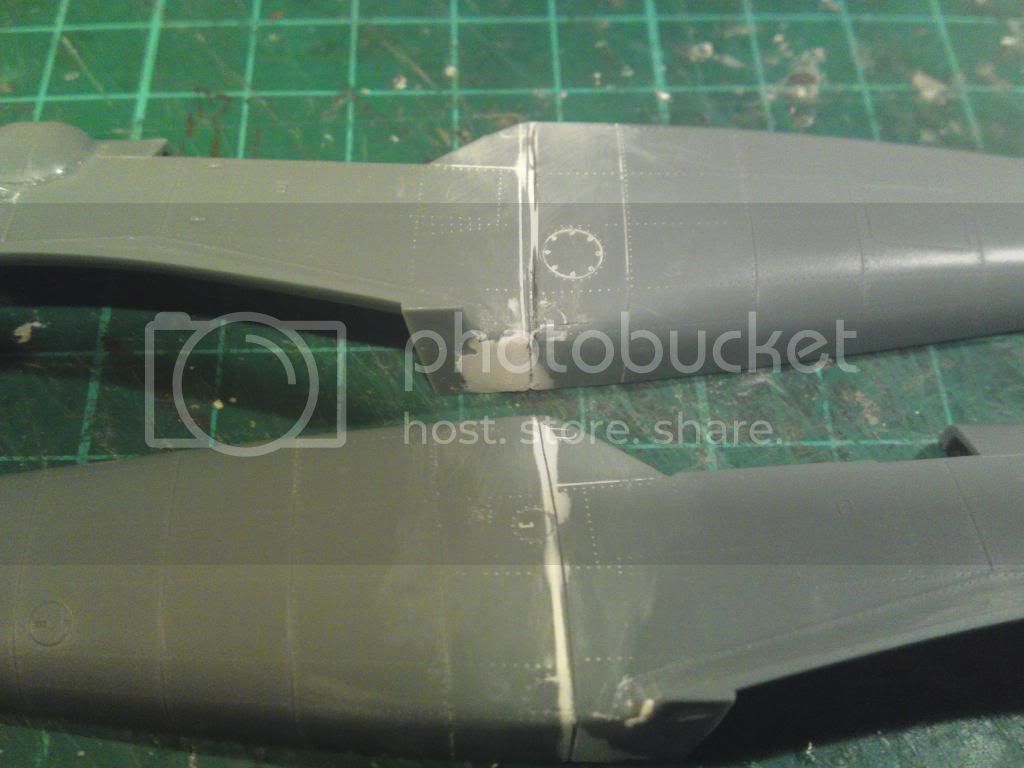
I cut the Eduard fuselage just behind the cockpit, laid the forward part of the fuselage on the plans, which match up really well. Then I carefully sanded the forward part of the rear fuselage, all the time comparing it to the plans. Eventually the fuselage length matched the plans and wonder of wonders all the panel lines matched the plans!!!!
Admittedly I have lost some of the rivet detail but I think under primer and paint most of the rivets will disappear anyway. A couple of plastic tabs joined the fuselage back together and a little bit of filler completed the job.
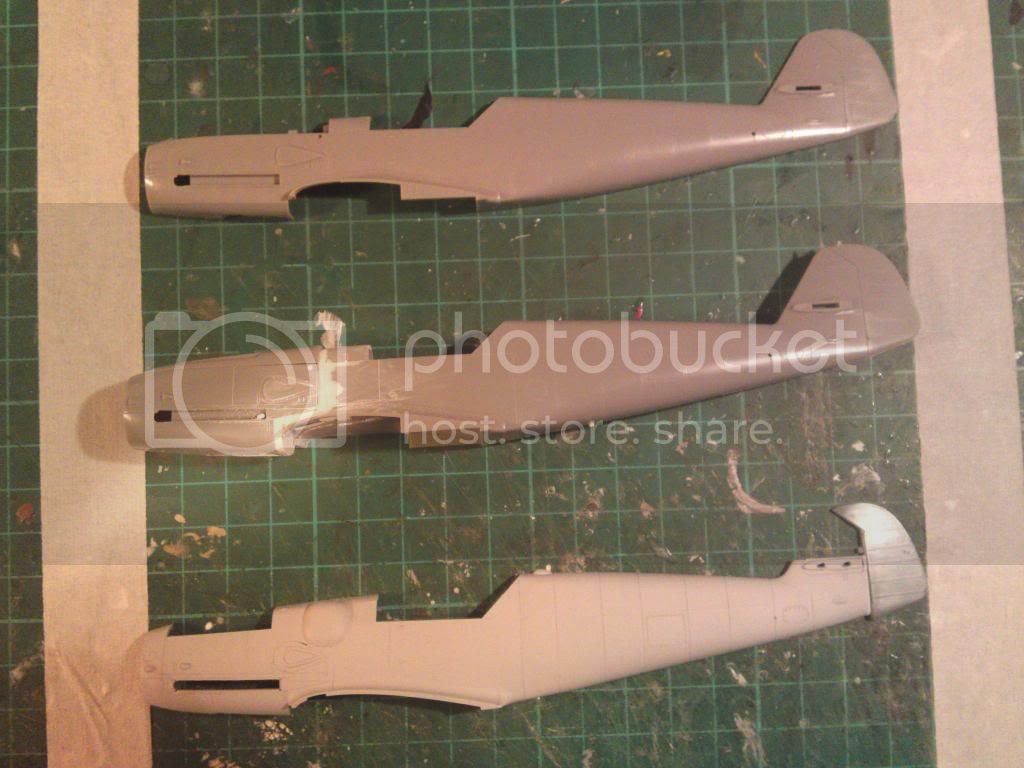
This photo shows a comparison of;-
top: Hasegawa Bf109G-14 unmodified
middle: Hasegawa Bf109G-6 modified
bottom: Eduard Bf109G-6 modified

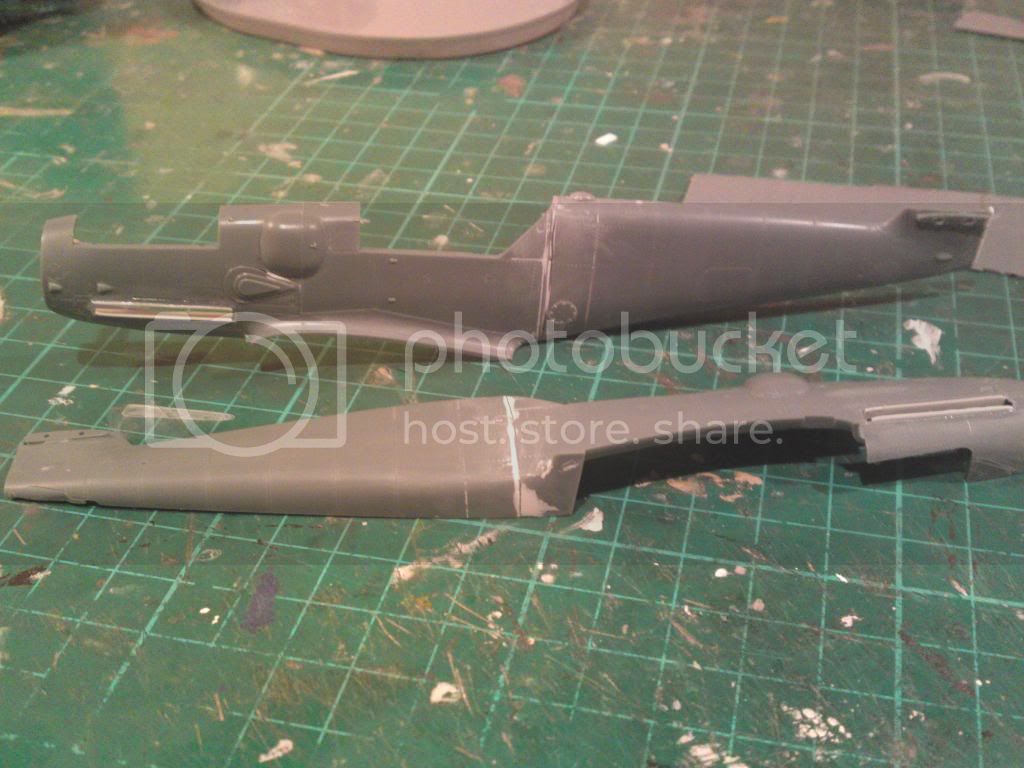
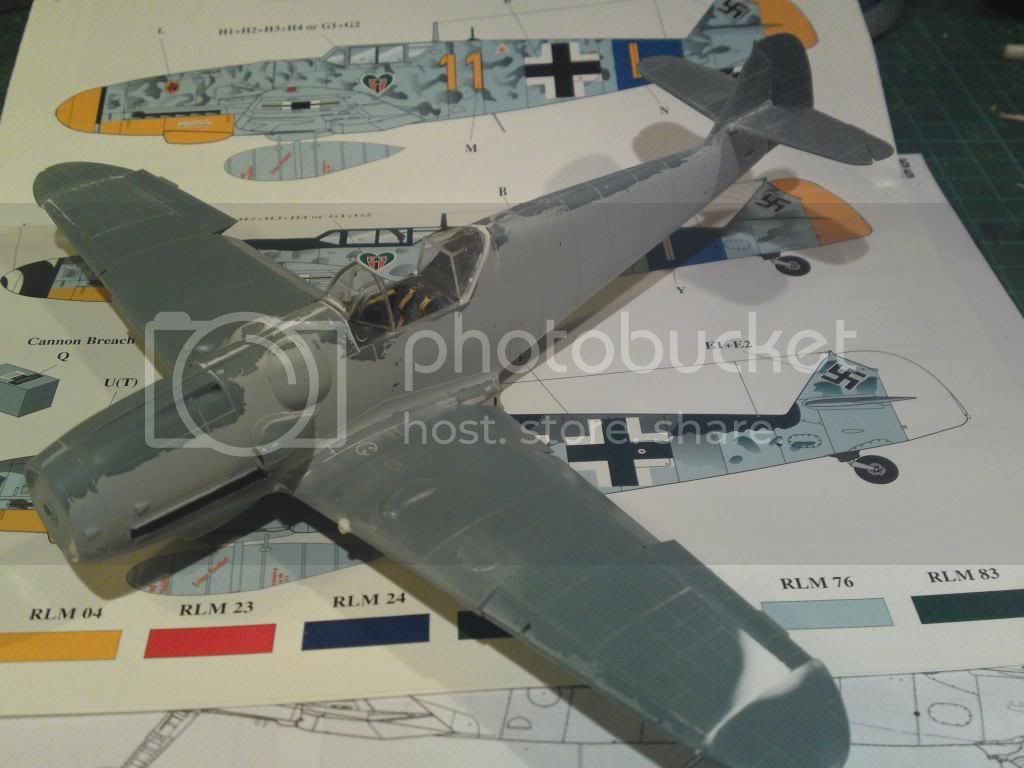
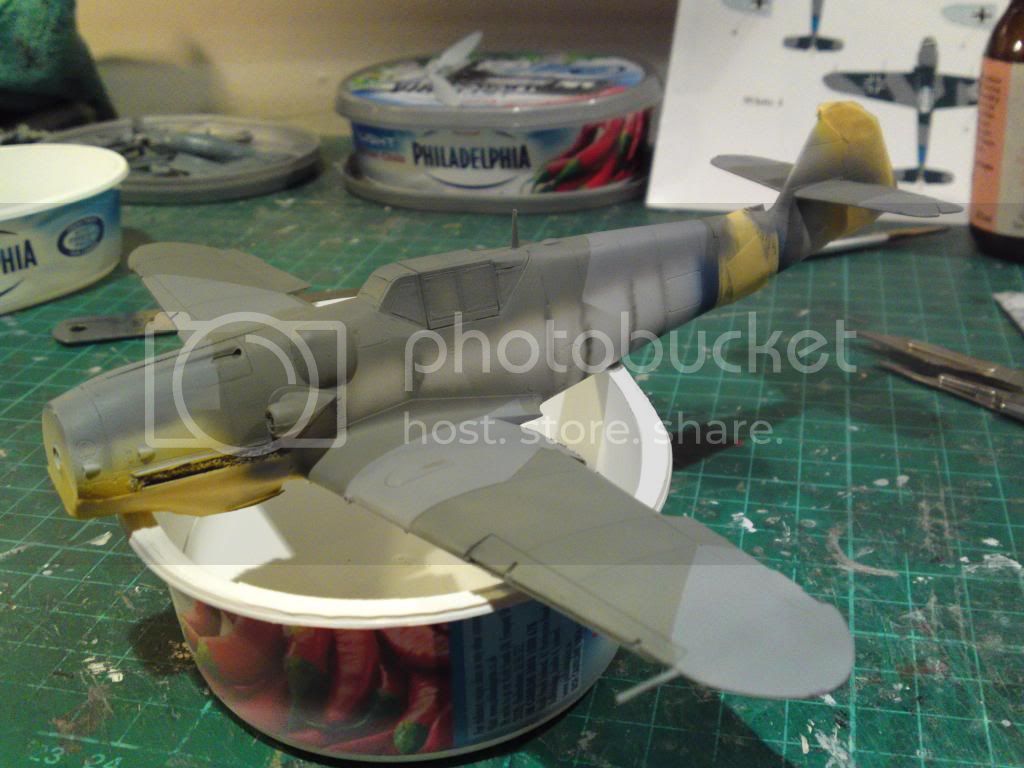
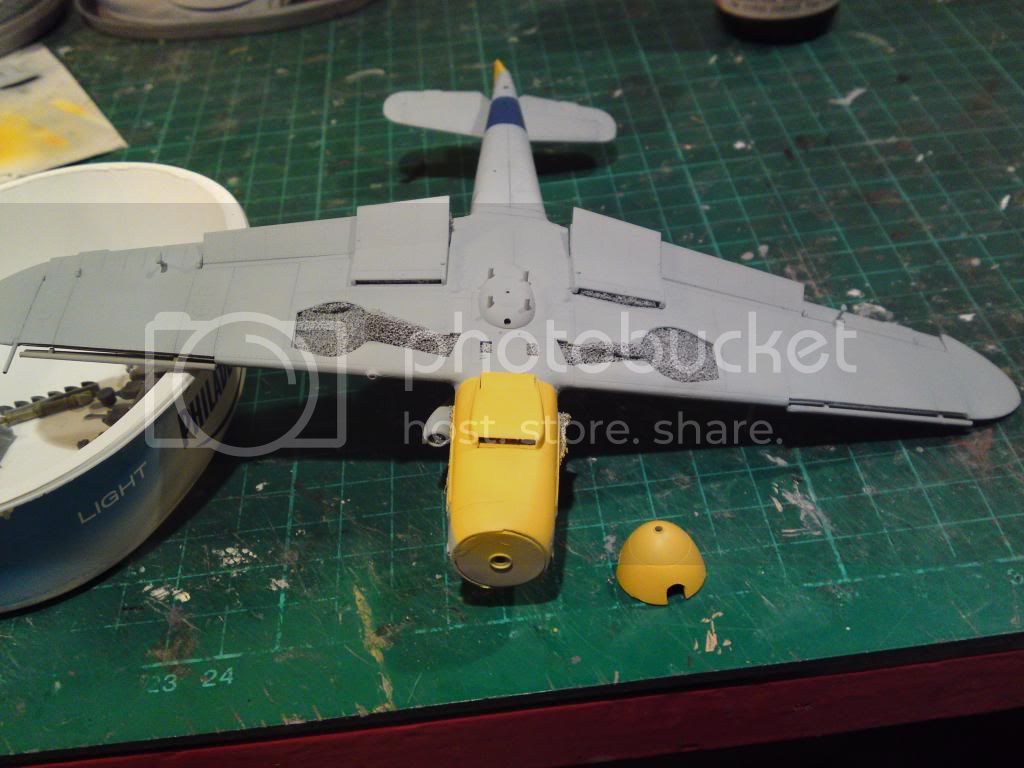
You will also note I have added plastic card to the exhaust ports to reduce them by approx.1mm as they are too wide. exhausts will also need to be reduced to fit but are usable.
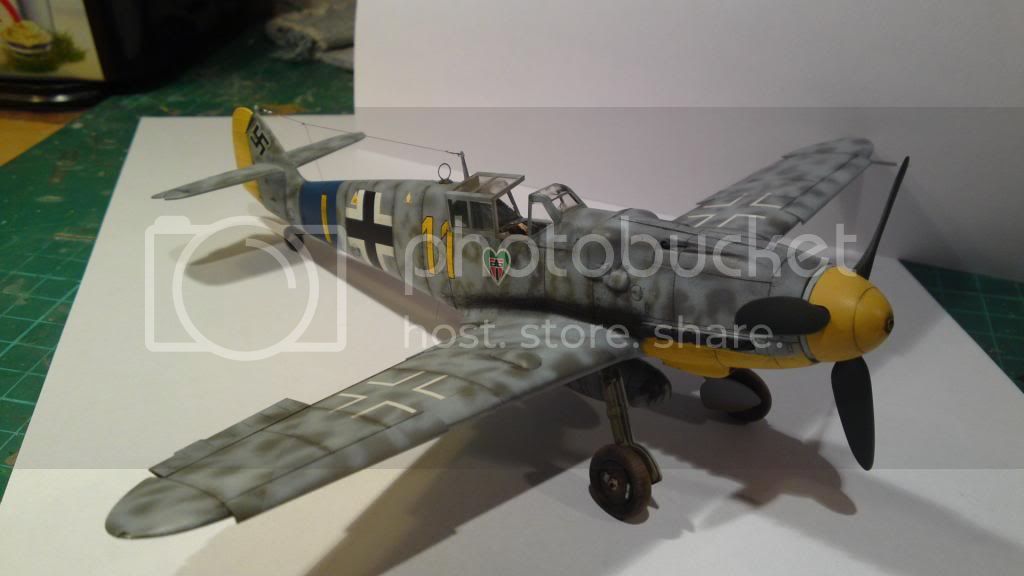
As regards the nose being too bulbous ( it does look like an AS engine cowling!)some sanding down will restore it to the shape required.
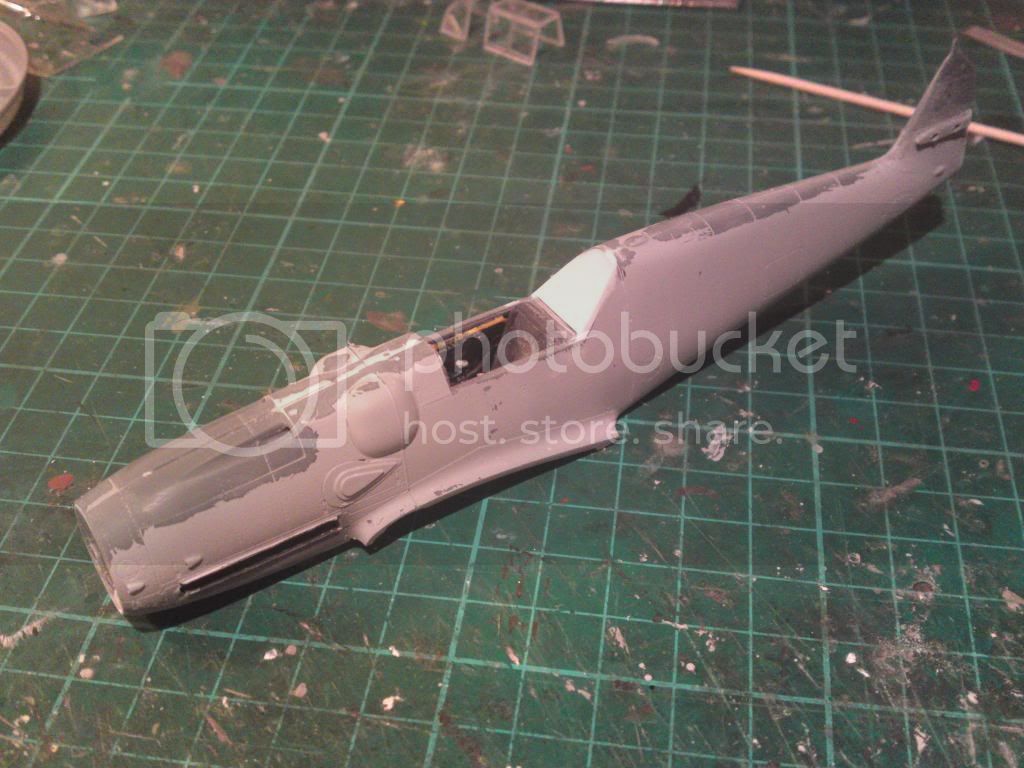
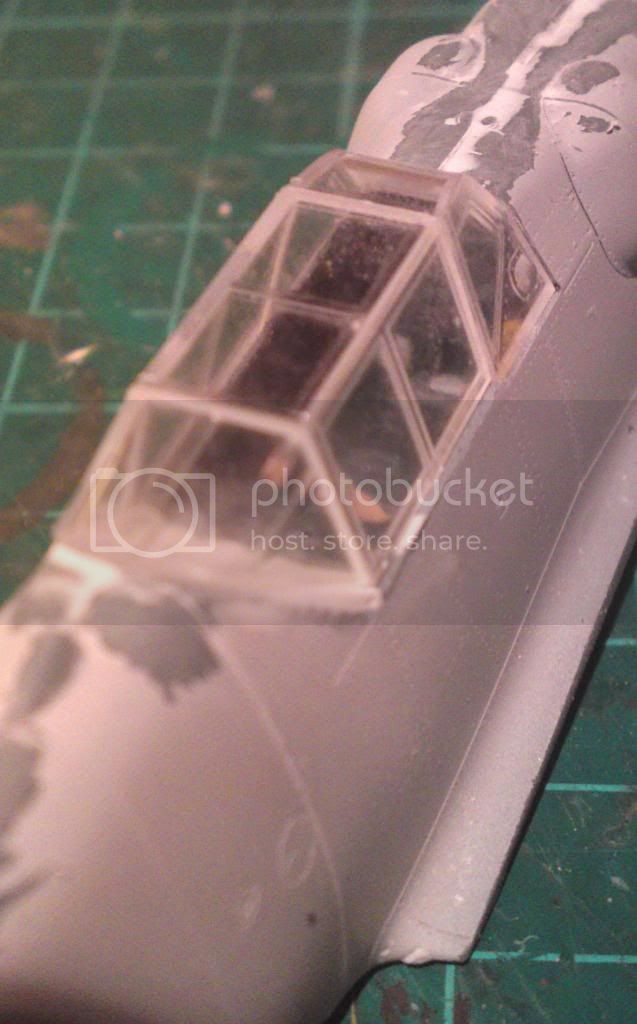
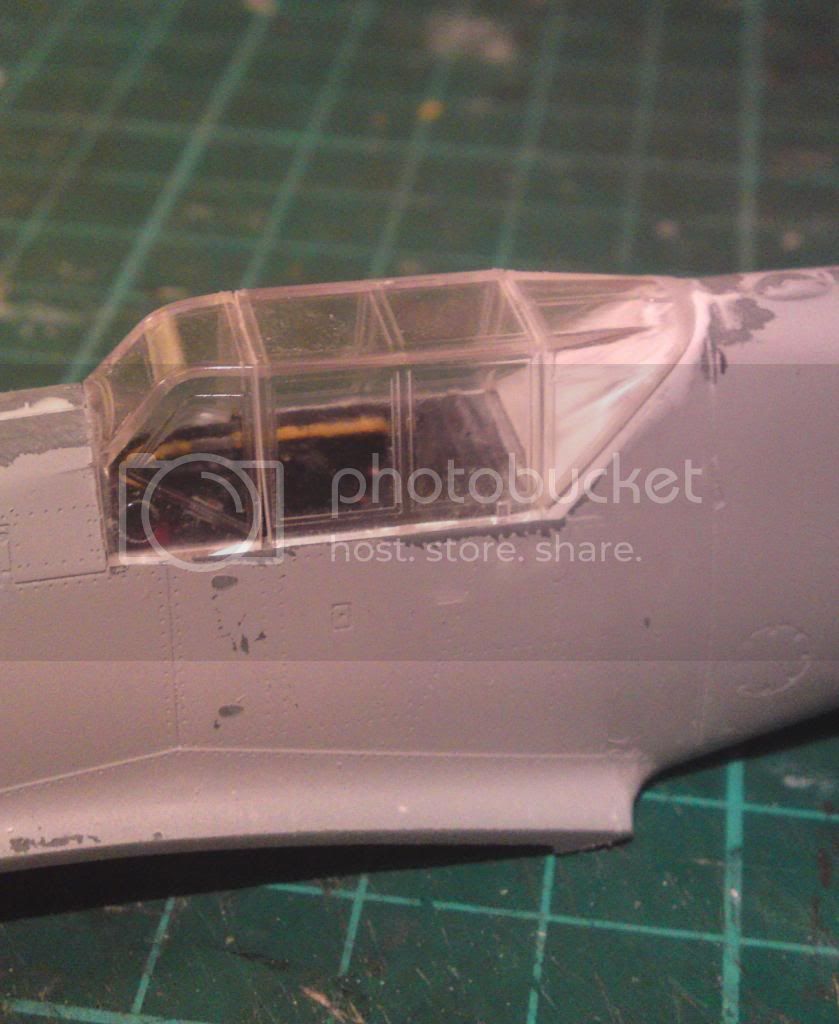
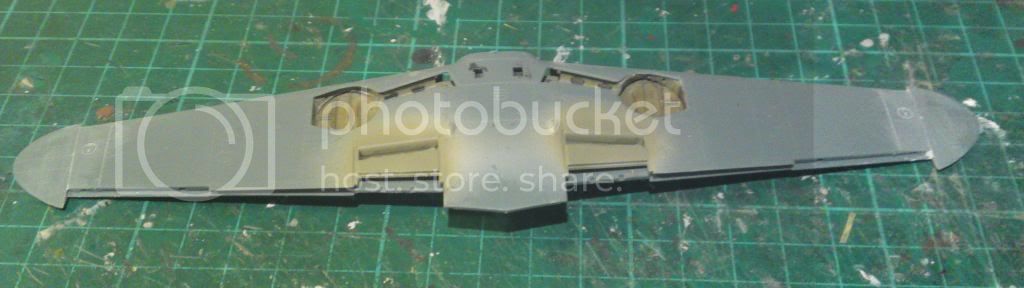
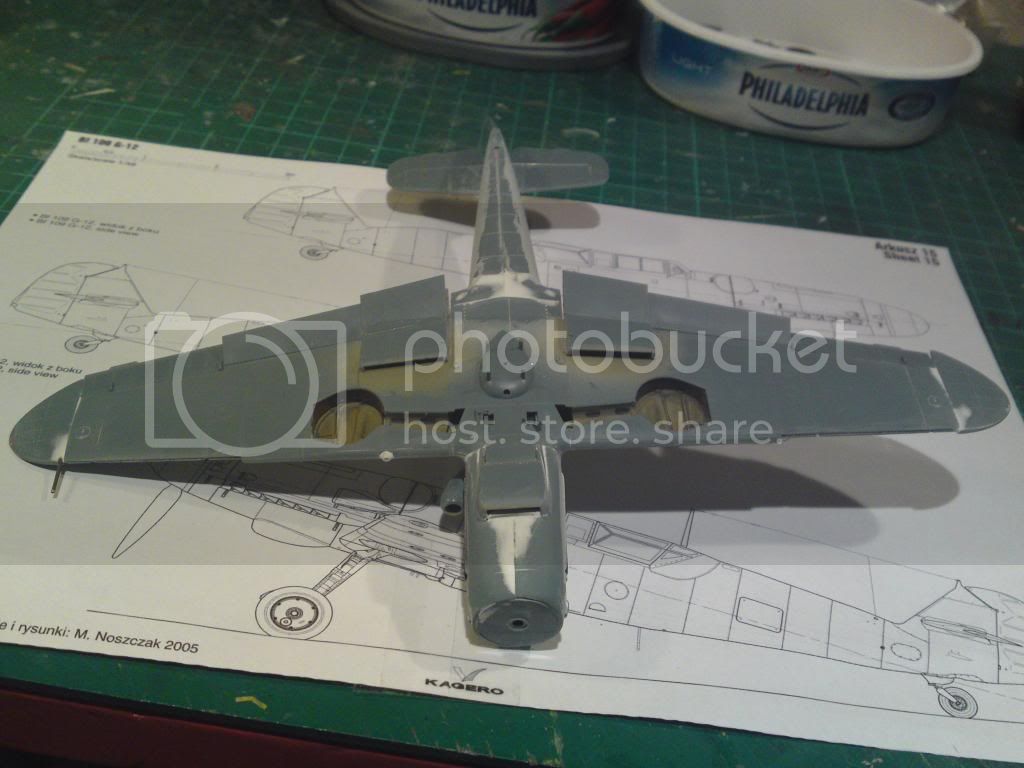
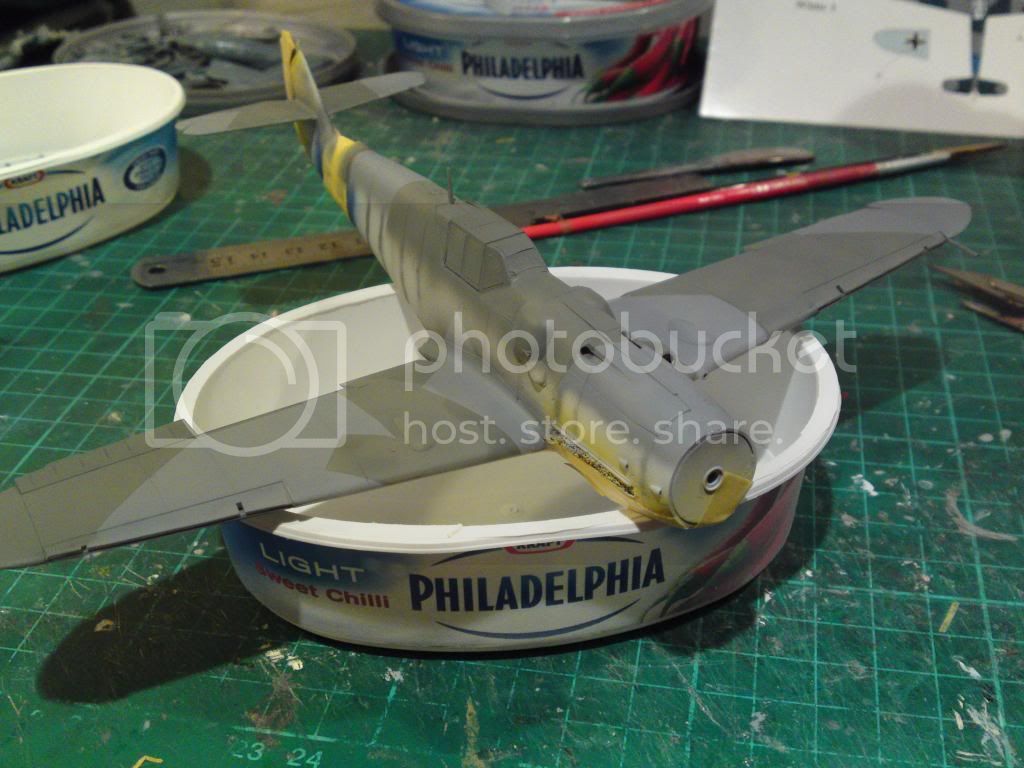
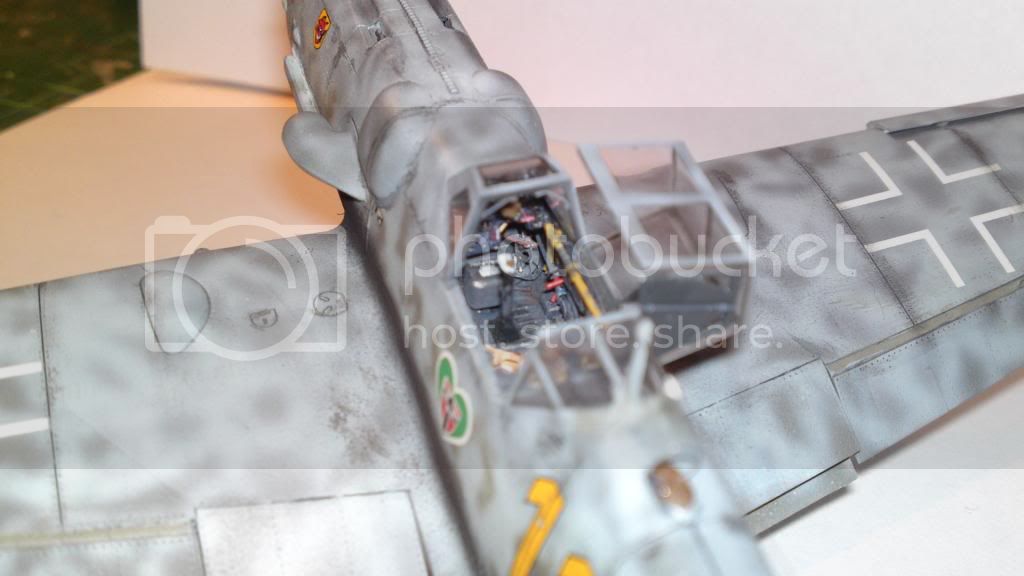
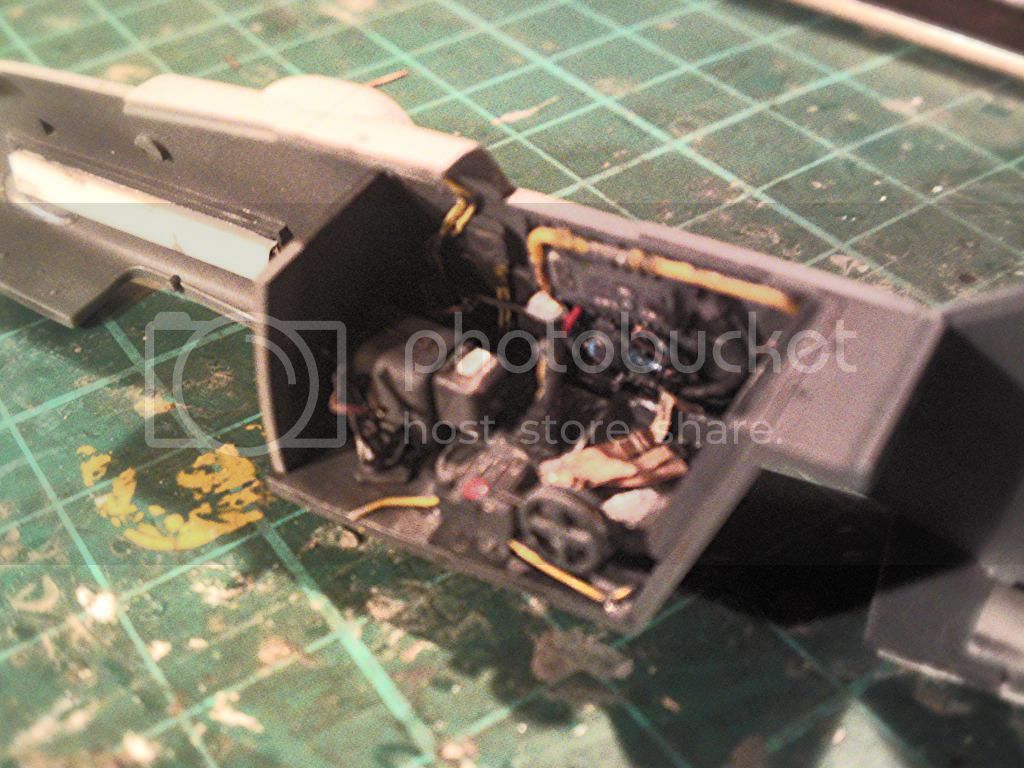
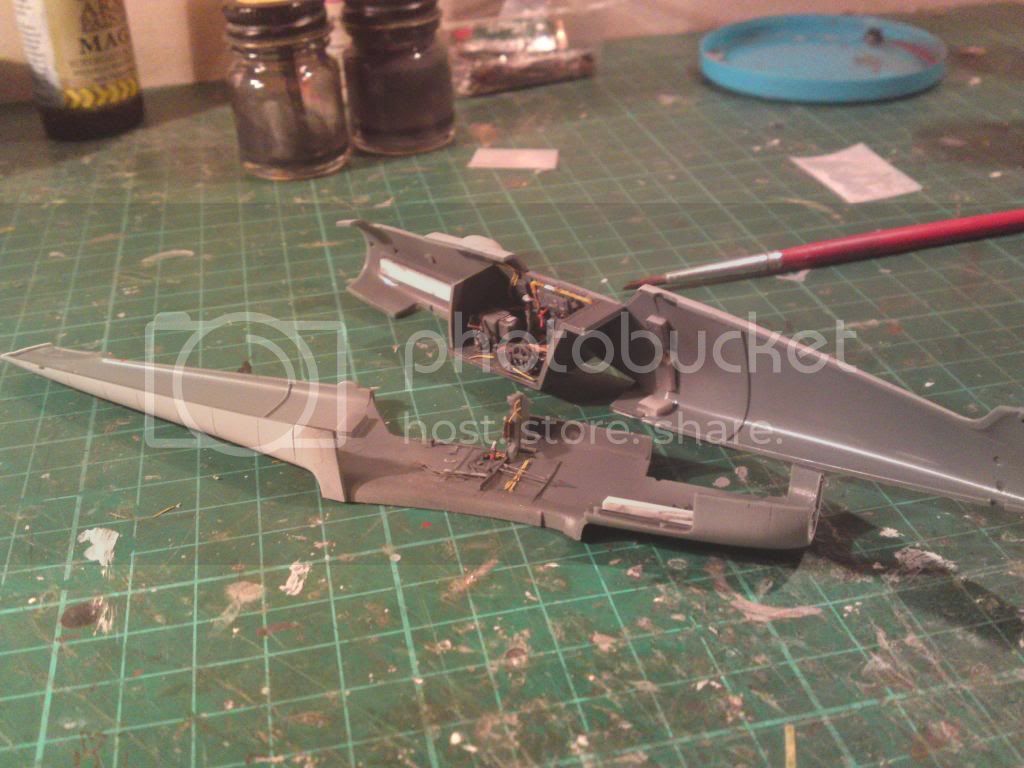
At the moment I am detailing the cockpit which is fantastic straight out the box,but can always find a few extra details to add.
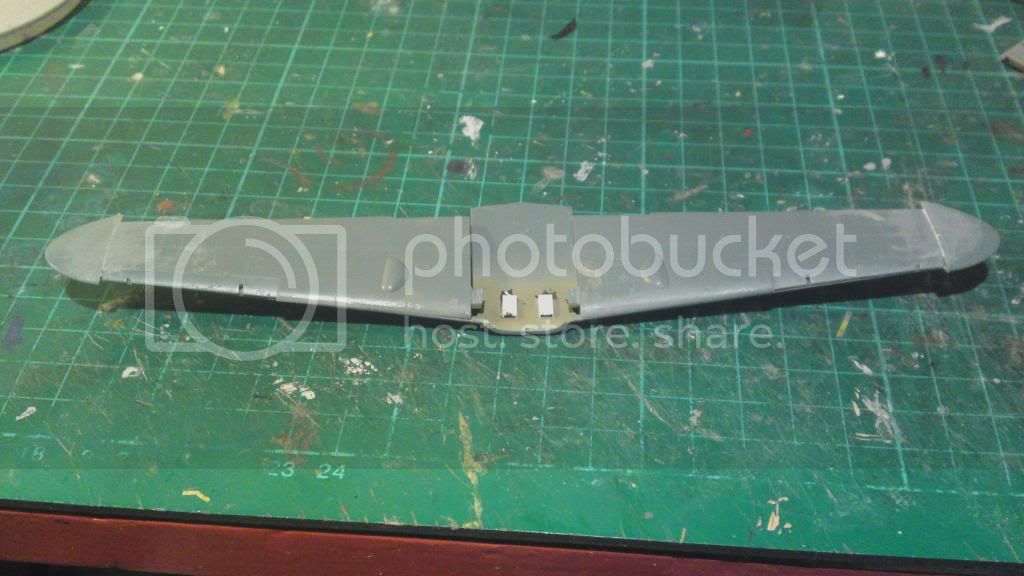
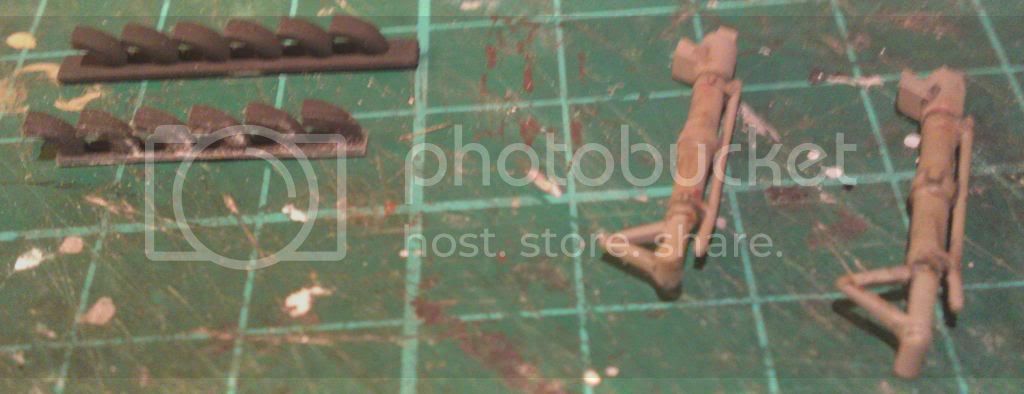
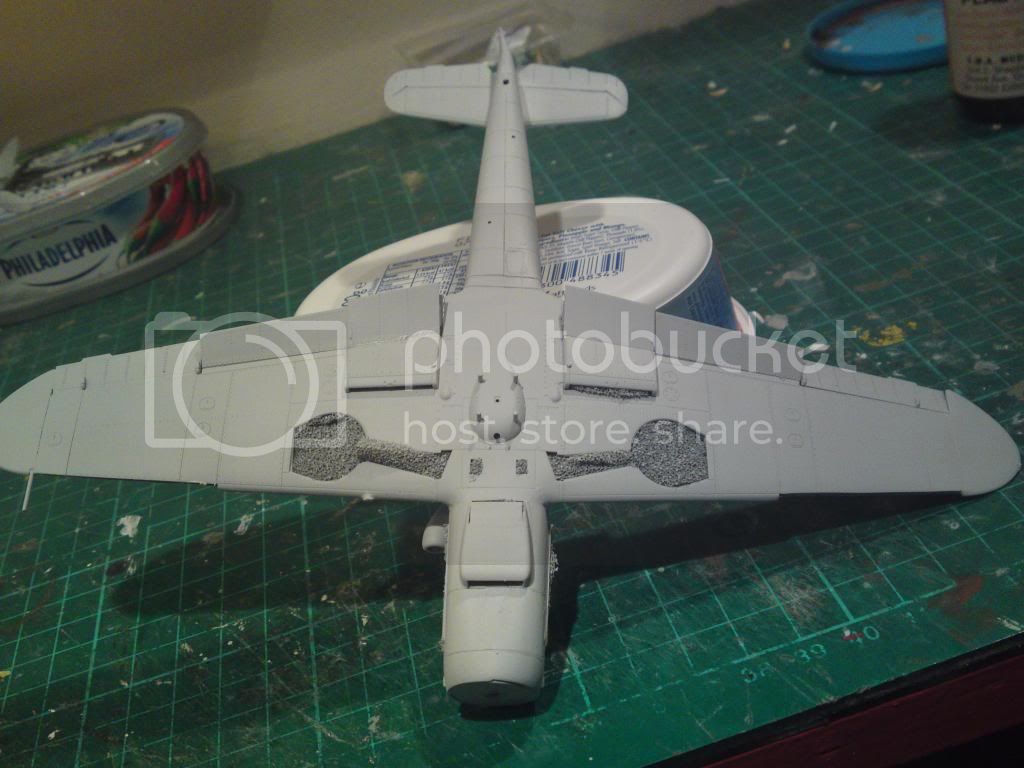
I will continue this post with modification of wings,control surfaces, slats,undercarriage length and rake.I also need to reduce the length of the cockpit as compared to the plans.
One last word I do wonder if Eduard have given us a kit of a restored 109G with all the restorations mistakes!!!!!
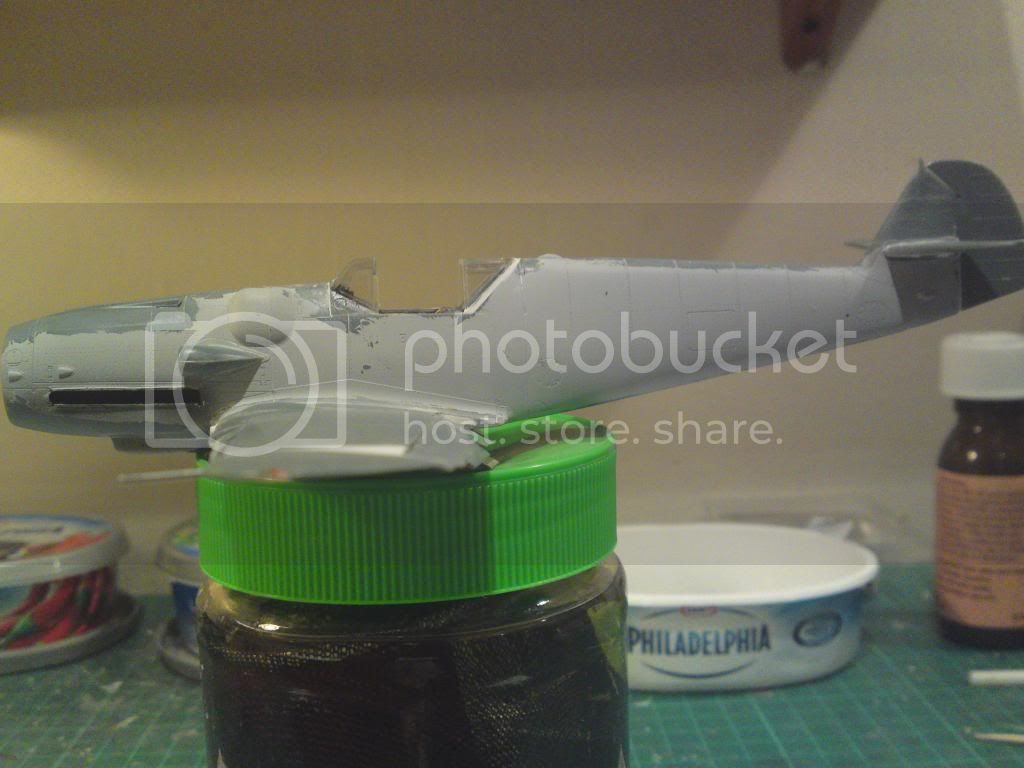
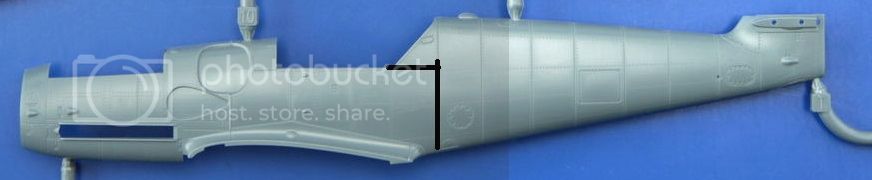
If I try this again I would cut the fuselage, as below, to shorten it as this would help with the reduction in cockpit length. Which my references and comparison to the Hasegawa kit show this is necessary and this way of cutting the fuselage will make it easier to rejoin after shortening.
Below are a couple of shots showing the cockpit interior built with kit parts and a few extra bits.
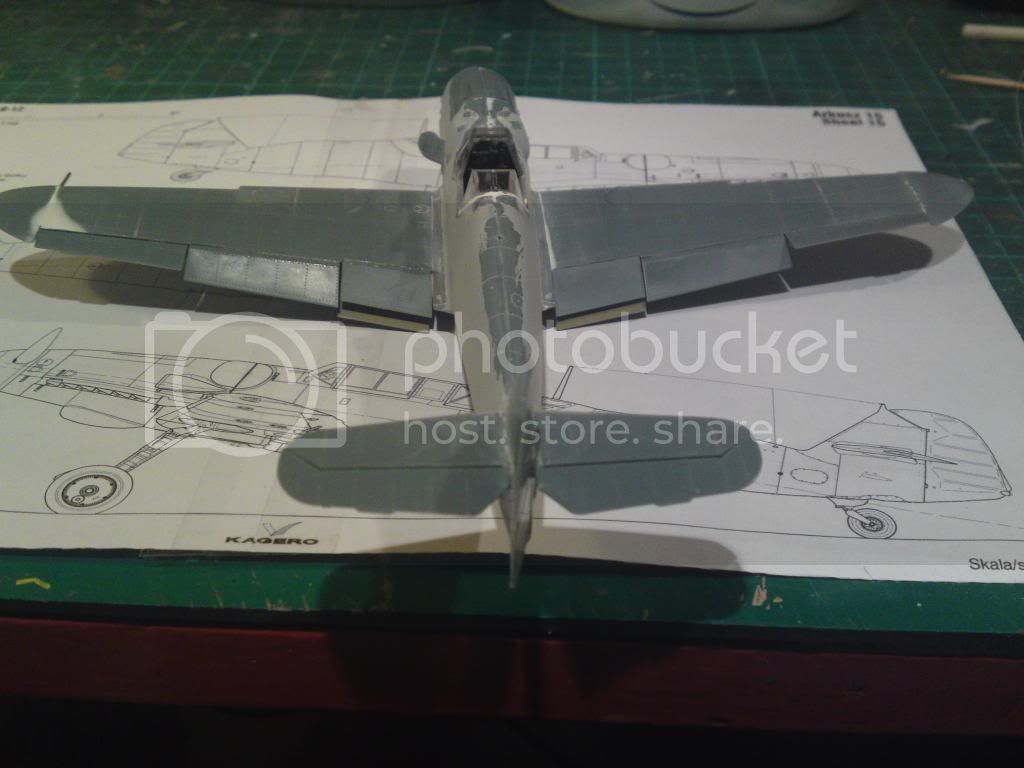
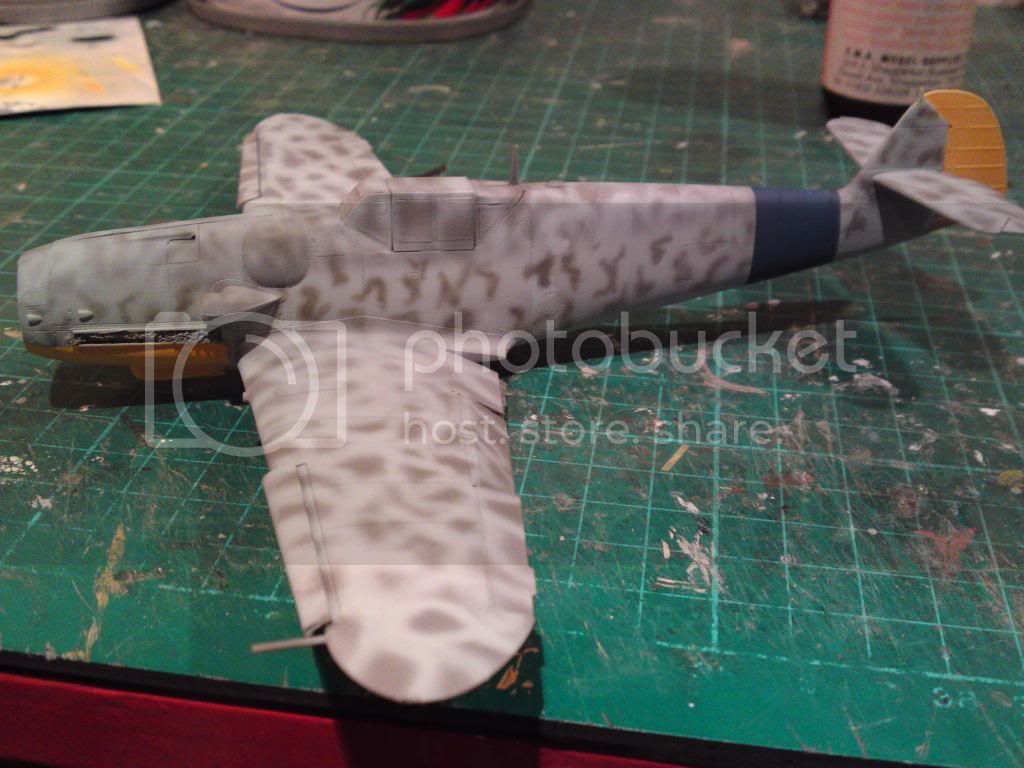
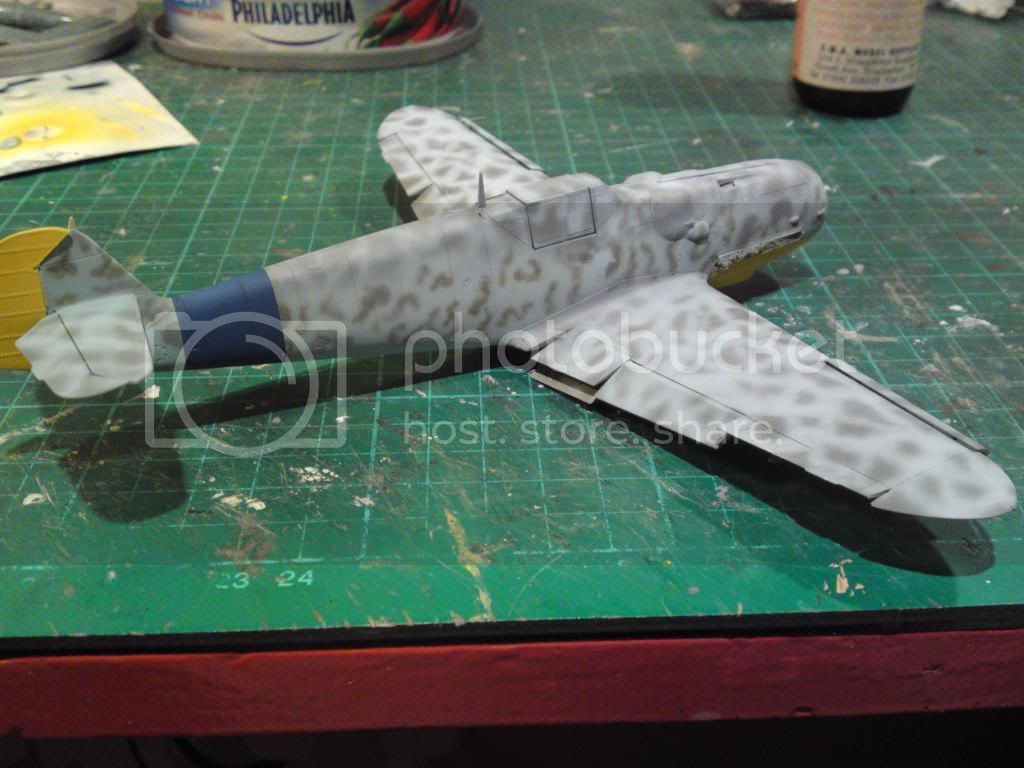
I will post further reports of my progress in due course.
Andy