Well a few bits and pieces have arrived including the airbrush but I now have to wait a while to get the compressor. Biggest problem with that is convincing the Sergeant Major that I need an air compressor in my office. Anyway got a few odd Tamiya enamels, thinners, some abrasives and sanding pads, glue etc.
start assembly and was using Mr. Cement S as the glue. At first I just applied it to the insides and then brought them together. No adhesive at all. Did some googling and on a youtube found a guy who told me how to use it. Join the parts and paint the cement on the join which apparently sucks in the glue by way of a capillary response. Seemed to work OK however I am not that happy as I have found that some things are coming apart if you happen to put a bit of pressure on them. I think I might try another way. Not Super Glue but perhaps some plastic glue.
Parts have been going together pretty well. A few problems getting in the pilots seat but all ok.
One thing I did bring with me from my model ship building experience is the importance of reading ahead with the instructions. That helped me avoid a few problems.
I decided to use the rub n buff with this model to get experience with it on this inexpensive model. Later models will probably use the airbrush.
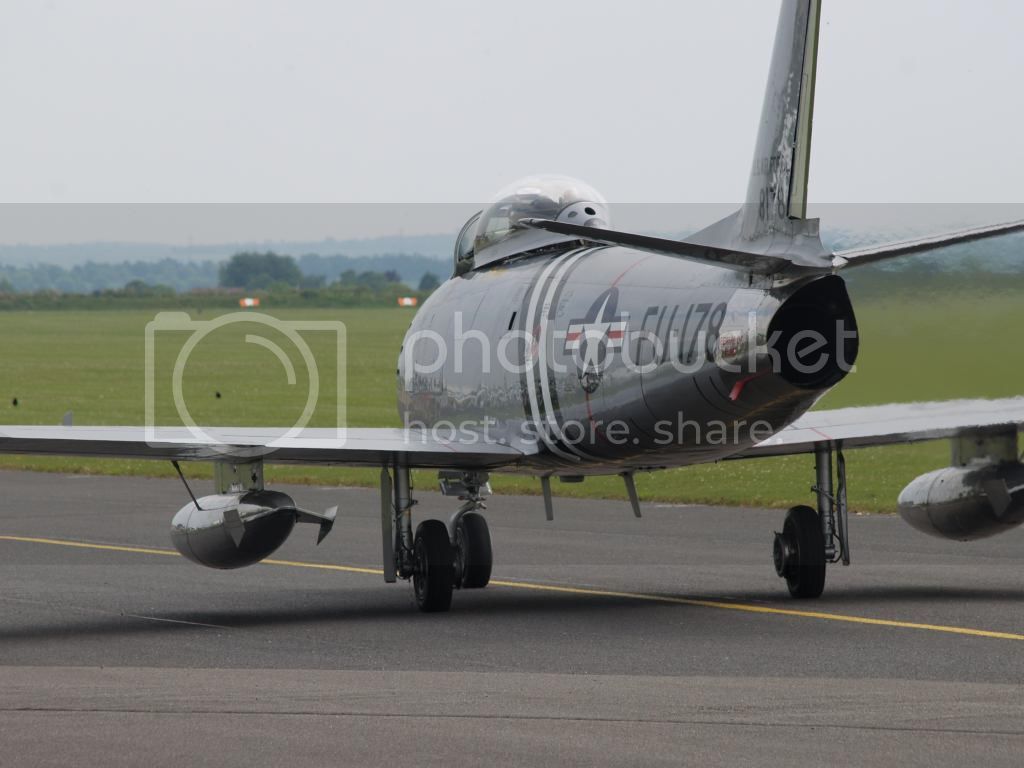
I sanded the surface of the Sabre with very fine sandpaper and then very fine pads for ages and thought it was all fine. Had to apply a bit of putty to where the wing joined the fuselage and sanded it back. I didnt see some scratch marks it left and made a mistake in not following Joel's advice about applying a gloss to pick up the marks. As he said the BMF really show up surface imperfections. Anyway another lesson learnt.
Rub n Buff went on great. Secret with it is to use it very sparingly and I mean very sparingly. If you get too much it tends to set and shows lumps. It dries very quick. The heat of your finger spreads and sets it. The other problem with the rub n buff is that it is susceptible to finger print marks when handling. Once it is sealed (I hope the sealer works as well as it did on the plastic cap I practised on?)
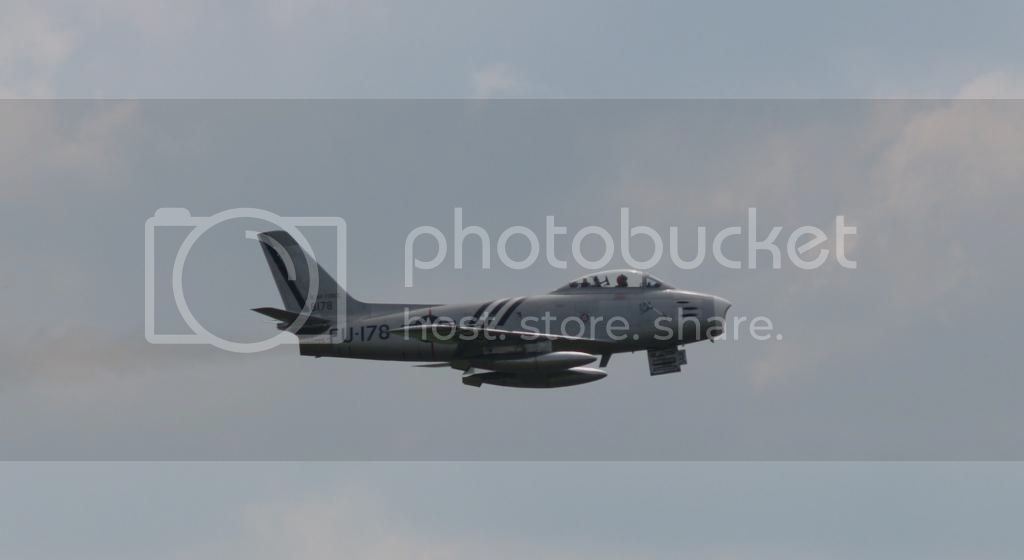
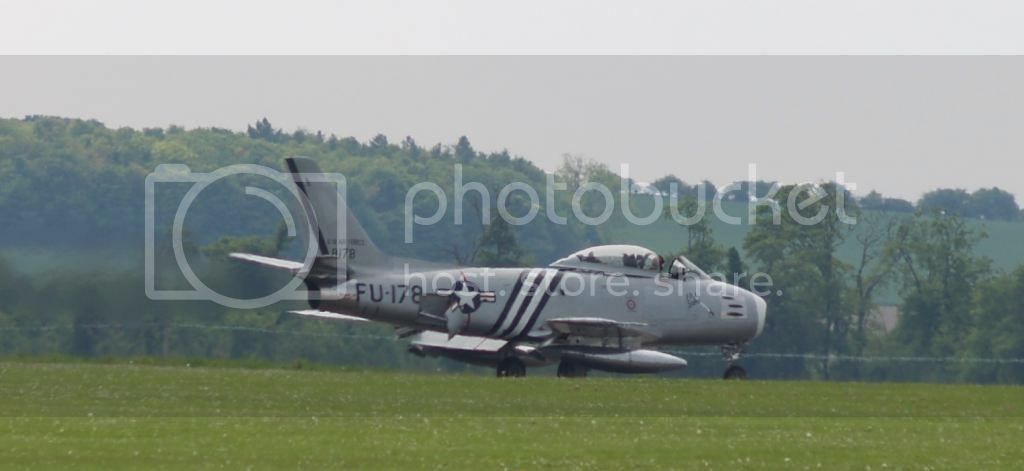
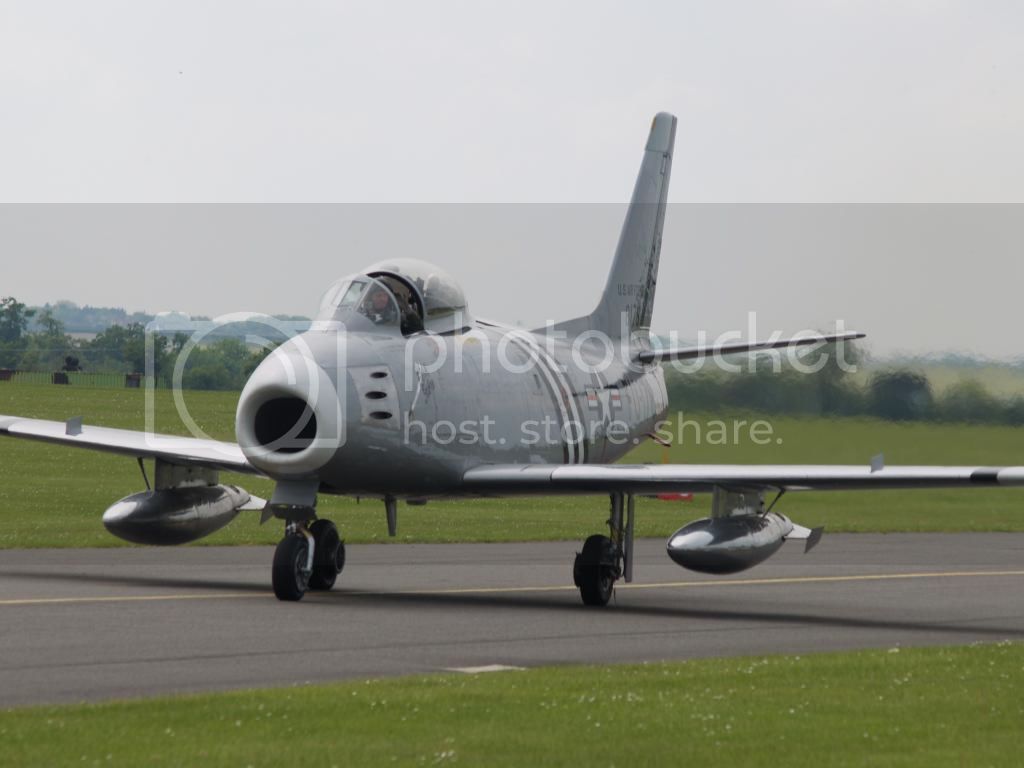
The effect is very metallic but not as perfect as paint. However On looking at a lot of picture of the Sabres on the ground the finish was far from perfect and therefore the model looks realistic. Well that is my way of overlooking my preparation mistakes.
All that said the rub n buff doesnt lend easily to re doing. You have to take it off with thinners and re apply and it doesnt work that well if you have to do that. Not sure that I will use it again especially when I get the airbrush up and going and use the Aclad paints.
I am just waiting for the rub n buff to set a bit and I will seal it. I will then apply the decals and reseal..
My first observation is that the working with plastic models is not as easy as I thought it would be. Model ship building and the planking was very difficult and precise but timber can be sanded and moulded a lot more easier than plastic and the painting is not a big issue in most boats. It was just applying a satin laquer to decks and sometimes a satin colour finish to the hull. Imperfection in the surface werent such an issue as they are with these plastic plane models.
Really enjoying this first build and learning a lot already.
Can I get a bit of input about the alternative glues to the Mr. Cement S type glues as I am not that happy with it.