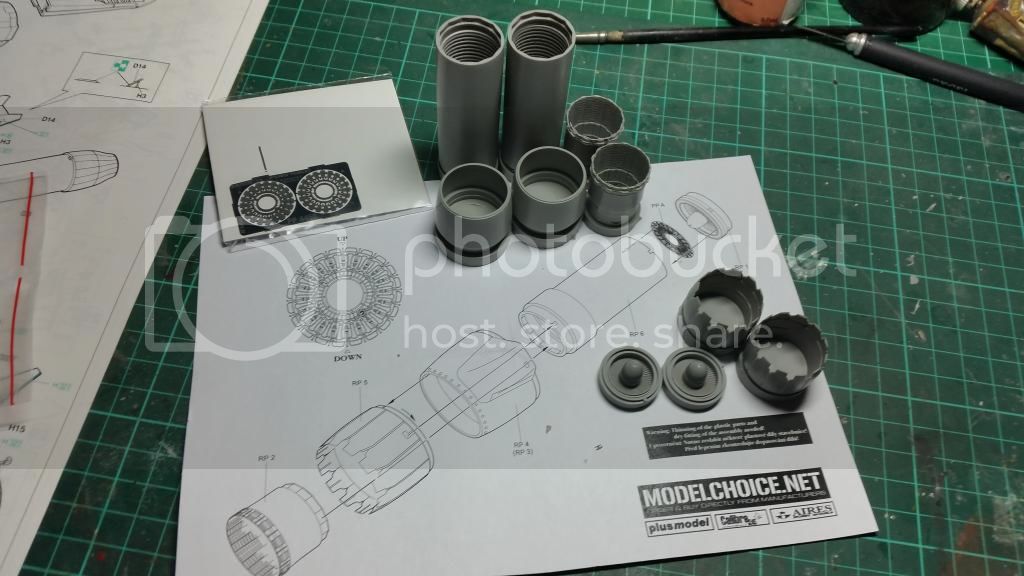
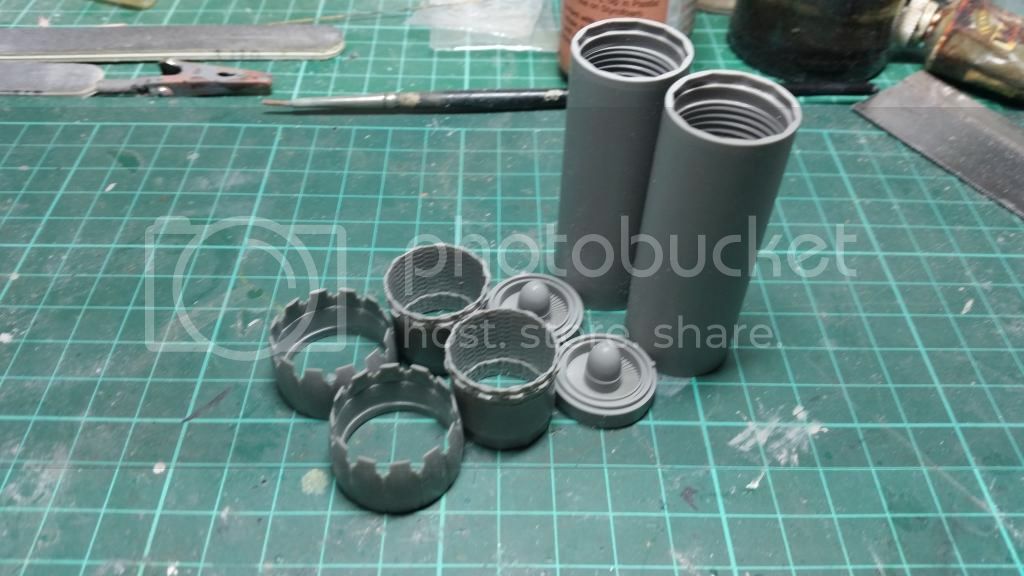
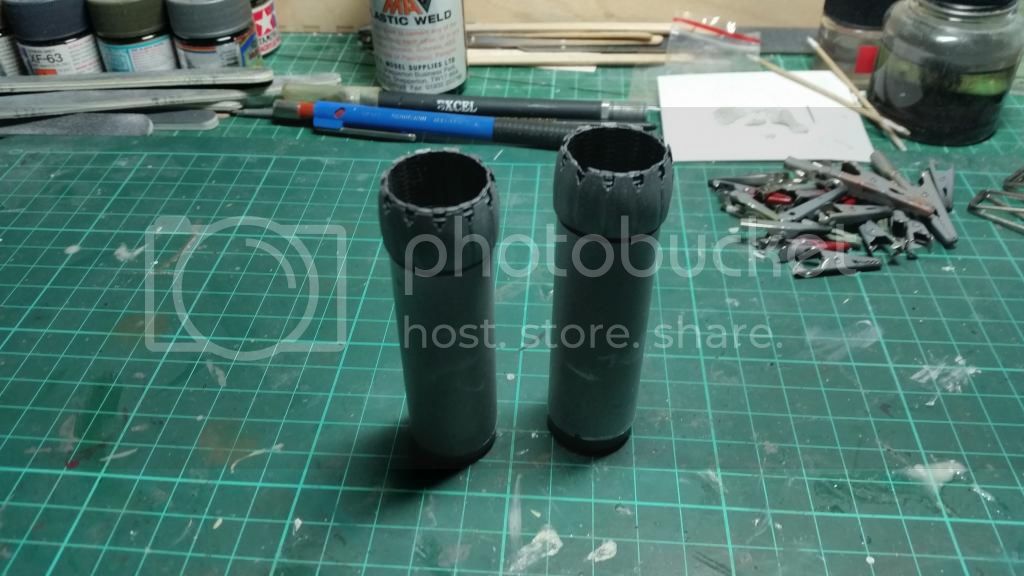
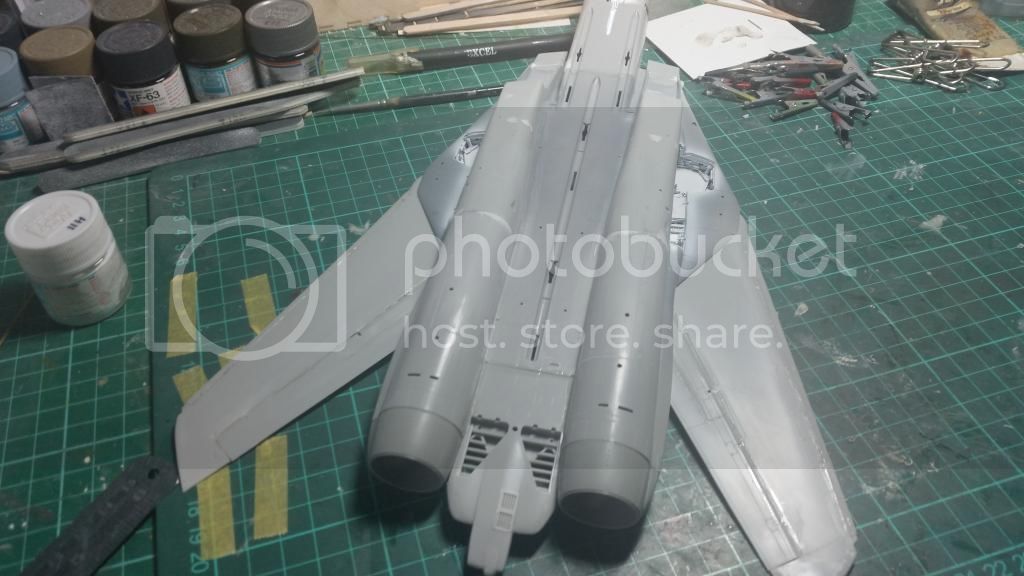
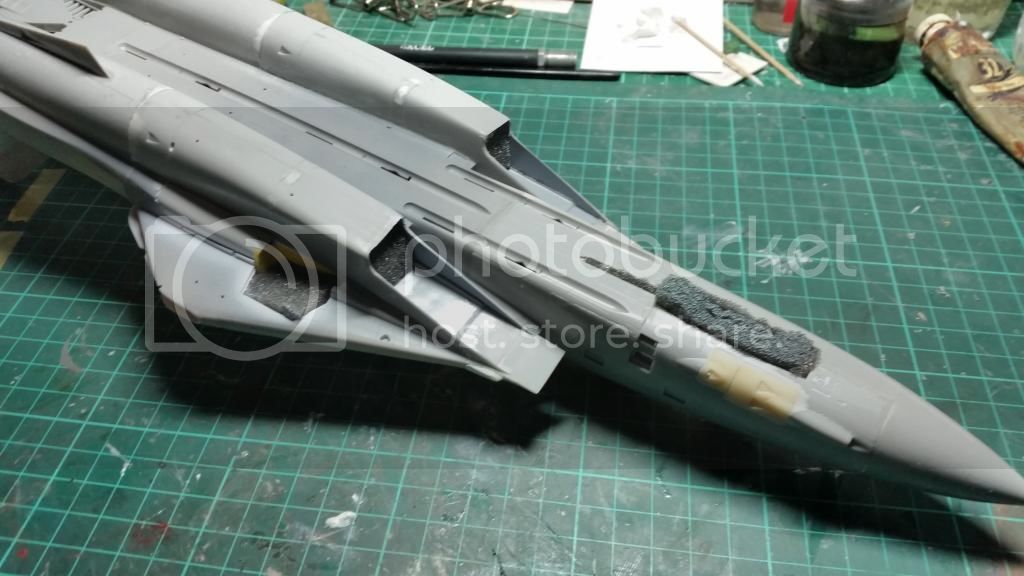
After a bit of trial and error I found that I could fit the fuselage parts now and the rest of the built up exhausts after painting


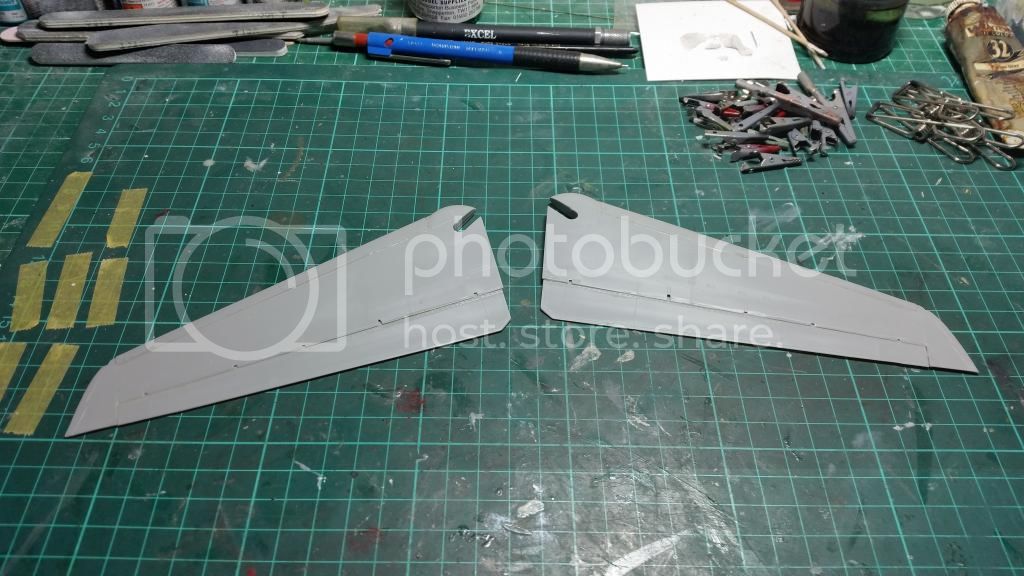
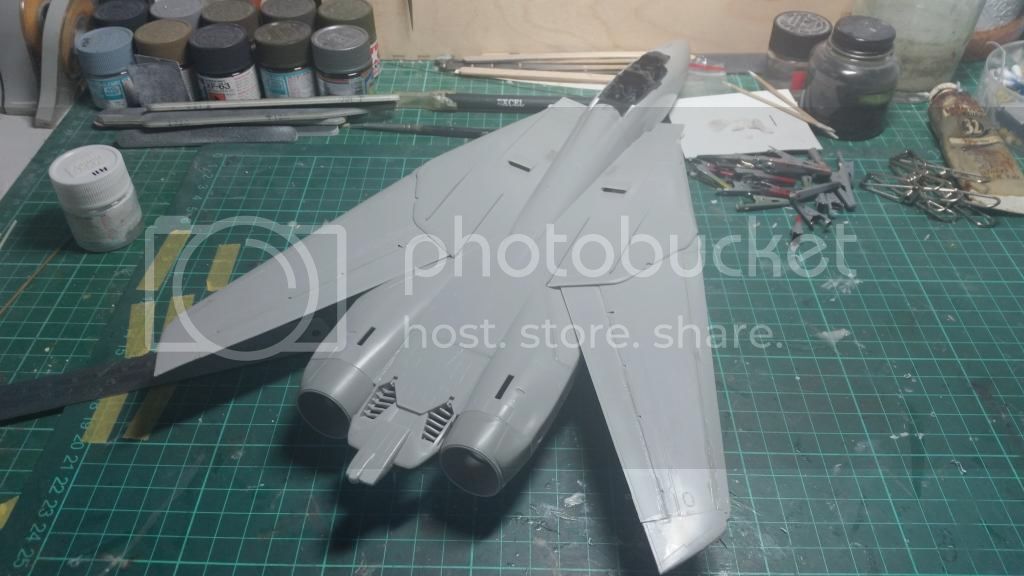
Next were the wings. As the kit allows you to depict them fully forward with dropped flaps and slat or swept I opted to go for swept wings to save space. The wings were assembled and test fitted.
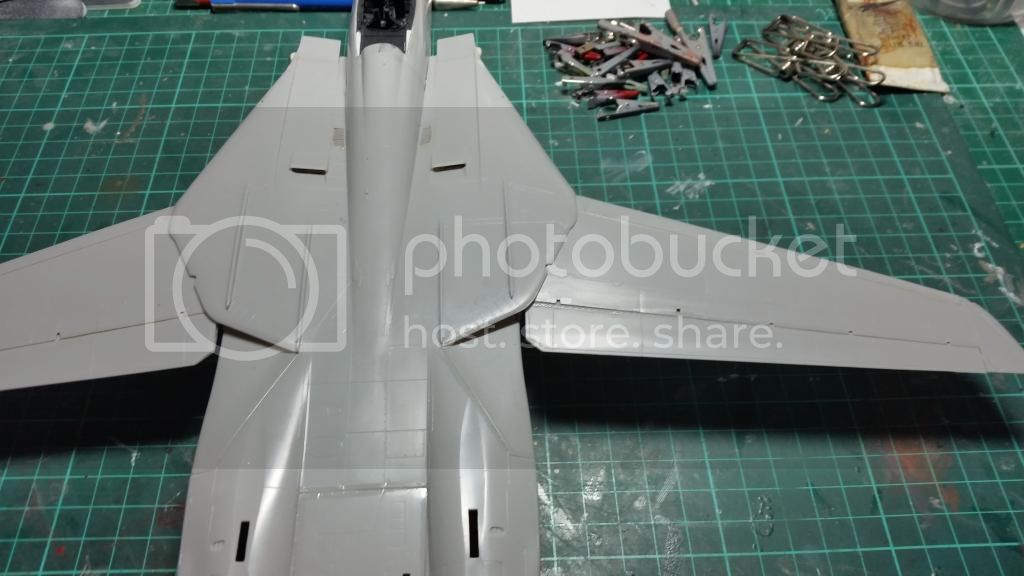
But a problem arose in that the wings couldnt be swept back as the resin undercarriage bays are in the way


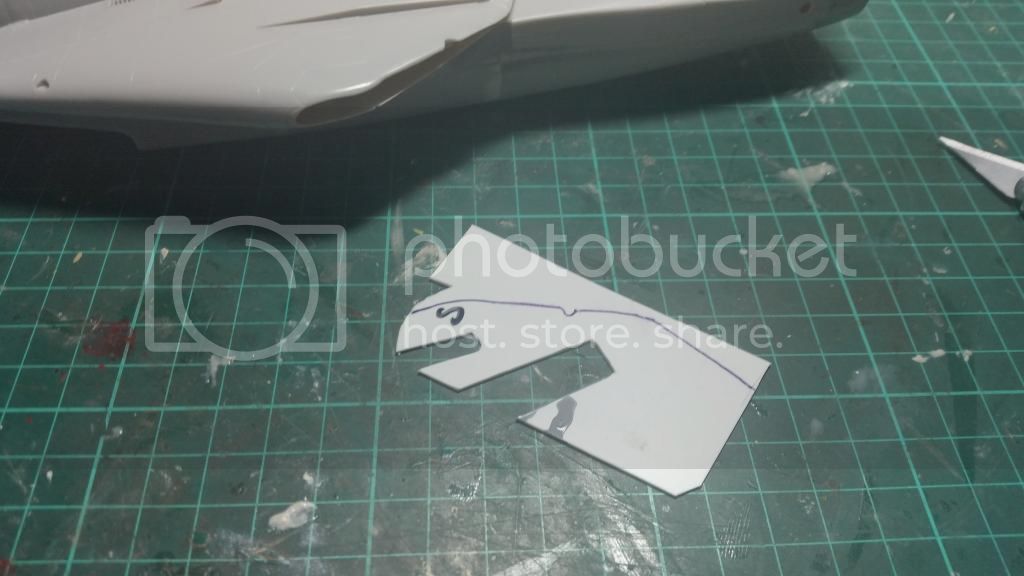
So I had an idea from my days as an engineer. I cut a template of the wing from some plasticard and tested the fit to see where the issued lay.
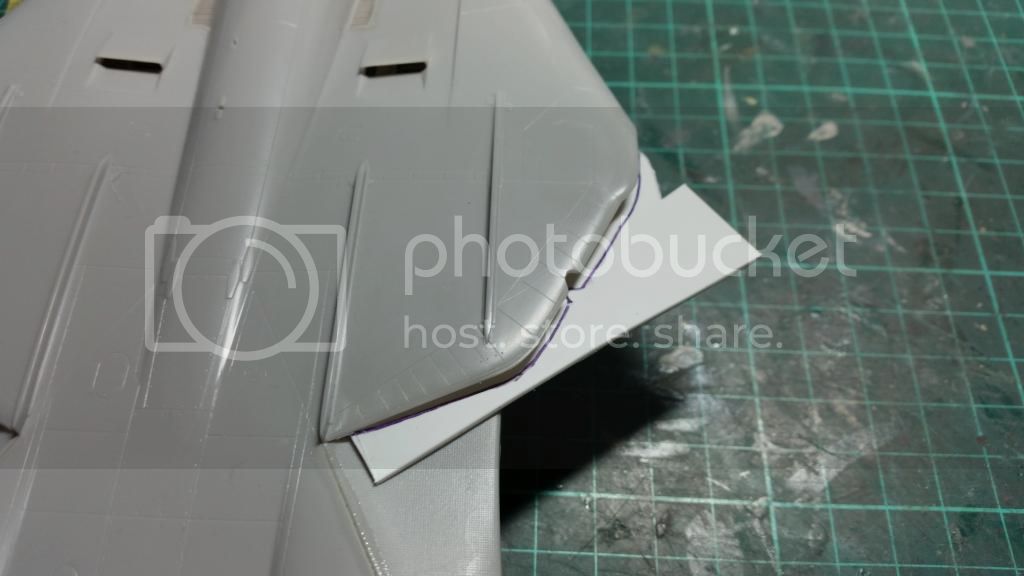

The test fitting proved that it was the bays causing the issue so I decided that part of the lower wing needed to be removed so I painted the top of the bays with some thinned paint and the place the template in the position I needed the wings to be in and pressed it in place so some of the paint would transfer to the template.
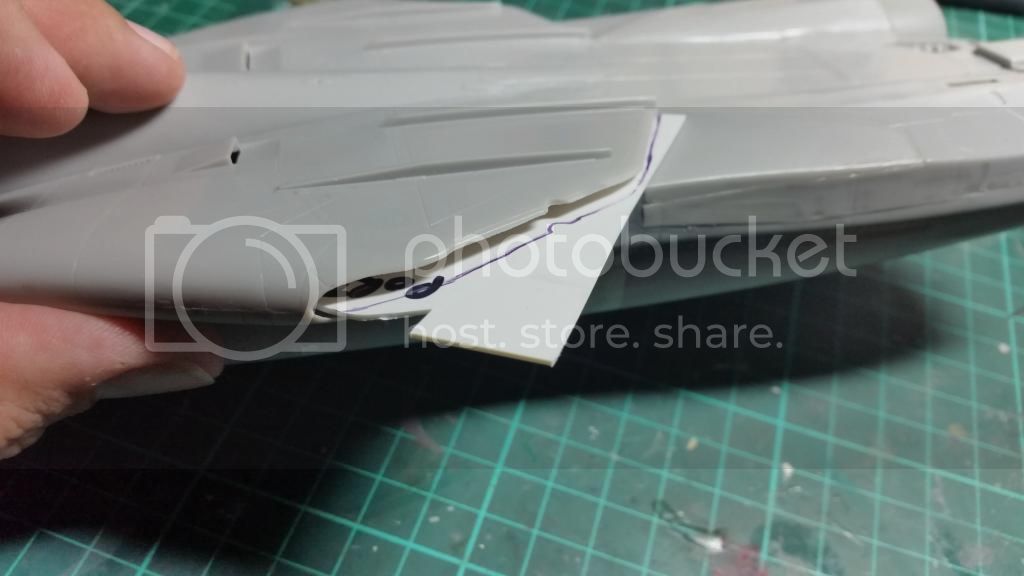
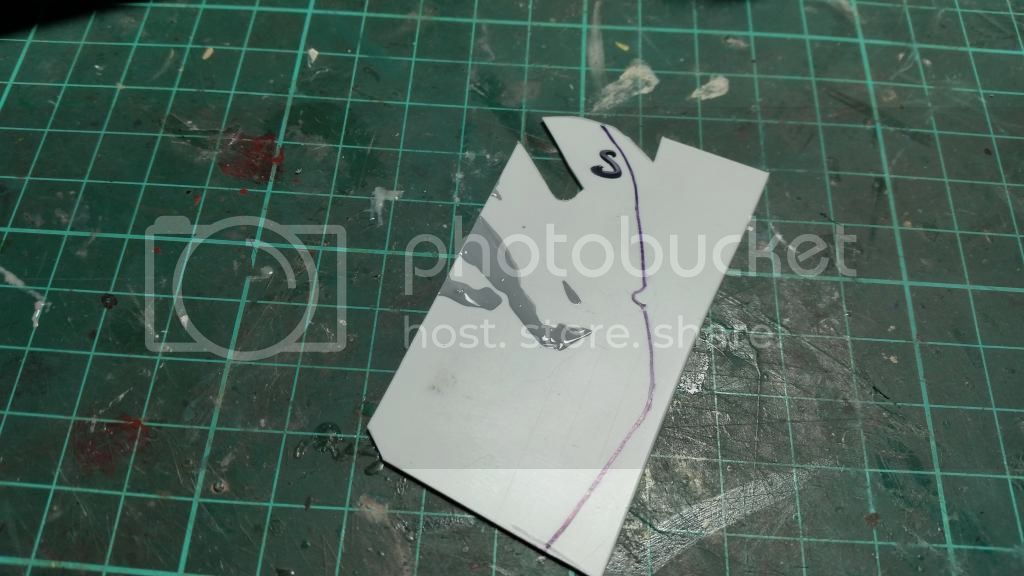
I then cut the template where the paint kind of showed where the bay would be and then test fitted again. Success it fitted, so the underside half of the wings were removed using the template as a guide.

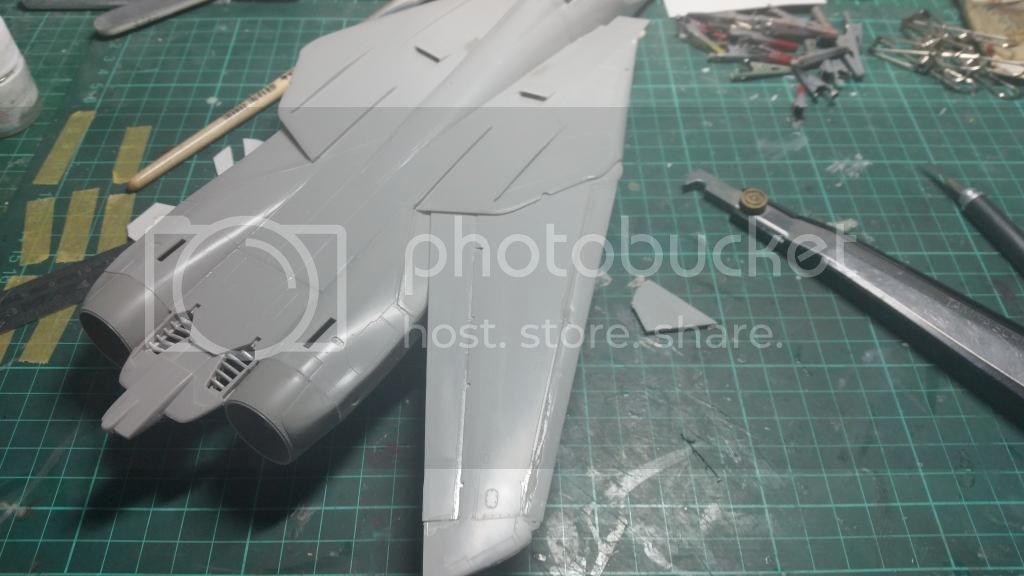

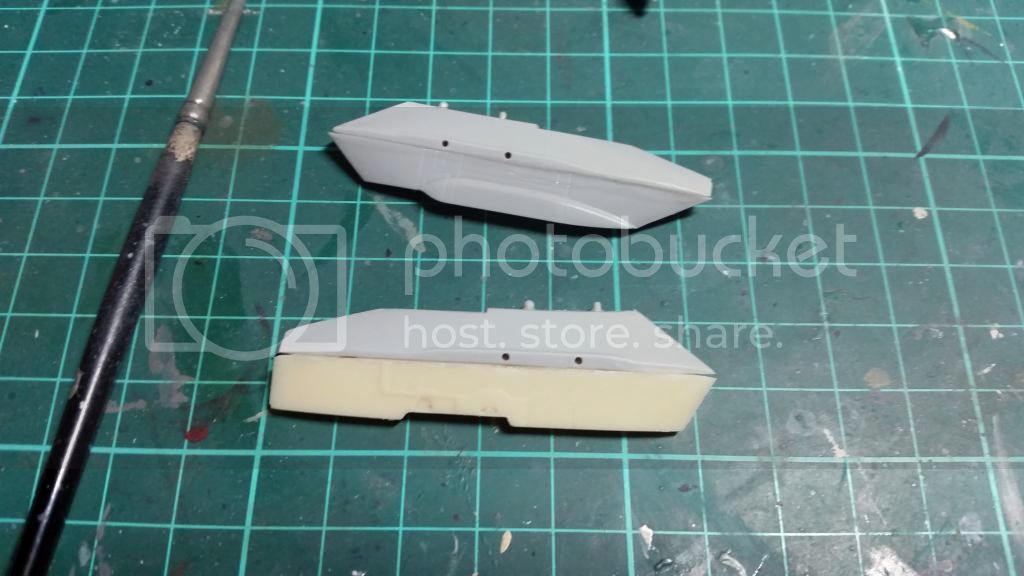
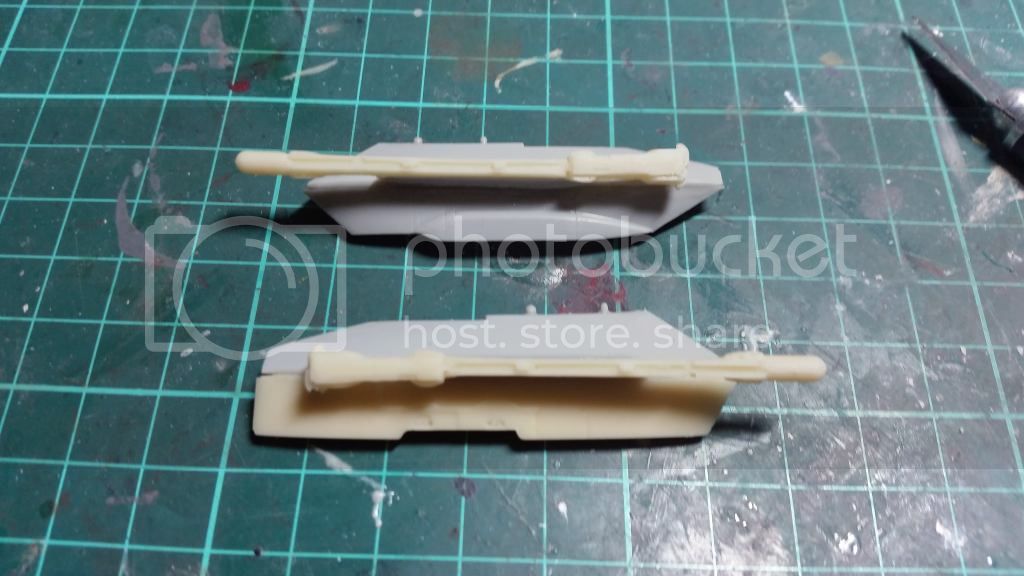
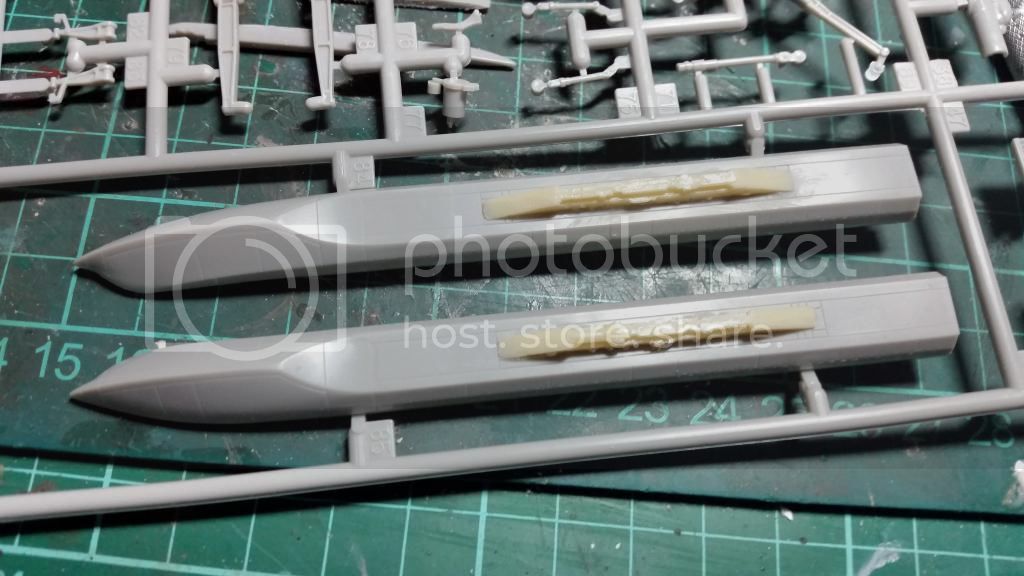
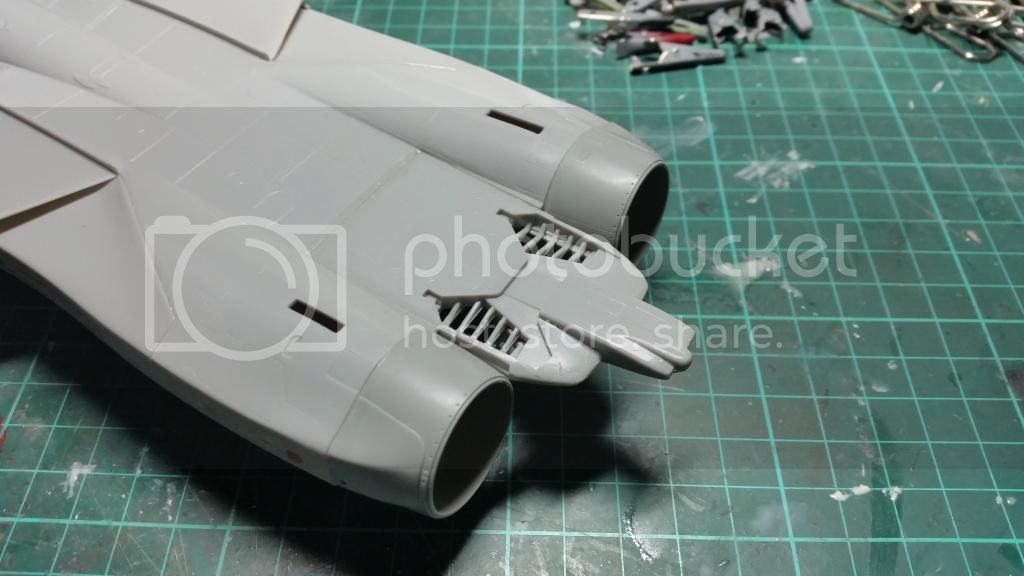
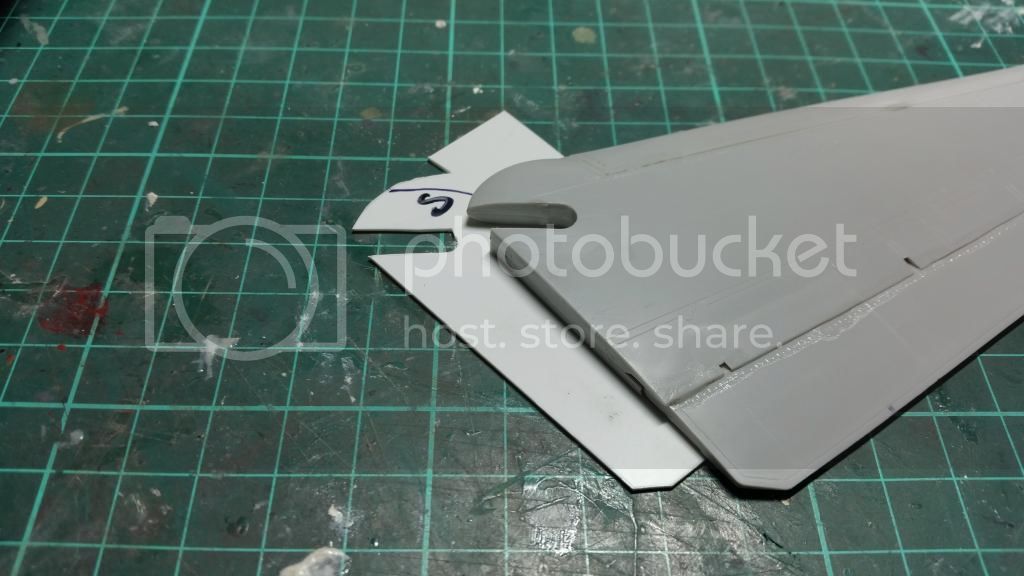
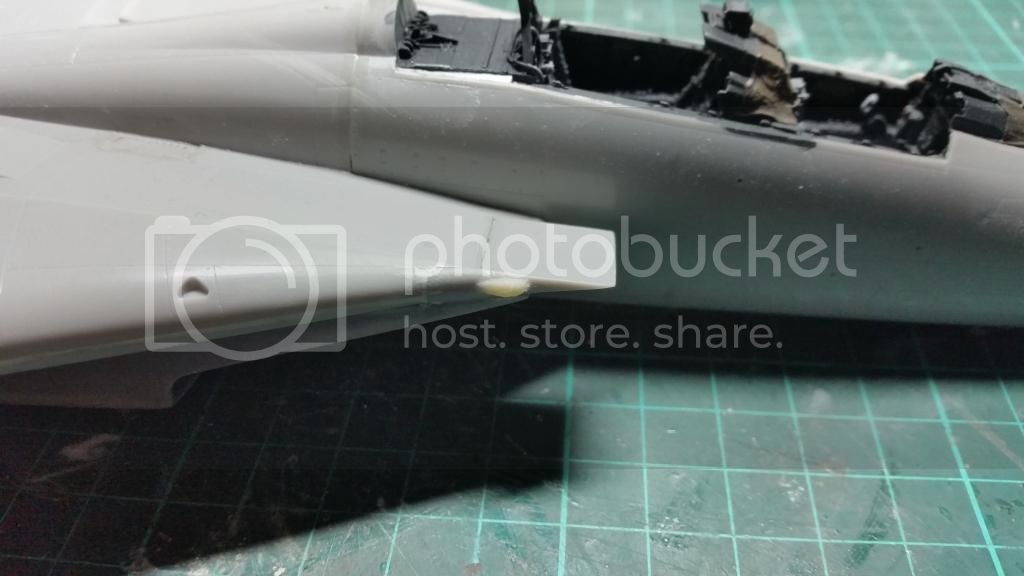
The ECM blister on later Tomcats arent present as they are all enclosed within the area the glove vanes use to occupy, with the exception of one either side just forward of the glove vanes. So some of the Steel Beach antennas where used and the back half built up with some superfine milliput and sanded to shape.


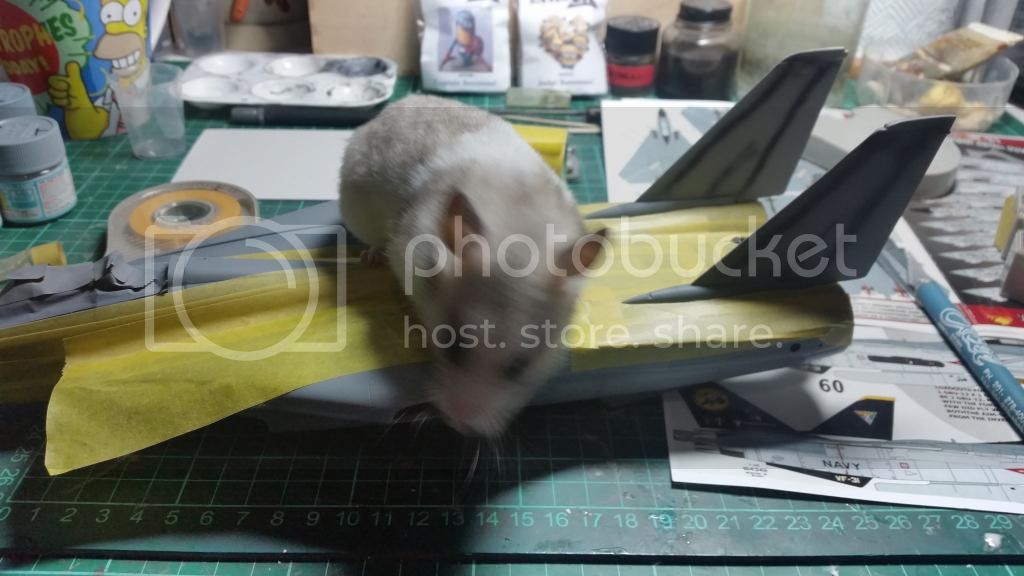
Tail planes and ventral fins fitted and fuselage masked ready for priming


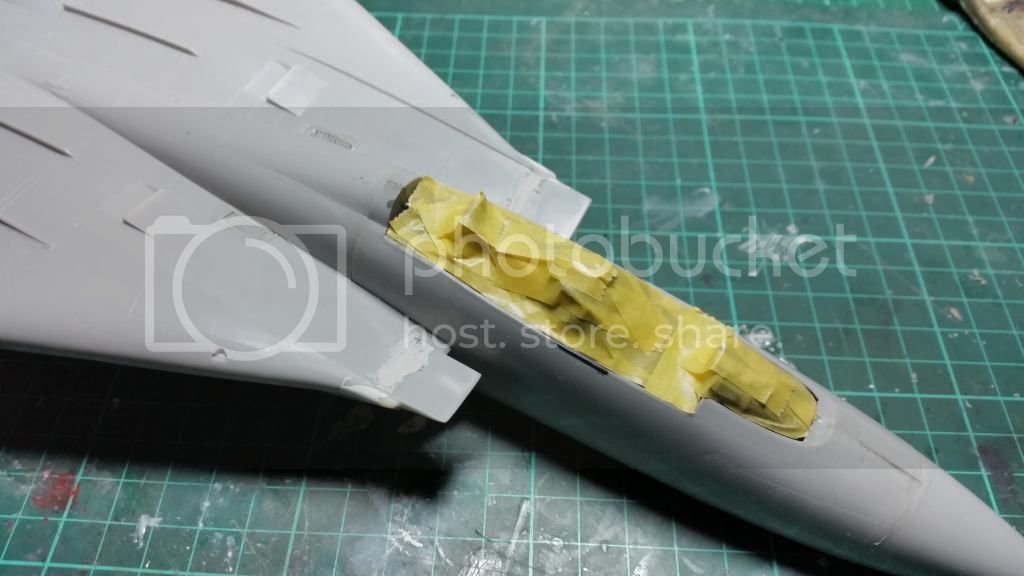
Next will be some more ancillary parts before priming and painting