In the middle of other builds, I started dabbling with the kit with the idea of starting a build log.
I've alredy made quite a lot of progress, so this first post will be quite picture-heavy, not to mention long...

To first (somewhat) briefly sum up the kit: a very welcome new mainstream kit of an iconic aircraft - not without some flaws, though.
Very nice recessed panel lines (I guess the trench digger was either fired or re-educated
 ), nice & deep landing gear wells with internals structures and wing spars, quite complete engine and exhaust system, cockpit much more realistic in arrangement than MPM/Special Hobby, but with some rather clunky and simplified details.
The biggest problem however is the unfortunate inclusion of some features I think shouldn't be present on a Blenheim, the most problematic being the shape of the upper engine nacelles. This seems to be based on restored Bristol Bolingbrokes, bulging out more than on the Blenheim.
Supposedly Airfix genuinely intended the nacelles to depict a Blenheim since the nacelles on both sides are the same shape (Bolingbrokes' right nacelle had an extra bulge that housed a liferaft), but it's a quite a bummer how they seem to have only looked at restored Bolingbrokes for reference. Didn't they care for scale drawings, wartime photos, or the sole surviving original (albeit license-built) Blenheim put on display in Finland back in 2008?

The real McCoys: Blenheim (the aforementioned sole survivor, BL-200) ->

Bolingbroke ->

Model kits: MPM ->

Airfix ->
Note that I'm not claiming the MPM kit to be 100% accurate or anything, but I do have to say that the side profile of the upper nacelle half looks much more like the real thing. On the other hand, the shape of the bottom half of the nacelle is better on the Airfix kit. I hope the plastic is thick enough on the nacelles to allow some sanding to tone down the bulging.
Now, finally onto building the kit itself!

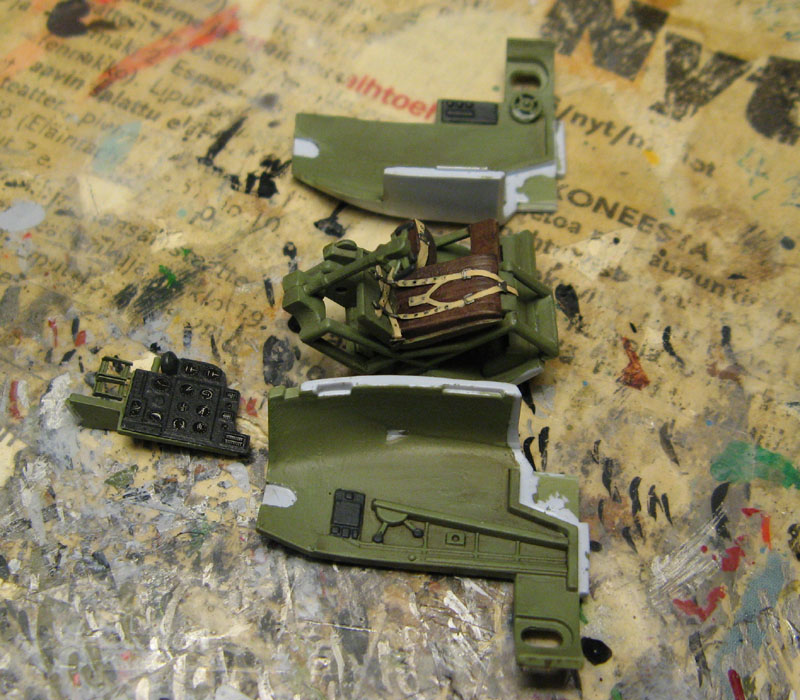
Due to the parts breakdown, this is one of those kits where you don't have to start with the cockpit. In fact, that could be the last subassembly I'll complete!

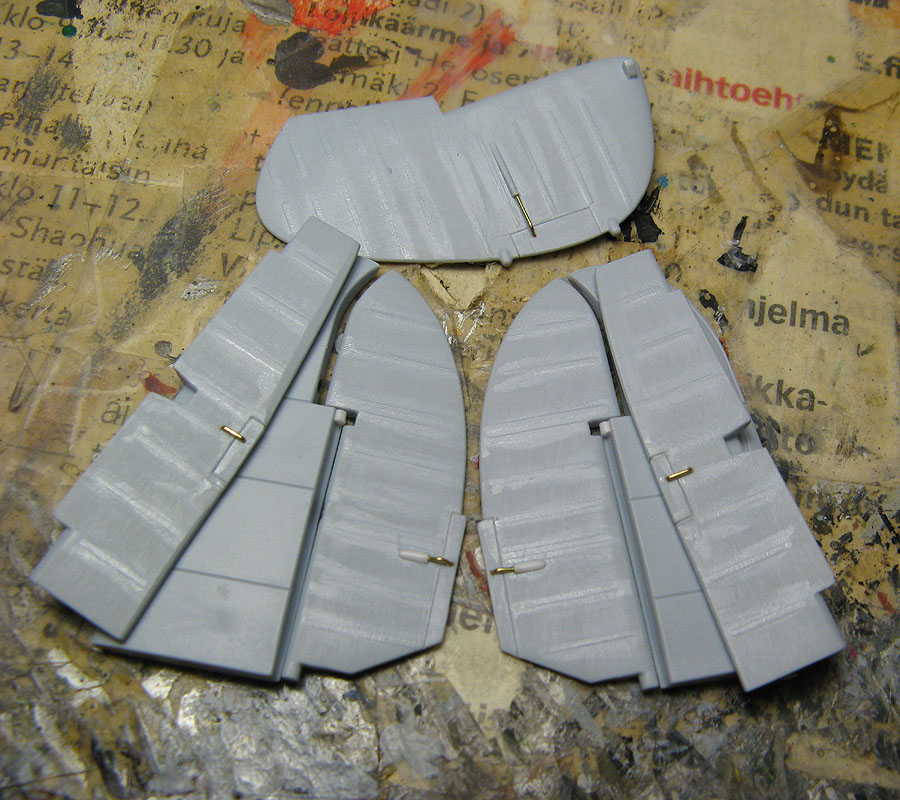
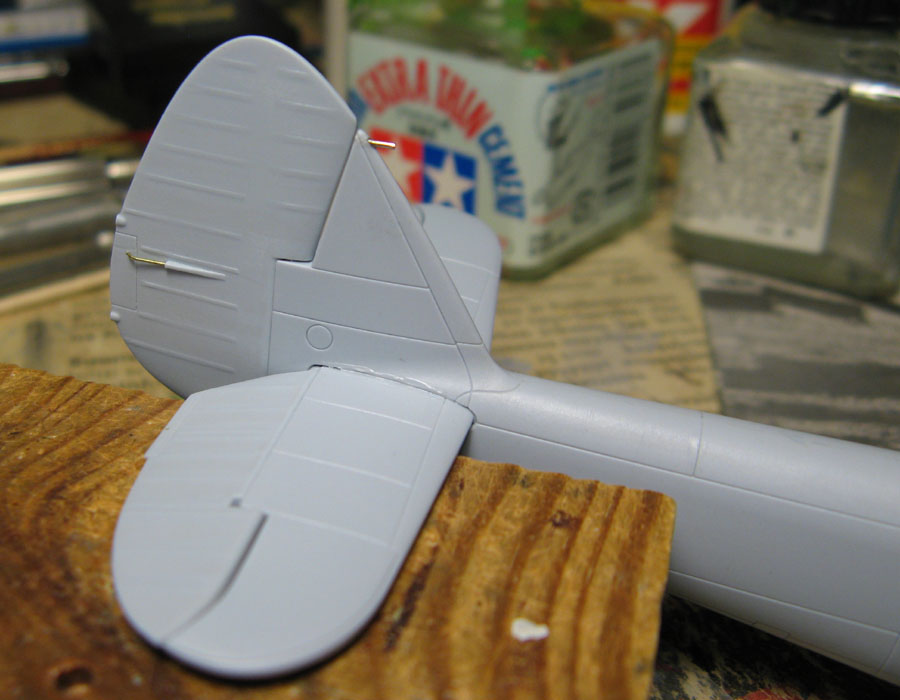
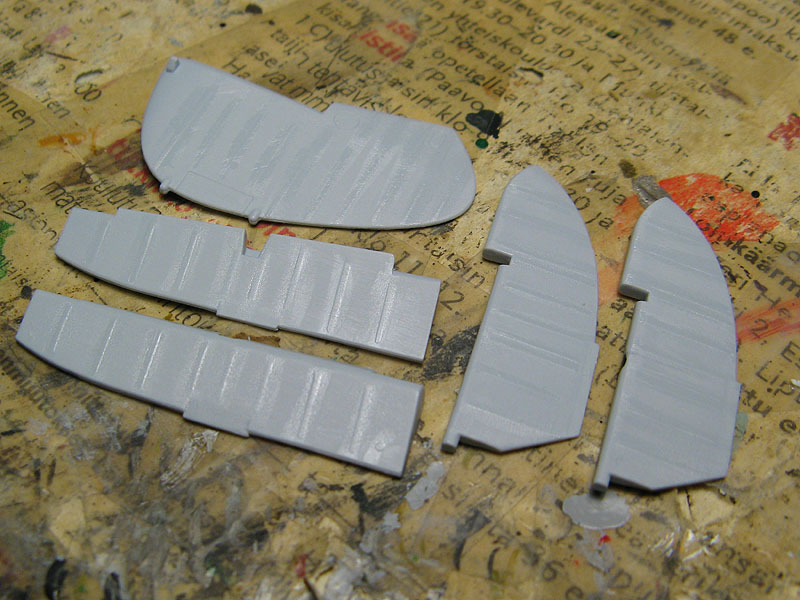
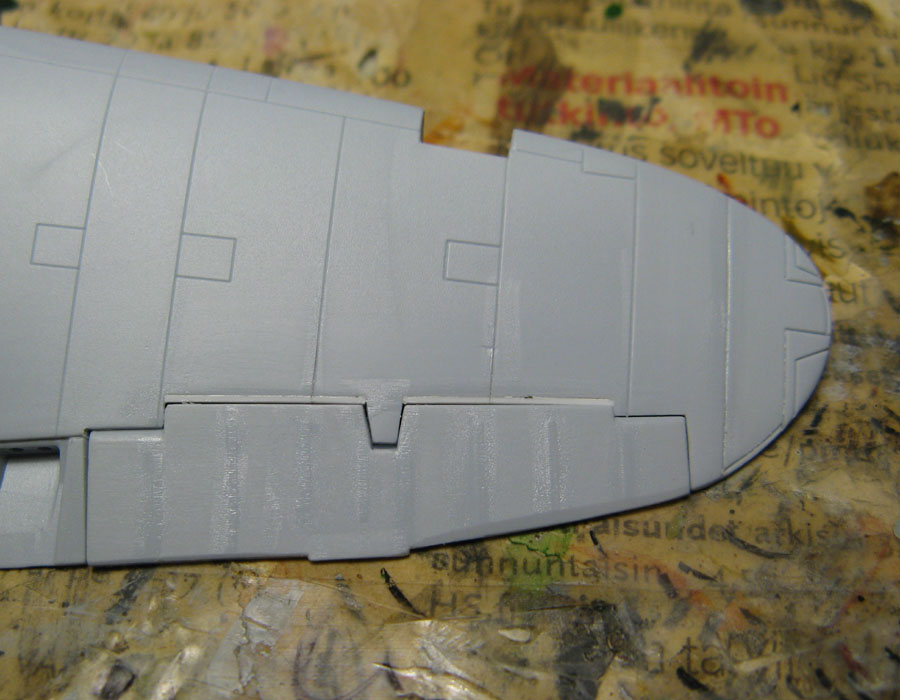
One of the first things I did was to sand down the rather pronounced control surface detail. A few swipes with a sanding stick followed by a light application of liquid cement takes care of that.
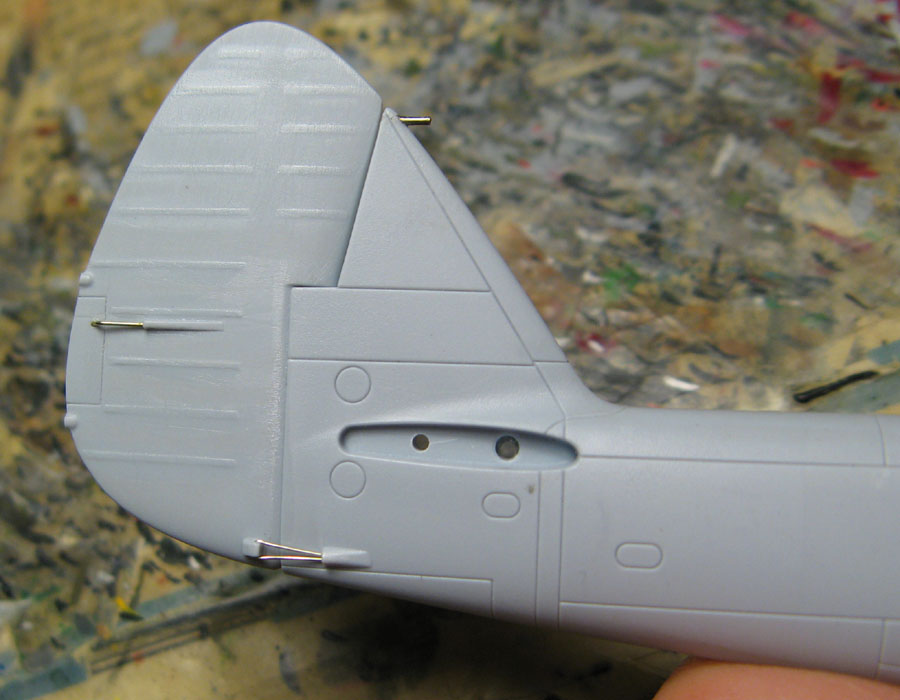
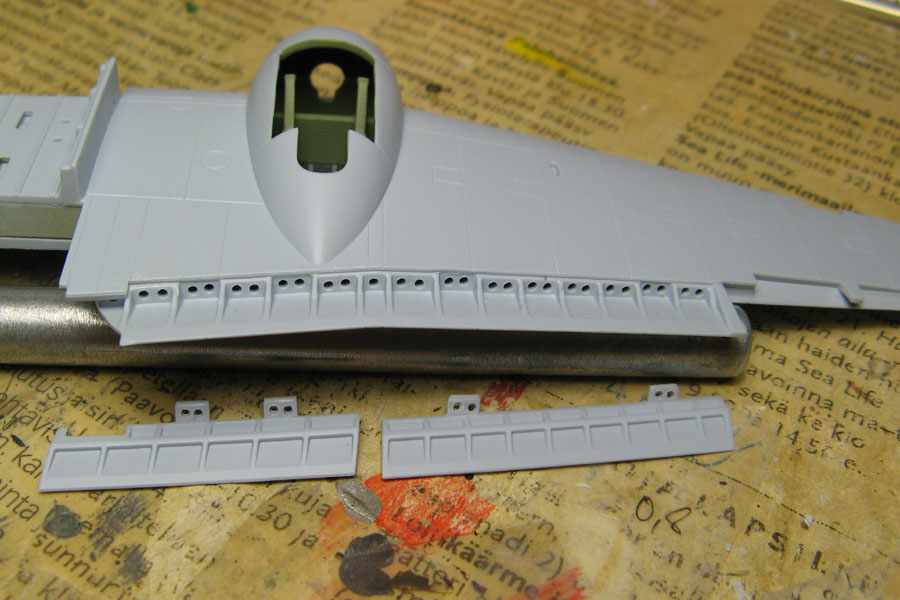
Sorry, no pictures of the insides of the landing gear bays, I got so carried away just painting and gluing things together. Here the wing's already assembled, with lightening holes drilled to the back of the landing flap bays.
The fuselage halves fit together well, only requiring a bit of filling on the bottom front. The wings and fuselage also fit together nicely and sturdily, but there were a couple of spots where I glued in shims of thin styrene sheet.


Not absolutely necessary, but I guess I'm just a bit pedantic.

If one intends to build the fuselage bomb bay opened, the gap running across the bay will need some careful filling, otherwise filling just the side gaps is probably enough.
I'm not sure if it's just my sample of the kit or something, but dry fitting the ailerons revealed gaps on the underside wider than on the real thing. Also, the outer side trailing edge of the ailerons needed some slight sanding.
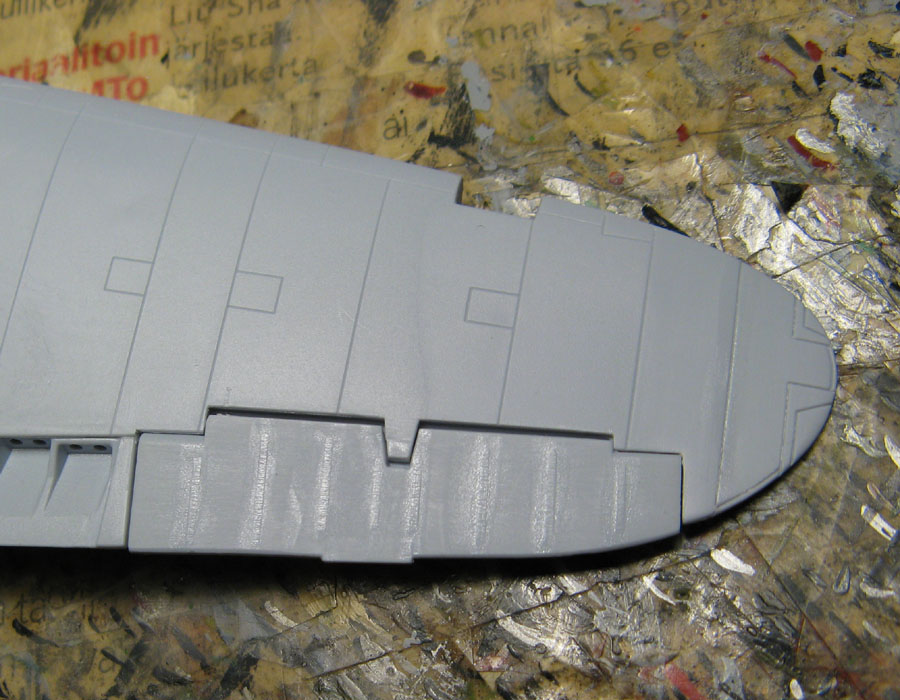
After sanding the ailerons and gluing styrene sheet in the wing. I still need to trim and/or sand the shims back a bit to show a slight gap as on the real aircraft.
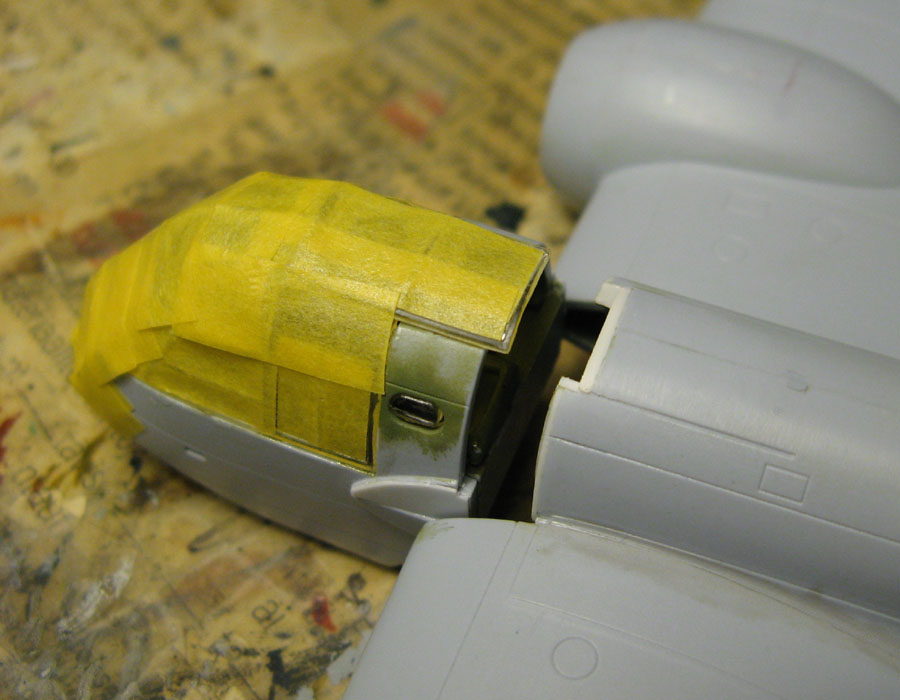
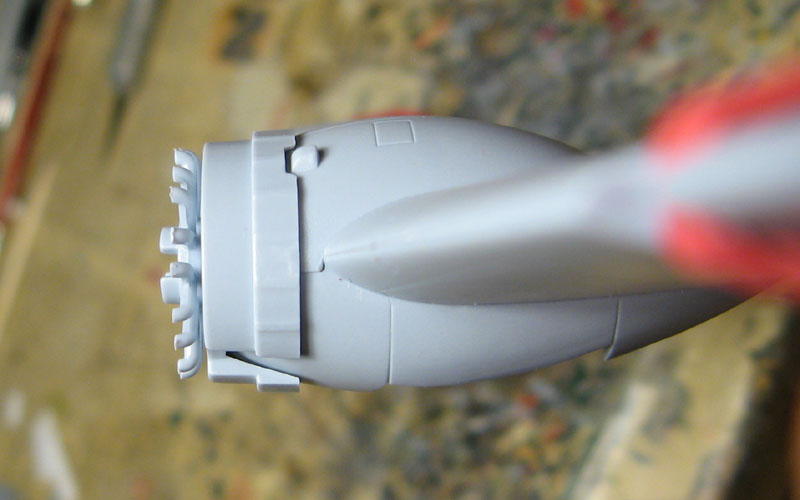
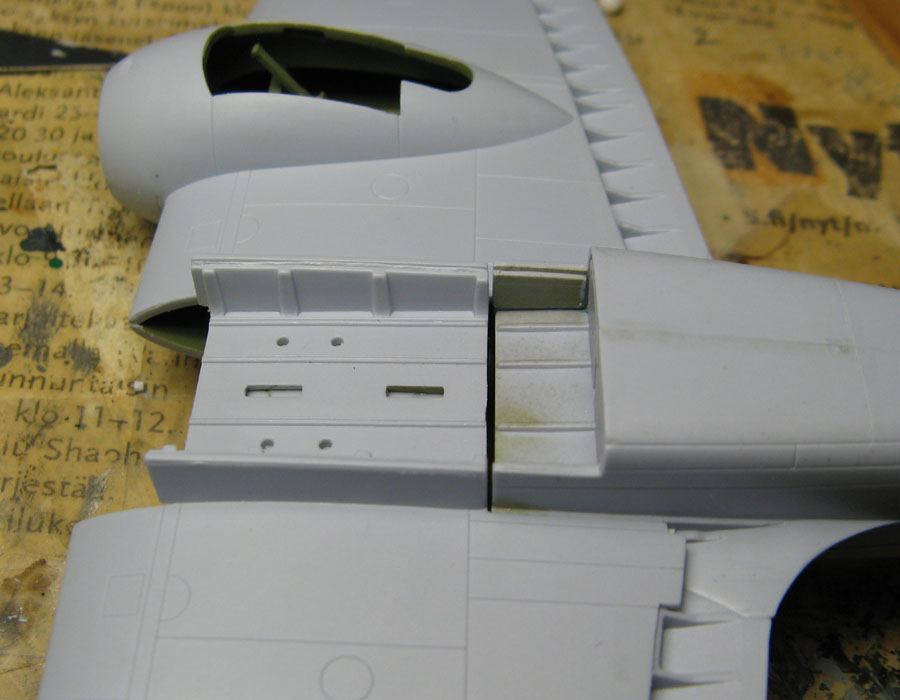
Moving on to the engines. The kit includes optional parts for closed or open cooling gills, and they have cutouts for air outlets on the engine nacelles. Depending on the aircraft you're building, you may have to remove them. Check your references!
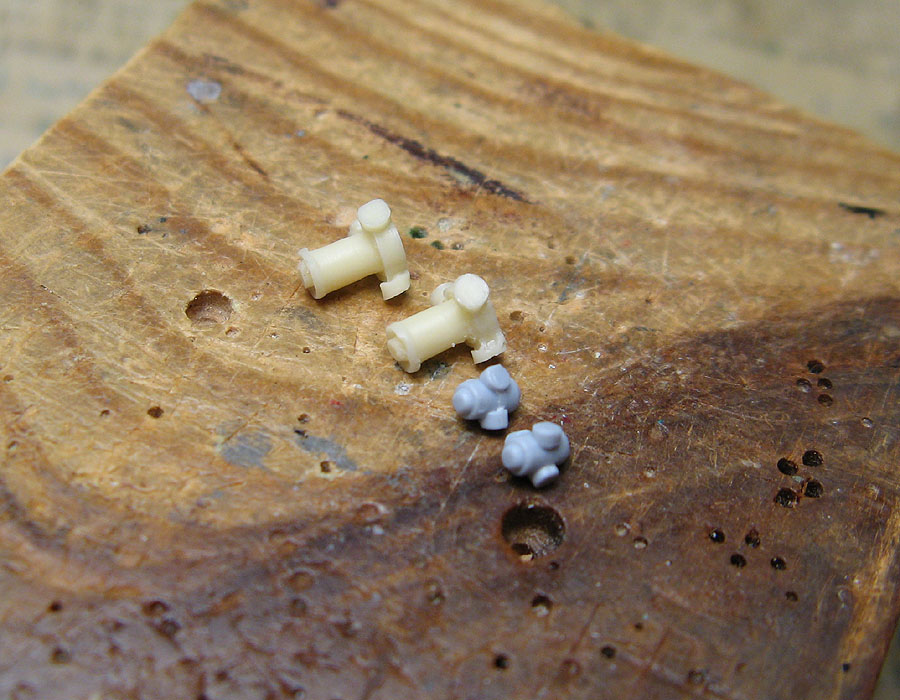
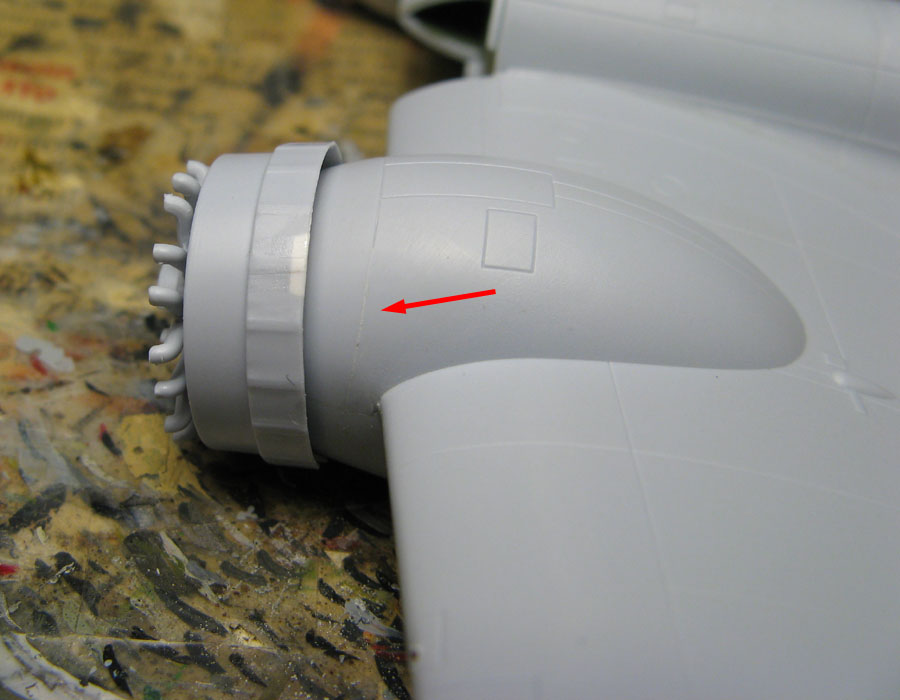
The particular aircraft I'm planning to build didn't have the air outlets, so they and the cutouts in the gills had to go. Simple: styrene sheet and trimming for the gills, just trimming for the outlets themselves:
Cutting off the air outlets on the nacelles leaves a gap in the panel line running down the side of the nacelle, but it's not necessary to fix if you choose to build the kit with closed gills, since the whole panel line ends up covered by the closed gills. (the part with the gills is not dry fitted in all the way)
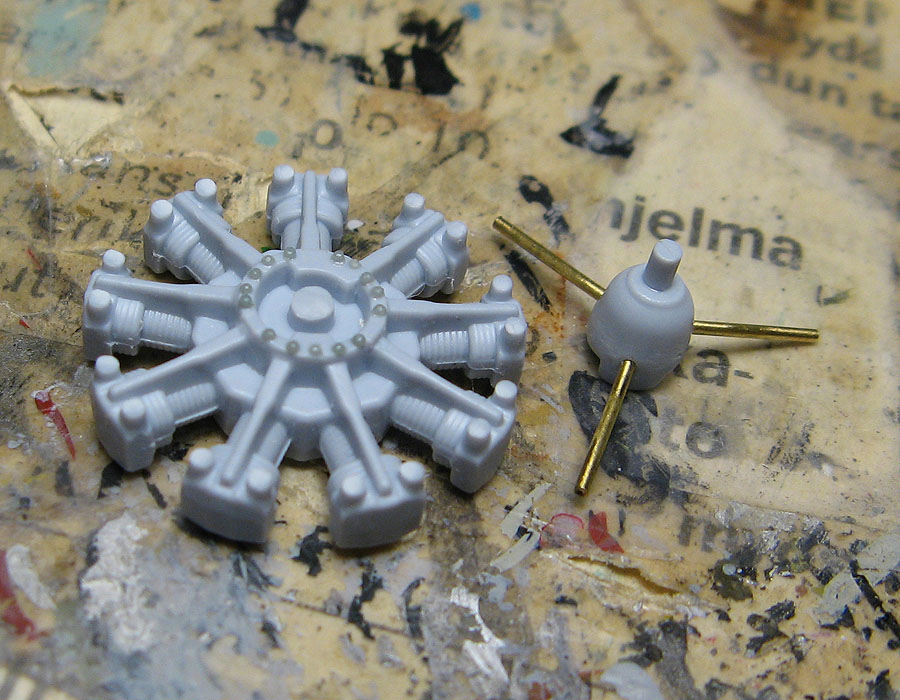
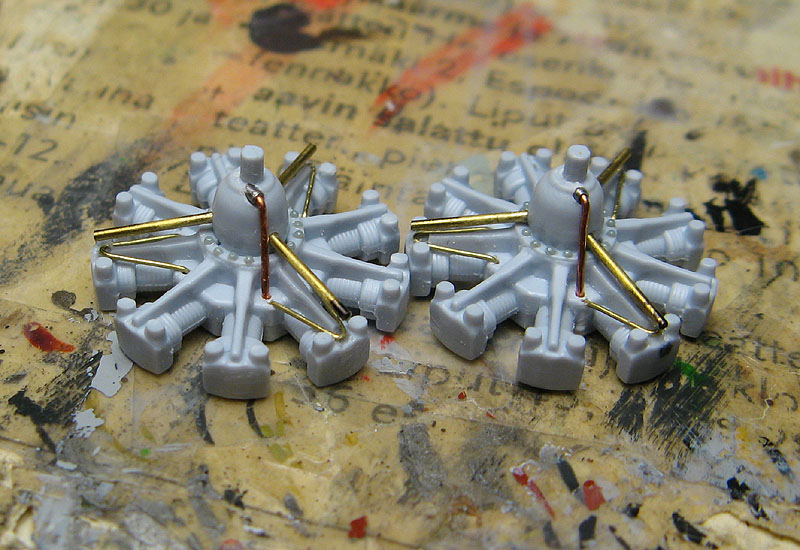
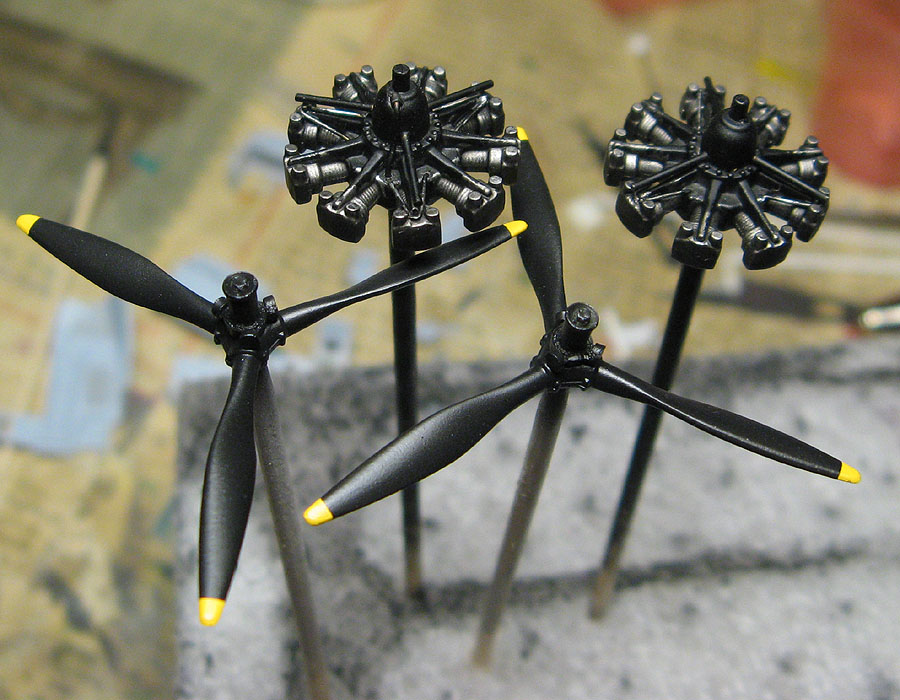
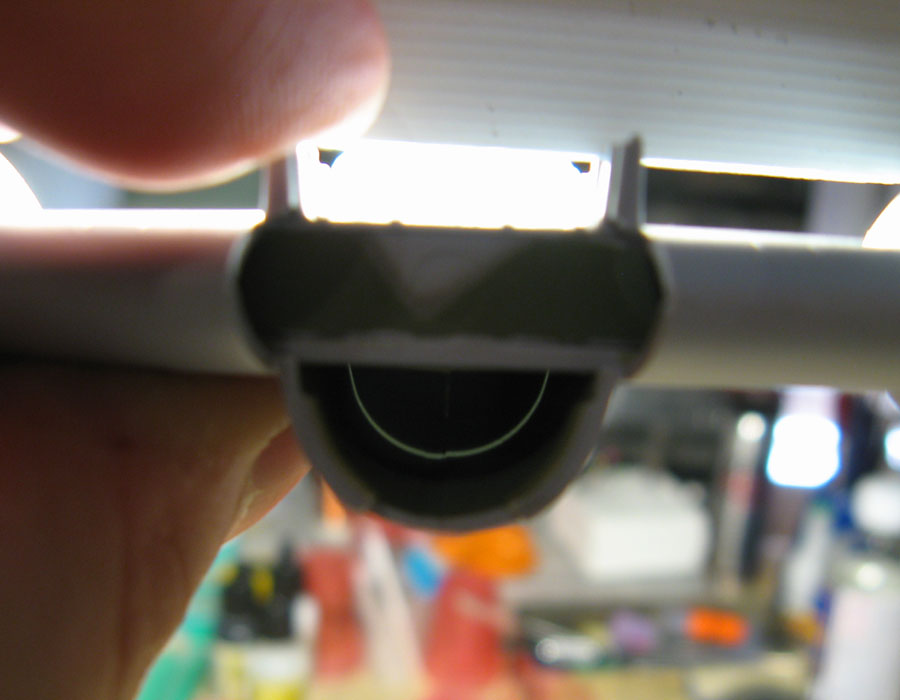
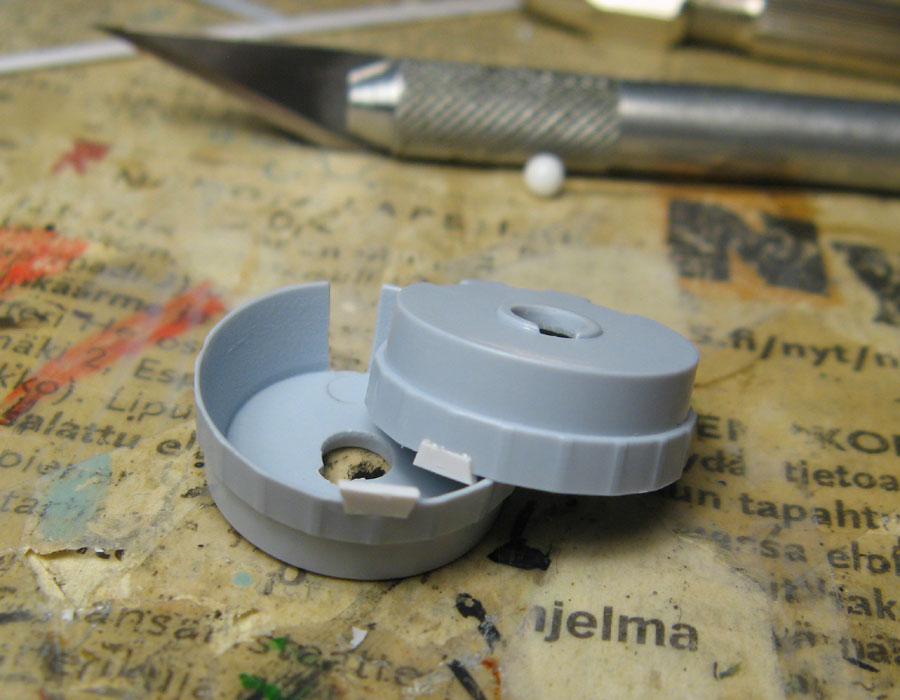
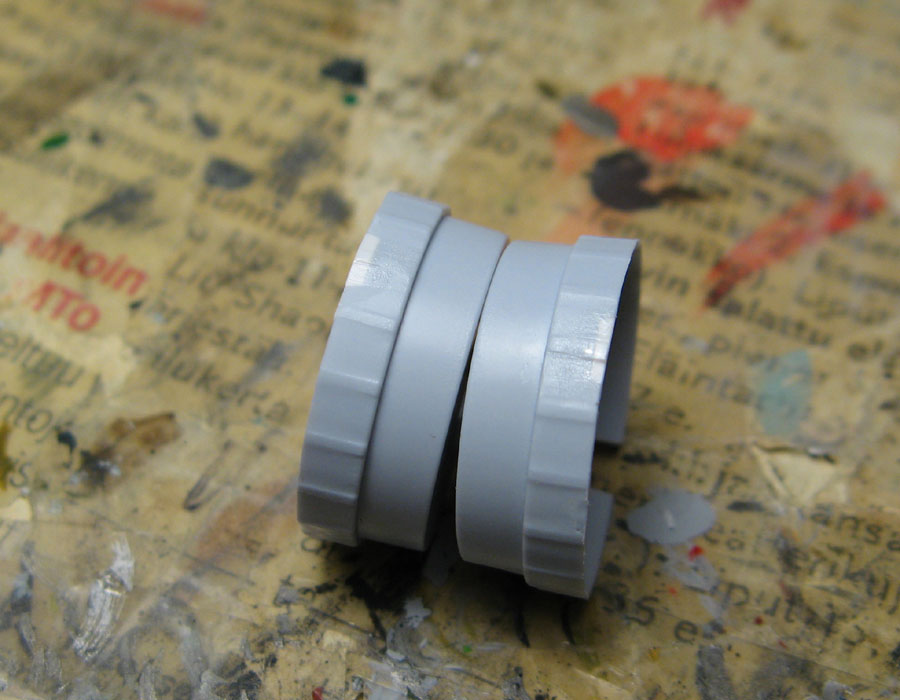
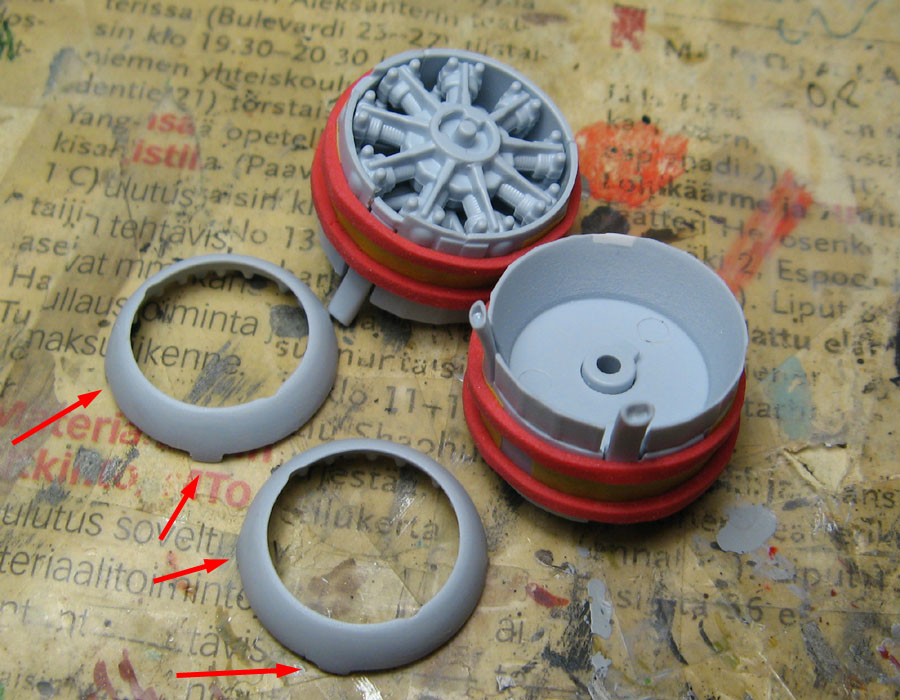
The engine cowlings are a multi-part affair, but fit together very well. I dry fitted the engine parts inside the cowlings while the cement dried to ensure proper alignment. A couple of engine cylinders have locator bumps at the ends, so it's advisable to cut them off so it's possible to assemble and paint the engines and cowlings separately. I also drilled out the exhaust pipes.
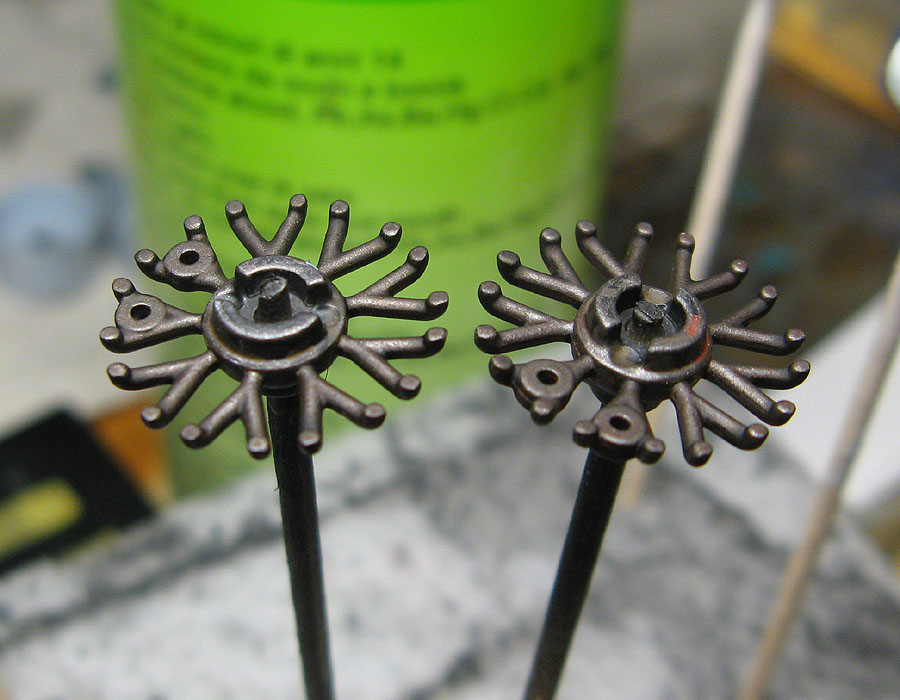
The cowling rings have two [url=https://farm4.staticflickr.com/3802/9280639387_5f87abb4cc_b.jpg]cabin heating intake pipes[/url - a Bolingbroke feature that needs to be removed.
Phew! That's about it for the first post.

Edit: Oh, Photobucket. Goonight, sweet prince.