Cheers Joel,
well the outcome looks nice, but IMO it is only a minor imprvement.
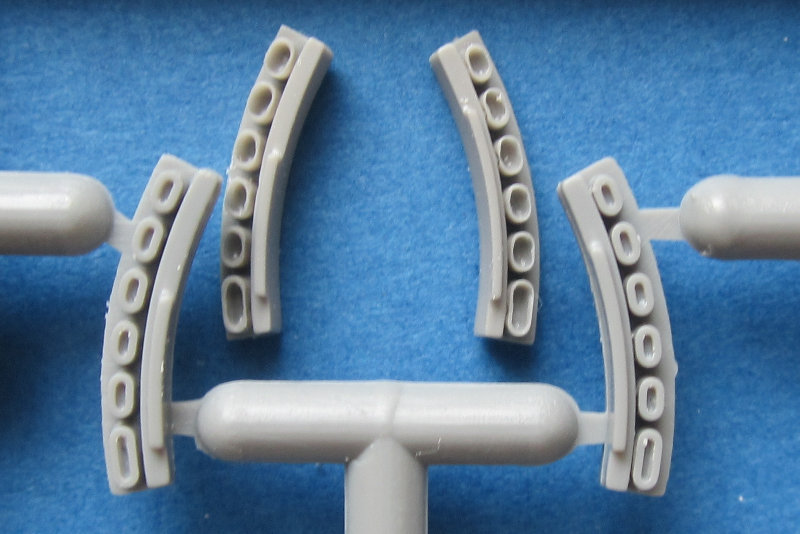
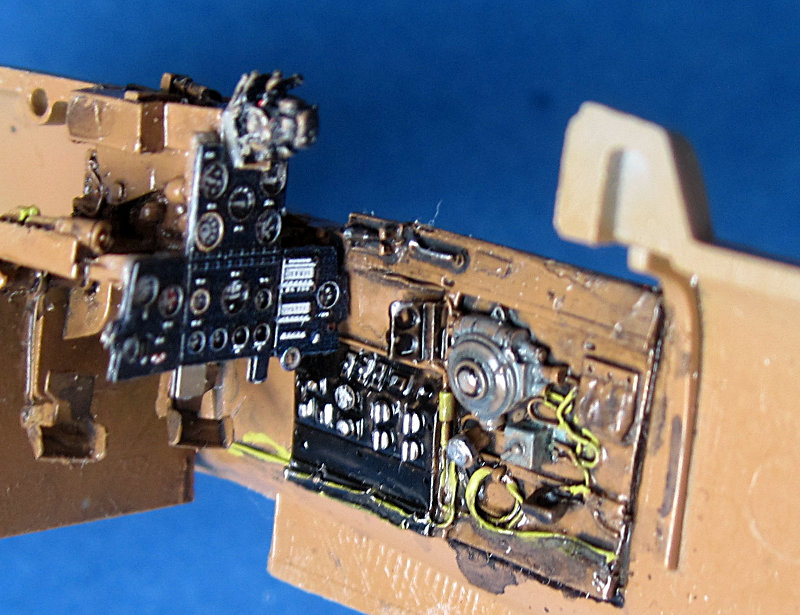
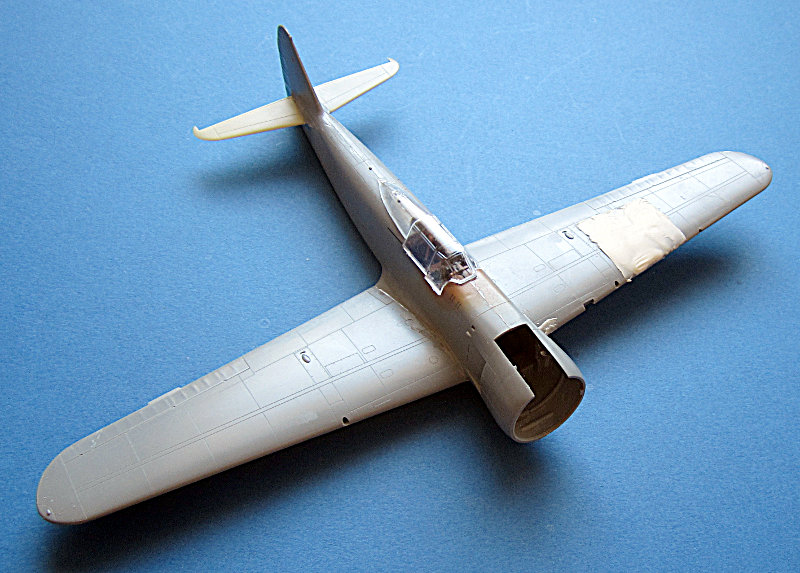
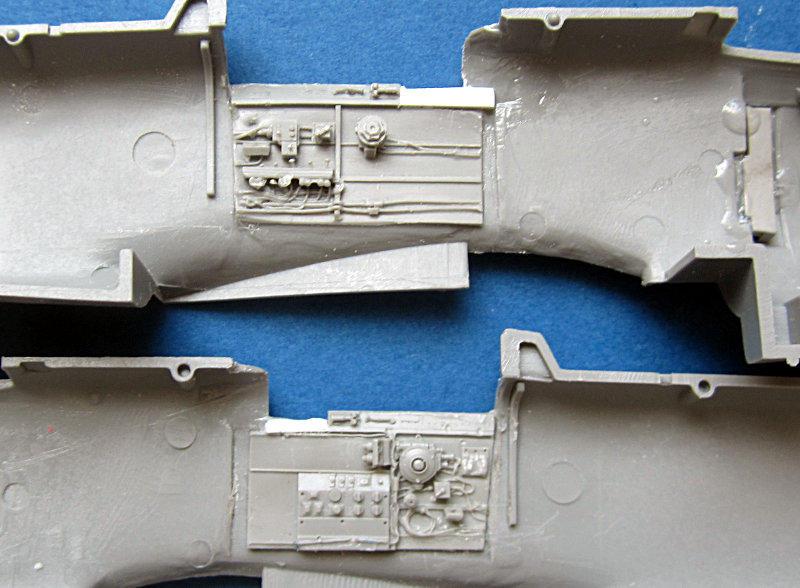
Now for the difficult part. I filed the whole interior in the cockpit area down to paper like thickness (esp on the upper edge) as Aires Cockpits are known to fit very tight and I want to display the pit open so I wanted a thin edge. After that I testfitted the side walls from the aires set, which was not stellar.

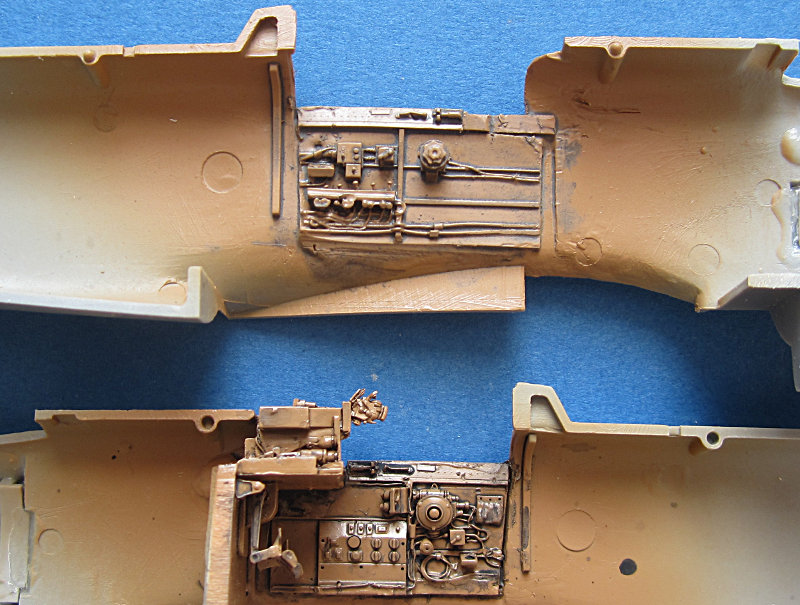
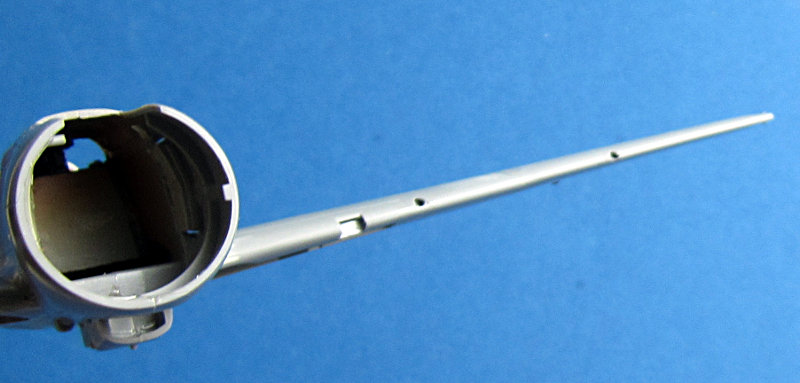
I glued in the upper 1mm or so and held it in place with crocodile clamps. Then I took a hair dryer and heated the resin (attentión! plastic is taking the heat only a little better then resin. Then I clamped the sidewall down to the fuselage side and glued it with CA glue.. Worked like a charme
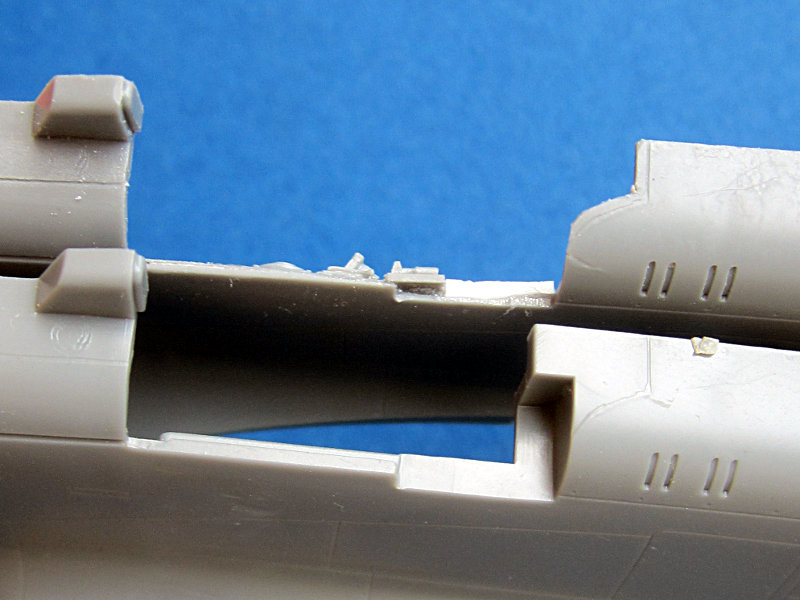
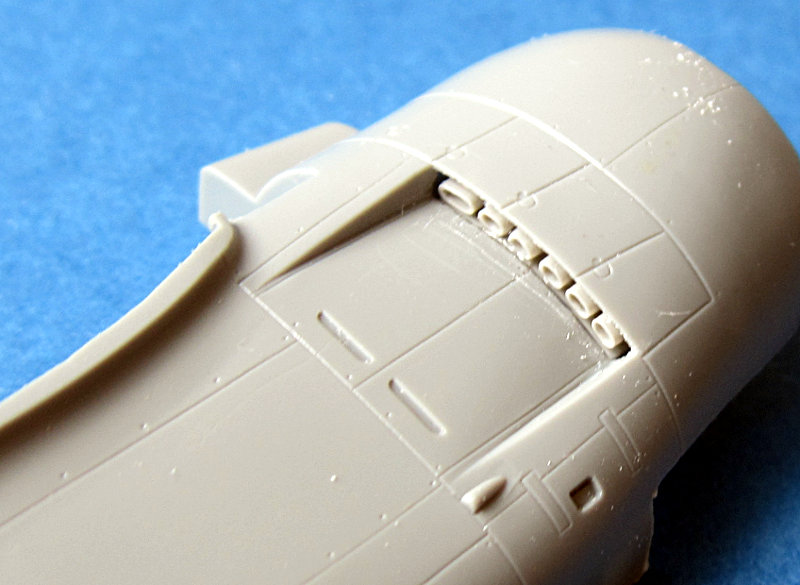
Now I wanted to tesfit the floor with bulkheads. This fit pretty good on the rear but did not so much on the front. Especially the part with the instrument panel and MG mount is too narrow, so it was time to add some bits of plastic sheet to make that fit. (it is still not fully tested. Also I noticed that the gunsight won't fit this way and a bit of cutting was necessary to remove weverything but a thin border to the panel line for the canopy (do not get too close as this is slightly away from the wind shield. (see picture above)
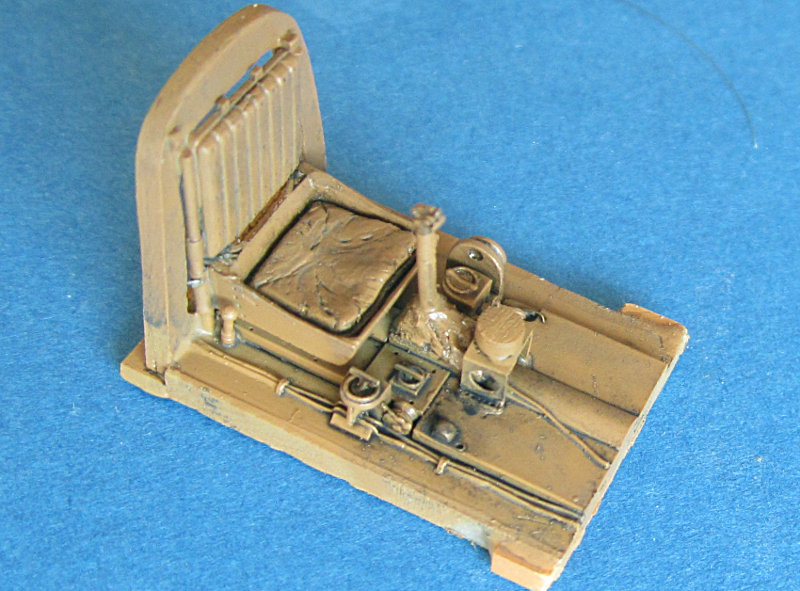
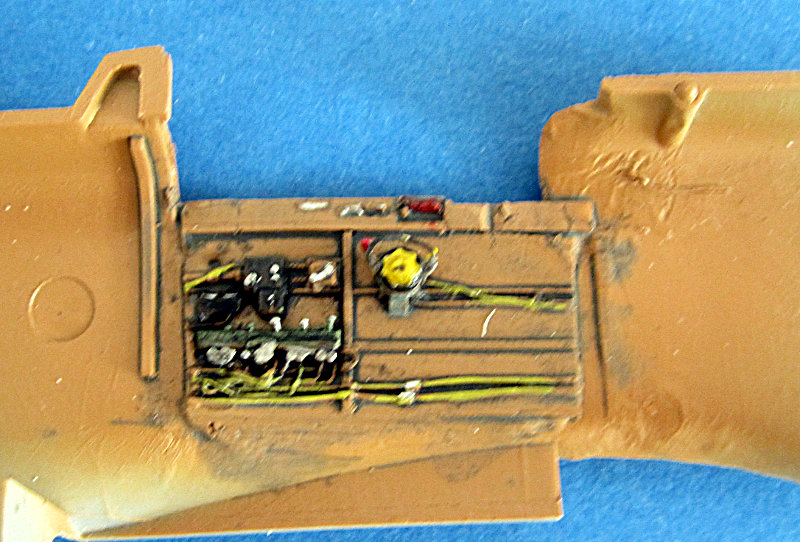
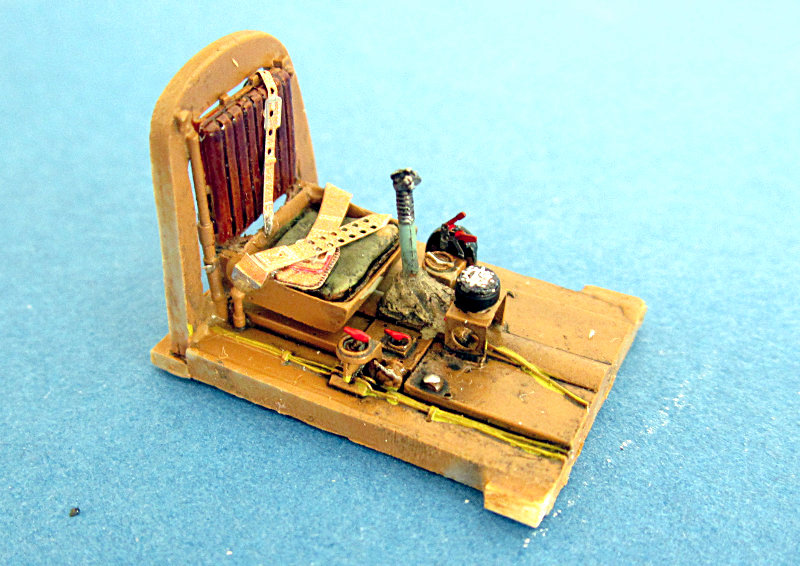
So this is what it looks now, all in all not bad for an Aires cockpit.
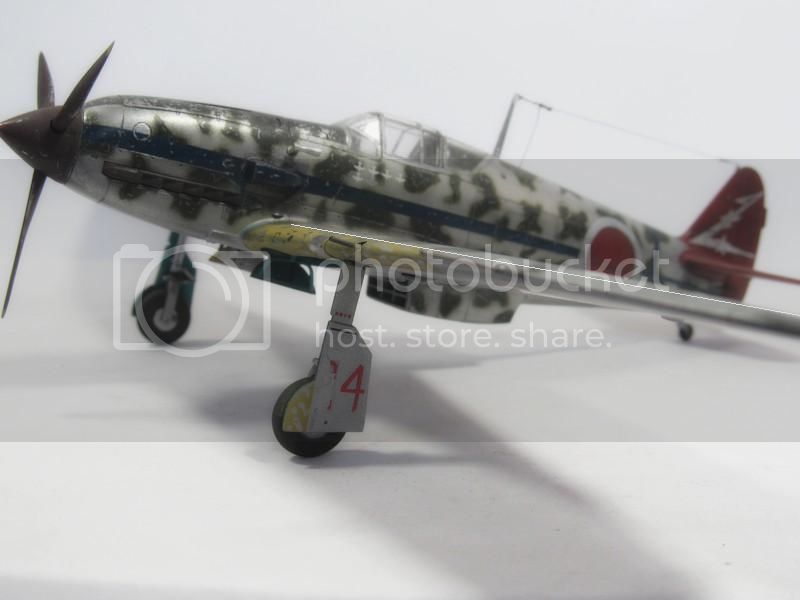
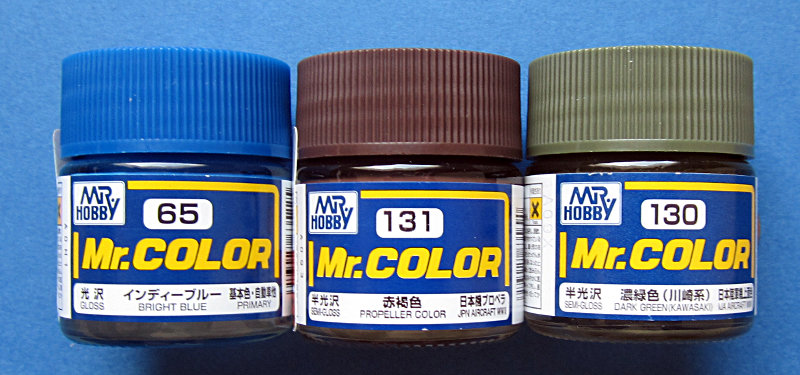
Also I got the missing colours today. I will used decanted AS12 (Tamiya Spray) for the lower side and this Kawasaki green enamel for teh upper side. Furthermore I bought Propeller colour and blue for all the striking stripes on this aircraft. I will probably use decals if I can (Lifelike) but the spinner will get this blue).
It is urgently necessary that I do
not forget that I use enamels this time and need a Future finish before weathering. We'll see if I can remember that

all the best
Steffen