


Onwards and downwards!
 In my usual haphazard building style, I've started playing with filling the seams on the top wing:
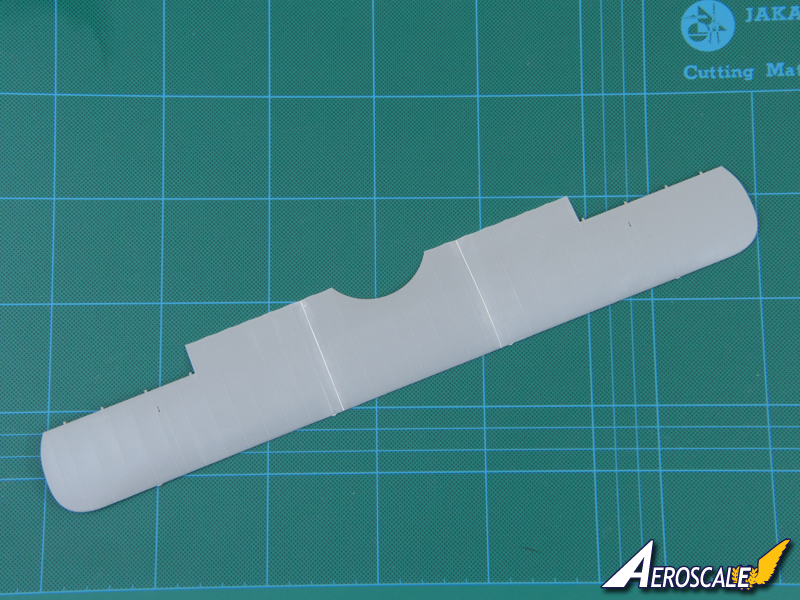
I've used Deluxe Materials "Perfect Plastic Putty" - which, of course, isn't "perfect" (what is?), but does do an excellent job - and is water-solluble, so it doesn't risk damaging the surrounding detail.
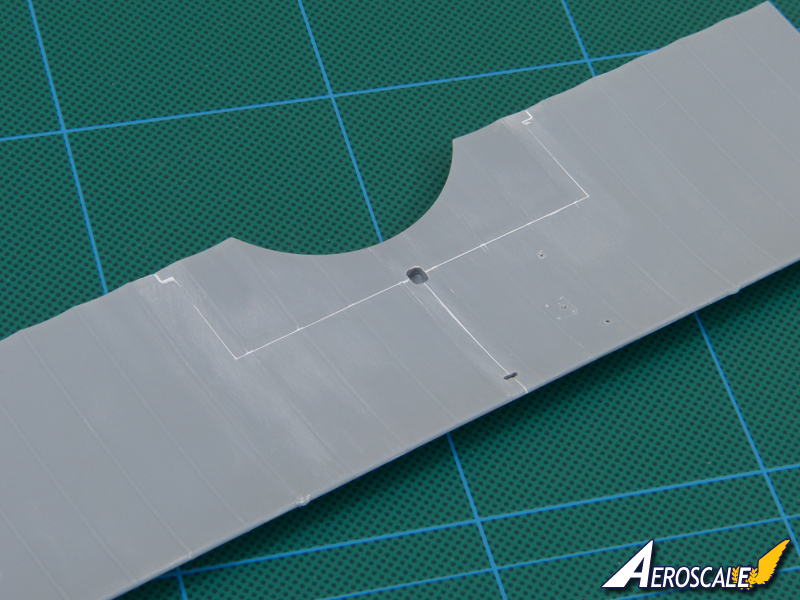
A bit of sanding was required to level the sections in places, and a coat of Humbrol enamel primer shows there's little more work to do, but is quite encouraging, nevertheless - this was the one part of the build that rang a few alarm bells for me because, no matter how well WNW engineered it, it's an awkward joint in an exposed position.
All the best
Rowan


