_GOTOBOTTOM
Rotary Wing
Discuss helicopters and other rotary wing aircraft from any era.
Sikorsky S-55 Italeri 1/72
spaarndammer
_VISITCOMMUNITY
Noord-Holland, Netherlands
Joined: January 28, 2007
KitMaker: 1,945 posts
AeroScale: 388 posts
Posted: Tuesday, September 22, 2015 - 01:38 AM UTC
Hi all,

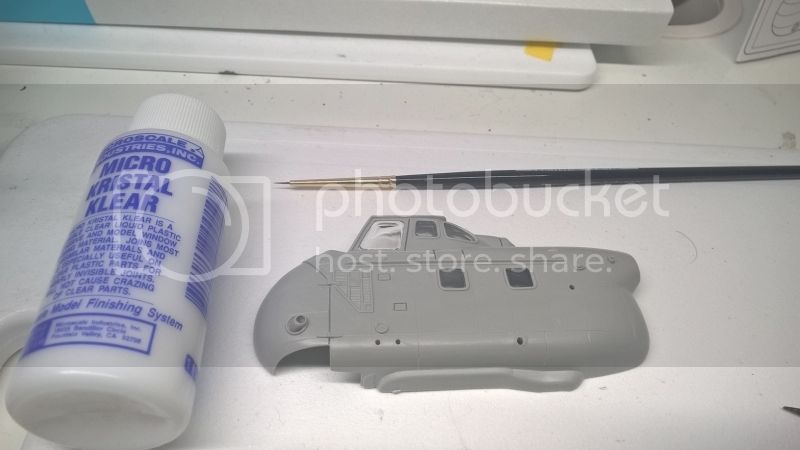
I have been out of aero modelling for a while, busy with some armor subjects. Looking for a not too difficult build and having Italeri's HO4S-3 in my stash, I decided that this is a perfect kit to re-enter aero modelling.


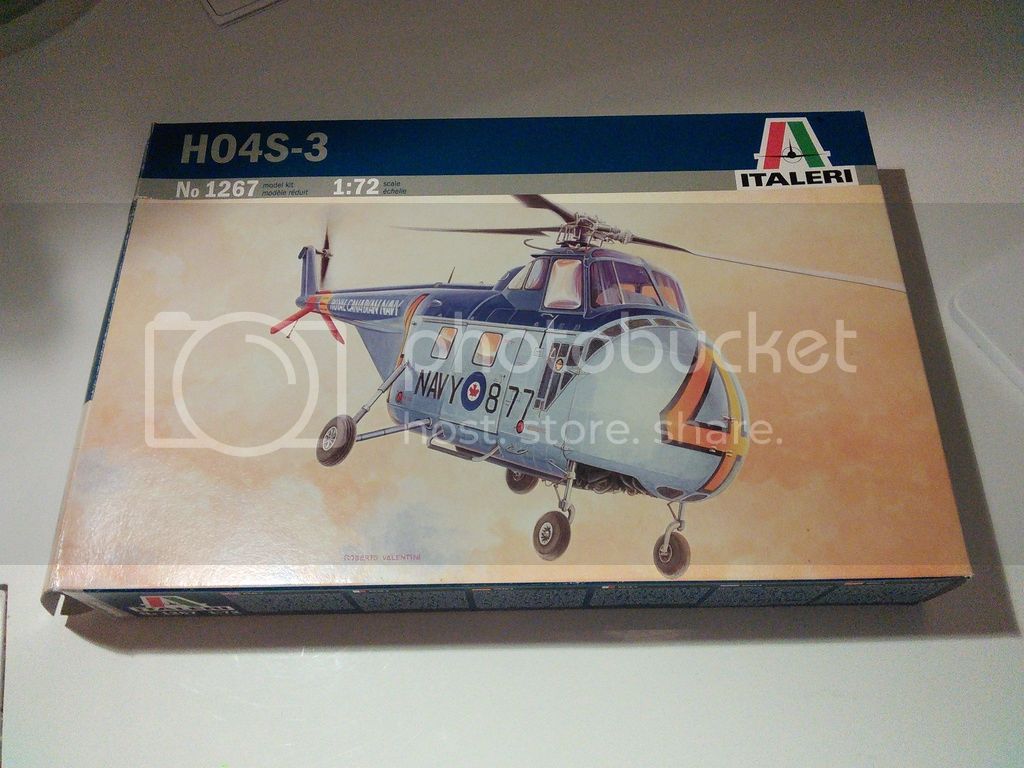
The kit has been reviewed here. This review as well as others were pretty positive about the kit, so that is promising.

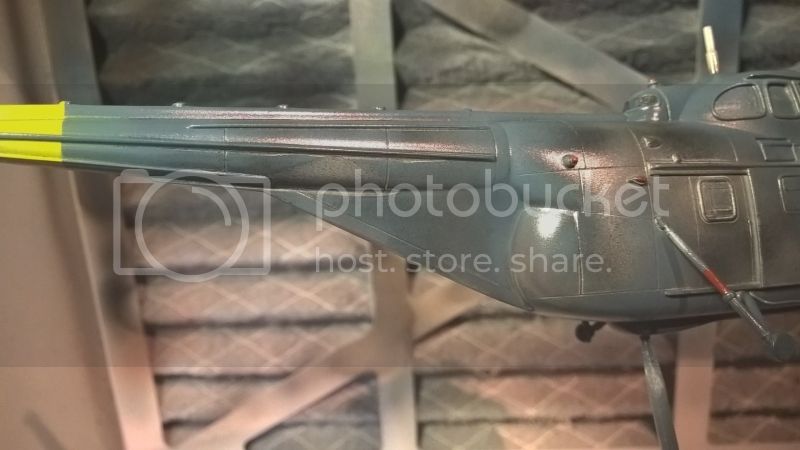
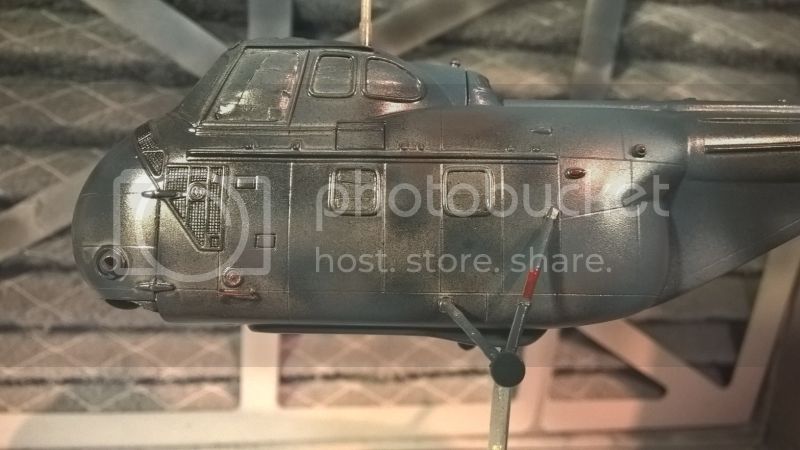
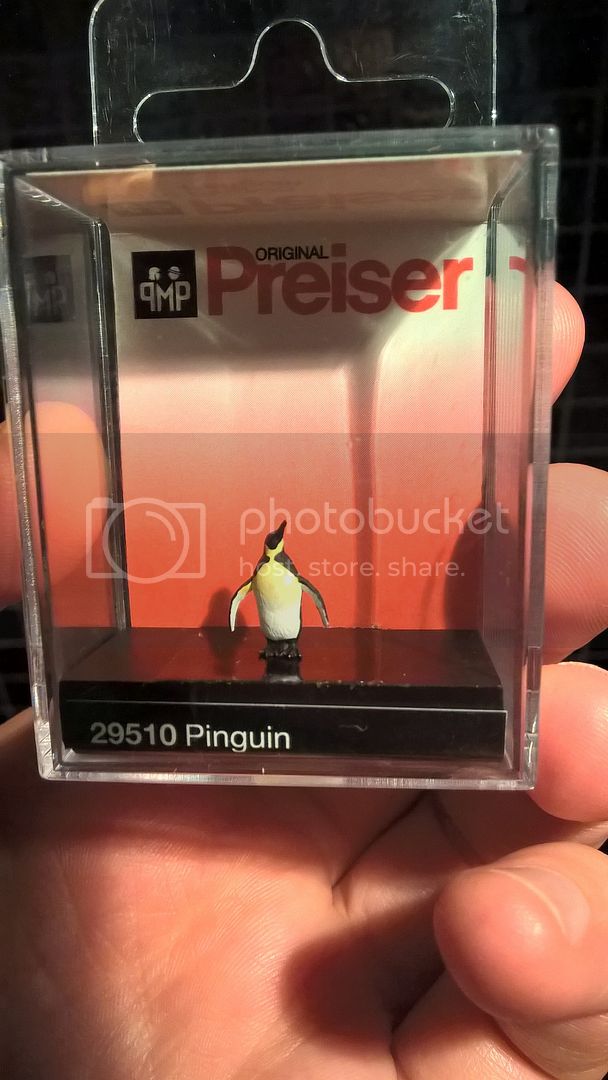
Although the kit has very nice decals, I was looking for something more unusual, preferably a machine in blue. In my local (Mega) store, I found a Printscale decal sheet with markings for an Argentinean machine with an octopus and many pinguins on it.


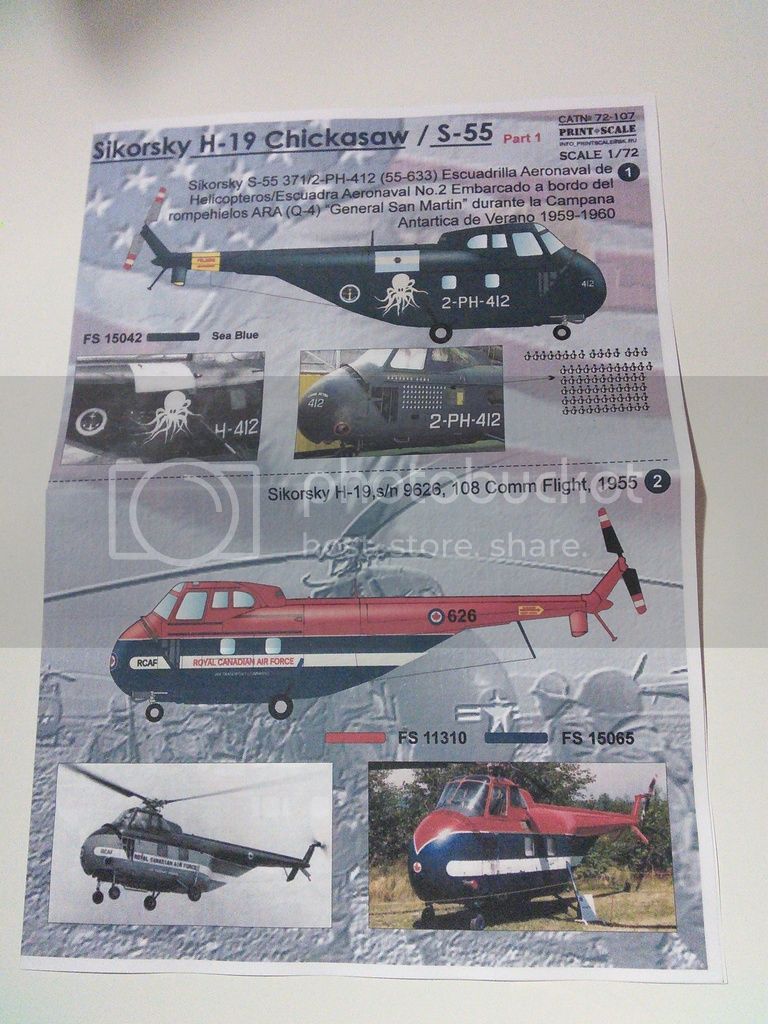
The specific machine has been used by the Argentinean navy for their Antarctic campaign in 1959-1960. The Sikorsky was stationed on the 'General San Martin' of which more information can be found
here

It has a big octopus on the side and the other side has 67 pinguins, each pinguin representing one of the 67 landings the S-55 made. The machine is currently on display in a museum.

I am not sure if the HO4S-3 type matches that of the actual helicopter, but it does look at least very similar.

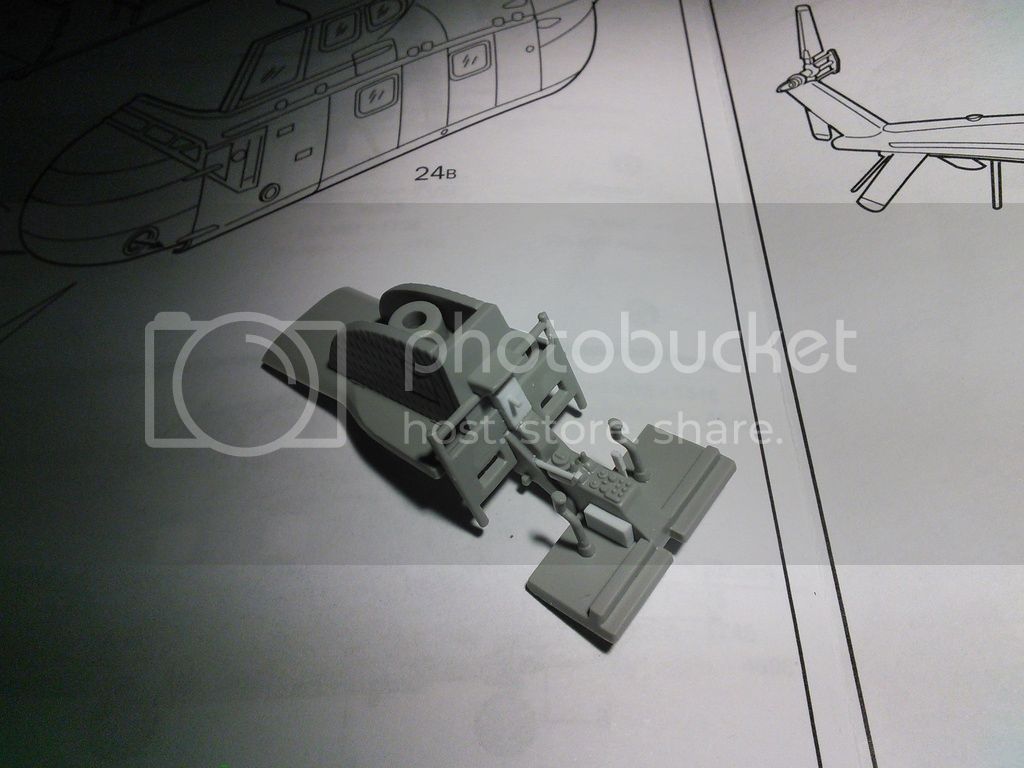
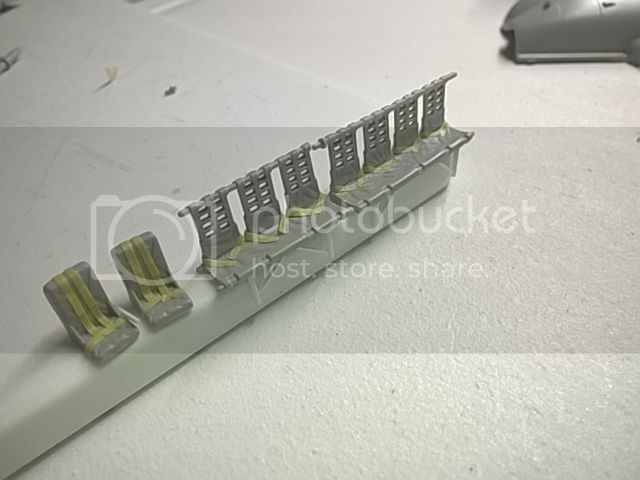
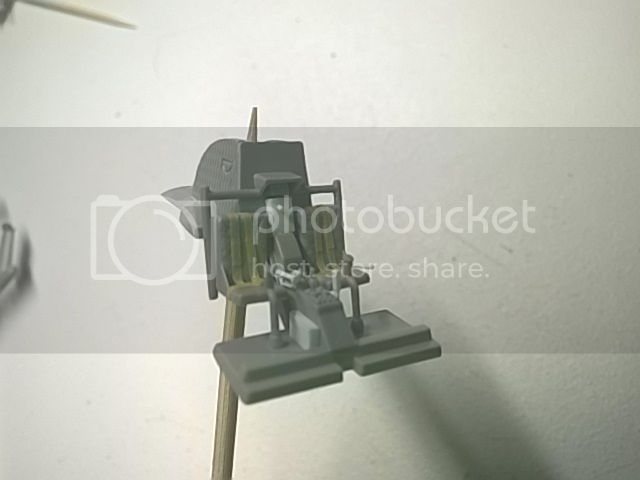
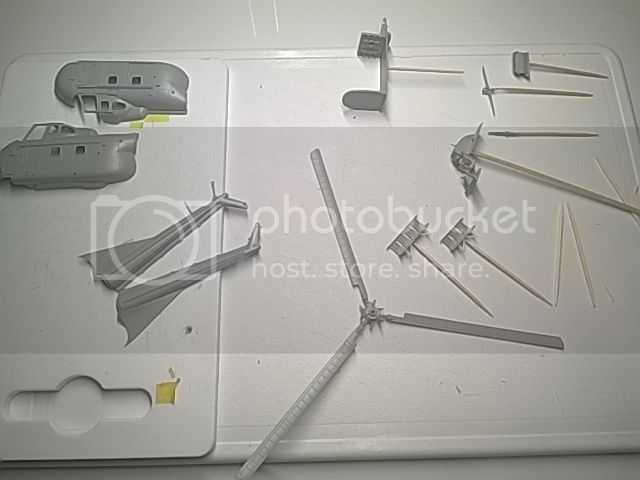
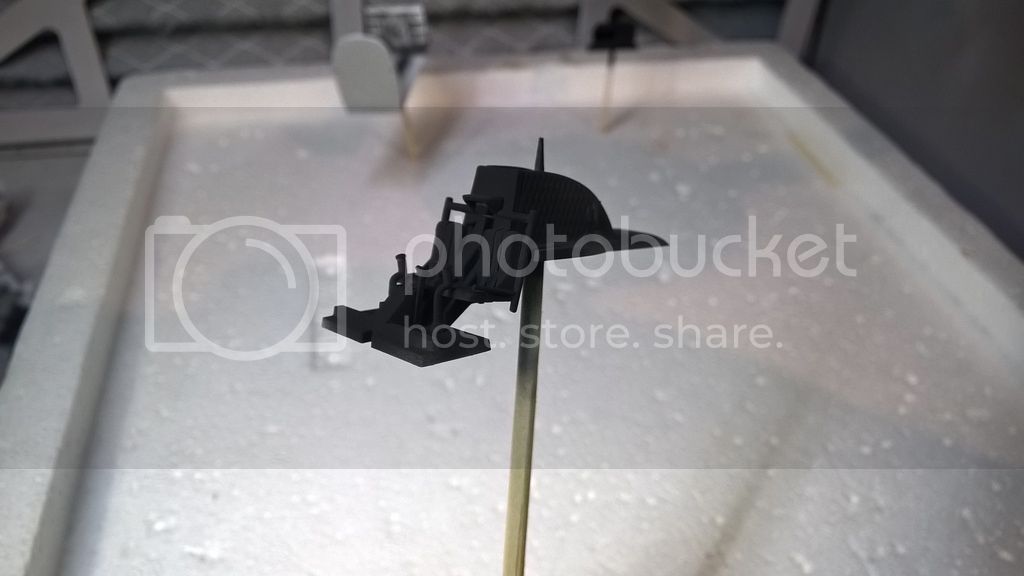
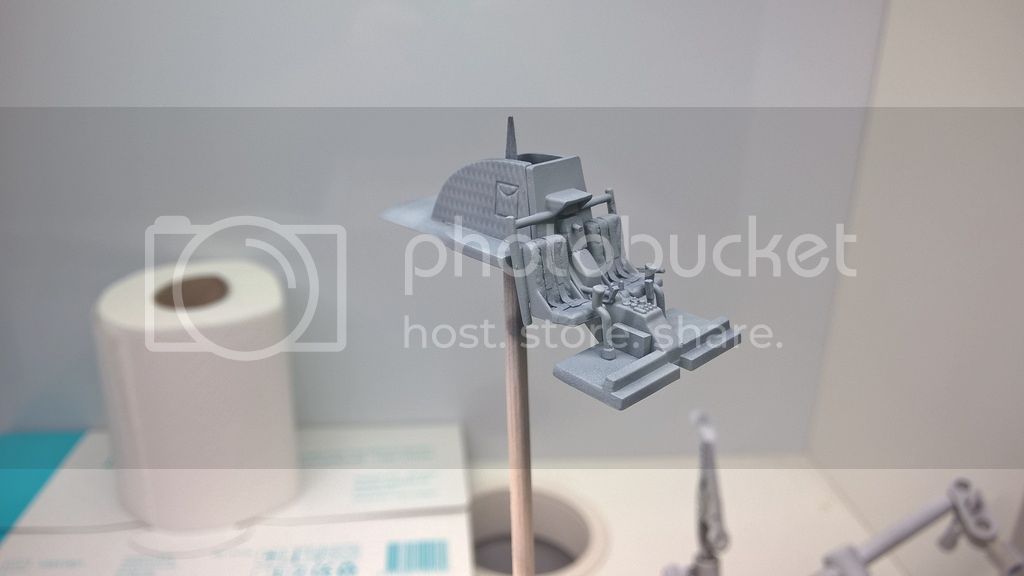
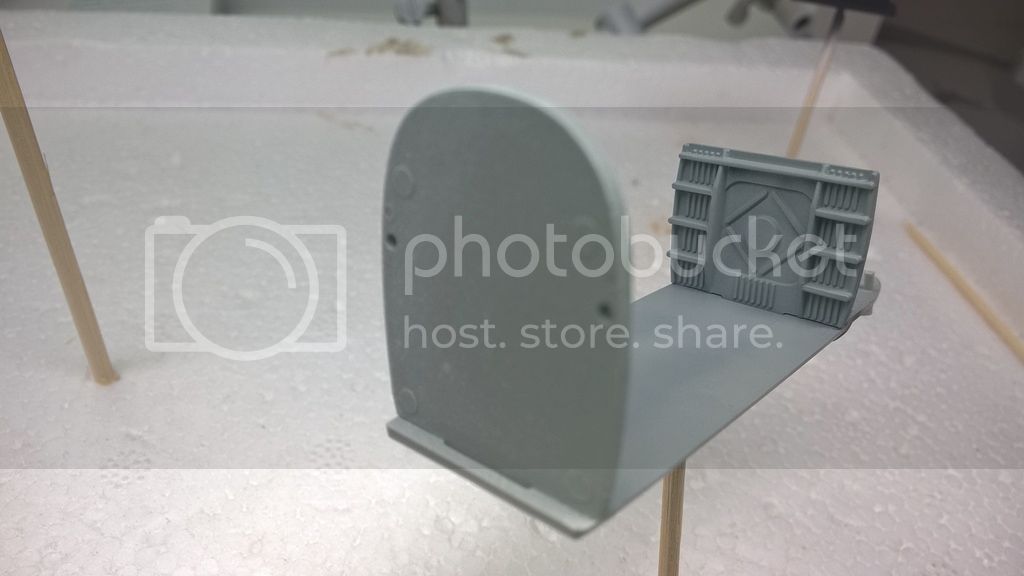
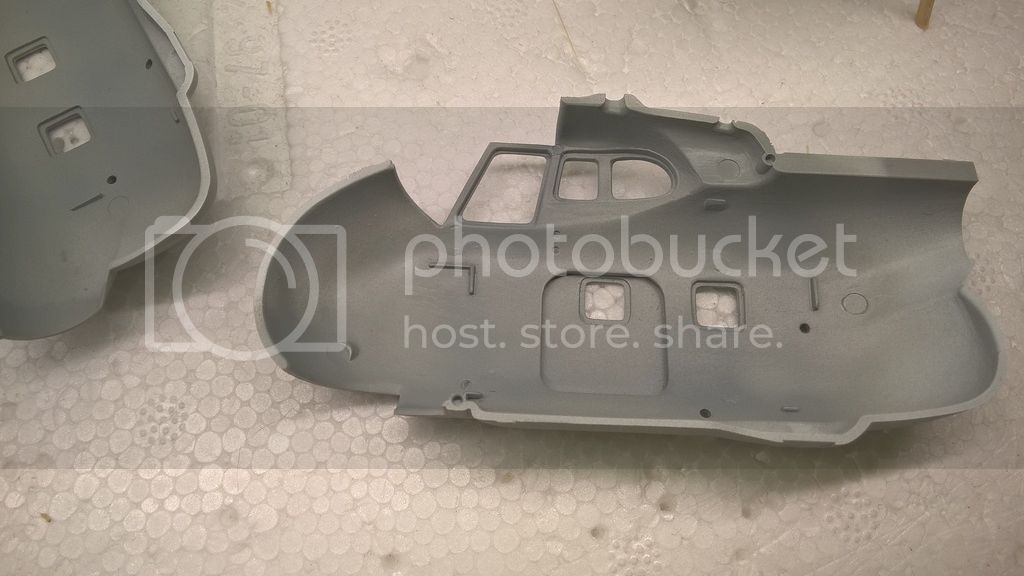
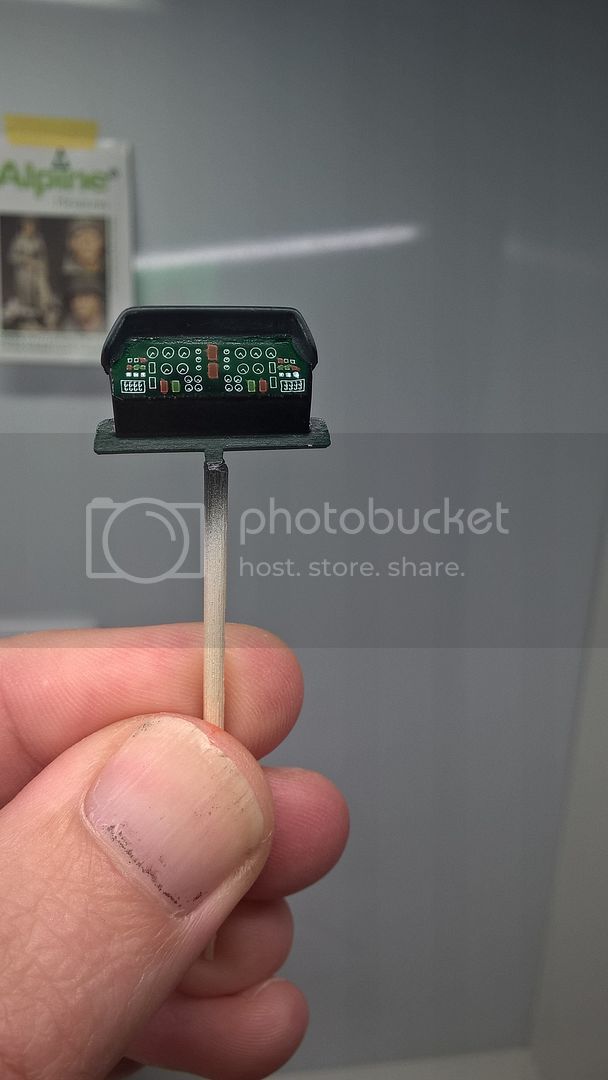
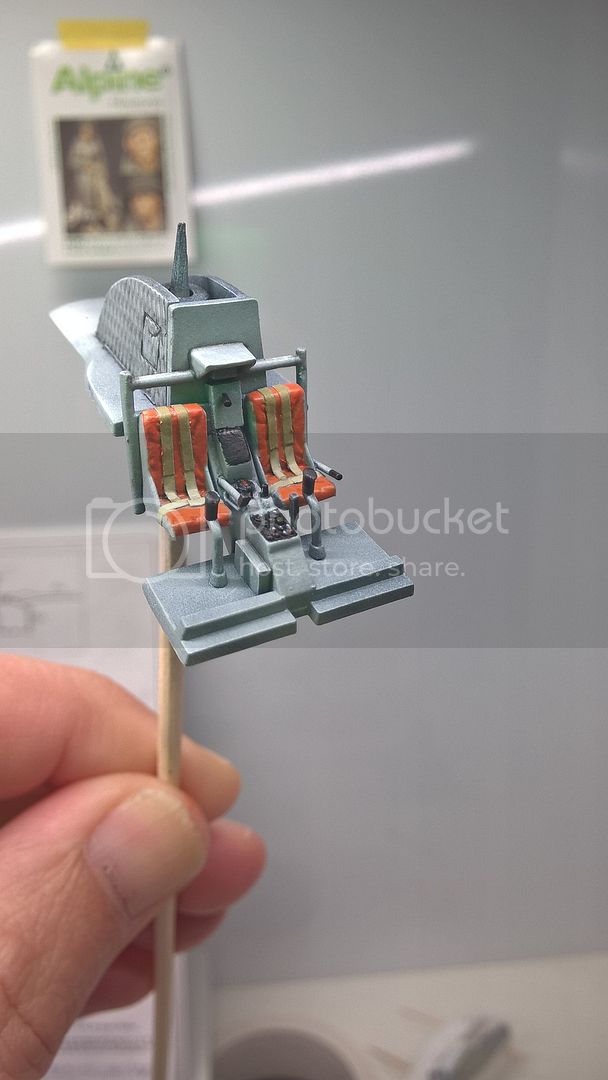
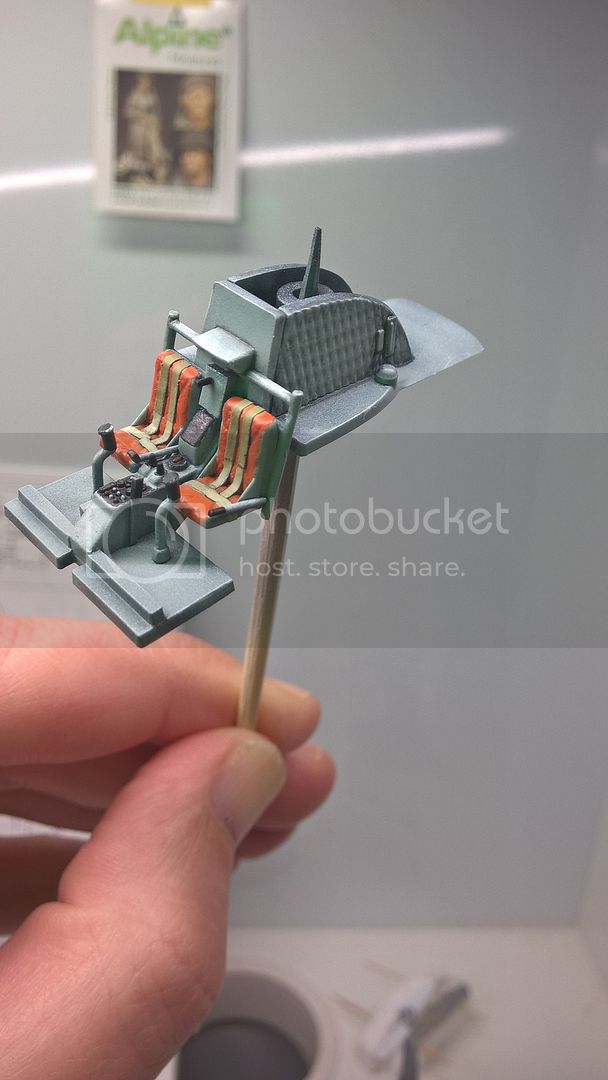
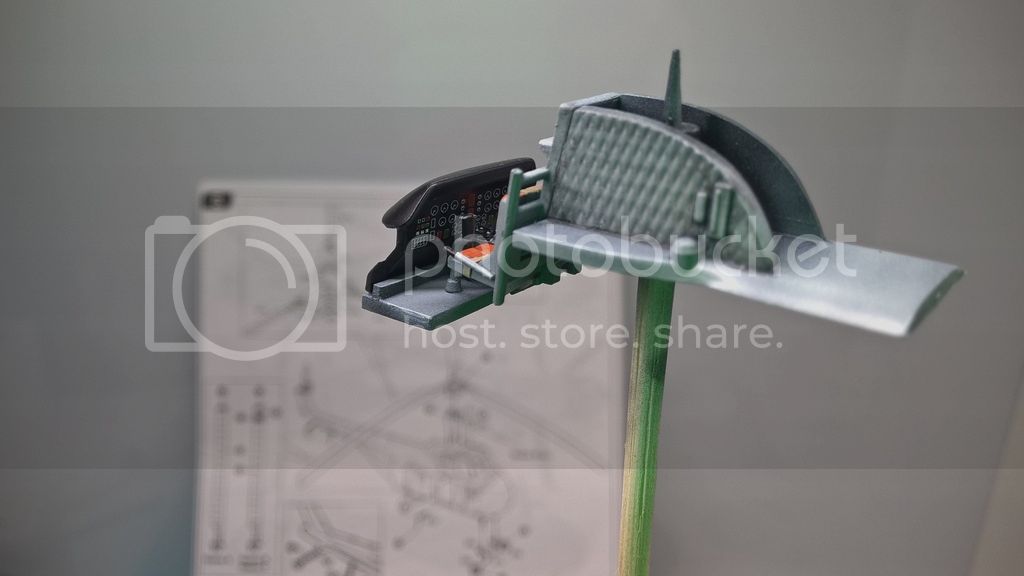
The first build pics will follow soon.


Jelger
Antilles
_VISITCOMMUNITY
Nordrhein-Westfalen, Germany
Joined: March 22, 2015
KitMaker: 671 posts
AeroScale: 614 posts
Posted: Tuesday, September 22, 2015 - 01:57 PM UTC
Hello Spaarndammer,
there You got a nice little kit for Your re-entry. I built this one with the same decal sheet, but in canadian colors in the rotor rpm campaign this August! It was lot of fun. Hope You find this, too.

Oliver
JPTRR
Staff MemberManaging Editor
RAILROAD MODELING
#051
_VISITCOMMUNITY
Tennessee, United States
Joined: December 21, 2002
KitMaker: 7,772 posts
AeroScale: 3,175 posts
Posted: Tuesday, September 22, 2015 - 05:16 PM UTC
Jelger,

I am a fan of the H-19 - one of the goofiest looking helos ever built! Whichever one you make, I will be watching.
spaarndammer
_VISITCOMMUNITY
Noord-Holland, Netherlands
Joined: January 28, 2007
KitMaker: 1,945 posts
AeroScale: 388 posts
Posted: Sunday, September 27, 2015 - 12:27 AM UTC
Thanks for the thumbs up!

@Oliver: How are the decals, is it easy the work with them?

Last week, I made some progress on the interior. Though everything will closed and much won't be visible, I nevertheless added some detail, like a handbrake-looking lever and the collectives. I also added a small light-looking thinghy.


Like Chris Wilsons Pipistrello, also this Italeri kit is full of injector pin marks on the interior. As said, the doors will be closed, to show the octopus, but nevertheless, I will remove these flaws, just to be sure.


Plenty of things to do before the H-19 can be closed.


Jelger
Antilles
_VISITCOMMUNITY
Nordrhein-Westfalen, Germany
Joined: March 22, 2015
KitMaker: 671 posts
AeroScale: 614 posts
Posted: Sunday, September 27, 2015 - 02:05 AM UTC
Hello Jelger,

very nice progress on Your chopper!

The decals are quite good. I did not have to paint a white area for the canadian symbols as the white color was well covering, even onto the red paint. I used Revells decal softener, but I cannot conclude, if it worked well, as there were no bigger topographic differences to pass. Astonishing was the solving time of the decal, when it was dripped into the water to the point the paper was released. This was very fast, so never put in teo decals at once.

Keep on posting.

Oliver
spaarndammer
_VISITCOMMUNITY
Noord-Holland, Netherlands
Joined: January 28, 2007
KitMaker: 1,945 posts
AeroScale: 388 posts
Posted: Tuesday, September 29, 2015 - 12:58 AM UTC
Thank you Oliver for the information. Your H-19 looks really good, great work on the paint job!

Today I started to work on the seats. No doubt the seats are way too thick and a replacement with either PE or tape will make them look more realistic. However, I don't have a PE set and given that hardly anything can be seen from the outside, I will leave it as it is. An exception will be made for the framework, which is not too difficult to improve with a bit of styrene. The new framework will be directly attached to the floor, so I filled all unnecessary holes with styrene rod.


Antilles
_VISITCOMMUNITY
Nordrhein-Westfalen, Germany
Joined: March 22, 2015
KitMaker: 671 posts
AeroScale: 614 posts
Posted: Wednesday, September 30, 2015 - 07:27 PM UTC
Hello Jelger,

happy You like my S-55. Your whirly bird starts of well, too. I´ll keep following.

Oliver
spaarndammer
_VISITCOMMUNITY
Noord-Holland, Netherlands
Joined: January 28, 2007
KitMaker: 1,945 posts
AeroScale: 388 posts
Posted: Wednesday, October 07, 2015 - 01:06 AM UTC
Time for another update on my Argentinian helicopter.

I have been busy with several parts of the S-55.

Seatbelts were added from masking tape:


The cockpit was completed:


And the rotor was completed:


And everything was glued to small sticks and ready for priming:


The parts in the pictures above comprise almost all parts included in the kit. As you can see, not many parts are in the kit and thus far it is an easy and enjoyable build.

I decided to assemble as much parts as possible so I can keep the number of priming sessions low and can spent the painting sessions more effectively. With a family, time for especially painting is sparse as it always consumes quite some time. Working the way I do now I hope to keep a least a bit of pace in this build as I have great difficulties finishing kits, which is sometimes most annoying.

Next weekend will be the Scale Model Challenge (http://www.scalemodelchallenge.com/) on my agenda. One Sunday full of scale modelling ahead!


Jelger
spaarndammer
_VISITCOMMUNITY
Noord-Holland, Netherlands
Joined: January 28, 2007
KitMaker: 1,945 posts
AeroScale: 388 posts
Posted: Wednesday, October 14, 2015 - 01:00 AM UTC
A little more progress on the Sikorsky.

All parts have been primed with Tamiya White surface primer.

Next, the cockpit was painted black for a base coat and to create some shadow in the recesses. After that the cockpit was sprayed gray (some vallejo paint).


Unfortunately, the shadows are a bit lost.

The cargo bay was preshaded, although this was a bit crude. Control of my airbrush remains a bit difficult. Need definitely more practice .

After preshade, the same gray as for the cockpit was applied and also over here the preshade was a bit lost.


Side panels done:


I will give the cockpit and cargo bay a semi gloss coat to add some washes and start then to paint the details.


Jelger
spaarndammer
_VISITCOMMUNITY
Noord-Holland, Netherlands
Joined: January 28, 2007
KitMaker: 1,945 posts
AeroScale: 388 posts
Posted: Wednesday, October 14, 2015 - 01:36 PM UTC
Given that the S-55 I am building operated on the South Pole, I thought it would be nice to emphasize this by putting the helicopter on a small base with some penguins. Preiser (of course ) has a set of six penguins, which will be a nice addition:


Jelger
spaarndammer
_VISITCOMMUNITY
Noord-Holland, Netherlands
Joined: January 28, 2007
KitMaker: 1,945 posts
AeroScale: 388 posts
Posted: Monday, October 19, 2015 - 12:43 AM UTC
Today, the postman arrived to bring me a little box. This must be the end of the march of the Penguins! Unfortunately, there was only one penguin, but a nice one.


So it seems that I ordered only one, but not the set of six Penguins. Bob Ross would have said that that Penguin needs a little friend, so I made a new order, but now for the set.

While waiting, I also worked a bit more on the cockpit. Painting the cockpit is always a nice job to do, adding with paint more and more detail.


When painting was done IP and cockpit were cemented together and then you get something like this.


I was surprised how close the IP is to the cockpit and this leaves a gap between the hull and the IP. I leave it like this, as the backside of the IP is painted black, so you won't see much of it.


Jelger
Jessie_C
_VISITCOMMUNITY
British Columbia, Canada
Joined: September 03, 2009
KitMaker: 6,965 posts
AeroScale: 6,247 posts
Posted: Monday, October 19, 2015 - 10:50 PM UTC

Quoted Text

I was surprised how close the IP is to the cockpit and this leaves a gap between the hull and the IP. I leave it like this, as the backside of the IP is painted black, so you won't see much of it.


That's the case with the real thing. You can look through the windscreen and see the backs of the instrument cases and wiring harnesses, or on some airframes there's a cover. If you're feeling ambitious, a little scratchbuilding there can go a long way.
magnusf
_VISITCOMMUNITY
Stockholm, Sweden
Joined: May 02, 2006
KitMaker: 1,953 posts
AeroScale: 1,902 posts
Posted: Monday, October 19, 2015 - 11:47 PM UTC
Jelger! Good progress on a cool subject! Sorry about the penguins but a quite entertaining incident ! Feed him a herring from me!


Magnus
Antilles
_VISITCOMMUNITY
Nordrhein-Westfalen, Germany
Joined: March 22, 2015
KitMaker: 671 posts
AeroScale: 614 posts
Posted: Tuesday, October 20, 2015 - 01:38 AM UTC
Jelger, You are coming along nicely. These penguins are a very nice idea. Hopefully, the penguin marks on the S-55 are finished mission marks. Otherwise, this would explain, why there is only one penguin left . I am looking forward to see more of Your build.

Oliver
spaarndammer
_VISITCOMMUNITY
Noord-Holland, Netherlands
Joined: January 28, 2007
KitMaker: 1,945 posts
AeroScale: 388 posts
Posted: Wednesday, October 21, 2015 - 12:58 AM UTC
Thank you all for your comments.

@ Jessica: although it is tempting to do, but after a quick consideration I decided not to add wires on the back of the IP. The focus on this build will be the decals and I think you will hardly see it anyway.

@ Magnus: the Penguins definitely deserve a herring or two after their journey from Germany. I will feed them according to Preisers manual

@ Oliver: The penguins om the side are fortunately no kill marks. Each penguin represents a landing of the helicopter in the Antarctic during the Argentinean Antarctic summer campaign of 1959 - 1960. This campaign was a scientific endeavor in the Argentinean sector of the Antarctic aka Argentine Antarctica. More info: https://en.wikipedia.org/wiki/Argentine_Antarctica


Jelger
Jessie_C
_VISITCOMMUNITY
British Columbia, Canada
Joined: September 03, 2009
KitMaker: 6,965 posts
AeroScale: 6,247 posts
Posted: Wednesday, October 21, 2015 - 02:07 AM UTC
Just be careful not to get your herring from Russia...
spaarndammer
_VISITCOMMUNITY
Noord-Holland, Netherlands
Joined: January 28, 2007
KitMaker: 1,945 posts
AeroScale: 388 posts
Posted: Sunday, October 25, 2015 - 01:58 AM UTC
That is just grose Jessica

Time for another update.

I finalized the cargo bay with the two row of seats and did some painting on the underside of the engine compartment which is actually open on the real machine. Per instructions, I added also 10 grams of weight.

The next step was to add the clear parts with Micro Kristal Clear and masking the clear parts with an Eduard mask set.


The next step will be adding the cockpit and closing up the fuselage. And then the tailboom. We then have a helicopter!


Jelger
JClapp
#259
_VISITCOMMUNITY
Massachusetts, United States
Joined: October 23, 2011
KitMaker: 2,265 posts
AeroScale: 1,715 posts
Posted: Sunday, October 25, 2015 - 03:03 PM UTC
Lovely work as always Jelger

The S-55 is wonderful machine. I am very interested to see your model.
PaulBrickles
_VISITCOMMUNITY
England - East Anglia, United Kingdom
Joined: April 14, 2015
KitMaker: 188 posts
AeroScale: 2 posts
Posted: Sunday, October 25, 2015 - 03:50 PM UTC
Cracking job - did you do all the windows with Crystal Klear?

Paul
spaarndammer
_VISITCOMMUNITY
Noord-Holland, Netherlands
Joined: January 28, 2007
KitMaker: 1,945 posts
AeroScale: 388 posts
Posted: Saturday, November 21, 2015 - 03:17 PM UTC
Hi all,

The last update was already been a month ago, but slowly i made some progress.

The hull halves were glued together, but I had serious fit issues with attaching the cockpit tub. Somehow, the tub came higher than it supposed to be, so I had to remove some plastic to give it a decent fit. I checked all the steps in the manual to see where I did went wrong, but I couldn't the find the cause of the misfit.

It also took some time to remove all the seams, but this is just bacause my lack of experience and some shrinking issues with Squadron Green Putty. The fit of the fuselage halves is pretty good. The difficult part was however to remove a gap between the tail and fuselage. This spot was difficult to sand. Furthermore, there was a small issue with the fit of the tail fins.

When replacing squadron green putty by Mr. white putty, those remaining seams were quickly dealt with.

After sanding, I added a few handles with wire.

The next step was to prime the machine and as I will shamelessly try to replicate Joel's painting method applied to his great Ventura, with blotchy preshading, I decided to use Tamiya grey fine surface primer, which had to be ordered first, as I have only the white one.


I will have to fix a few small blemishes and then it is time for preshading.

@Jonathan: Thanks!

@Paul: All the windows were indeed attached with Kristal Klear.
spaarndammer
_VISITCOMMUNITY
Noord-Holland, Netherlands
Joined: January 28, 2007
KitMaker: 1,945 posts
AeroScale: 388 posts
Posted: Sunday, November 29, 2015 - 01:54 AM UTC
More progress on the S-55...

Painting has started and first i applied a random pattern of black, more and less similar to that applied by Joel on his Ventura.

Unfortunately, the black paint had a bit of splatter, resulting in a rather rather rough finish, which for sure would affect decalling, so I had to touch up that before the main coat could be applied.

I first carefully sanded the roughest areas with 1500 grit and then I touched up the paint with brown. The result is this messy black and brown preshade, which looks like a camo itself.


The tailband was painted Tamiya yellow green (XF-4), which hopes gives a more faded yellow look.

Prior to the main coat, the tailband was masked with masking tape:


And then I added thin layers of Tamiya medium blue (XF-18).
[/URL]


In the pictures, the brown and black is barely visible, but in real life it looks pretty ok to me. It was a bit of a gamble, but i am satisfied with the results as the blue has quite some tonal differences. Unfortunately, I had some issues with covering the corner between the tail and the tube where the drive shaft to the rear rotor is located, so the shading is not so good in the tail, but i can live with that. Finally, the tail band is a bit dark on the distal side, but this is also not big issue.

Tomorrow, i will take a look at daylight to where some touch ups are required. These will be settled then and then i will cover the model in Humbrol Acrylic gloss varnish for decals.


Jelger
spaarndammer
_VISITCOMMUNITY
Noord-Holland, Netherlands
Joined: January 28, 2007
KitMaker: 1,945 posts
AeroScale: 388 posts
Posted: Wednesday, December 09, 2015 - 01:48 AM UTC
DISASTER struck this build....

This evening i decided to spray Humbrol Acrylic gloss varnish from the rattle can over my little blue bird, but as soon as the first layer was on, the paint was eaten away .

I read a lot on forums that the stuff can be very 'hot', but at least with Humbrol satin varnish I never had any problems, so i gave it a go...Something of an educated guess I think.


These problems will stop this build for at least a while. But I hope that the surface of the model isn't hurt much so with repriming the model, i can make a fresh start.

And I would like to have some advice on a good gloss coat for decalling, preferably from the spray can. Airbrushing it would also not be much of problem. So, if anyone has suggestions, I am happy to hear them.


Jelger
magnusf
_VISITCOMMUNITY
Stockholm, Sweden
Joined: May 02, 2006
KitMaker: 1,953 posts
AeroScale: 1,902 posts
Posted: Wednesday, December 09, 2015 - 12:47 PM UTC
Jelger! I'm sorry about this! There is no way of being too careful when it comes to rattle cans - in my experience they are ALWAYS hotter than our usual paints.

I have had Tamiya silver creating little voids in the putty below for instance. And I've had Tamiya clear raising the paint on a kit - AFTER I had tried it on an old wreck with good results to check that it was safe . I don't think one should have nightmares about them really but I would say that there is always a risk associated with rattle cans. I heat the can in tap water to make it flow a bit easier and then I dust it on in thin layers, that's the only other piece of advice I can give you on the subject!

When it comes to gloss for decals I've started adding clear to the paint I use. I'm a Gunze guy so many of these are semi-gloss straight from the bottle, adding let's say 20% of Gunze clear to them will give you a fairly gloss final result at the same time making the paint slightly transparent making it easier to build up a bit of tonal differences. If you like pre-shading this should be ideal to try I think! Finally I also think that it flows a bit better through the airbrush but that's harder to tell for sure!

Sometimes this surface is perfectly OK for decals, if it is not it is at least very close to OK, only requiring a thin layer of Tamiya acrylic gloss, well thinned with Tamiyas own acrylic thinner and sprayed on at a low pressure. What I do try to avoid are totally matte surfaces that will have to be more or less drenched in clear to get to a gloss finish!

I also want to point out that I have yet to find a perfect clear: the sturdy ones are generally too hot while the acrylic ones tend to be a bit fragile and are affected by decal setting solutions if one isn't careful. The above works well for me but I would anyway like to find something with the general properties of Tamiya clear that dries into an enamel-like surface that can only be scratched by a diamond. And that can handle any chemical!

I hope the above can be a starting point and I really hope that you take your time and sand down the rough spots and start over on the paint job! I know how it feels...


Magnus
spaarndammer
_VISITCOMMUNITY
Noord-Holland, Netherlands
Joined: January 28, 2007
KitMaker: 1,945 posts
AeroScale: 388 posts
Posted: Wednesday, December 09, 2015 - 11:25 PM UTC
Hi Magnus!

Thanks for the thumbs up and your advice. I will definitely try this, as all the ingredients are already in the house.

This weekend I will take a look at the S-55 again to see how much work it will need to get back on track.

However, the silver lining of this cloud is that I can and will start with my mini MIG21!


Jelger
JClapp
#259
_VISITCOMMUNITY
Massachusetts, United States
Joined: October 23, 2011
KitMaker: 2,265 posts
AeroScale: 1,715 posts
Posted: Thursday, December 10, 2015 - 02:57 AM UTC
Oh dear! The plastic looks undamaged - I hope you can find time to go back a bit and still finish.

yes, I have been on this road too. I have seen Tamiya sprays attack and destroy other materials, but this is the first I have seen a product eat Tamiya! So many hazardous solvents in the market - mixing brands is always risky.
 _GOTOTOP