

Early Aviation
Discuss World War I and the early years of aviation thru 1934.
Discuss World War I and the early years of aviation thru 1934.
Hosted by Jim Starkweather
Canvas Falcons 11 Roden BE2c 1/48

amegan

#243

Joined: March 21, 2008
KitMaker: 996 posts
AeroScale: 915 posts

Posted: Thursday, December 17, 2015 - 03:46 AM UTC
Hi everybody, Had a year out, needed to do other things. I took the BE away with me the other week and started work on it in the hotel, unfortunately without taking progress pics. Still, I'll do some over the next few days. The kit is to be built as is, no after market bits, I want to take it easy and enjoy the build. I'm sure the RAF BE2c needs no introduction, developed progressively from the BE1 the 2c appears to have entered service around September 1915. Desined to be inherently stable so it could be flown with minimum experience on tasks that required the crew to concentrate on ground observation it fulfilled this role superbly, however, the Germans fiendishly introduced the Fokker E1!! into the mix. Being very stable the BE2c was slow to respond to the controls and inexperienced pilots, often with less than 10 hours flying could not get the best out of it. In Sagittarius Rising, Cecil Lewis describes aerobatting and dogfighting a BE so it could be done. Combine the above, with the major error of putting the observer under the centre section and ahead of the pilot with a limited field of fire, and being slow both in top speed and rate of climb, the words "sitting duck" come to mind. Kept in service too long, the "Quirk" gained a reputation as a death trap. Used for most two seater duties the BE2c was adequate in 1915 but I would rather have flown a 1 1/2 strutter or even a Fee (FE2b).
amegan
#243
Joined: March 21, 2008
KitMaker: 996 posts
AeroScale: 915 posts
Posted: Thursday, December 17, 2015 - 04:24 AM UTC
Photos so far....
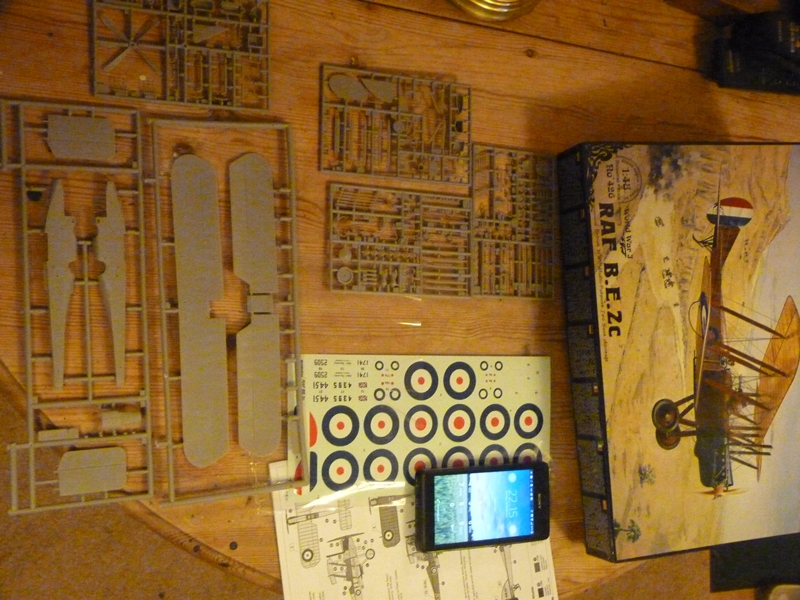
Original kit photo
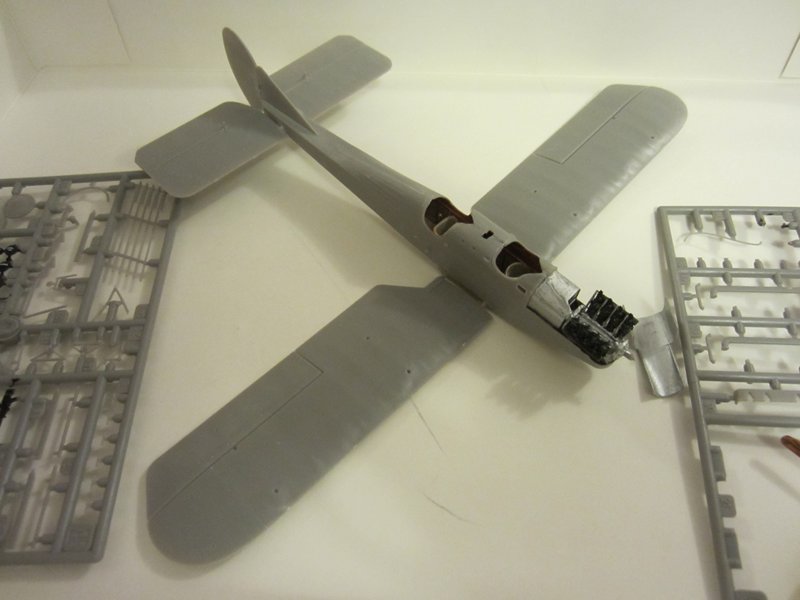
Current state
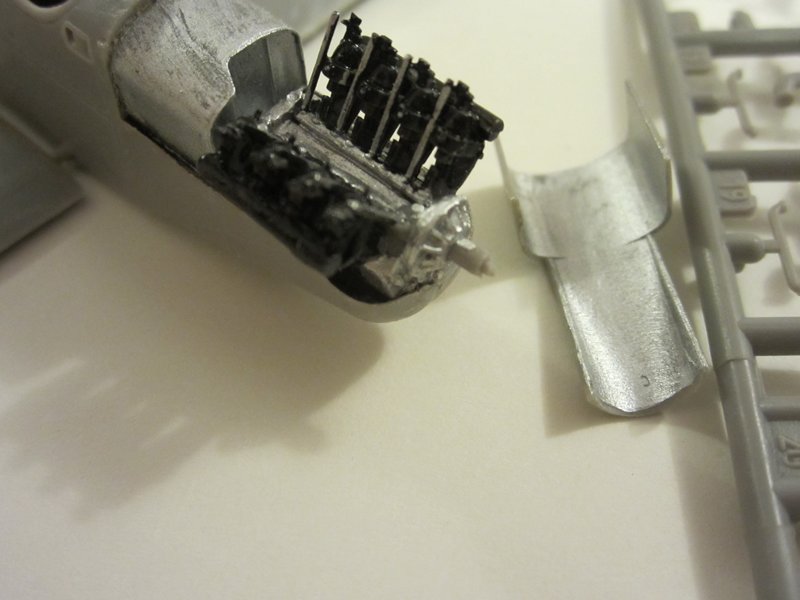
Engine, straight out of the kit
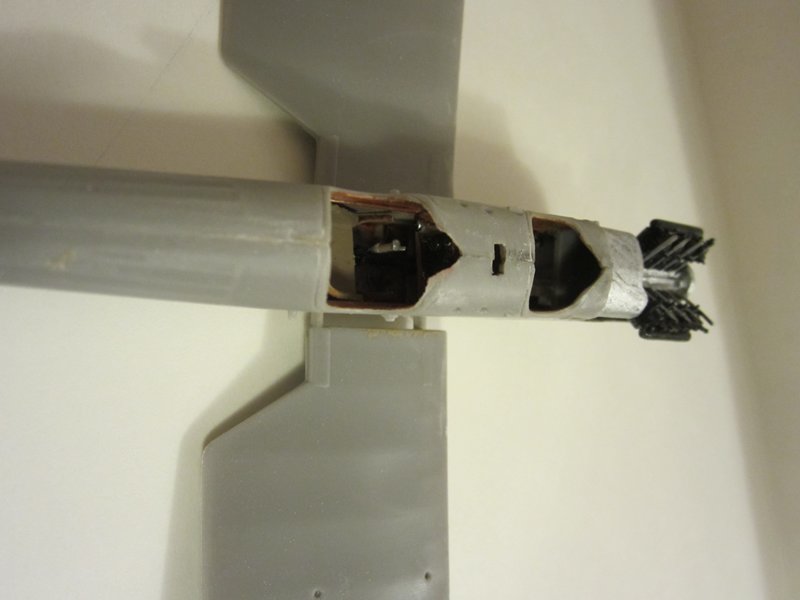
Pilot's office, I'll try and get better when I find my SLR
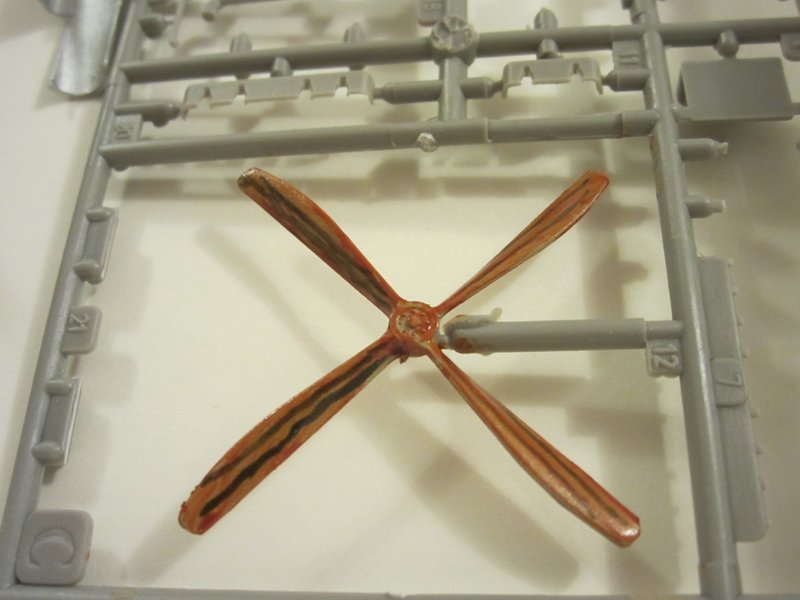
Prop still needs work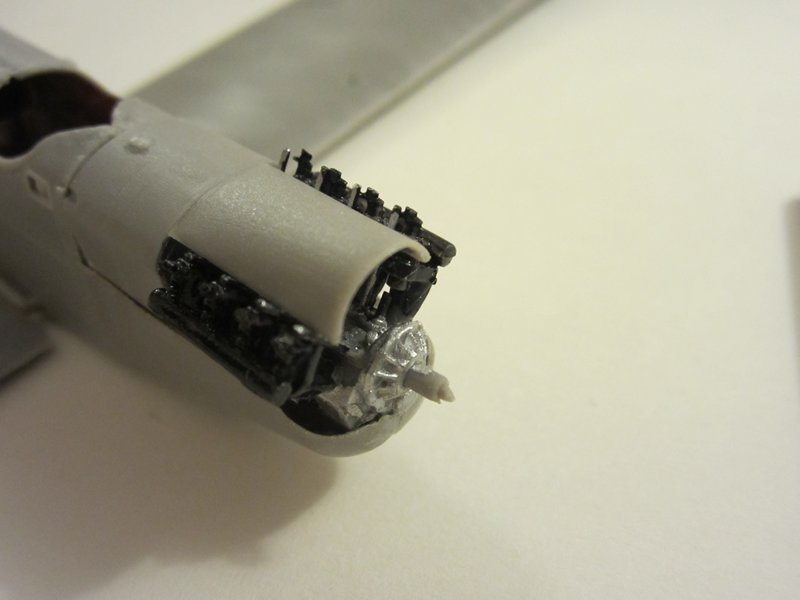
Nose with cowl, needs fining down.
Original kit photo
Current state
Engine, straight out of the kit
Pilot's office, I'll try and get better when I find my SLR
Prop still needs work
Nose with cowl, needs fining down.
amegan
#243
Joined: March 21, 2008
KitMaker: 996 posts
AeroScale: 915 posts
Posted: Tuesday, December 22, 2015 - 05:07 AM UTC
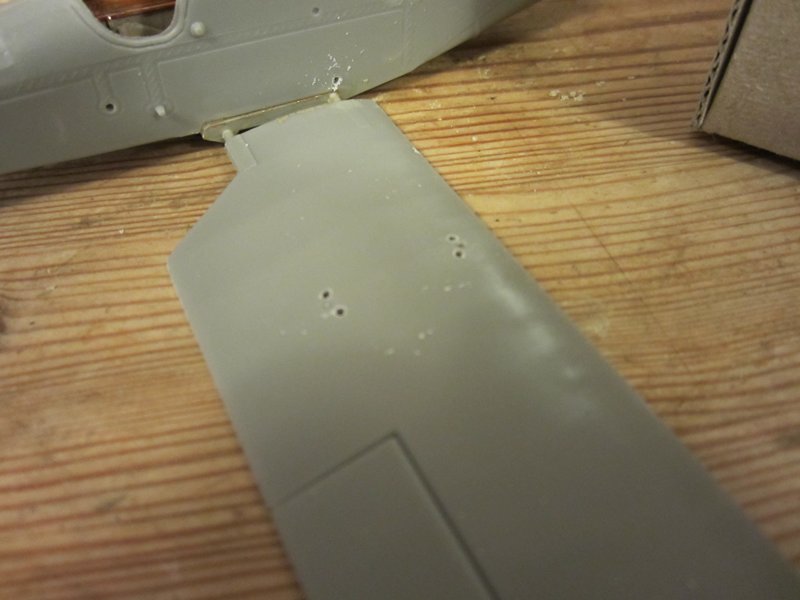
I like to drill holes for rigging before paint
and the tip
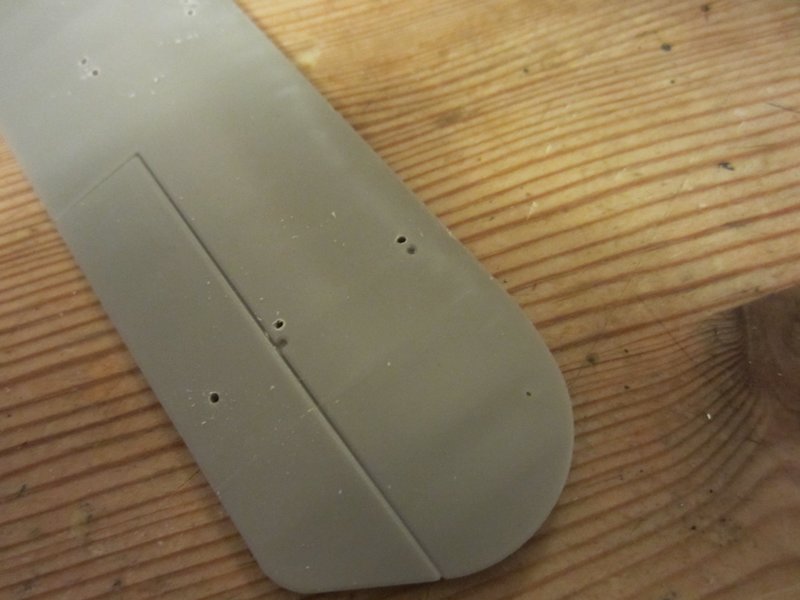
top wing
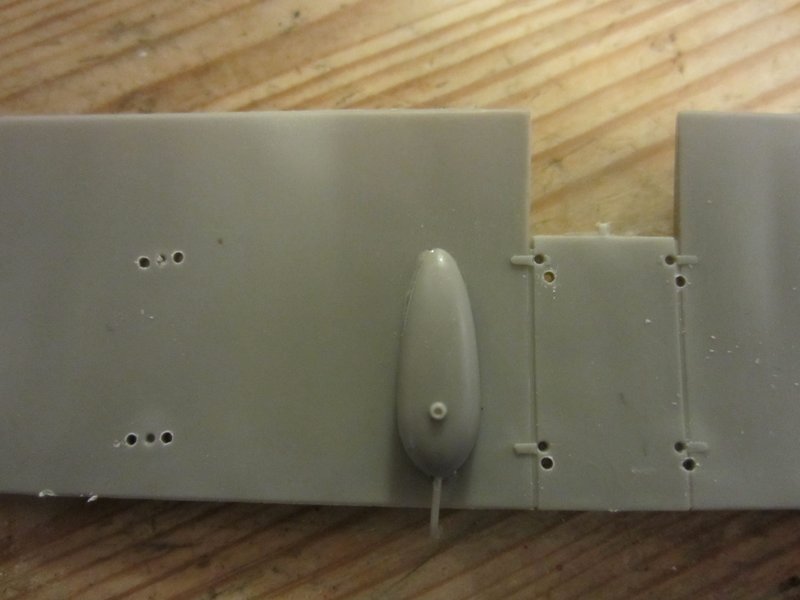
then oops
The very thin joint between fuselage and right wing broke, partially at first, then completely. I will have to clean up the holes, partially paint then assemble the top wing and use it to locate the lower wing. Roden plastic
and the tip
top wing
then oops
The very thin joint between fuselage and right wing broke, partially at first, then completely. I will have to clean up the holes, partially paint then assemble the top wing and use it to locate the lower wing. Roden plastic

Jessie_C


Joined: September 03, 2009
KitMaker: 6,965 posts
AeroScale: 6,247 posts

Posted: Tuesday, December 22, 2015 - 06:16 AM UTC
One tip I've read in numerous places for this kit is replacing the lower wing mountings with brass wire, just exactly because of this problem.
amegan
#243
Joined: March 21, 2008
KitMaker: 996 posts
AeroScale: 915 posts
Posted: Tuesday, December 22, 2015 - 02:15 PM UTC
Hi Jessica, pretty good idea, I'll have to trawl through the spares for wire the right diameter and the wing is very thin, drilling accurately without breaking through the bottom or top will be difficult. Maybe drill 1mm and use a brass tube to bring it up to diameter
Jessie_C
Joined: September 03, 2009
KitMaker: 6,965 posts
AeroScale: 6,247 posts
Posted: Tuesday, December 22, 2015 - 10:56 PM UTC
This amazing build shows an excellent solution to the problem using aluminium tube mounts (See page 3).
amegan
#243
Joined: March 21, 2008
KitMaker: 996 posts
AeroScale: 915 posts
Posted: Wednesday, December 23, 2015 - 05:25 AM UTC
Hmm....lots of food for thought there. I do like his pre-shading though, something I was thinking of doing. I had intended to go straight for a wing jig, but start working out from the centre sections.
amegan
#243
Joined: March 21, 2008
KitMaker: 996 posts
AeroScale: 915 posts
Posted: Saturday, May 14, 2016 - 04:30 AM UTC
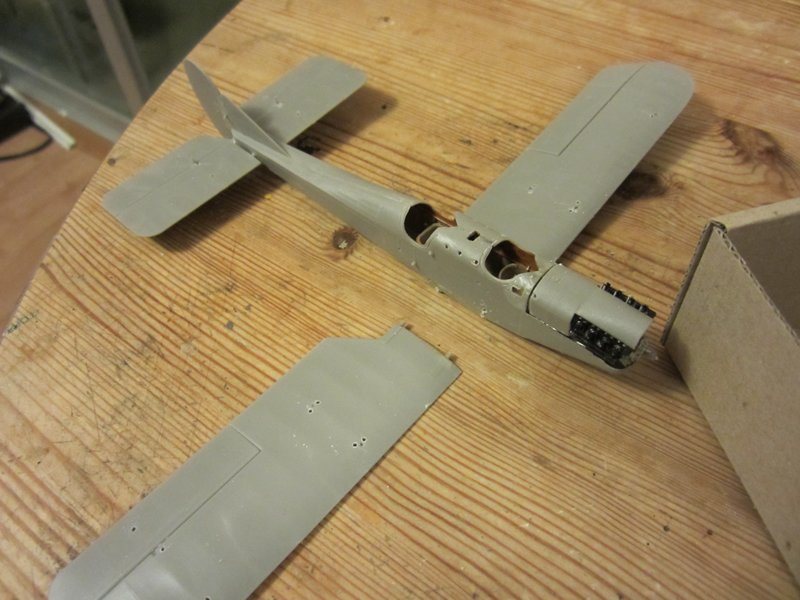
After a break to consider the solutions to the thin mounts problem, during which the kit was carefully boxed up and put away, I came back to find all flying surfaces detached from the fuselage hmmm.
OK so I pin them all, holes now drilled.
Preshading I tried before with mixed results, so I'll try again
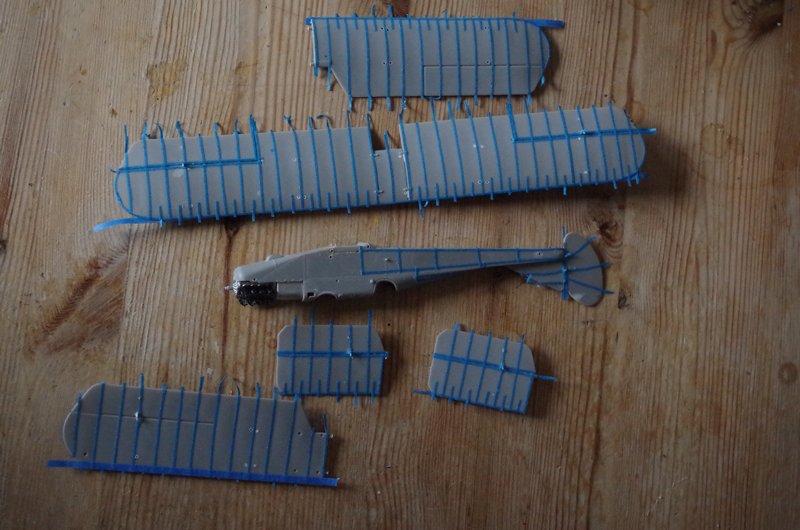
Masking finished, well nearly, I just spotted a piece (actually 7 pieces) missing on the photos. Note, the BE is now rekitted.
OK so I pin them all, holes now drilled.
Preshading I tried before with mixed results, so I'll try again
Masking finished, well nearly, I just spotted a piece (actually 7 pieces) missing on the photos. Note, the BE is now rekitted.

MerlinV

Joined: November 26, 2006
KitMaker: 608 posts
AeroScale: 602 posts

Posted: Friday, April 28, 2017 - 01:02 PM UTC
Quoted Text
This amazing build shows an excellent solution to the problem using aluminium tube mounts (See page 3).
OMG! That's one of my old builds from the Aerodrome. Such a shame that site is no longer active.
Cheers,
Hugh.
 |

WEB HOSTING BY


Copyright ©2021 AeroScale and Kitmaker Network, a subsidiary of Silver Star Enterprises
All Rights Reserved. Please read our Conditions of Use and Privacy Policy.
All Rights Reserved. Please read our Conditions of Use and Privacy Policy.