Hello Mr. K, welcome to the campaign!
Good to see another box opened!
Air Campaigns
Want to start or join a group build? This is where to start.
Hosted by Frederick Boucher, Michael Satin
OFFICIAL: Air Recce Campaign
Posted: Tuesday, April 26, 2016 - 09:01 PM UTC
Posted: Tuesday, April 26, 2016 - 10:36 PM UTC
Hi mates,
I call this one done
Hope you like it, it's a real old kit, but it was a pleasure to build anyway
Good luck for you all
I call this one done
Hope you like it, it's a real old kit, but it was a pleasure to build anyway
Good luck for you all
Posted: Tuesday, April 26, 2016 - 10:39 PM UTC
@ Mr. K -- Good choice, always liked that Sukhoi
@ Jonathan -- Yeah, it looks quite interesting bordering on ugly, but I always liked to see it droning around german skies in the 70s...
I'm looking forward to your Vigilantes!
Cheers everybody
@ Jonathan -- Yeah, it looks quite interesting bordering on ugly, but I always liked to see it droning around german skies in the 70s...
I'm looking forward to your Vigilantes!
Cheers everybody
SHAKY962
Buenos Aires, Argentina
Joined: May 21, 2012
KitMaker: 765 posts
AeroScale: 316 posts
Joined: May 21, 2012
KitMaker: 765 posts
AeroScale: 316 posts
Posted: Wednesday, April 27, 2016 - 02:11 AM UTC
@Peter, excellent Mohawk....... you remenber me the time wich I have the opportunity to flew the D version of the Argentine Army Aviation.... several years ago
@Mr. K, I will follow you, I have the same kit in the stash
Posted: Wednesday, April 27, 2016 - 05:04 AM UTC
We have a finished model! Congratulation, Peter, the classic plastic Mohawk looks great, even the decals look fine!
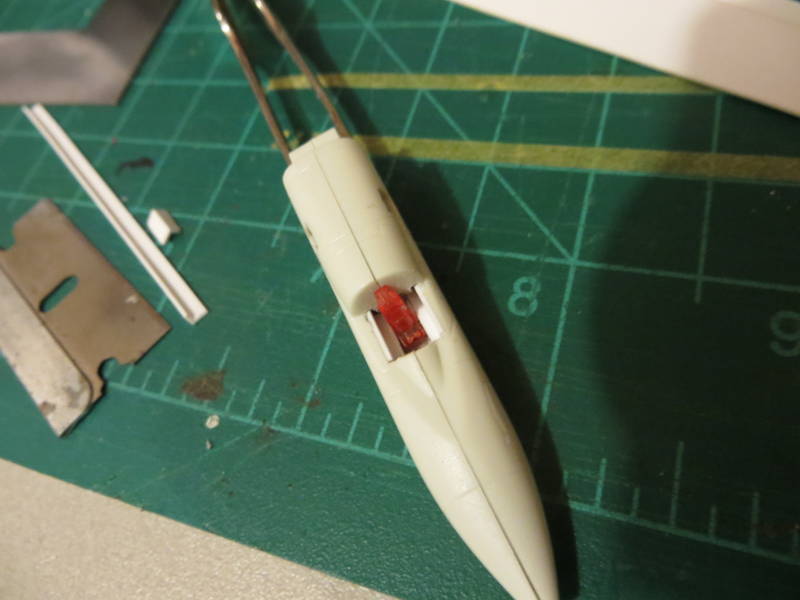
I am making slow progress, I have fabricated the cockpit
I just colored the seat orange to help with positioning the prototype. I will paint all the pieces with the right colors before closing up.
I am making slow progress, I have fabricated the cockpit
I just colored the seat orange to help with positioning the prototype. I will paint all the pieces with the right colors before closing up.
Posted: Wednesday, April 27, 2016 - 11:17 PM UTC
Many thx, José and Jonathan!
I will follow your builds
Kanguroo
Vietnam
Joined: May 07, 2006
KitMaker: 416 posts
AeroScale: 89 posts
Joined: May 07, 2006
KitMaker: 416 posts
AeroScale: 89 posts
Posted: Thursday, April 28, 2016 - 05:37 AM UTC
Hi,
Thank you for all your comments.
Peter, pretty model with the base! I like it.
Cheers,
K.
Thank you for all your comments.
Peter, pretty model with the base! I like it.
Cheers,
K.
Posted: Friday, April 29, 2016 - 02:32 PM UTC
Masks have arrived and I'm applying them to the Dornier, obviously not an exact match so a little surgery is needed.
Posted: Saturday, April 30, 2016 - 10:40 AM UTC
Well that's in the wrong campaign altogether! My apologies gentlemen better place in in the appropriate campaign.
Posted: Saturday, April 30, 2016 - 12:48 PM UTC
I thought it was something like that.
Posted: Monday, May 02, 2016 - 04:42 PM UTC
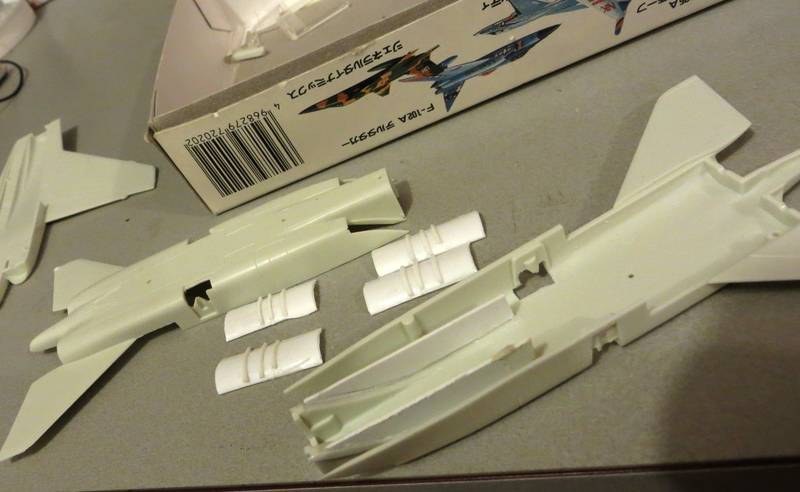
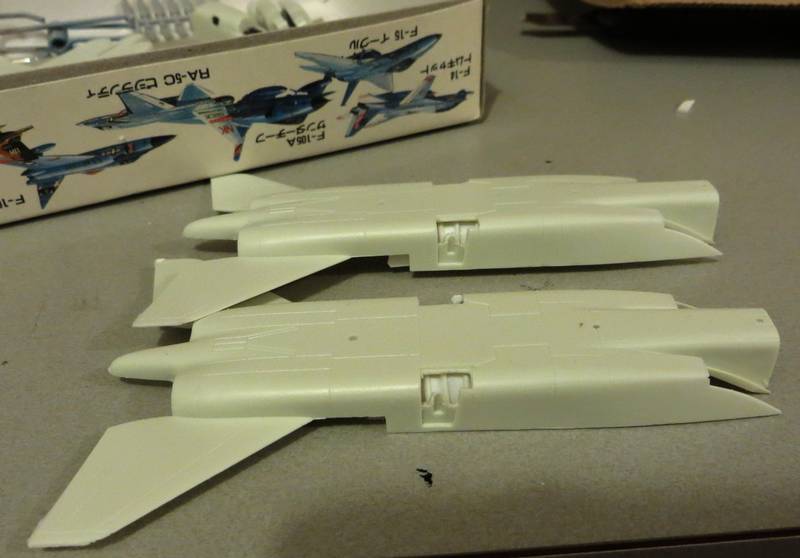
What you see behind the doors when the wheels are down is the curved outside of the engine duct with ribs and whatnot.
Ive cut out the area, leaving the strut attachment point, and fabricated the basis of the interior.
There are also some actuator cylinders I can add, hopefully this stuff will be noticeable on the finished model.
Ive cut out the area, leaving the strut attachment point, and fabricated the basis of the interior.
There are also some actuator cylinders I can add, hopefully this stuff will be noticeable on the finished model.
Posted: Sunday, May 15, 2016 - 07:30 PM UTC
Howdy Y'all
I haven't started on my Marlin yet so I've decided to switch my build to a SR-71. Hopefully I'll have enough time to finish by the deadline.
Take care,
Don "Lakota"
I haven't started on my Marlin yet so I've decided to switch my build to a SR-71. Hopefully I'll have enough time to finish by the deadline.
Take care,
Don "Lakota"
Posted: Sunday, May 15, 2016 - 08:05 PM UTC
Good to see a blackbird in here, Don. I was hoping someone would build one, that is our mascot after all.
Ive been working on my Vigilantes, but nothing worth photographing .
Not yet half way to august 1st. Is anyone else working on a kit?
Ive been working on my Vigilantes, but nothing worth photographing .
Not yet half way to august 1st. Is anyone else working on a kit?
Posted: Thursday, May 19, 2016 - 01:44 PM UTC
This is my entry for the campaign, Historic 1/48 BV 141B.
Posted: Thursday, May 19, 2016 - 11:37 PM UTC
haha! excellent
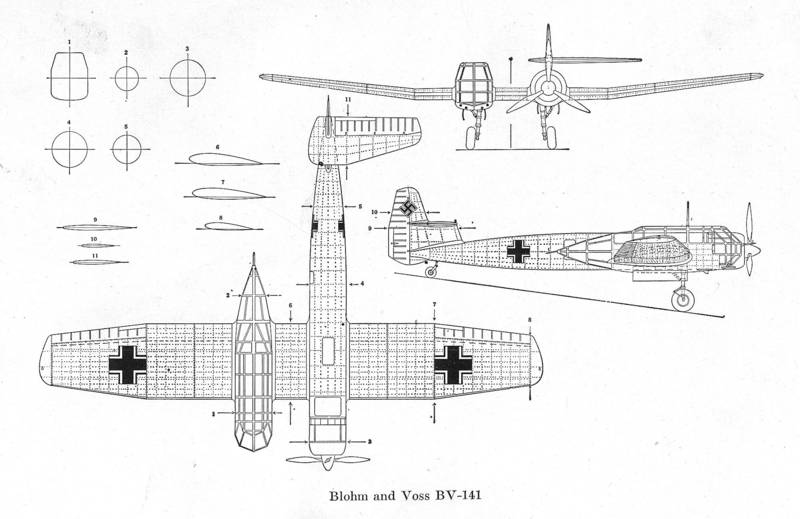
Such a strangely beautiful aircraft, it must have been very enjoyable to fly in.
I have this drawing from a book my father gave me many years ago.
Such a strangely beautiful aircraft, it must have been very enjoyable to fly in.
I have this drawing from a book my father gave me many years ago.
StukaJr
California, United States
Joined: April 26, 2010
KitMaker: 346 posts
AeroScale: 292 posts
Joined: April 26, 2010
KitMaker: 346 posts
AeroScale: 292 posts
Posted: Tuesday, May 24, 2016 - 02:46 AM UTC
Started my build:
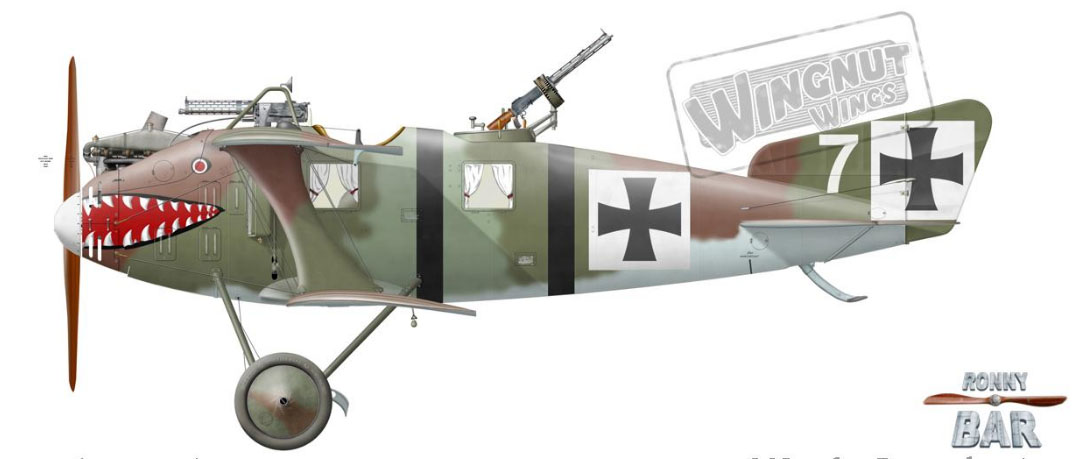
Scheme and aircraft:
First in-progress photos:
Build blog in the "Early Aviation Forum" is here
Scheme and aircraft:
First in-progress photos:
Build blog in the "Early Aviation Forum" is here
Posted: Tuesday, May 24, 2016 - 04:40 AM UTC
wow, nice kit!
Kilo_Uniform
Gauteng, South Africa
Joined: July 03, 2015
KitMaker: 280 posts
AeroScale: 141 posts
Joined: July 03, 2015
KitMaker: 280 posts
AeroScale: 141 posts
Posted: Tuesday, May 24, 2016 - 08:21 PM UTC
Excellent photographs!
Posted: Monday, June 06, 2016 - 01:52 PM UTC
@Jonathan, thanks for your info.
@Ivan, your kit look Excellent.
Here is progress shot of my build.
Posted: Tuesday, June 07, 2016 - 03:48 PM UTC
Ivan that's certainly a jaw dropper!
Lap Man niccceeee start. Looking good buddy!
spaarndammer
Noord-Holland, Netherlands
Joined: January 28, 2007
KitMaker: 1,945 posts
AeroScale: 388 posts
Joined: January 28, 2007
KitMaker: 1,945 posts
AeroScale: 388 posts
Posted: Saturday, June 11, 2016 - 02:15 AM UTC
It is nice to see such a nice topics being posted in this campaign thread.
I have been working steadily on my RQ-4, but fit isn't that good and i am quite busy messing around with putty to fill gaps. That is pretty annoying, especially as this supposed to be a quick build prior to my entry in the 56FG campaign.
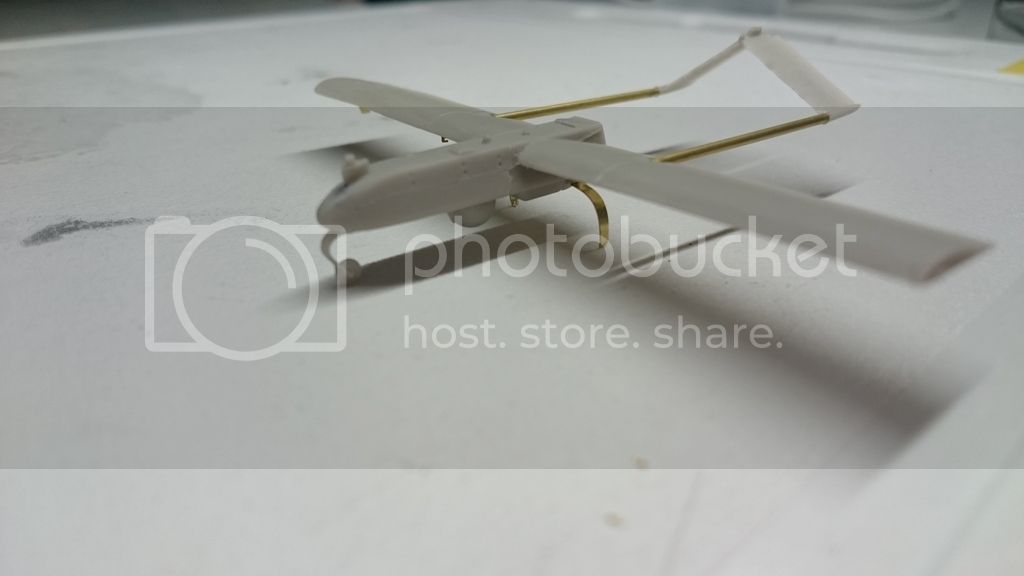
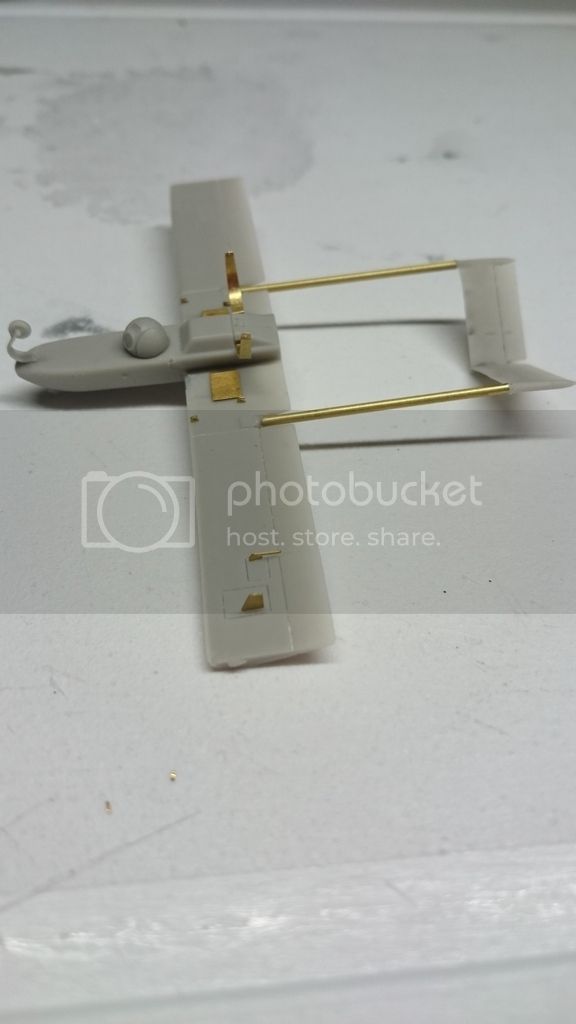
So I decided to switch subject, to something that will go a little faster. My new subject is still a drone, but now the AAI RQ-7 Shadow. This small drone (L: 3.4 m, W: 4.3 m) is a 'high-wing, constant chord pusher configuration with a twin-tailboom empennage and an inverted v-tail' (Wiki). The systems included in the RQ-7 are a forward-looking infrared camera, a daytime TV camera with a selectable near-infrared filter and a laser pointer. It has a fixed landing gear. Launch of the RQ-7 occurs by a mobile rails system. Maximum and cruising speed are 204 km/hr and 130 km/hr respectively.
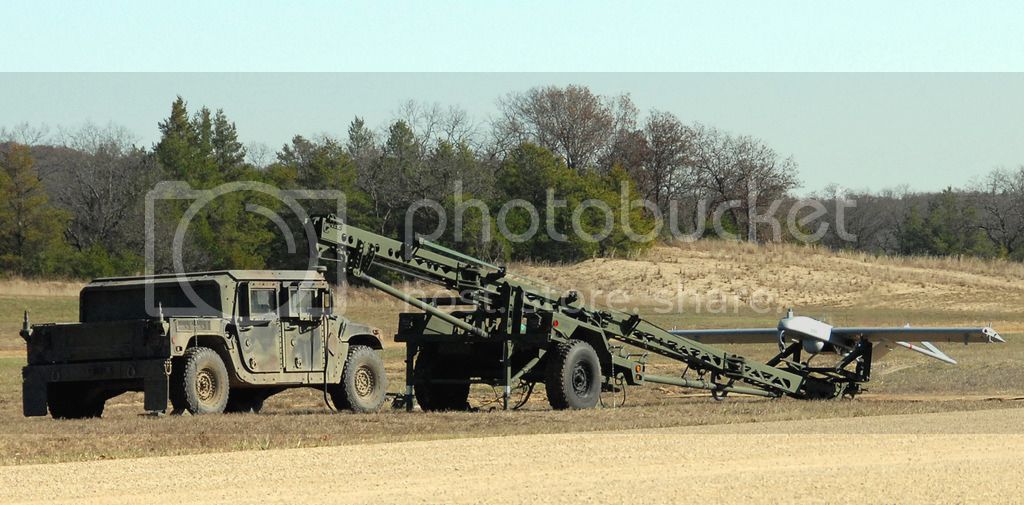
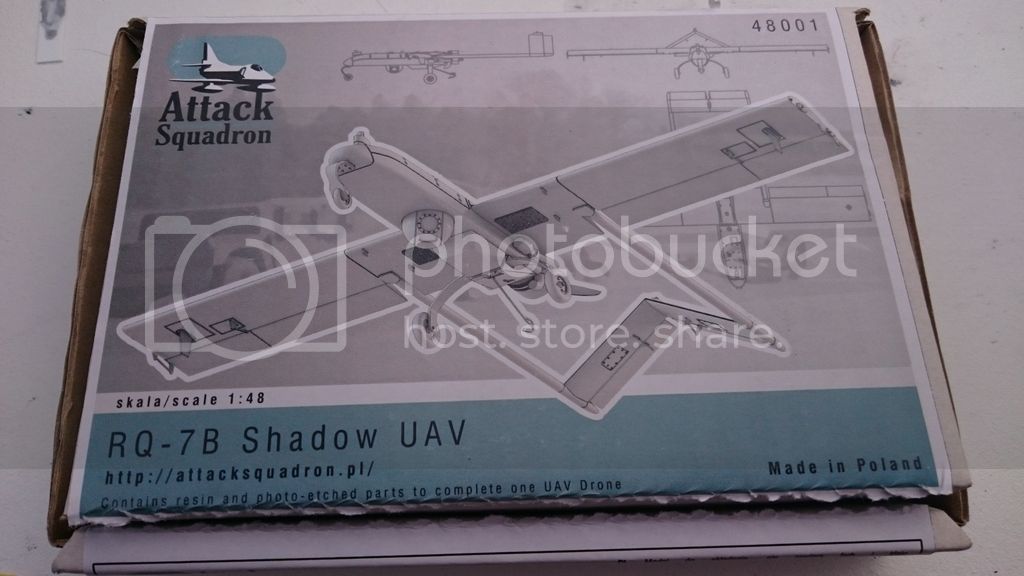
There are two kits available for a RQ-7. There is an Academy plastic kit in the 1/35 scale and the Attack Squadron resin kit in 1/48 and 1/72 scale. This build will be all about the Attack Squadron 1/48 kit.
The kit is packed in a small cardboard box:
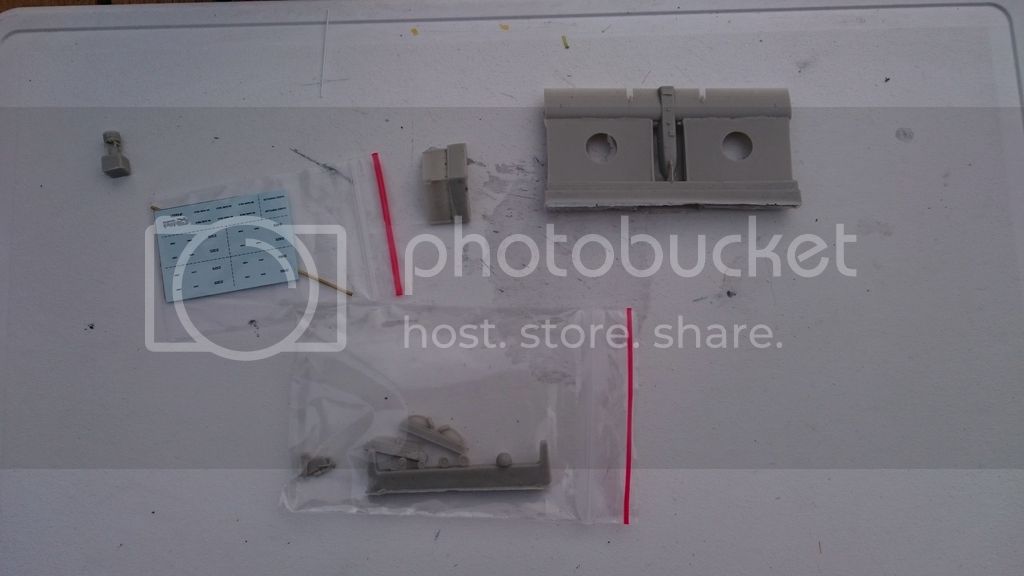
Which contains several resin pieces, a brass tube, a fret of PE and decals:
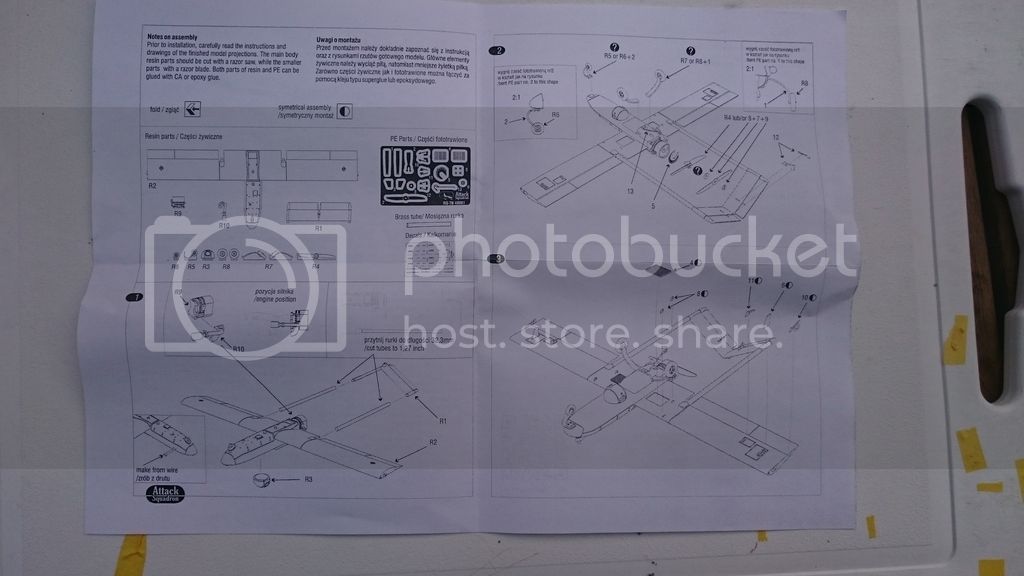
Instructions are clear and printed on a small piece of paper:
Soon an update!
Jelger
spaarndammer
Noord-Holland, Netherlands
Joined: January 28, 2007
KitMaker: 1,945 posts
AeroScale: 388 posts
Joined: January 28, 2007
KitMaker: 1,945 posts
AeroScale: 388 posts
Posted: Wednesday, June 15, 2016 - 01:02 AM UTC
Hi all,
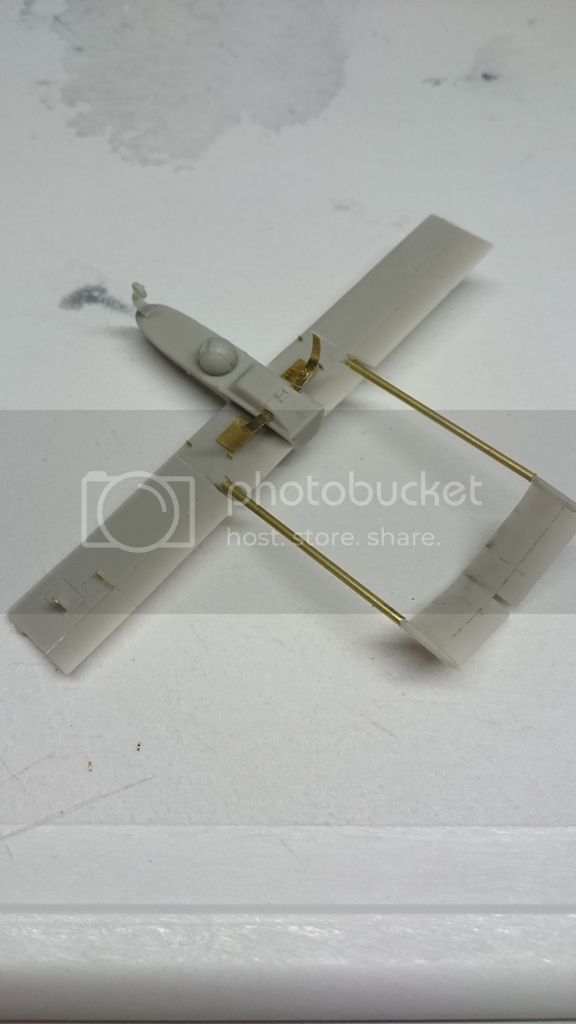
Building the RQ-7 goes pretty fast and easy. The resin parts are easy to remove from the casting blocks and the PE is straightforward to add. A few tiny bits, but with care these can be attached to the little bird.
The only problem is to make the attachment points of the tube to the tail and hull flush.
Jelger
MichaelSatin
Campaigns Administrator
Colorado, United States
Joined: January 19, 2008
KitMaker: 3,909 posts
AeroScale: 2,904 posts
Joined: January 19, 2008
KitMaker: 3,909 posts
AeroScale: 2,904 posts
Posted: Friday, June 17, 2016 - 08:17 PM UTC
Interesting work going on here!
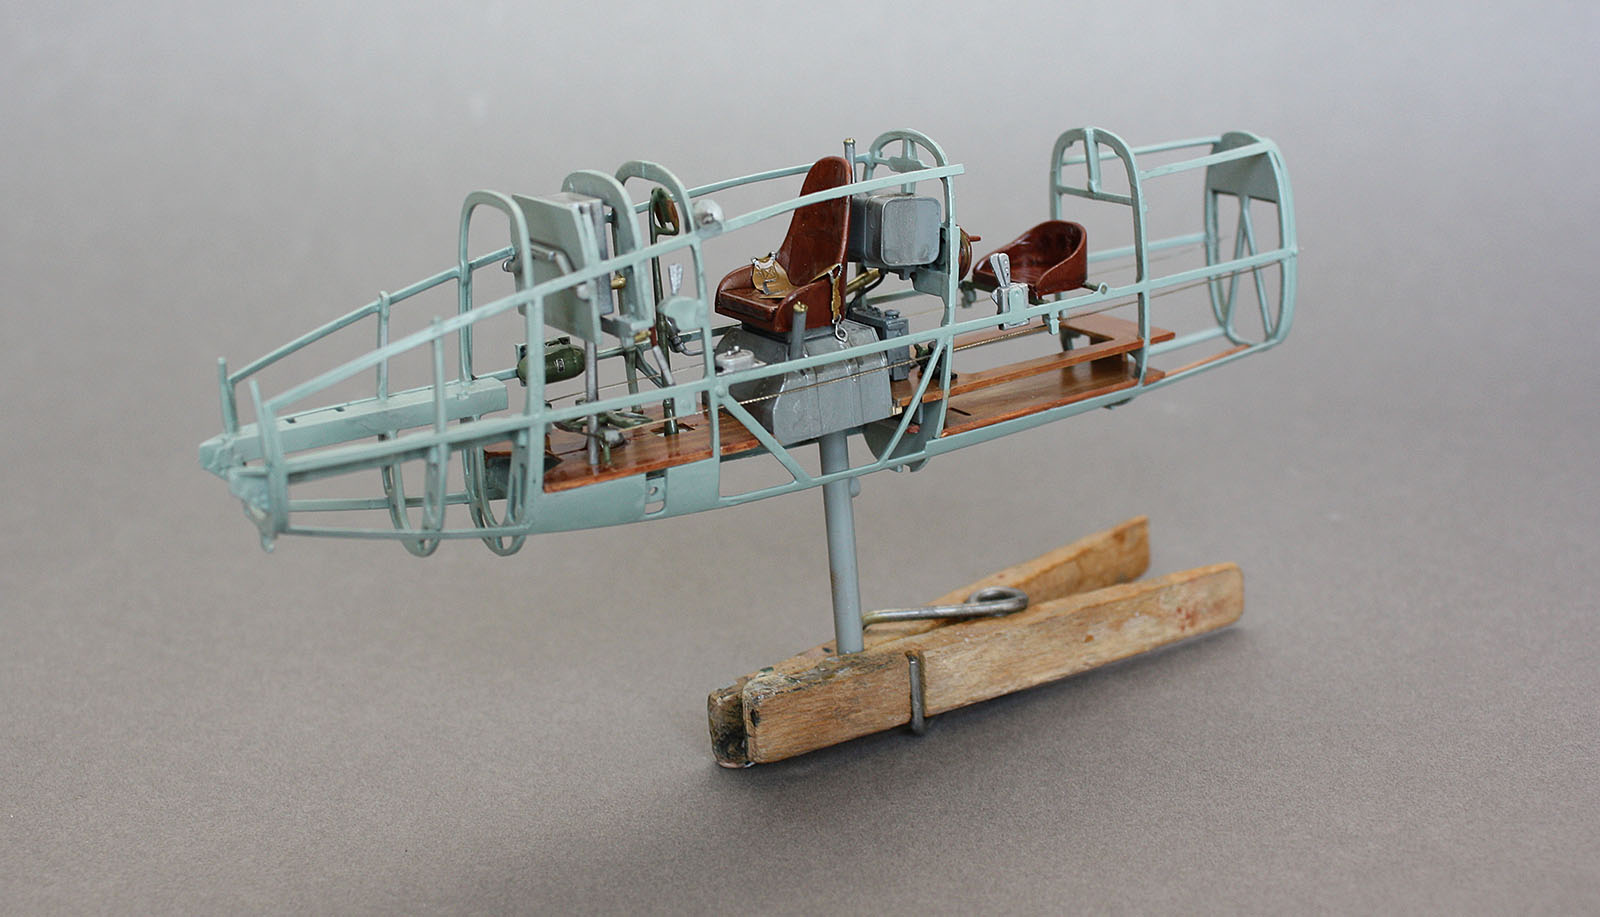
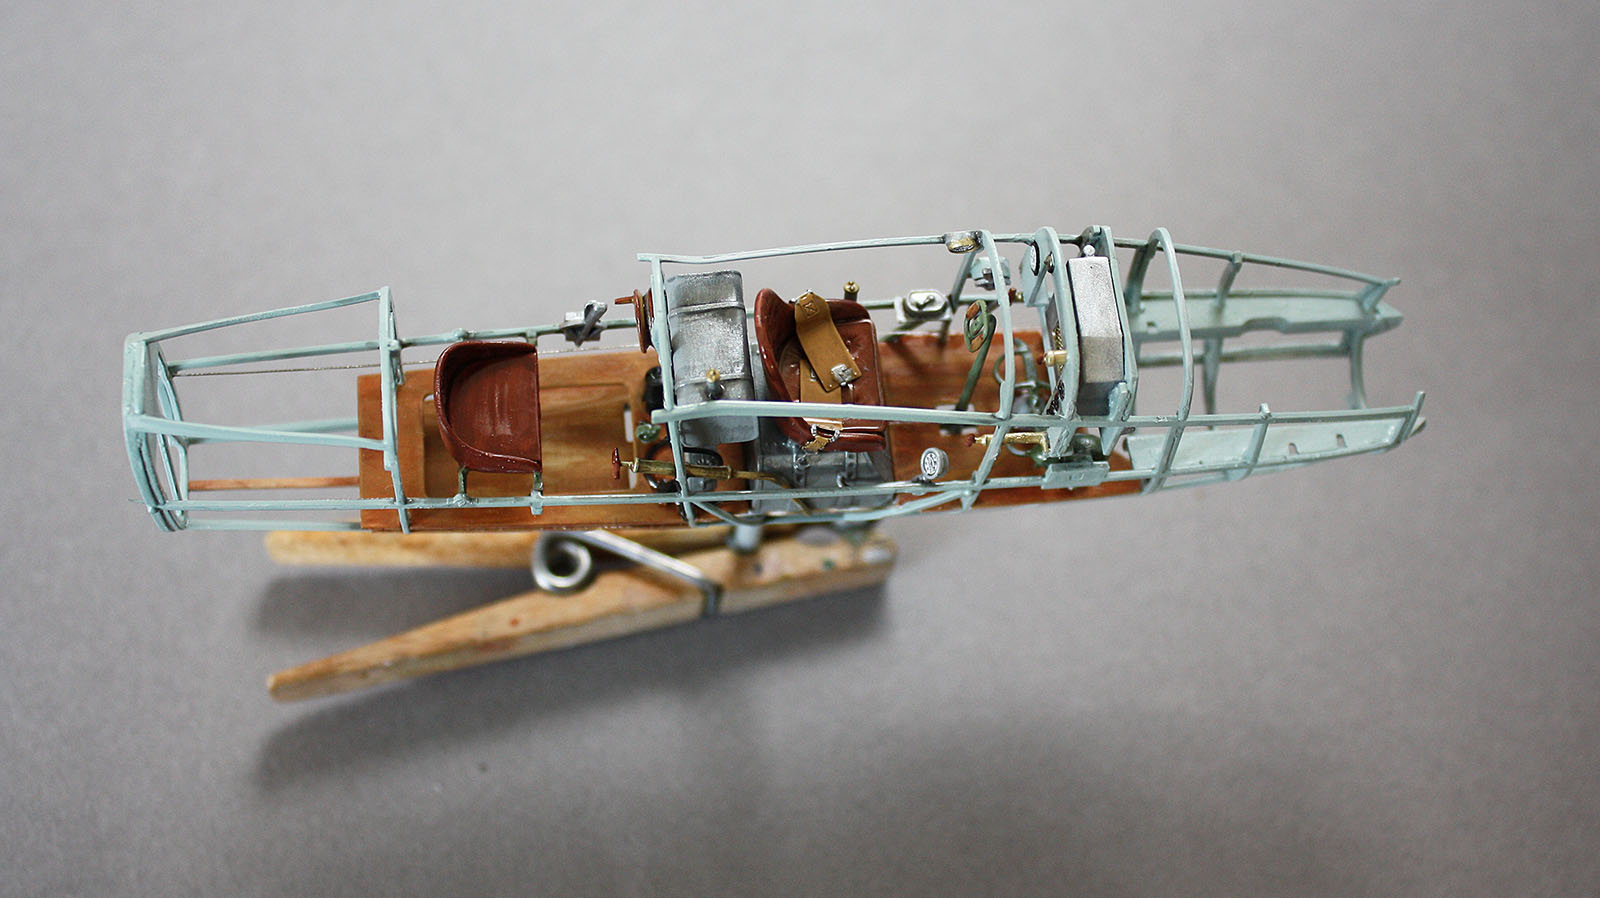
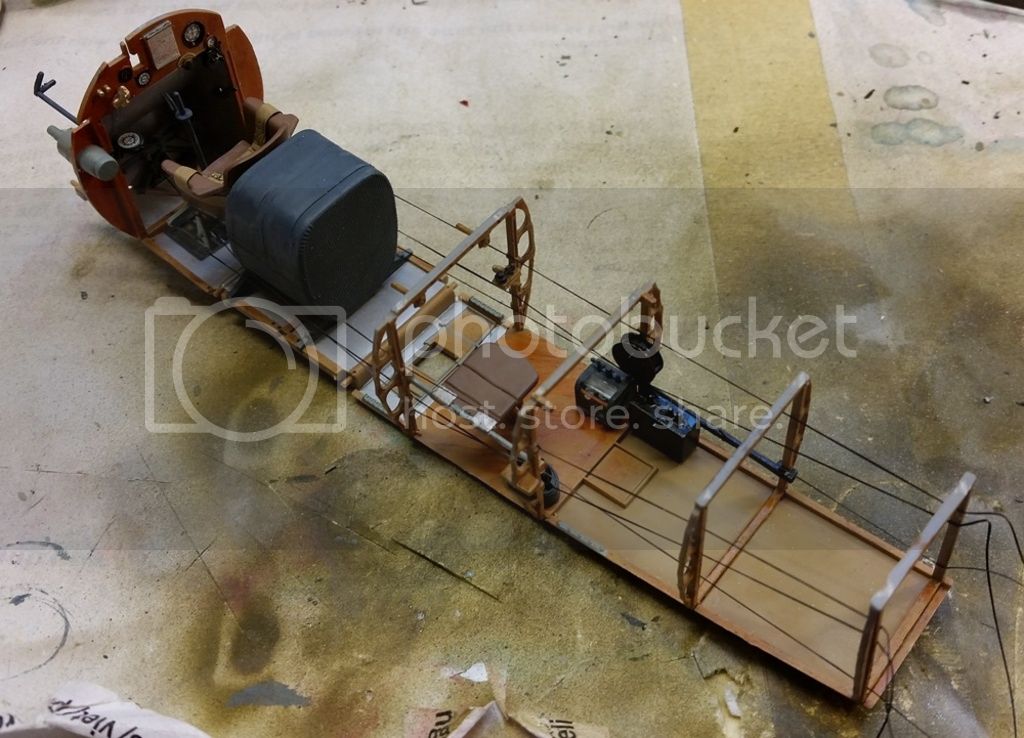
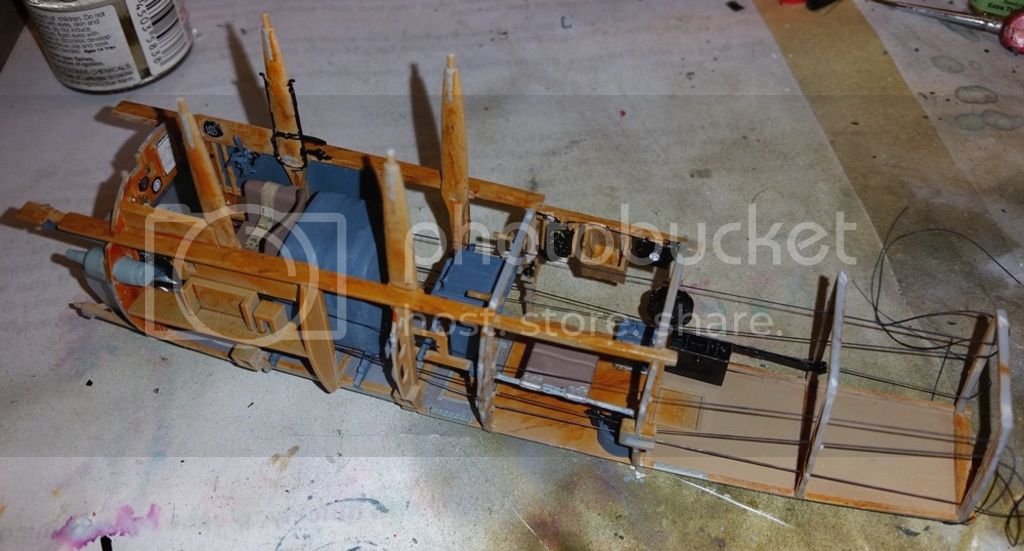
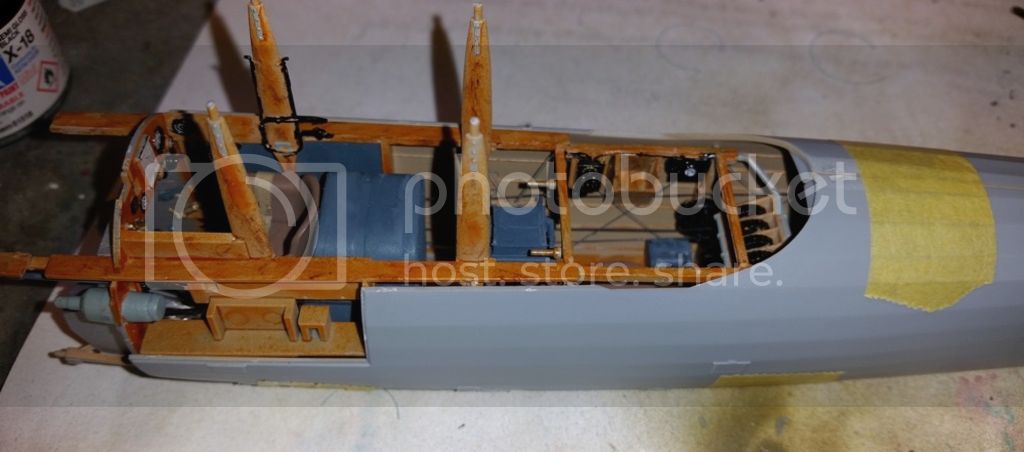
I finally got back to the Wingnut Salmson and have the interior almost done. Here it is without the side frames/cabine struts:
The rigging is the control wires.
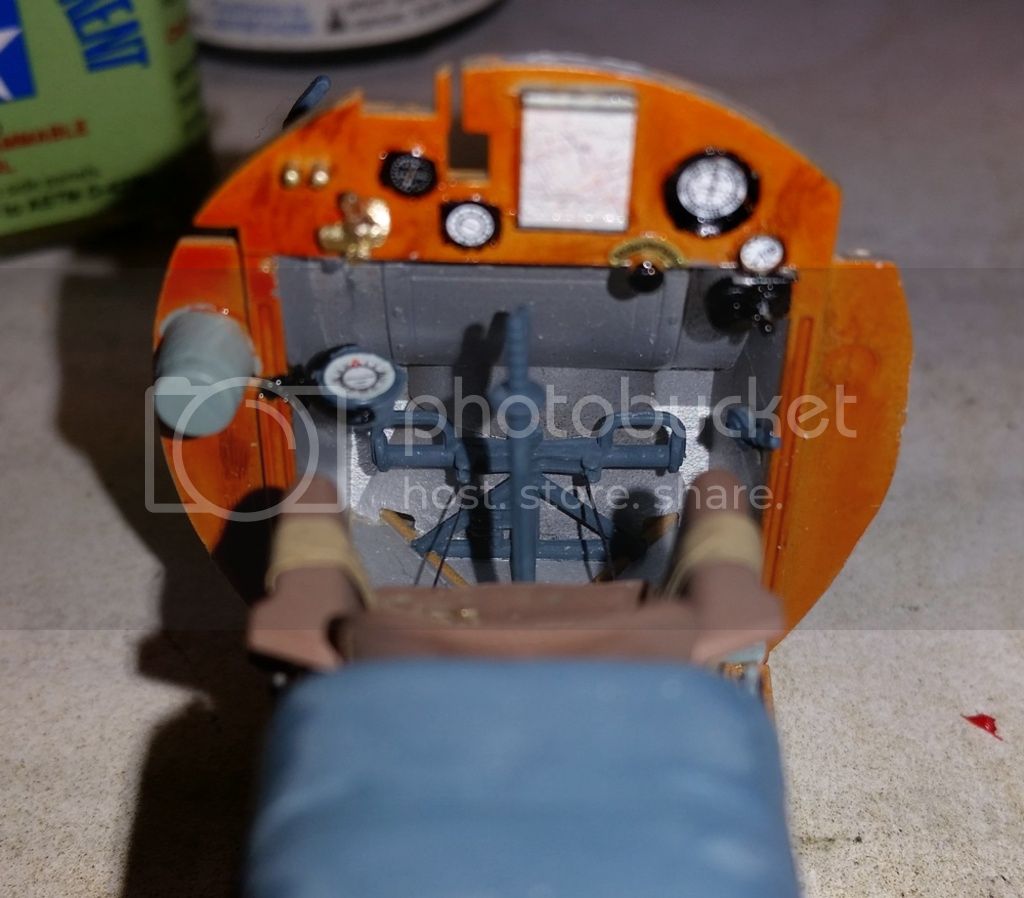
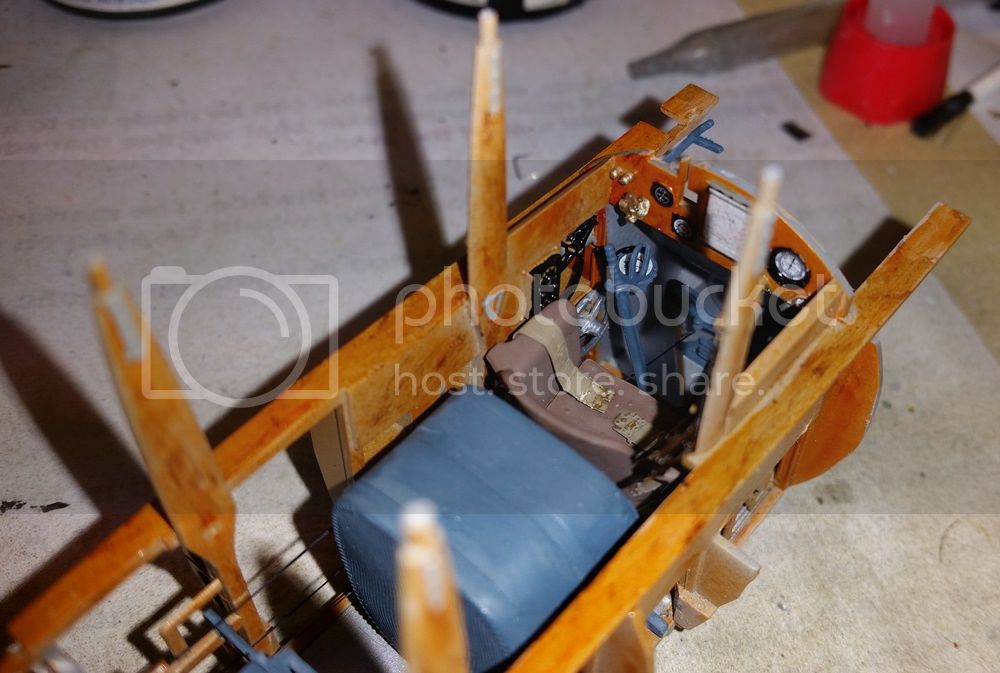
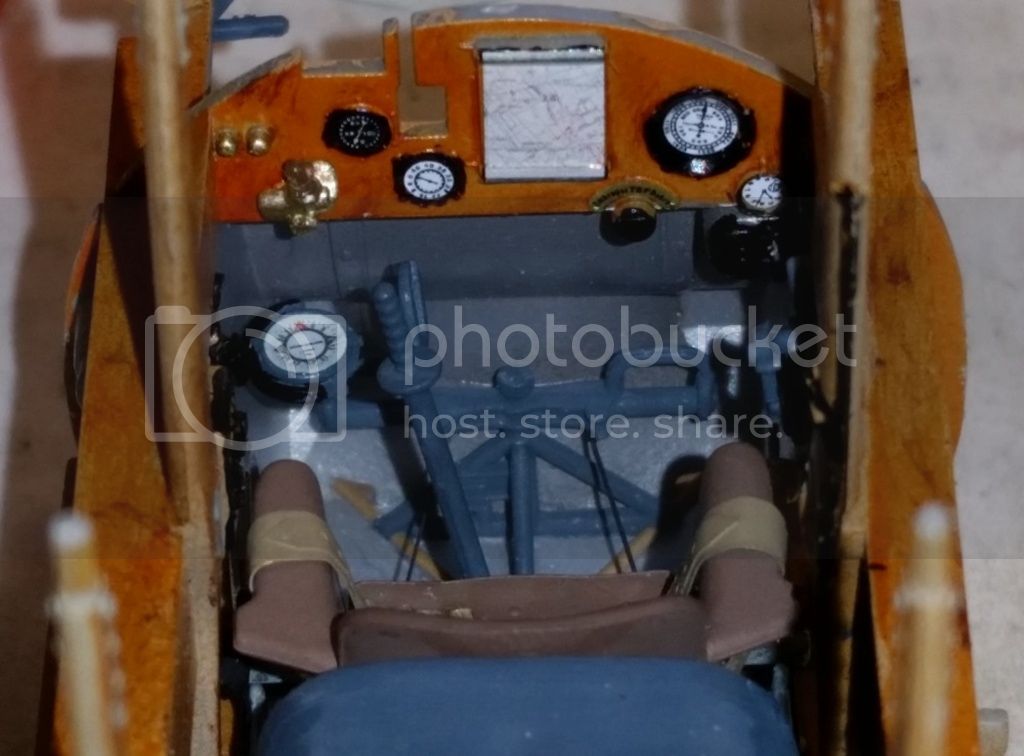
The instrument panel and pilot's cockpit:
Not the best photography, sorry.
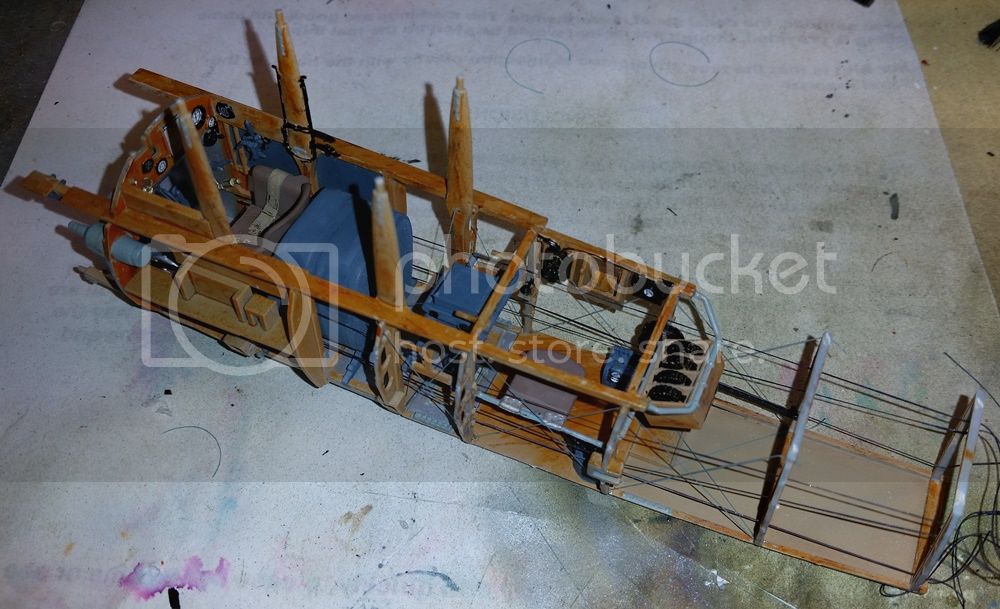
And how it looks with the side frames on:
REALLY looking forward to the bracing wires. Oh well, that'll be for later today.
Thanks for looking!
Michael
Posted: Saturday, June 18, 2016 - 02:57 AM UTC
lovely! nice looking wood work as well as all the gear and instruments.
MichaelSatin
Campaigns Administrator
Colorado, United States
Joined: January 19, 2008
KitMaker: 3,909 posts
AeroScale: 2,904 posts
Joined: January 19, 2008
KitMaker: 3,909 posts
AeroScale: 2,904 posts
Posted: Saturday, June 18, 2016 - 04:45 AM UTC
Thanks Jonathan!
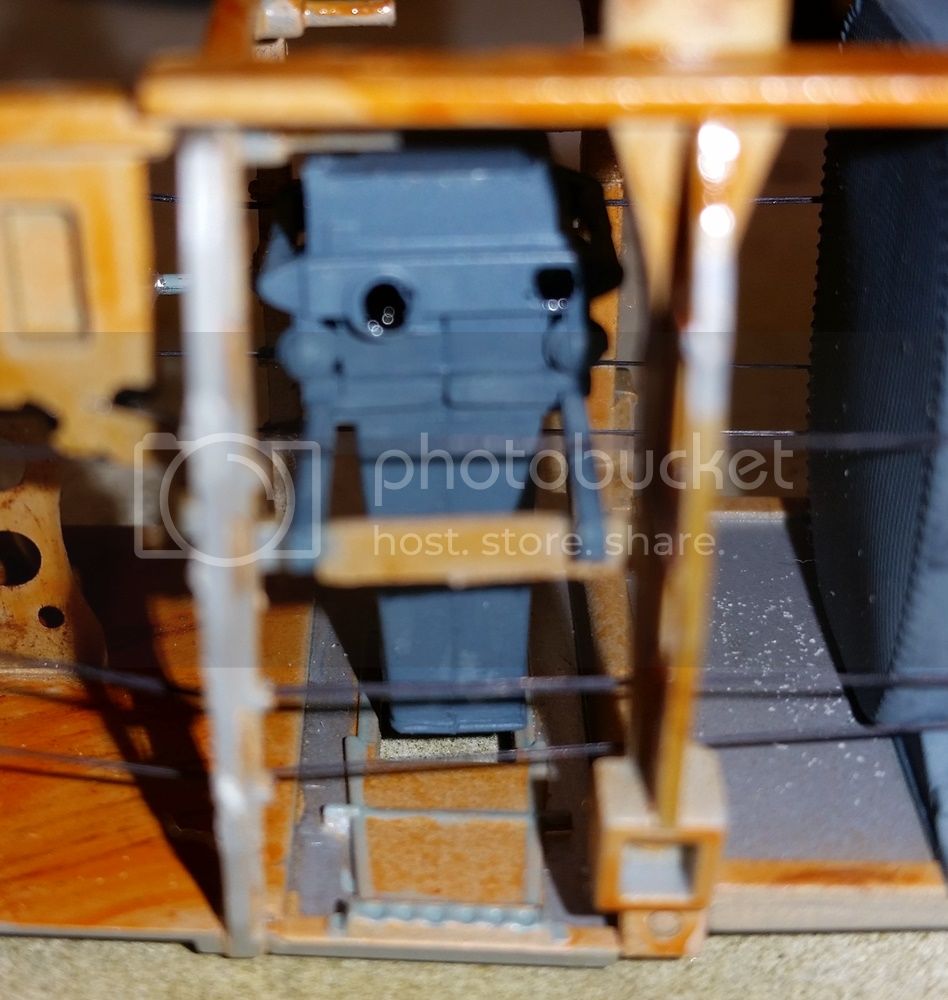
Some more work done. The camera (it IS a recon campaign):
I could have done some seam clean up but let's face it, no one will see it.
The interior with bracing wires:
A clearer shot of the pilot's office:
How it looks closed up:
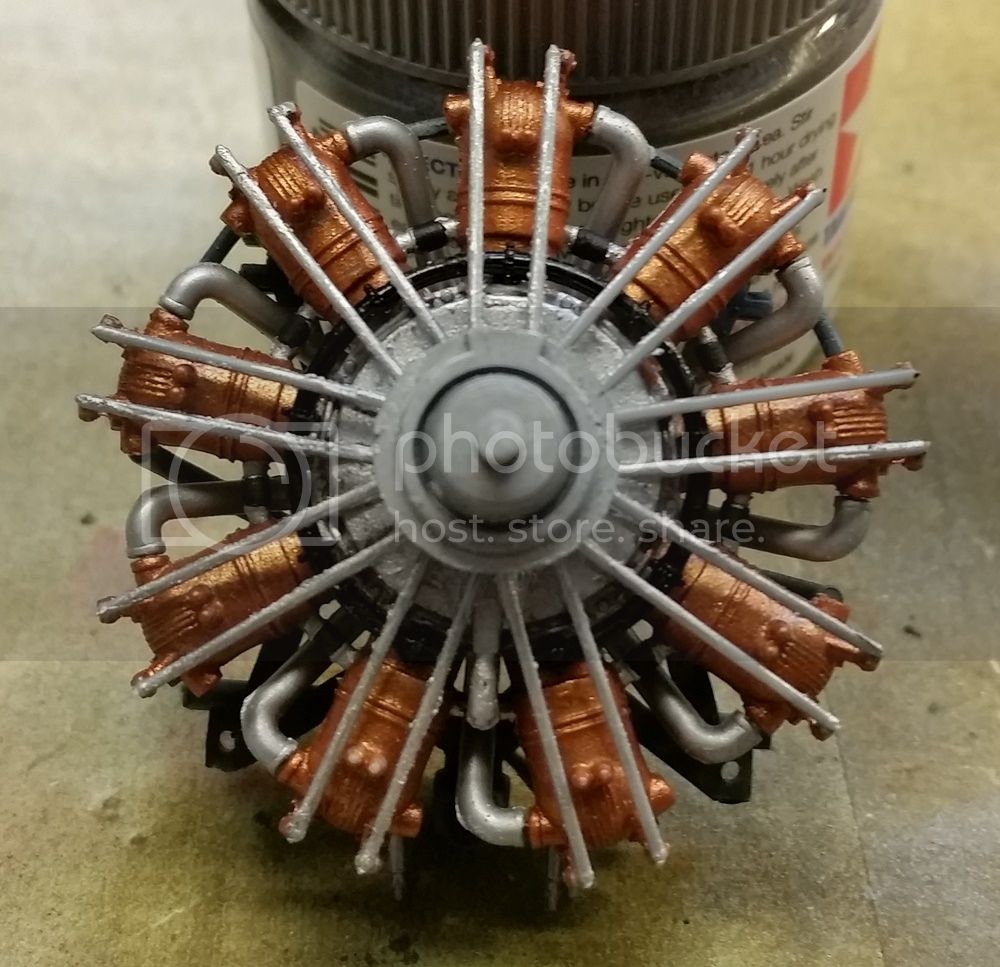
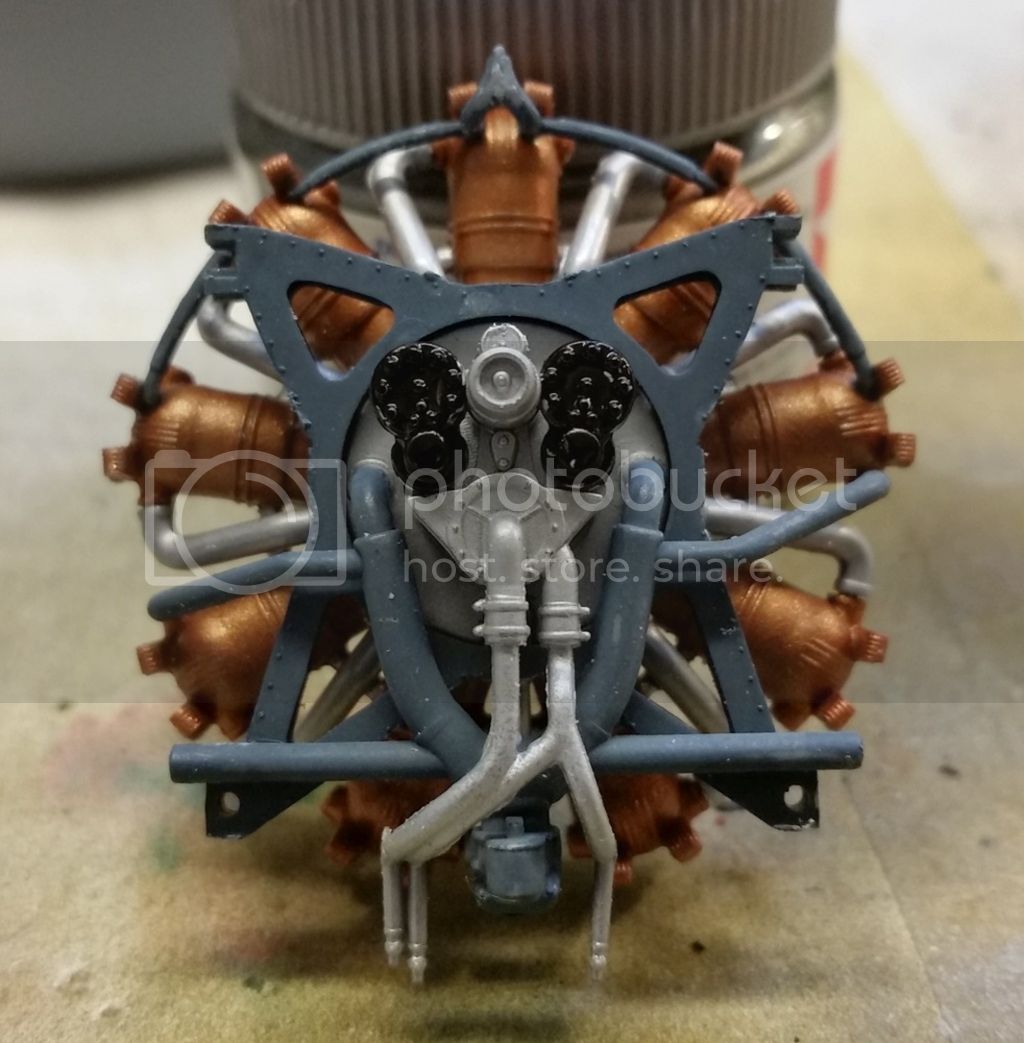
And here's the fairly unique (for WWI) Salmson radial engine:
which will also be pretty much completely hidden (but I know it's there, right?)
Michael