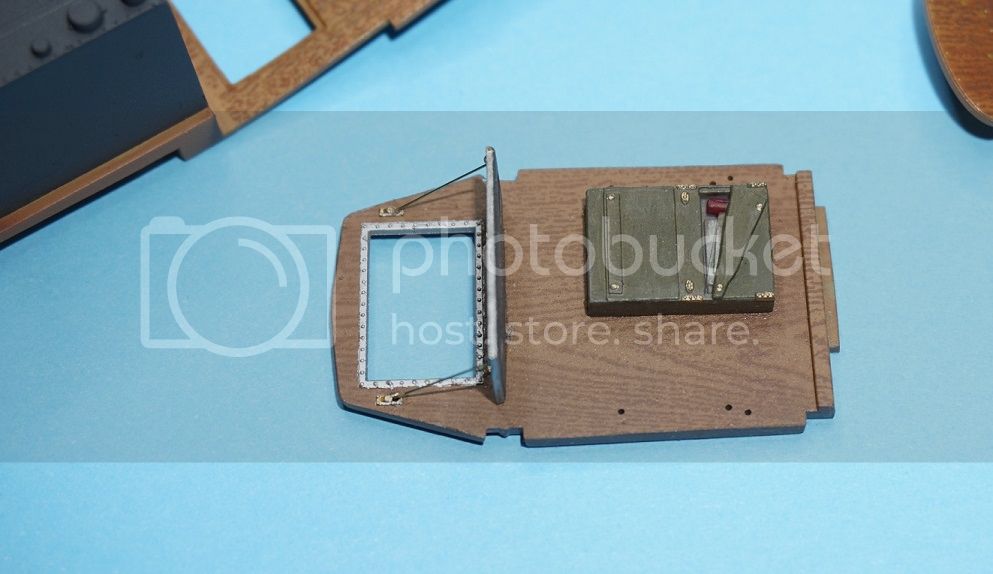
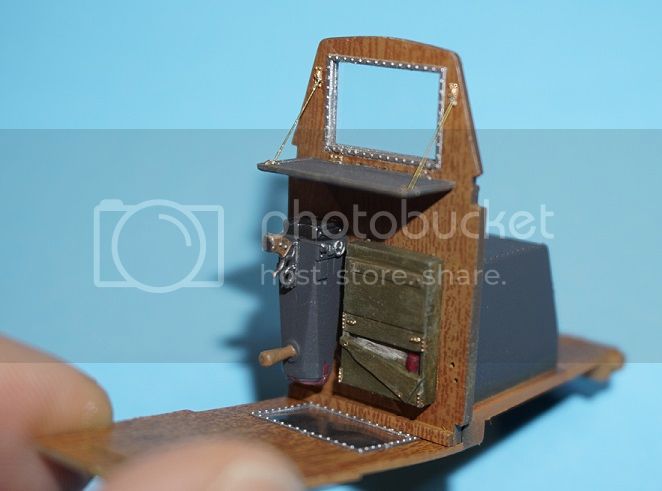
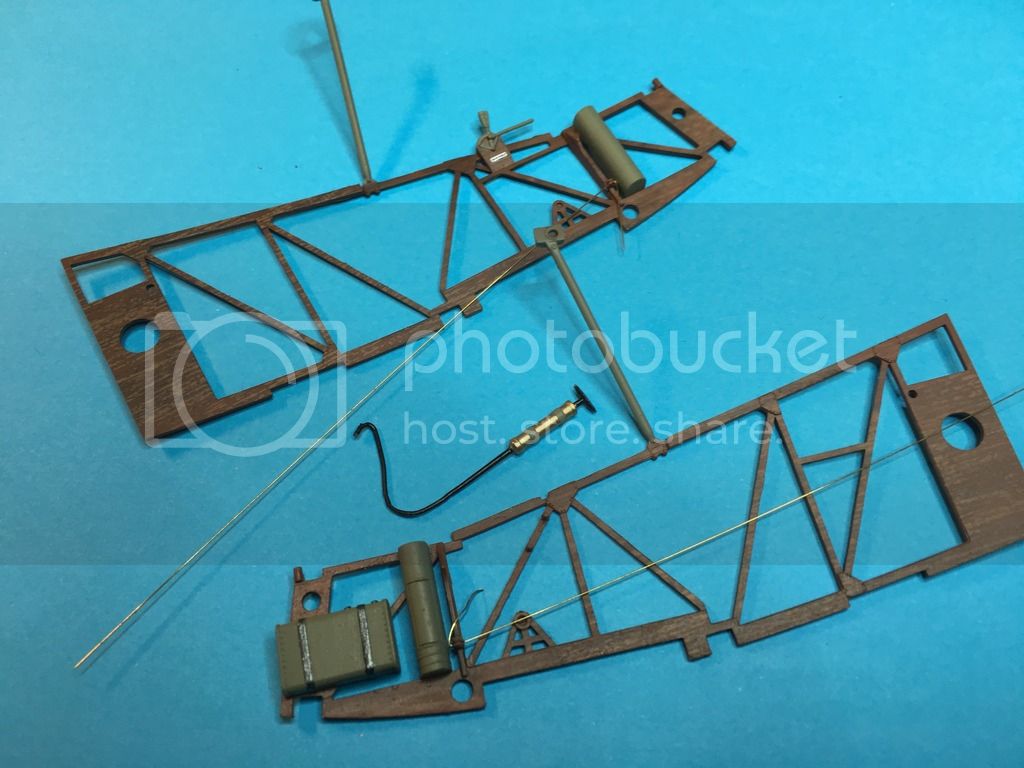
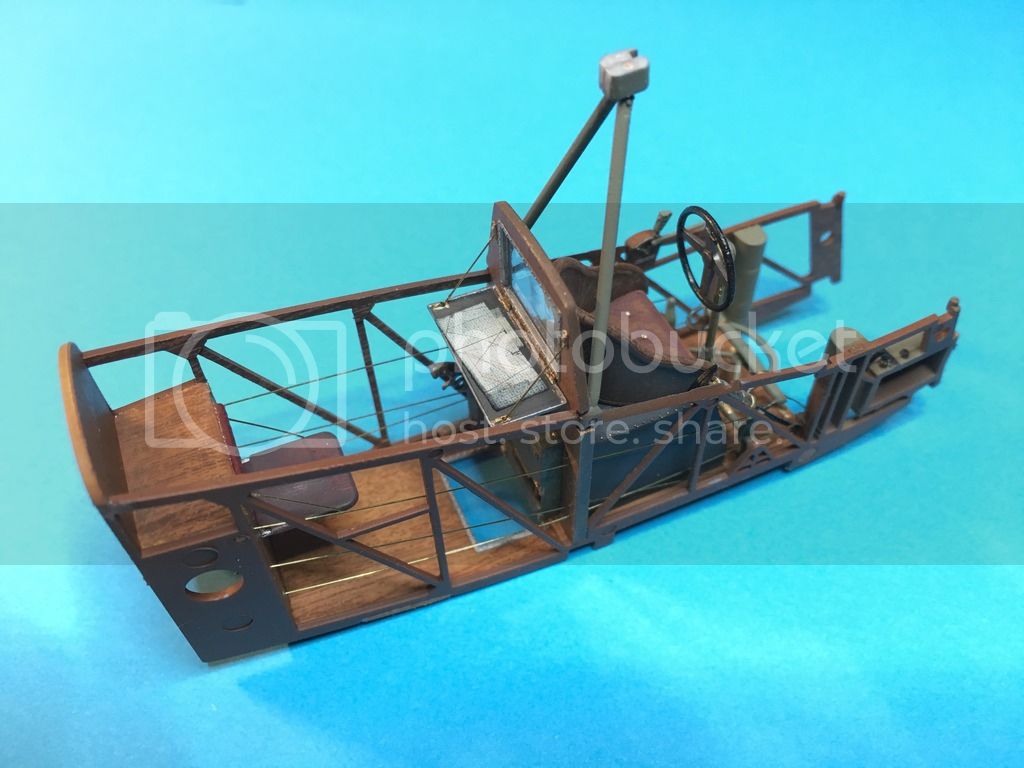
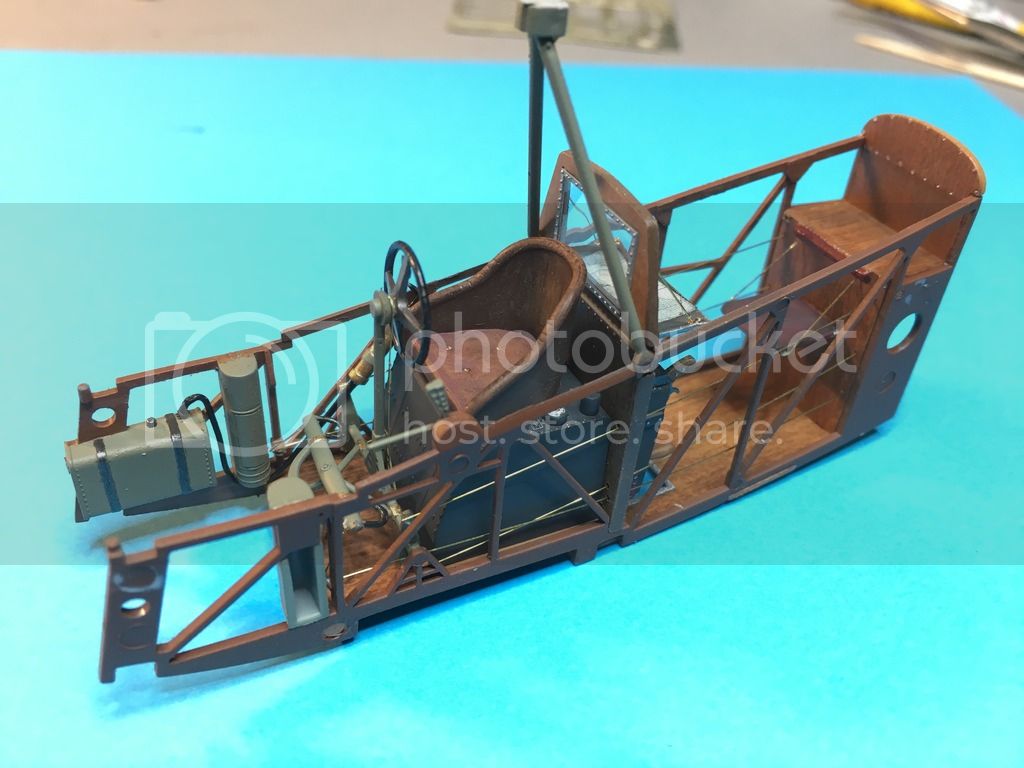
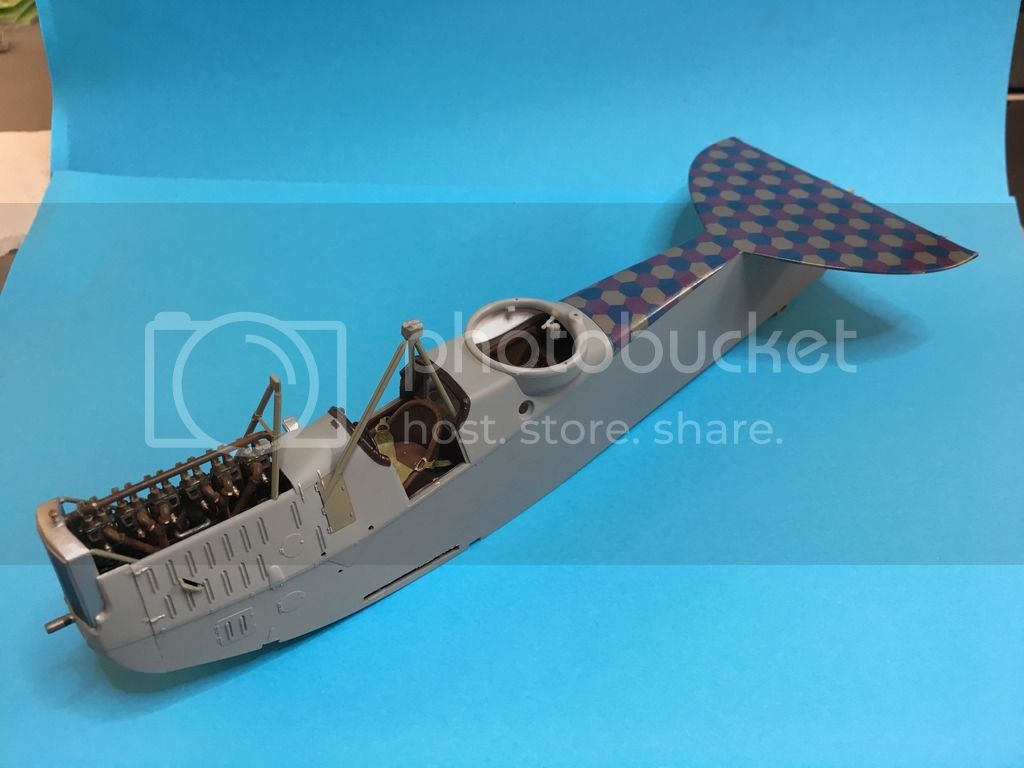
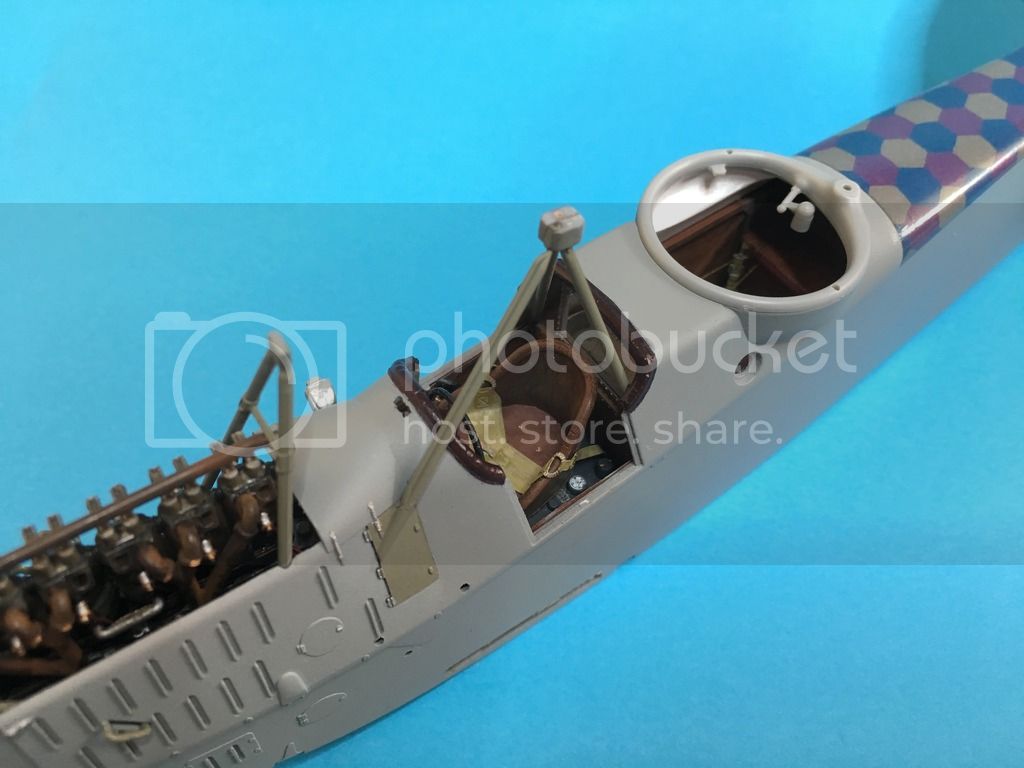
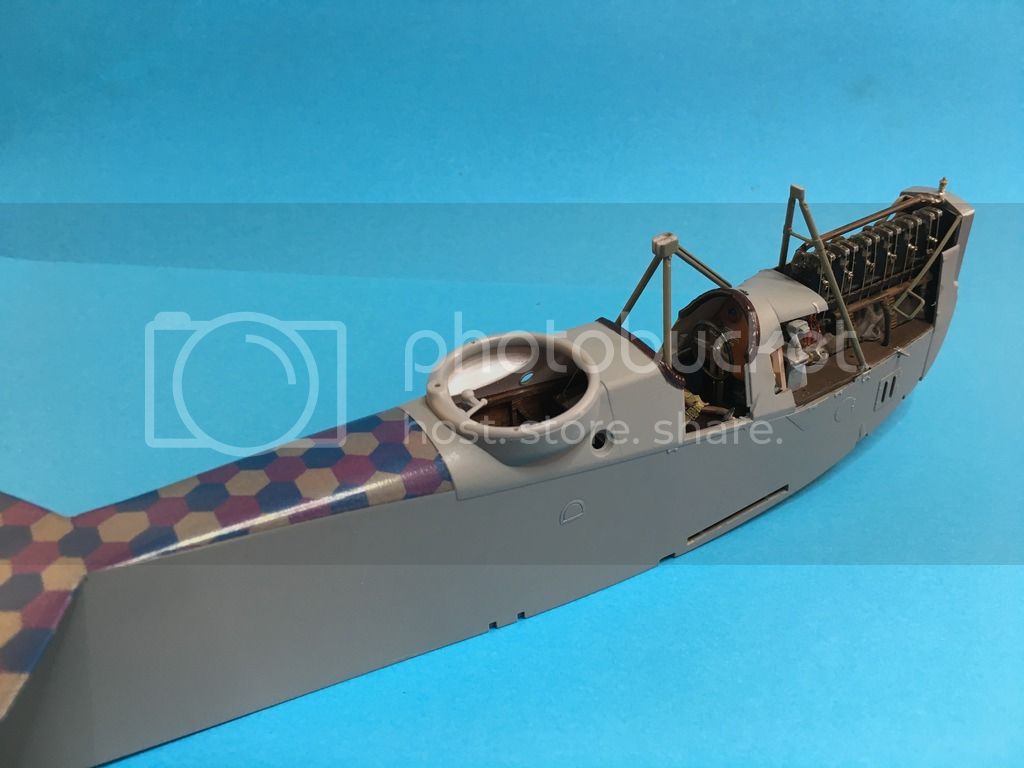
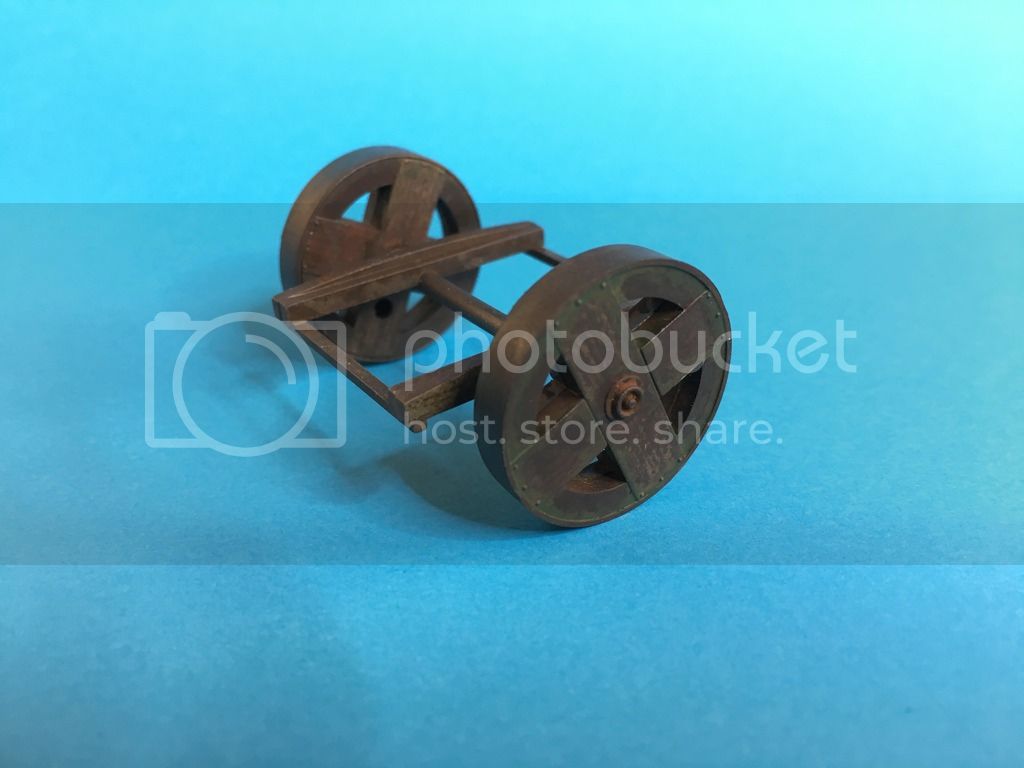
Hansa-Brandenburg W.12 - WNW 1/32
Gdańsk, Poland
Joined: February 18, 2016
KitMaker: 92 posts
AeroScale: 90 posts
Posted: Friday, February 26, 2016 - 06:33 AM UTC
MichaelSatin
 Campaigns Administrator
Colorado, United States
Joined: January 19, 2008
KitMaker: 3,909 posts
AeroScale: 2,904 posts
Posted: Friday, February 26, 2016 - 06:41 AM UTC
Excellent start!!
Michael

On the bench:
Sorta depends on your definition of "on the bench"...
Gdańsk, Poland
Joined: February 18, 2016
KitMaker: 92 posts
AeroScale: 90 posts
Posted: Friday, February 26, 2016 - 06:46 AM UTC
Quoted Text
Excellent start!!
Michael 
Thanks!!

Unfortunately pictures are not of the best quality need to buy macro lens. All and all have to read some tips how to set up lighting and camera settings

Merlin
 Senior Editor
#017
United Kingdom
Joined: June 11, 2003
KitMaker: 17,582 posts
AeroScale: 12,795 posts
Posted: Friday, February 26, 2016 - 03:47 PM UTC
Hi Bart
Beautiful work on the interior so far! I'm really looking forward to the rest of your build.

All the best
Rowan

BEWARE OF THE FEW...
As I grow older, I regret to say that a detestable habit of thinking seems to be getting a hold of me. - H. Rider Haggard
AussieReg
 Associate Editor
#007
Victoria, Australia
Joined: June 09, 2009
KitMaker: 8,156 posts
AeroScale: 3,756 posts
Posted: Friday, February 26, 2016 - 03:59 PM UTC
Lovely work so far, I'm looking forward to following your build here.
Cheers, D
ON the bench
Revell 1/24 '53 Corvette (building as '54)
Revell 1/24 BMW 507 Coupe and Cabrio
Italeri 1/48 Me262 B-1a/U1 Nightfighter
Monogram 1/24 '57 Chevy Nomad
Dragon 1/350 USS Frank Knox DD-742

#041
Kobenhavn, Denmark
Joined: July 20, 2006
KitMaker: 10,069 posts
AeroScale: 3,788 posts
Posted: Friday, February 26, 2016 - 05:07 PM UTC
Great work! The wood finish looks awesome.
Looking forward to see more

Campaign'oholic - 252+ campaigns completed
Gdańsk, Poland
Joined: February 18, 2016
KitMaker: 92 posts
AeroScale: 90 posts
Posted: Friday, February 26, 2016 - 05:20 PM UTC
Thanks guys for kind words - really having fun with the build

cheers
Bart
Colorado, United States
Joined: January 25, 2004
KitMaker: 11,669 posts
AeroScale: 11,011 posts
Posted: Friday, February 26, 2016 - 10:33 PM UTC
Clean, crisp and a bright start.
". . .The most important thing is to know why you build and then get the most that you can out of building." via D.D.
Gdańsk, Poland
Joined: February 18, 2016
KitMaker: 92 posts
AeroScale: 90 posts
Posted: Sunday, February 28, 2016 - 01:26 AM UTC
OK, here's small update.
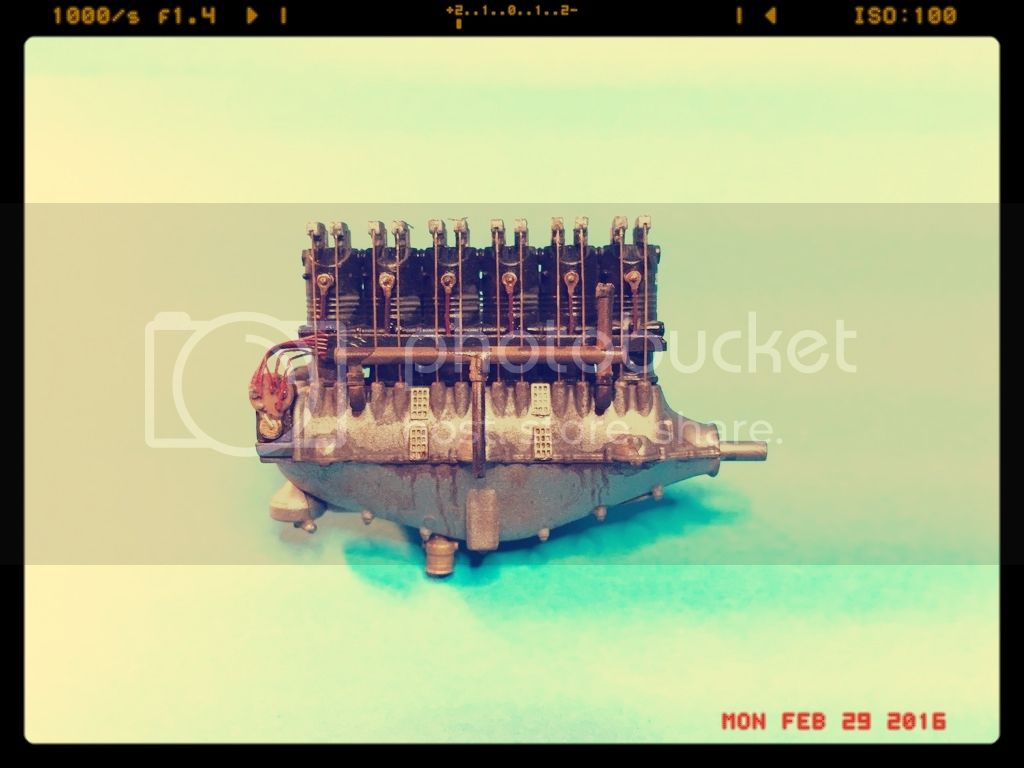
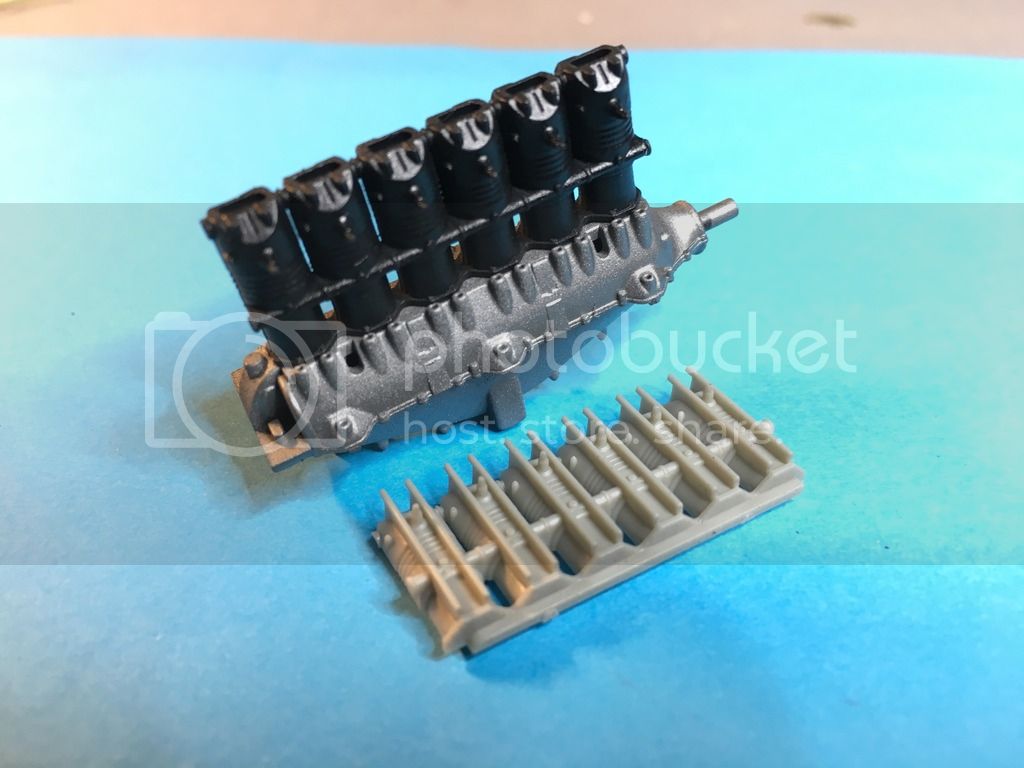
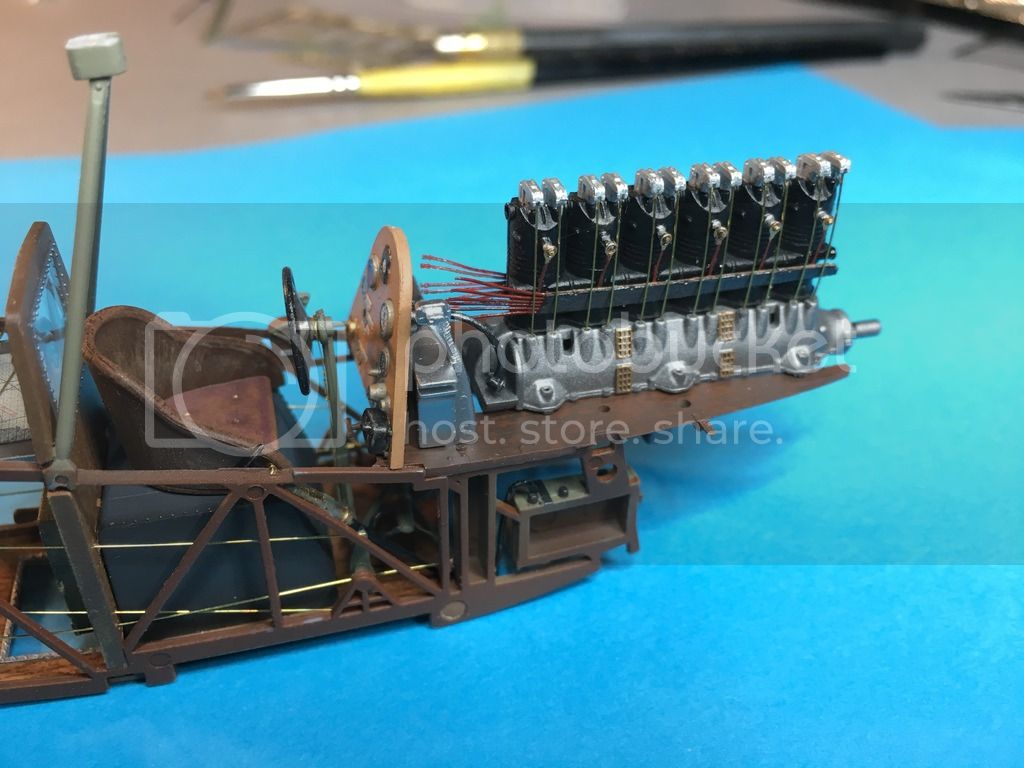
Went for the instrument panel and engine.
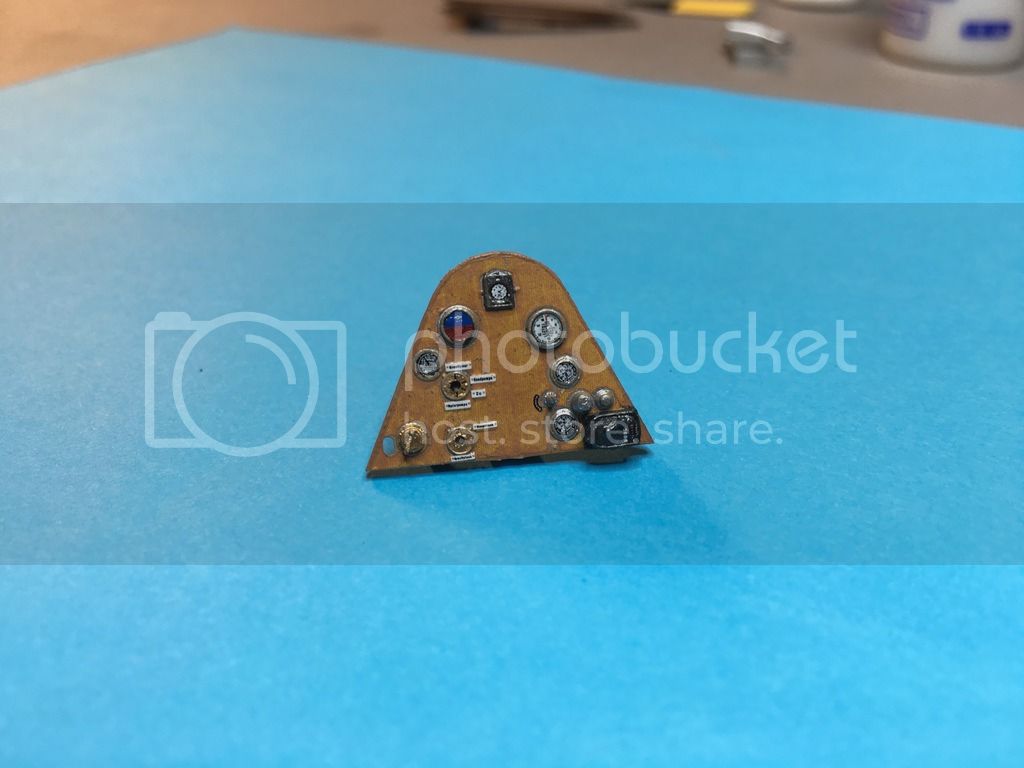
As for the engine I decided to redo the pushrods as what kit is offering does not look too good

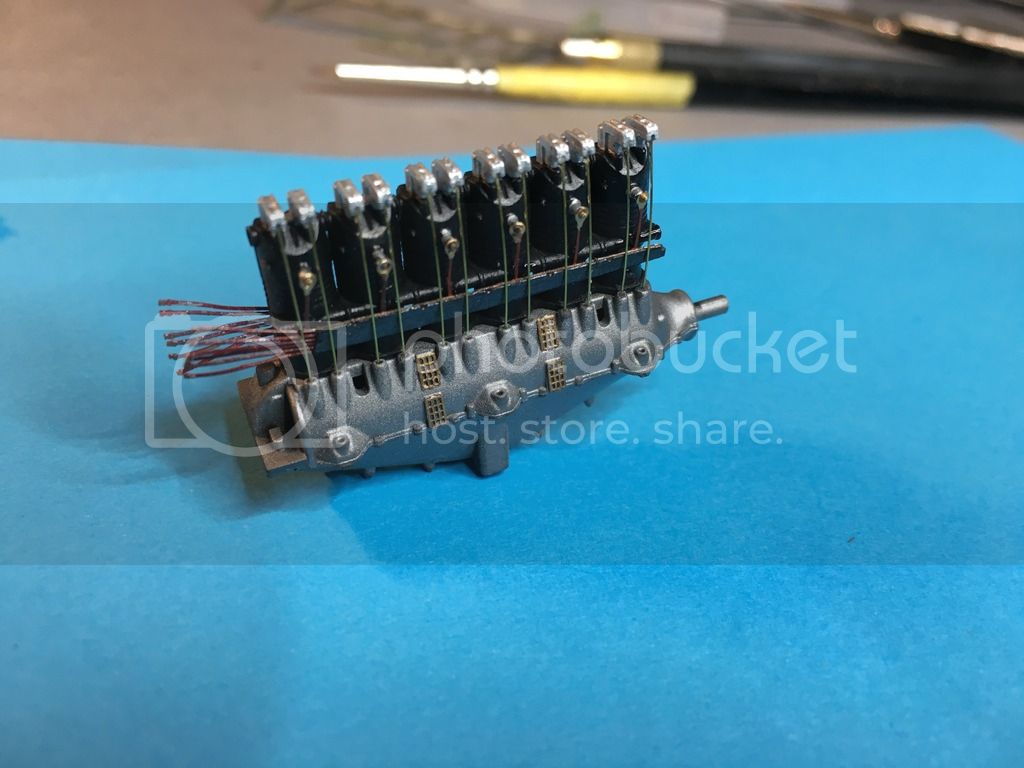
Also added spark plugs' power cables and prepared them to attach on later stage to magnetos for each side. The ignition cables were protected in troughs running down either side of the cylinders.

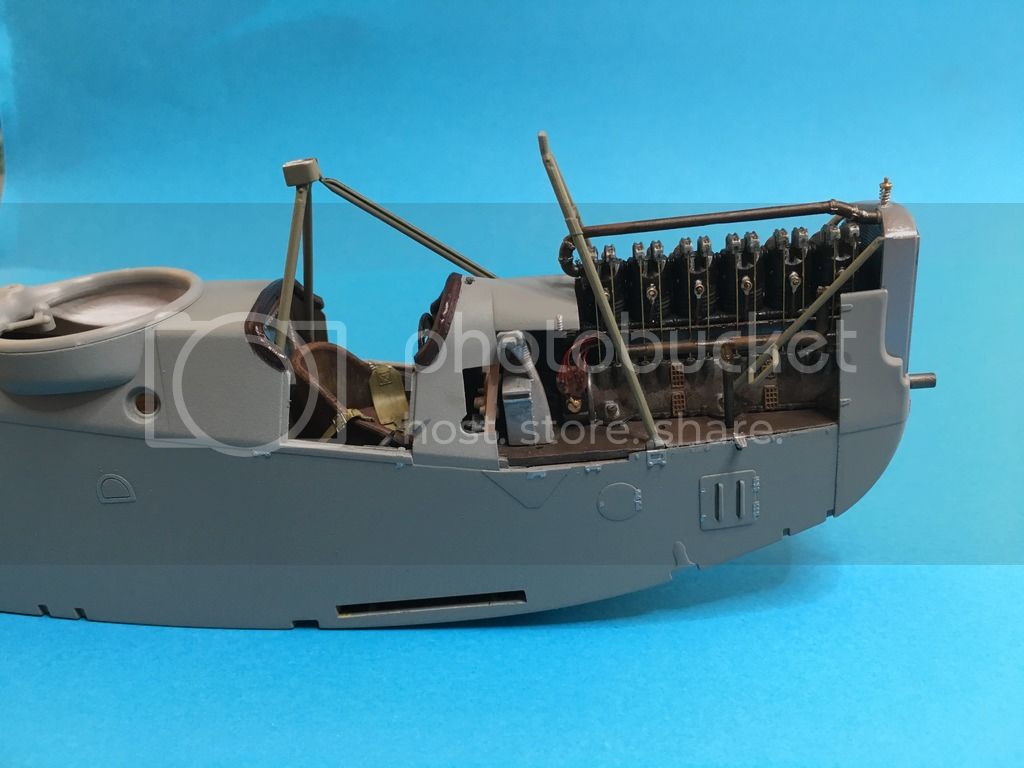
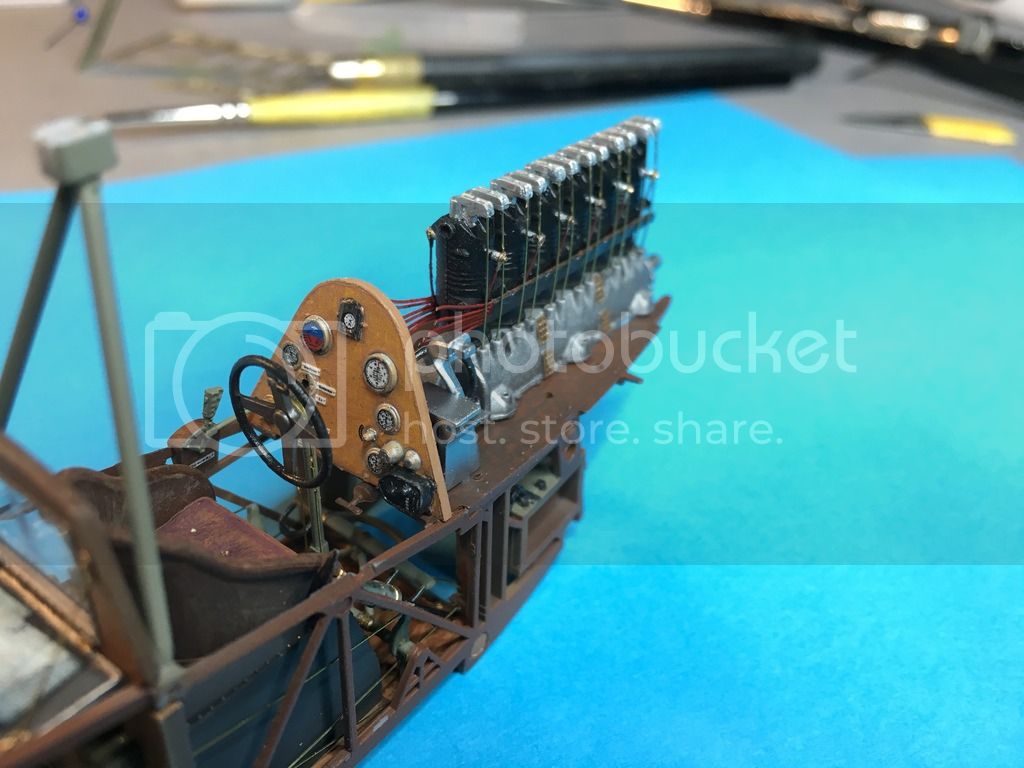
Engine (not weathered yet) dry-fitted to the engine bay:
Noord-Holland, Netherlands
Joined: January 28, 2007
KitMaker: 1,945 posts
AeroScale: 388 posts
Posted: Sunday, February 28, 2016 - 12:59 PM UTC
Great Looking build! The wooden structure looks really convincing.
I love these WNW kits for their detail, but fear of rigging hesitates me to buy one.
The W12 is of special interest for me as the Royal Dutch Navy used them to from 1919 till 1933. Indeed, according to Wiki in April 1918, a W.12 made an emergency landing in the neutral territory of the Netherlands, where it was interned and flight tested by the Dutch. In 1919 the government of the Netherlands bought a licence to build the aircraft. Now if there were suitable decals I may even try one.

Jelger
On the workbench:
- Tamiya P-47D 1/48
- Eduard Mig21 1/144
Gdańsk, Poland
Joined: February 18, 2016
KitMaker: 92 posts
AeroScale: 90 posts
Posted: Sunday, February 28, 2016 - 01:10 PM UTC
Quoted Text
Great Looking build! The wooden structure looks really convincing.
I love these WNW kits for their detail, but fear of rigging hesitates me to buy one.
Jelger
Hello Jelger!
Thanks for the appreciation

You should really go for it with WNW and W.12 is probably a good start kit for you. First reason is that it has really limited amount or rigging

and secondly because it's a point of special interest for you. Additionally WNW is going to raise prices next month so decide quickly

As for the decals - do you have any reference picture of the a/c you want to build?
Bart
Wisconsin, United States
Joined: April 05, 2007
KitMaker: 2,023 posts
AeroScale: 81 posts
Posted: Sunday, February 28, 2016 - 09:13 PM UTC
Thank you for sharing Bart ! A question, is the wood a decal or did you paint it ? If it is paint it's the best painted wood grain I have ever seen ! Keep up the good work and please continue to post progress pictures !
Tom
On the bench :
A whole bunch of figures, Too many half built kits and a (gasp) wing thing
Gdańsk, Poland
Joined: February 18, 2016
KitMaker: 92 posts
AeroScale: 90 posts
Posted: Monday, February 29, 2016 - 12:12 AM UTC
Quoted Text
Thank you for sharing Bart ! A question, is the wood a decal or did you paint it ? If it is paint it's the best painted wood grain I have ever seen ! Keep up the good work and please continue to post progress pictures !
Tom
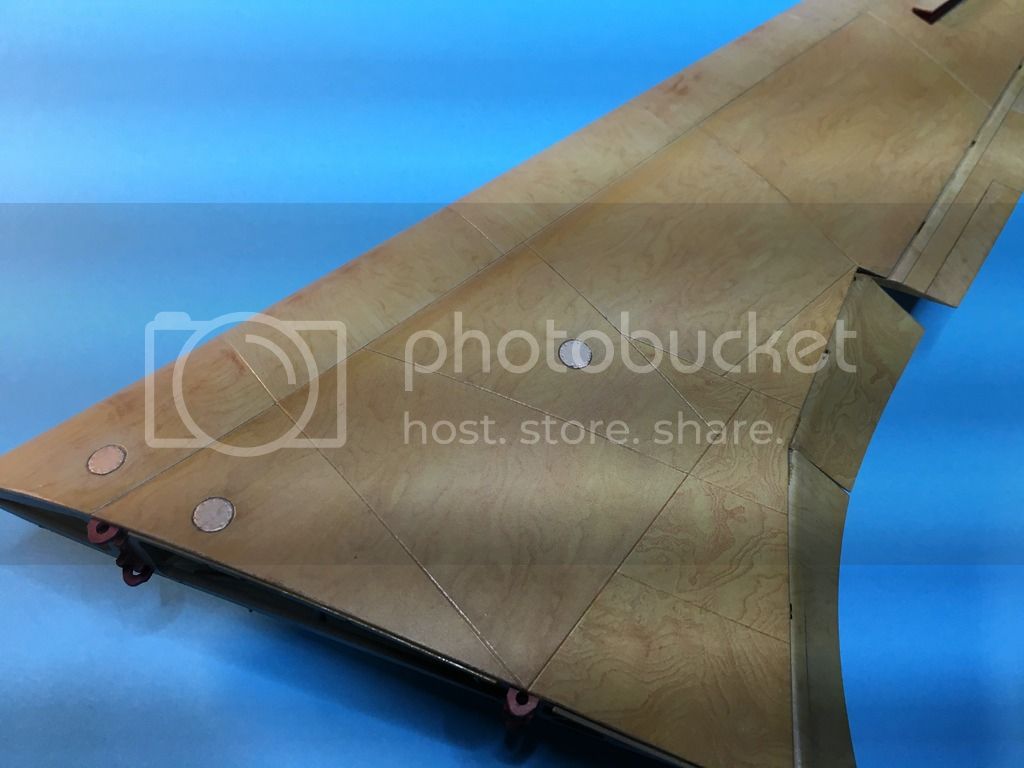
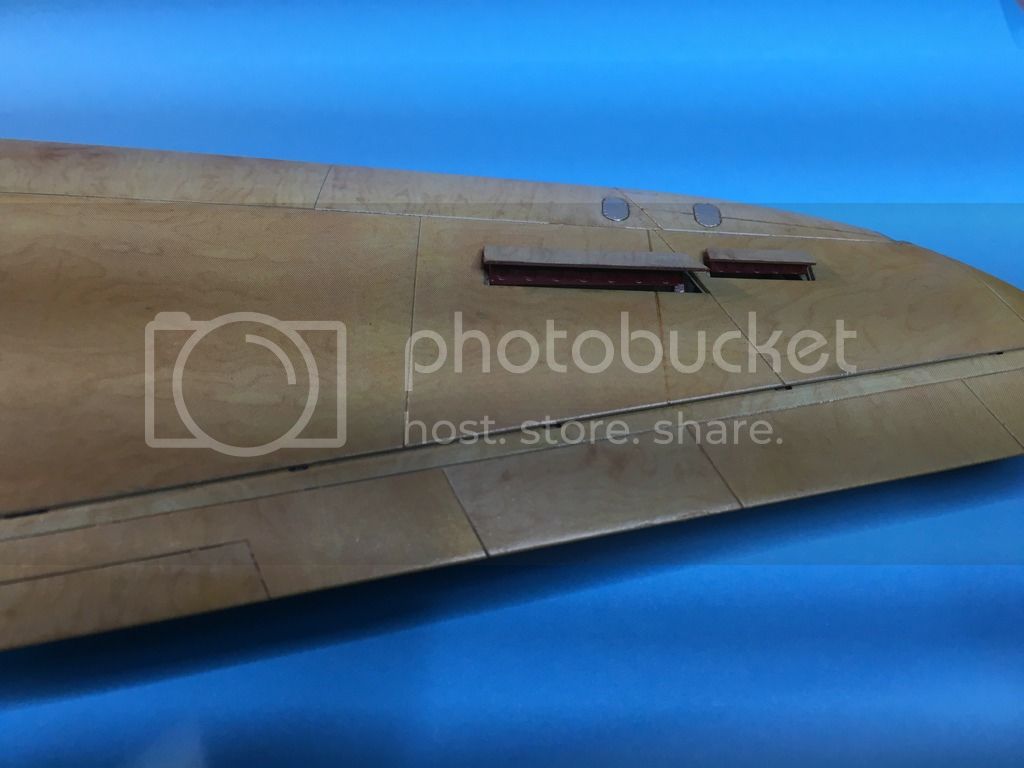
Hello Tom! Thanks a lot for the comment! Wood grain is painted - I'm using Vallejo/AK acrylics and VanGogh oils for filters.
Just for comparison I'm currently also working on the Horten brothers flying wing Ho229 which I decided to leave 'au naturel'

just to show the structure and design details. For that I'm using Uschi's decals
Removed by original poster on 02/29/16 - 19:29:17 (GMT).
Gdańsk, Poland
Joined: February 18, 2016
KitMaker: 92 posts
AeroScale: 90 posts
Posted: Monday, February 29, 2016 - 12:25 AM UTC
Gdańsk, Poland
Joined: February 18, 2016
KitMaker: 92 posts
AeroScale: 90 posts
Posted: Monday, February 29, 2016 - 12:28 AM UTC
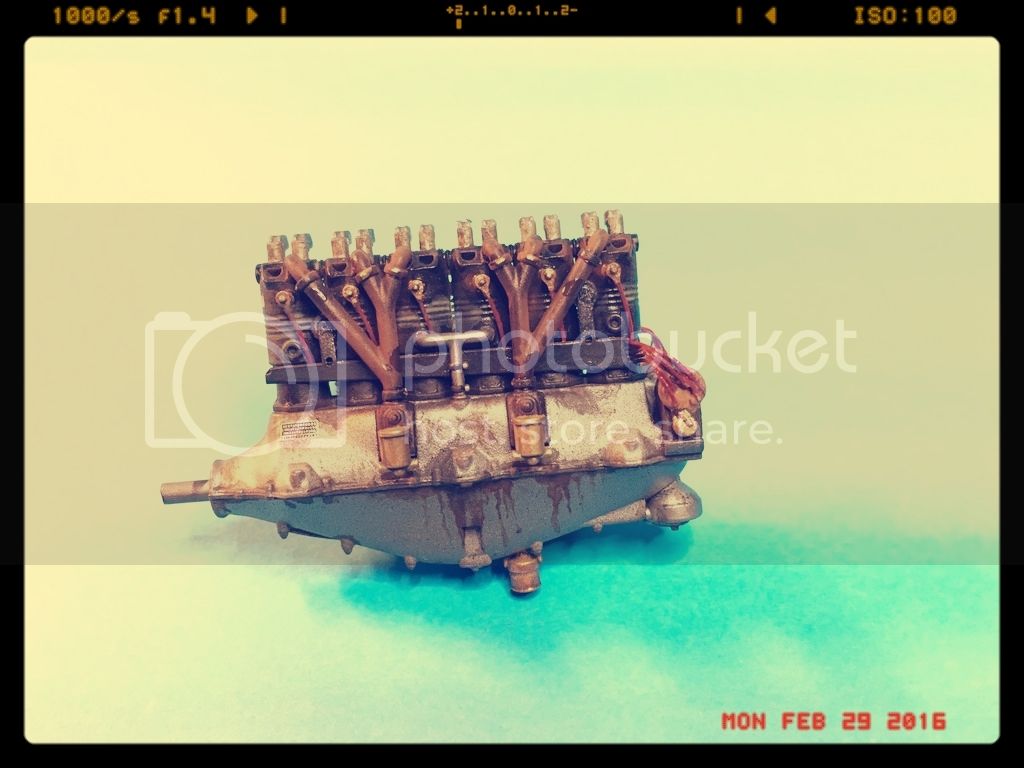
And exhaust weathered and dryfitted to the engine.


#424
Queensland, Australia
Joined: April 23, 2015
KitMaker: 4,648 posts
AeroScale: 1,938 posts
Posted: Monday, February 29, 2016 - 01:18 AM UTC
"Artillery adds dignity, to what would otherwise be an ugly brawl."
Frederick The Great
Gdańsk, Poland
Joined: February 18, 2016
KitMaker: 92 posts
AeroScale: 90 posts
Posted: Sunday, March 27, 2016 - 08:06 PM UTC

#372
United Kingdom
Joined: March 10, 2010
KitMaker: 2,568 posts
AeroScale: 1,619 posts
Posted: Monday, March 28, 2016 - 01:17 AM UTC
Fantastic build and subject. The detail is fantastic.
Recently got my first WNW so any tips I can get from your build will be a huge help.
Can't wait to see it finished.
On the bench: 1/72 Mosquito, Lightning F.6, DH.2,
AMT Vulcan Shuttle Surak.
Cyber-Hobby 1:35 Sherman Firefly IC - still stalled.
New Jersey, United States
Joined: June 02, 2006
KitMaker: 1,212 posts
AeroScale: 468 posts
Posted: Monday, March 28, 2016 - 04:37 PM UTC
Beautiful. What did you use for the ignition wires?
You've sold me on Uschi's decals. I've seen them used before but yours looks so nice I would display that wing all by itself.

Merlin
 Senior Editor
#017
United Kingdom
Joined: June 11, 2003
KitMaker: 17,582 posts
AeroScale: 12,795 posts
Posted: Tuesday, March 29, 2016 - 02:11 AM UTC
Hi Bart
Beautiful work! This is going to be gorgeous when it's finished!

All the best
Rowan

BEWARE OF THE FEW...
As I grow older, I regret to say that a detestable habit of thinking seems to be getting a hold of me. - H. Rider Haggard
Gdańsk, Poland
Joined: February 18, 2016
KitMaker: 92 posts
AeroScale: 90 posts
Posted: Tuesday, March 29, 2016 - 03:38 AM UTC
Quoted Text
Fantastic build and subject. The detail is fantastic.
Recently got my first WNW so any tips I can get from your build will be a huge help.
Can't wait to see it finished.
Thanks Stephen. Generally WNW kits are really fun to build with nice fit (minor corrections now and then) and pretty good detailing. Quite a lot of upgrade options on the market, suggest to check HGW (Czech company) with a nice selection of boosters

May I ask what kit you planning to build?
Gdańsk, Poland
Joined: February 18, 2016
KitMaker: 92 posts
AeroScale: 90 posts
Posted: Tuesday, March 29, 2016 - 03:47 AM UTC
Quoted Text
Beautiful. What did you use for the ignition wires?
You've sold me on Uschi's decals. I've seen them used before but yours looks so nice I would display that wing all by itself. 
Hi Marc

Ignition wires were taken from HGW Engine detailing set. As for the Ushi decals I have mixed experience - for Ho229 I'm using Ushi's Horten decal set for 32'nd scale and it works a treat. But on the other hand I had previously some decal sets from Ushi (for higher scales - 72/48th I believe) and they were ridiculously fragile. I don't know if they changed the production process recently or just my delivery was flawed (ordered directly from Ushi). Nevertheless for the Horten set I can vouch

Bart
Gdańsk, Poland
Joined: February 18, 2016
KitMaker: 92 posts
AeroScale: 90 posts
Posted: Tuesday, March 29, 2016 - 03:53 AM UTC
Quoted Text
Hi Bart
Beautiful work! This is going to be gorgeous when it's finished! 
All the best
Rowan 
Thanks Rowan, I'm struggling lately for build time. Anyway all the best for you and come back quickly.
Bart

#372
United Kingdom
Joined: March 10, 2010
KitMaker: 2,568 posts
AeroScale: 1,619 posts
Posted: Tuesday, March 29, 2016 - 05:22 AM UTC
Quoted Text
Quoted Text
Fantastic build and subject. The detail is fantastic.
Recently got my first WNW so any tips I can get from your build will be a huge help.
Can't wait to see it finished.
Thanks Stephen. Generally WNW kits are really fun to build with nice fit (minor corrections now and then) and pretty good detailing. Quite a lot of upgrade options on the market, suggest to check HGW (Czech company) with a nice selection of boosters 
May I ask what kit you planning to build?
Hi, I've got the late version Rumpler C.IV. I was planning on building it OOB as my first to see how it all comes together. But if I see anything good I might invest in a few aftermarket items. Wiring up the engine is the only major job that I can see so far.
I already have the DH9, Snipe and Albtros DV on my wish list.
On the bench: 1/72 Mosquito, Lightning F.6, DH.2,
AMT Vulcan Shuttle Surak.
Cyber-Hobby 1:35 Sherman Firefly IC - still stalled.


