Hi All!
As Damian pointed out Ive not given an update in some time. Like most of us, life has been crazy busy. I have also been taking some time to enjoy a wonderful hobby and would like to share it!
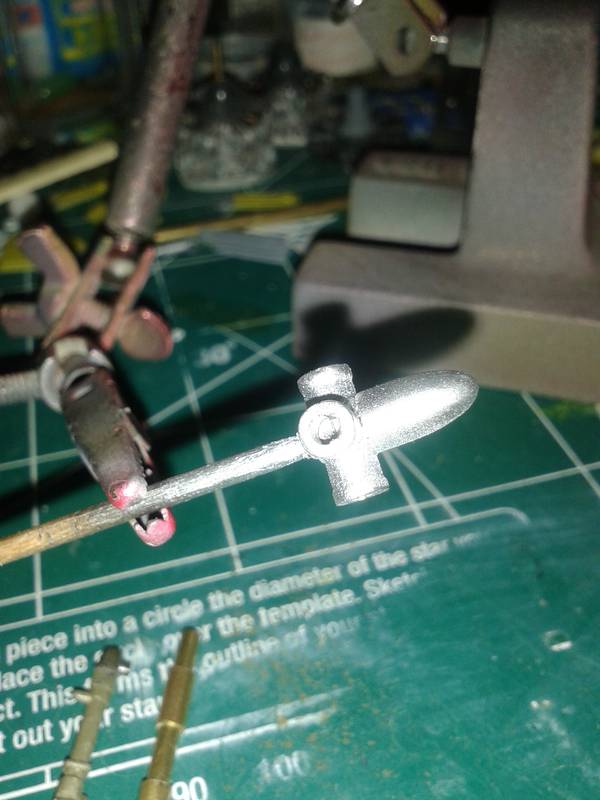
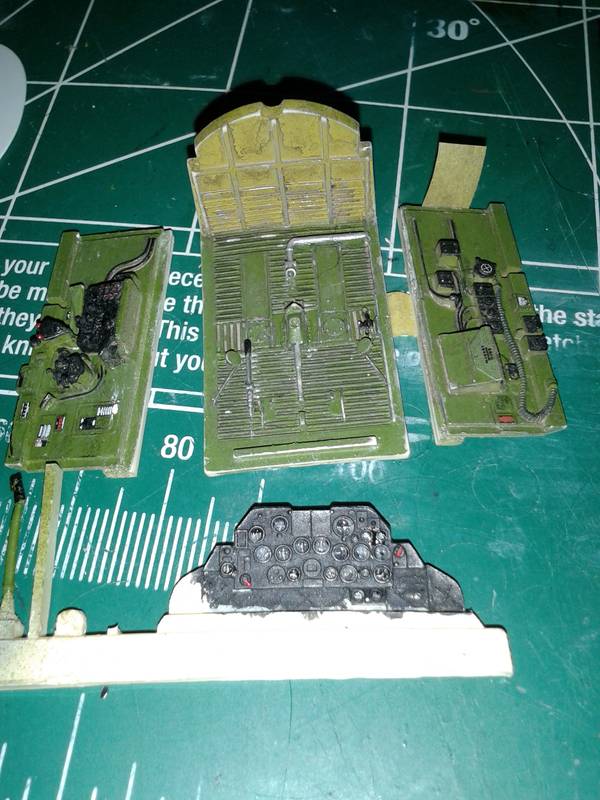
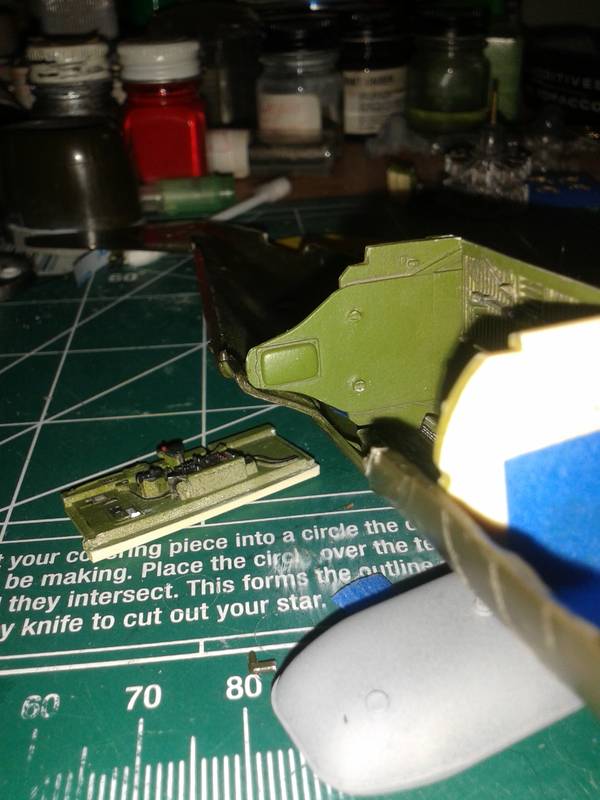
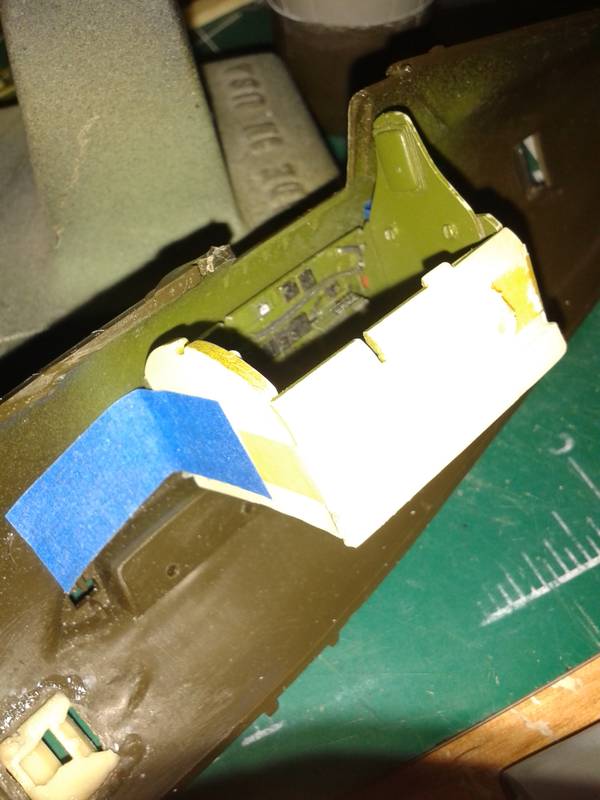
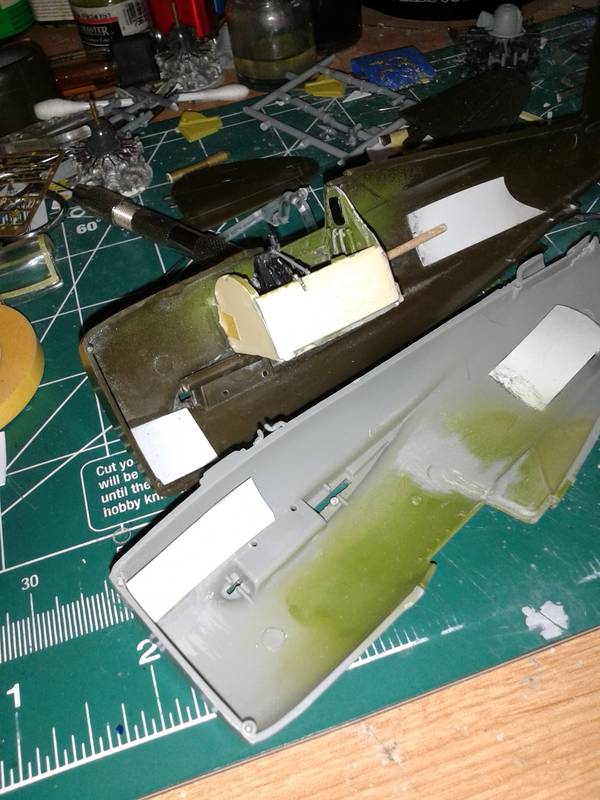
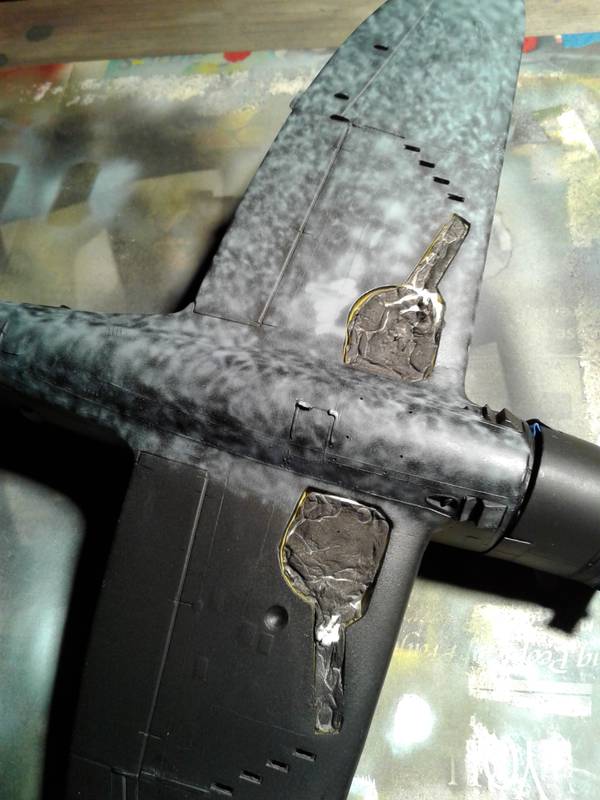
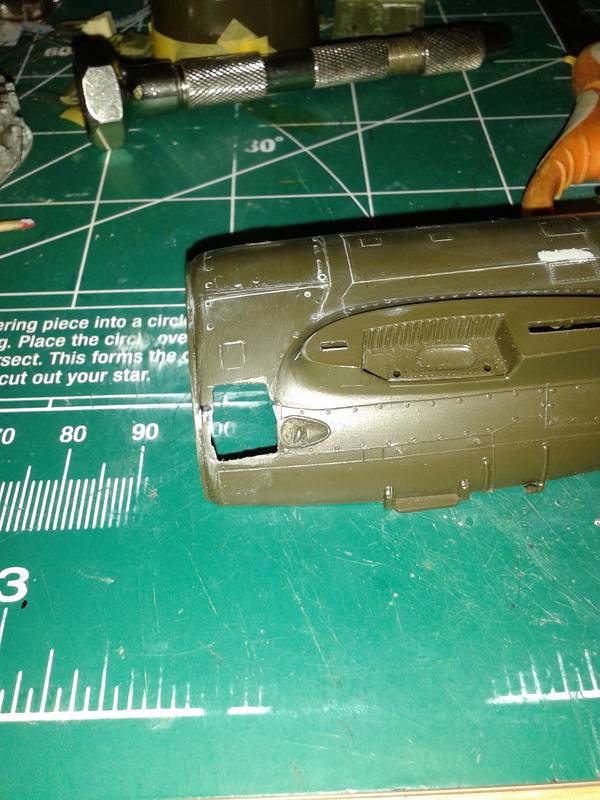
The last couple of months have had some highs, and some lows. While using the Dremel to thin down the inside of the fuselage where the oil cooling vents (not the one in the pics above) something happened to my laser like attention which resulted in the thinned plastic to become molten. Attempts to fix are still underway! Given the yearend deadline I opted to pull a spare from the shelf and redo the port fuselage. Not to worry this will eventually grace the pages here
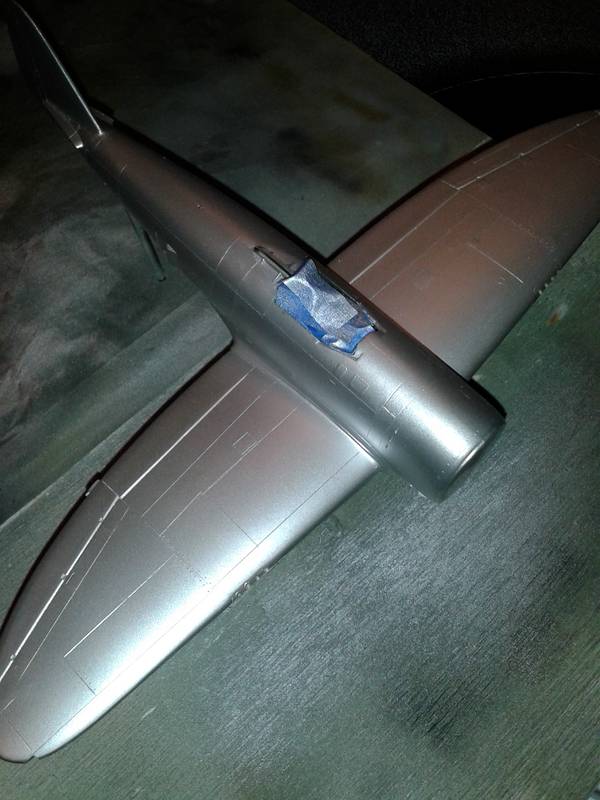
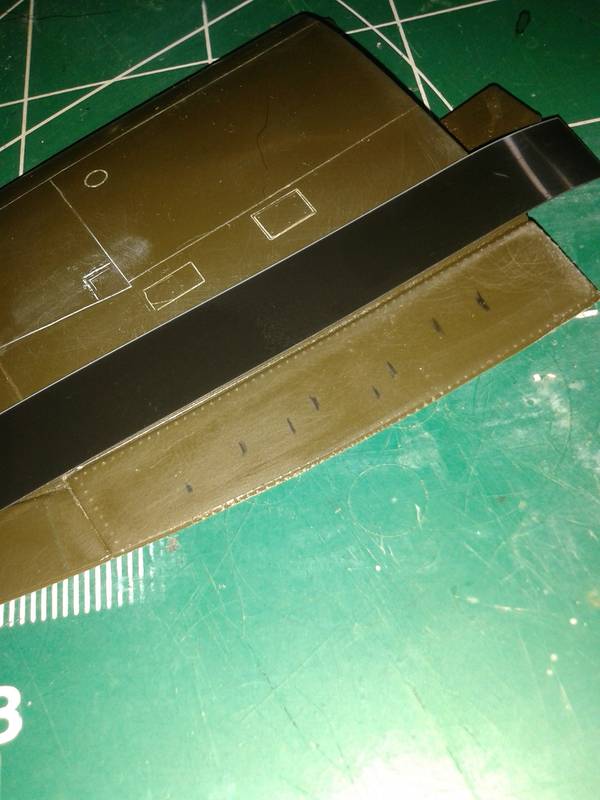
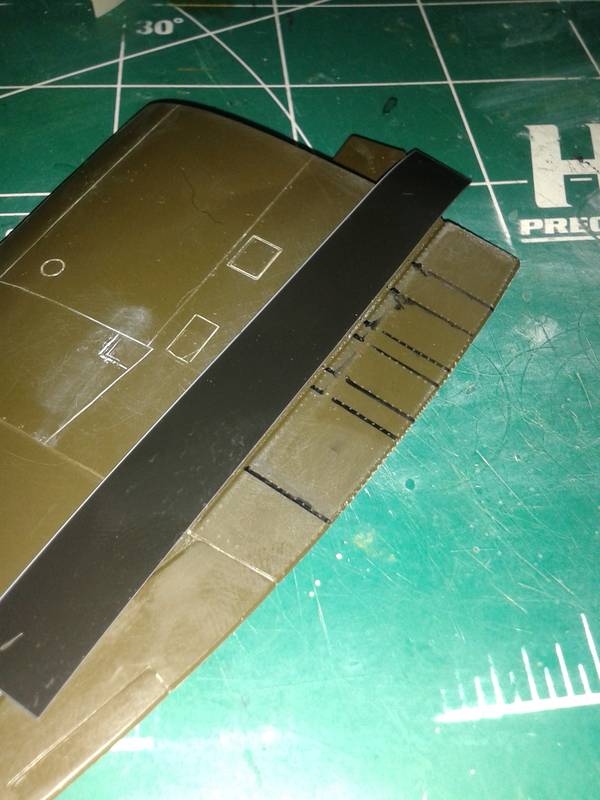
Shortly after this I did yet another bonehead thing. I have no explanation for it except that it sounded pretty good in my mind at the time. I recall reading where a modeler used thinner to aid in cleaning out the scribes, and about a year ago I really started playing with lacquer thinner with my paints. Learn from this please. DO NOT USE LACQUER THINNER IN THIS MANNER!!!! A momentary lapse, briefly forgetting that toluene is an ingredient of lacquer thinner
still not sure what I was thinking. Regardless, the upper surfaces of my wings suffered a nice wide valley on each side of the scribe lines.
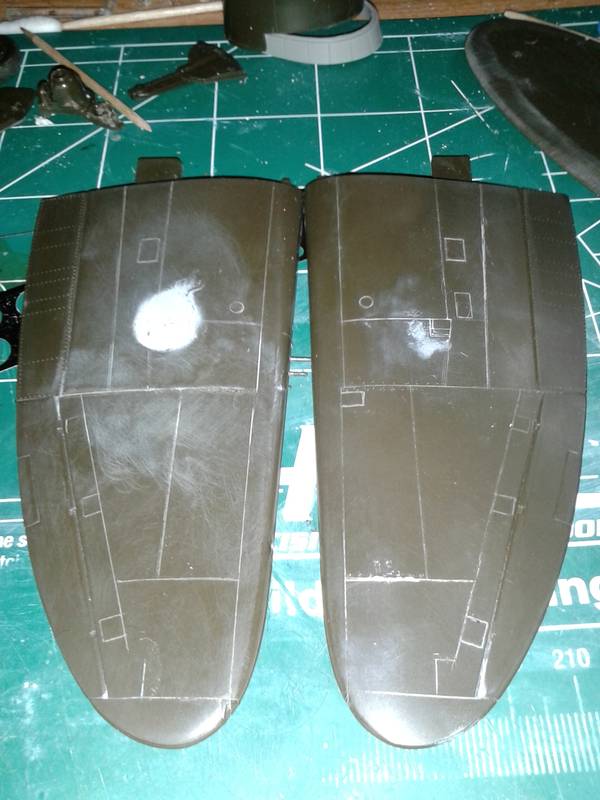
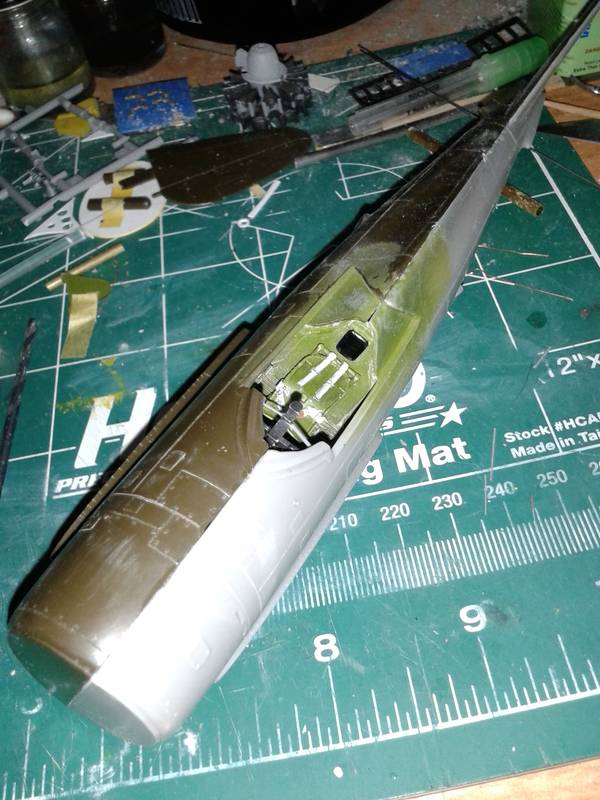
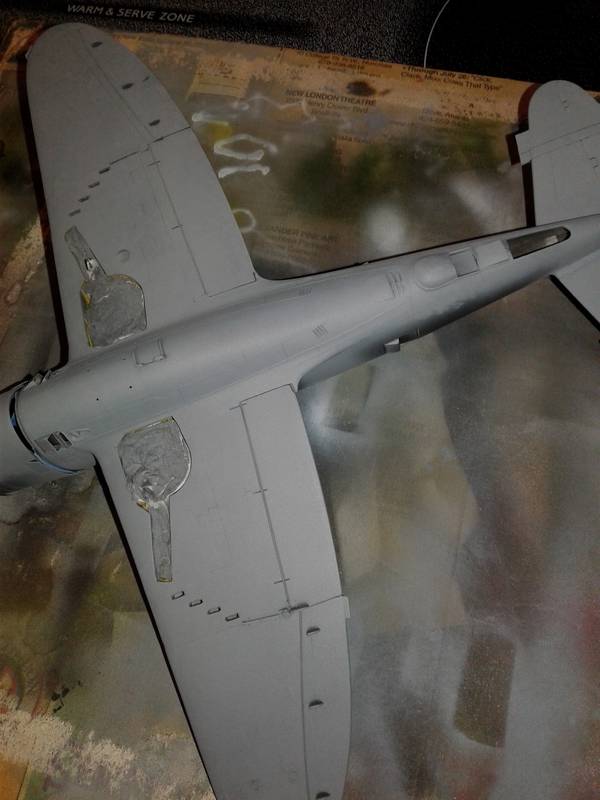
Again with our time limit, and my slower building speed on this project, I opted to pull the wings from the spares kit. I also stumbled across an interesting read of a modeler scribing a kit where he followed pretty much the same method as I (originally from Mike Swan of Swannys Models website) except that he would sand about 80% of the original panel line off prior to scribing. I gave it a try, and I like this refinement much better. Less dust in the panel line and clean up is considerably less, which translates to reduced scribing time.
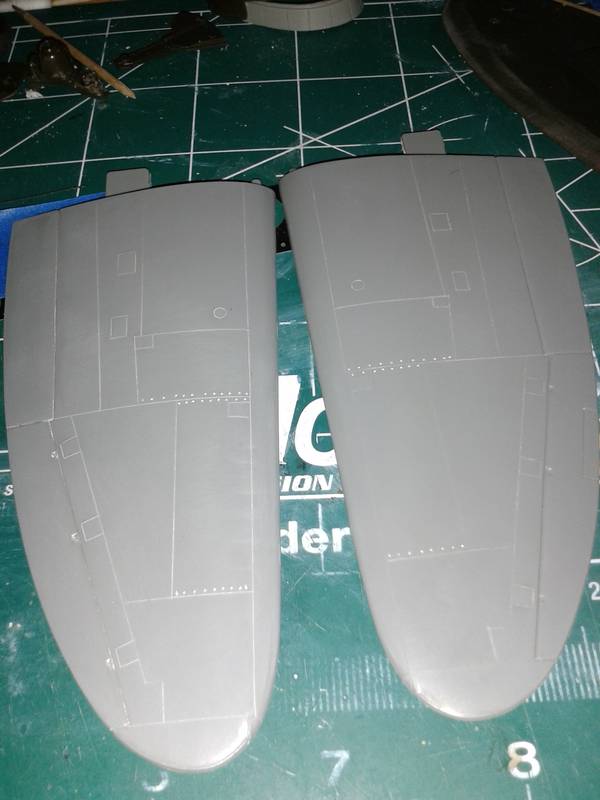
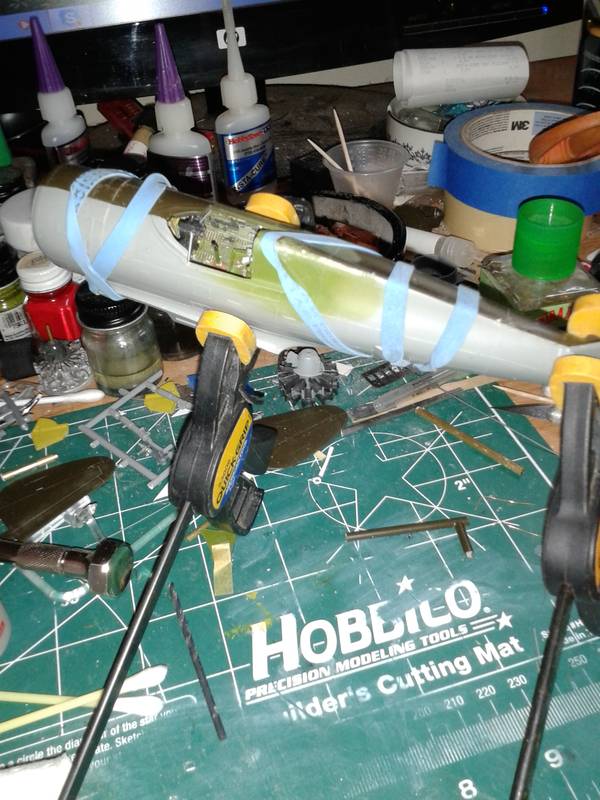
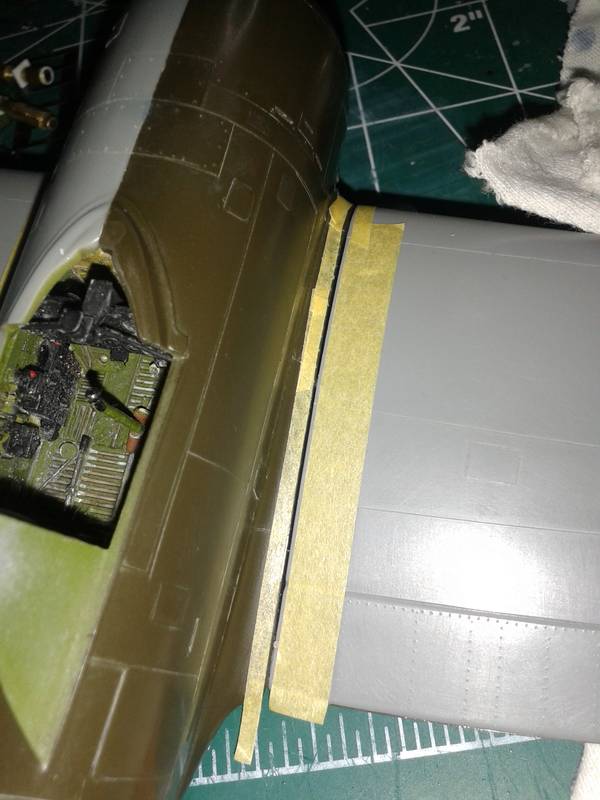
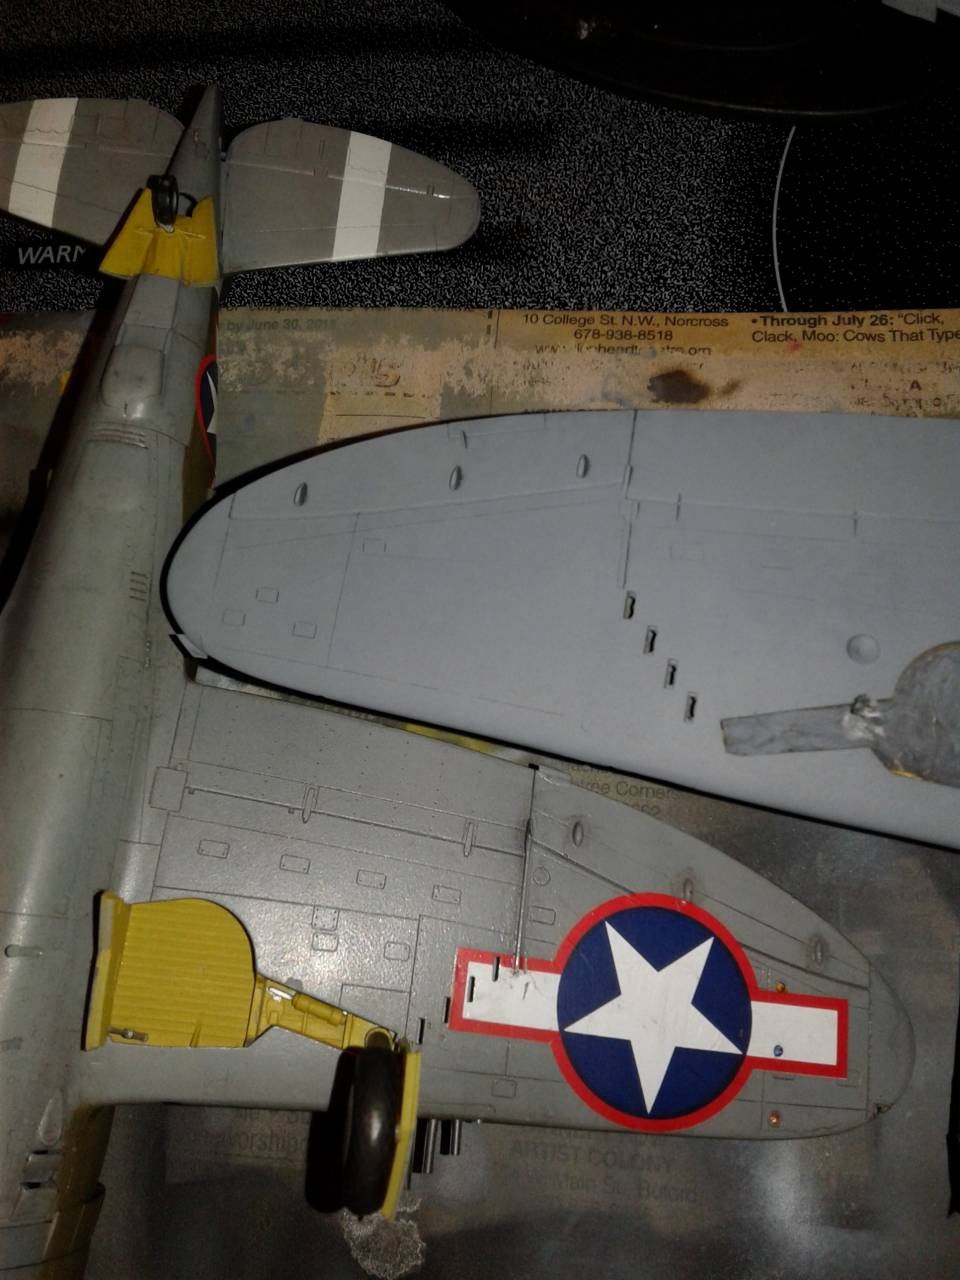
Now it was time to mate the wing halves and install the gun ports. This went pretty much as planned and done essentially the same as my D-25 concept builds.
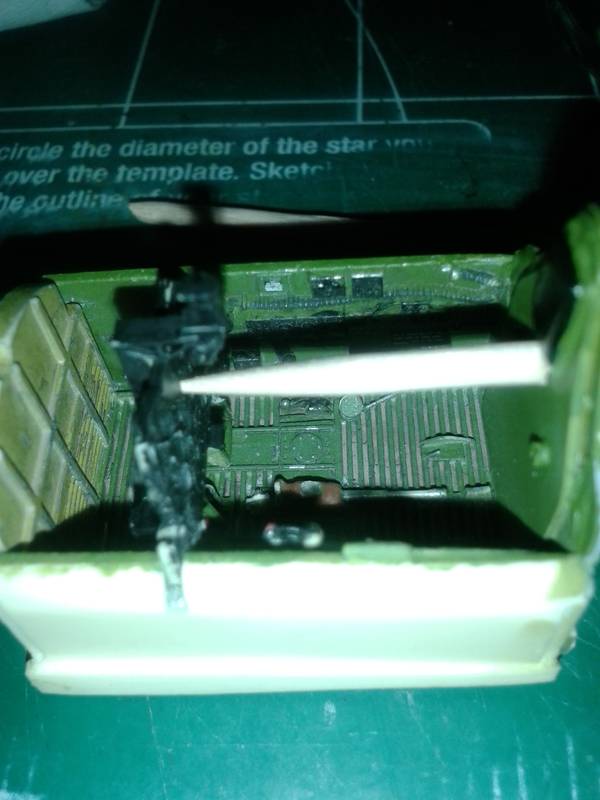
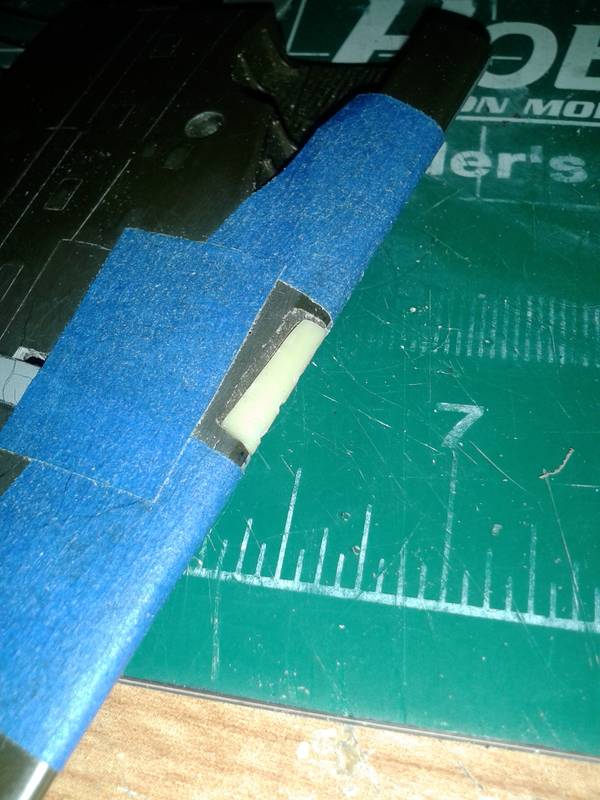
Mating
Gun barrel alignment
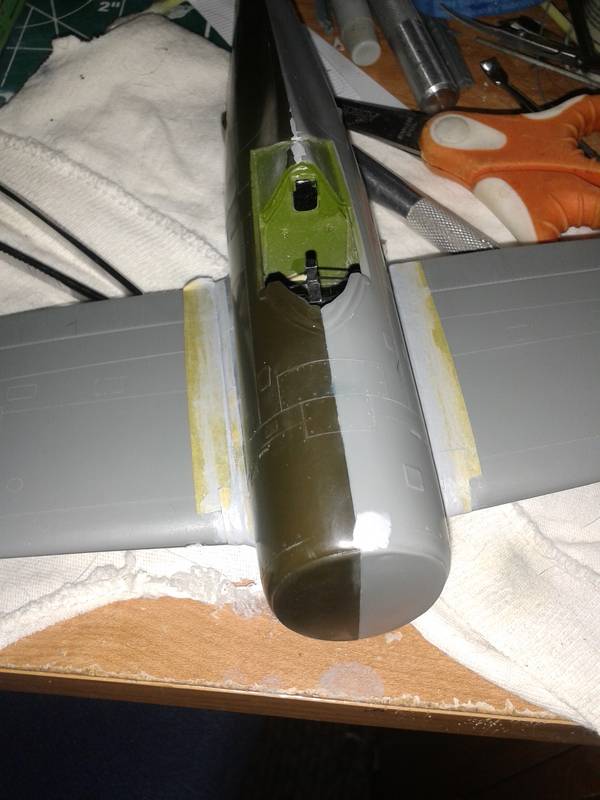
Installation
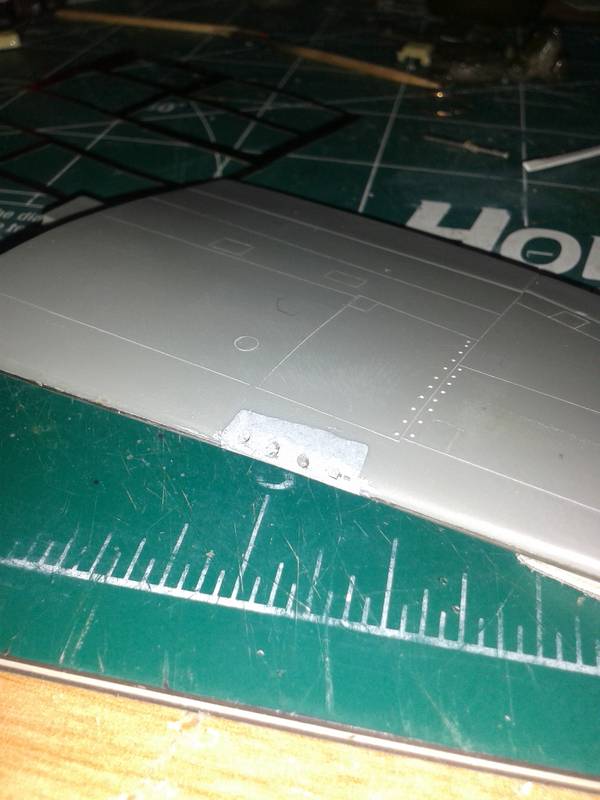
The thickness of the wings can be seen here as the part will needed considerable filling on the underside.
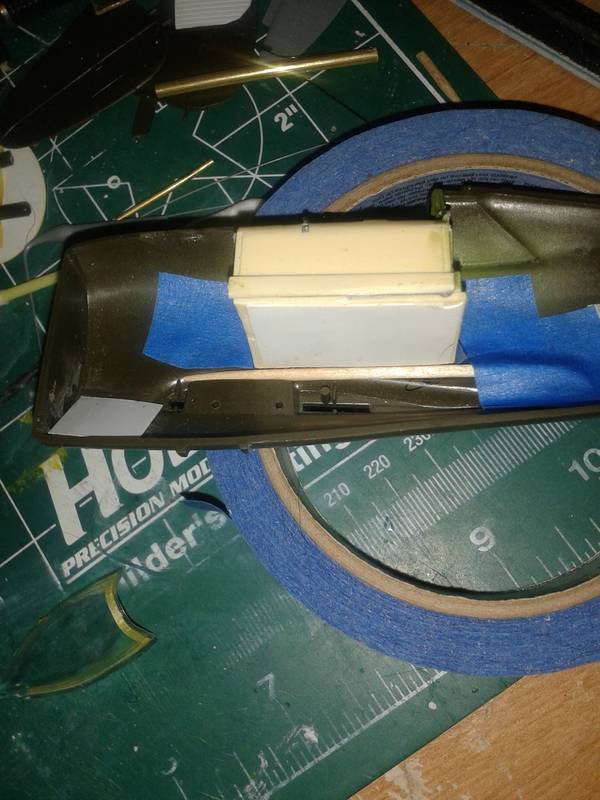
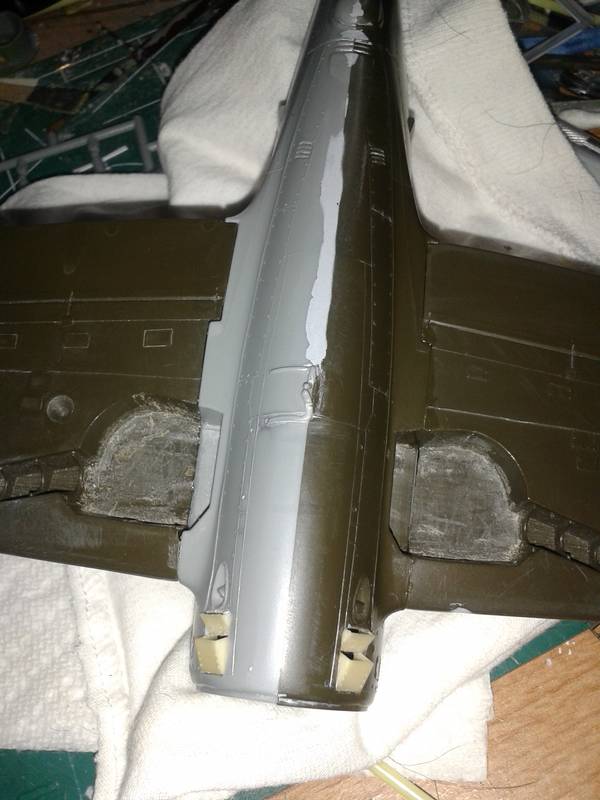
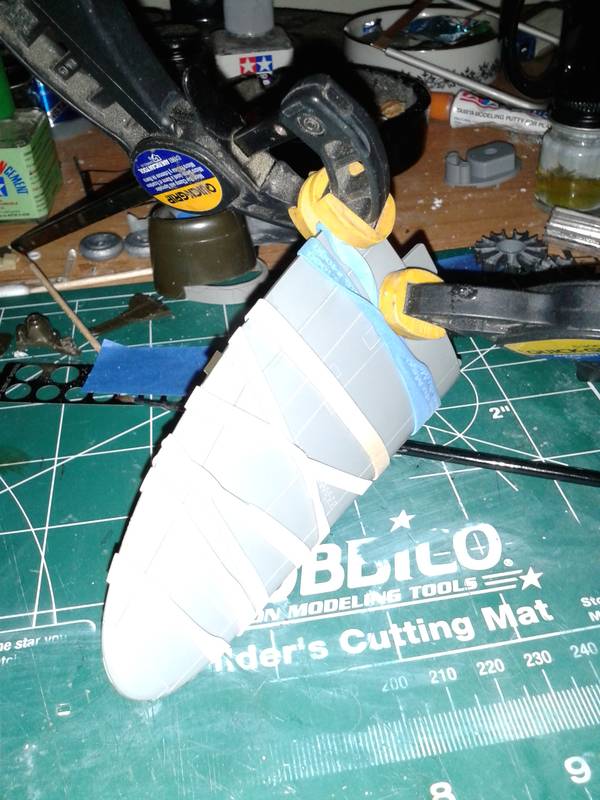
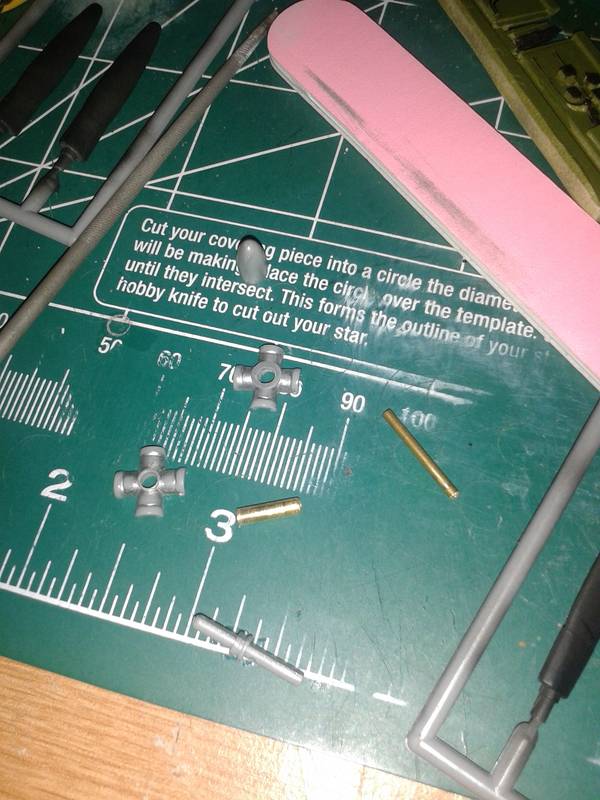
This was followed by more filling and sanding, and then I notched the wingtips for the navigation lights.

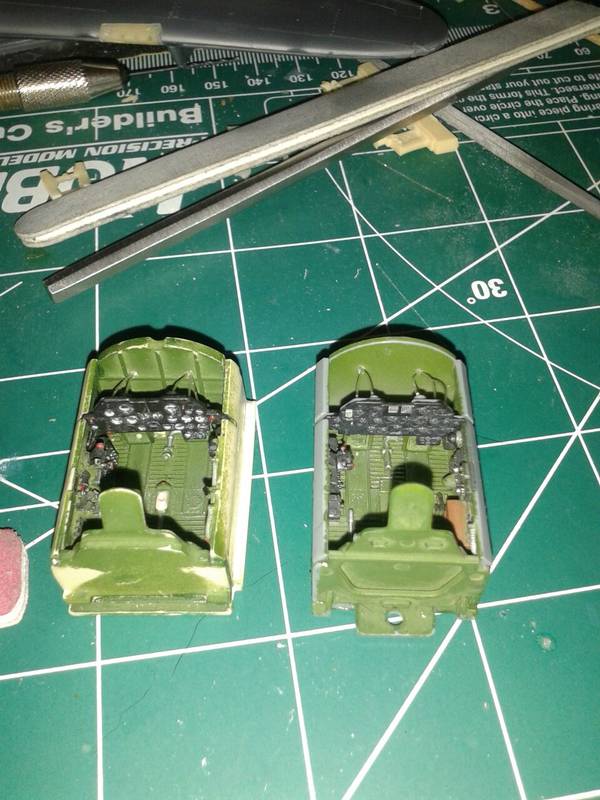
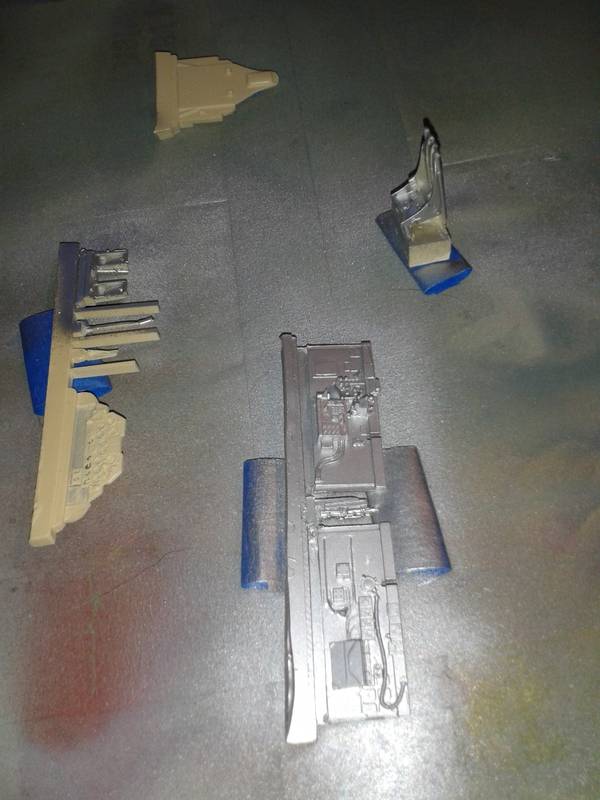
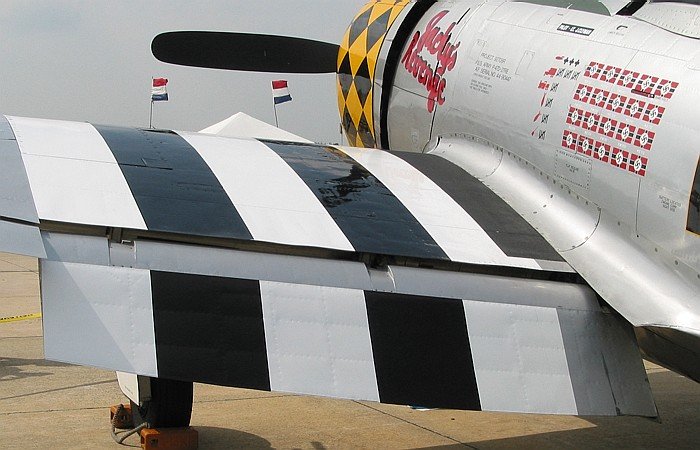
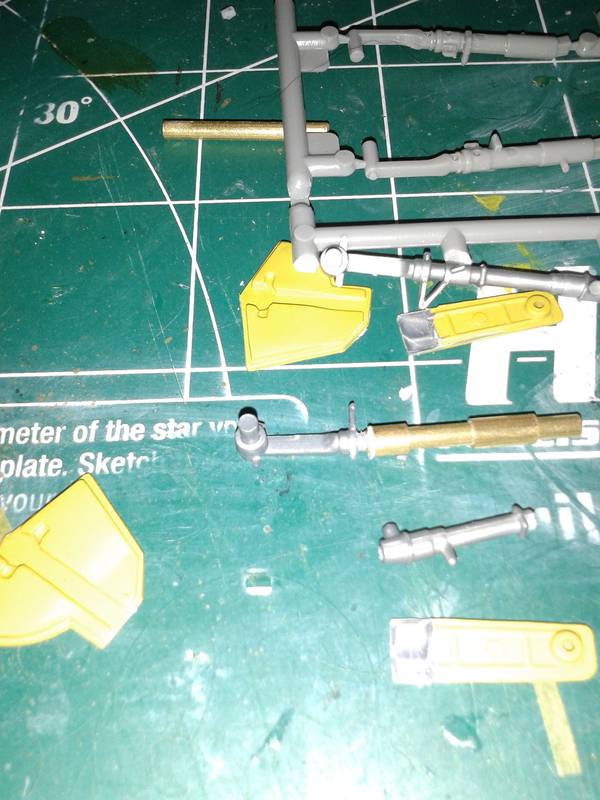
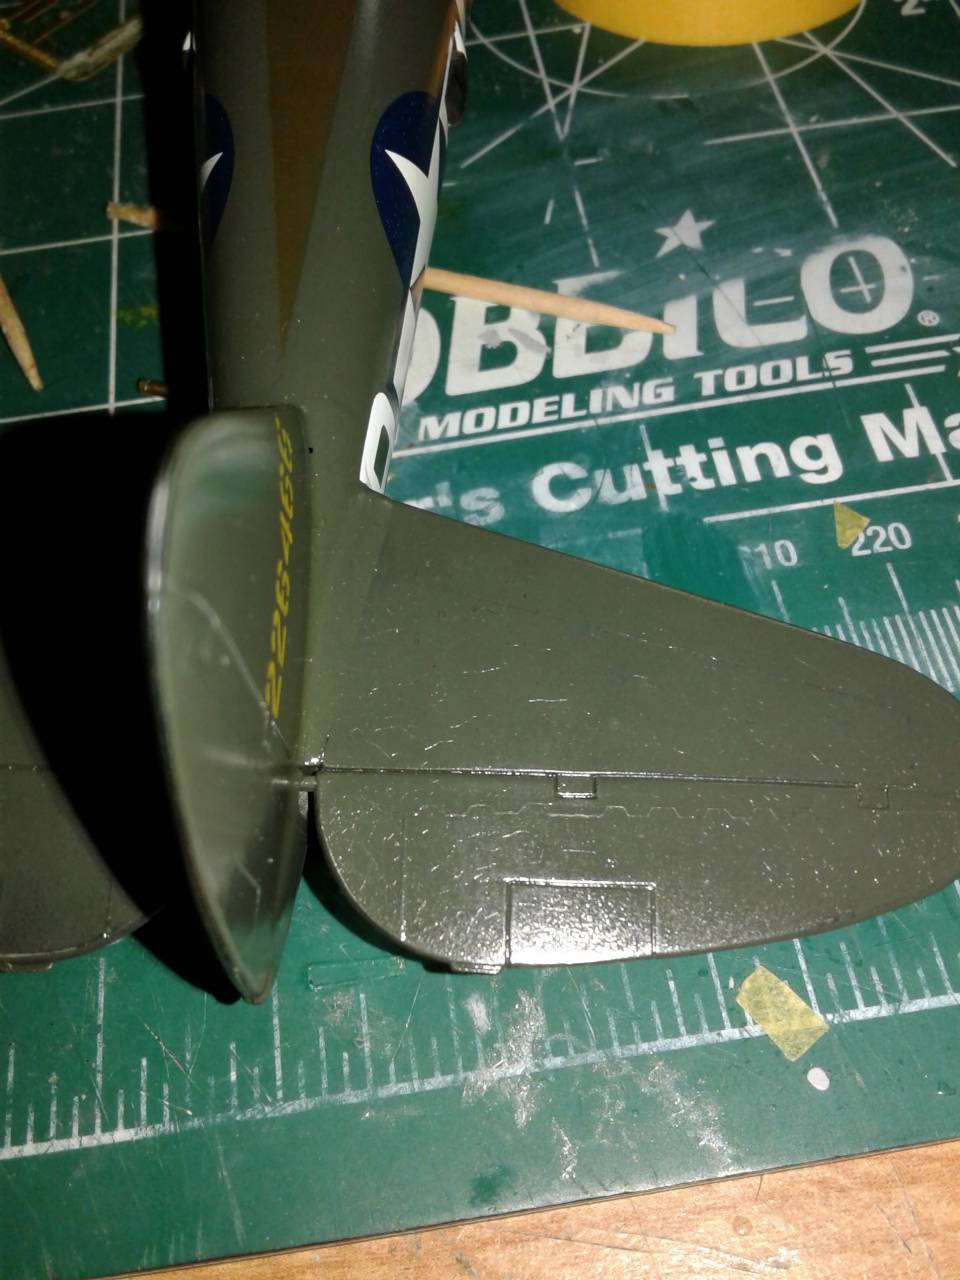
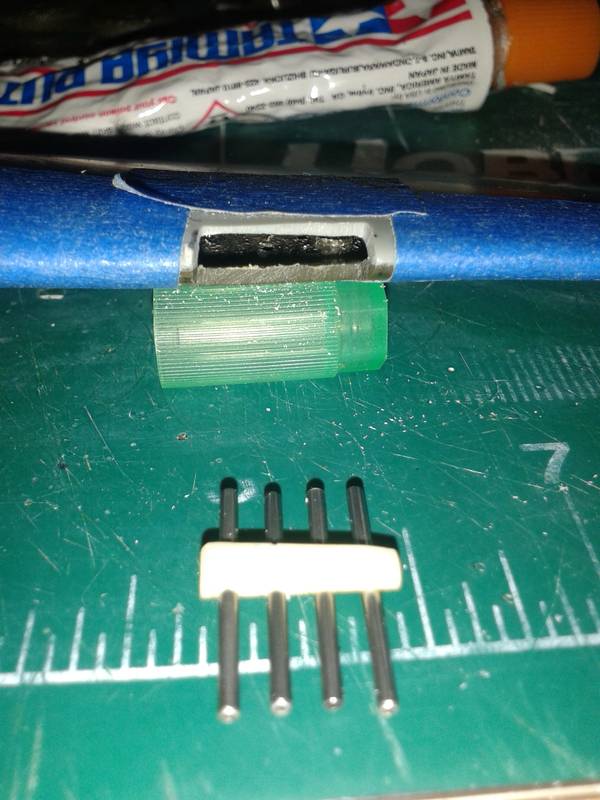
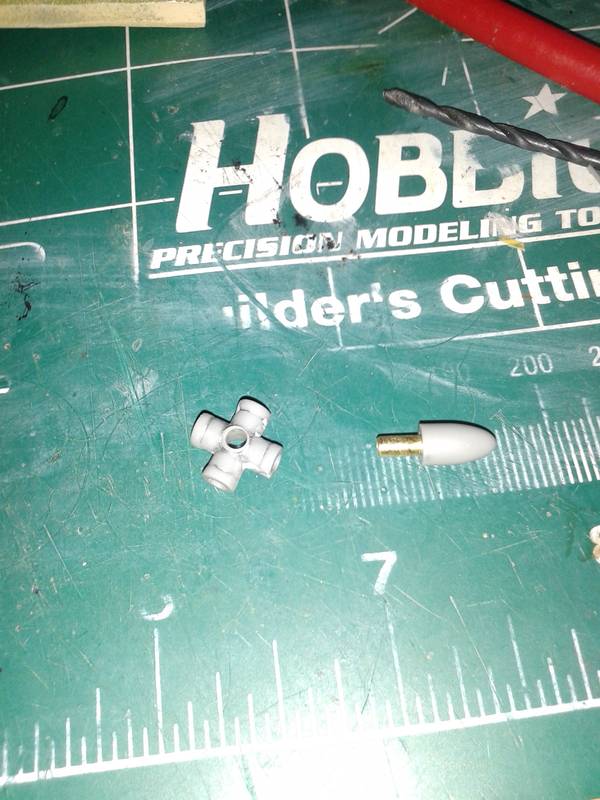
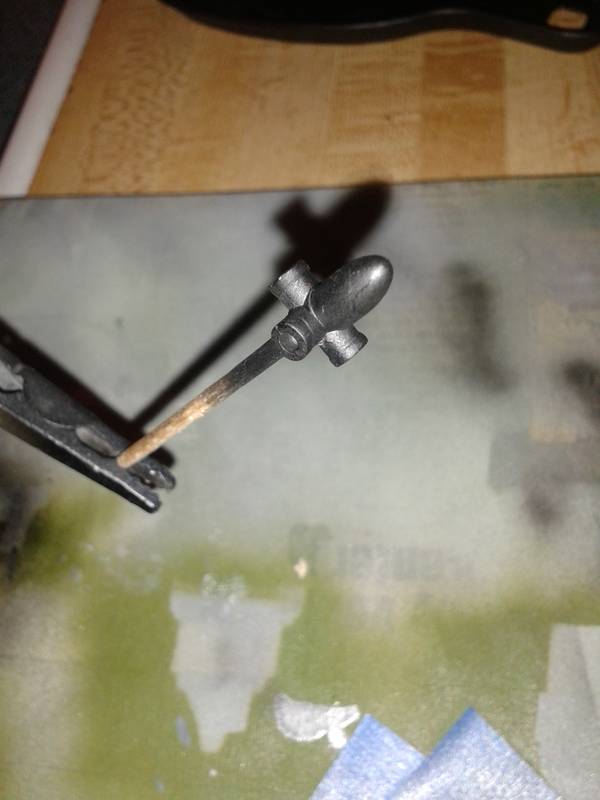
While those dried I bounced back to the engine again, to address the prop that would go on. The kits prop isnt bad, though a little small in the hub area. Having a left over Curtis prop from my Hasegawa build I chose to use it. To be blunt Hasegawa made something that should be pretty simple a major pain, though I think in this case it will work out well. With the True Detail motor putting a shaft in means that it needs to be pretty small. Using brass tubing I cut a lengths of 1/8th and mating 3/32nd inch tubing. The 1/8th inch went into the motor, and the 3/32nd into the prop hub. This did mean deepening and widening the hubs opening. I assembled the prop hub per the instructions and it turned out ok.
Hasegawa prop hub and brass tubing
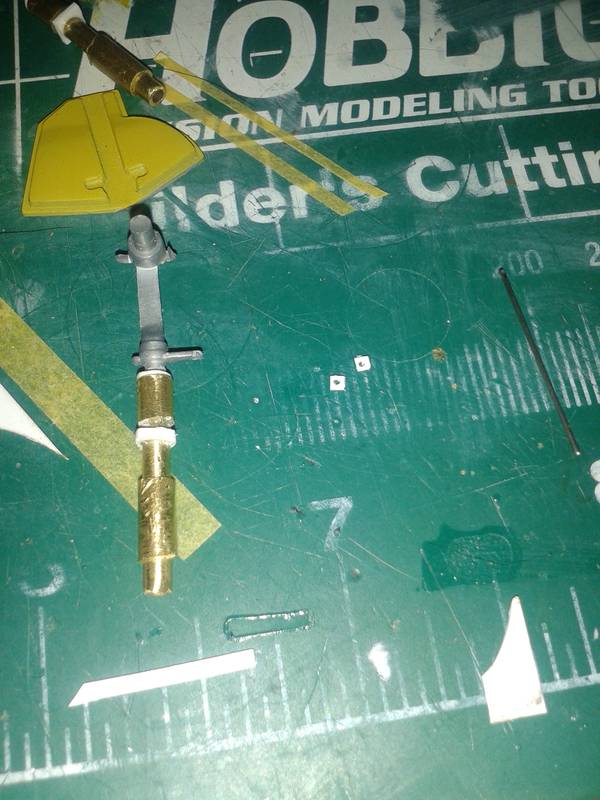
Assembled and ready to be completely mated
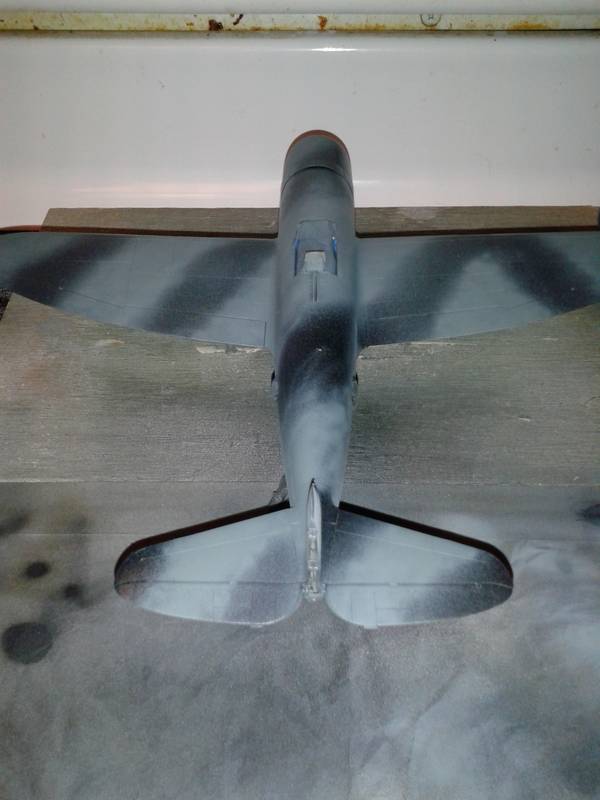
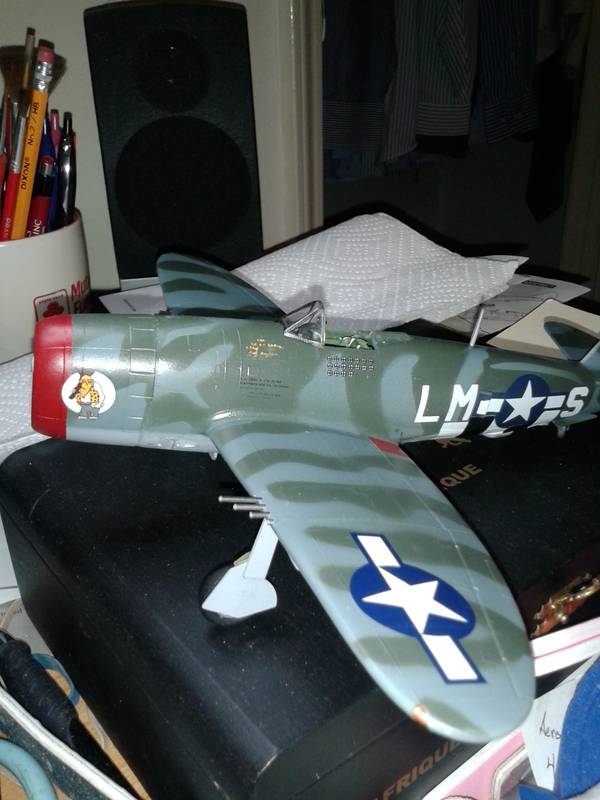
My first attempt at getting it painted
There was a bit of rework needed, but it's turned out ok. I'll load more on this tomorrow. Time to call it a day!
Enjoy!