

If you want to see the rules and join up, look here. To post finished model shots, go to the campaign gallery. Discussion about builds and the campaign generally post in this thread.
Looking forward to some very eggselent builds!
Michael


Figured on building this aircraft....
Various sources attribute this to Lt. Taylor during his flights on Dec. 7th, 1941 at Pearl Harbor. I don't know if that is true, but that is the plane I am building....


Hi Guys
I'm joining on behalf of my 6 years old daughter.
The firs kit is started, but we wan't to share with you the progress anyway.
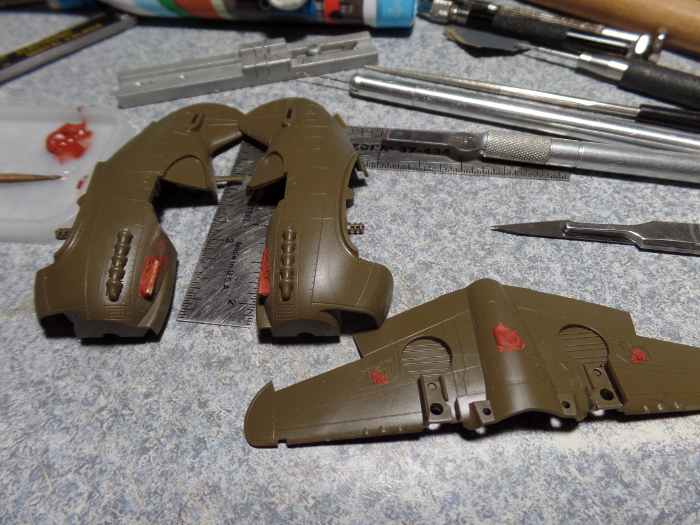
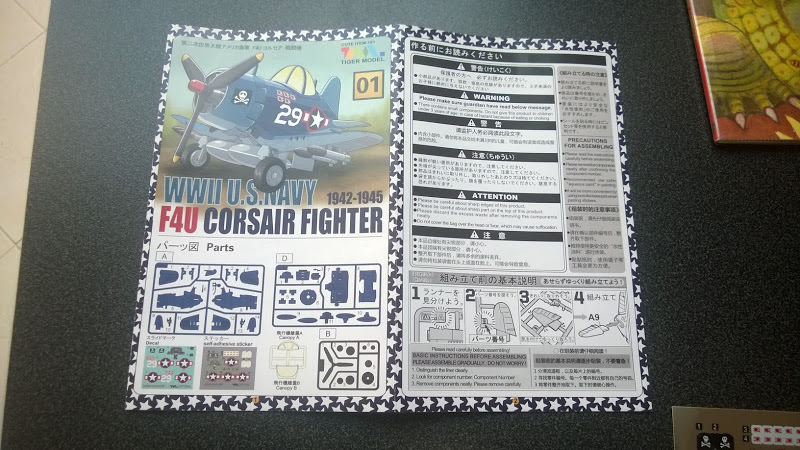
It's a Tiger Model Corsair.
That Corsair and P-40 look like really nice little kits.
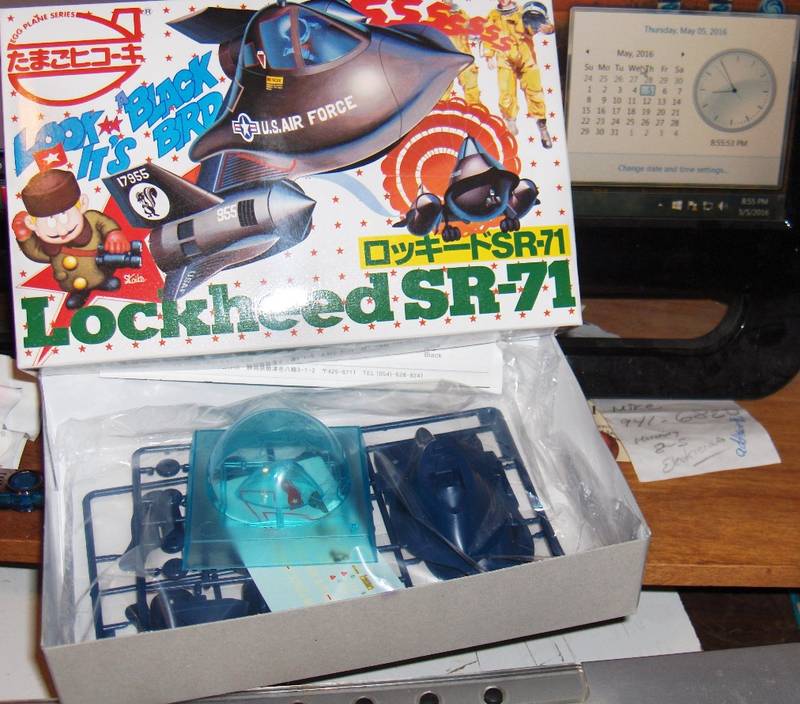
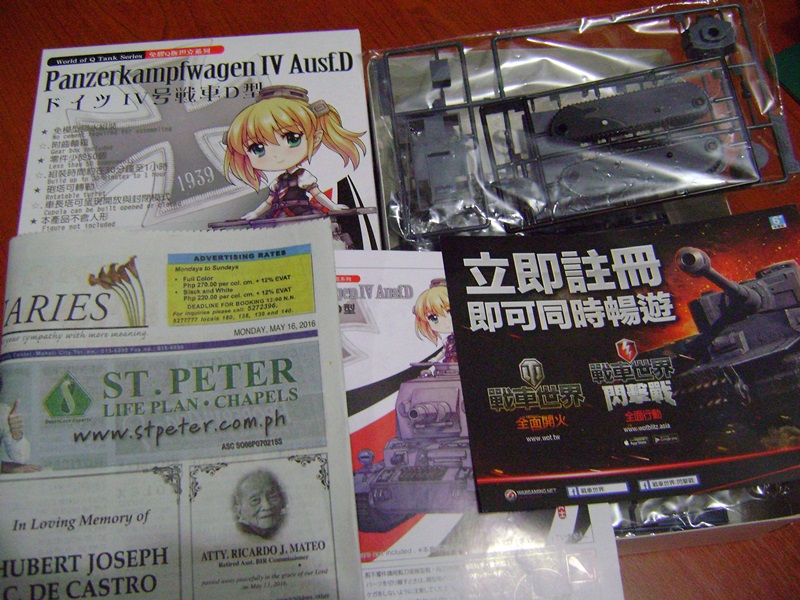
Interesting to see how they look when finished. Seems like a little more to them than this SR.

 (I've had the Corsair for some time now...and....the rest of the series are on the way from Hong Kong
  )
) 


 |


