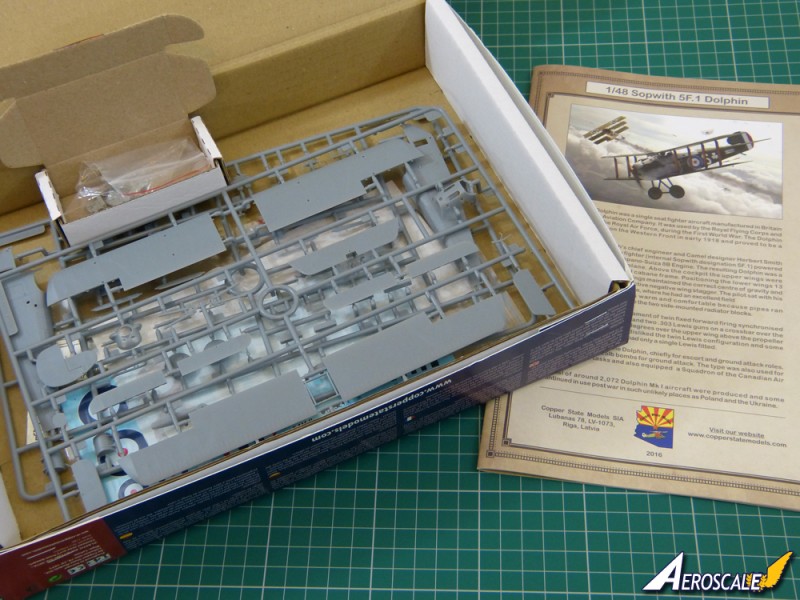
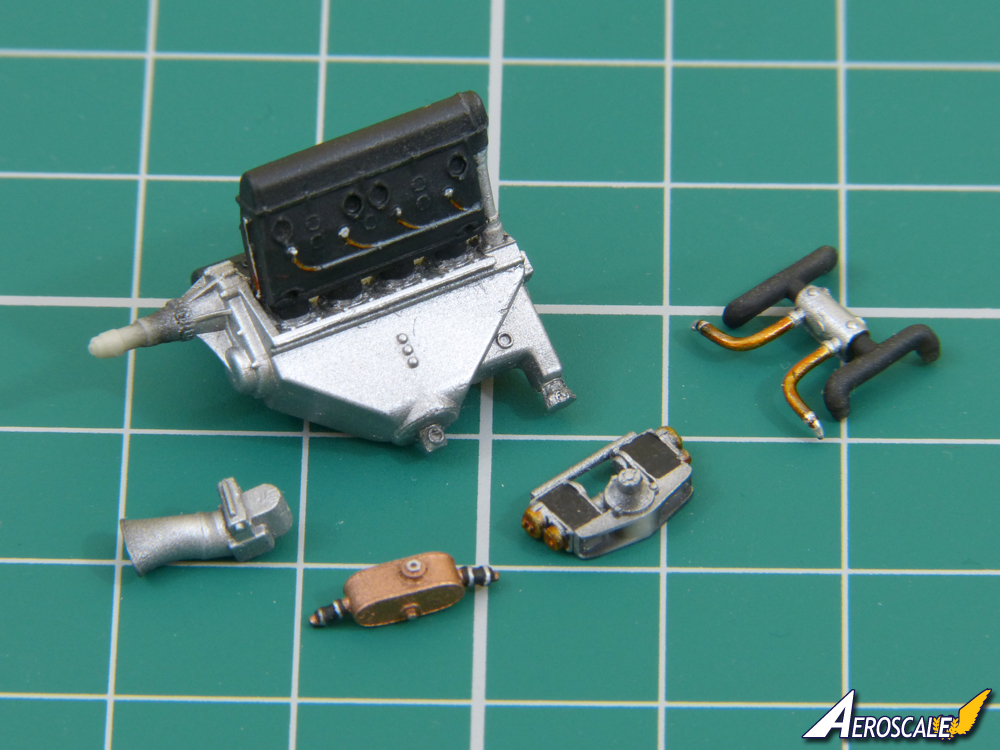
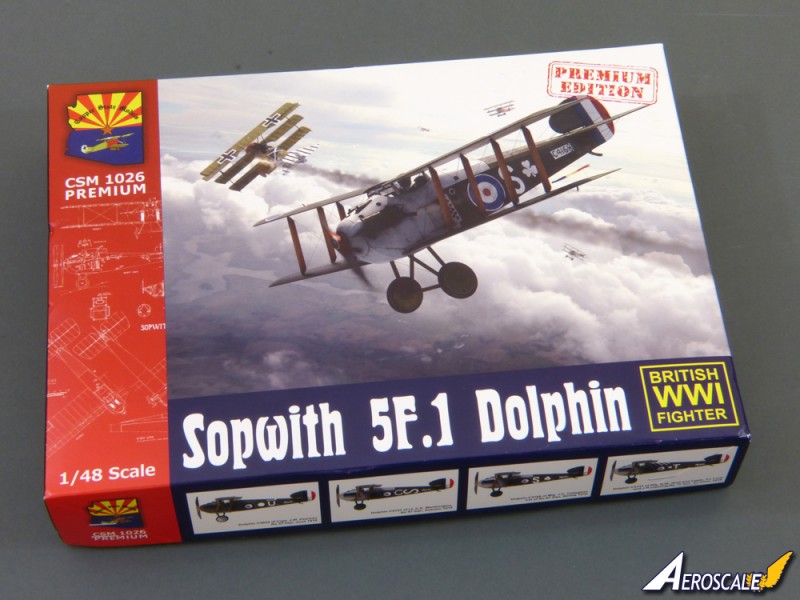
Copper State Models have released their first injection moulded kit - the often unfairly overlooked Sopwith Dolphin. Available in Standard and Premium boxings, here's a look at the latter which includes additional detail parts and decal options.
Link to Item
If you have comments or questions please post them here.
Thanks!
Early Aviation
Discuss World War I and the early years of aviation thru 1934.
Hosted by Jim Starkweather
REVIEW
Sopwith 5F.1 DolphinPosted: Saturday, May 21, 2016 - 07:58 PM UTC
maketar
Slovenia
Joined: June 23, 2015
KitMaker: 41 posts
AeroScale: 41 posts
Joined: June 23, 2015
KitMaker: 41 posts
AeroScale: 41 posts
Posted: Sunday, May 22, 2016 - 05:56 PM UTC
Nice !!! we need
Posted: Saturday, June 04, 2016 - 02:26 AM UTC
Hi again
Right! With a day clear (hopefully..) from Oxfam tomorrow, it's already past time to make a start on this beauty!
I've got another pesky stint of hospital treatment looming in early July, so... touch wood, I'll get a bit of momentum going on "Flipper" by then.
So... it's looking good for a three-way fight on the workbench in the morning between the Dolphin, Eduard's Bf 109G and GWH's T-33. Whoever said days off were for housework?!
All the best
Rowan
Posted: Saturday, June 04, 2016 - 03:25 PM UTC
Hi again
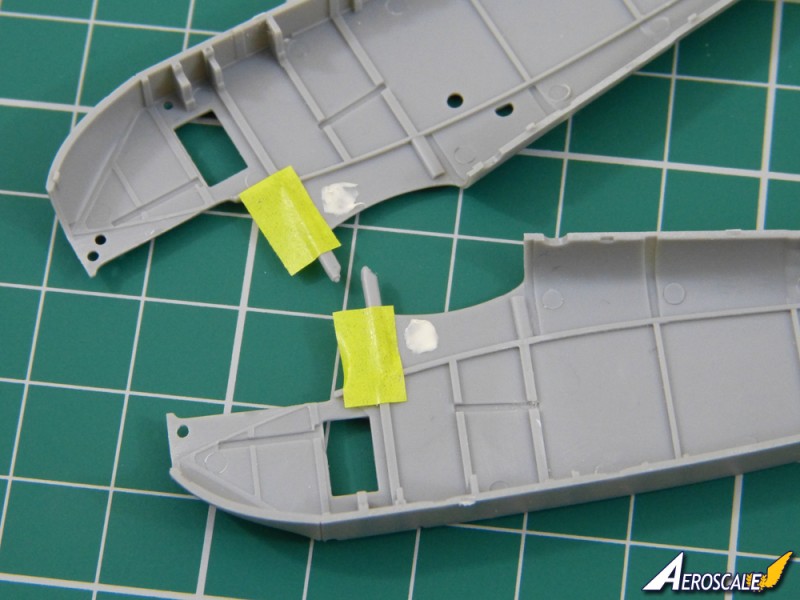
Well, surprise, surprise, I do have to pop into work on my day off, so I've put on a couple of dabs of filler to let try while I'm out.
There are a fair number of ejector pin marks on the fuselage interior, but the only ones that look like they'll show are inside the cockpit opening, so I'll leave the rest alone:
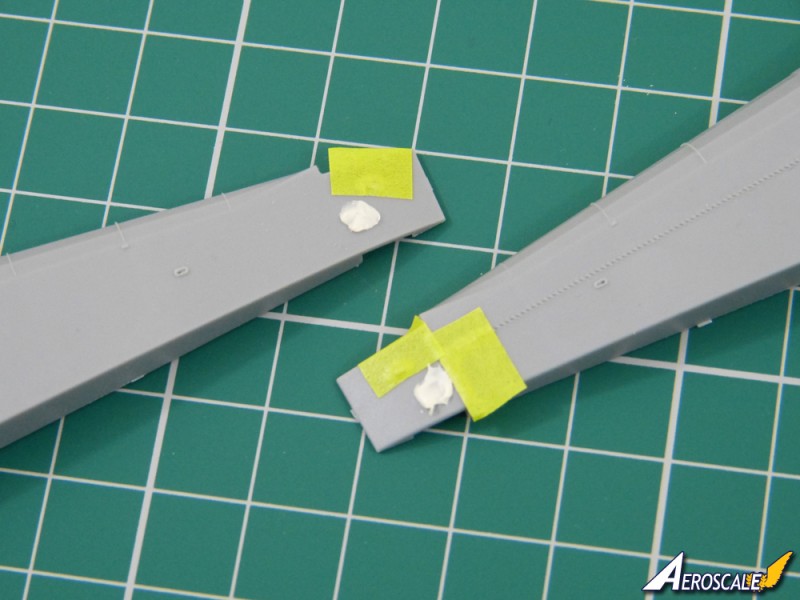
At the tail are the only sink marks I've spotted. Both shallow, but worth filling:
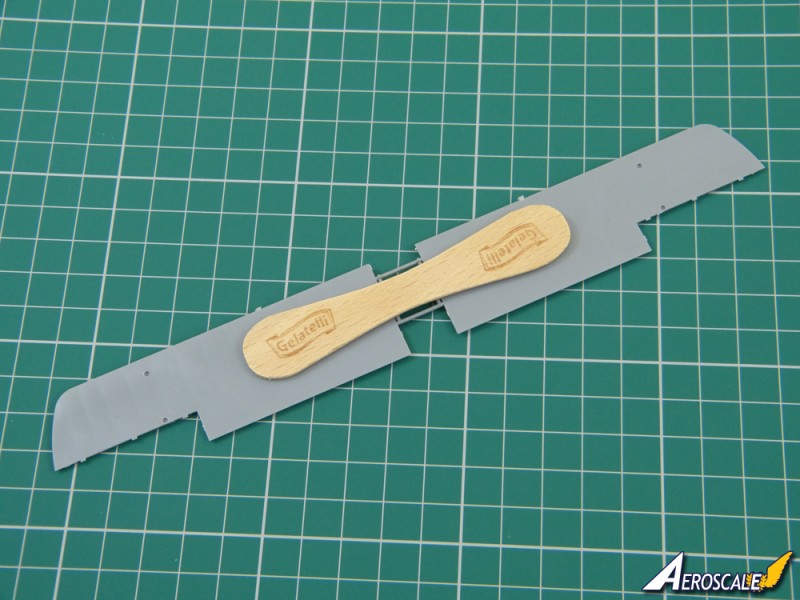
Looking ahead, I can see the one-piece top wing will be easy to damage because of the delicate open structure over the cockpit and it flexes noticeably:
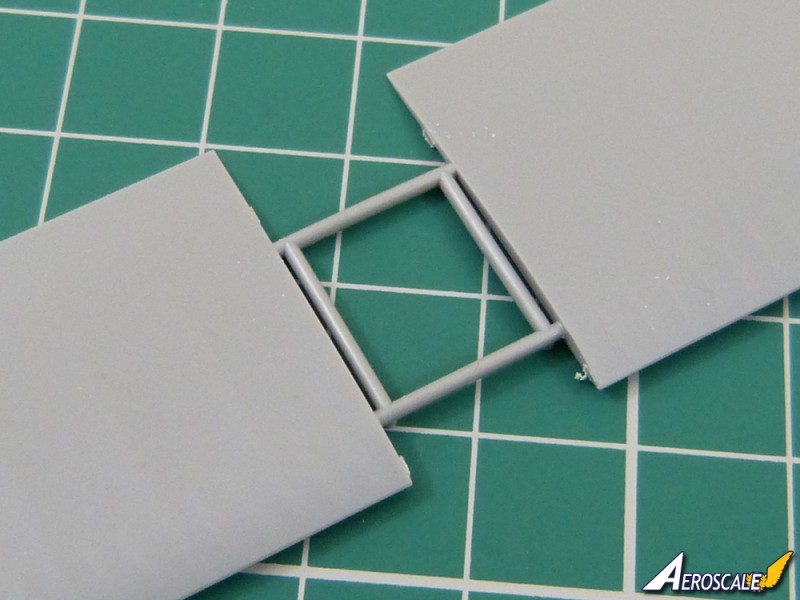
So, to keep it all stable while I work on it, I've given it a bit of support with a Mk. 1 lolly stick :
More later, DV.
All the best
Rowan
Posted: Monday, June 20, 2016 - 09:08 PM UTC
Hi again
I've finally had a couple of days off work and managed to get a bit of time in at the workbench.
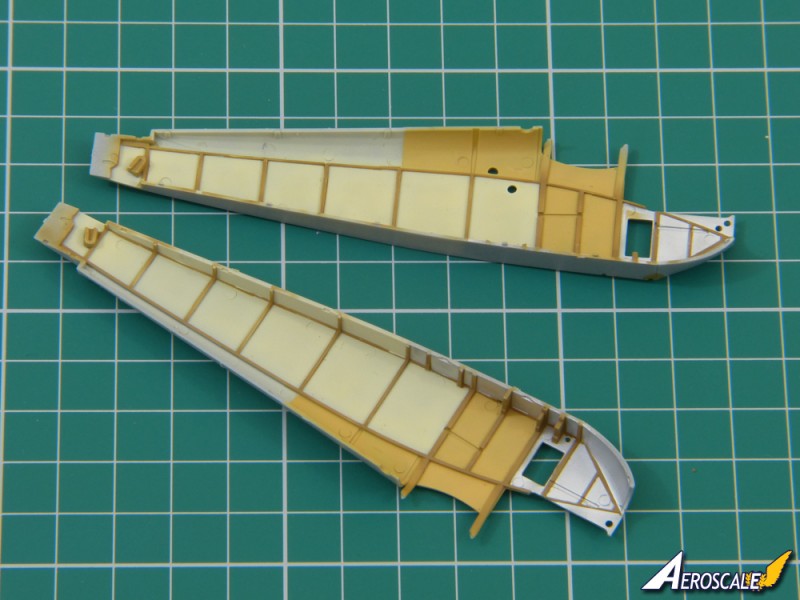
I've started painting the interior - blocking out the basic colours at the moment:
As you can see, there's still plenty to do, including some touching in and a minor respray where I only realised I hadn't masked one panel completely as I went over with the next colour! Doh! Still, it's nice to be underway.
More soon, I hope.
All the best
Rowan
OEFFAG_153
Västra Götaland, Sweden
Joined: February 19, 2010
KitMaker: 1,473 posts
AeroScale: 1,450 posts
Joined: February 19, 2010
KitMaker: 1,473 posts
AeroScale: 1,450 posts
Posted: Tuesday, June 21, 2016 - 11:27 AM UTC
Looking very good Rowan, this kit seems really promising.
I keep hoping we'll see a Dolphin in 1:32 sometime in the future though!
Cheers
/Mikael
I keep hoping we'll see a Dolphin in 1:32 sometime in the future though!
Cheers
/Mikael
Posted: Saturday, June 25, 2016 - 01:39 AM UTC
Cheers Mikael
Agreed! 1:32 would be awesome! (And the way this kit has been designed, scaling it up wouldn't be inconceivable...)
Sorry for the slow progress - I've been absolutely up to my neck at work and just too zonked out by the time I've got home to do much of anything except crash out.
Hopefully, next week things will start to look a bit more sane...
All the best
Rowan
Posted: Saturday, October 01, 2016 - 12:33 AM UTC
Hi again
It's been something of a "summer from hell" in terms of opportunities to get much modelling done - and the poor old Dolphin has been a major victim of neglect. I'm looking forward to some quality time back at the workbench tomorrow, so the first priority will be to take stock of where I'm at and reacquainting myself with this great kit.
All the best
Rowan
It's been something of a "summer from hell" in terms of opportunities to get much modelling done - and the poor old Dolphin has been a major victim of neglect. I'm looking forward to some quality time back at the workbench tomorrow, so the first priority will be to take stock of where I'm at and reacquainting myself with this great kit.
All the best
Rowan
Posted: Sunday, October 02, 2016 - 03:25 PM UTC
Hi again
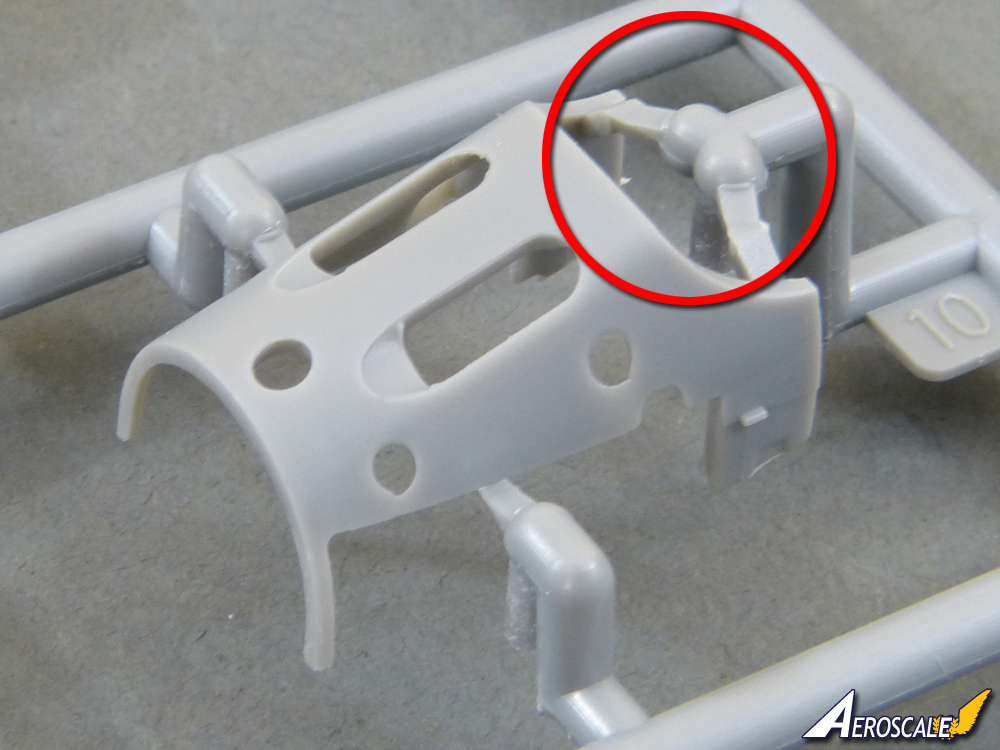
Well, I'm back underway - and, taking stock of where I was at, one of the first things I noticed was a careless slip-up that I'd made before the unintentional hiatus. Call it a case of "more haste, less speed" or not simply looking closely enough before reaching for the razor-saw, but I'd unwittingly cut into the ammunition feeds when I separated the cowl from its sprue. It's definitely something to be careful of, because they do rather blend in with the attachments points from some angles, as you can see in this shot from the review:
Rather than try to build them up again, I've sliced what was left off to replace them entirely. That'll teach me!
Other than that, all was looking pretty ship-shape and it was good to be back at the bench. I should have some progress to show soon.
All the best
Rowan
Posted: Sunday, October 02, 2016 - 08:56 PM UTC
Hi again
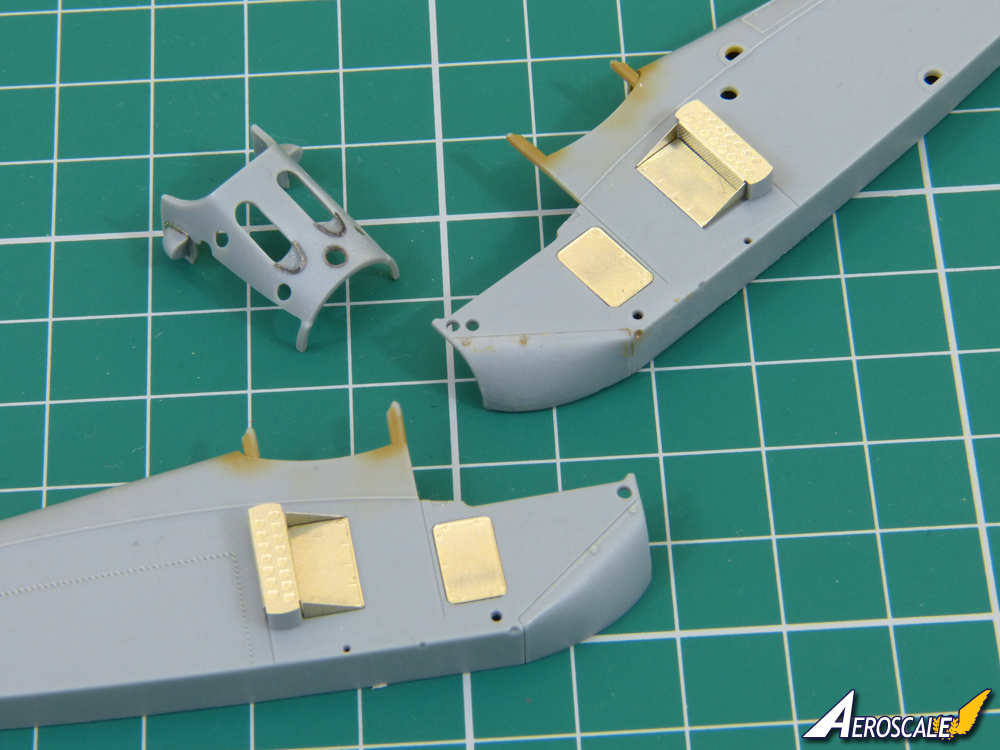
I've made a start on the etched items:
The radiators etc. are a doddle, but adding the detail on the cowl isn't a job for anyone clumsy or impatient. I annealed those parts before rolling them to conform to the compound curves.
I've started blocking out the basic colours on the very nicely detailed resin engine, so there should be something to show on that before long.
All the best
Rowan
Posted: Wednesday, October 05, 2016 - 01:08 AM UTC
Hi again
No pics yet, but I squeezed in an hour today and got the basic finished on the engine. As I noted in the review, it's a very nicely detailed resin affair - some of the subtleties only really hit you once you start working on the parts. I'll try to take a shot or two before I start weathering.
All the best
Rowan
Posted: Thursday, October 06, 2016 - 03:08 PM UTC
Hi again
As promised, a shot of the engine parts with the basic colours on. Slightly more basic than I'd intended, in fact, because I just noticed I haven't painted the front of the crankcase and propeller shaft! It's a good job I took the photo, or I might have missed it and ploughed on.
All the best
Rowan
As promised, a shot of the engine parts with the basic colours on. Slightly more basic than I'd intended, in fact, because I just noticed I haven't painted the front of the crankcase and propeller shaft! It's a good job I took the photo, or I might have missed it and ploughed on.
All the best
Rowan