Revell 1/32nd scale Spitfire
Texas, United States
Joined: May 27, 2009
KitMaker: 1,293 posts
AeroScale: 1,072 posts
Posted: Thursday, July 28, 2016 - 03:34 AM UTC
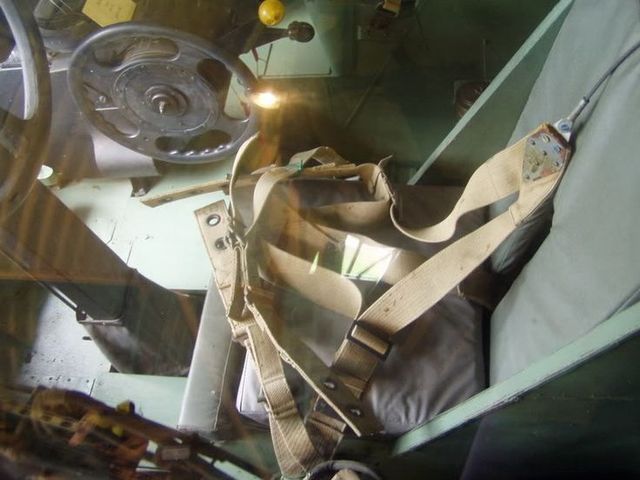
yes I too can find lots of shots of newer seat harnesses but not the Sutton Type in a spitfire, I know that later Mk's used more modern harnesses as seen in your picture Jess.
here is a picture of a Sutton harness in a Horsa Glider
Texas, United States
Joined: May 27, 2009
KitMaker: 1,293 posts
AeroScale: 1,072 posts
Posted: Thursday, July 28, 2016 - 03:38 AM UTC
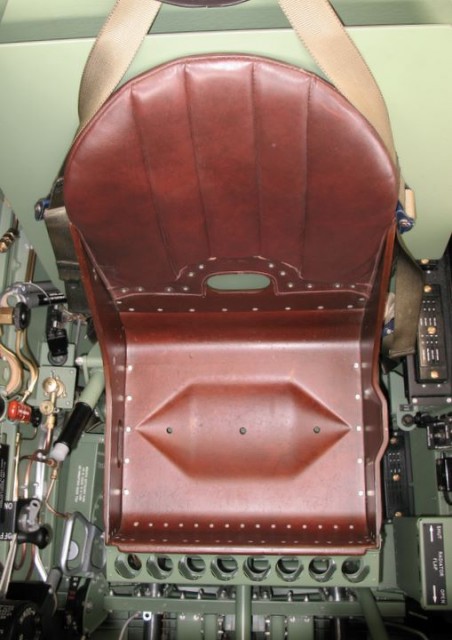
here is a shot of a Hurricane? with a Sutton harness again showing the routing of the V shaped tension strap in the small hole in the middle of the seat.

British Columbia, Canada
Joined: September 03, 2009
KitMaker: 6,965 posts
AeroScale: 6,247 posts
Posted: Thursday, July 28, 2016 - 05:56 AM UTC
No, even the
Spitfire V (close cousin to your II) doesn't have the secondary harness. It's difficult to see because they pushed the shoulder straps down the sides of the seat back for the photos.
When once you have tasted flight you will walk the Earth with your eyes turned skyward.
For there you have been, and there you will always long to return.
-Leonardo Da Vinci
Nordrhein-Westfalen, Germany
Joined: March 22, 2015
KitMaker: 671 posts
AeroScale: 614 posts
Posted: Thursday, July 28, 2016 - 06:05 PM UTC
The harness seems to be a difficult topic. I just found this in the net. Maybe it is of some help!
http://www.network54.com/Forum/149674/thread/1295649550 Doug, great build! I will follow You with big interest, as I am building a 1/72 spitfire for the Edgar Brooks campaign.
Oliver

On the desk: Probably a Panzer III.
British Columbia, Canada
Joined: September 03, 2009
KitMaker: 6,965 posts
AeroScale: 6,247 posts
Posted: Thursday, July 28, 2016 - 07:43 PM UTC
Well that looks pretty conclusive. When two Spitfire experts as eminent as Edgar Brooks and Roy Sutherland agree that the Y harness went through the back of the seat, that pretty much seals the discussion in my book

When once you have tasted flight you will walk the Earth with your eyes turned skyward.
For there you have been, and there you will always long to return.
-Leonardo Da Vinci
Texas, United States
Joined: May 27, 2009
KitMaker: 1,293 posts
AeroScale: 1,072 posts
Posted: Thursday, July 28, 2016 - 07:51 PM UTC
thanks so much Oliver, that sure does help with the question and so I will go forward with the seat as is, now I just need to decide what color to make the crow bar as there are wonderful arguments for red or other colors too. I love the community of people that are as nerdy as I am about this stuff.

Texas, United States
Joined: May 27, 2009
KitMaker: 1,293 posts
AeroScale: 1,072 posts
Posted: Saturday, July 30, 2016 - 03:38 AM UTC
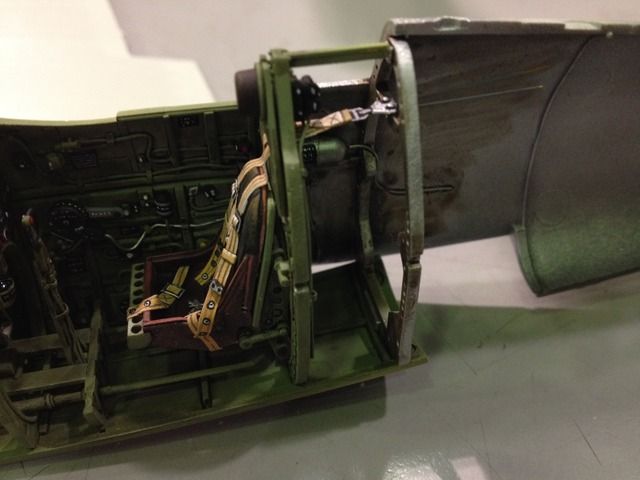
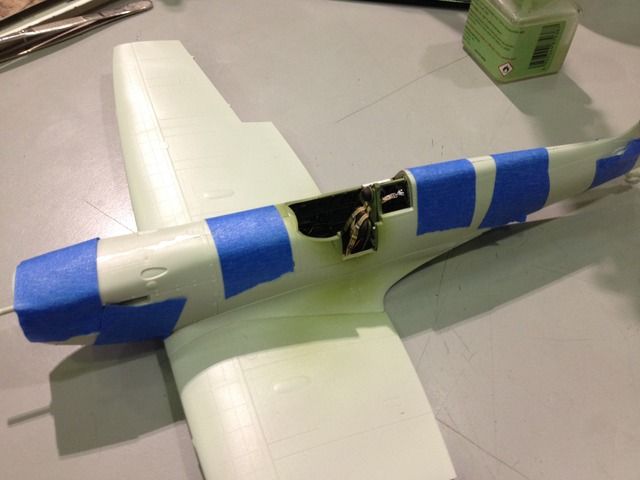
seat installed and the side wall assembled and then the fuse was put together.
New York, United States
Joined: June 08, 2013
KitMaker: 197 posts
AeroScale: 193 posts
Posted: Saturday, July 30, 2016 - 06:26 PM UTC
Doug
Mighty nice progress and the front offcie looks the part
keep 'em coming
Peter
Peter
On the Bench
1/32 Tamiya Mosquito Mk VI
Joel_W
 Associate Editor
New York, United States
Joined: December 04, 2010
KitMaker: 11,666 posts
AeroScale: 7,410 posts
Posted: Sunday, July 31, 2016 - 03:05 AM UTC
Doug,
boy are you making excellent progress. I've always painted the crowbar RAF Interior Green, the dry brushed it with a Aluminum color.
Joel
On my Workbench:
Monogram 1/24 scale 427 Shelby Cobra
Just Completed:
Beemax 1/24 scale BMW M3 E30 1992 Evolution II
Texas, United States
Joined: May 27, 2009
KitMaker: 1,293 posts
AeroScale: 1,072 posts
Posted: Wednesday, August 03, 2016 - 03:23 AM UTC
started sanding seams on fuse and replacing the panel lines, went pretty deep on the cowling panels as they are a kinda loose fit in places.
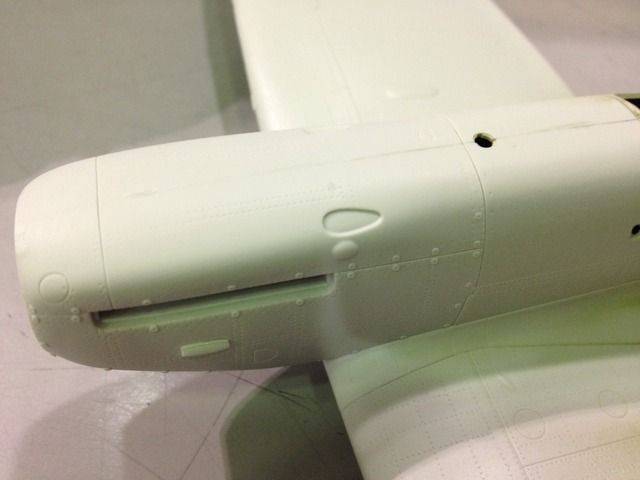
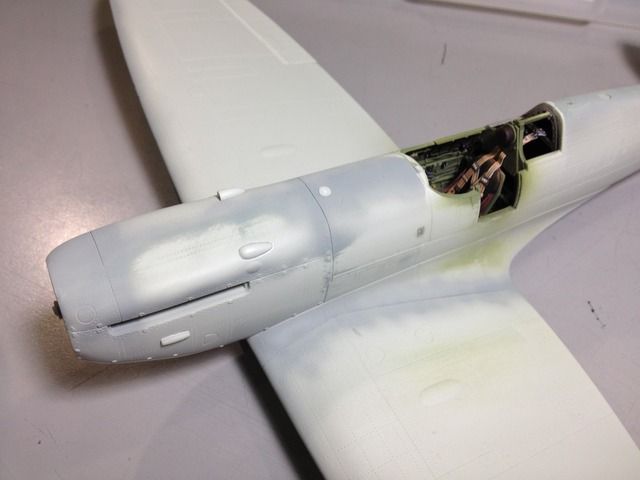
a little primer to show any flaws and some other parts now glued on to the nose, the fit was pretty good with very little filling.
Texas, United States
Joined: May 27, 2009
KitMaker: 1,293 posts
AeroScale: 1,072 posts
Posted: Wednesday, August 03, 2016 - 03:24 AM UTC
gonna use the Baracuda wheels on this one
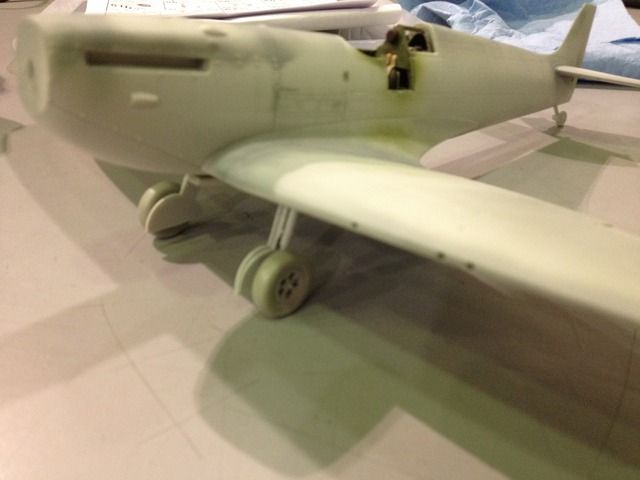
Joel_W
 Associate Editor
New York, United States
Joined: December 04, 2010
KitMaker: 11,666 posts
AeroScale: 7,410 posts
Posted: Wednesday, August 03, 2016 - 05:43 AM UTC
Doug,
Great progress. Primer coat then finally the base color coat.
Joel
On my Workbench:
Monogram 1/24 scale 427 Shelby Cobra
Just Completed:
Beemax 1/24 scale BMW M3 E30 1992 Evolution II
Texas, United States
Joined: May 27, 2009
KitMaker: 1,293 posts
AeroScale: 1,072 posts
Posted: Friday, August 05, 2016 - 07:01 AM UTC
gun sight ready.
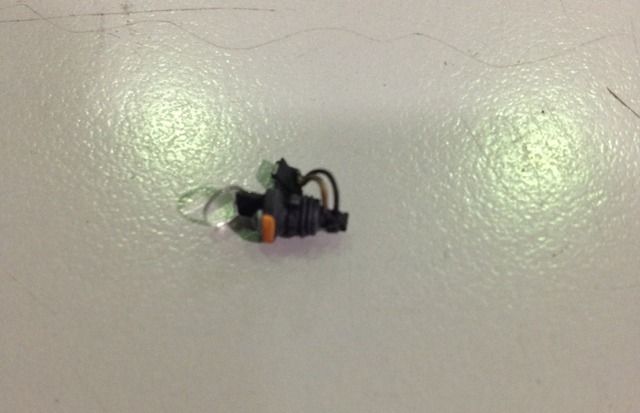

Quebec, Canada
Joined: January 23, 2009
KitMaker: 89 posts
AeroScale: 12 posts
Posted: Friday, August 05, 2016 - 08:59 PM UTC
I love your attention to detail, great thread you have going here. Seeing well finished kits are probably my biggest buying motivator.
Merlin
 Senior Editor
#017
United Kingdom
Joined: June 11, 2003
KitMaker: 17,582 posts
AeroScale: 12,795 posts
Posted: Saturday, August 06, 2016 - 12:21 AM UTC
Hi Doug
Great progress. It's going to be another beauty!

Quoted Text
Doug,
boy are you making excellent progress. I've always painted the crowbar RAF Interior Green, the dry brushed it with a Aluminum color.
Joel
Something to check, depending on the date of the aircraft you're building - it might not actually have a crowbar at all - see Edgar's note quoted above about them being field-installed from Feb. 1941, and only factory-fitted in 1942.
Thinking about it, that could well explain the colour discrepancies we've noted; up until the time aircraft started being delivered with them ready-fitted, squadron painters could have used any colour to hand - or equally decided "safety equipment - it's got to be red".
In my days in the ATC it would have been yellow-and-black. I'd love to have a video of a slightly apprehensive Cadet Baylis being briefed by the pilot ahead of his first flight in a DH Chipmunk: "If I shout "Bale out!", pull everything you see that's yellow-and-black and half the effing cockpit will fall off. Then jump!"

All the best
Rowan

BEWARE OF THE FEW...
As I grow older, I regret to say that a detestable habit of thinking seems to be getting a hold of me. - H. Rider Haggard
Texas, United States
Joined: May 27, 2009
KitMaker: 1,293 posts
AeroScale: 1,072 posts
Posted: Saturday, August 06, 2016 - 03:22 AM UTC
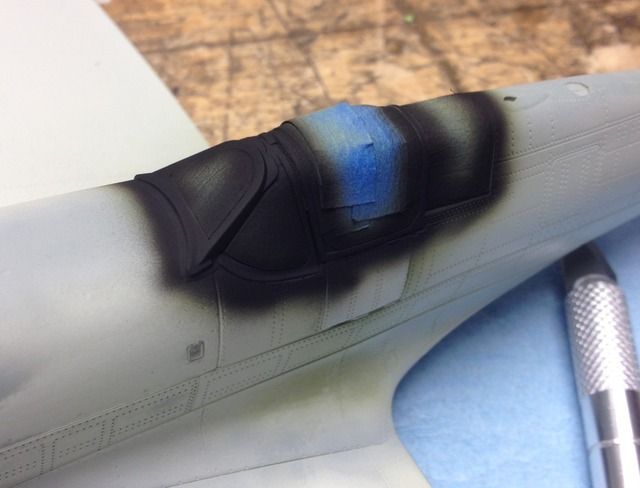
canopy masked up and ready for the paint, I painted it the interior color first then black to make sure no light shines thru. Fuse color of course will be next.
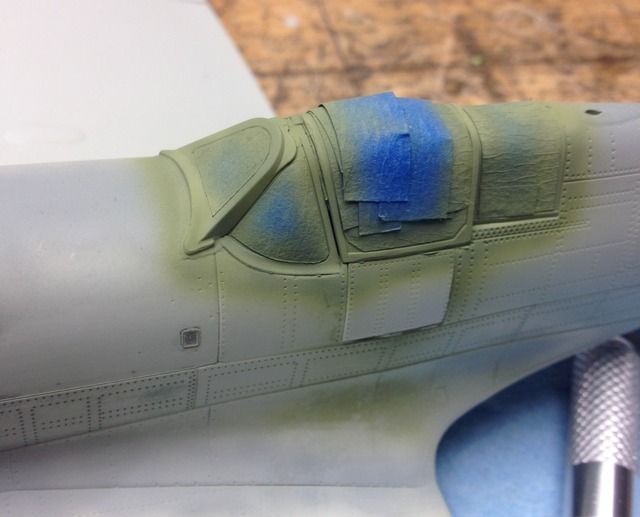
Texas, United States
Joined: May 27, 2009
KitMaker: 1,293 posts
AeroScale: 1,072 posts
Posted: Tuesday, August 09, 2016 - 02:03 AM UTC
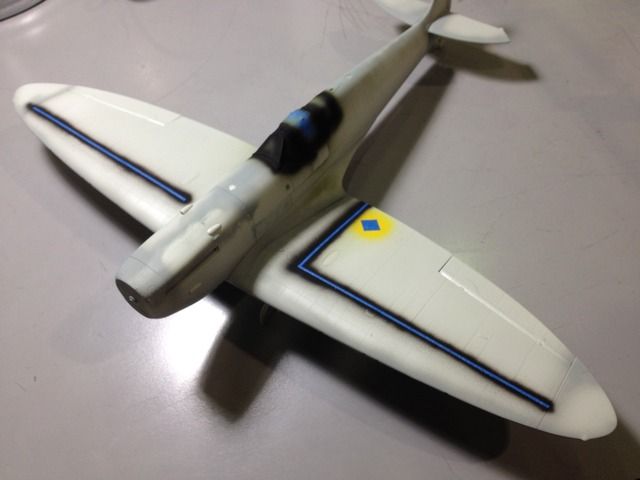
painted the wing walk way markings and masked them off, I will paint the blue part of the wing insignia next and then mask that off. This goes slow because it needs time to dry in between colors.
Joel_W
 Associate Editor
New York, United States
Joined: December 04, 2010
KitMaker: 11,666 posts
AeroScale: 7,410 posts
Posted: Wednesday, August 10, 2016 - 02:43 AM UTC
Doug,
Nice job on those wing walkways. Another reason for moving up in scale.
Joel
On my Workbench:
Monogram 1/24 scale 427 Shelby Cobra
Just Completed:
Beemax 1/24 scale BMW M3 E30 1992 Evolution II
Antwerpen, Belgium
Joined: August 07, 2016
KitMaker: 191 posts
AeroScale: 24 posts
Posted: Wednesday, August 10, 2016 - 03:42 AM UTC
Hi Doug,
I've bought this kit a few weeks ago as a future project, I'm really impressed with your cockpit details! I'm not on the same skill level but your topic will be a great help and source of inspiration.
Goodluck with your build,
Kind regards
Steven
Texas, United States
Joined: May 27, 2009
KitMaker: 1,293 posts
AeroScale: 1,072 posts
Posted: Thursday, August 11, 2016 - 09:40 PM UTC
Thanks guys, I am getting into the paint pretty deep now, I decided to do a lot of the markings with paint instead of decals pictures soon.
Texas, United States
Joined: May 27, 2009
KitMaker: 1,293 posts
AeroScale: 1,072 posts
Posted: Sunday, August 14, 2016 - 03:05 AM UTC
more paint on the Spit
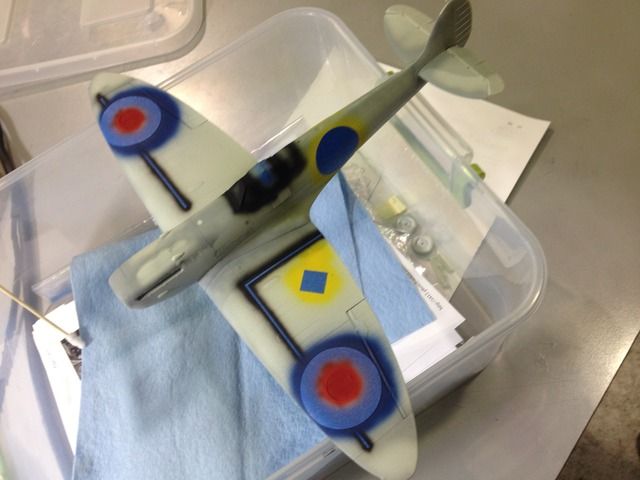
bottom sky color on now
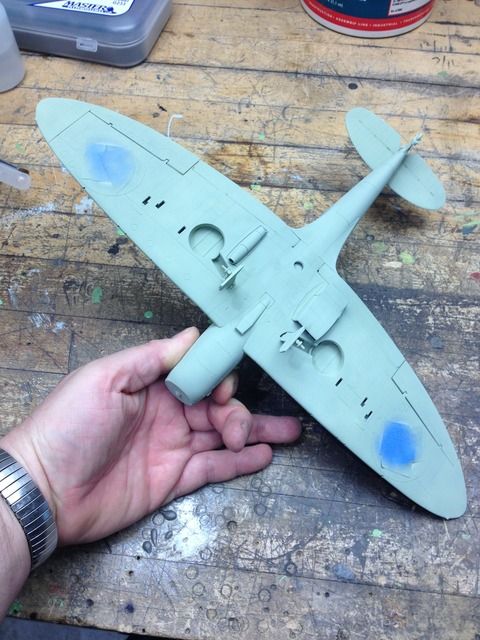
Joel_W
 Associate Editor
New York, United States
Joined: December 04, 2010
KitMaker: 11,666 posts
AeroScale: 7,410 posts
Posted: Sunday, August 14, 2016 - 06:59 PM UTC
Doug,
I'm always interested in seeing how someone masking instead of decals turns out. I'm still a decal man, but I'm weakening little by little.
Joel
On my Workbench:
Monogram 1/24 scale 427 Shelby Cobra
Just Completed:
Beemax 1/24 scale BMW M3 E30 1992 Evolution II
Texas, United States
Joined: May 27, 2009
KitMaker: 1,293 posts
AeroScale: 1,072 posts
Posted: Monday, August 15, 2016 - 02:48 AM UTC
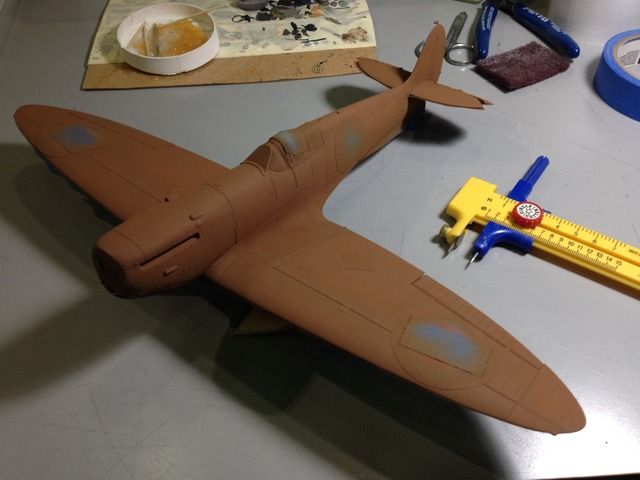
more paint, the entire upper surface is painted earth brown.
Texas, United States
Joined: May 27, 2009
KitMaker: 1,293 posts
AeroScale: 1,072 posts
Posted: Monday, August 15, 2016 - 02:49 AM UTC
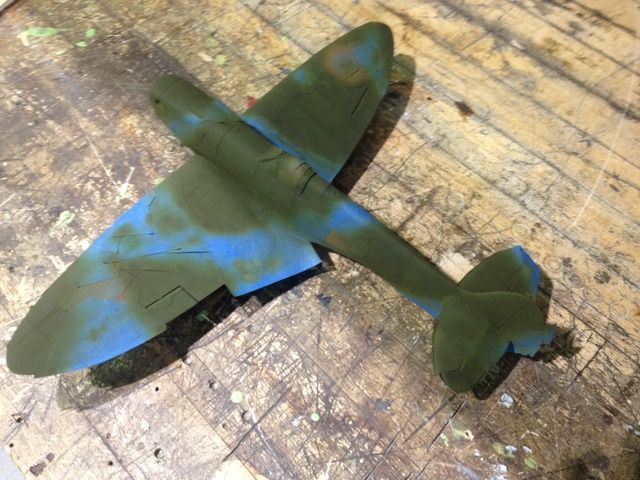
with masks applied for the camo the green color is applied
Texas, United States
Joined: May 27, 2009
KitMaker: 1,293 posts
AeroScale: 1,072 posts
Posted: Monday, August 15, 2016 - 02:50 AM UTC
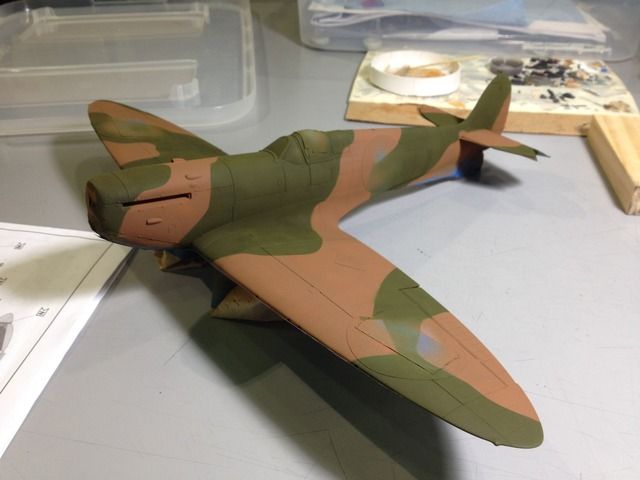
masks removed
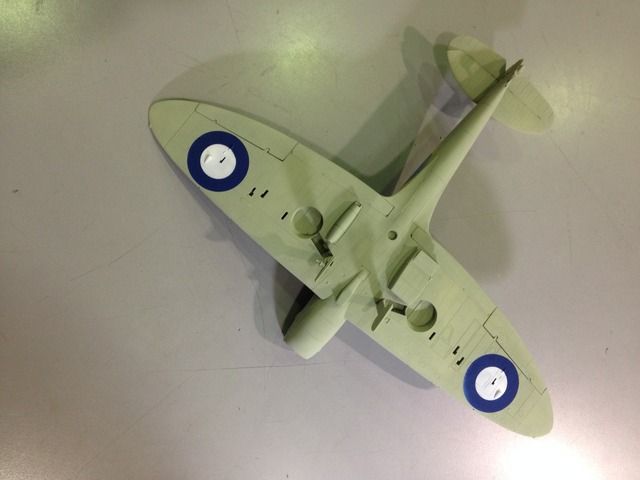
the red circles on the lower insignia will be done with the decals as will the fuse roundels inside the yellow surrounds


