Gdańsk, Poland
Joined: February 18, 2016
KitMaker: 92 posts
AeroScale: 90 posts
Posted: Saturday, August 13, 2016 - 05:48 PM UTC
Hi guys!
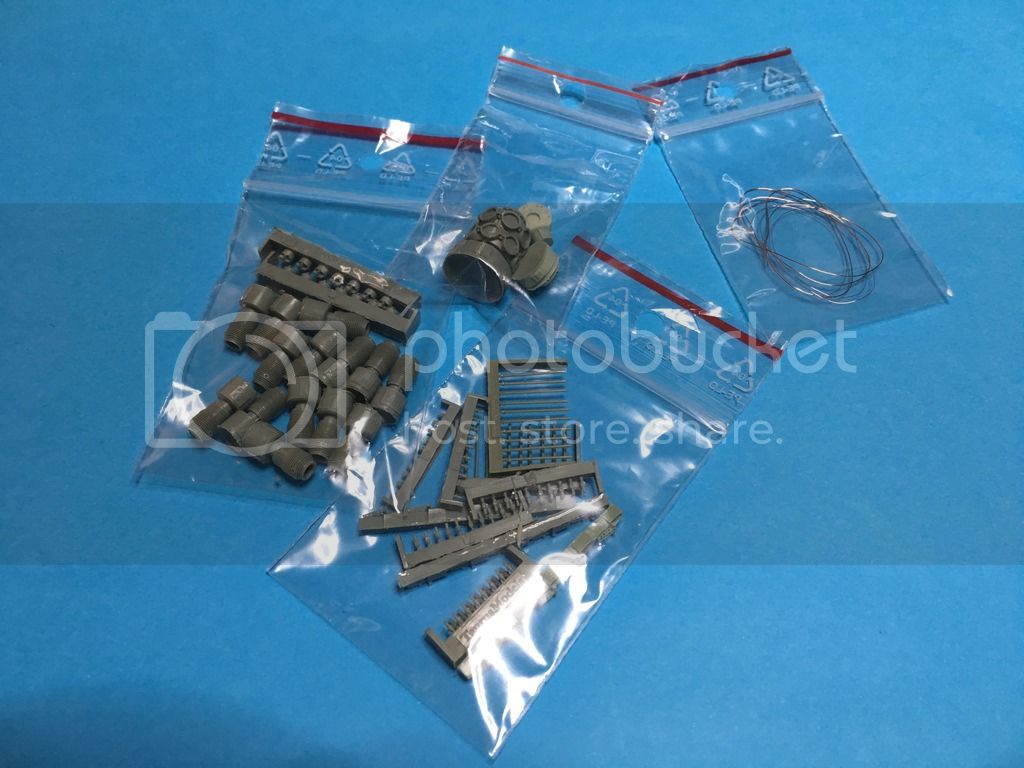
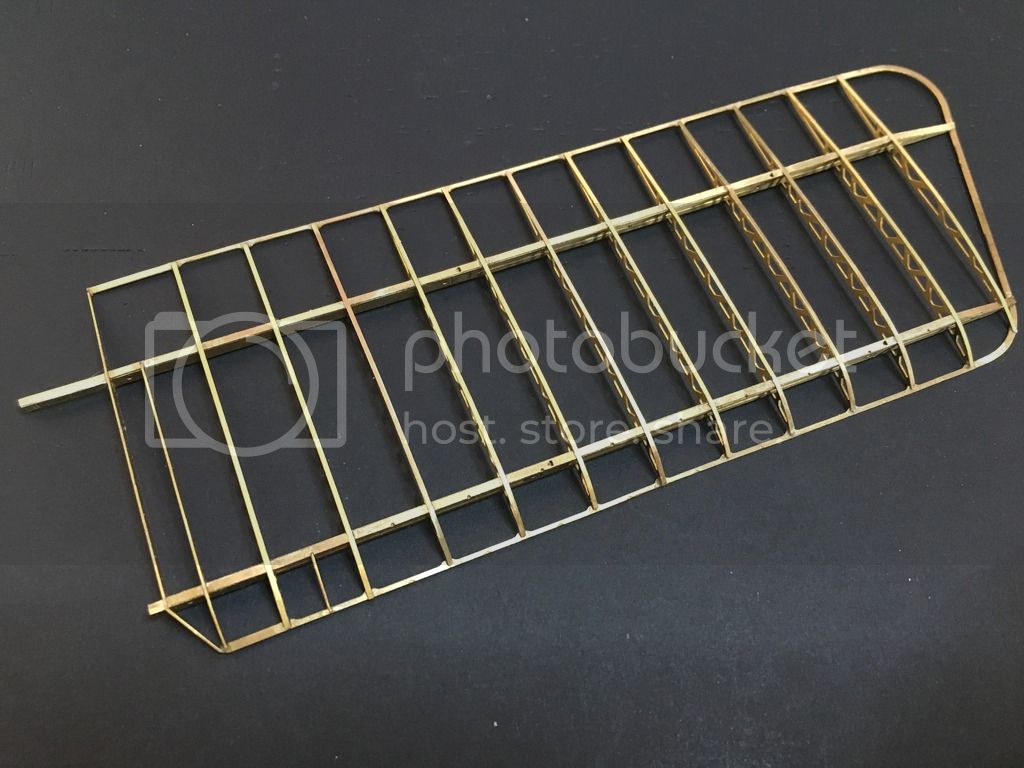
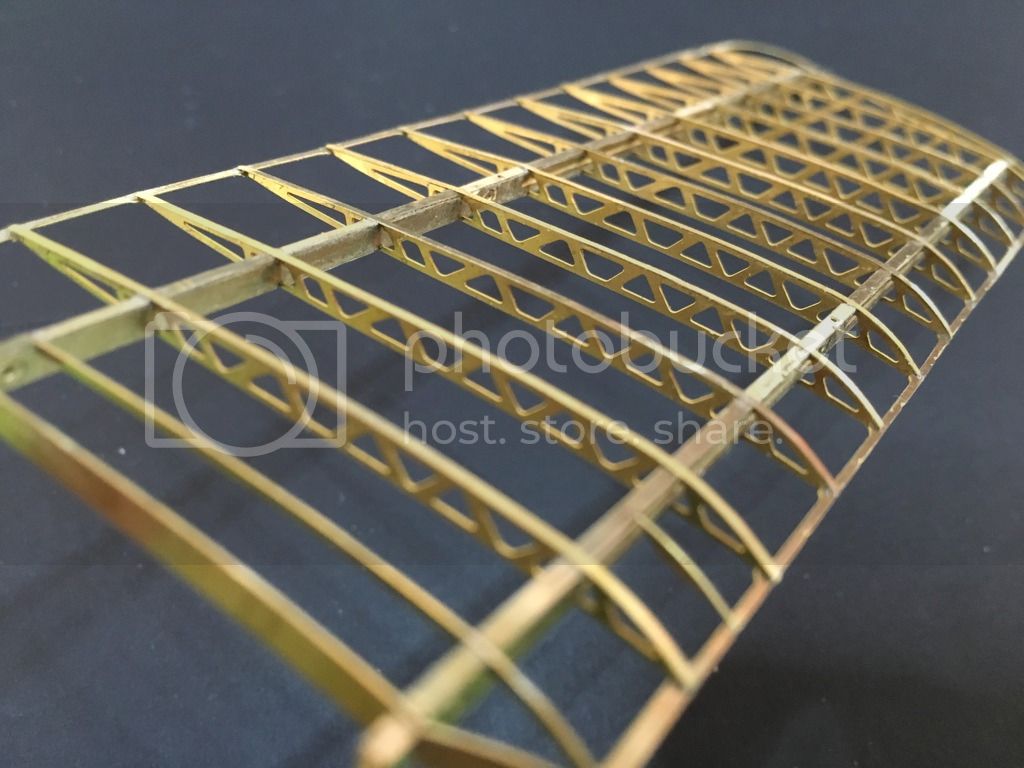
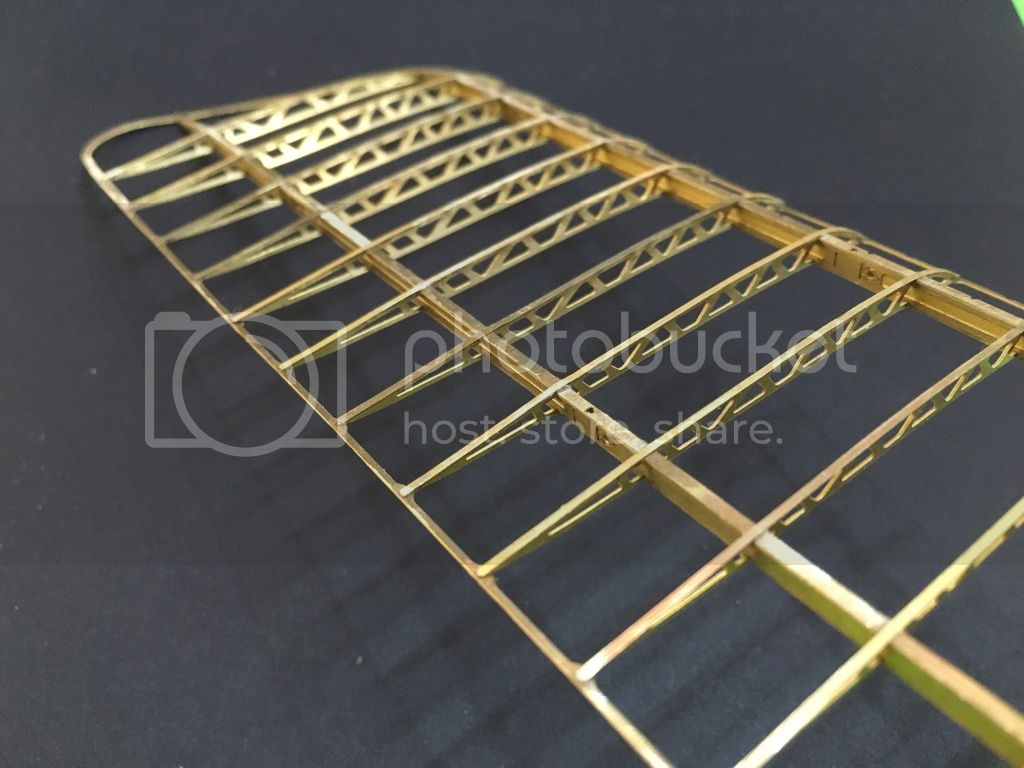
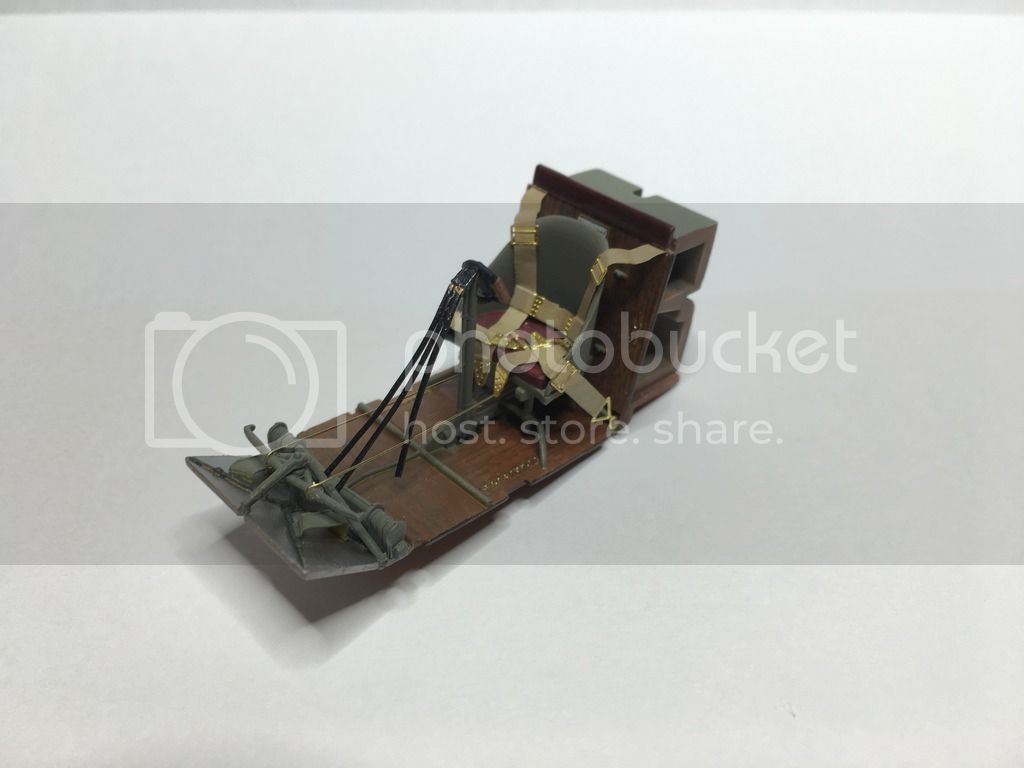
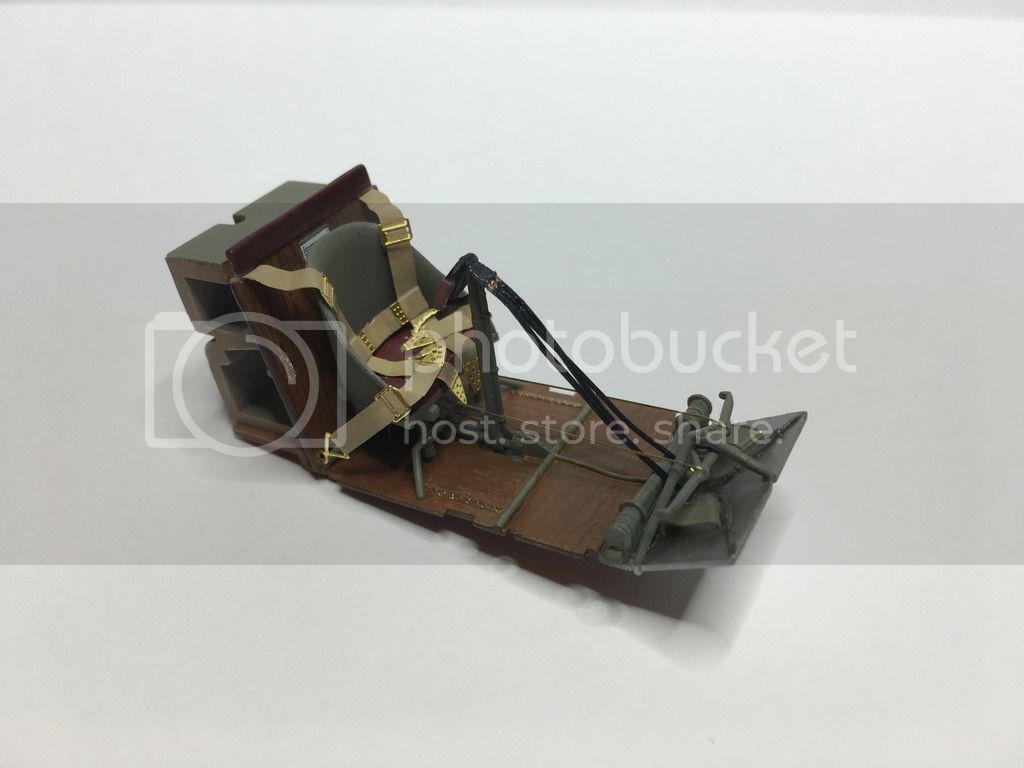
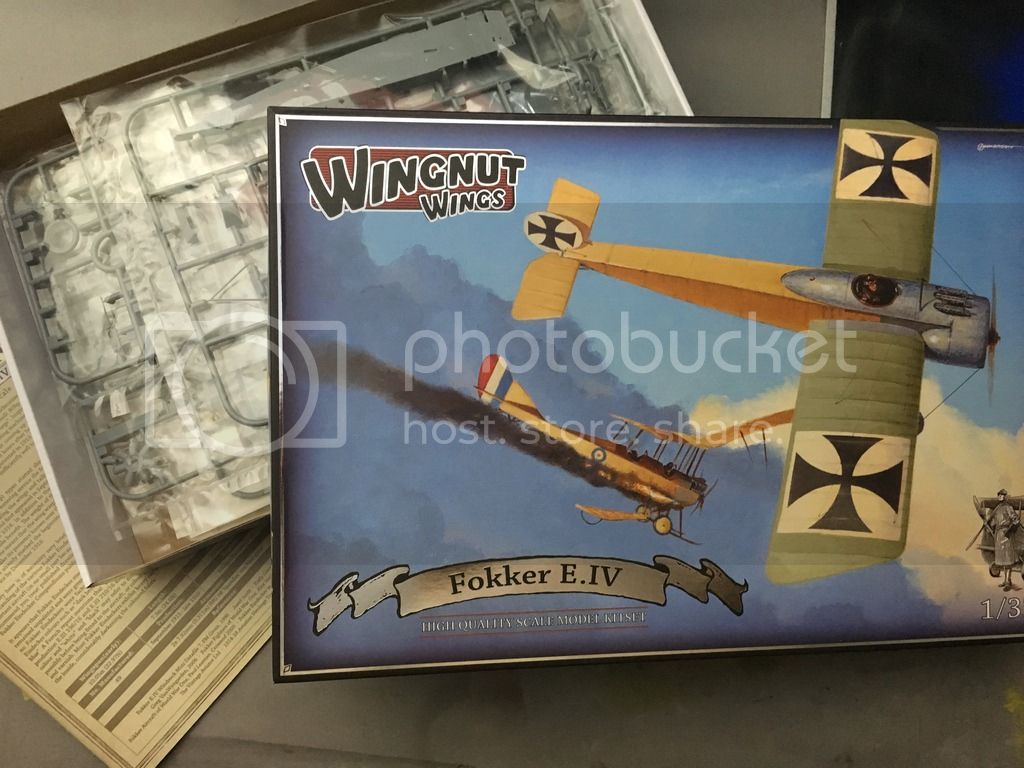
New build is ongoing - a Fokker E.IV by Wingnut Wings in 1/32 scale.
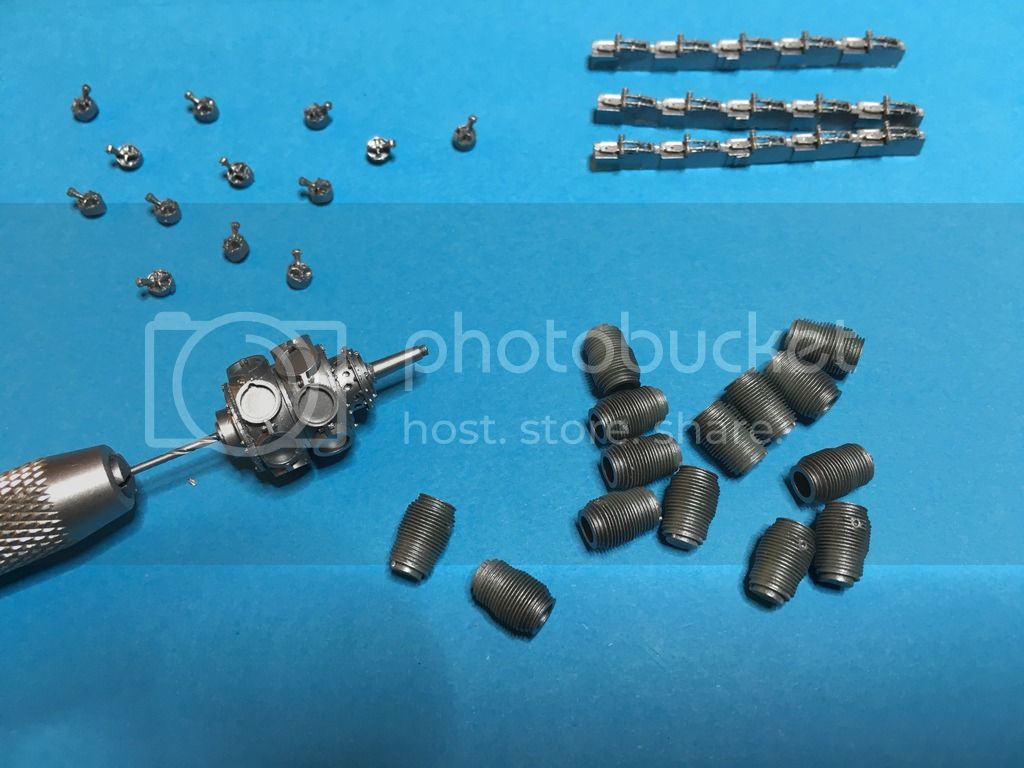
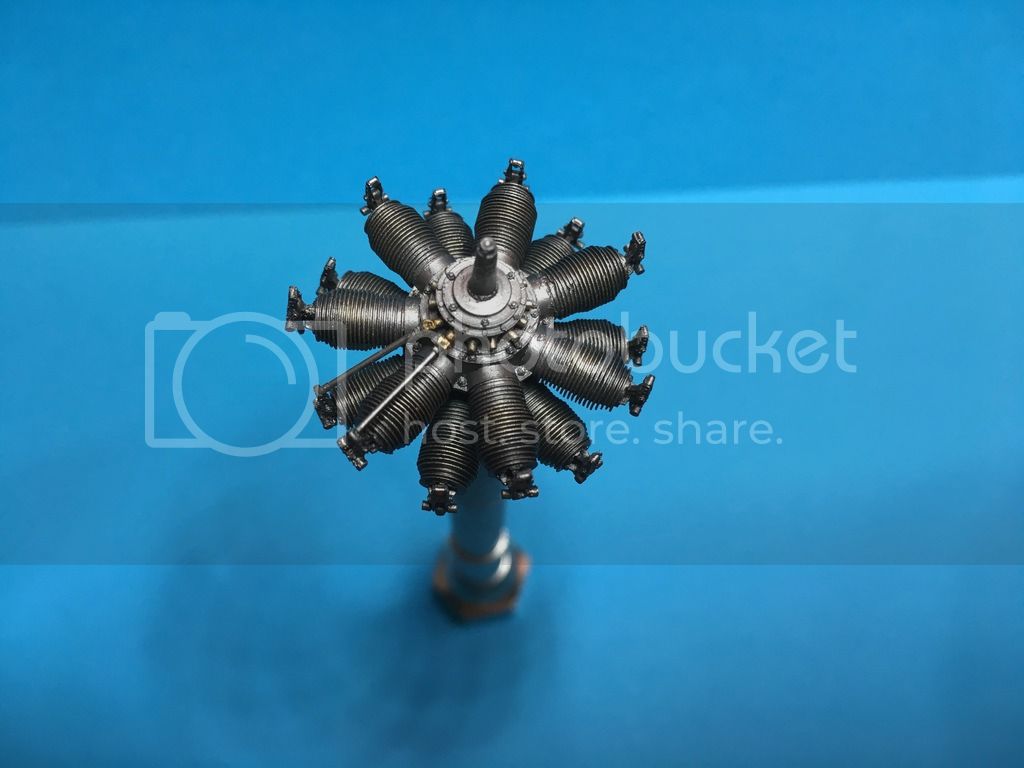
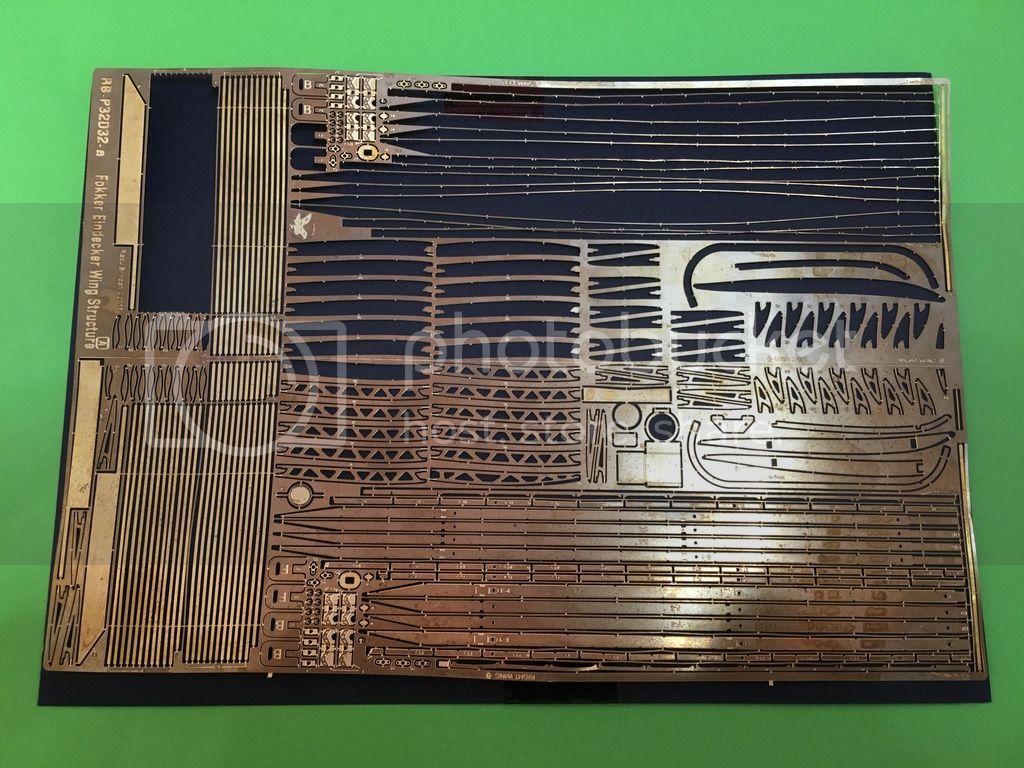
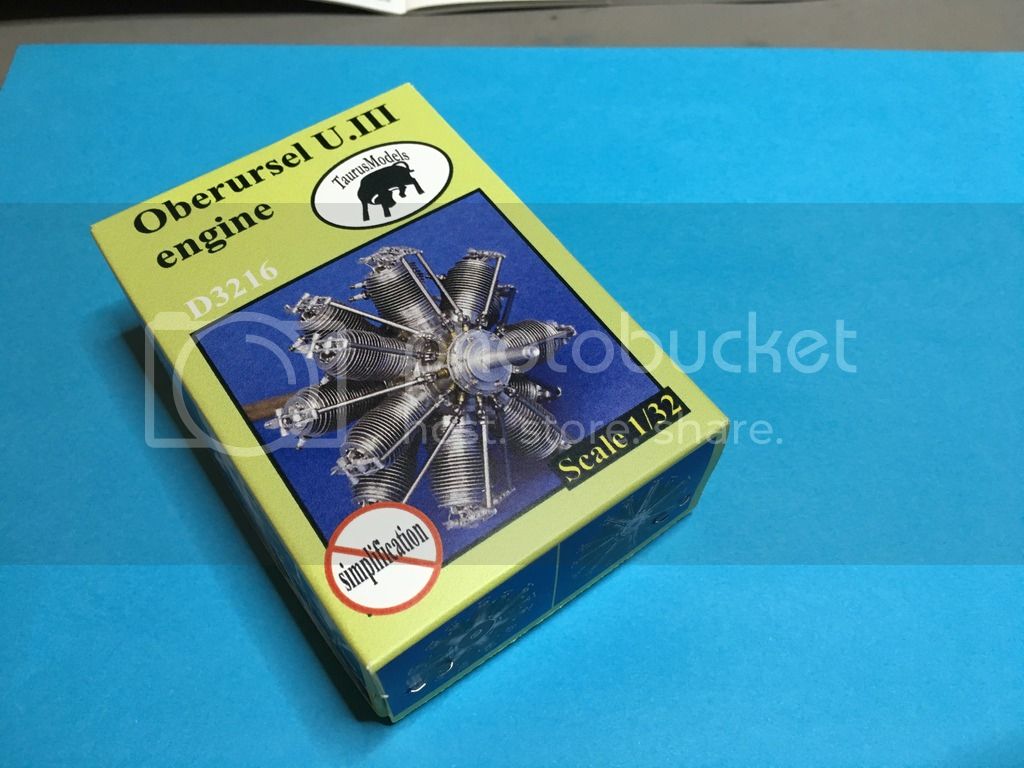
I decided to make it a bit harder challenge that simply OOB build. I'm going to replace the engine completely with amazing set of Oberursel U.III engine by Taurus Models. Additionally I want to show some parts of internal structure of the aircraft - how much it is still not decided

Anyways have a nice time...
Gdańsk, Poland
Joined: February 18, 2016
KitMaker: 92 posts
AeroScale: 90 posts
Posted: Saturday, August 13, 2016 - 05:51 PM UTC
Gdańsk, Poland
Joined: February 18, 2016
KitMaker: 92 posts
AeroScale: 90 posts
Posted: Saturday, August 13, 2016 - 05:55 PM UTC
Gdańsk, Poland
Joined: February 18, 2016
KitMaker: 92 posts
AeroScale: 90 posts
Posted: Saturday, August 13, 2016 - 05:57 PM UTC
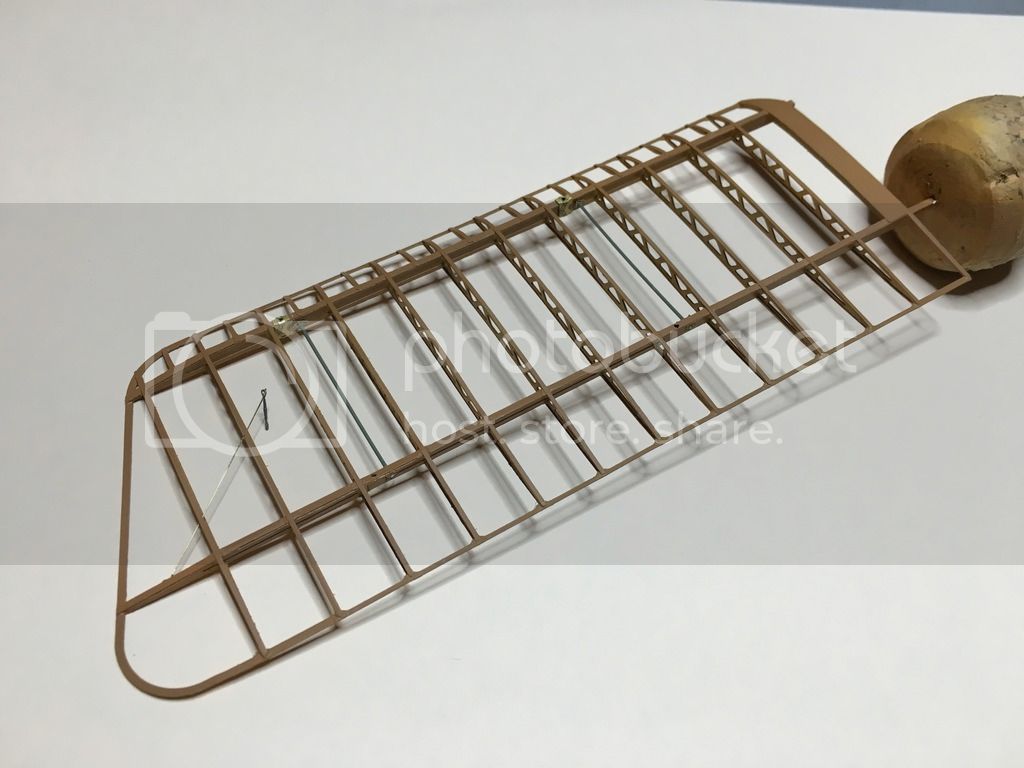
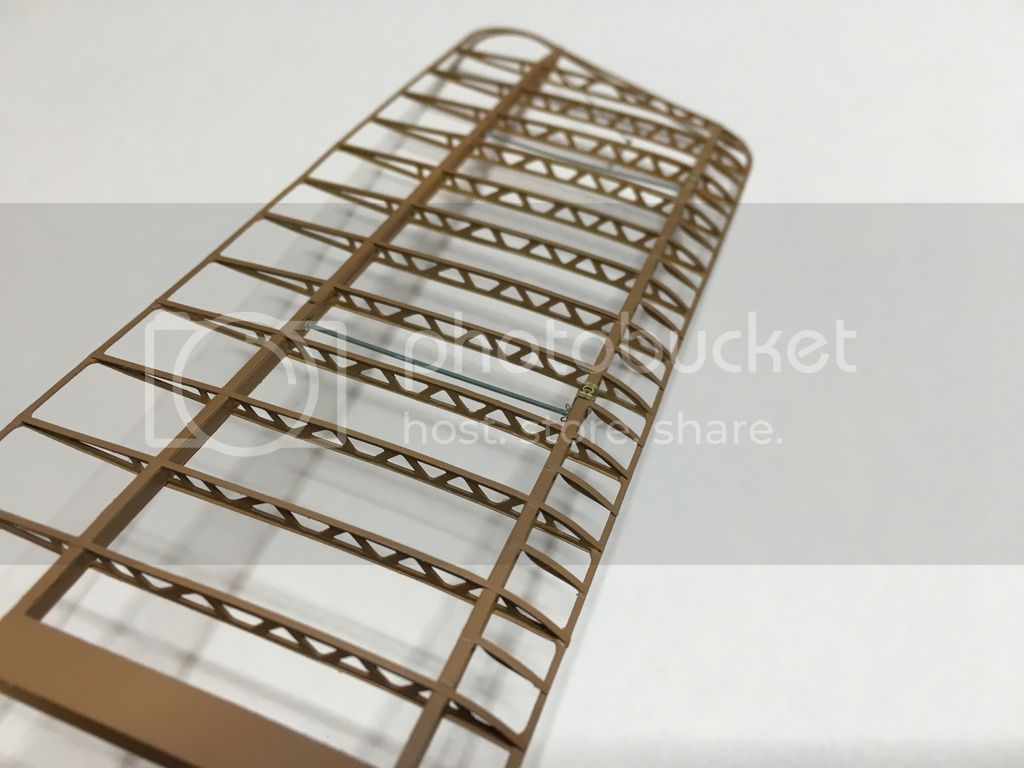
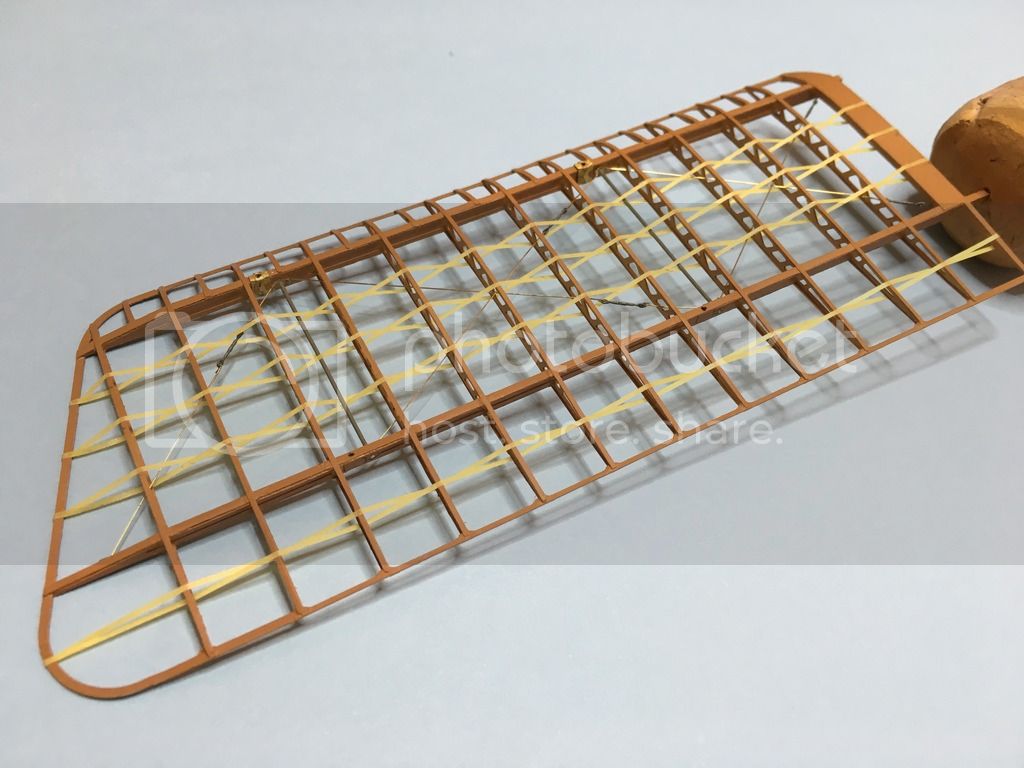
Wing structure primed, painted and internal detailing started.
Gdańsk, Poland
Joined: February 18, 2016
KitMaker: 92 posts
AeroScale: 90 posts
Posted: Saturday, August 13, 2016 - 05:59 PM UTC
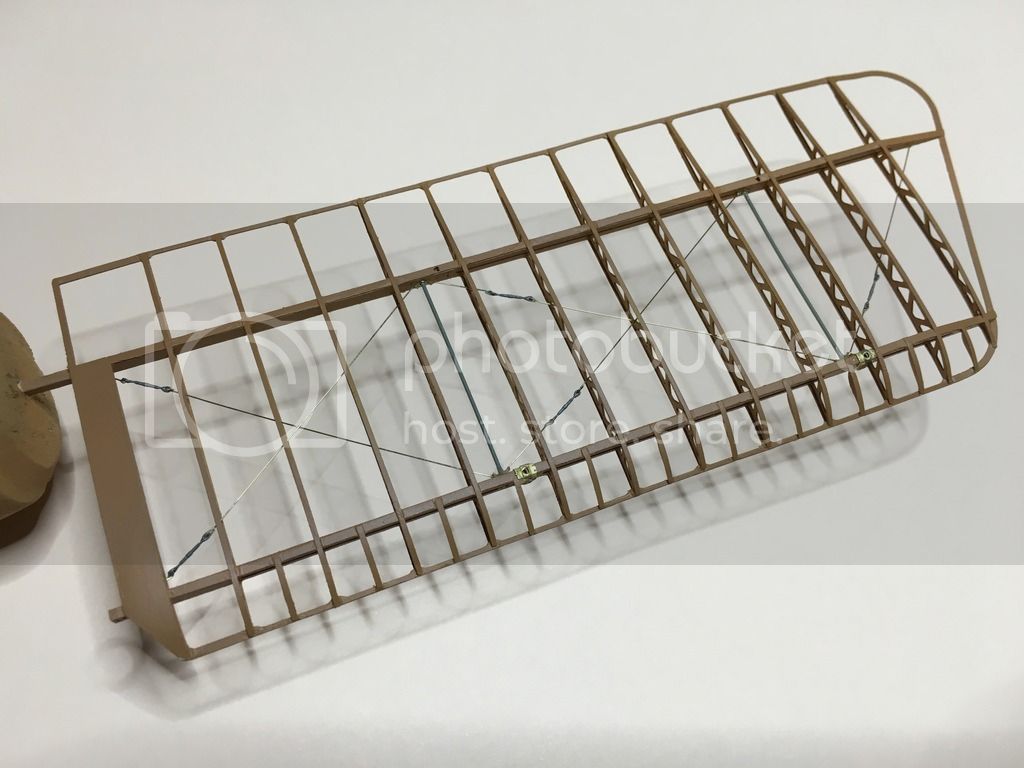
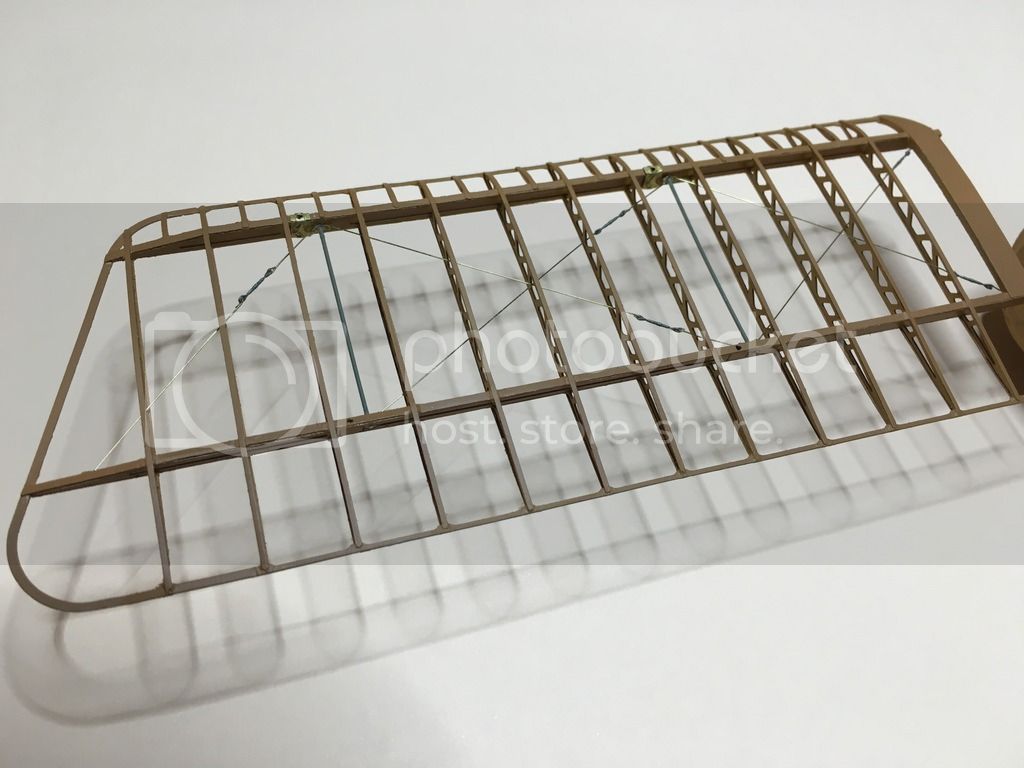
Wing internal rigging and compression tubes done.
Gdańsk, Poland
Joined: February 18, 2016
KitMaker: 92 posts
AeroScale: 90 posts
Posted: Saturday, August 13, 2016 - 06:01 PM UTC
Added the strengthening tapes along the structure.
England - East Midlands, United Kingdom
Joined: November 06, 2005
KitMaker: 753 posts
AeroScale: 311 posts
Posted: Saturday, August 13, 2016 - 09:03 PM UTC
WOW! That is fabulous work so far.
Just one thing and perhaps you are already aware but I have read a couple of builds with the Taurus engine being used which has some fit issues with the base WNW kit (IF) the cowling is also fitted.
If you are displaying the model without the cowling then no problems but you may want to check this out. Sorry, but I cannot for the life of me now remember where I read of this in at least 2 build reviews.
Gary
Gdańsk, Poland
Joined: February 18, 2016
KitMaker: 92 posts
AeroScale: 90 posts
Posted: Saturday, August 13, 2016 - 09:24 PM UTC
Quoted Text
WOW! That is fabulous work so far.
Just one thing and perhaps you are already aware but I have read a couple of builds with the Taurus engine being used which has some fit issues with the base WNW kit (IF) the cowling is also fitted.
If you are displaying the model without the cowling then no problems but you may want to check this out. Sorry, but I cannot for the life of me now remember where I read of this in at least 2 build reviews.
Gary
Gary thanks for the heads-up! I will definitely take a closer look into cowling fitting. Still not decided how to display it - leaning to open engine to show the details. Anyway we'll see which way it'll go

England - East Midlands, United Kingdom
Joined: November 06, 2005
KitMaker: 753 posts
AeroScale: 311 posts
Posted: Sunday, August 14, 2016 - 05:41 AM UTC
Whichever method of display you decide upon Bart, I am sure the end result will be magnificent.
I shall follow your progress with interest.
Gary

#424
Queensland, Australia
Joined: April 23, 2015
KitMaker: 4,648 posts
AeroScale: 1,938 posts
Posted: Sunday, August 14, 2016 - 07:19 AM UTC
Bart,
This is really going beyond OOB. Ganna follow along.
Gaz
"Artillery adds dignity, to what would otherwise be an ugly brawl."
Frederick The Great
Colorado, United States
Joined: January 25, 2004
KitMaker: 11,669 posts
AeroScale: 11,011 posts
Posted: Tuesday, August 16, 2016 - 12:35 AM UTC
". . .The most important thing is to know why you build and then get the most that you can out of building." via D.D.
West Virginia, United States
Joined: December 18, 2006
KitMaker: 1,121 posts
AeroScale: 1,063 posts
Posted: Tuesday, August 16, 2016 - 07:34 PM UTC
Richard at Aviattic sells a thinned cowling that is supposed to fit the kit specifically with the Taurus engine. I have one but haven't started the build yet to see how well it works.
-Mark
Gdańsk, Poland
Joined: February 18, 2016
KitMaker: 92 posts
AeroScale: 90 posts
Posted: Tuesday, August 16, 2016 - 07:46 PM UTC
Thanks Mark,
gonna check it out!

England - East Midlands, United Kingdom
Joined: November 06, 2005
KitMaker: 753 posts
AeroScale: 311 posts
Posted: Wednesday, August 17, 2016 - 01:09 AM UTC
Quoted Text
Richard at Aviattic sells a thinned cowling that is supposed to fit the kit specifically with the Taurus engine. I have one but haven't started the build yet to see how well it works.
-Mark
Good call Mark! That is certainly one of the sources as I recall highlighting this fit issue. Aviatic stuff btw is super quality WW1 aftermarket so you may want to check that out Bart.
Great progress so far.
Gary
New Jersey, United States
Joined: June 02, 2006
KitMaker: 1,212 posts
AeroScale: 468 posts
Posted: Thursday, August 18, 2016 - 06:07 PM UTC
Every now and again you see craftsmanship that make you wonder what's point of going on. I am not a quitter but if I were... I'd be done after seeing that. Nice indeed!
Gdańsk, Poland
Joined: February 18, 2016
KitMaker: 92 posts
AeroScale: 90 posts
Posted: Friday, August 26, 2016 - 11:49 PM UTC
Hi Marc,
thanks for the kind words

Bart
Gdańsk, Poland
Joined: February 18, 2016
KitMaker: 92 posts
AeroScale: 90 posts
Posted: Friday, August 26, 2016 - 11:52 PM UTC

#424
Queensland, Australia
Joined: April 23, 2015
KitMaker: 4,648 posts
AeroScale: 1,938 posts
Posted: Saturday, August 27, 2016 - 04:18 AM UTC
Very nice! woodgrain and canvas looking straps are very cknvincing.
Gaz
"Artillery adds dignity, to what would otherwise be an ugly brawl."
Frederick The Great

#372
United Kingdom
Joined: March 10, 2010
KitMaker: 2,568 posts
AeroScale: 1,619 posts
Posted: Wednesday, August 31, 2016 - 06:31 PM UTC
Looking good!
I'm building their Rumpler at the moment. First I've done and I'm loving every moment of the build. They are fantastic kits.
I'll be watching your build.
On the bench: 1/72 Mosquito, Lightning F.6, DH.2,
AMT Vulcan Shuttle Surak.
Cyber-Hobby 1:35 Sherman Firefly IC - still stalled.
New Jersey, United States
Joined: June 02, 2006
KitMaker: 1,212 posts
AeroScale: 468 posts
Posted: Thursday, September 01, 2016 - 03:40 AM UTC
Looks great. makes me wanna start 1 of the E.1's perched just on top of the pile.

Gdańsk, Poland
Joined: February 18, 2016
KitMaker: 92 posts
AeroScale: 90 posts
Posted: Saturday, September 10, 2016 - 05:00 PM UTC
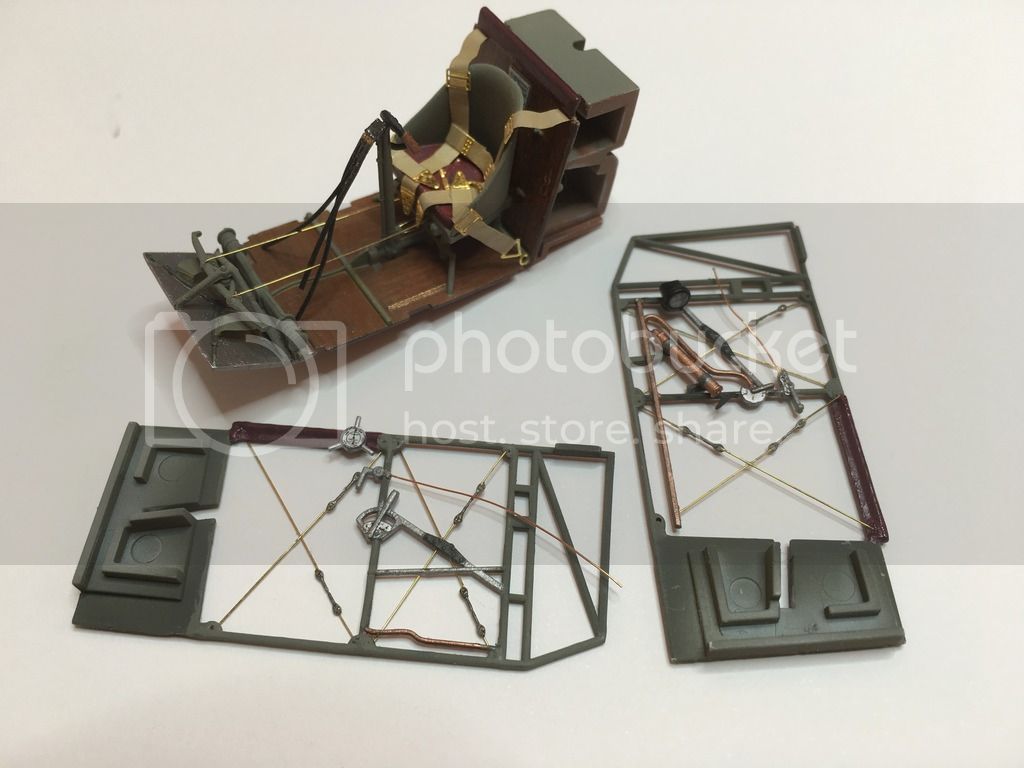
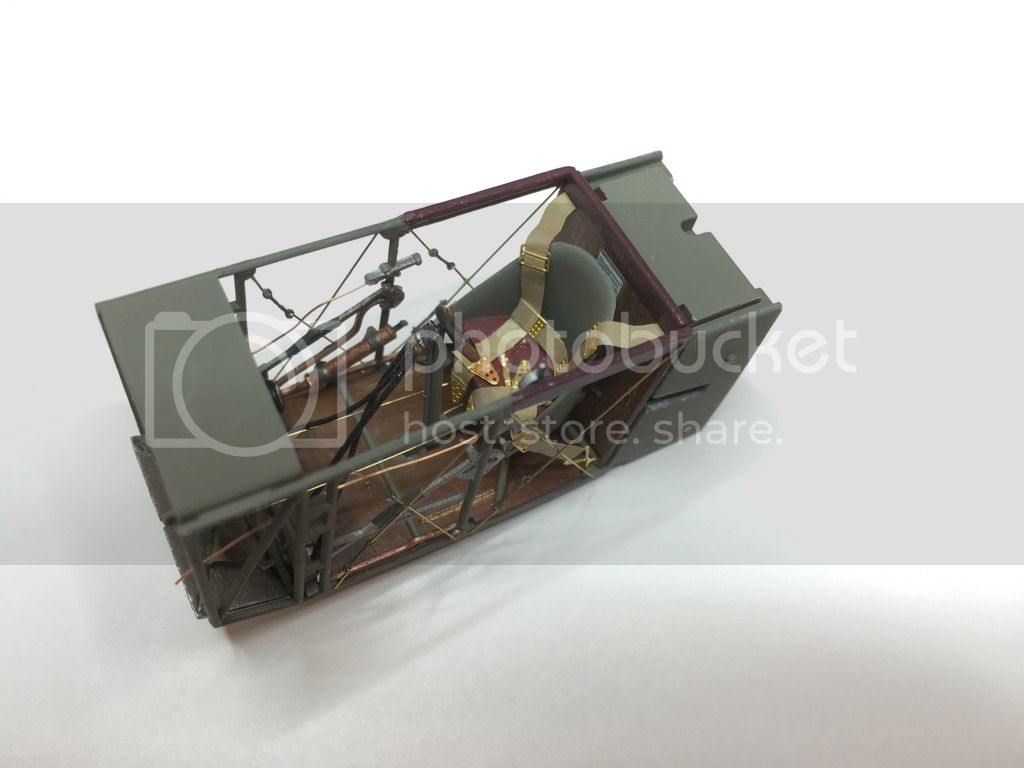
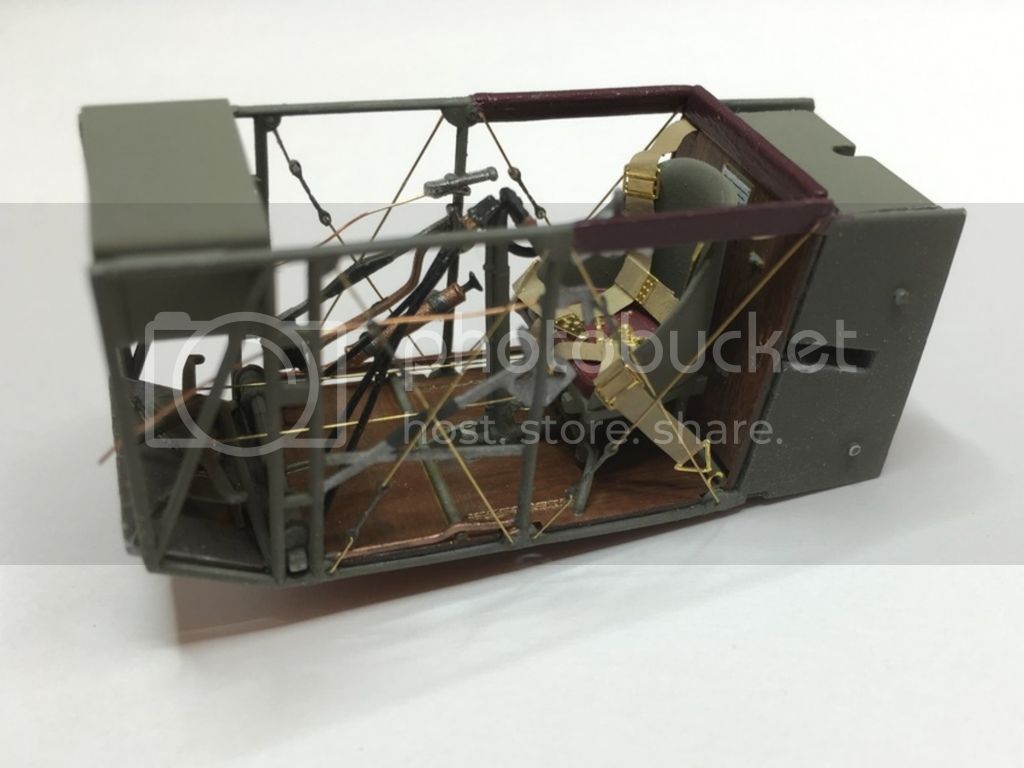
OK Gents, some update on the build.
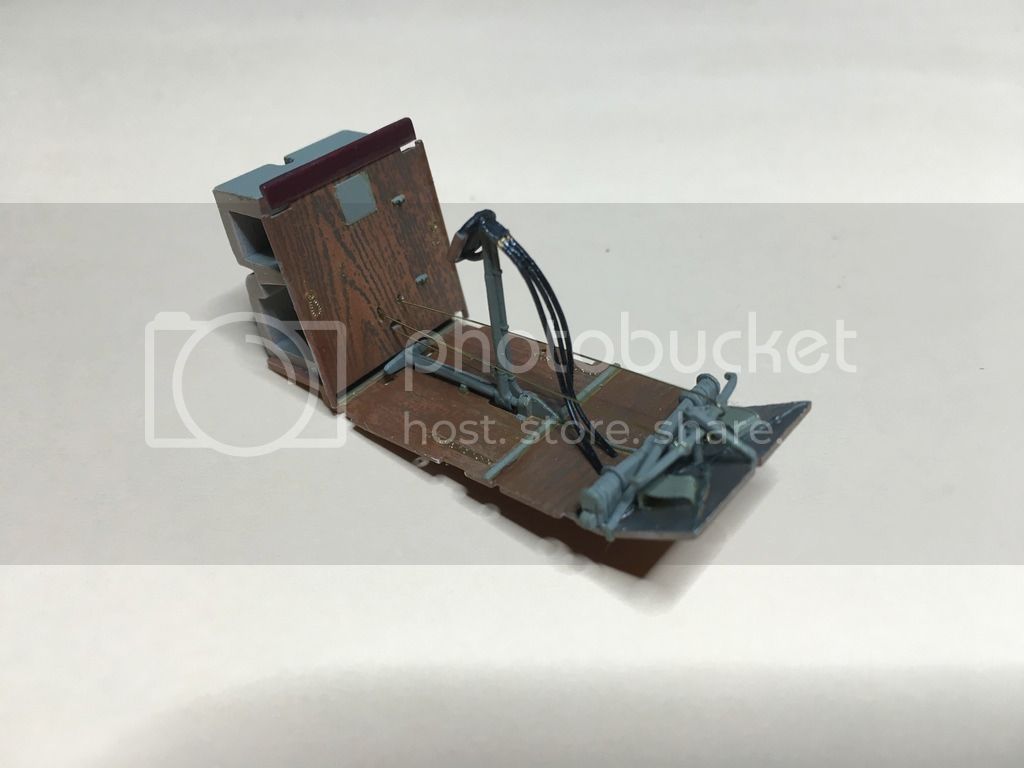
Sides of the cockpit finished - added rigging lines.
Here's how it came together:
Gdańsk, Poland
Joined: February 18, 2016
KitMaker: 92 posts
AeroScale: 90 posts
Posted: Saturday, September 10, 2016 - 05:05 PM UTC
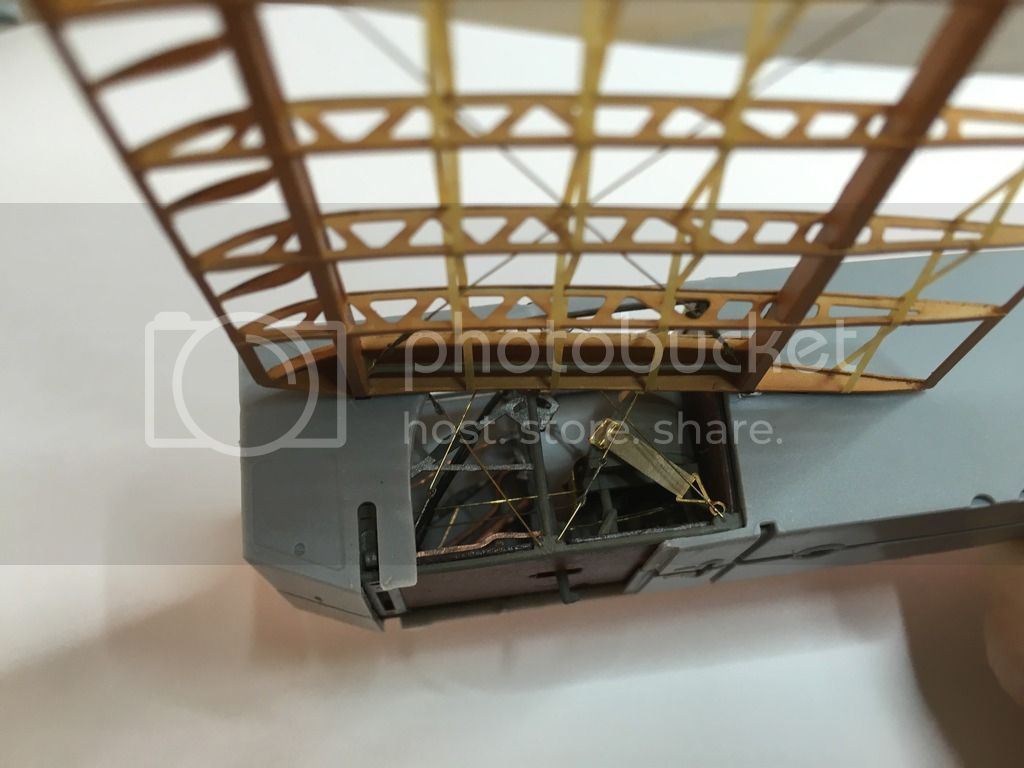
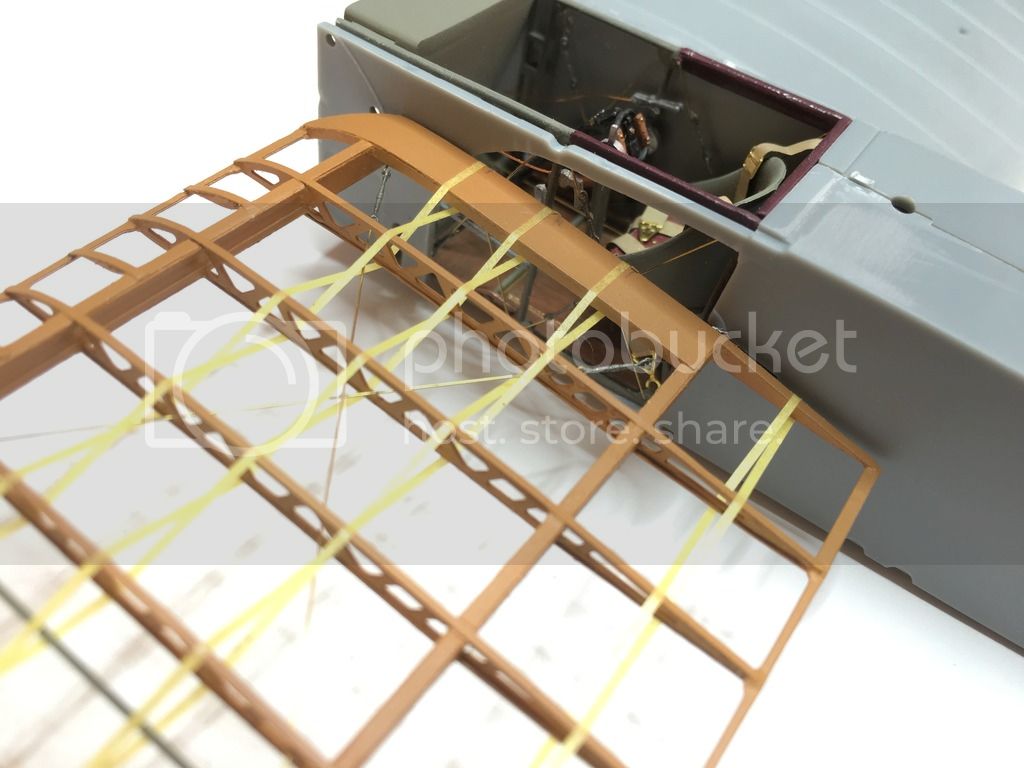
I've decided to partially remove the canvas from the fuselage to show a little bit of the interiors.
Below WIP dry fitting the fuselage and cockpit.
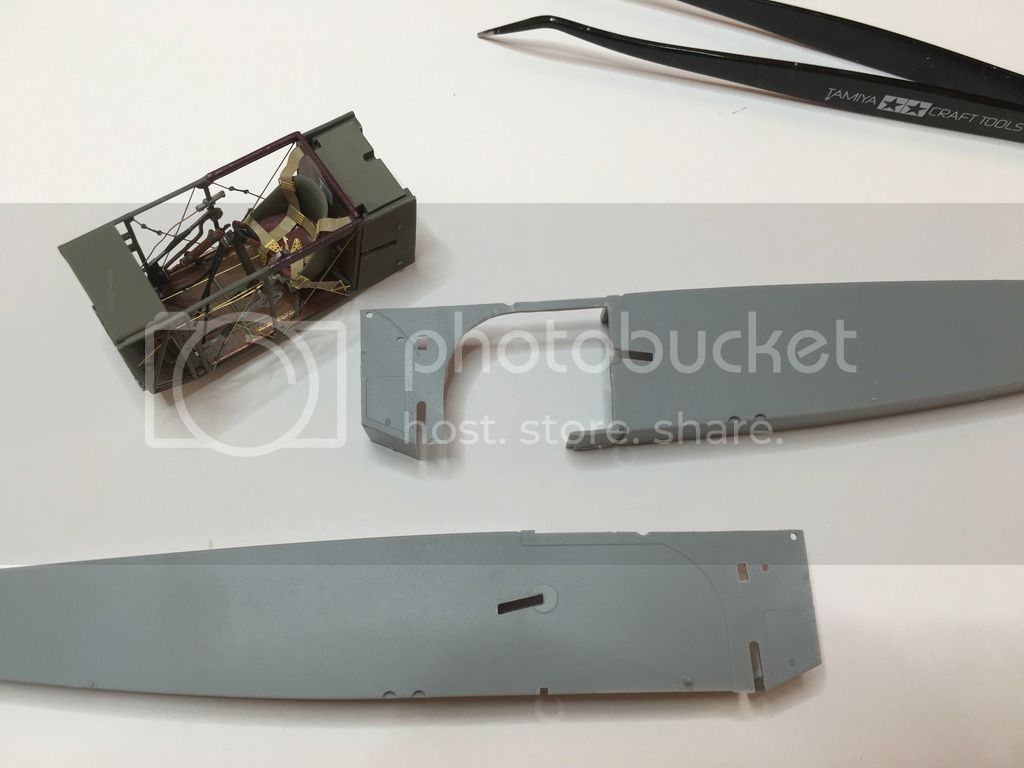
Plus checked with alredy done 'naked' left wing

New Jersey, United States
Joined: June 02, 2006
KitMaker: 1,212 posts
AeroScale: 468 posts
Posted: Monday, September 12, 2016 - 06:18 PM UTC
I still can't believe that wing. WOW!
Bangkok, Thailand / ไทย
Joined: September 17, 2013
KitMaker: 1,617 posts
AeroScale: 212 posts
Posted: Wednesday, November 16, 2016 - 06:11 PM UTC
Think this build will make me an addict. Engine is already wow.
Kind regards,
Robert Jan
Gdańsk, Poland
Joined: February 18, 2016
KitMaker: 92 posts
AeroScale: 90 posts
Posted: Thursday, January 05, 2017 - 02:55 AM UTC
A small update.
Fuselage closed and first colors added.
Correct engine cowling (to house the Taurus Models engine) arrived from Aviattic and it fits

- thanks guys for the hint.
Dryfitted with small details, naked wing and rudder.


