An update.
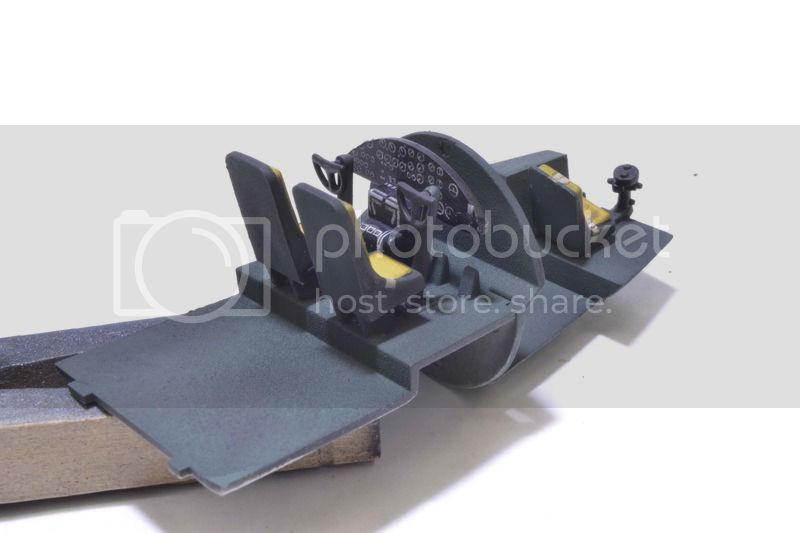
Now as this kit has light detail on the interior it is to me more important to spend some time working on the paint and weathering to make up for the interior. To that end I have progressed to the painting stage. As per my normal, at least for the moment, I began the painting prior to the installation of the interior and the closure of the fuselage.
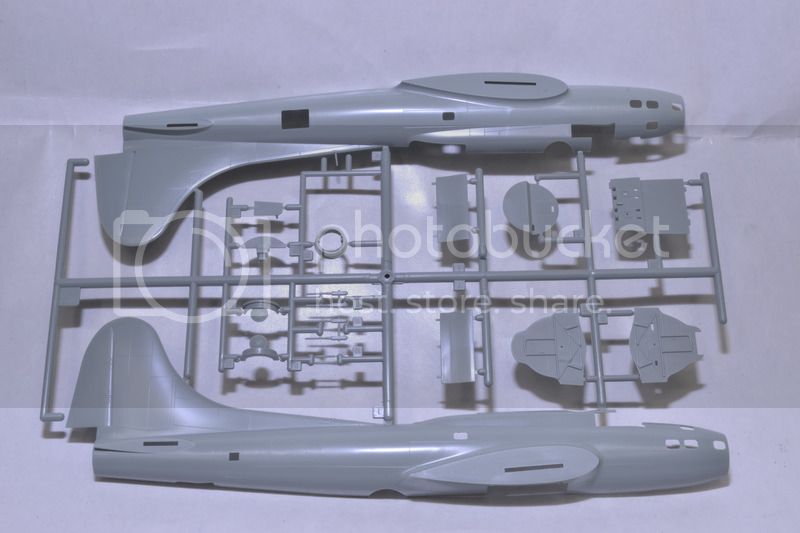
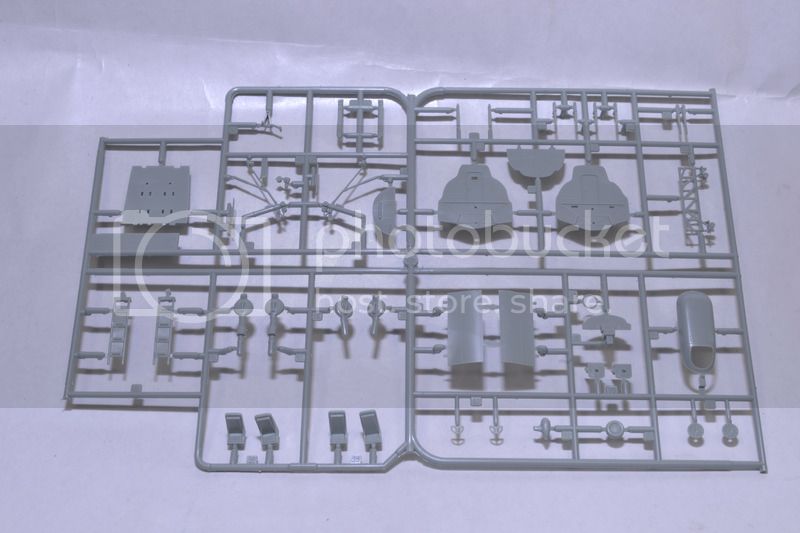
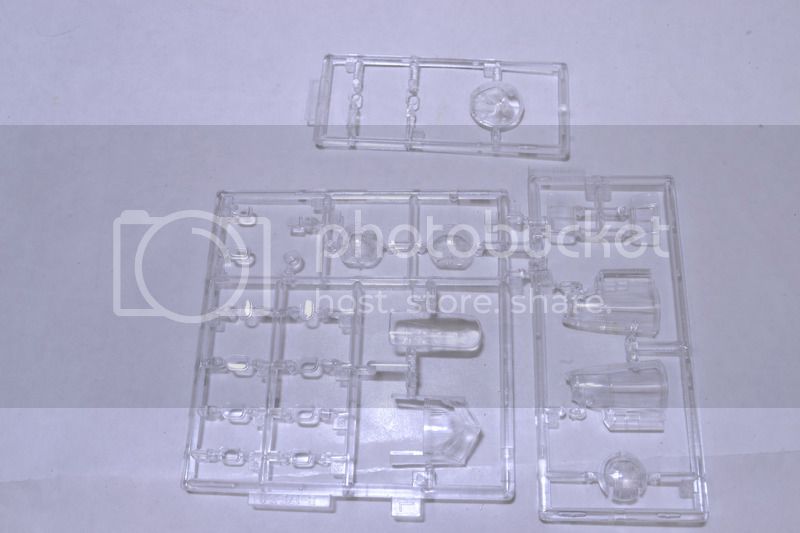
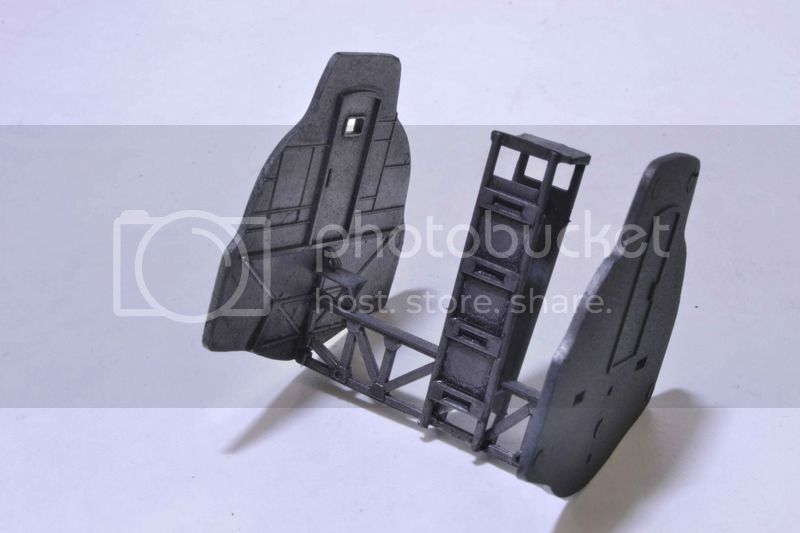
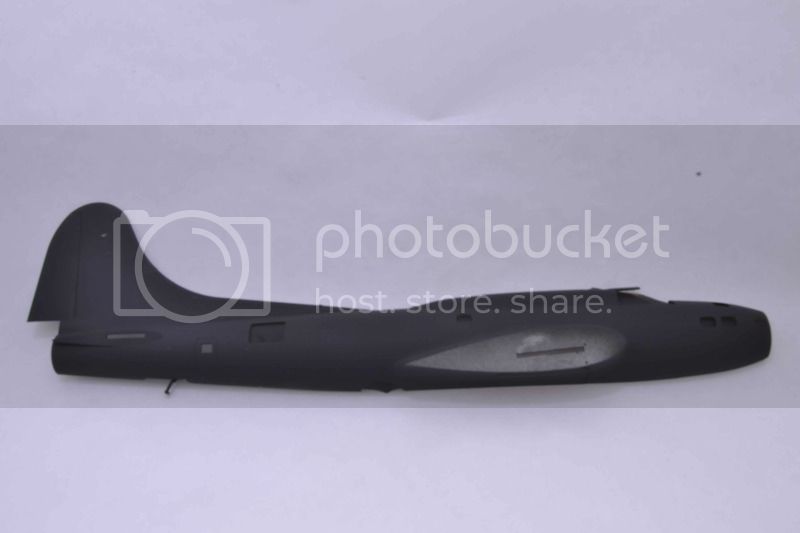
Naked plastic anyone???

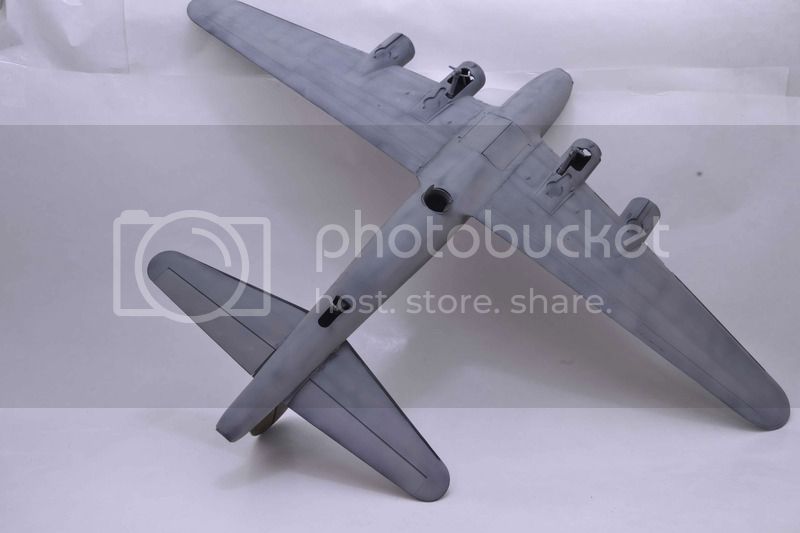
I begin with an overall coat of Flat Black. This will provide not only an indication of kit flaws but also a start to the shading and weathering.
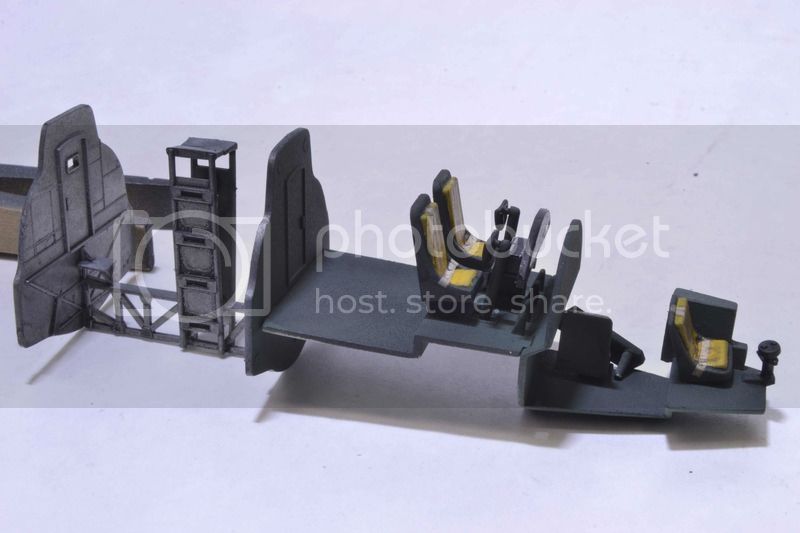
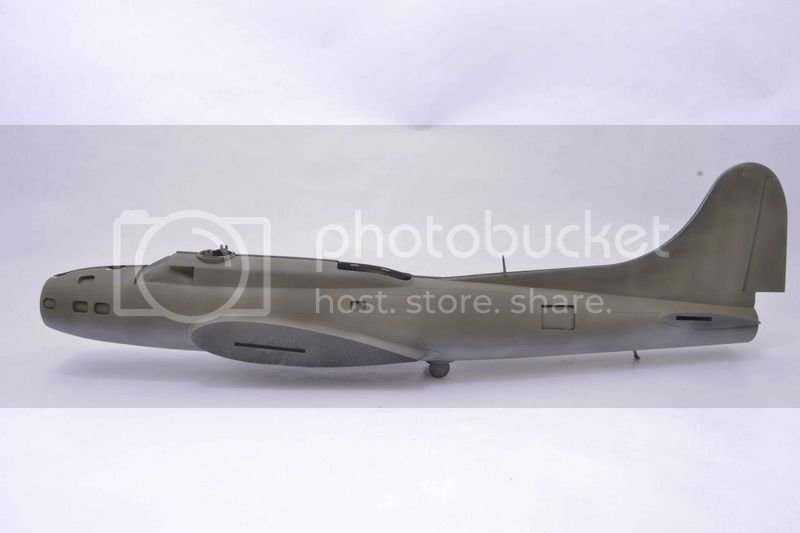
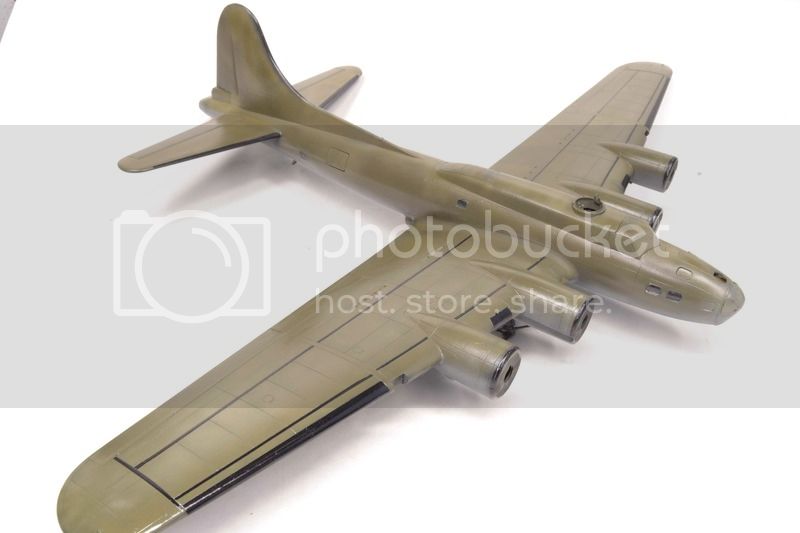
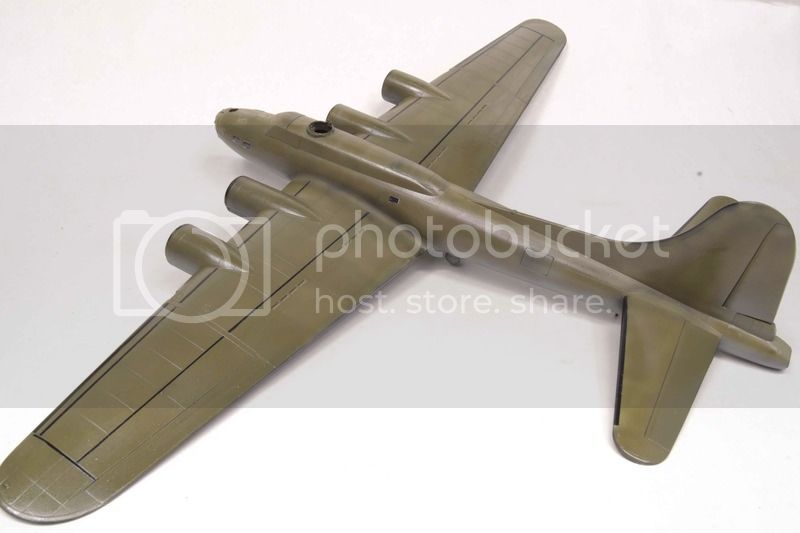
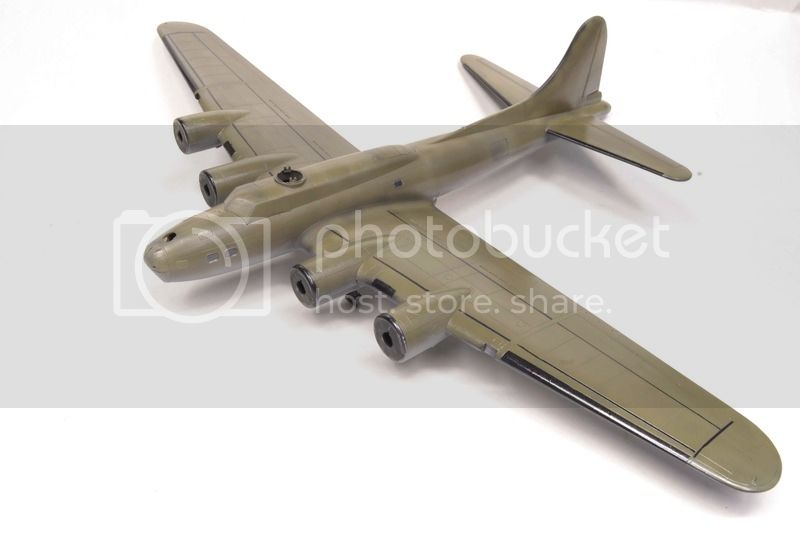
The first color is next and with that is a bit of a change for me. I first mix Testors Flat White with Model Master Olive Drab. This is sprayed in some areas within the panels and in others more a random style.

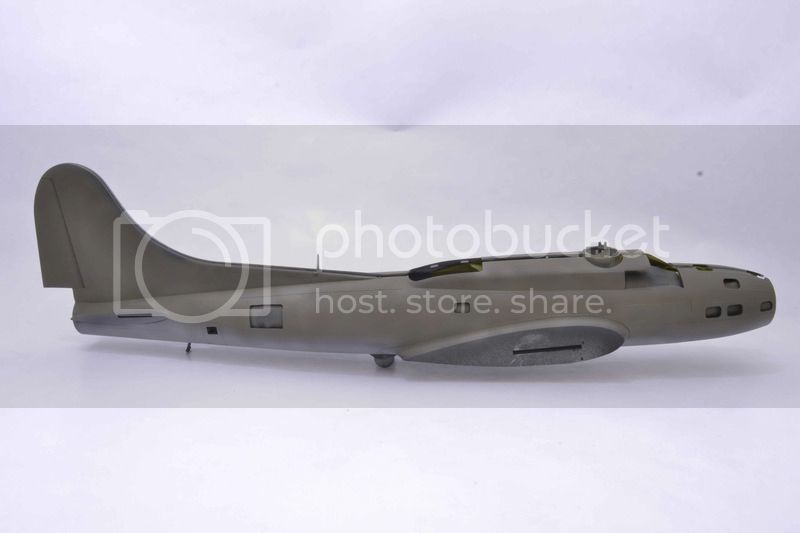
When that was dry to the touch the airbrush was loaded with Model Master Olive Drab and sprayed paying attention to panel lines. In some areas i flowed across the panels to break up the quilting effect.
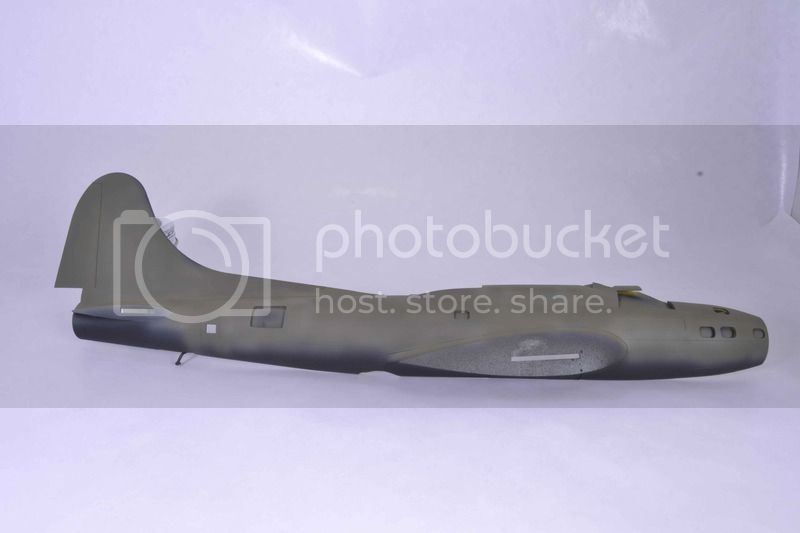
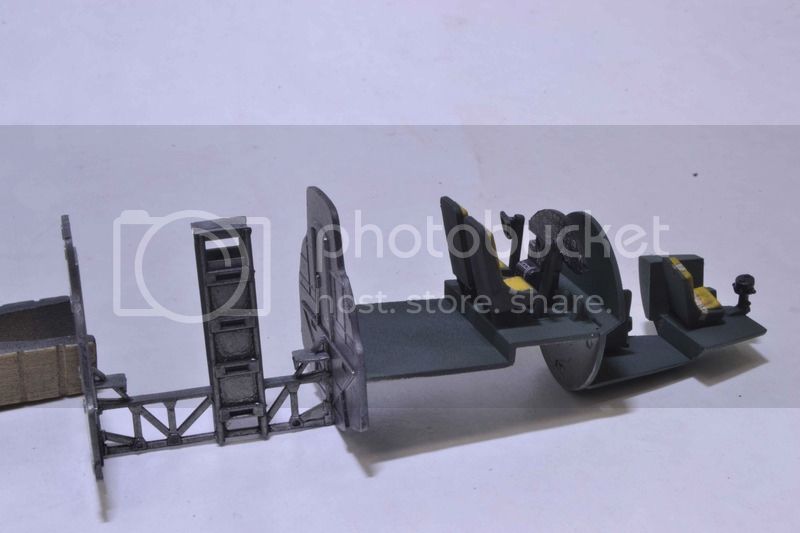
Although it is tougher to see there is a tone difference and it appears random.
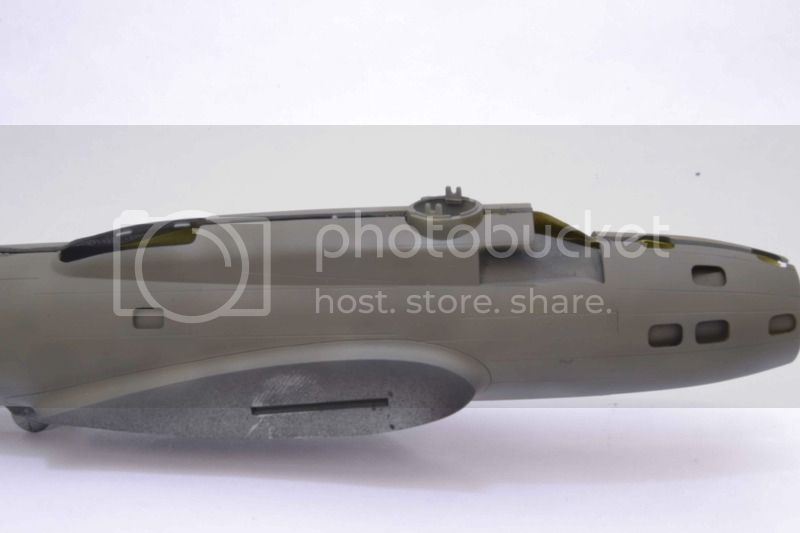
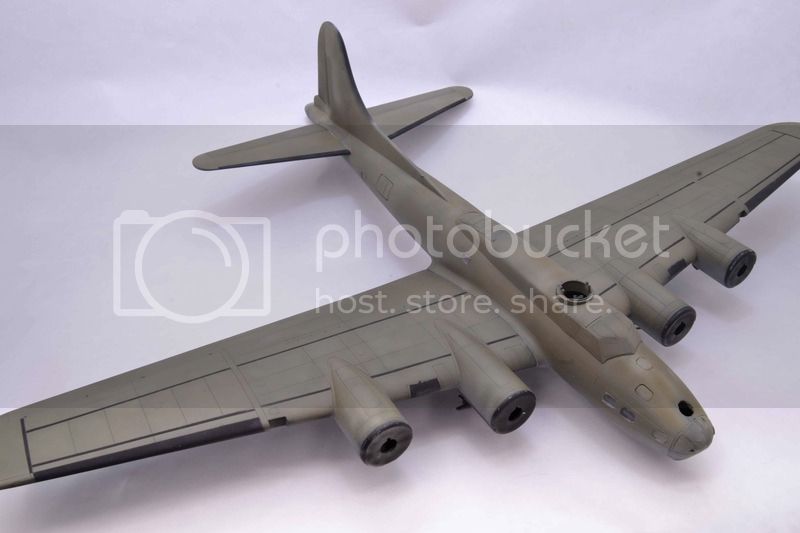
Once dry to the touch the airbrush was loaded with Model Master Neutral Grey and sprayed in several coats. Starting out with a concentrated effort to avoid the panel lines the coats that followed moved closer and closer to the lines. This provided a worn but not worn out look.
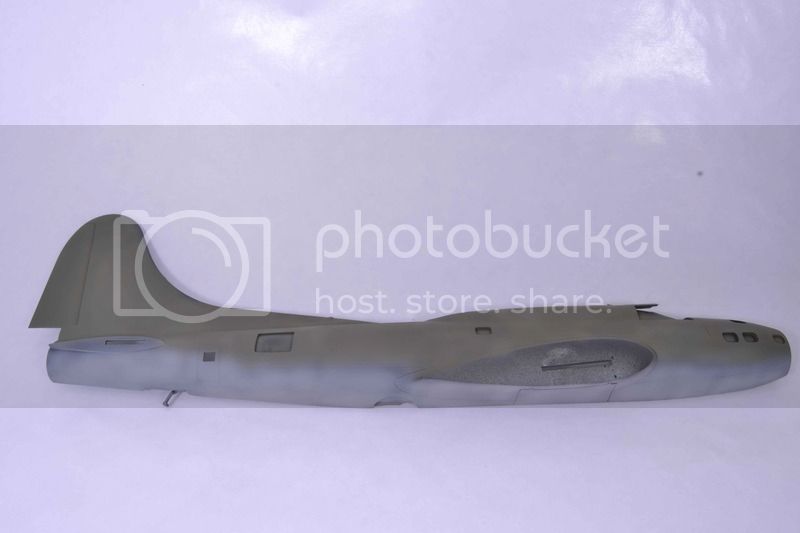
All paints were thinned to the consistency of skim milk.
All comments, critiques, and criticism are encouraged.
Joe