Hello-
I've built models on and off (including a brief stint into 1:35 dioramas in High School, when I first lurked on this excellent site) for 15 years or so, but recently decided the time was right to jump back in.
I just ordered up the Kinetic T-45A/C kit, the Kinetic Color Etched T-45C cockpit, and the Caracal VT-21 decal set- which brings us to the firsts occurring here- this will be my first attempt at using color etched parts, this will be my first attempt at building a model for an aircraft I've actually flown, and this will be my first build log (although, with how work goes, it may be very feast-or-famine as far as posting goes)
Any input/criticism is welcomed, especially concerning the color etched parts.
Looking forward to the stuff arriving in the mail to get started!
Modern (1975-today)
Discuss the modern aircraft age from 1975 thru today.
Discuss the modern aircraft age from 1975 thru today.
Hosted by Jim Starkweather
T-45C Goshawk and a couple firsts
NevadaChinMusic

Joined: August 27, 2016
KitMaker: 9 posts
AeroScale: 8 posts

Posted: Sunday, August 28, 2016 - 12:10 AM UTC

Jessie_C


Joined: September 03, 2009
KitMaker: 6,965 posts
AeroScale: 6,247 posts

Posted: Sunday, August 28, 2016 - 12:50 AM UTC
Watch out for some dodgy fit. I did that kit a few years ago for the "Anything Goes" campaign (jump to page 4 where my build commences). The worst fit was at the wing roots and intakes. I also found the tailplane joins to be a bit weak. I recommend that you leave them off until final assembly. The air brakes are much too thick. I sanded them down quite a bit, but they really need to be made from paper or photo-etch to look right.
To be fair to Kinetic, it's one of their earlier models, and the shapes look good when it's all done.
To be fair to Kinetic, it's one of their earlier models, and the shapes look good when it's all done.
NevadaChinMusic

Joined: August 27, 2016
KitMaker: 9 posts
AeroScale: 8 posts

Posted: Sunday, August 28, 2016 - 01:46 AM UTC
Jessica,
Looked through that thread. Thanks! It ended up looking great. I am sure I will have questions to run past you- starting with an ejection seat one. You said that the seats from the kit were fairly plain- would it be worth picking up a resin set of NACES seats to drop in? I feel like since I'm running the color etched cockpit I probably should snag a better set of seats... Per the NATOPS it's the same SJU-17A seat they run in the Rhino, so would shoehorning a resin seat for a different model into this kit be worth it?
Thanks!

Jessie_C


Joined: September 03, 2009
KitMaker: 6,965 posts
AeroScale: 6,247 posts

Posted: Sunday, August 28, 2016 - 05:26 AM UTC
Yes, as long as they fit, they'll spruce up the cockpit immeasurably. Don't forget to look at the review as well 

NevadaChinMusic

Joined: August 27, 2016
KitMaker: 9 posts
AeroScale: 8 posts

Posted: Sunday, August 28, 2016 - 08:54 AM UTC
Awesome. Great review! That actually was very enlightening. I'll shop around some for some resin seats. I've never really gotten into adding lots of aftermarket details, but seeing as I have already sprung for the color etched panels, am getting resin seats, and know what the jet looks like from up close, I'm super tempted to go all-out and try to get really intricate with the wheel wells and all. I have seen aftermarket gear struts as well, so I may really try and get after it. If nothing else, it'll be a good experiment.
NevadaChinMusic

Joined: August 27, 2016
KitMaker: 9 posts
AeroScale: 8 posts

Posted: Thursday, September 08, 2016 - 02:47 AM UTC
Look what came in the mail today!
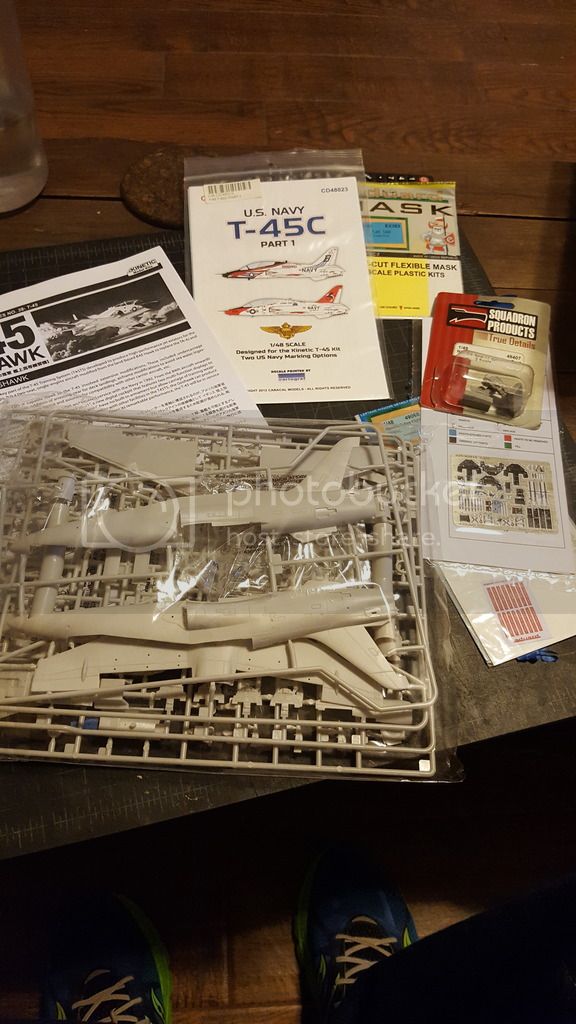
I've also decided to throw my hat in the ring for the Sign of Four campaign. Figured this would be a good choice.

I've also decided to throw my hat in the ring for the Sign of Four campaign. Figured this would be a good choice.
NevadaChinMusic

Joined: August 27, 2016
KitMaker: 9 posts
AeroScale: 8 posts

Posted: Saturday, September 17, 2016 - 01:05 AM UTC
Progress is happening!
I've been busy but finally got started.
Started off with the instrument panel and cockpit detail.
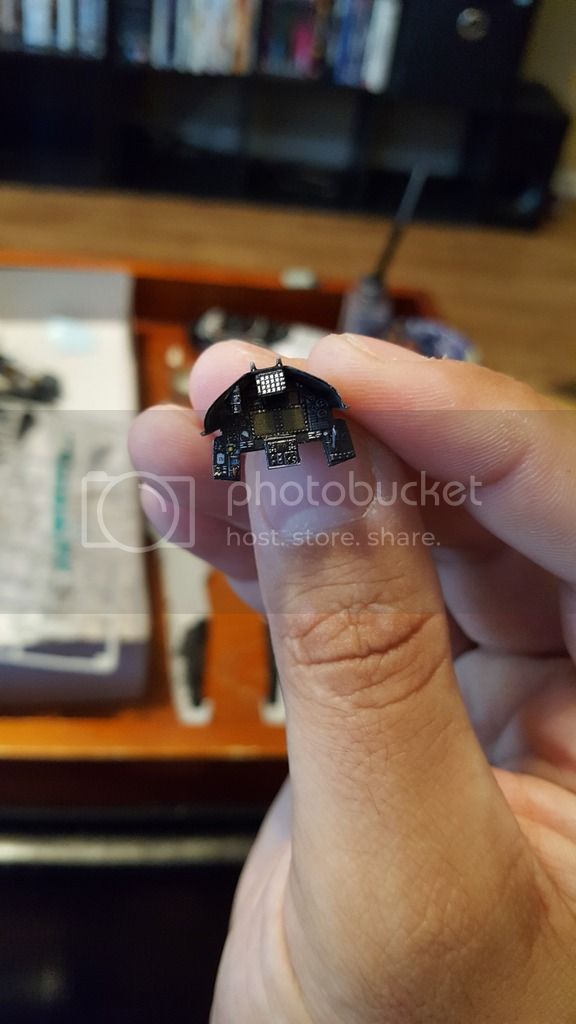
It's hard to see with the shadows on the instrument panel but the photo etch standby and engine instruments look really good.
I elected to use the resin seats but the photoetch straps. Seen here is a seat after removing the resin straps and a coat of black.
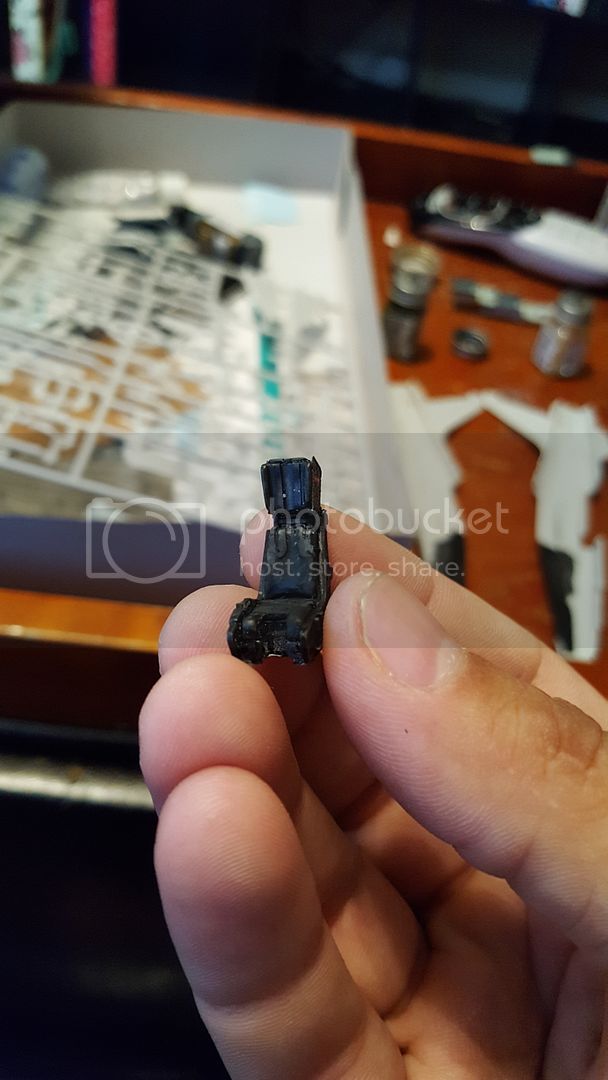
The instructions are wrong about a couple things concerning paint- notably, the seats have a black cushion and backrest (instructions call for OD) and the sidewalls of the cockpit are black as well, not the gray the instructions call for. All the black in the cockpit makes it quite warm in the summer while strapping in.
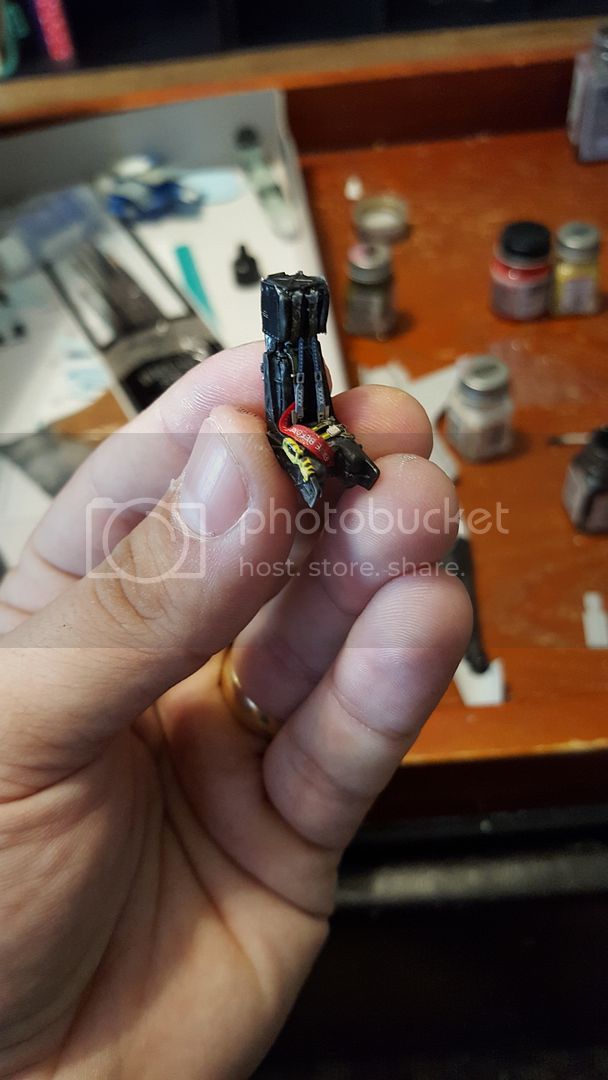
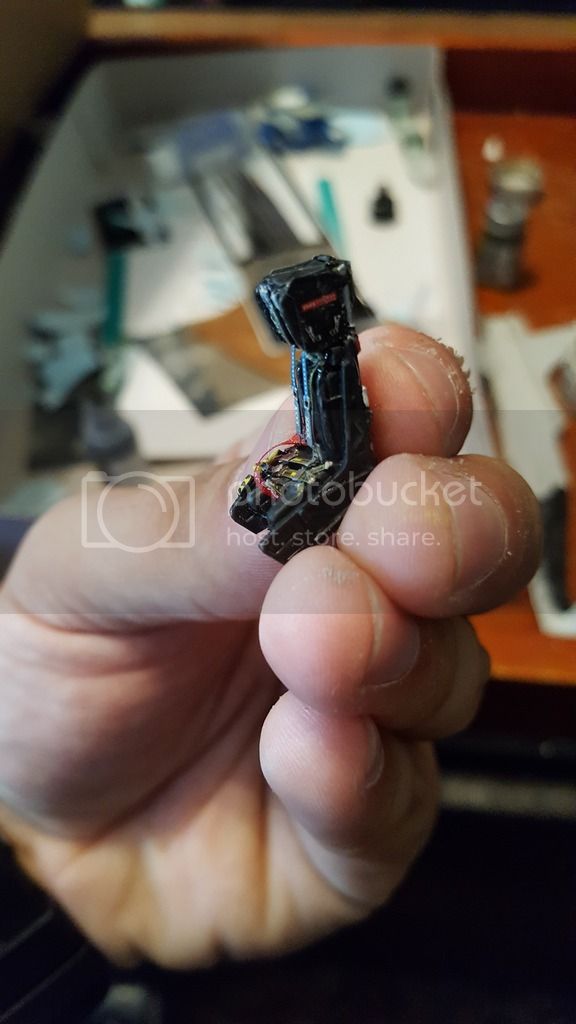
Here is a completed seat- the one thing I didn't like about the resin seats is that the safe/arm handle is left in the "armed" position- which would not be the case at any time except for in flight. Red ejection seat safety pin is an Eduard fabric "remove before flight" streamer
I've been busy but finally got started.
Started off with the instrument panel and cockpit detail.

It's hard to see with the shadows on the instrument panel but the photo etch standby and engine instruments look really good.
I elected to use the resin seats but the photoetch straps. Seen here is a seat after removing the resin straps and a coat of black.

The instructions are wrong about a couple things concerning paint- notably, the seats have a black cushion and backrest (instructions call for OD) and the sidewalls of the cockpit are black as well, not the gray the instructions call for. All the black in the cockpit makes it quite warm in the summer while strapping in.
Here is a completed seat- the one thing I didn't like about the resin seats is that the safe/arm handle is left in the "armed" position- which would not be the case at any time except for in flight. Red ejection seat safety pin is an Eduard fabric "remove before flight" streamer


 |


