OFFICIAL: Anything Goes Campaign

#042
England - North East, United Kingdom
Joined: November 18, 2006
KitMaker: 2,828 posts
AeroScale: 1,720 posts
Posted: Thursday, January 31, 2013 - 08:57 AM UTC
Welcome to the Anything Goes campaign!
Please post your progress and campaign fellowship here
If you haven't already joined, you can
Enlist HerePlease post the photos of you completed build in the Official
Campaign GalleryHappy Modelling

Modellers Creed: This is my toolbox. There are many like it, but this one is mine. My toolbox is my best friend. It is my life. I must master it as I must master my life. My toolbox, without me, is useless. Without my toolbox, I am useless.
British Columbia, Canada
Joined: September 03, 2009
KitMaker: 6,965 posts
AeroScale: 6,247 posts
Posted: Thursday, January 31, 2013 - 11:46 AM UTC
I think that this can't wait until Birds of Prey, so I'll do it here.

When once you have tasted flight you will walk the Earth with your eyes turned skyward.
For there you have been, and there you will always long to return.
-Leonardo Da Vinci
United States
Joined: February 01, 2009
KitMaker: 1,233 posts
AeroScale: 663 posts
Posted: Thursday, January 31, 2013 - 12:30 PM UTC
Cool choice Jessica.
Wasn't sure if I had to post my start picture over here too, so anyway here it is. Hobbycraft 1/48th scale A-4E and I will be using the new Furball Decals USMC sheet. Going to be VMA-142 or 322....have not decided yet. Either way....grey and weathered!!!!!!!!!
Best wishes, Ian

It is a fact that under equal conditions, large-scale battles and whole wars are won by troops which have a strong will for victory, clear goals before them, high moral standards, and devotion to the banner under which they go into battle.
-Georgy Zhukov
Lisboa, Portugal
Joined: March 04, 2008
KitMaker: 5,386 posts
AeroScale: 635 posts
Posted: Thursday, January 31, 2013 - 01:36 PM UTC
Ian & Jessica, good choices you've picked !
I'm going with this one
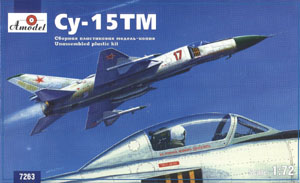
Still unsure about the camo ...
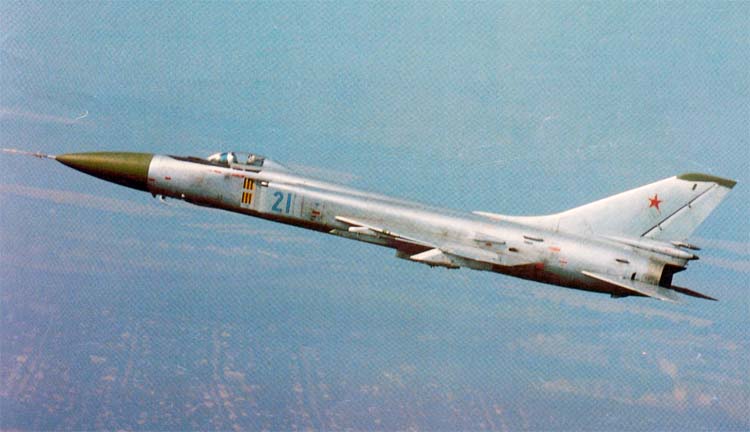
or

Stay tuned !

Active Builds: 0
Active Campaigns: 0
Ontario, Canada
Joined: March 29, 2010
KitMaker: 1,151 posts
AeroScale: 985 posts
Posted: Thursday, January 31, 2013 - 02:43 PM UTC


Yellow cowling historically accurate? I hope so. 'Cause its happening.
Alberta, Canada
Joined: April 07, 2010
KitMaker: 1,028 posts
AeroScale: 939 posts
Posted: Thursday, January 31, 2013 - 02:49 PM UTC
The choice:
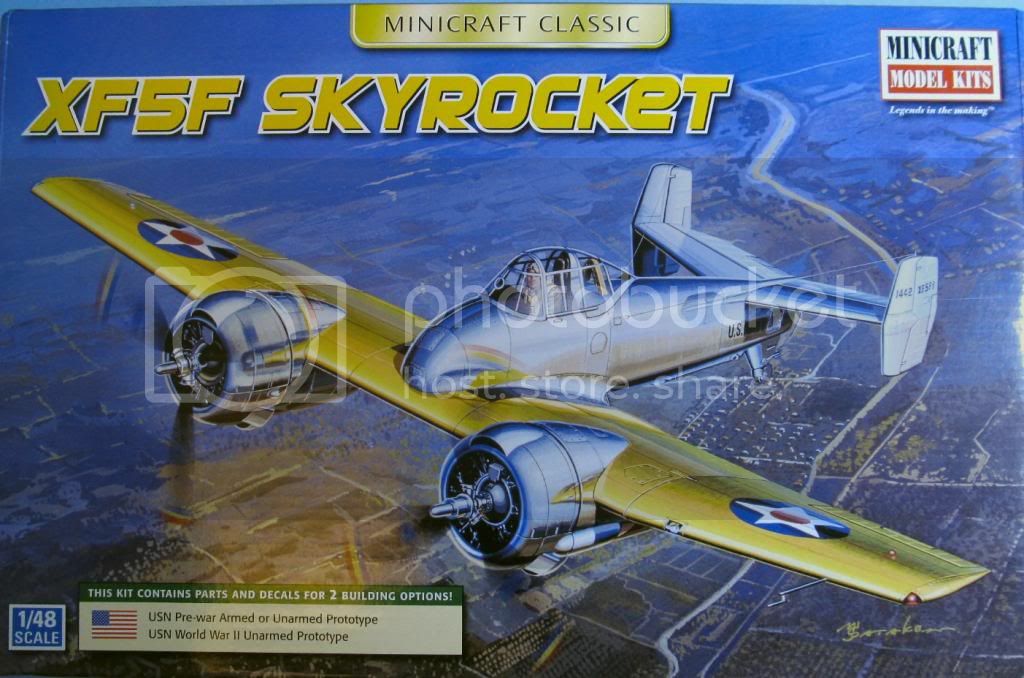
Sprue Jungle:
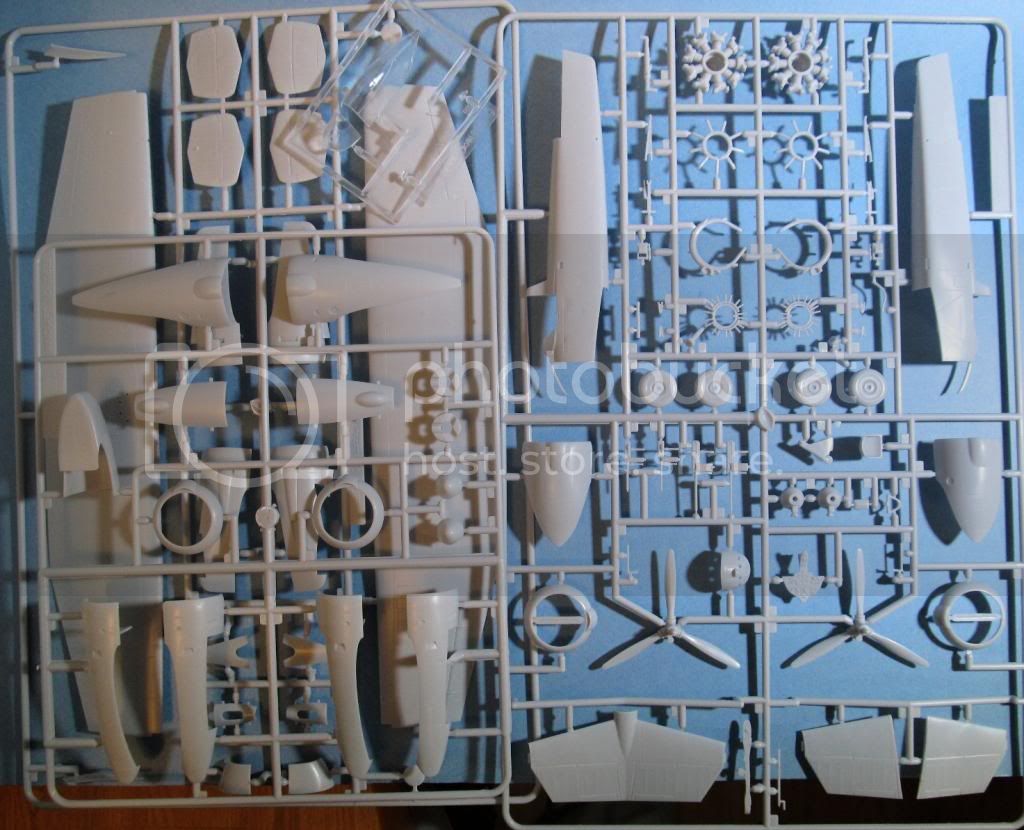
Unarmed Prototype:
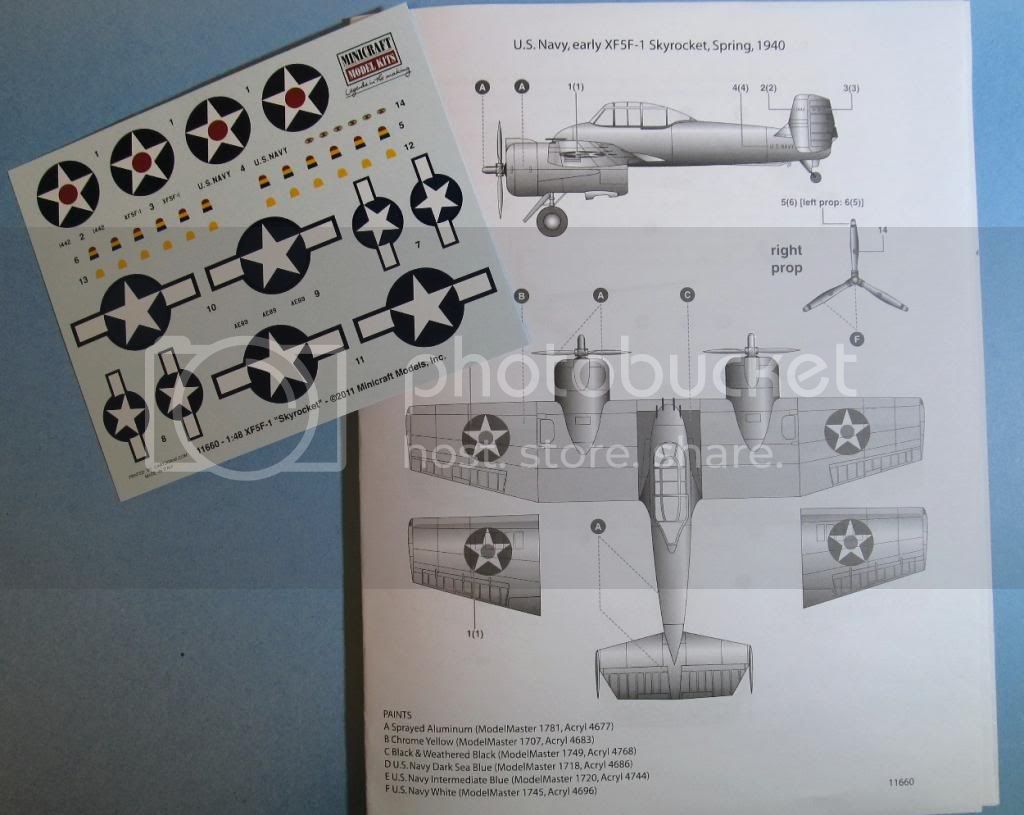
Well, at least mine will be the unarmed prototype
To prevent being called an 'expert', screw something up good every now and again.
European Union
Joined: September 28, 2004
KitMaker: 2,186 posts
AeroScale: 1,587 posts
Posted: Thursday, January 31, 2013 - 10:18 PM UTC
well, now that it is official

I officially change my mind, my entry to this campaign will be a Tamiya P-51D and not the Demon as previously stated;
This because:
- the P-51 is completely outside my normal jet and chopper orientation and therefore much more appropriate than yet another jet under the "anything goes" header
- and i need the Demon for the ground force campaign
I post some pictures early next week


The mission: Beat the stash.
Almost conquered: MIG-29, Blackhawk, Skyray, Skyraider, fouga
Main battle:Demon, Skyhawk, F-14, CH-53
Stash reserve:Blackhawk, CH-46, 47 en 53; SU-7, Eurofighter, mohawk, hellcat, F-16D, 6x Fouga Magister, Voodoo
England - South East, United Kingdom
Joined: August 15, 2012
KitMaker: 408 posts
AeroScale: 365 posts
Posted: Thursday, January 31, 2013 - 11:29 PM UTC
On the workbench
National Pride - 1/72 BAe Nimrod MR2.P
Tiger Meet! - 1/72 Panavia Tornado ECR (Luftwaffe)
Airfix III - 1/72 Hawker Hunter FGA.9
Hairy Brush - 1/72 P-51D Mustang
Mustang 75 - 1/72 P-51D "Ferocious Frankie"
Alava, Spain / España
Joined: August 12, 2010
KitMaker: 104 posts
AeroScale: 37 posts
Posted: Friday, February 01, 2013 - 12:43 AM UTC
Ontario, Canada
Joined: February 04, 2008
KitMaker: 2,507 posts
AeroScale: 1,814 posts
Posted: Friday, February 01, 2013 - 01:20 AM UTC
And from the dark side:-


" The Die Hards"
43rd MIDDLESEX REGIMENT
MACHINE GUN CORPS
XXX CORP
The most effective way to do it, is to do it.
- Amelia Earhart
South Africa
Joined: January 20, 2009
KitMaker: 140 posts
AeroScale: 84 posts
Posted: Friday, February 01, 2013 - 02:11 AM UTC
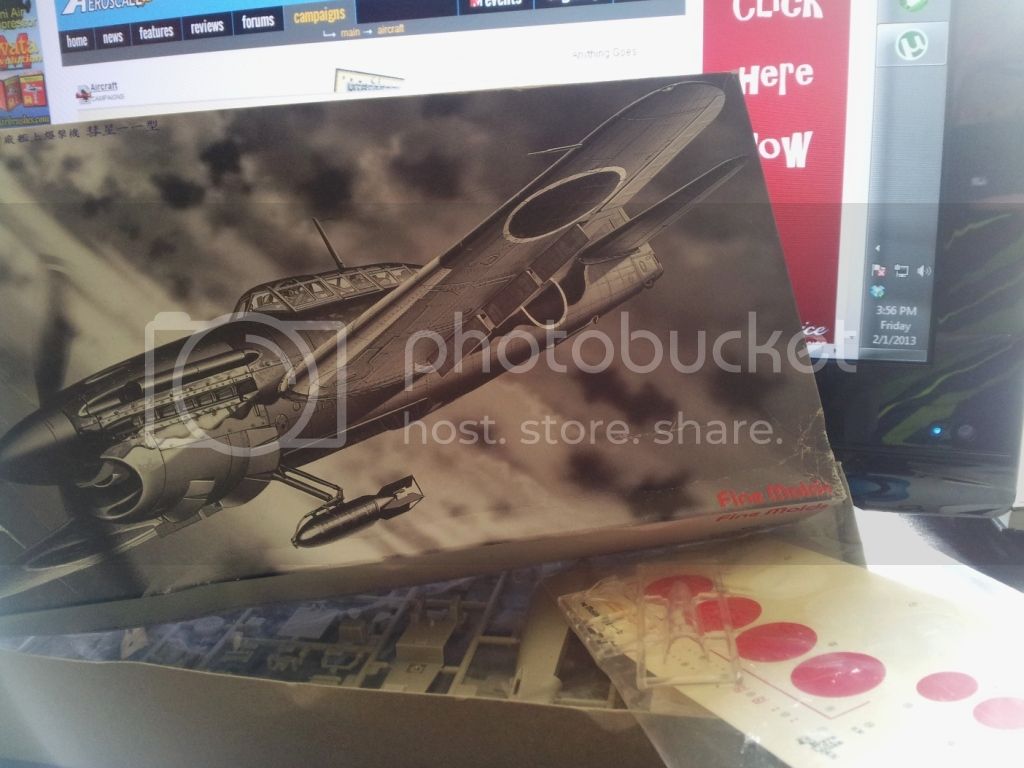
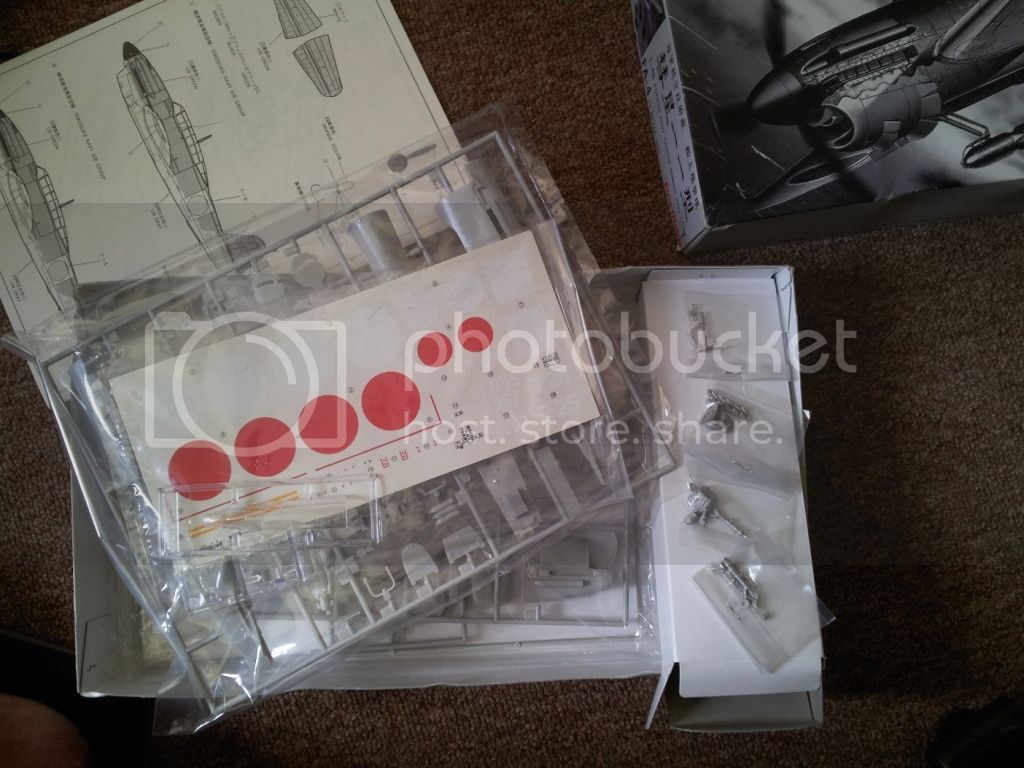
Oh boy, have I been hanging in for this one. This is what I'll be doing, it's a nice little 1/48th scale kit from the looks of it. There is quite a bit of White Metal bits for the landing gear, exhausts, etc
Buenos Aires, Argentina
Joined: May 21, 2012
KitMaker: 765 posts
AeroScale: 316 posts
Posted: Friday, February 01, 2013 - 04:26 AM UTC
Well, I´m going with this old kit in 1/72 and the Eduards PE set

Those Radial Fighters Campaign: 1/72 FW 190 A5
Delta 2 Campaign: 1/48 Hobby Boss Mirage IIIC
Navy Boys on those Postage Stamps 1/72 Airfix Sea Harrier FA2
Working: Trumpeter A-5 Vigilante
Waiting: Phantom 60 Campaign
Indiana, United States
Joined: July 31, 2003
KitMaker: 1,523 posts
AeroScale: 175 posts
Posted: Friday, February 01, 2013 - 05:35 AM UTC
I am going to build this one, since it doesnt qualify for the "Birds of Prey". Hope the time frame will be long enough!
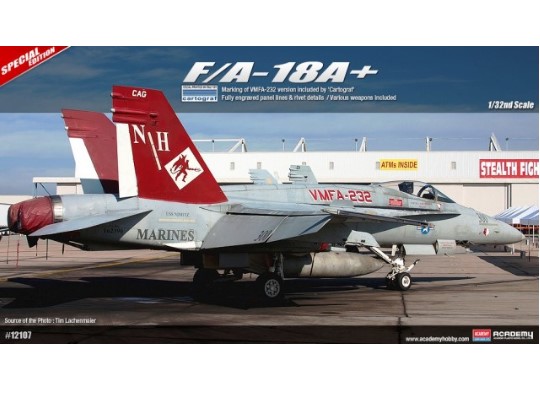
Herky

Lisboa, Portugal
Joined: March 04, 2008
KitMaker: 5,386 posts
AeroScale: 635 posts
Posted: Friday, February 01, 2013 - 06:17 AM UTC
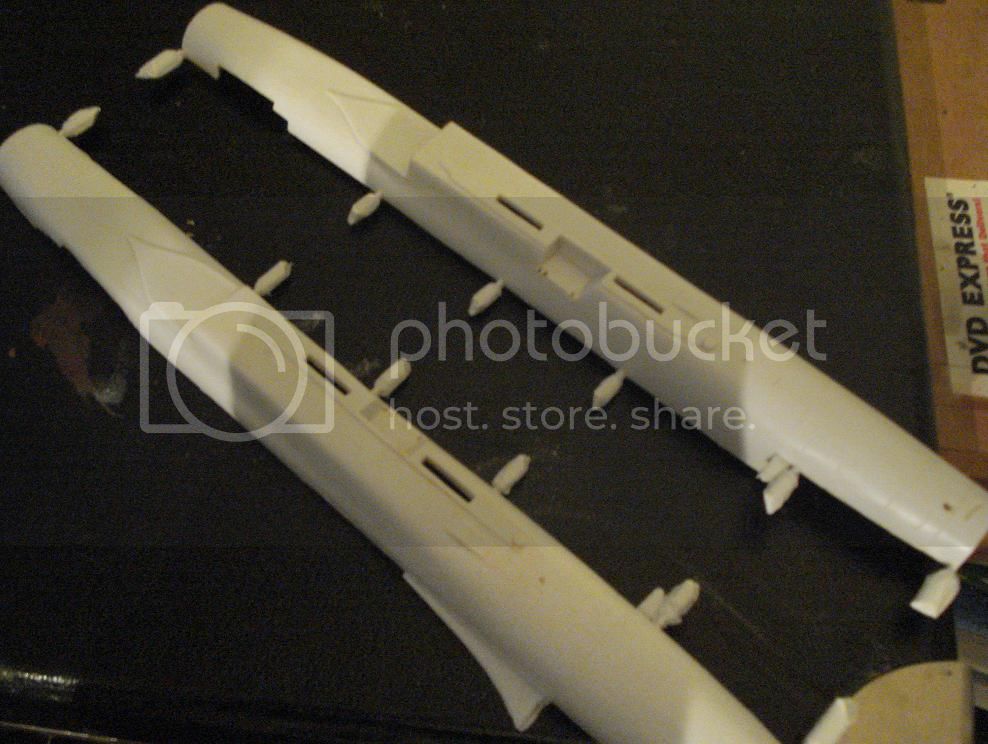
Slow start on the Su-15 TM.
Cleaning parts...
Active Builds: 0
Active Campaigns: 0
AussieReg
 Associate Editor
#007
Victoria, Australia
Joined: June 09, 2009
KitMaker: 8,156 posts
AeroScale: 3,756 posts
Posted: Friday, February 01, 2013 - 11:47 AM UTC
This is going to be a great campaign to follow, an awesome variety of kits already .
Cheers, D
ON the bench
Revell 1/24 '53 Corvette (building as '54)
Revell 1/24 BMW 507 Coupe and Cabrio
Italeri 1/48 Me262 B-1a/U1 Nightfighter
Monogram 1/24 '57 Chevy Nomad
Dragon 1/350 USS Frank Knox DD-742
England - North East, United Kingdom
Joined: October 20, 2005
KitMaker: 1,045 posts
AeroScale: 622 posts
Posted: Saturday, February 02, 2013 - 01:14 AM UTC
Wow thanks everyone to signing up what a fantastic range of different kits and models already

here is my entry as I could not decide I got Allen to pick one from the stash for me. So without further ado my entry will be Italeri's (Accurate Miniatures) Sturmovik

Have sprayed the interior colour onto some parts while Allen left the airbrush bay unattended

Angel by day, Devil by night

#042
England - North East, United Kingdom
Joined: November 18, 2006
KitMaker: 2,828 posts
AeroScale: 1,720 posts
Posted: Saturday, February 02, 2013 - 04:26 AM UTC
Likewise I couldn't decide so to add to the wide variety Sam picked this kit out of the stash for me to build.

and the cockpit parts have been primed and sprayed in Gunze H307

Modellers Creed: This is my toolbox. There are many like it, but this one is mine. My toolbox is my best friend. It is my life. I must master it as I must master my life. My toolbox, without me, is useless. Without my toolbox, I am useless.
Lisboa, Portugal
Joined: March 04, 2008
KitMaker: 5,386 posts
AeroScale: 635 posts
Posted: Saturday, February 02, 2013 - 06:32 AM UTC
Cleaning up...
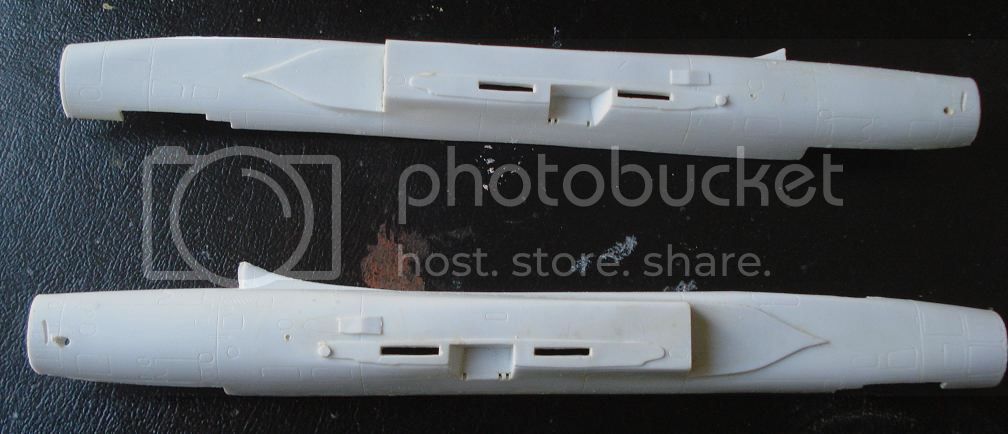
This little Sukhoi is pretty big.. check it up near a Frogfoot
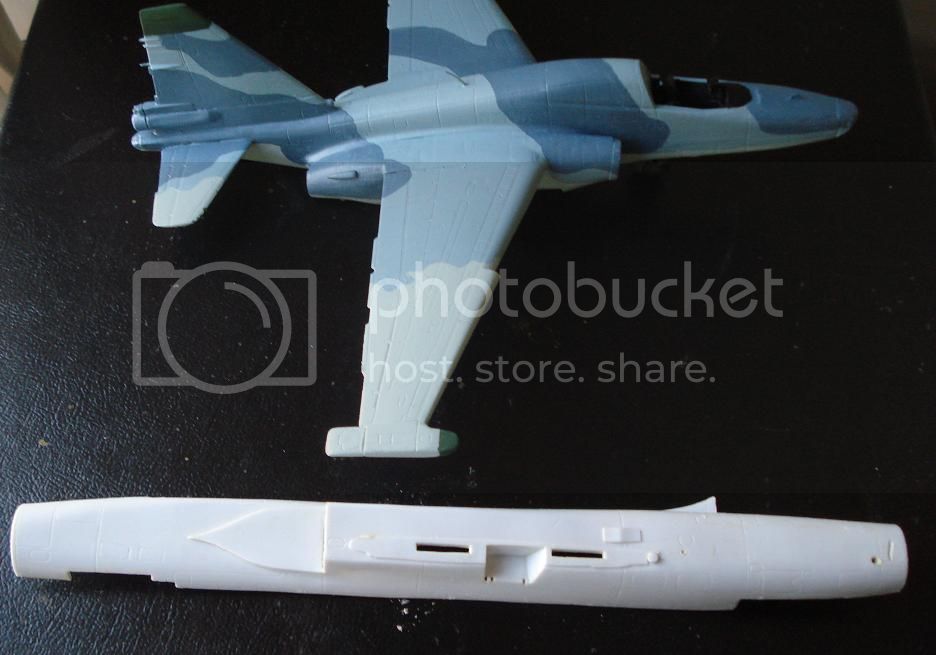
Still more clean up, the cockpit is poor, awful fit, instructions are a mess..
Active Builds: 0
Active Campaigns: 0
British Columbia, Canada
Joined: September 03, 2009
KitMaker: 6,965 posts
AeroScale: 6,247 posts
Posted: Saturday, February 02, 2013 - 07:20 AM UTC
Quoted Text
Still more clean up, the cockpit is poor, awful fit, instructions are a mess..
In other words, a typical AModel kit.
When once you have tasted flight you will walk the Earth with your eyes turned skyward.
For there you have been, and there you will always long to return.
-Leonardo Da Vinci
Lisboa, Portugal
Joined: March 04, 2008
KitMaker: 5,386 posts
AeroScale: 635 posts
Posted: Saturday, February 02, 2013 - 08:26 AM UTC
Quoted Text
Quoted Text
Still more clean up, the cockpit is poor, awful fit, instructions are a mess..
In other words, a typical AModel kit.

I did one Amodel kit maybe 6 yrs ago.. I kinda forgot what it was like..

That's too bad because they have some unique subjects, prototypes, yak's 25/28, etc..
The decals look quite good, some nice detailing near the engine and flaps.
.. but that cockpit.. gee what a nightmare... If this turns out as bad as I think it will I might get another kit for this Campaign..

Active Builds: 0
Active Campaigns: 0
England - North West, United Kingdom
Joined: August 05, 2011
KitMaker: 376 posts
AeroScale: 348 posts
Posted: Saturday, February 02, 2013 - 01:08 PM UTC
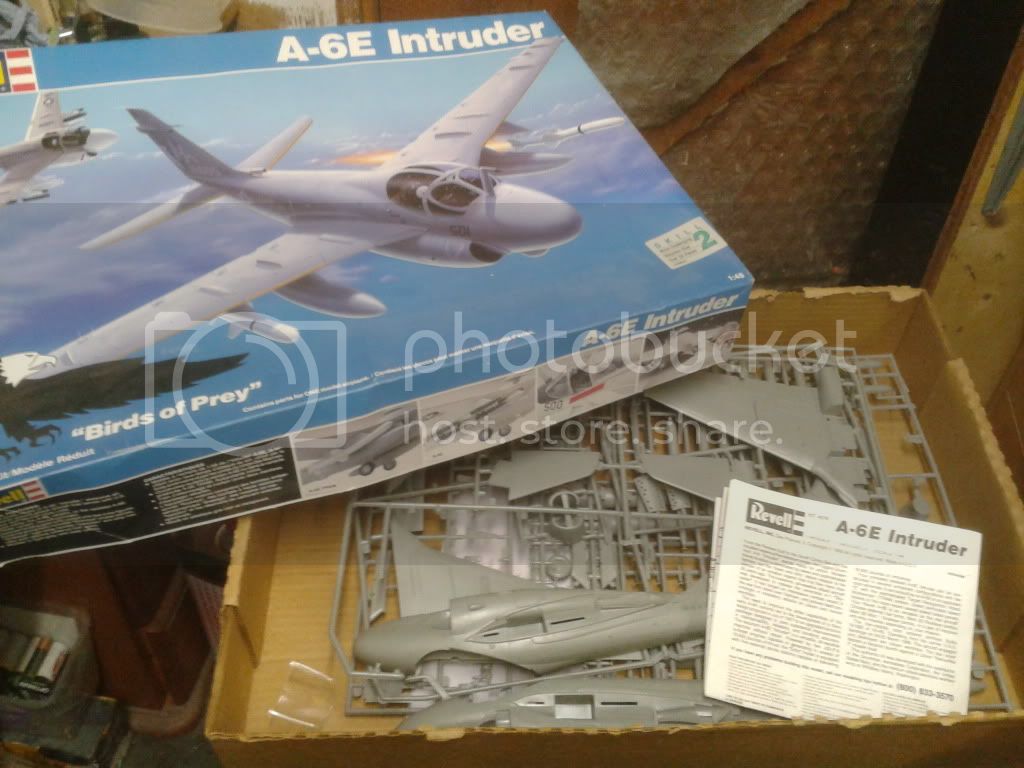
Ill be building my Intruder for this one

... On The Workbench ..
Tamiya JACCS Honda Accord
South Africa
Joined: January 20, 2009
KitMaker: 140 posts
AeroScale: 84 posts
Posted: Saturday, February 02, 2013 - 10:50 PM UTC
Quoted Text
Ill be building my Intruder for this one 

Lovely - my fave jet, i'll be watching this babe

#330
Queensland, Australia
Joined: July 15, 2011
KitMaker: 175 posts
AeroScale: 103 posts
Posted: Saturday, February 02, 2013 - 11:37 PM UTC
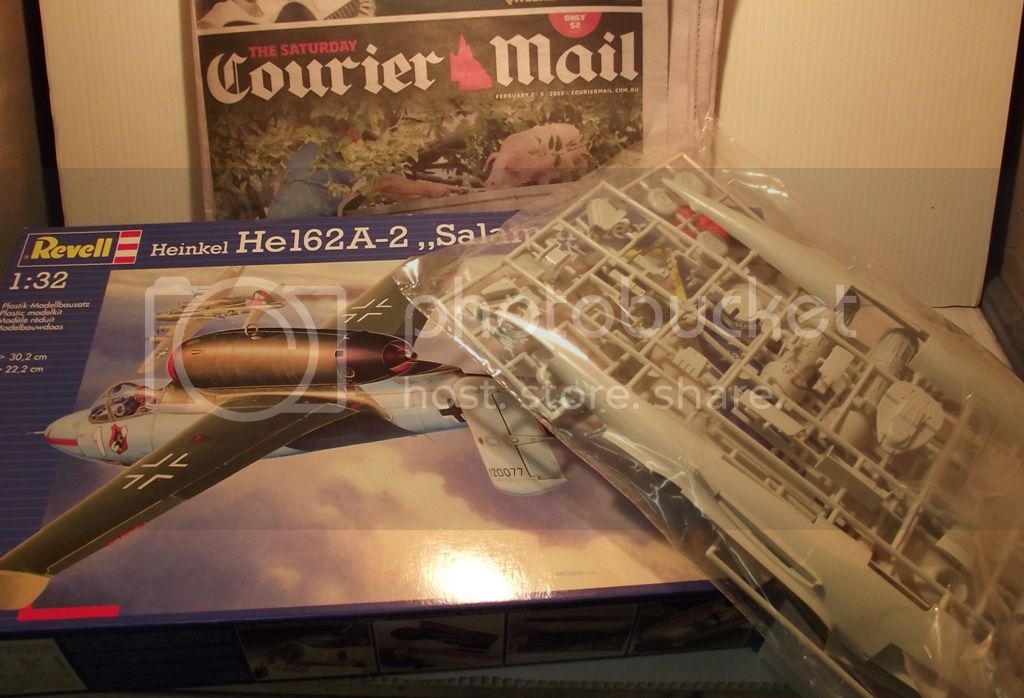
I'm going to entre with a Revell 1/32 "Salamander".
Start Photos.
United States
Joined: February 01, 2009
KitMaker: 1,233 posts
AeroScale: 663 posts
Posted: Sunday, February 03, 2013 - 05:15 AM UTC
Dave------looking forward to seeing the A-6. Great attack jet!!!
Best wishes, Ian
It is a fact that under equal conditions, large-scale battles and whole wars are won by troops which have a strong will for victory, clear goals before them, high moral standards, and devotion to the banner under which they go into battle.
-Georgy Zhukov
England - South East, United Kingdom
Joined: August 15, 2012
KitMaker: 408 posts
AeroScale: 365 posts
Posted: Sunday, February 03, 2013 - 05:19 AM UTC
Hey y'all! Sooo, sprues washed, first batch of parts primed and basecoated. These are all the parts that need painting before inserting into the fuselage. As one of Airfix's brand new toolings, my expectations were very high, and I'm glad to say the kit entirely justifies it. So far, it is the best Airfix kit I've ever built and it banishes memories of some of their absolute shockers of old.

One of the things that has really impressed me about the instructions is the very clear and concise way it shows you where to place the required 20g of nose weight (to prevent tail sitting, natch!). Basically I packed as much weight into the cone shaped radar housing as possible, the rest will have to go fore and aft of the cockpit tub, as well as between the underside of the air intake and the top of the nose wheel well, in such a way as it cannot be seen through the air intakes.
On the workbench
National Pride - 1/72 BAe Nimrod MR2.P
Tiger Meet! - 1/72 Panavia Tornado ECR (Luftwaffe)
Airfix III - 1/72 Hawker Hunter FGA.9
Hairy Brush - 1/72 P-51D Mustang
Mustang 75 - 1/72 P-51D "Ferocious Frankie"


