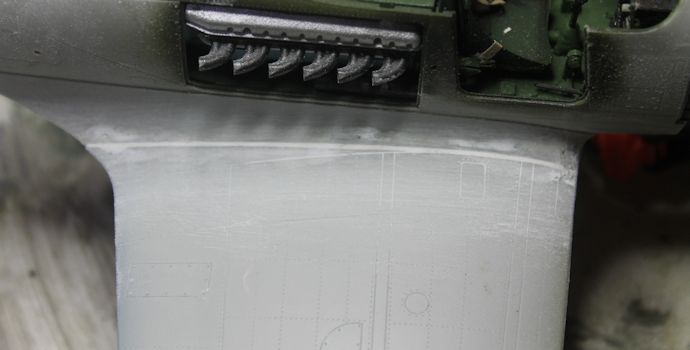
Hi all,
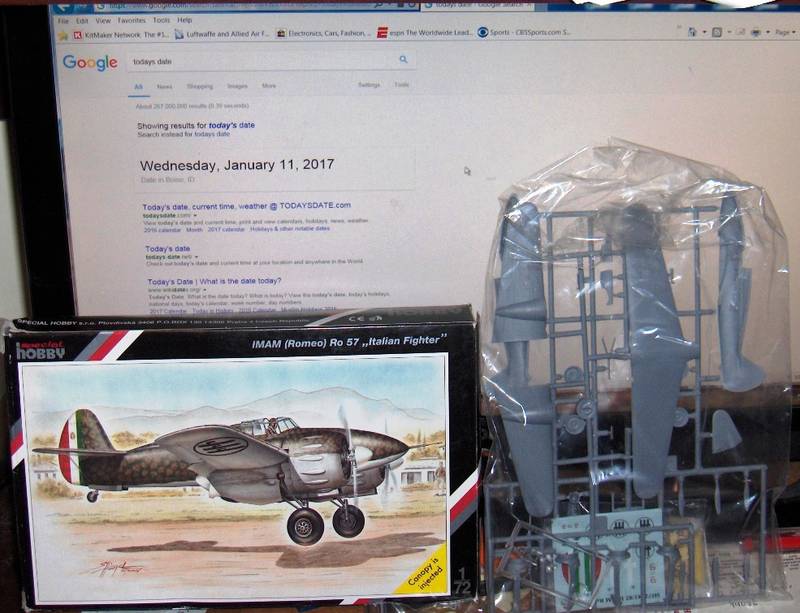
Here will be my entry for this campaign.
Chris,
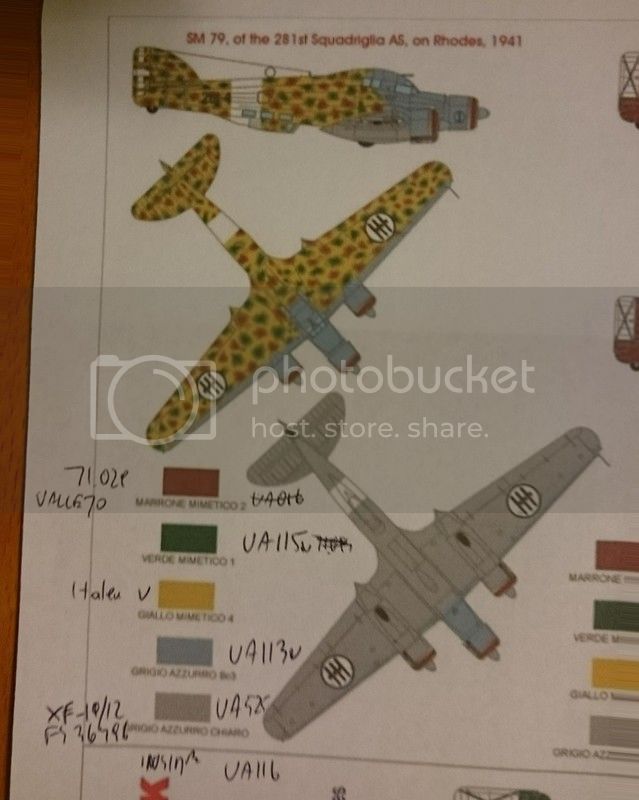
This will be a 3 tone Italian camo.
Air Campaigns
Want to start or join a group build? This is where to start.
Hosted by Frederick Boucher, Michael Satin
OFFICIAL: R.A. Co-Belligerent A.F. Campaign
Posted: Wednesday, January 11, 2017 - 10:37 AM UTC
Posted: Thursday, January 12, 2017 - 12:18 AM UTC
Awesome Jeff! Glad I could "encourage" you to take the plunge on the Ro.57. I look forward to seeing what you do with it!
macotra4
Illinois, United States
Joined: January 25, 2010
KitMaker: 110 posts
AeroScale: 88 posts
Joined: January 25, 2010
KitMaker: 110 posts
AeroScale: 88 posts
Posted: Thursday, January 12, 2017 - 02:58 AM UTC
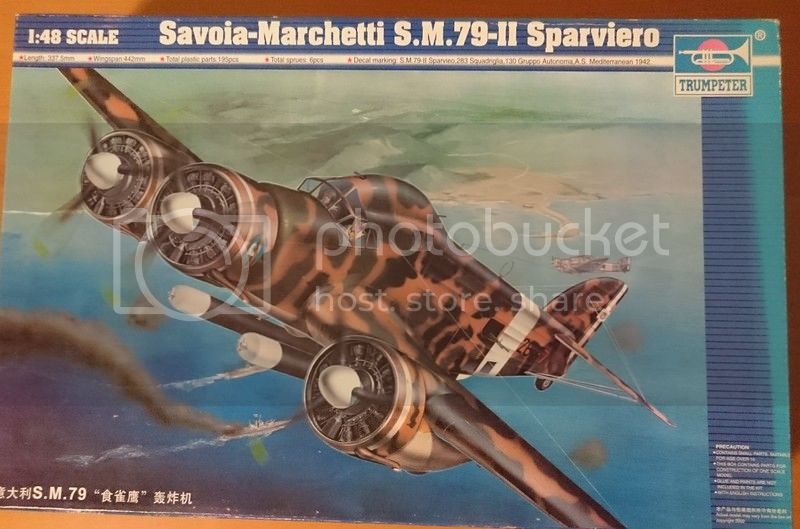
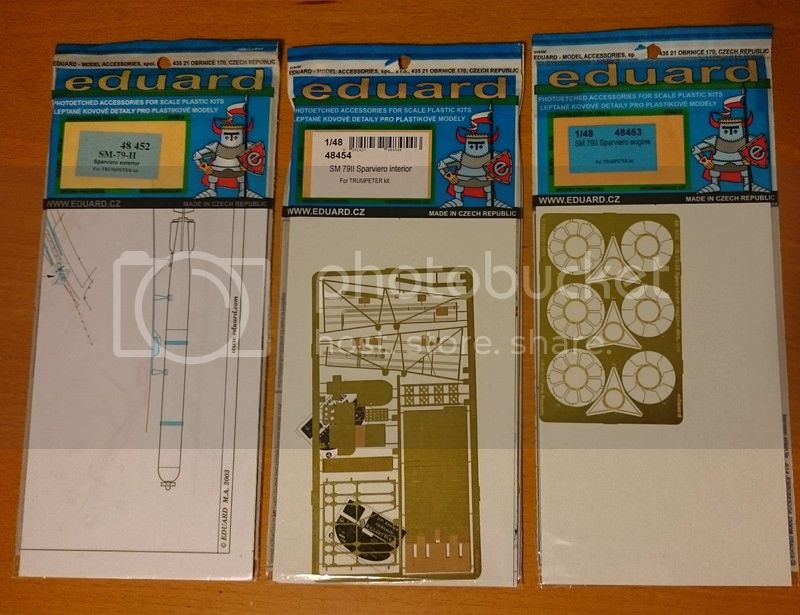
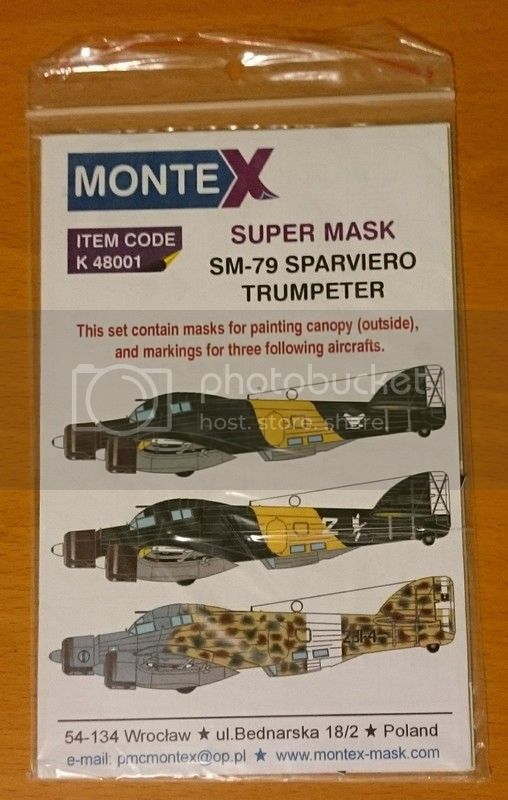
So this is my entry to the campaign. I will try to finish a 1/48 Trumpeter Sm.79 Sparviero. I will use Eduard Big Ed photoeteched for it. Also i will Use Montex Super Mask. I will try to make an aircraft from 281st Squadriglia AS. I hope that i will have enough time to finish it within time limits of the campaign.
Posted: Thursday, January 12, 2017 - 03:39 AM UTC
Jeff, excellent choice, I've always like the look of this fighter. It's just a shame that it didn't perform up to expectations.
Tom, another excellent choice. I had no idea that Trumpeter had this kit in their range!
Two more really interesting builds added to what is already a "must-watch" Campaign.
Cheers, D
Tom, another excellent choice. I had no idea that Trumpeter had this kit in their range!
Two more really interesting builds added to what is already a "must-watch" Campaign.
Cheers, D
Posted: Thursday, January 12, 2017 - 04:06 AM UTC
Jeff just imagine it with a couple of DB605's in place of the radials! Now wouldn't that say vroommmmmmm????
Tom I'm positively green with envy I've wanted that kit like .... forever since it was released! Welcome! Glad to have you on-board and I'm looking forward to see how this builds. I'll be using it as reference for my build .... eventually ..... (in my best Smeagol impression) the precious will be mine!!!!!
There may well be an extension of the time frame depending on how many Aoeroscalers we get involved and how close they all are to finishing by the due date. So don't sweat it yet take your time and have a blast.
D glad you're liking the campaign so far. You're most welcome to join us oh illustrious one!
Posted: Friday, January 20, 2017 - 03:56 PM UTC
I've gotten a little further with the Mc.200 I've added the outer gear doors and their closing mechanism I had to fabricate them from brass wire as they weren't supplied with the kit surprisingly enough as there is plenty of other detail. Just a rough representation of it as it won't be often seen as it's under the aircraft. (Yes I know there will be those who'll turn it over to have a look!) Just need to paint them and do some final touch up before applying weathering and a matt coat and then I'm done. (errrr hopefully)
Posted: Friday, January 20, 2017 - 04:05 PM UTC
Chris,
Your Macchi is looking great! Nice fabrication underneath!
Gaz
Your Macchi is looking great! Nice fabrication underneath!
Gaz
Posted: Friday, January 20, 2017 - 05:51 PM UTC
Thanks Gaz! Not far now and I'll be finished with her.
Posted: Friday, January 27, 2017 - 11:10 AM UTC
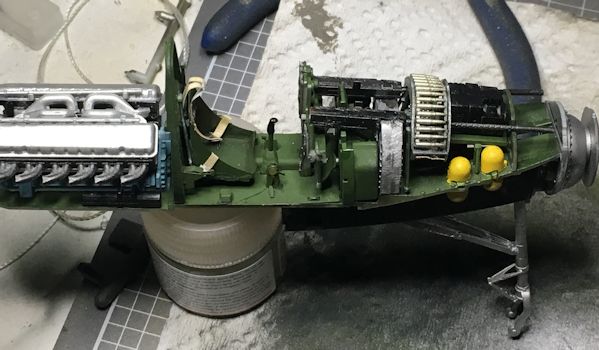
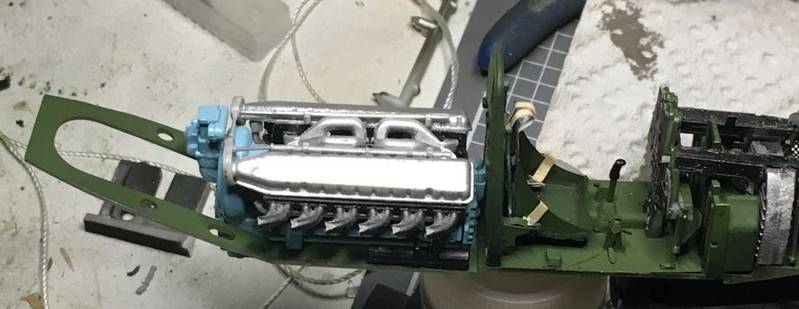
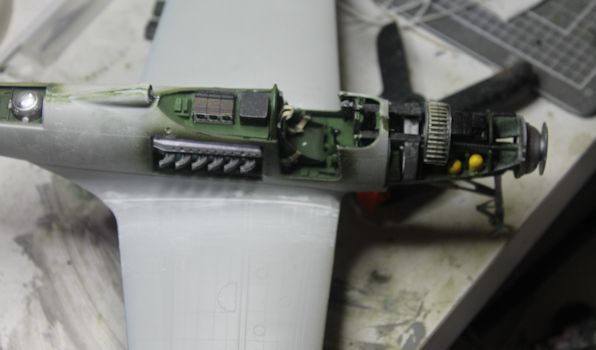
Well I started my build.
Here are some pictures.
Posted: Friday, January 27, 2017 - 11:37 AM UTC
I'll be interested to see what you make of this bird, Jeff.
Gaz
Gaz
Posted: Saturday, January 28, 2017 - 04:51 AM UTC
Geez that's fast progress Jeff! It's a great looking kit how is it going together? Are the resin details playing nice?
Posted: Monday, January 30, 2017 - 11:07 AM UTC
Chris,
Most resin parts are playing nice with CA.
The only problem I have with them is the engine cowlings. One was almost football shape not round. I tested warming up some resin that thin and it kind of melted very easy.
So I decided to squeeze it round till it broke then glue it in a round shape. The rework the detail.
Bu all other parts are nice.
Posted: Monday, January 30, 2017 - 01:31 PM UTC
Did a little detail painting on the Macchi specifically the exhausts and undercarriage door closing gear. Now for a little oil staining and some final weathering followed by a flat coat.
Posted: Monday, January 30, 2017 - 01:38 PM UTC
Ouch Jeff! I know what you mean the engine cowl on the Macchi was a two piece affair with the front ring being separate from the cowl and both are beautifully thin but very delicate and easily broken. Which I did on a couple of occasions. I had to then fill a hole left by a piece flying off never to be seen again.
Posted: Monday, January 30, 2017 - 10:59 PM UTC
Chris
Looking good!
Yep really thin an well detailed but fragile.
Yeah that kind of sucks doesn't it.
Looking good!
Yep really thin an well detailed but fragile.
Yeah that kind of sucks doesn't it.
Posted: Sunday, February 05, 2017 - 07:31 AM UTC
Hi Everyone,
Sorry so late to get into it. This summer's heat is really cramping my build time.
I started this kit a couple of years ago, but ended up shelving it. It's a short run kit with lots of cleaning to do and some scratch building and using your own spares required. It even says so in the directions.
Who has spares for Italian aircraft??
Here is a photo of it in it's current state:
The Reggiane 2005 Sagittario shared the same Daimler Benz 605 that was being used in the Bf109G-6. However, due to it's clean lines it was quite a bit faster than it's German cousin.
However, the wing construction was overly complicated, leading to slower construction. It was armed with two Breda Safat 12.5 machine guns and two MG-151's in the wings.
Gaz
Posted: Sunday, February 05, 2017 - 01:07 PM UTC
Great choice of airframe Gaz although the kit will likely fight you all the way it is quite buildable just takes a little persistence. Thanks for joining in and welcome!
LinusB
Western Australia, Australia
Joined: March 21, 2016
KitMaker: 247 posts
AeroScale: 105 posts
Joined: March 21, 2016
KitMaker: 247 posts
AeroScale: 105 posts
Posted: Sunday, February 05, 2017 - 04:17 PM UTC
Progress on my P39.
Posted: Monday, February 06, 2017 - 12:14 AM UTC
Hey GAZ!
Looking good, nice choice........
Forza Italia!
Looking good, nice choice........
Forza Italia!
Posted: Monday, February 06, 2017 - 02:16 PM UTC
Linus that looks fantastic love the detail! Hows the kit going together? I've not actually seen this kit but it looks like something I'd build.
LinusB
Western Australia, Australia
Joined: March 21, 2016
KitMaker: 247 posts
AeroScale: 105 posts
Joined: March 21, 2016
KitMaker: 247 posts
AeroScale: 105 posts
Posted: Tuesday, February 07, 2017 - 08:28 AM UTC
Quoted Text
Linus that looks fantastic love the detail! Hows the kit going together? I've not actually seen this kit but it looks like something I'd build.
Hey Chris
It is going together well but in the hands of a more experienced modeller it would look fantastic.
First fit issue I have had is when I have attached the wings and was left with a large gap at the joins.
Nothing a little putty can't fix!
Posted: Tuesday, February 07, 2017 - 12:07 PM UTC
Linus,
That's some nice detail on your P-39.
Gaz
That's some nice detail on your P-39.
Gaz
phumbles
Australia
Joined: June 14, 2013
KitMaker: 82 posts
AeroScale: 81 posts
Joined: June 14, 2013
KitMaker: 82 posts
AeroScale: 81 posts
Posted: Saturday, February 18, 2017 - 03:28 PM UTC
Posted: Saturday, February 18, 2017 - 11:48 PM UTC
Niccceee Phil! I actually have a lot of time for Supermodel kits they may be an older mould but the detail is usually good and the subjects aren't often catered for. Great to have you on board!
Tazoslo
Oslo, Norway
Joined: October 29, 2007
KitMaker: 58 posts
AeroScale: 3 posts
Joined: October 29, 2007
KitMaker: 58 posts
AeroScale: 3 posts
Posted: Friday, February 24, 2017 - 12:37 AM UTC
Late entry here, but its the time of the year where the family (HER family ;-) ) take a week in a cabin in the mountains. With 6 adults, 6 kids and 3 dogs I need something to keep sane. I have the last 3 years taken a kit with we. Now I had my day as a builder about 25 years ago, and I have been wanting to get into it again several times, but just dont have the time.
Last year somehting finaly hit me, I could enter the build into a campaign so I found a build that suited a campaign. I went of armor since that is what I like the best to build. But when you are sitting in a mountain cabin, with just the basic tools and paints, those last 10% of the build is a pain. all those fiddely parts that you have to paint and fit on the outside of the hull. I just lost the interest right before the finish line.
So this year I am going for a plane, no fiddely parts Had a Thunderbolt in the stash that I could use in the ETO campaign, and a Sm.79 Sparviero that could go into this campaign, but i wanted to save them for a build with all the workings. However was going to sacrifice the Thunderbolt and drove to the LHS to buy some missing paint. Had a look at the what was on offer, and found the shelfwarmer under. That was excactely the thing I would like to do. UNFORTUNATELY, when I came home, i saw that Jeff had almost the same kit, a bit of a bummer
But what the heck I am going for it. We are leaving for the cabin tomorrow morning, and the build will be done before next Saturday. It will be strictly OOB, with just brush painting and maybe some wash (just have to find some thinner). Will update once each night until its finished.
Last year somehting finaly hit me, I could enter the build into a campaign so I found a build that suited a campaign. I went of armor since that is what I like the best to build. But when you are sitting in a mountain cabin, with just the basic tools and paints, those last 10% of the build is a pain. all those fiddely parts that you have to paint and fit on the outside of the hull. I just lost the interest right before the finish line.
So this year I am going for a plane, no fiddely parts Had a Thunderbolt in the stash that I could use in the ETO campaign, and a Sm.79 Sparviero that could go into this campaign, but i wanted to save them for a build with all the workings. However was going to sacrifice the Thunderbolt and drove to the LHS to buy some missing paint. Had a look at the what was on offer, and found the shelfwarmer under. That was excactely the thing I would like to do. UNFORTUNATELY, when I came home, i saw that Jeff had almost the same kit, a bit of a bummer
But what the heck I am going for it. We are leaving for the cabin tomorrow morning, and the build will be done before next Saturday. It will be strictly OOB, with just brush painting and maybe some wash (just have to find some thinner). Will update once each night until its finished.