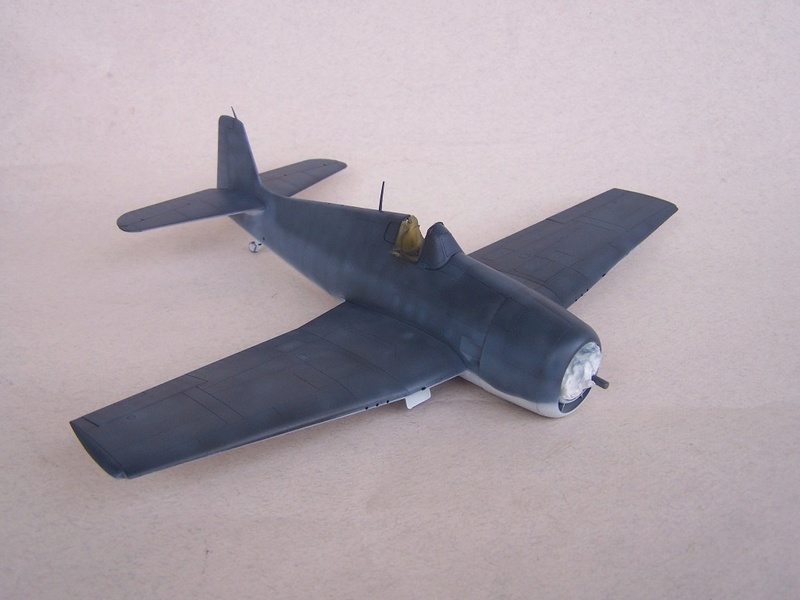
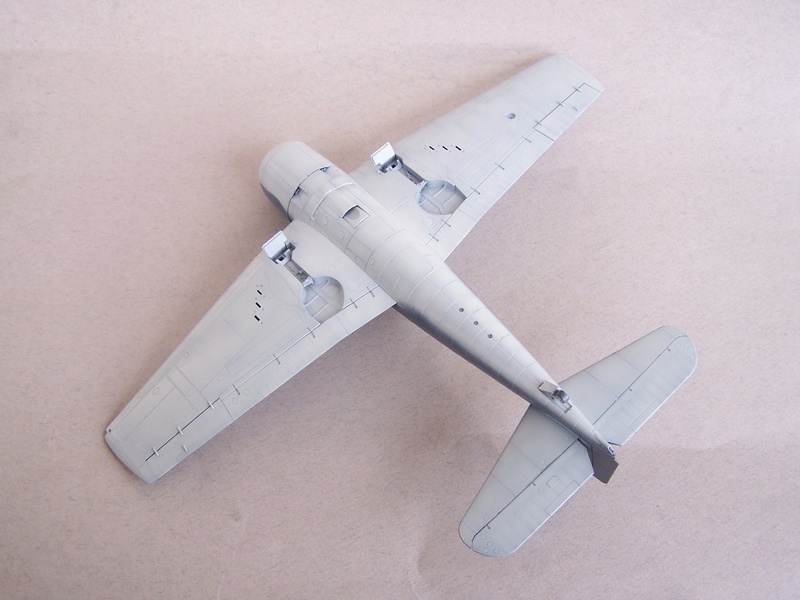
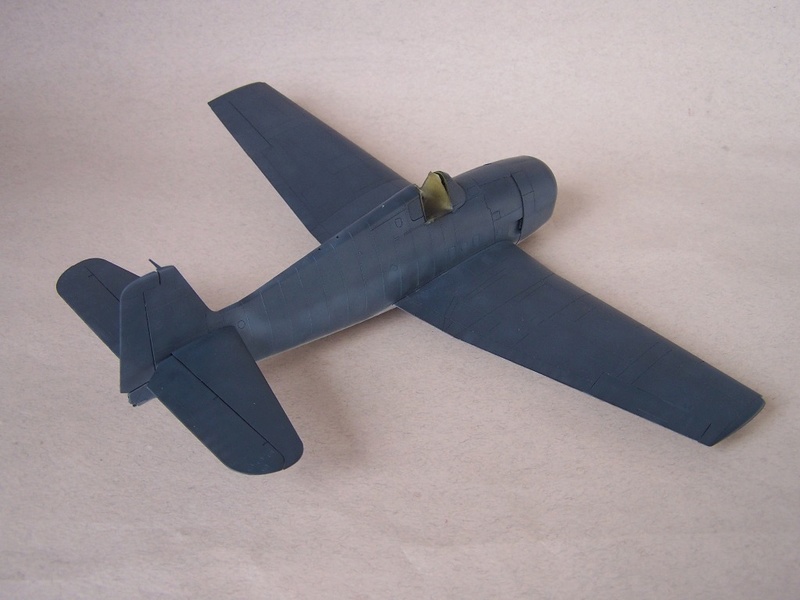
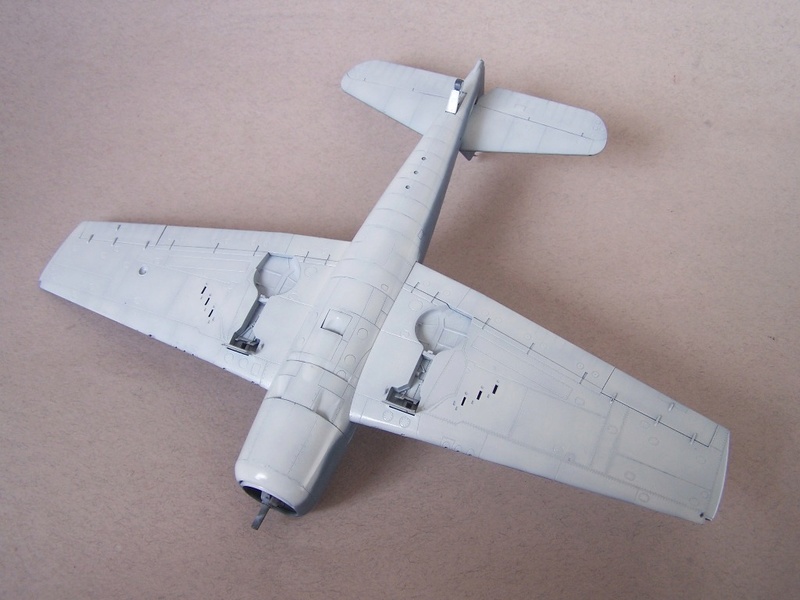
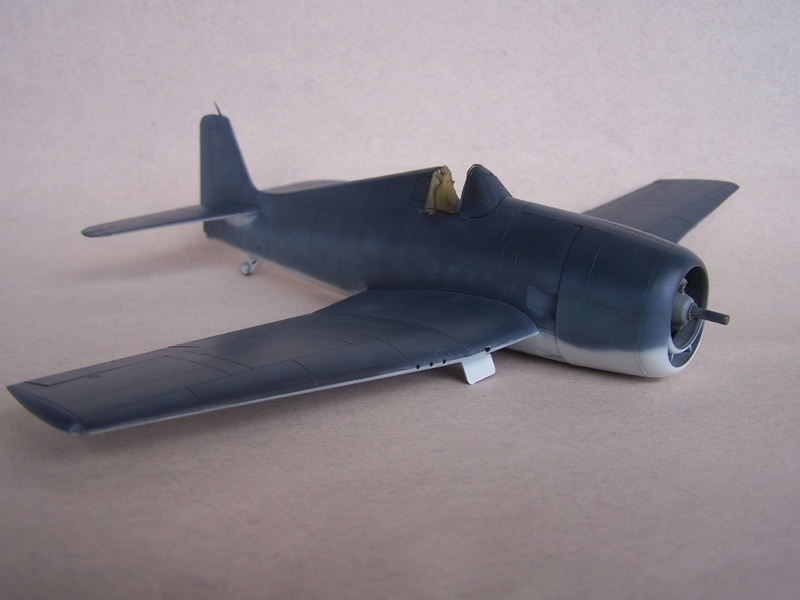
Which primer is applied on the outer surfaces-fuselage and wings? Interior green, ZCY, or bare aluminium?
I'm asking this, because I want to do a very small amount of chipping, and not sure of the color.
Thanks!
Hosted by Rowan Baylis
1/48 Grumman F6F-3 Hellcat (Eduard)
Venko555

Joined: December 07, 2013
KitMaker: 908 posts
AeroScale: 206 posts

Posted: Thursday, December 22, 2016 - 03:31 PM UTC
Joel_W

Joined: December 04, 2010
KitMaker: 11,666 posts
AeroScale: 7,410 posts

Posted: Thursday, December 22, 2016 - 10:45 PM UTC
Grumman actually used their standard Grumman Gray as a primer on the F4F Wildcats and approx. the 1st 100 or so F6F-3 Hellcats. Once they used up what stocks of Grumman Gray they had, the switch was made to YZC as a primer coat.
Joel
Joel
Venko555

Joined: December 07, 2013
KitMaker: 908 posts
AeroScale: 206 posts

Posted: Saturday, December 24, 2016 - 02:19 PM UTC
Joel_W

Joined: December 04, 2010
KitMaker: 11,666 posts
AeroScale: 7,410 posts

Posted: Saturday, December 24, 2016 - 08:22 PM UTC
Venelin.
Your free hand camo paint scheme really came out quite well.
One suggestion for your next paint scheme, try the black basing technique. Using light coats of paint you'll be surprised at how well it weathers those color coats without having to do anything for the basics. Then you tweak it to where you want it to be.
Joel
Venko555

Joined: December 07, 2013
KitMaker: 908 posts
AeroScale: 206 posts

Posted: Saturday, December 24, 2016 - 09:10 PM UTC
Joel, thank you for the tip!
I will have to spray one or two light coats more to blend some areas. And I broke the Pitot tube, so have to make new one
Nice improvements with your Wildcat too, very nice, can't wait for the painting
Regards,
V
I will have to spray one or two light coats more to blend some areas. And I broke the Pitot tube, so have to make new one

Nice improvements with your Wildcat too, very nice, can't wait for the painting
Regards,
V
Joel_W

Joined: December 04, 2010
KitMaker: 11,666 posts
AeroScale: 7,410 posts

Posted: Sunday, December 25, 2016 - 12:55 AM UTC
Quoted Text
Joel, thank you for the tip!
I will have to spray one or two light coats more to blend some areas. And I broke the Pitot tube, so have to make new one
Nice improvements with your Wildcat too, very nice, can't wait for the painting
Regards,
V
Venelin
Thanks for taking a look at my F4F-3. It's certainly a challenge.
Don't feel to bad about breaking the pitot tube. I broke the stick column removing it from the sprue tree yesterday. No glue seemed to actually glue it back together. Just made a new column out of rod stock and added two small bends.
Joel
Venko555

Joined: December 07, 2013
KitMaker: 908 posts
AeroScale: 206 posts

Posted: Sunday, December 25, 2016 - 01:12 PM UTC
A warning!
Do NOT use the glossy paints from Gunze, they seem to dry forever. The Insignia white (H-316) has to be polished and resprayed at some places, because I found several fingerprints here and there. I will add a drop of AK Ultra matt next time, just in case.
The blue colors are perfect though.
Cheers!
Do NOT use the glossy paints from Gunze, they seem to dry forever. The Insignia white (H-316) has to be polished and resprayed at some places, because I found several fingerprints here and there. I will add a drop of AK Ultra matt next time, just in case.
The blue colors are perfect though.
Cheers!
Venko555

Joined: December 07, 2013
KitMaker: 908 posts
AeroScale: 206 posts

Posted: Sunday, December 25, 2016 - 05:43 PM UTC
Joel_W

Joined: December 04, 2010
KitMaker: 11,666 posts
AeroScale: 7,410 posts

Posted: Sunday, December 25, 2016 - 08:02 PM UTC
Venelin
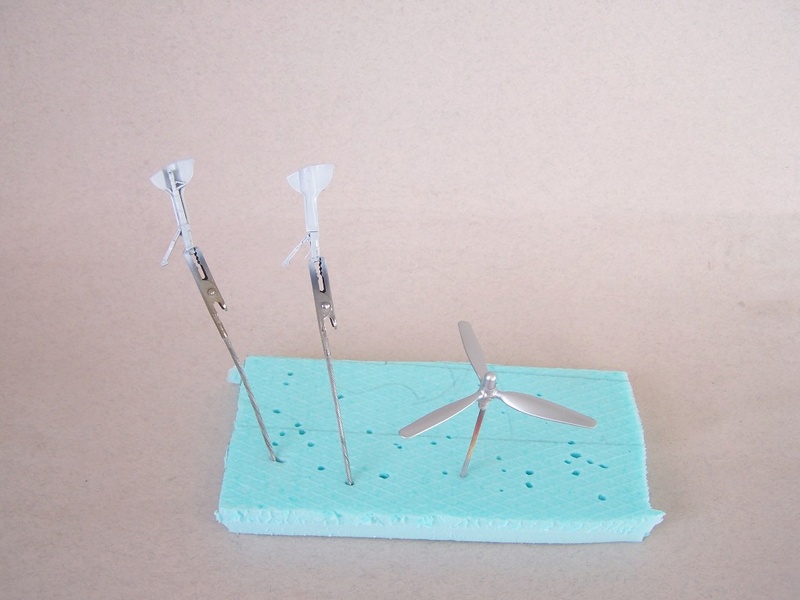
I was really puzzled why you painted the prop Silver till I read your explanation. Sometimes a picture isn't worth a 1,000 words on it's own.
Joel
I was really puzzled why you painted the prop Silver till I read your explanation. Sometimes a picture isn't worth a 1,000 words on it's own.
Joel
Posted: Monday, December 26, 2016 - 12:03 AM UTC
Hi Venelin
This is looking really nice! The hint of shading through the camo is just right for my taste. Thanks for the heads-up on the gloss Mr Color paints. I didn't hit a problem with drying time, but I did find their gloss white overly translucent when I tried it (normally I rate their paints as among my all-time favourites).
All the best
Rowan
This is looking really nice! The hint of shading through the camo is just right for my taste.
 Thanks for the heads-up on the gloss Mr Color paints. I didn't hit a problem with drying time, but I did find their gloss white overly translucent when I tried it (normally I rate their paints as among my all-time favourites).
 All the best
Rowan

Venko555

Joined: December 07, 2013
KitMaker: 908 posts
AeroScale: 206 posts

Posted: Monday, December 26, 2016 - 12:27 AM UTC
Hi, Rowan
I wanted a subtle shading, so not overdoing it much.
Also I overreacted a bit about the gloss acrylic maybe, but think I've found a solution-to thin it with Mr. Color thinner instead of the regular acrylic thinner. The other paints are superb though. Maybe the issue is only with that particular gloss white paint or it's my "user error" .
.
I heard that Mr.Color (the lacquers) are faster drying than the acrylic line. Would try them in the future for sure.
Gunze paints are favorite of mine, also.
Regards!
Venelin
I wanted a subtle shading, so not overdoing it much.
Also I overreacted a bit about the gloss acrylic maybe, but think I've found a solution-to thin it with Mr. Color thinner instead of the regular acrylic thinner. The other paints are superb though. Maybe the issue is only with that particular gloss white paint or it's my "user error"
 .
.I heard that Mr.Color (the lacquers) are faster drying than the acrylic line. Would try them in the future for sure.
Gunze paints are favorite of mine, also.
Regards!
Venelin
Posted: Monday, December 26, 2016 - 12:52 AM UTC
Hi again Venelin
I normally use cellulose thinners with Gunze Sangyo paints (Note: airbrushing only - it would be a recipe for disaster applied with a paint brush because it would "eat" the plastic !). The "hotter" thinners is maybe why I didn't hit a drying problem?
All the best
Rowan
I normally use cellulose thinners with Gunze Sangyo paints (Note: airbrushing only - it would be a recipe for disaster applied with a paint brush because it would "eat" the plastic !). The "hotter" thinners is maybe why I didn't hit a drying problem?
All the best
Rowan

Venko555

Joined: December 07, 2013
KitMaker: 908 posts
AeroScale: 206 posts

Posted: Monday, December 26, 2016 - 01:06 PM UTC
It looks that Mr.Color thinner/Leveling is the "cure" for most problems with the paint.
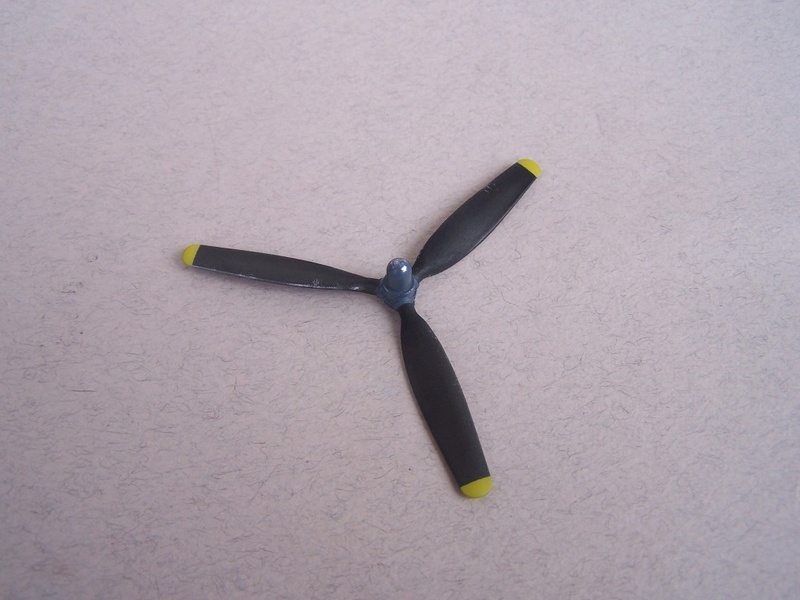
Continuing with the propeller. Alclad aluminum is fully dry now, so I sprayed the colors. As the paint is still fresh, I rubbed it with wet stiff old brush or toothpick, at the edges mainly. Paint chips very nice, without the need of chipping fluids, hairsprays etc.
Cheers!
Continuing with the propeller. Alclad aluminum is fully dry now, so I sprayed the colors. As the paint is still fresh, I rubbed it with wet stiff old brush or toothpick, at the edges mainly. Paint chips very nice, without the need of chipping fluids, hairsprays etc.


Cheers!
Venko555

Joined: December 07, 2013
KitMaker: 908 posts
AeroScale: 206 posts

Posted: Monday, December 26, 2016 - 05:27 PM UTC
Joel_W

Joined: December 04, 2010
KitMaker: 11,666 posts
AeroScale: 7,410 posts

Posted: Monday, December 26, 2016 - 10:49 PM UTC
Venelin,
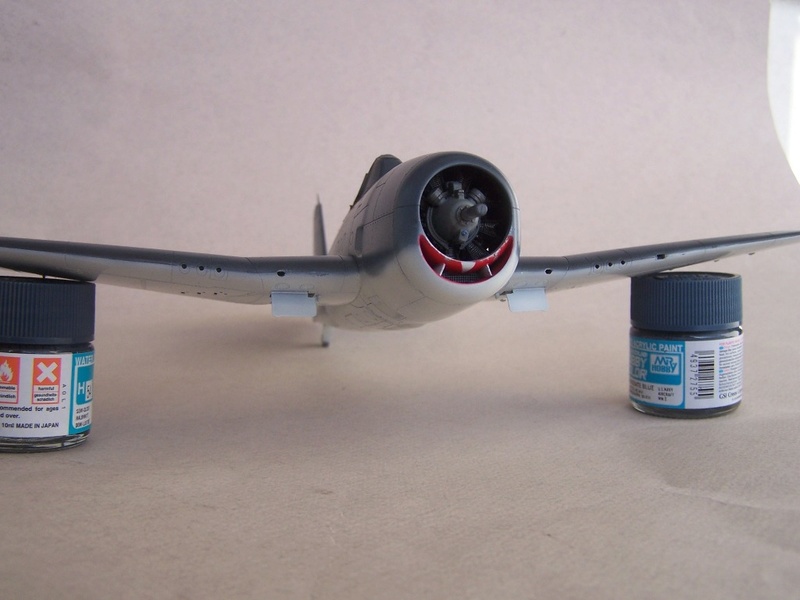
Nicely done paint and chipping on the prop. Has that look of used but certainly not abused to it. The Red for the mouth from what I can see is really well done. Did you airbrush it or hand paint it? And if you Air brushed it, the masking had to be quite taxing.
Joel
Nicely done paint and chipping on the prop. Has that look of used but certainly not abused to it. The Red for the mouth from what I can see is really well done. Did you airbrush it or hand paint it? And if you Air brushed it, the masking had to be quite taxing.
Joel
Venko555

Joined: December 07, 2013
KitMaker: 908 posts
AeroScale: 206 posts

Posted: Monday, December 26, 2016 - 11:04 PM UTC
Quoted Text
Venelin,
Nicely done paint and chipping on the prop. Has that look of used but certainly not abused to it. The Red for the mouth from what I can see is really well done. Did you airbrush it or hand paint it? And if you Air brushed it, the masking had to be quite taxing.
Joel
Hi, Joel
I airbrushed it, masking was a bit tedious, but not an impossible job. Red is Gunze H-13.
Regards,
Venko555

Joined: December 07, 2013
KitMaker: 908 posts
AeroScale: 206 posts

Posted: Friday, January 20, 2017 - 12:17 PM UTC
Venko555

Joined: December 07, 2013
KitMaker: 908 posts
AeroScale: 206 posts

Posted: Thursday, January 26, 2017 - 01:53 PM UTC
I had to strip the paint, because of the Insignia white gloss not drying properly and the decals are not so good (I will make masks for the Insignia).
So priming anew, this time I sprayed a flat white randomly over the black Surfacer, then one-two thin coats of the gloss insignia white. All thinned with the Leveling thinner. Now the paint dried for minutes and the coat is smoother.

Regards,
Venelin
So priming anew, this time I sprayed a flat white randomly over the black Surfacer, then one-two thin coats of the gloss insignia white. All thinned with the Leveling thinner. Now the paint dried for minutes and the coat is smoother.

Regards,
Venelin

lespauljames

Joined: January 06, 2007
KitMaker: 3,661 posts
AeroScale: 369 posts

Posted: Thursday, January 26, 2017 - 03:51 PM UTC
Very nice build so far , and good recovery with the white. It's a right pain using gloss colours.
Venko555

Joined: December 07, 2013
KitMaker: 908 posts
AeroScale: 206 posts

Posted: Thursday, January 26, 2017 - 04:27 PM UTC
Joel_W

Joined: December 04, 2010
KitMaker: 11,666 posts
AeroScale: 7,410 posts

Posted: Thursday, January 26, 2017 - 09:31 PM UTC
Venelin,
I've been rather leery about moving on from my trusted Tamiya acrylics just because of the type of paint issues that you've experienced. But you worked your way through them especially the White. Looking forward to seeing those home made masks, which is another technique I shied away from even trying.
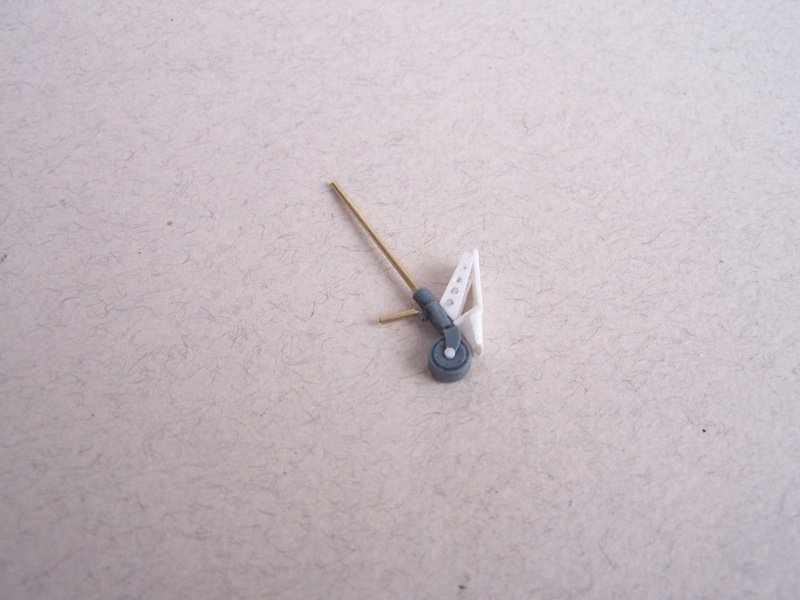
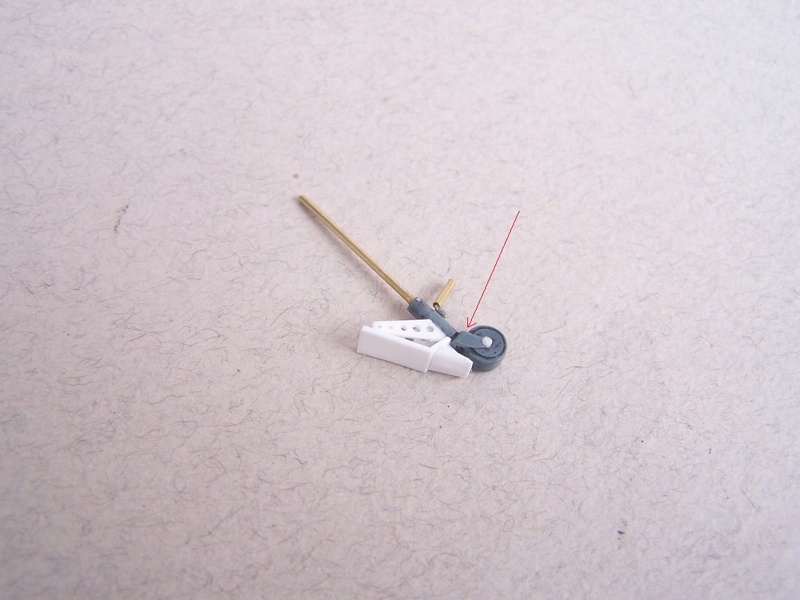
the tail wheel assembly does indeed look better with the separation cut.
Joel
Venko555

Joined: December 07, 2013
KitMaker: 908 posts
AeroScale: 206 posts

Posted: Thursday, January 26, 2017 - 10:44 PM UTC
Hi Joel,
I wondered to buy MrColor lacquer instead of the acrylic, for the H-316, now I'm regretting .
.
However, it works if you put a flat white under the gloss Insignia white. I don't know why, but the finish is much better.
As for the masks, I will use the decals as template.
Venelin
I wondered to buy MrColor lacquer instead of the acrylic, for the H-316, now I'm regretting
 .
.However, it works if you put a flat white under the gloss Insignia white. I don't know why, but the finish is much better.
As for the masks, I will use the decals as template.
Venelin
Venko555

Joined: December 07, 2013
KitMaker: 908 posts
AeroScale: 206 posts

Posted: Monday, January 30, 2017 - 08:35 PM UTC
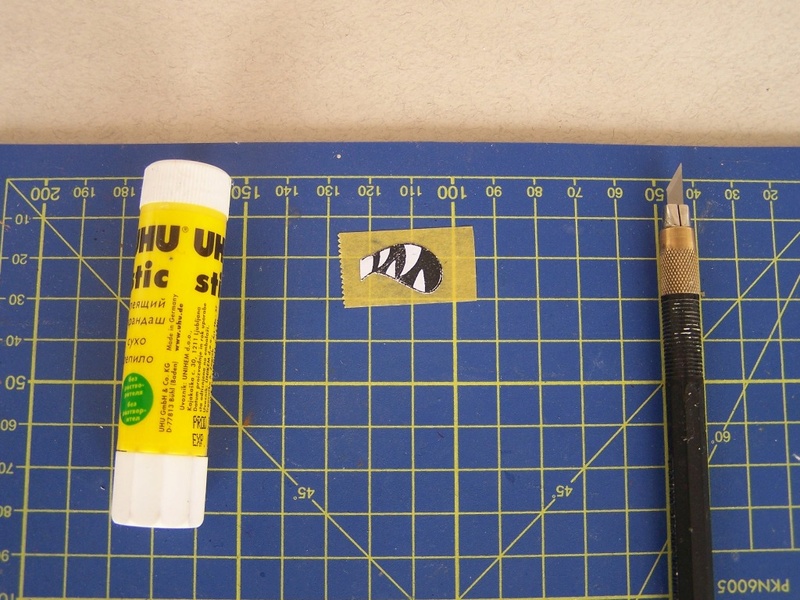
Proceeding with the nose art, as I said the decals are not very good, so I decided to cut homemade masks. Luckily I had scanned and made several copies of the decal sheet. Starting with the nose art-cutting the shape and placing the masks.
There was some bleeding under the masks here and there, but this will be corrected. The red looks paler, but this is because of the light on the photos.
When I have time, I will make the necessary corrections and proceed with the insignia

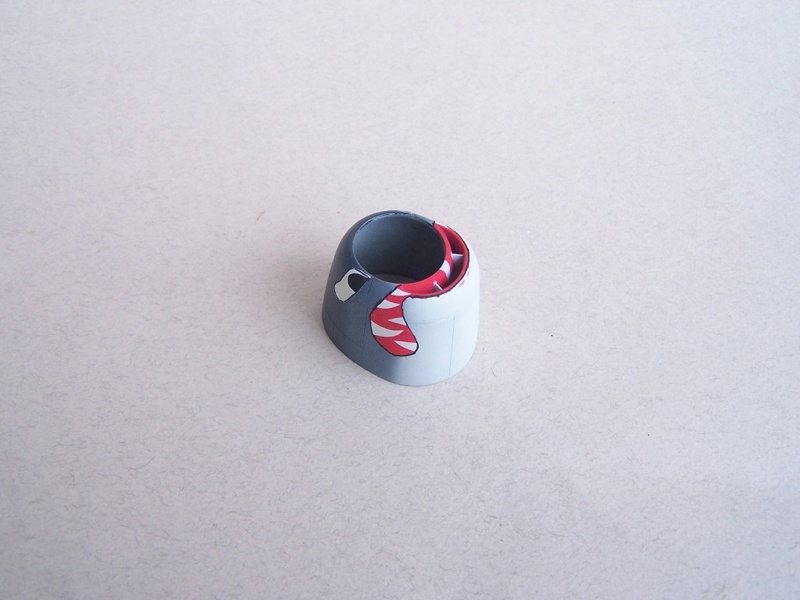

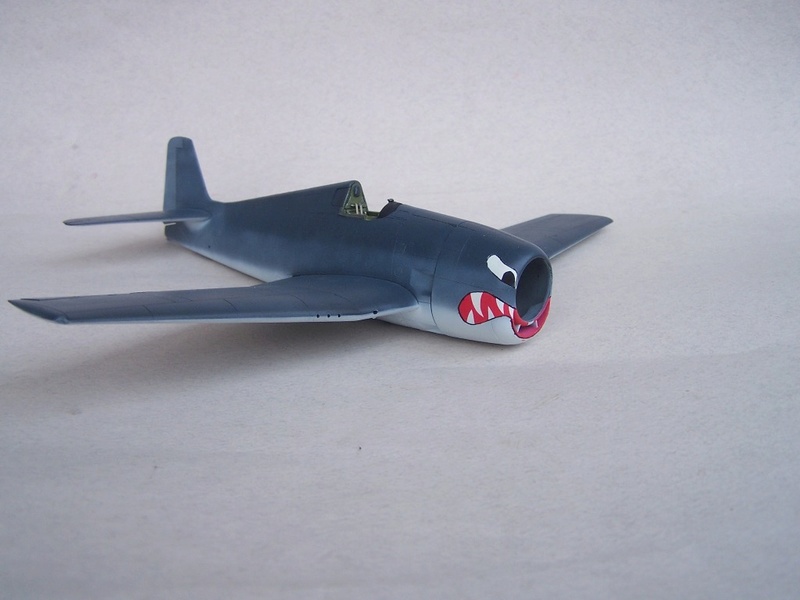
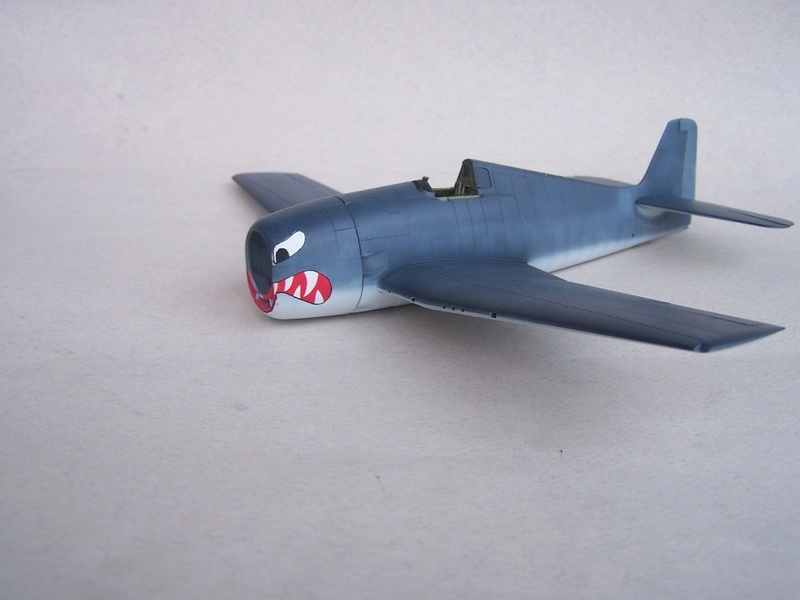
Cheers!
There was some bleeding under the masks here and there, but this will be corrected. The red looks paler, but this is because of the light on the photos.
When I have time, I will make the necessary corrections and proceed with the insignia


Cheers!

Bigrip74

Joined: February 22, 2008
KitMaker: 5,026 posts
AeroScale: 2,811 posts

Posted: Monday, January 30, 2017 - 10:58 PM UTC
Venelin, nice job on the painting of the mouth.
Thanks for the tips I will store them away for the Eduard F6F that I have in my stash.
Bob
Thanks for the tips I will store them away for the Eduard F6F that I have in my stash.
Bob

BlackWidow

Joined: August 09, 2009
KitMaker: 1,732 posts
AeroScale: 1,336 posts

Posted: Monday, January 30, 2017 - 11:58 PM UTC
Venelin, fantastic paint job on that "cat teeth"! This nose art was the reason for me to avoid this option and go for "White 13", flown by Ken Hildebrandt, years ago, when I built Eduard's Profi Pack Hellcat. Still have some Edu and Hase Hellcats in my stash. Looking at yours makes me want to build one .... 
Torsten

Torsten

 |


