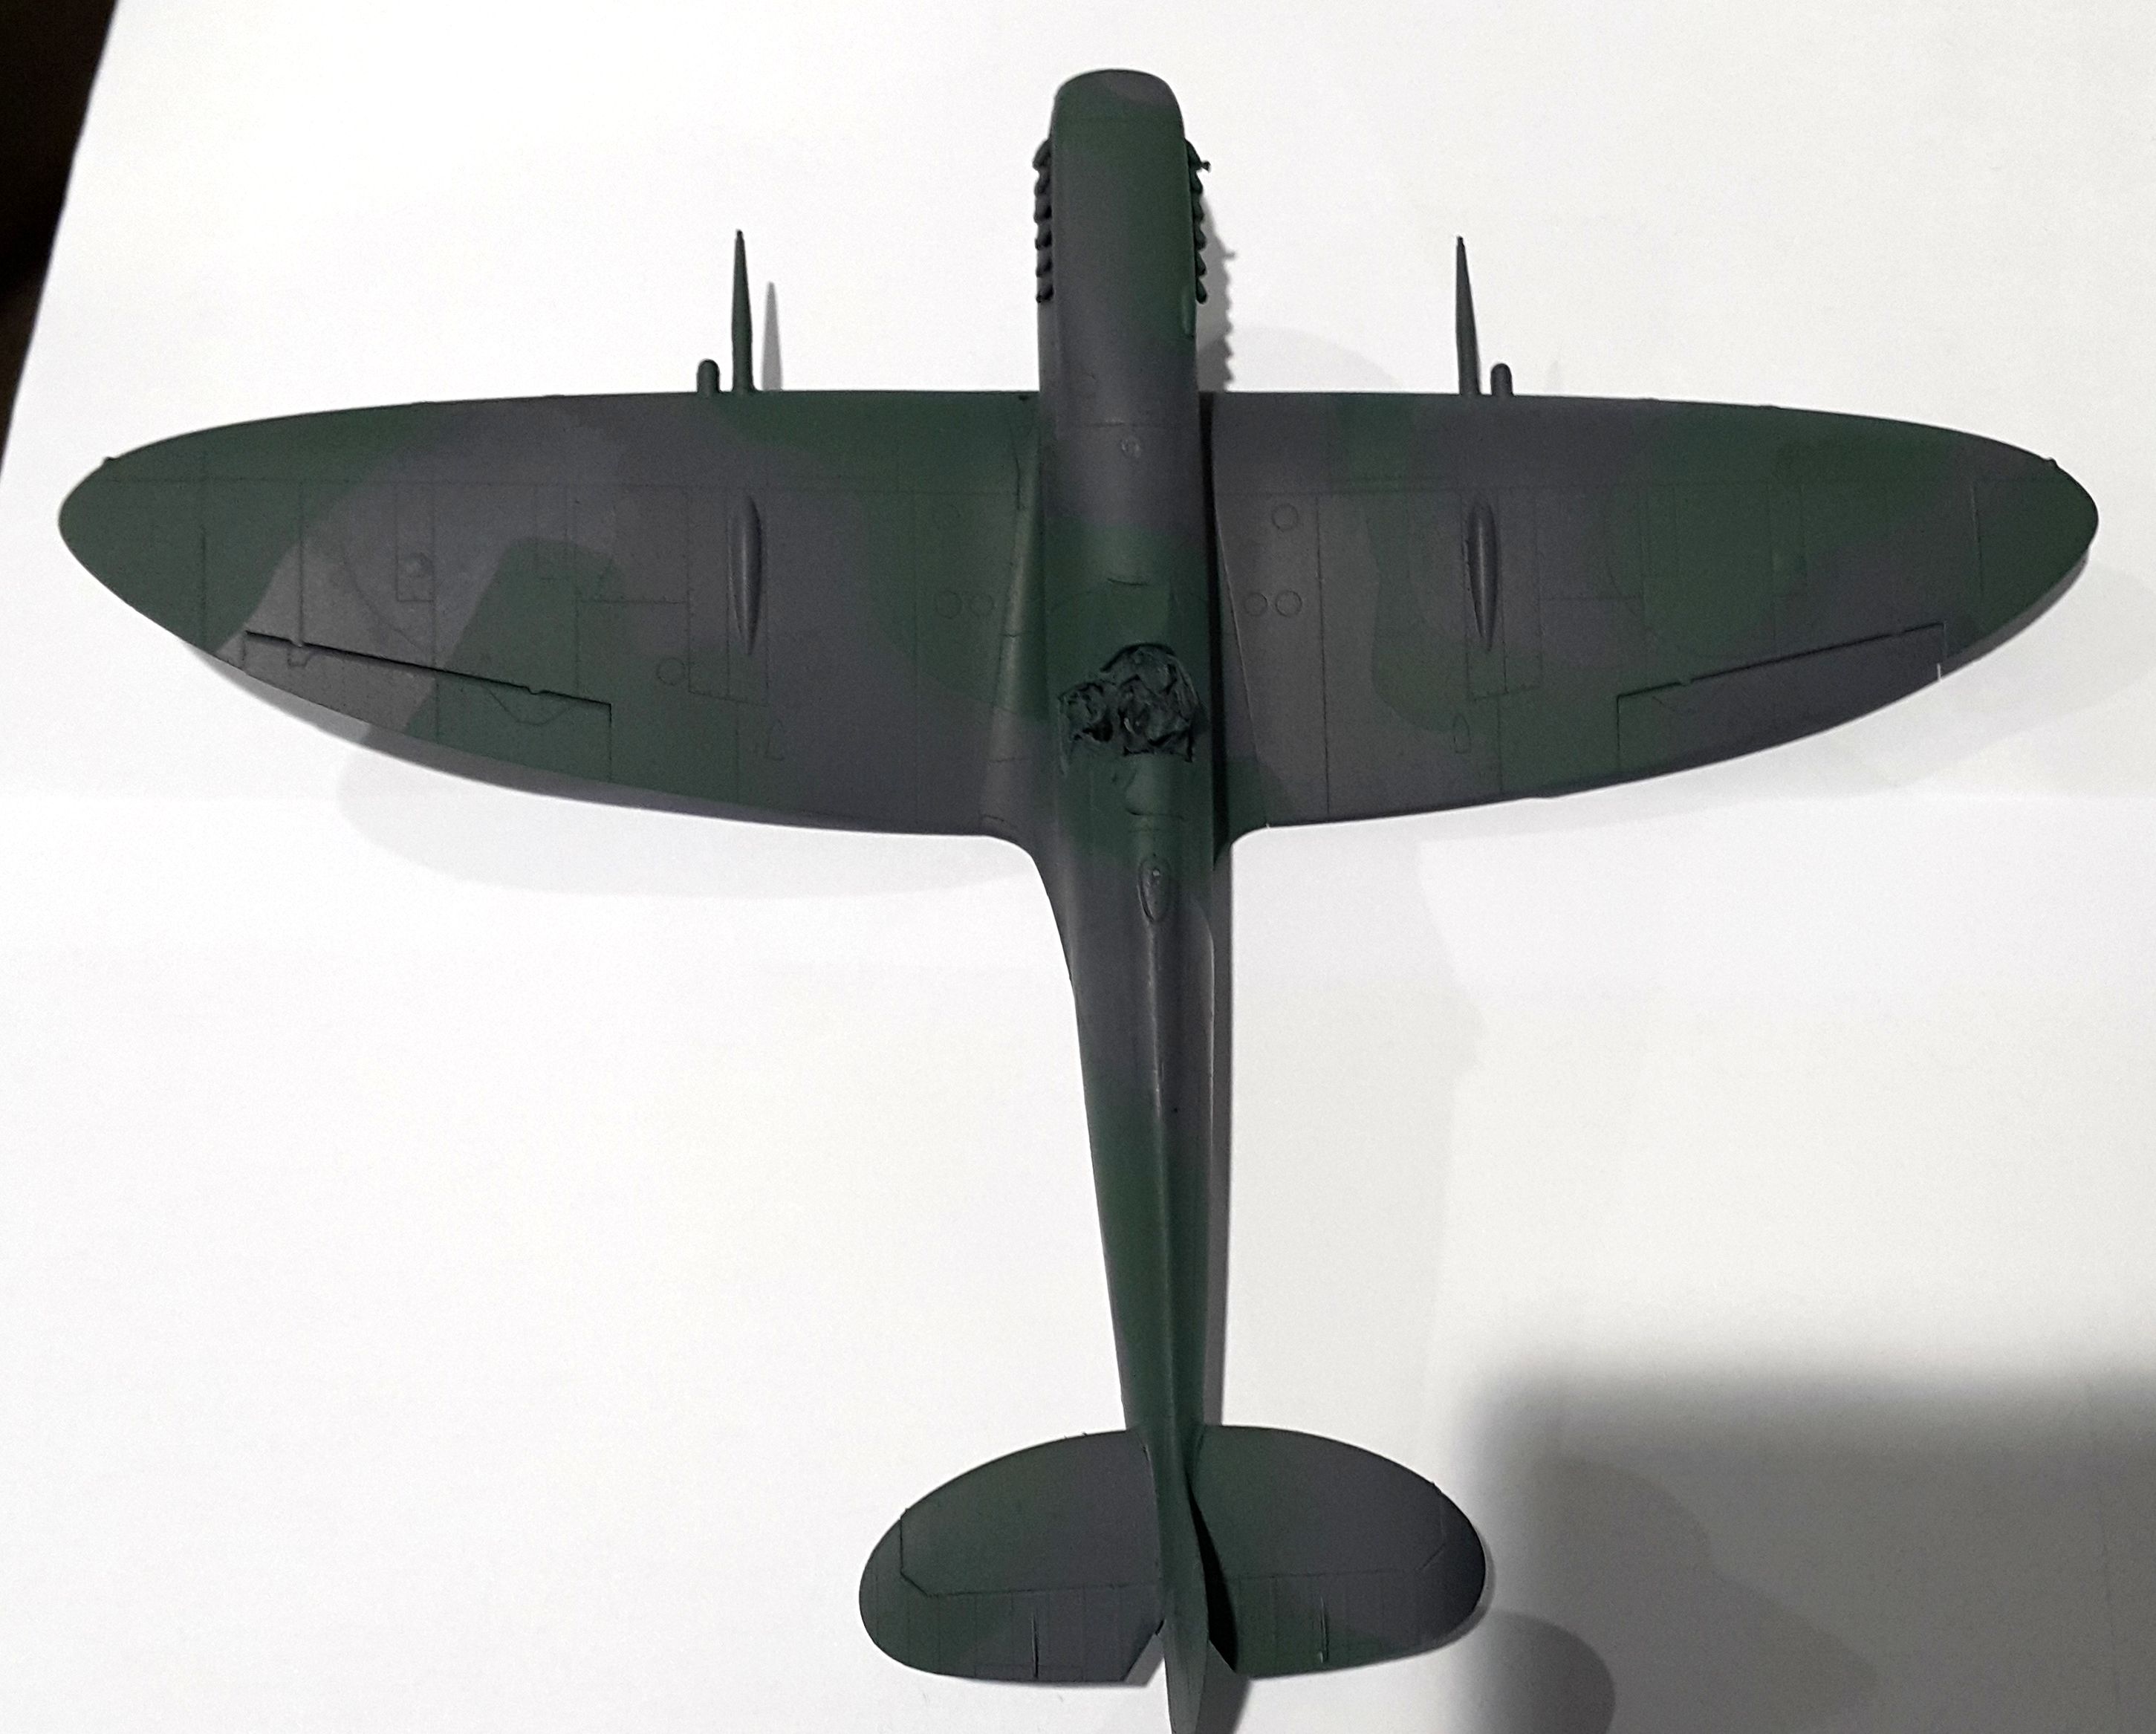
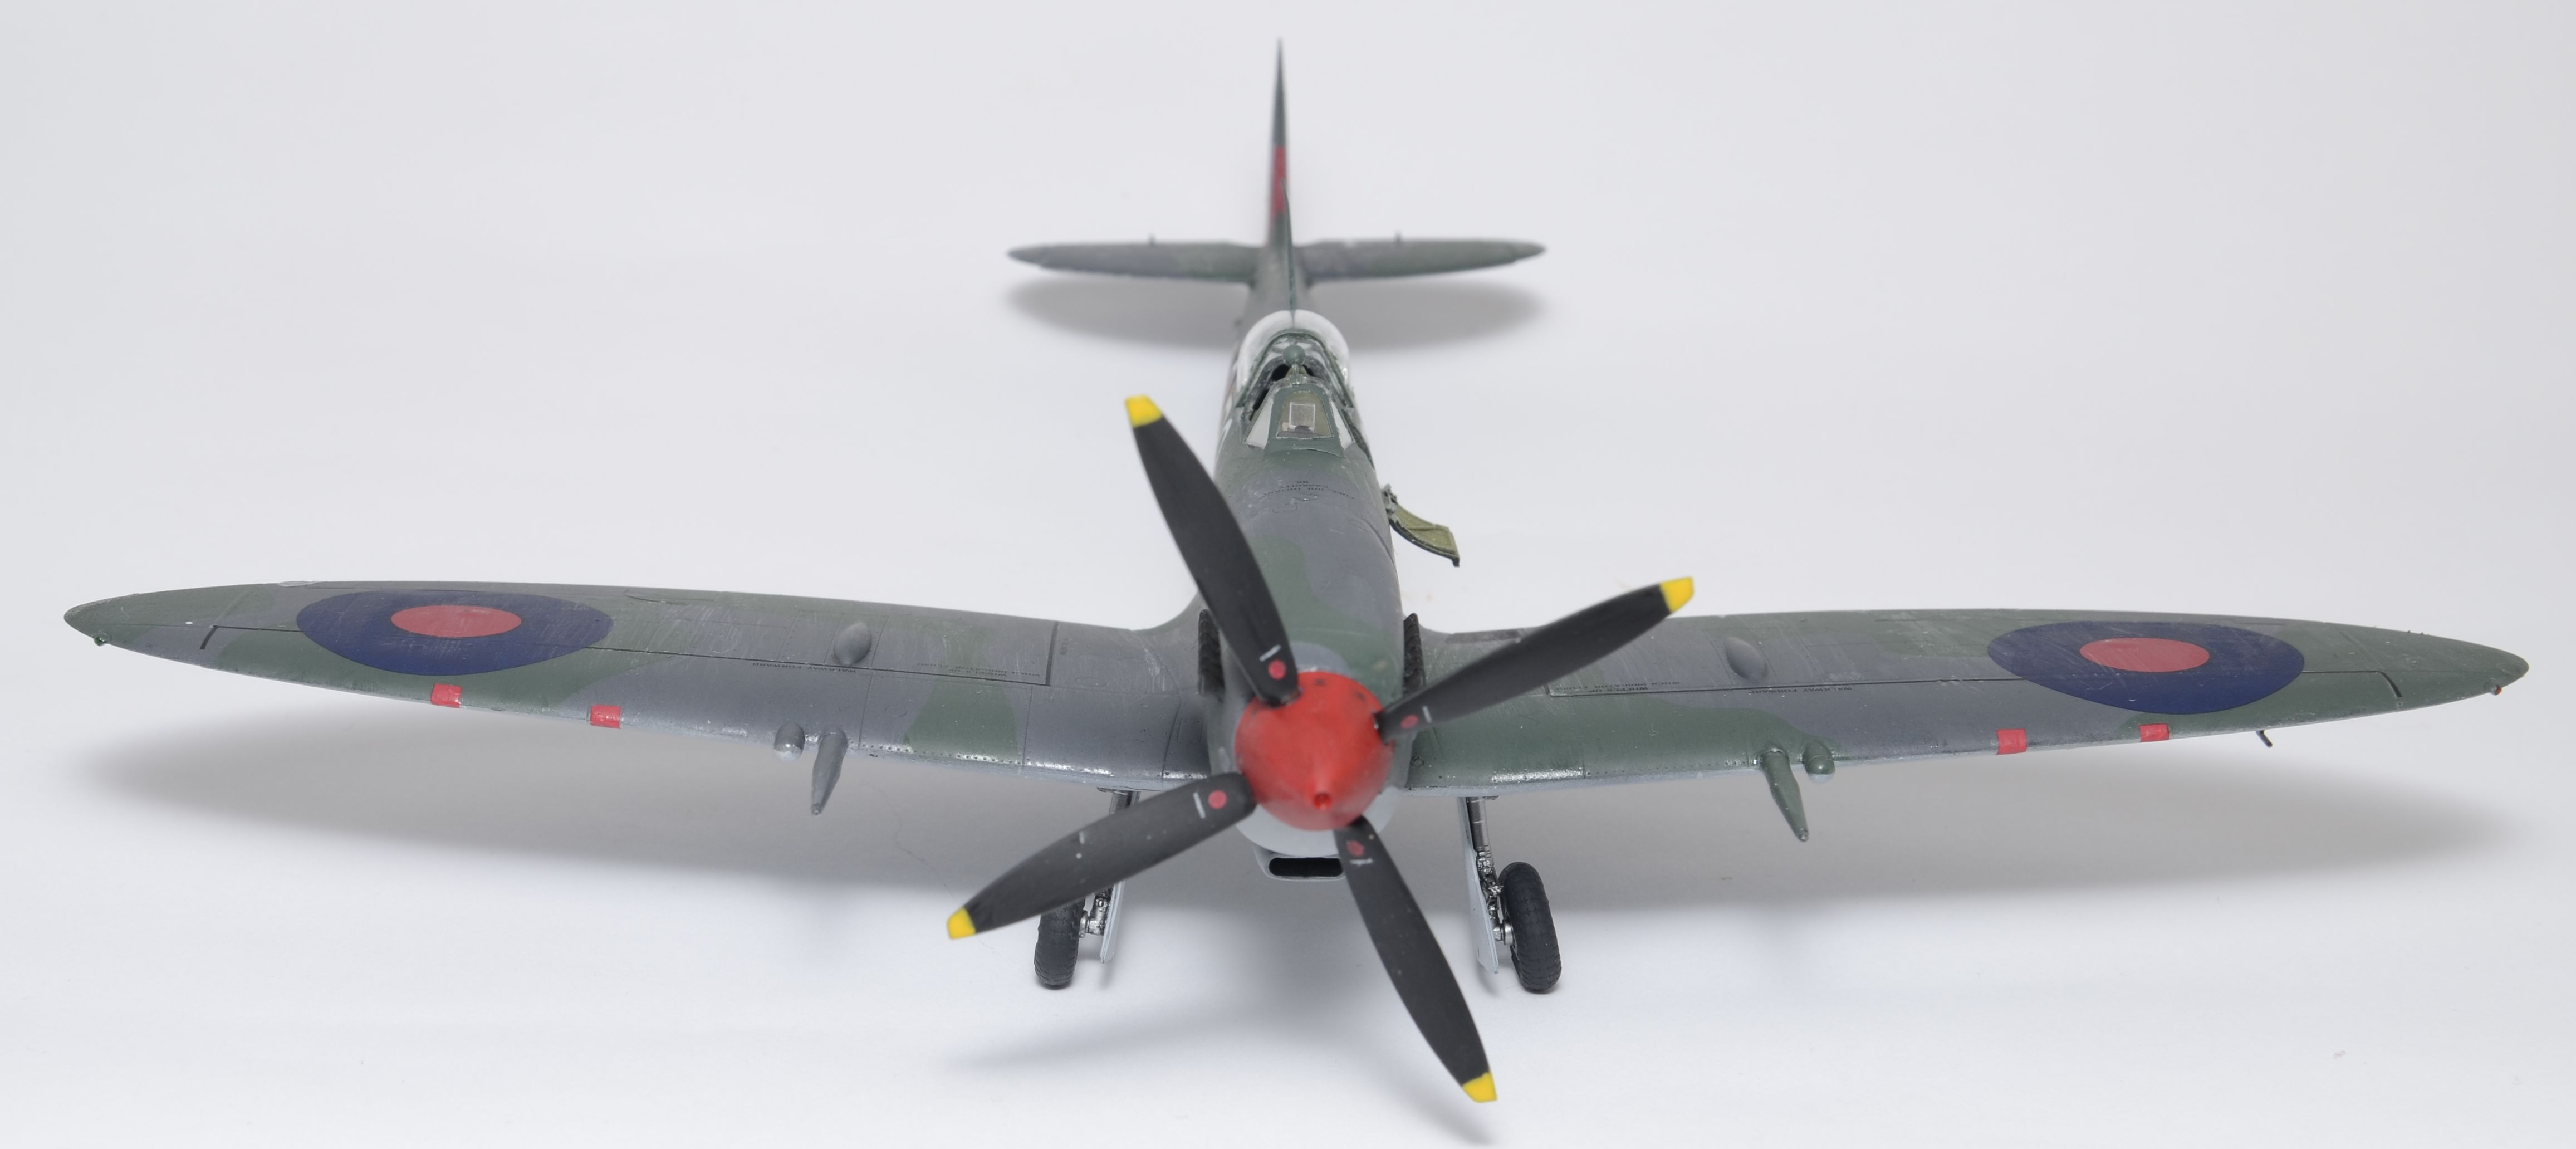
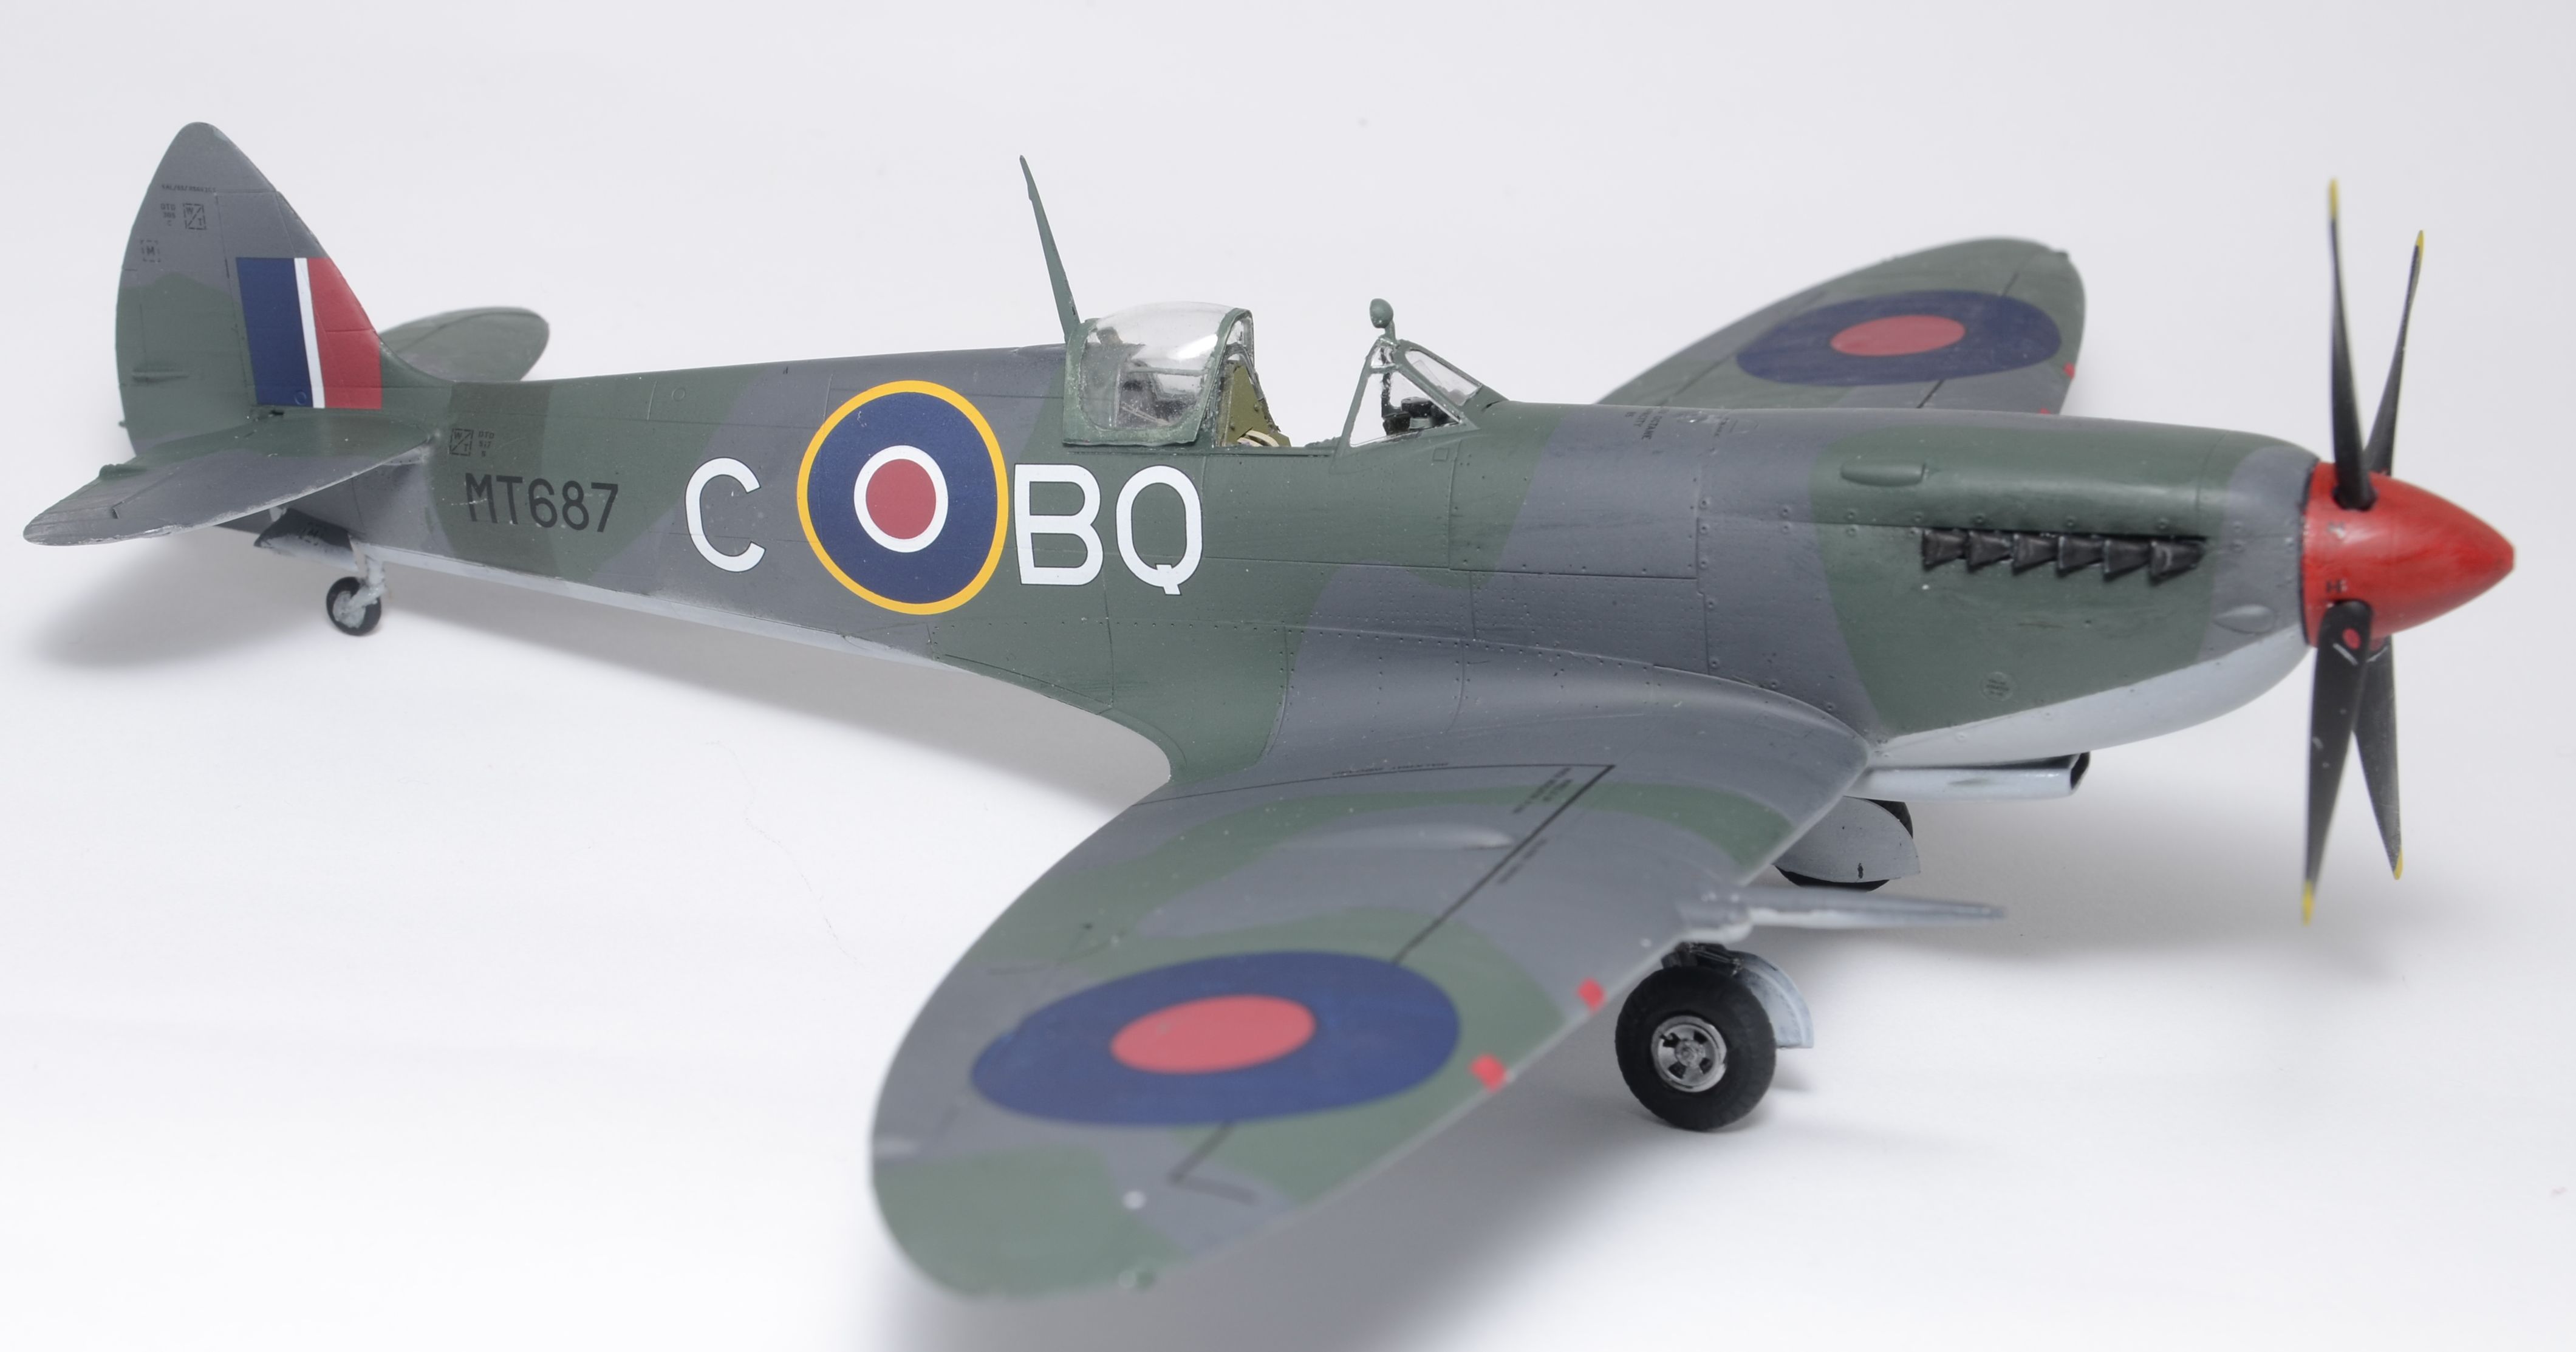
So painting has commenced on the second Spitfire of this kit.
Undersides done in a light/medium grey, I went for the top grey as my first cam colour
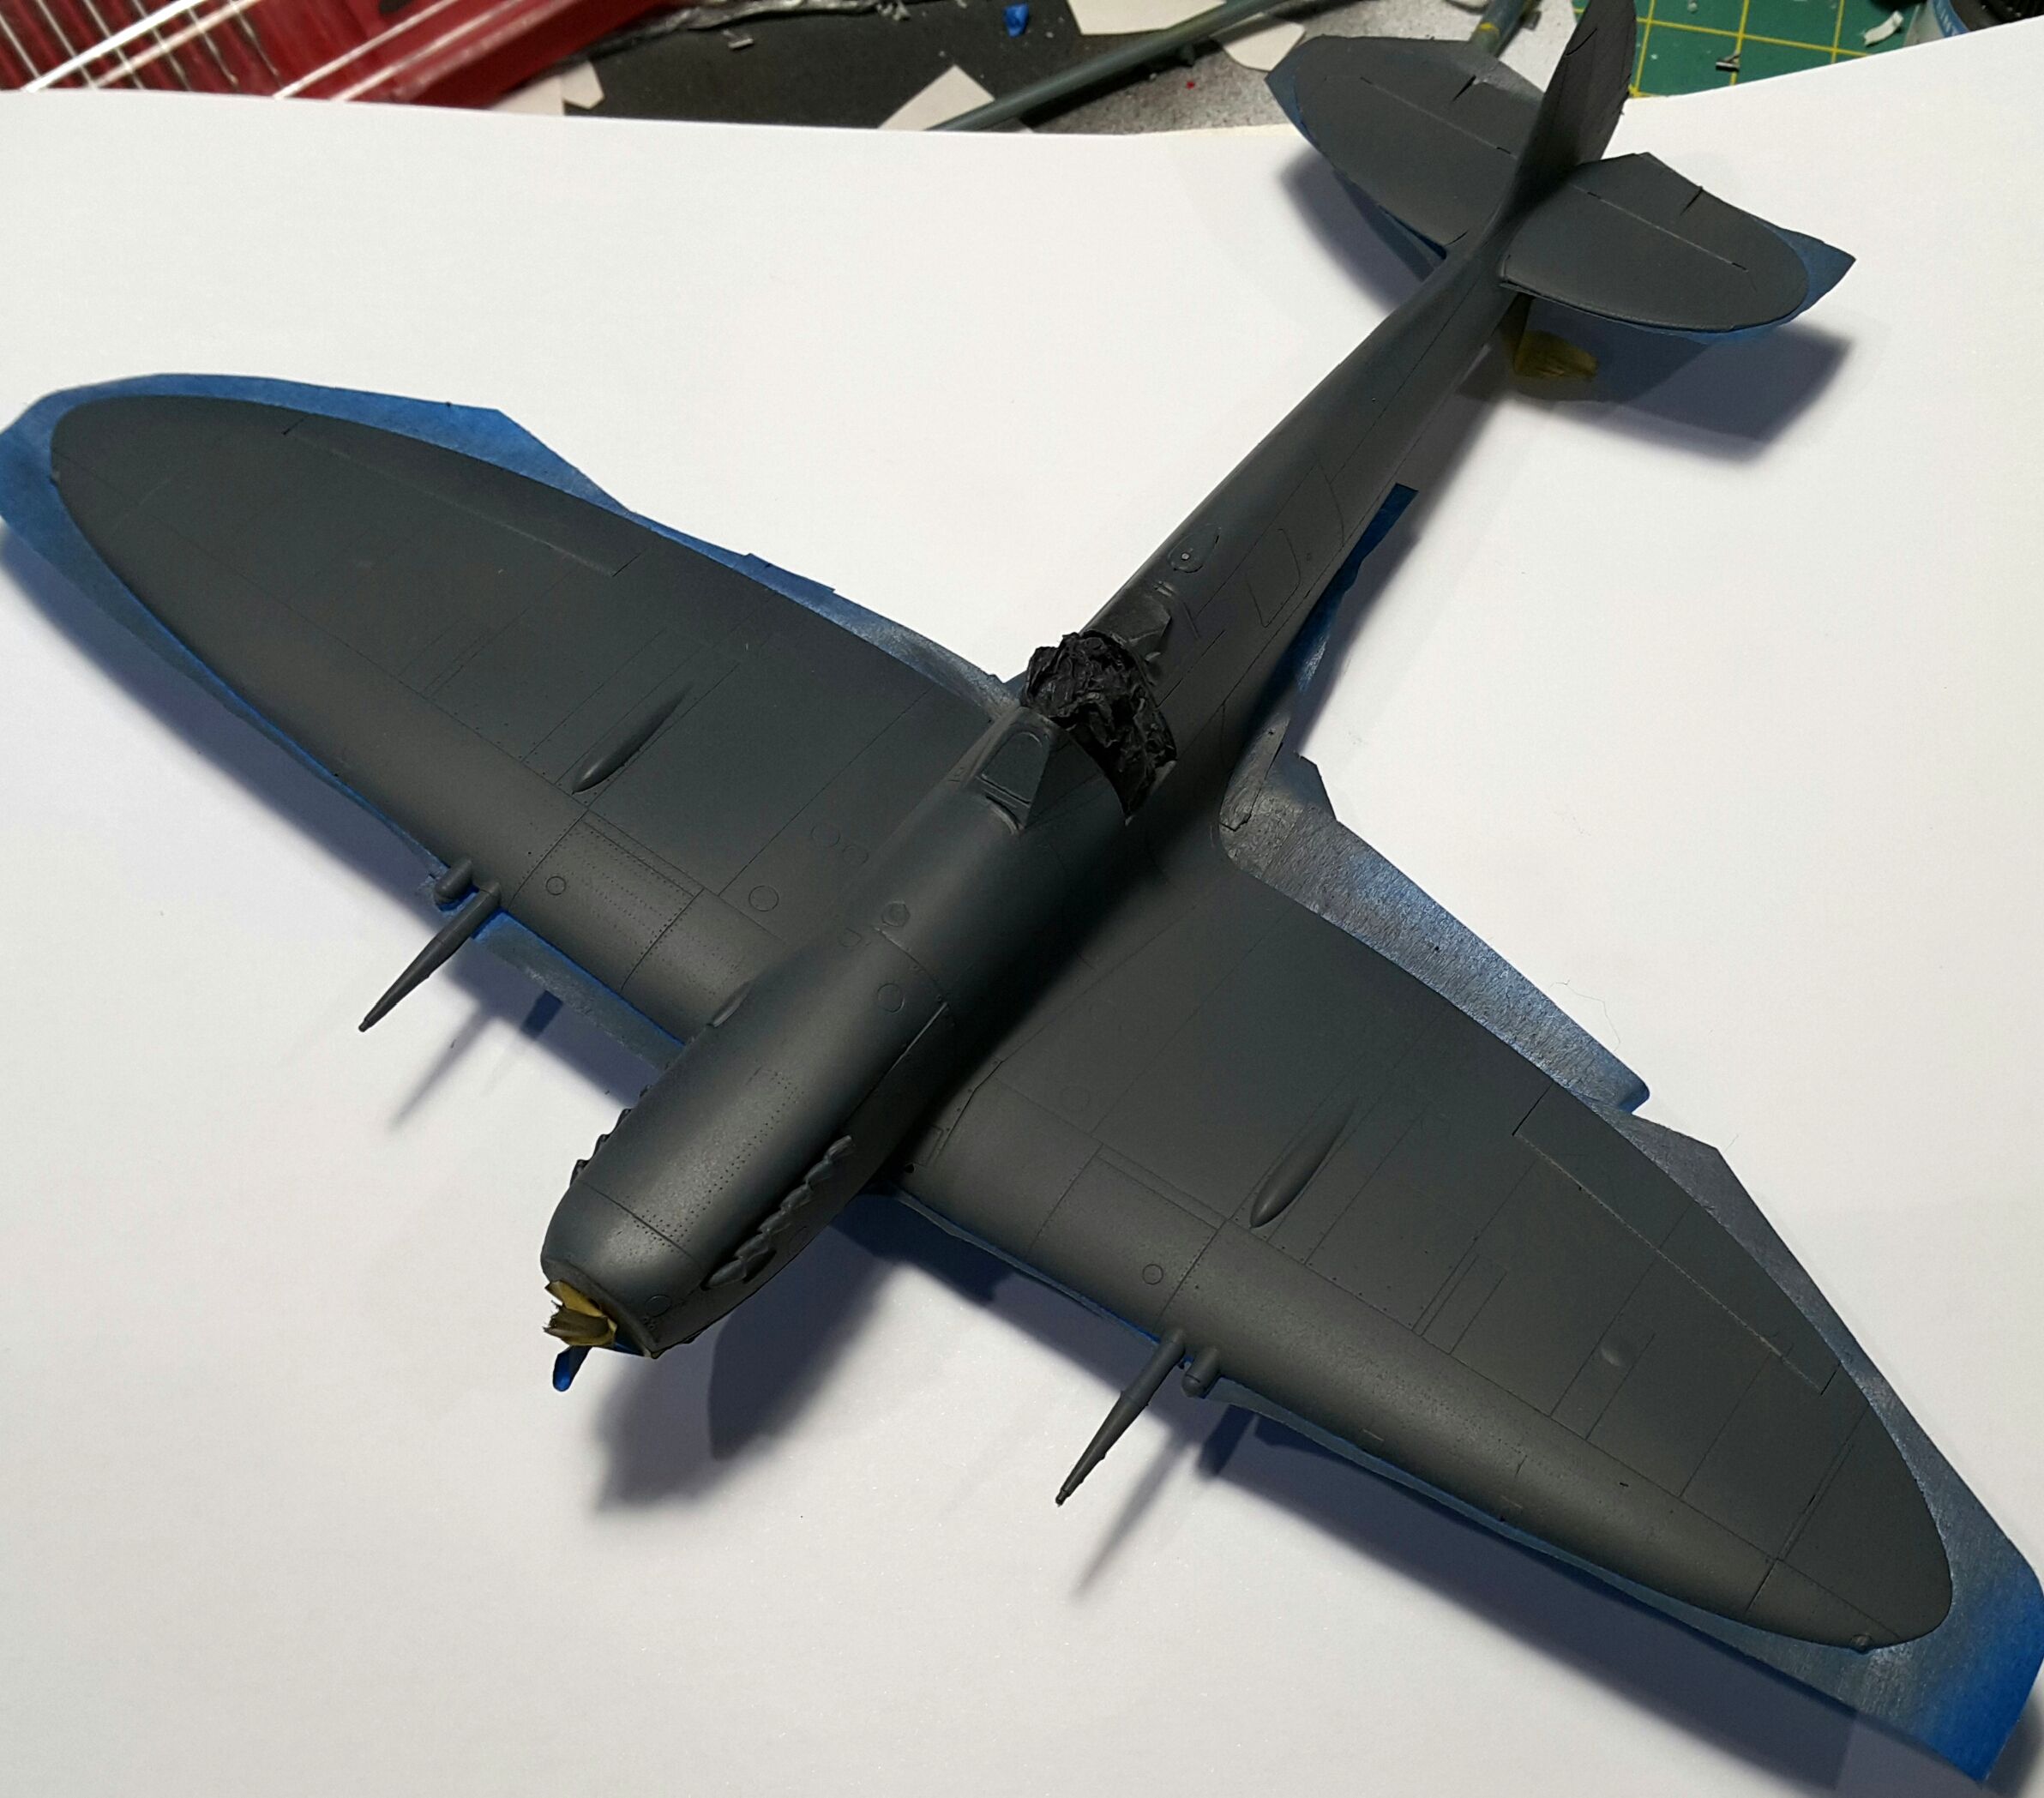
It's a little darker than I really wanted.
So then I started by doing elements from the wrong paint scheme where the roundels will go.
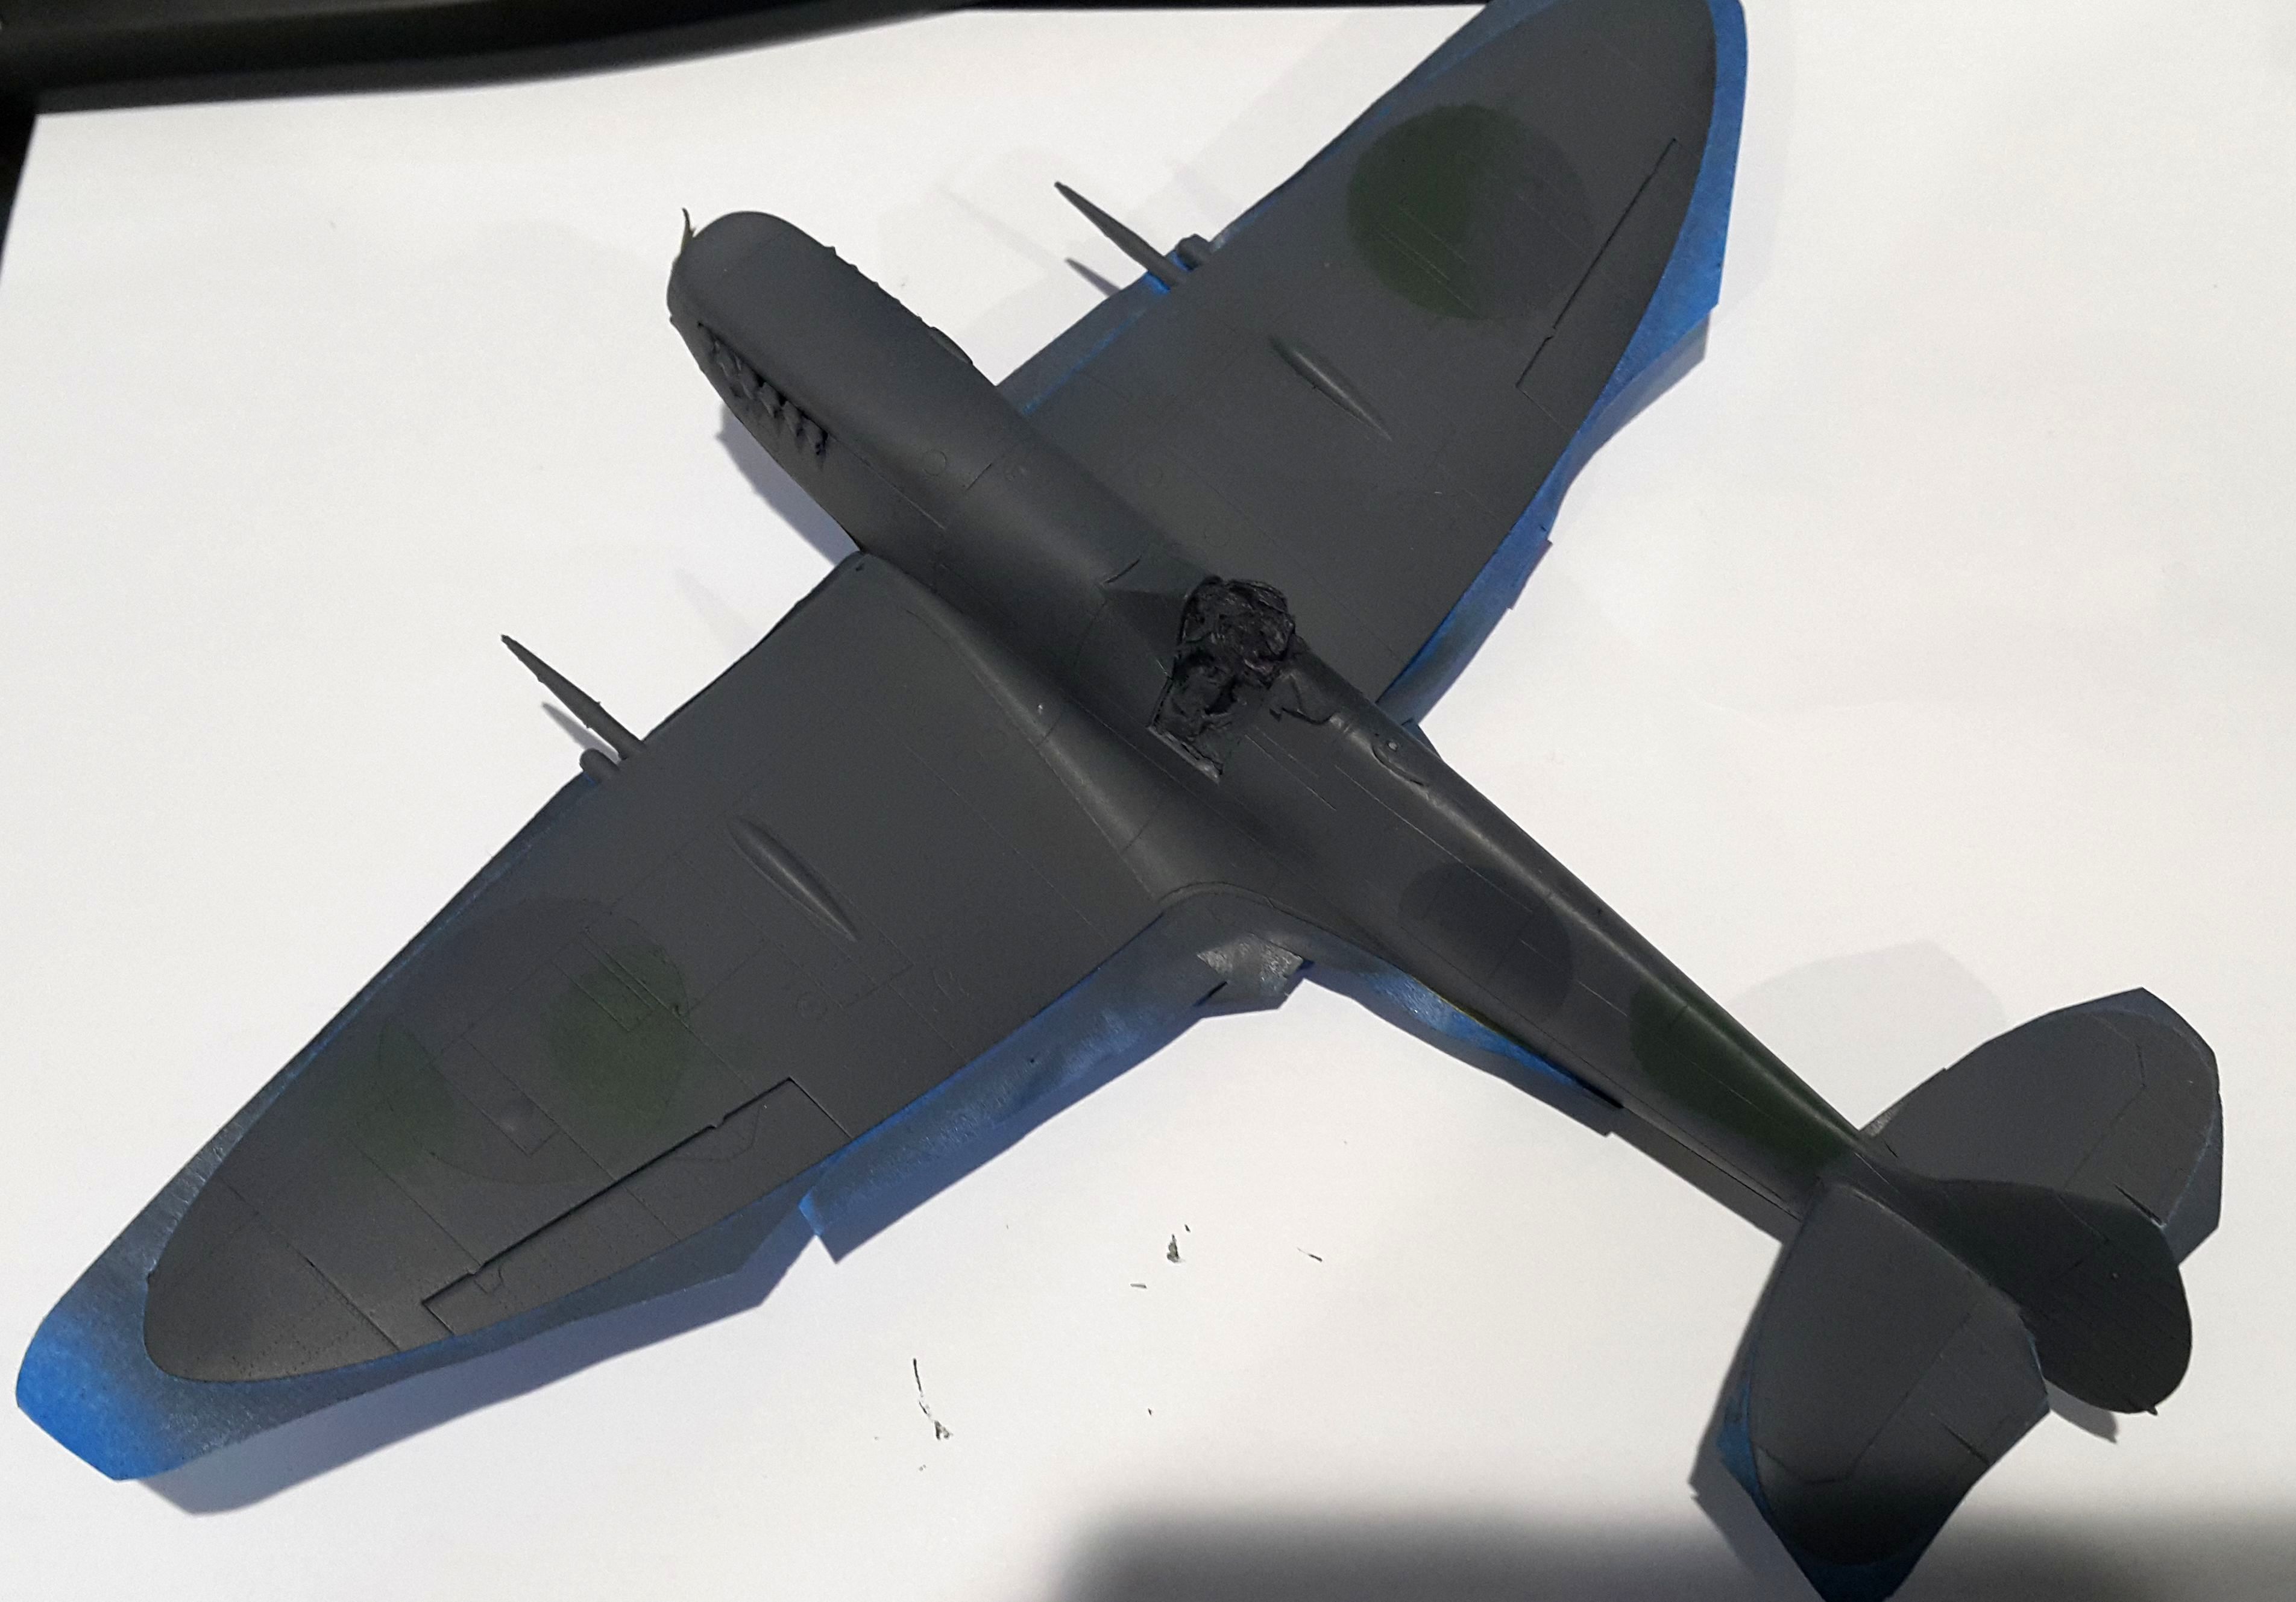
Fixed that up and sprayed the green
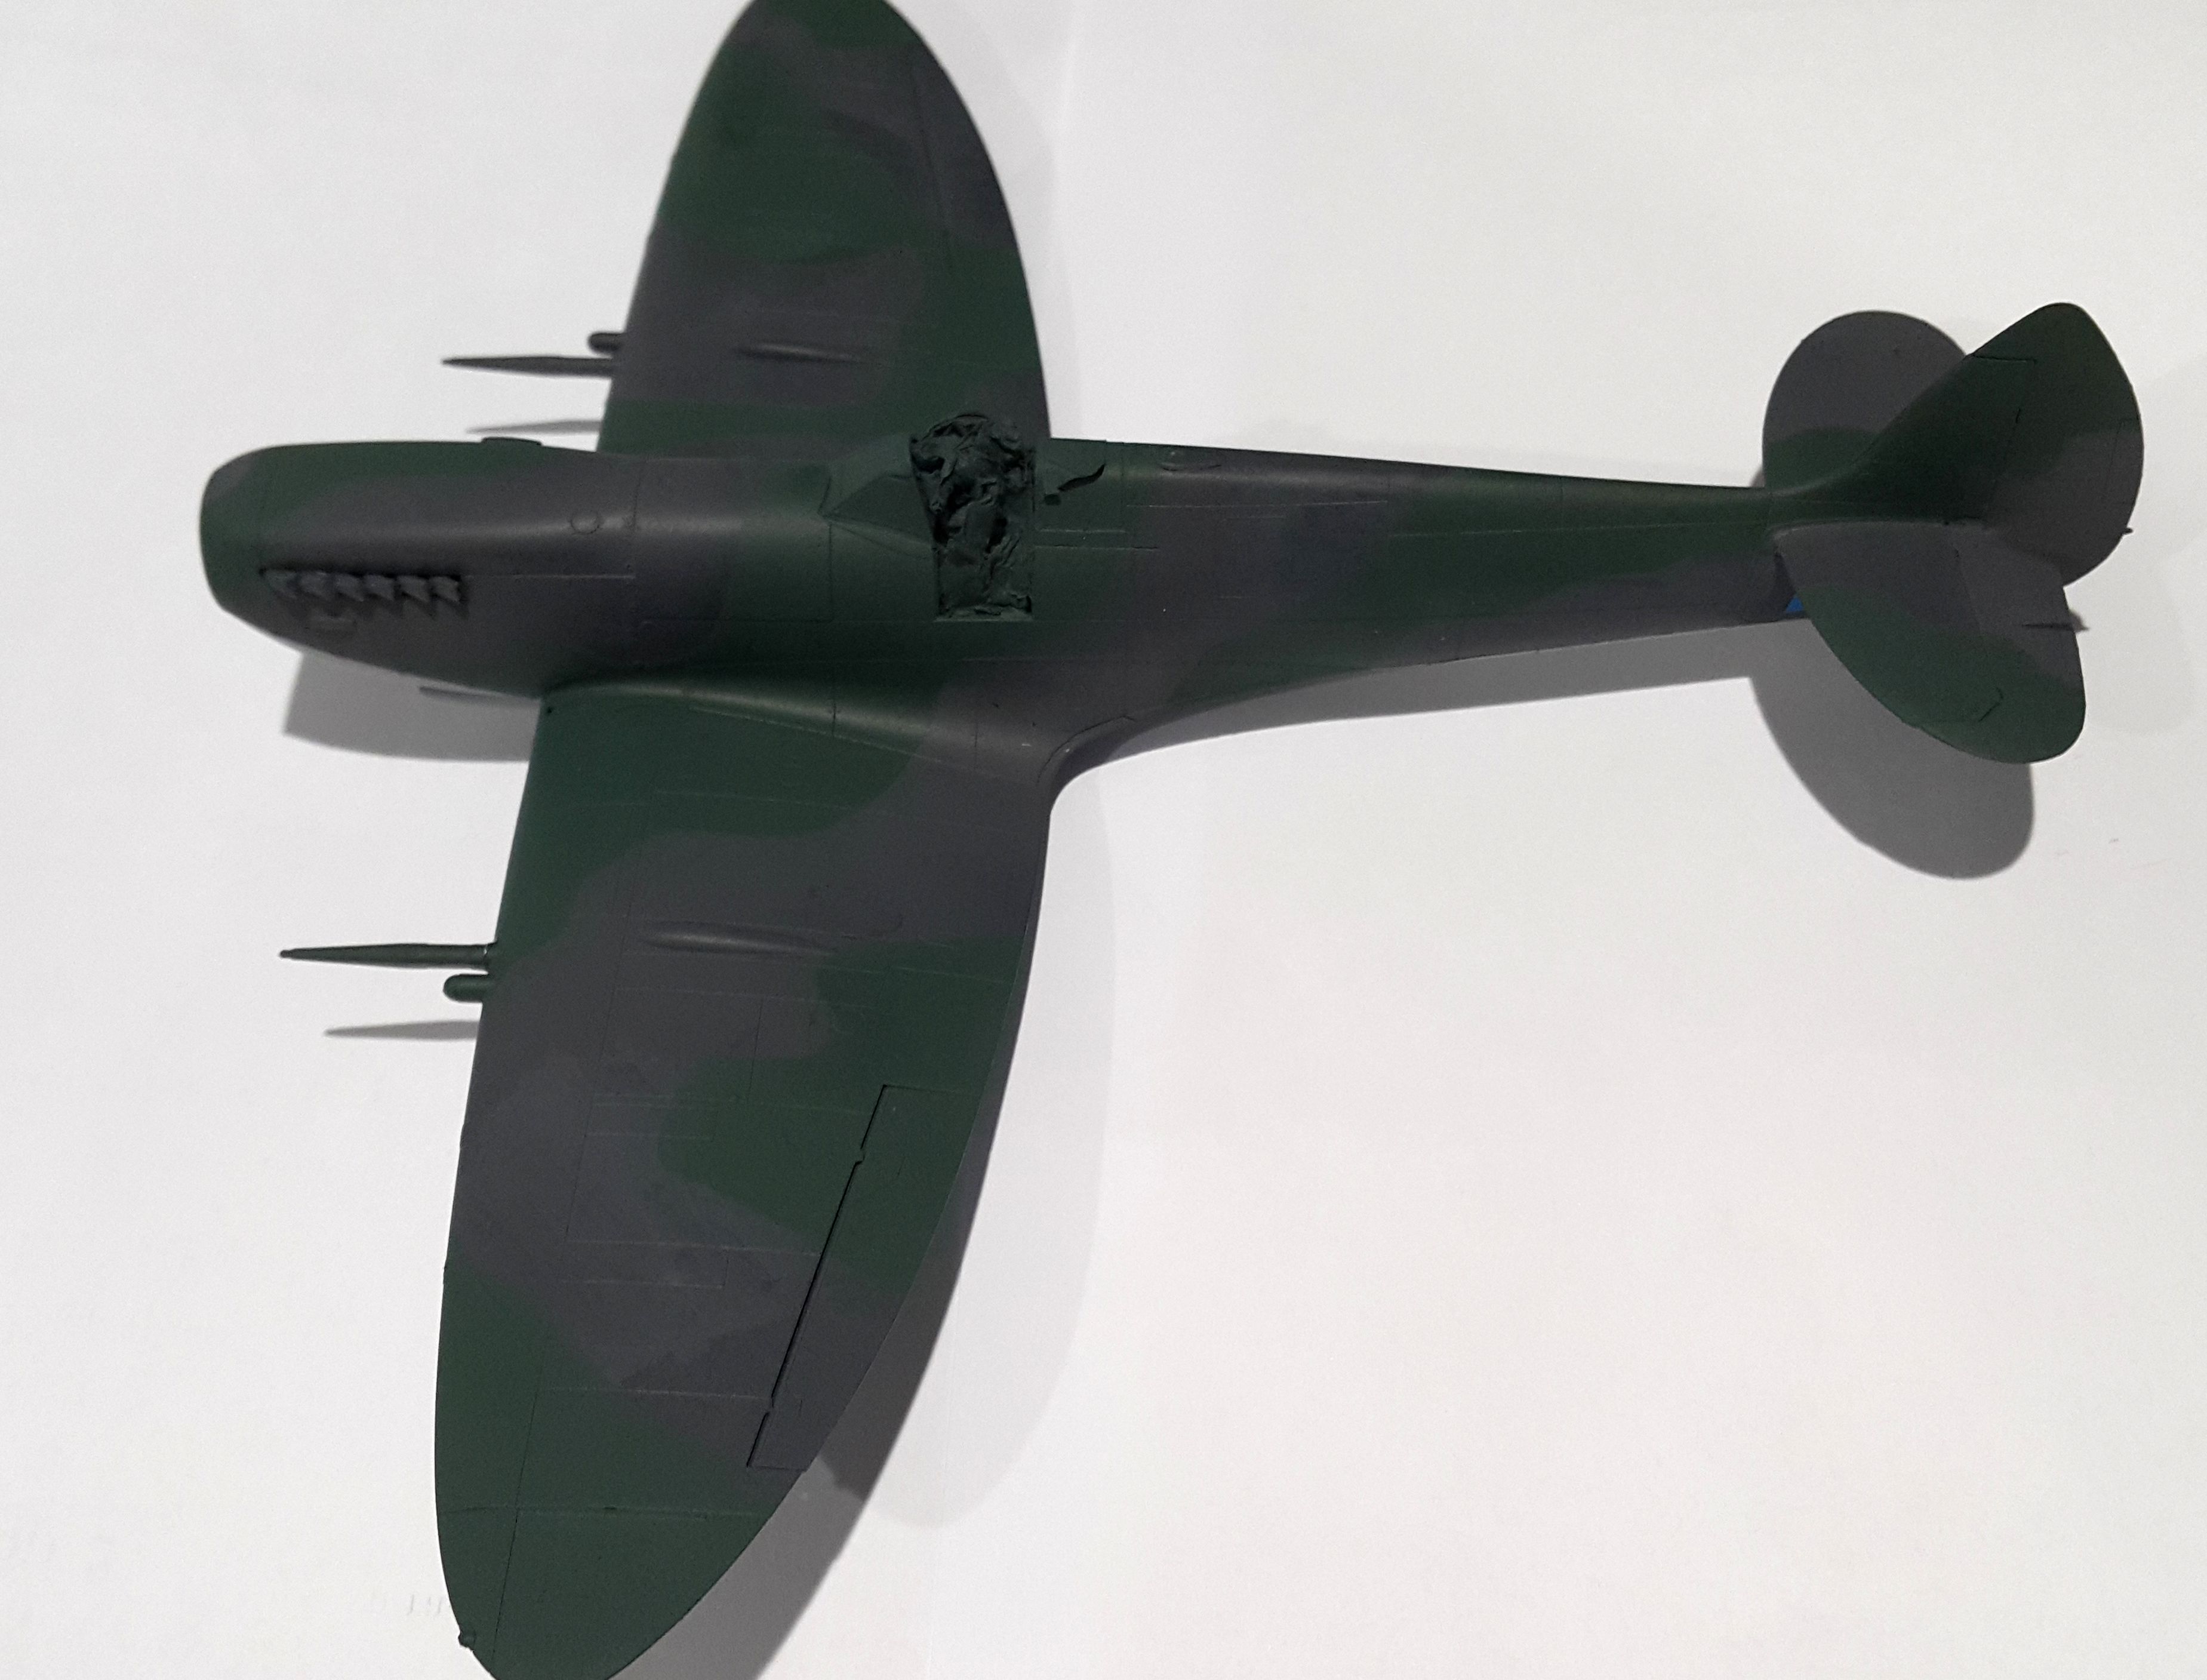
Coat of gloss and starting on the decals
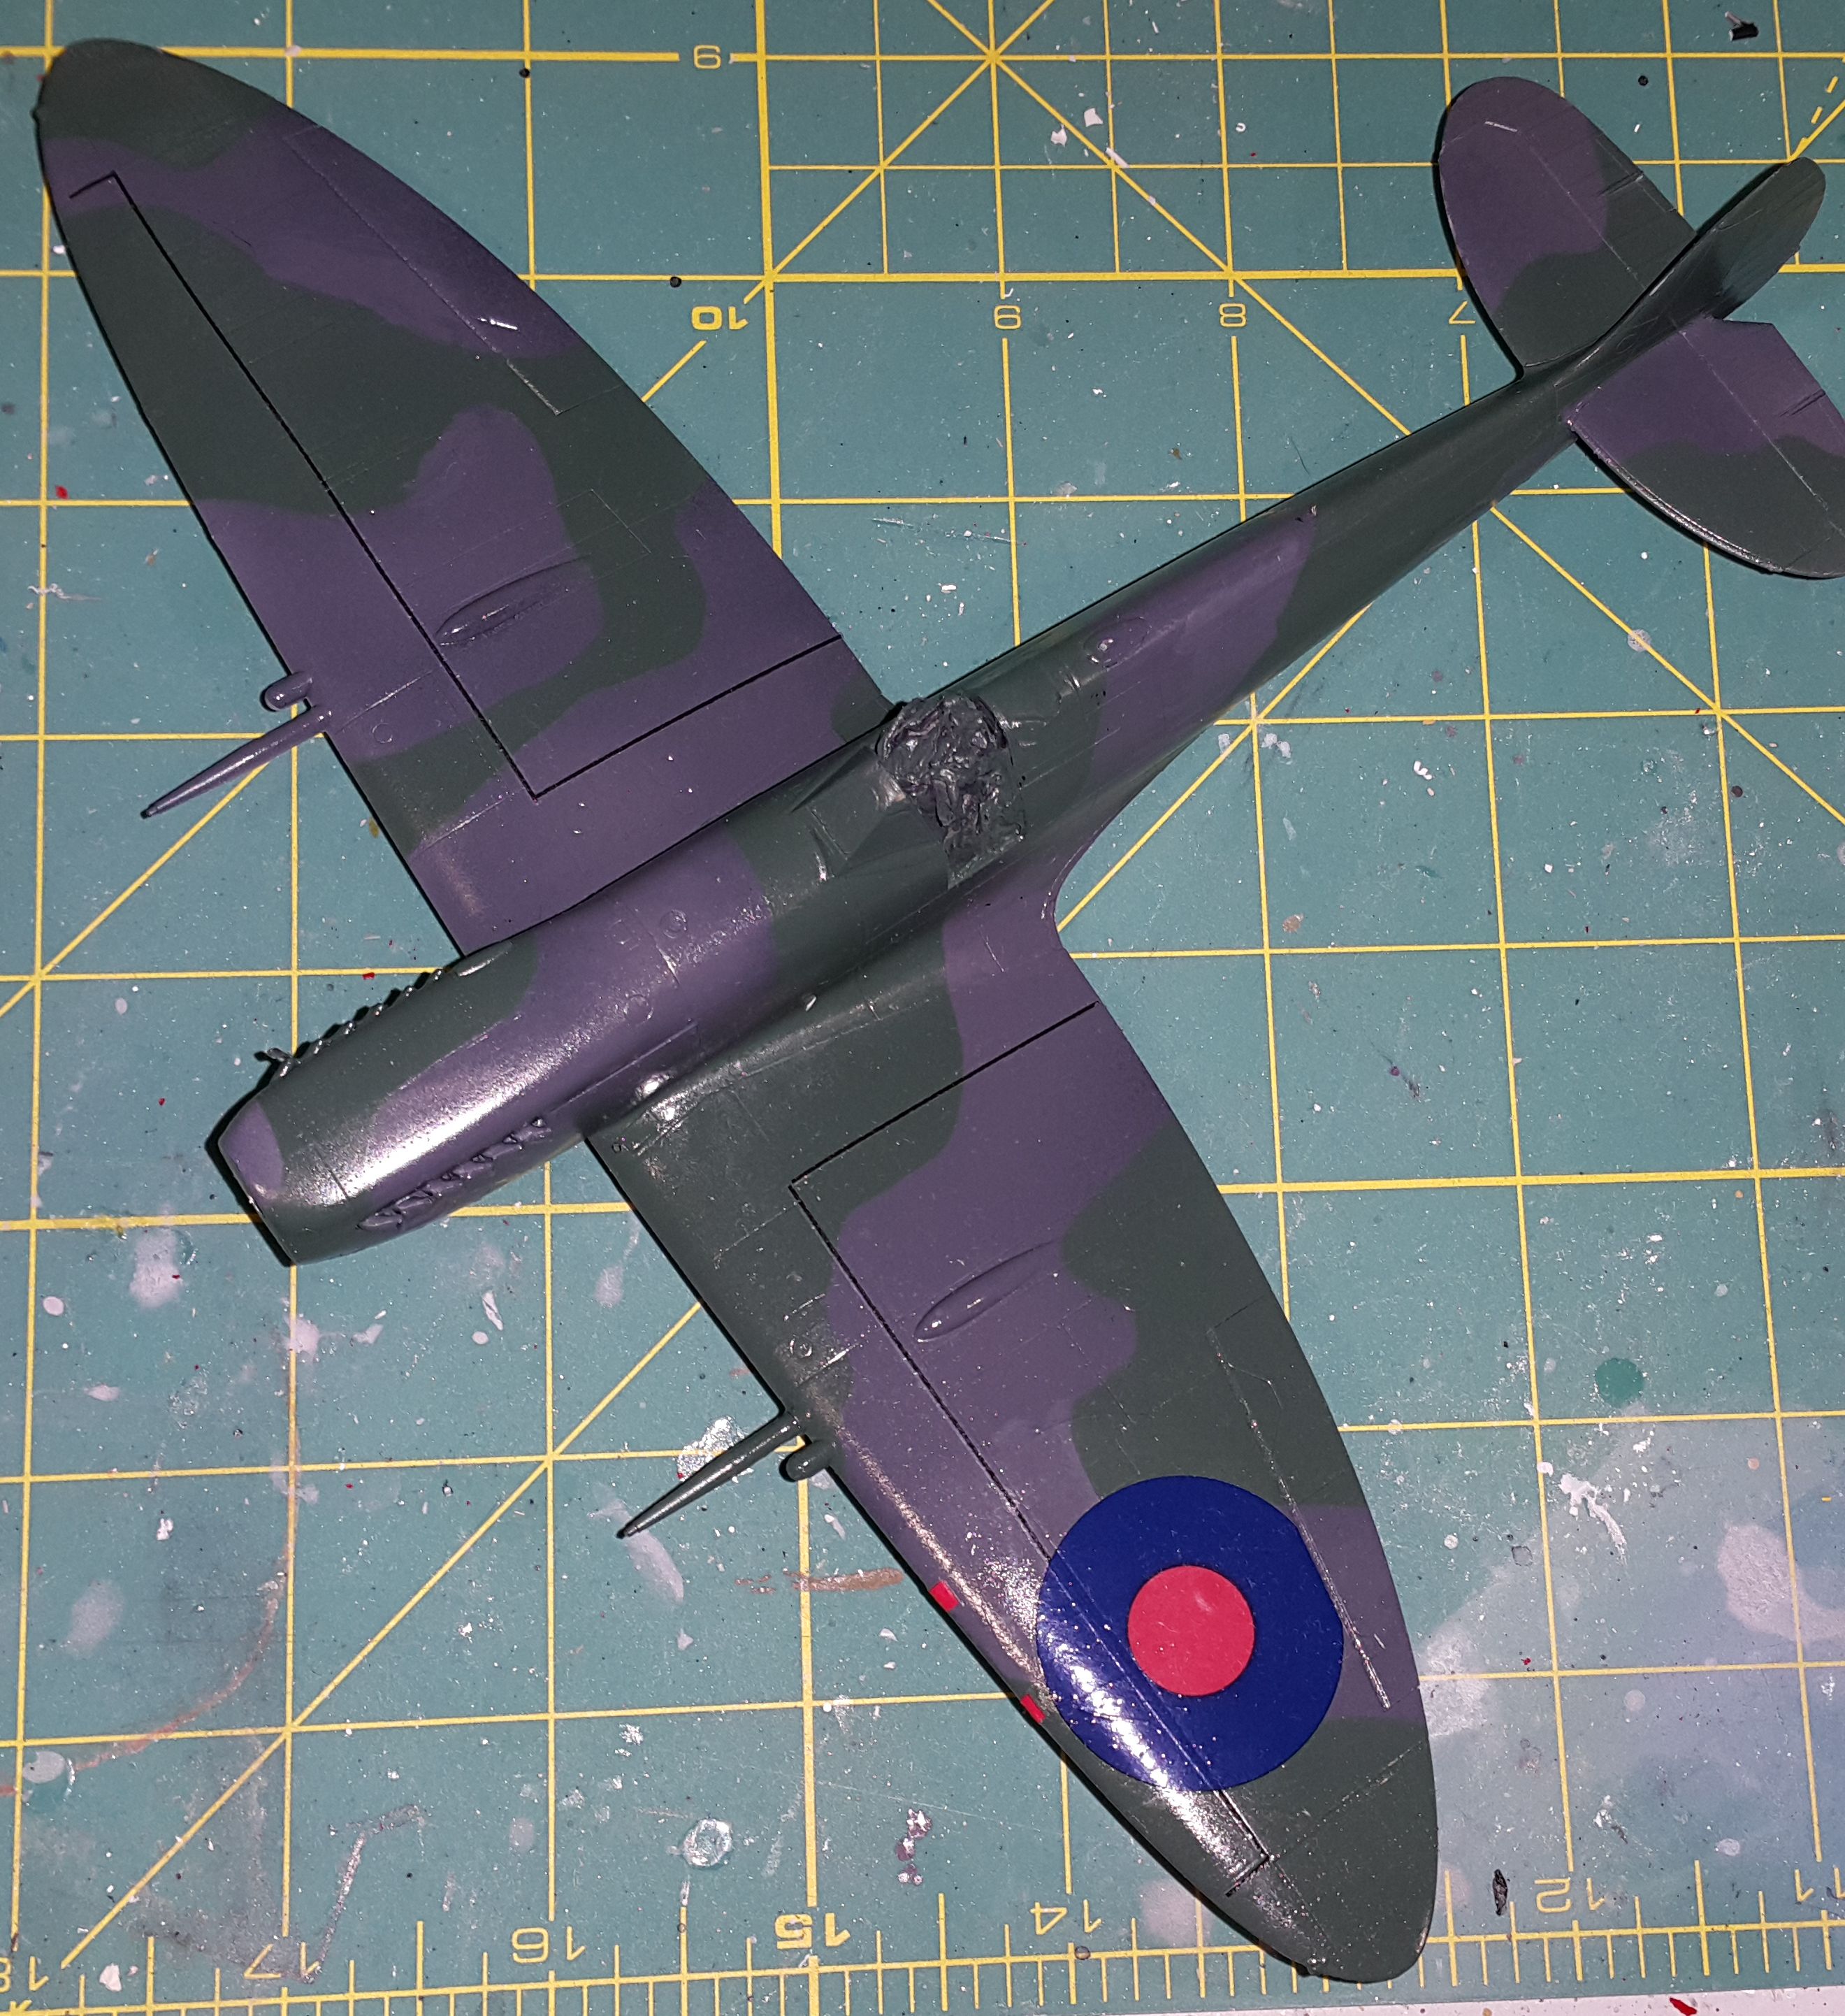
The decals seem really thick, and the large ones on this kit have taken a lot of decal solvent to get snuggled down so as not to obscure some of the surface detail.
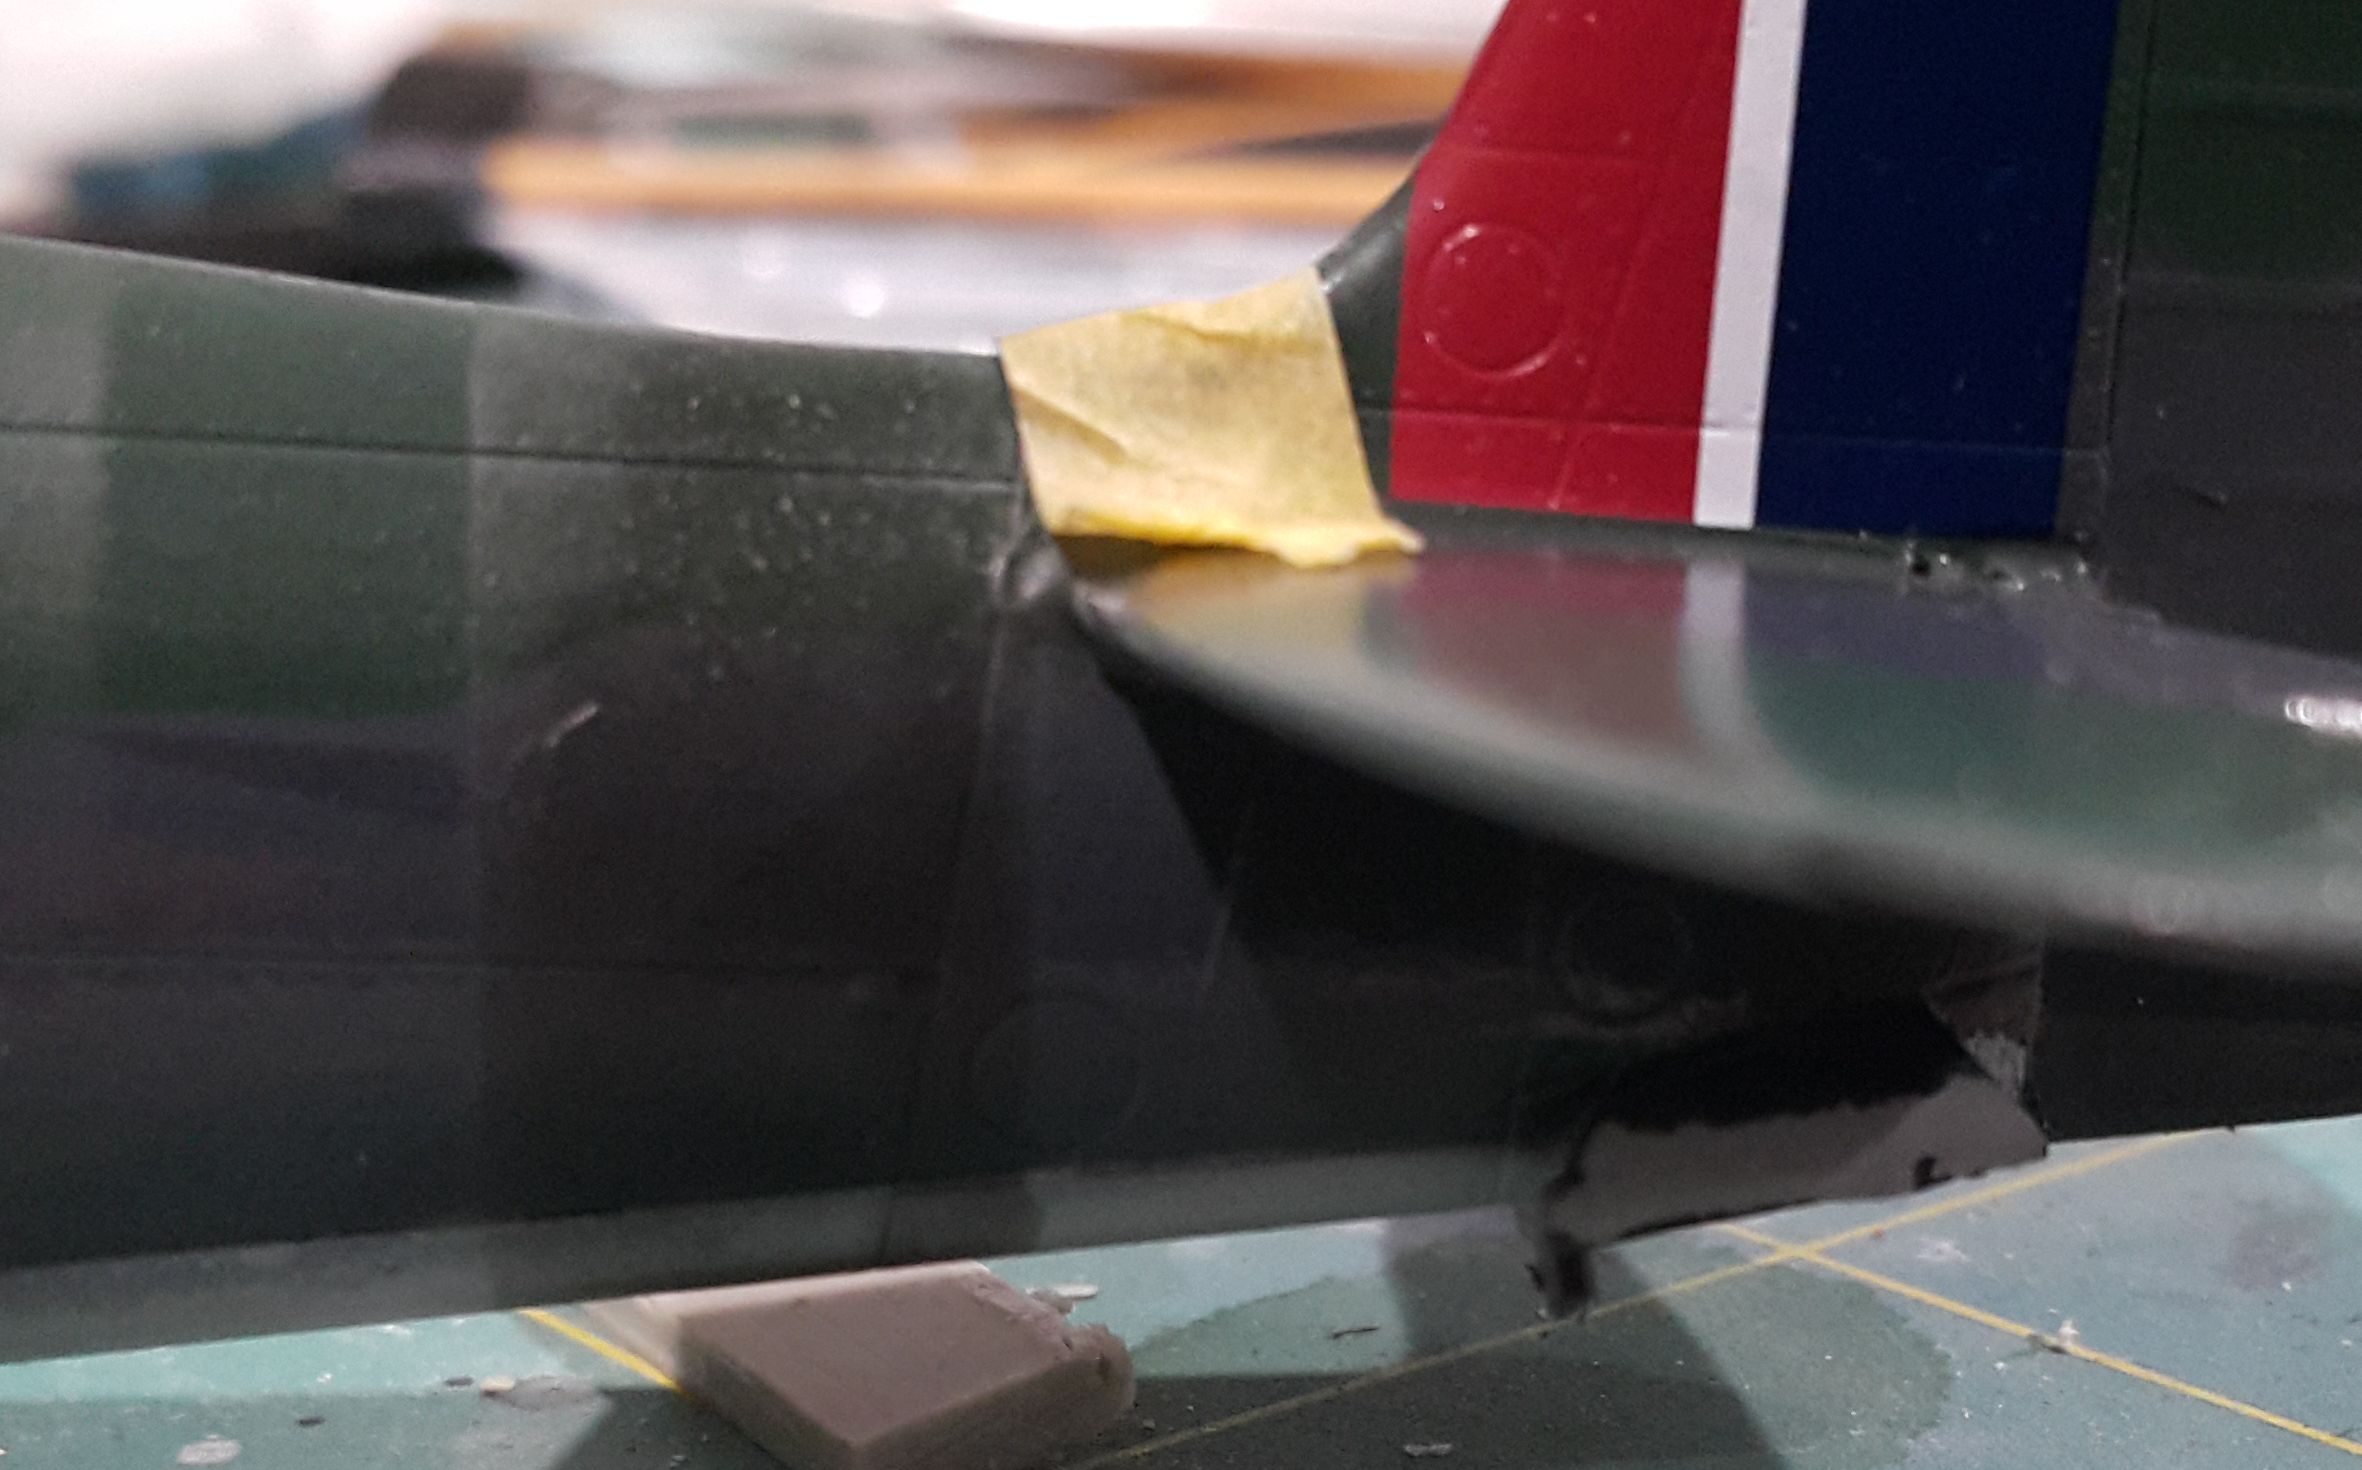
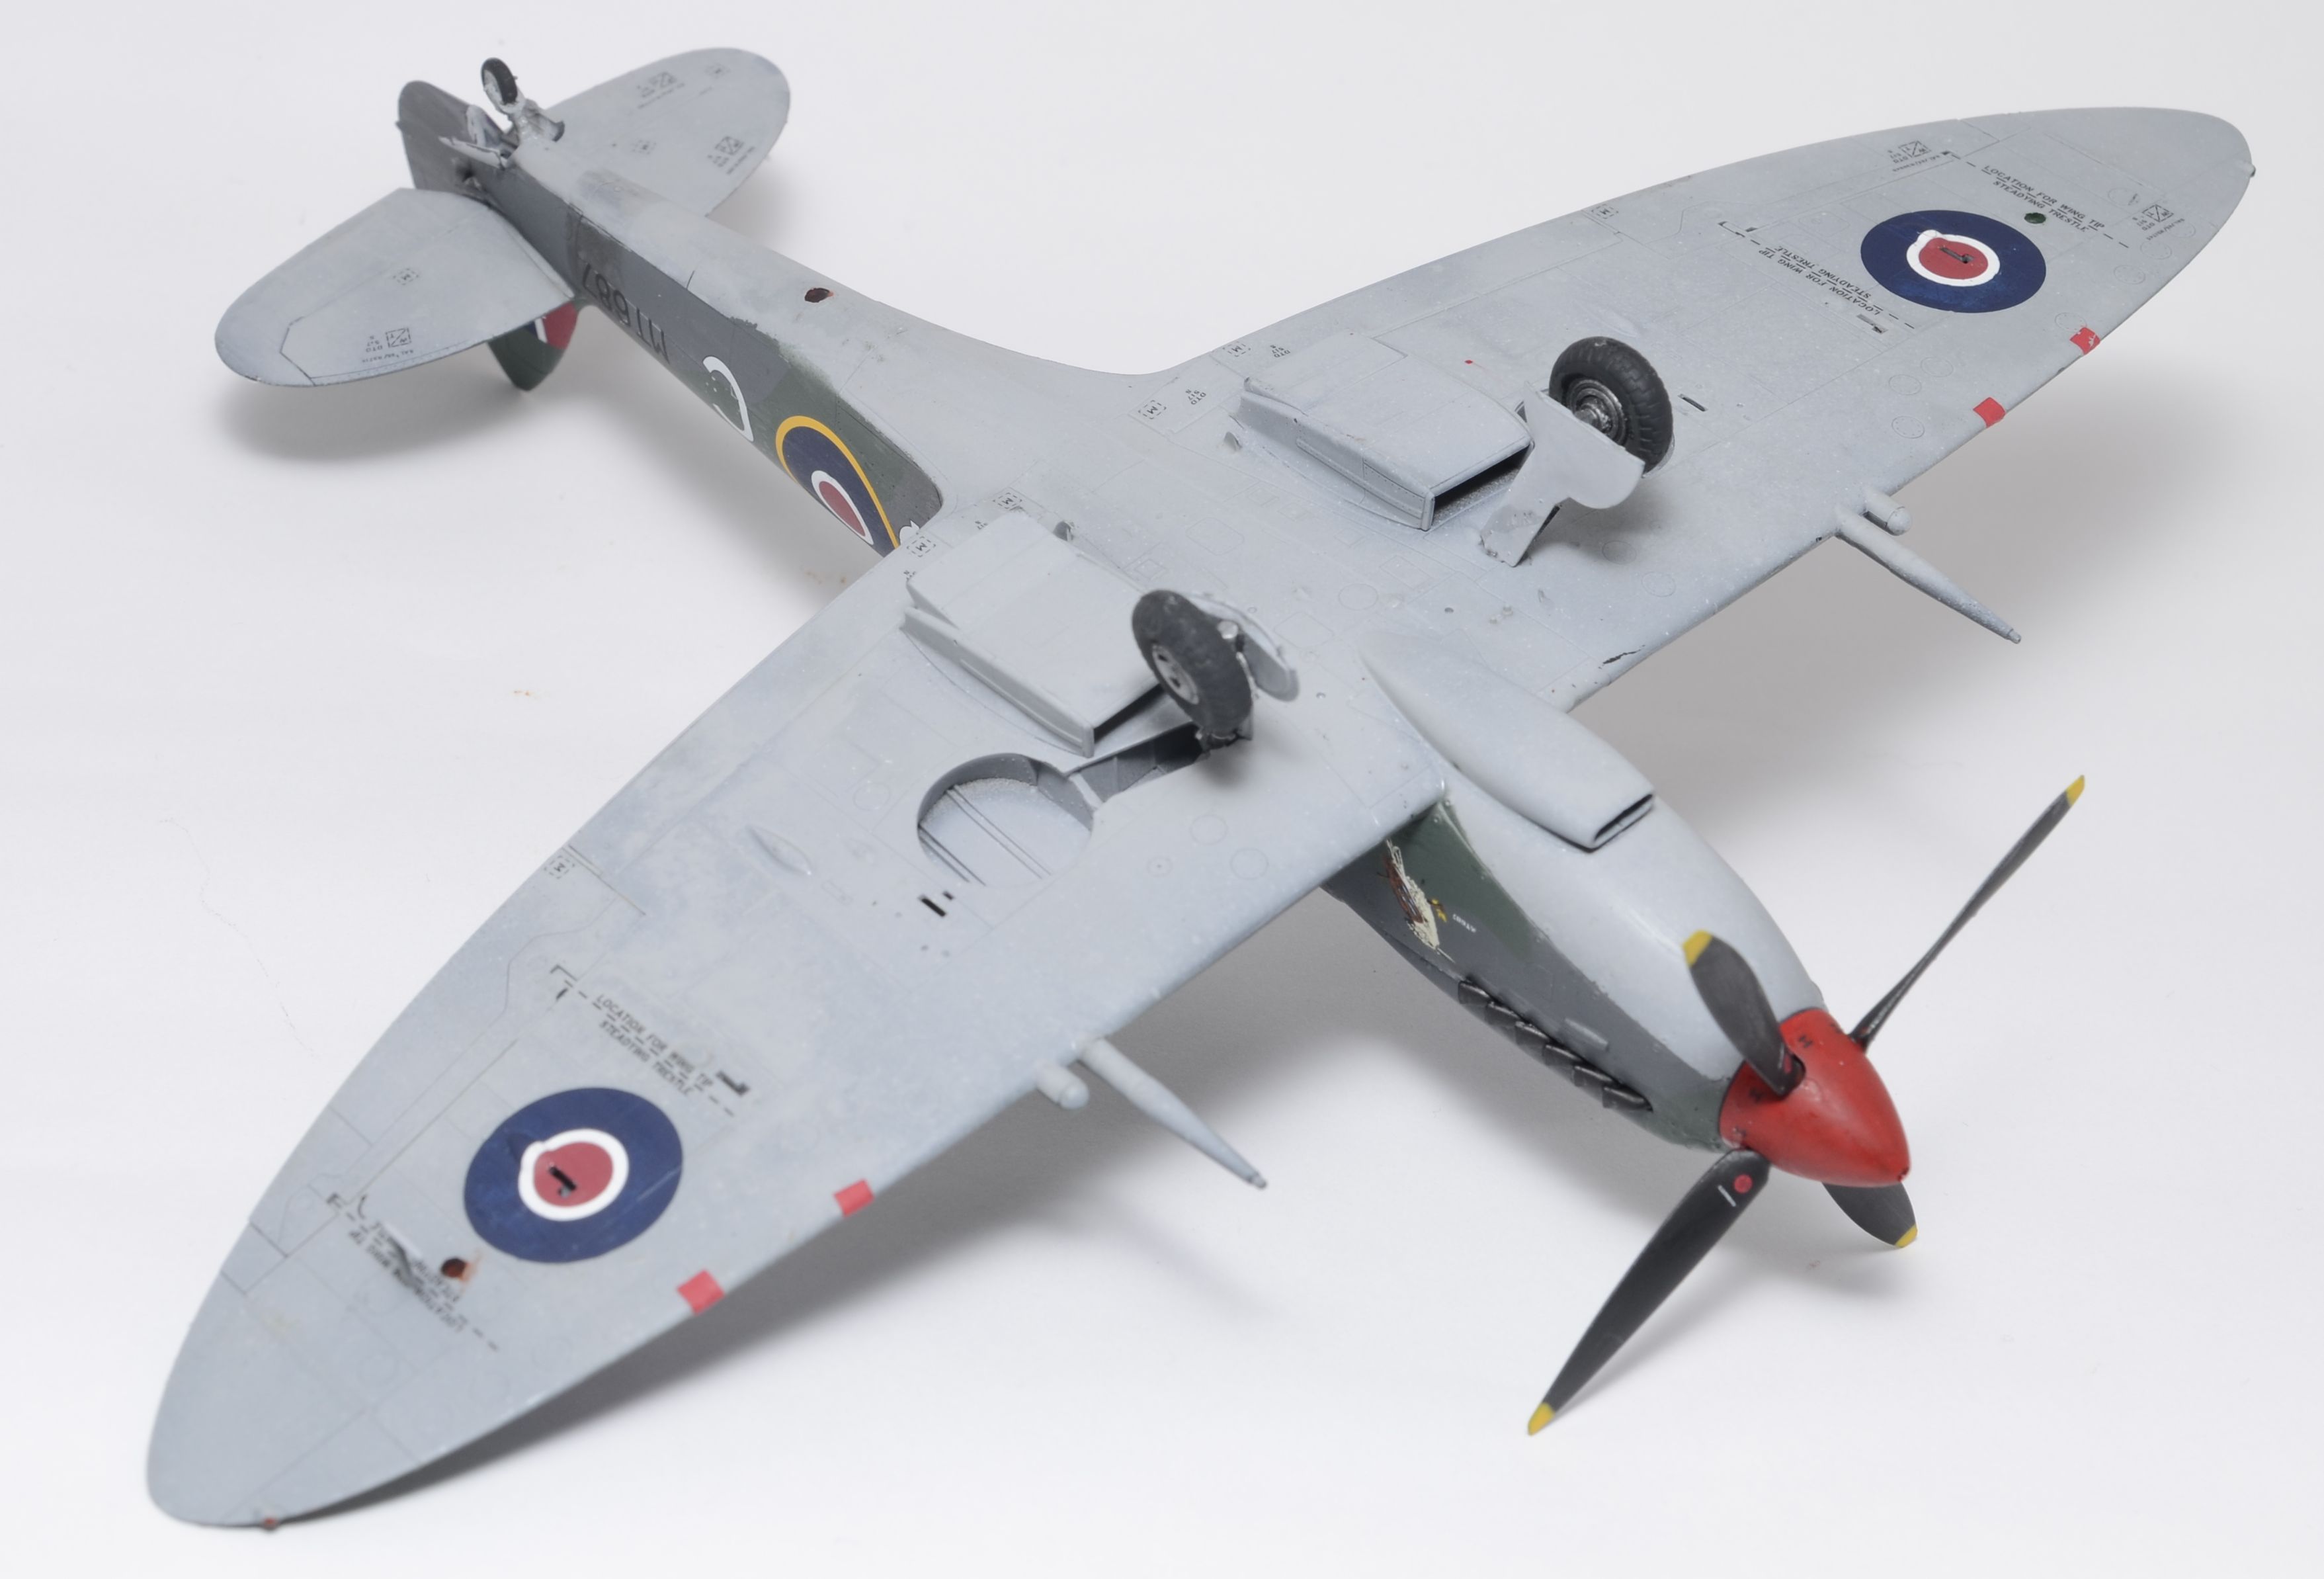
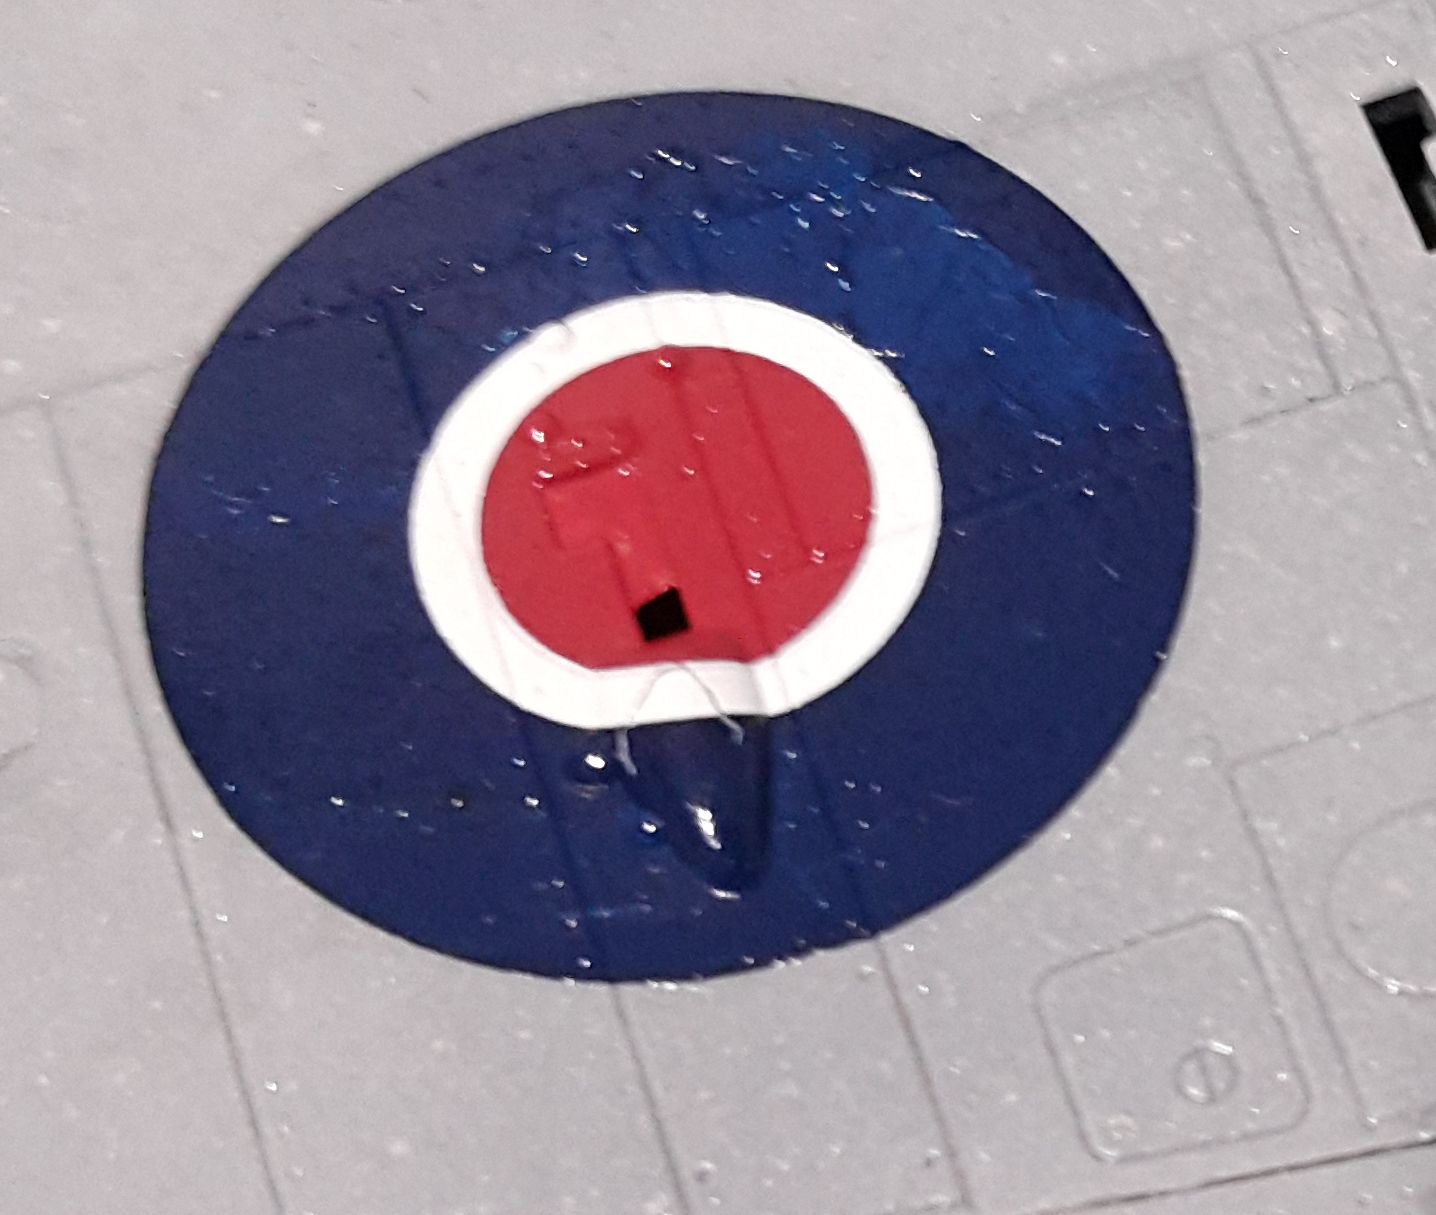
The under wing roundels in particular have been problematic.
There is a large bump that they need to conform that hopefully can be seen here
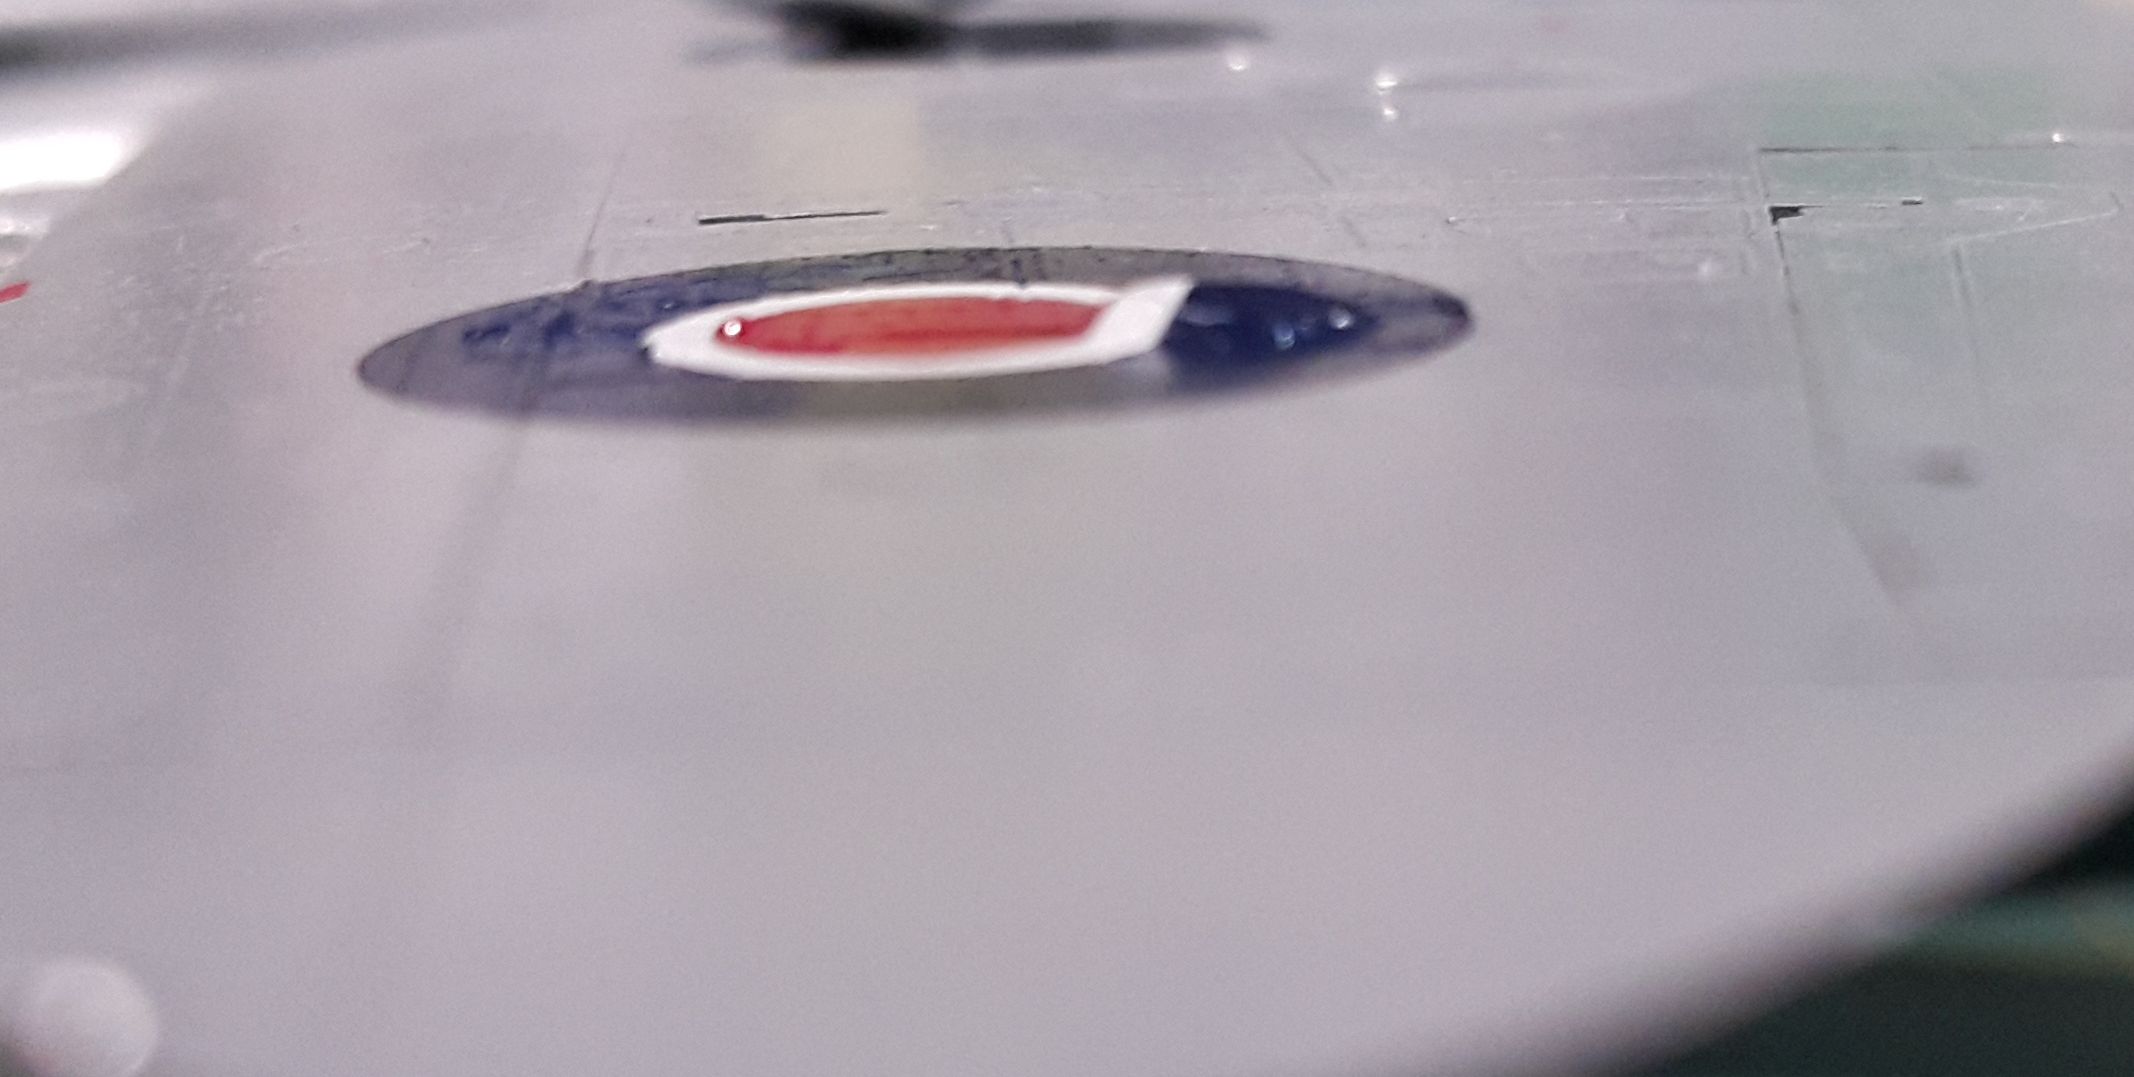
They have conformed to that bump but for some reason these particular decals did not like the solvent and there is some damage that has appeared in the blue colour areas after just one coat of solvent, as well as some cracking over the bump.
Hosted by Rowan Baylis
Aussie Eights 1/48 Dual Build (Eduard)
Pave-Hawk
Western Australia, Australia
Joined: May 05, 2006
KitMaker: 900 posts
AeroScale: 200 posts
Joined: May 05, 2006
KitMaker: 900 posts
AeroScale: 200 posts
Posted: Tuesday, June 13, 2017 - 08:00 AM UTC
Posted: Tuesday, June 13, 2017 - 01:25 PM UTC
Iain,
Glad to see more progress. My last Tamiya bird had amazingly thick decals. It was a Japanese fighter and the decals were so thick I was amazed that they could carry the Tamiya name. My decal solvent seemed to bounce off them.
I have a couple Tamiya kits, and I may just go aftermarket for the decals.
Gaz
Posted: Wednesday, June 14, 2017 - 02:35 AM UTC
Iain, great work on your CBI spit!
You've done the RAAF justice!
Looking forward to seeing how the ETO comes out! Hope those pesky decals don't give you too much more trouble.
You've done the RAAF justice!
Looking forward to seeing how the ETO comes out! Hope those pesky decals don't give you too much more trouble.
Pave-Hawk
Western Australia, Australia
Joined: May 05, 2006
KitMaker: 900 posts
AeroScale: 200 posts
Joined: May 05, 2006
KitMaker: 900 posts
AeroScale: 200 posts
Posted: Monday, July 10, 2017 - 12:36 PM UTC
Work has progressed and decals are all on.
Before the serial number decal went on I experimented with getting a slightly darker band to represent where the tail band had been overpainted.
Masked the area and just sprayed thin coats of Tamiya smoke. Looks ok to the eye on the upper surfaces but is noticeably overdone on the lower surface light grey. Will need to touch that up with some new base coat colour.
With a bit of extra care the rest of the decals went on fine.
The thing giving me trouble now is the fact I misplaced the Malcolm hood!
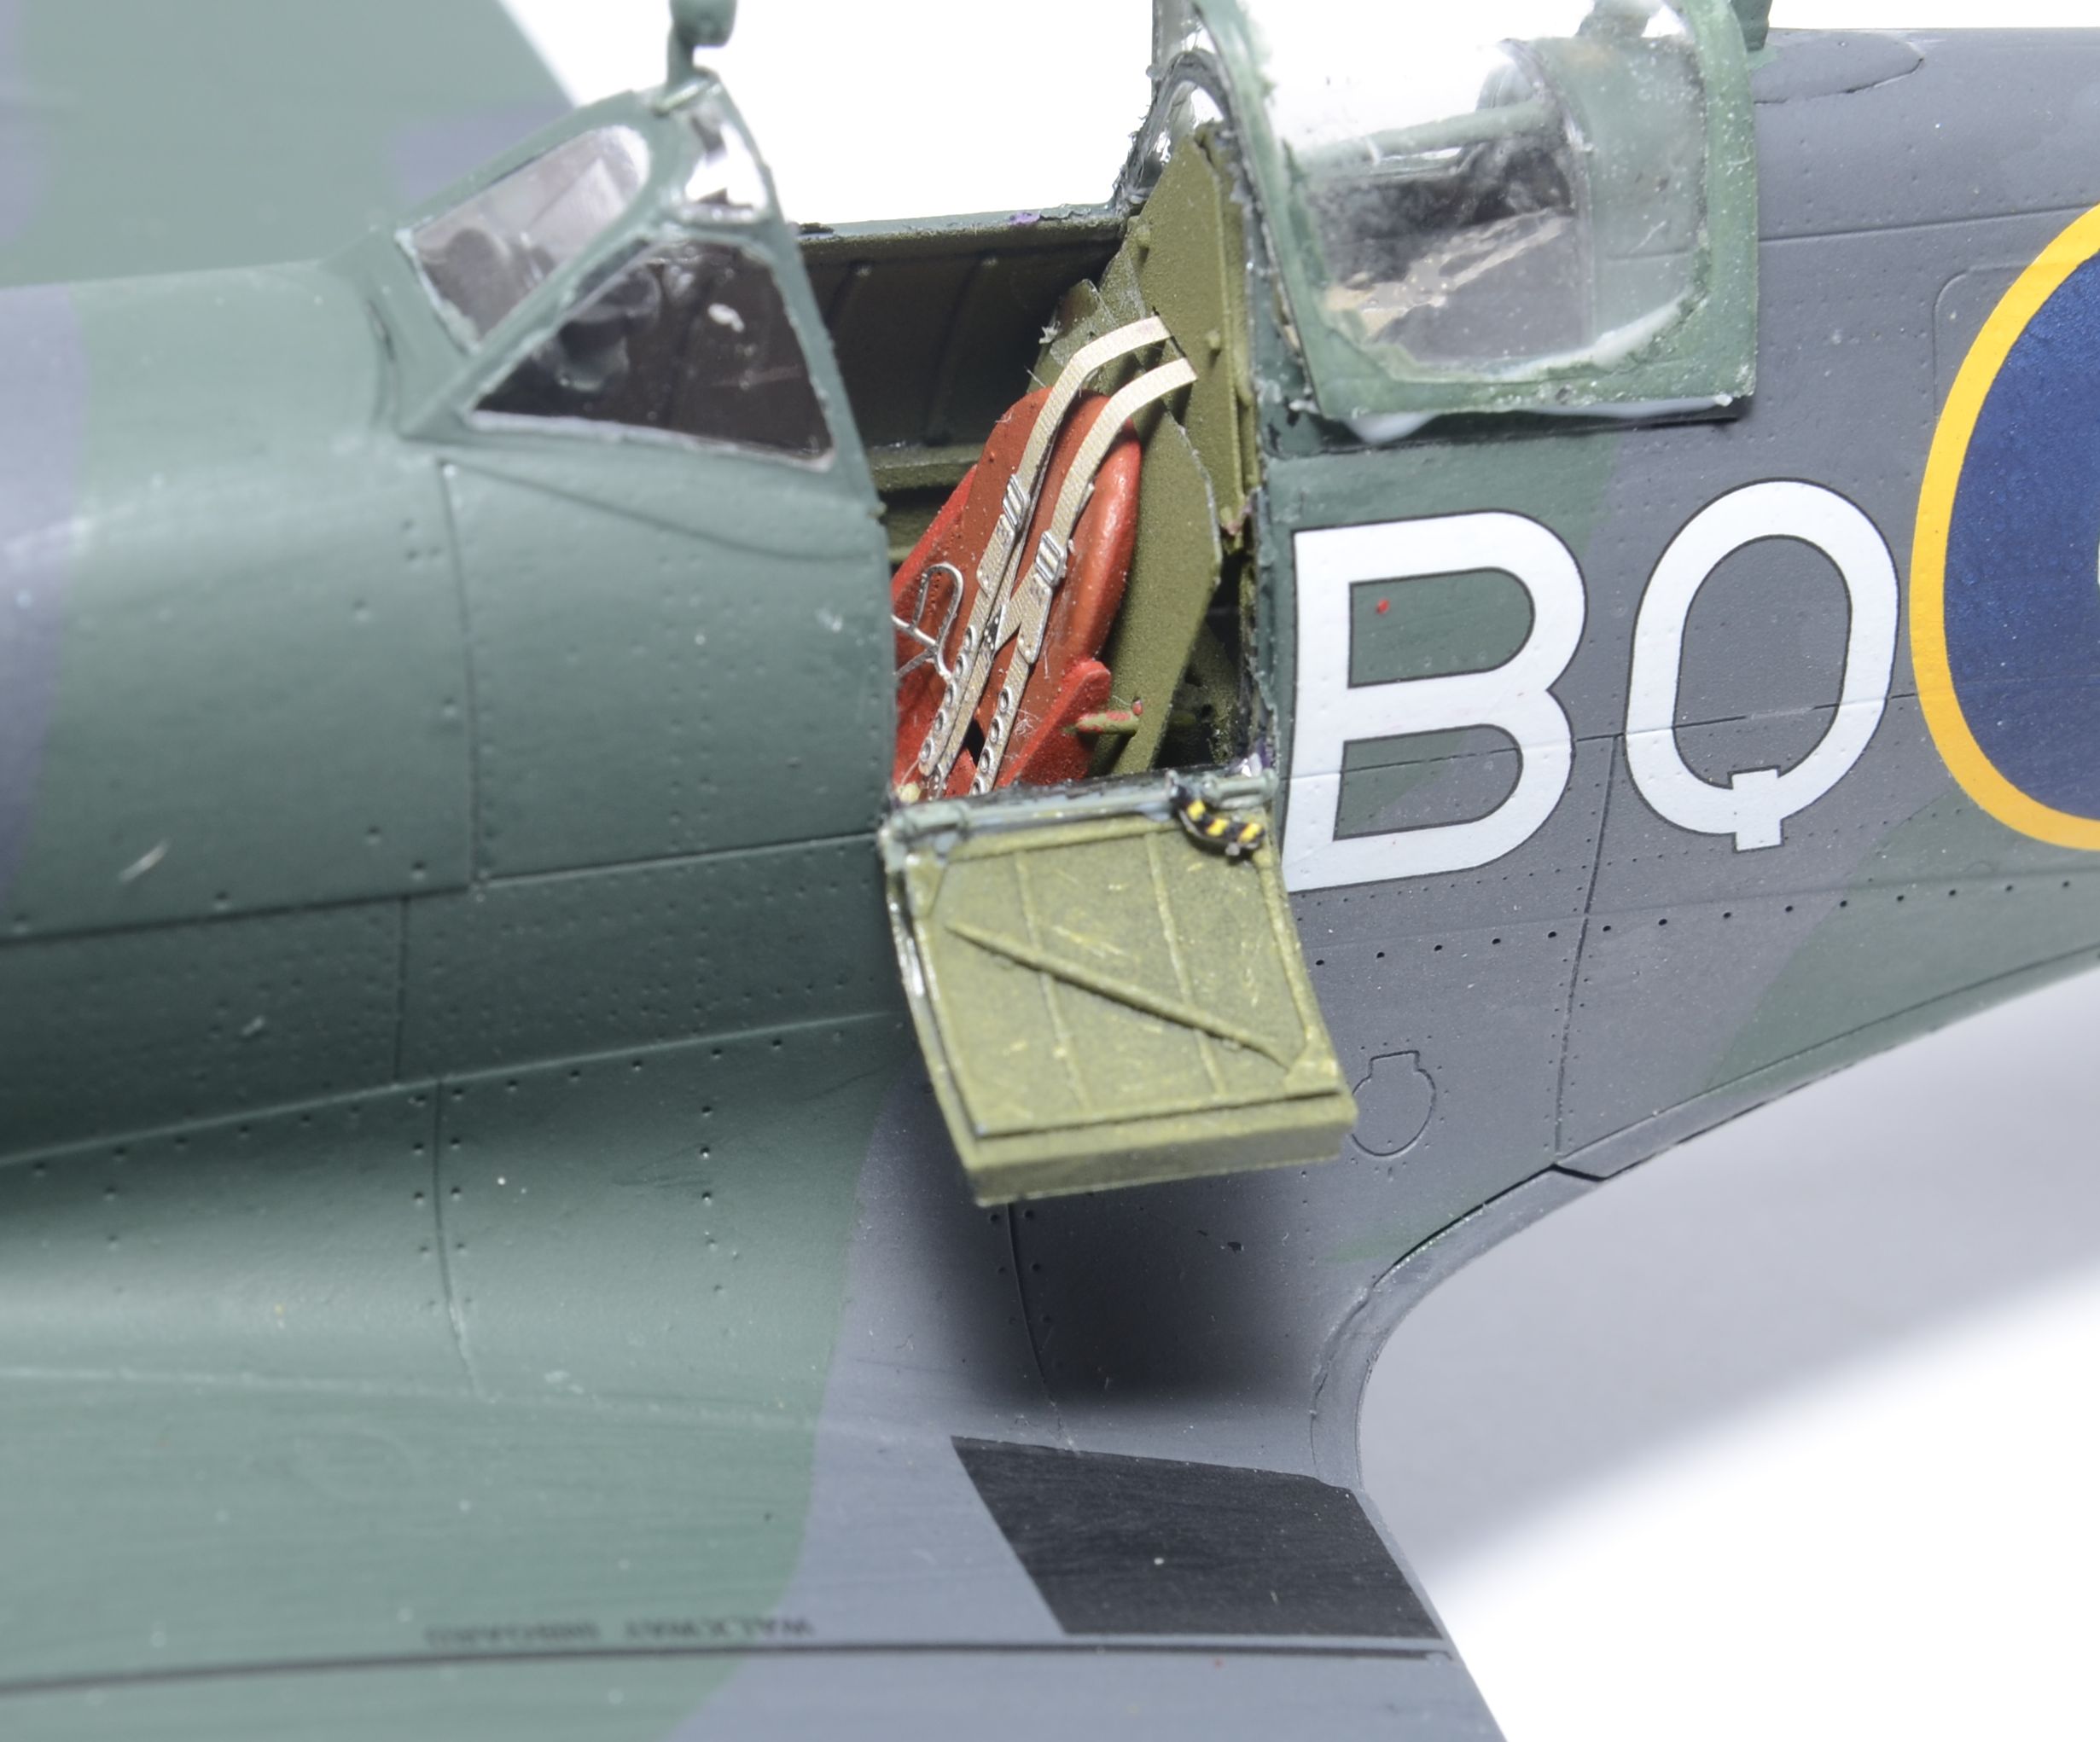
Fortunately the fact that Eduard provide both open and closed versions of the canopies means that I have been able to cut up on of the closed variants to replace it, but it cracked slightly with too much force. Will do the job until I either find the proper one or am forced to try cutting up the other spare closed canopy.
In the meantime I am trying to find the time to do what little assembly is left (landing gear and cockpit door), and spray the final flat coat. The final 10% seems to be taking 90% of the time
Before the serial number decal went on I experimented with getting a slightly darker band to represent where the tail band had been overpainted.
Masked the area and just sprayed thin coats of Tamiya smoke. Looks ok to the eye on the upper surfaces but is noticeably overdone on the lower surface light grey. Will need to touch that up with some new base coat colour.
Quoted Text
Hope those pesky decals don't give you too much more trouble.
With a bit of extra care the rest of the decals went on fine.
The thing giving me trouble now is the fact I misplaced the Malcolm hood!
Fortunately the fact that Eduard provide both open and closed versions of the canopies means that I have been able to cut up on of the closed variants to replace it, but it cracked slightly with too much force. Will do the job until I either find the proper one or am forced to try cutting up the other spare closed canopy.
In the meantime I am trying to find the time to do what little assembly is left (landing gear and cockpit door), and spray the final flat coat. The final 10% seems to be taking 90% of the time
Pave-Hawk
Western Australia, Australia
Joined: May 05, 2006
KitMaker: 900 posts
AeroScale: 200 posts
Joined: May 05, 2006
KitMaker: 900 posts
AeroScale: 200 posts
Posted: Saturday, July 22, 2017 - 12:45 PM UTC
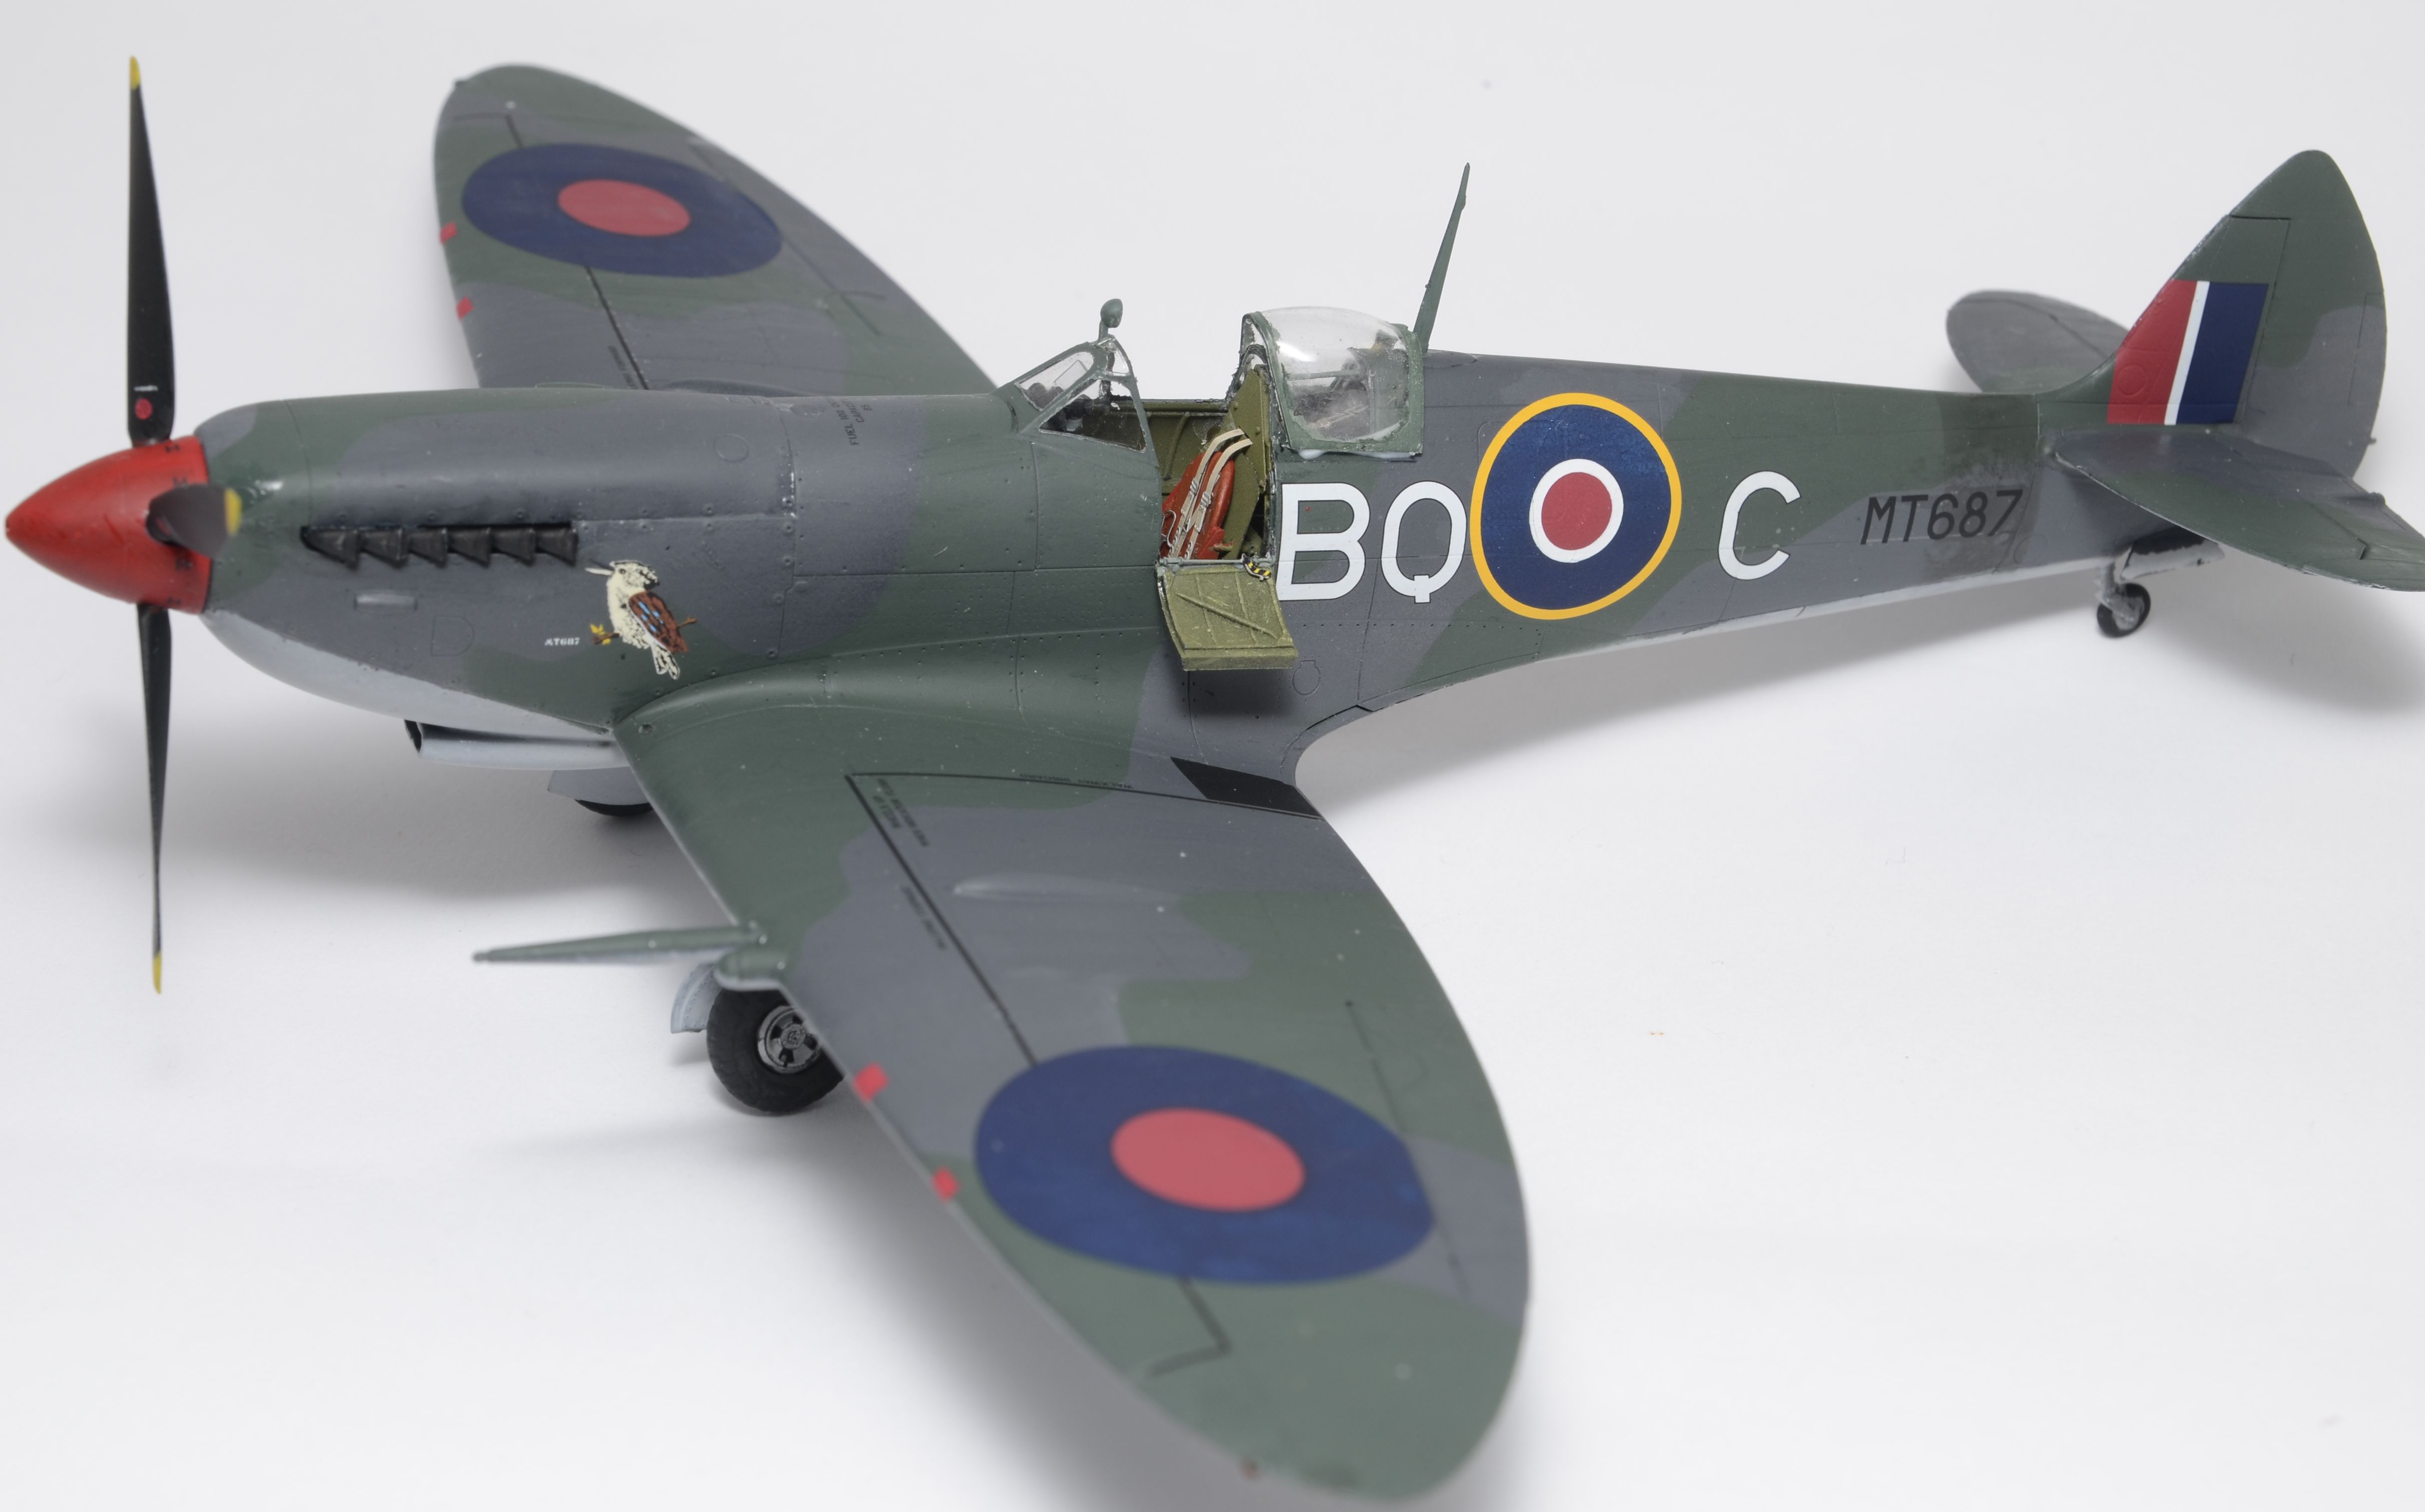
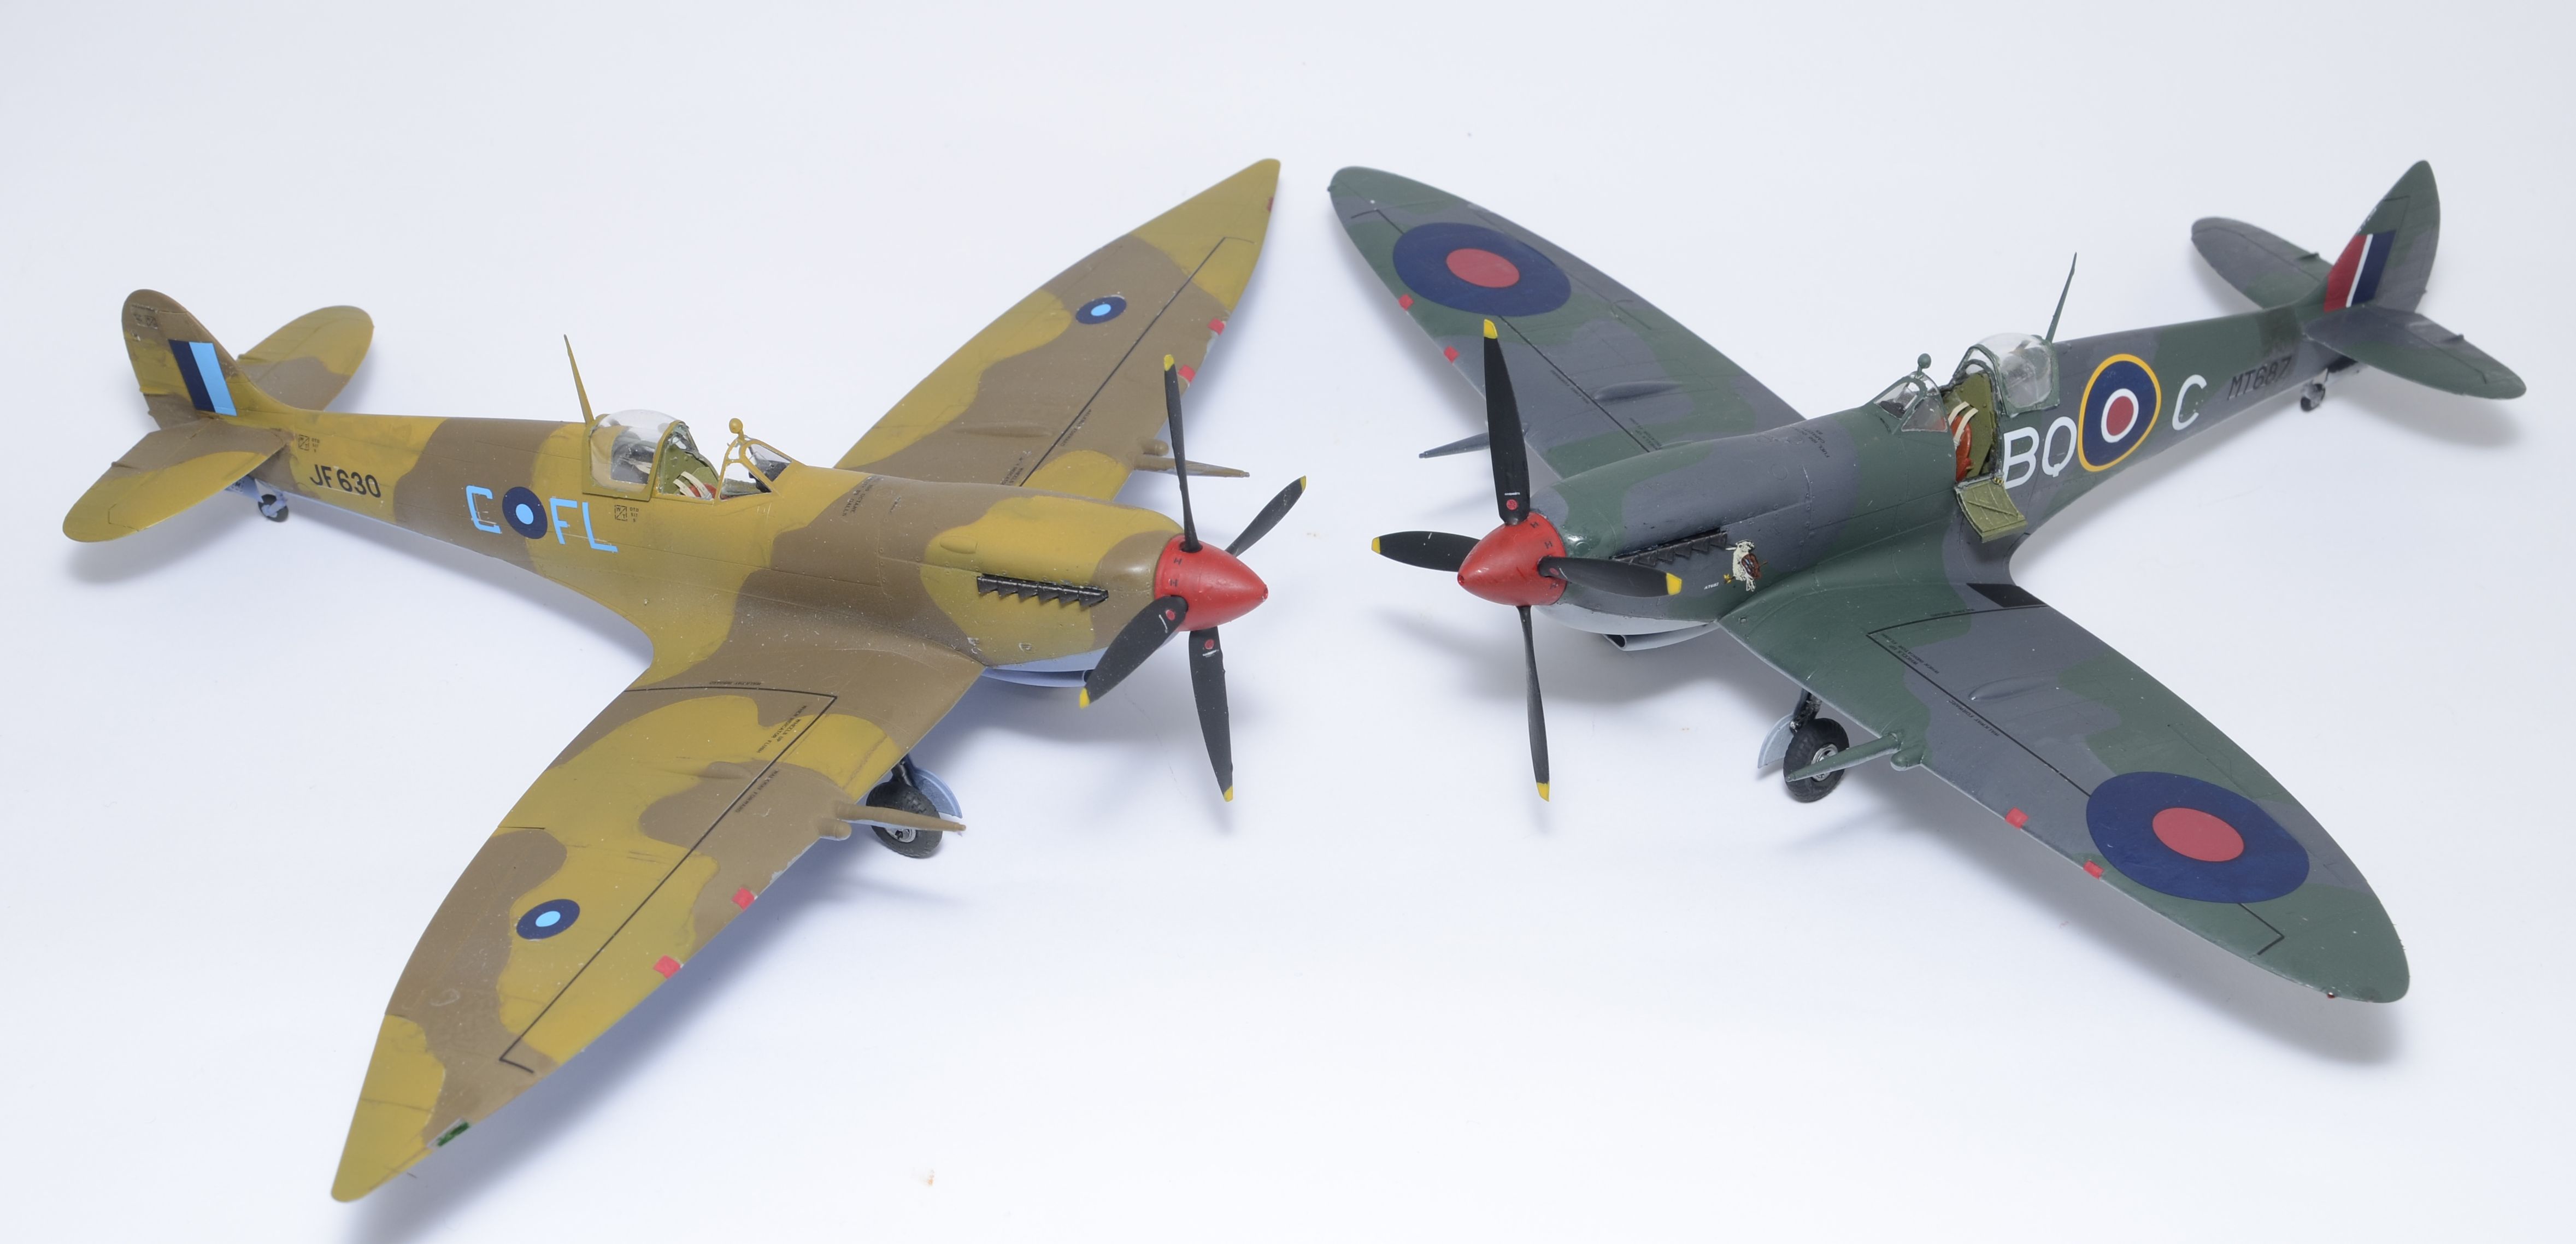
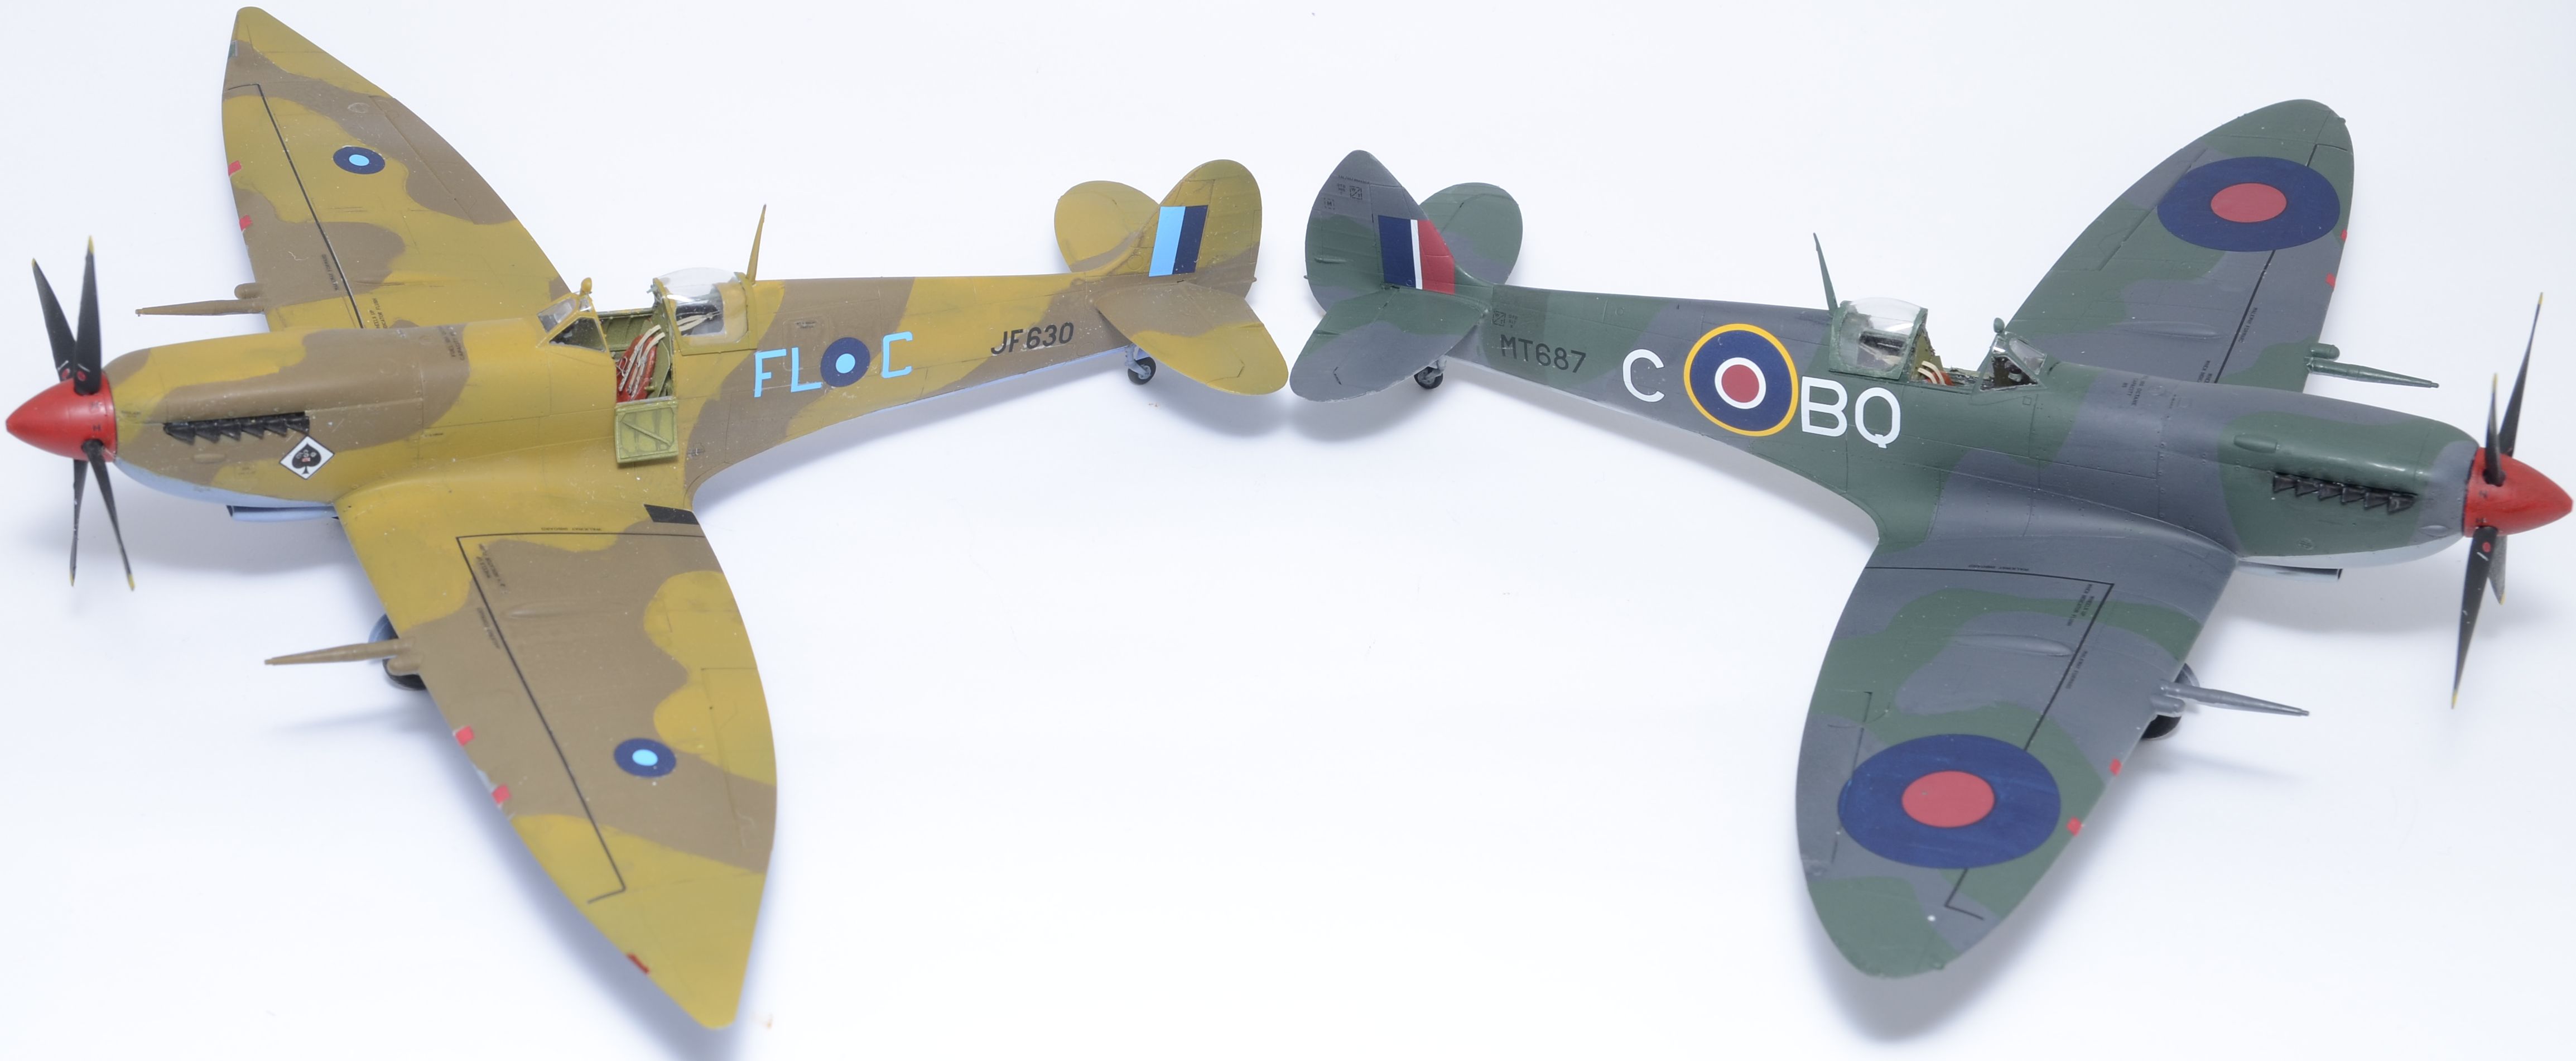
And complete!
And with it's brother
Overall, a couple of little niggles, and a few mistakes by me, but I highly recommend this kit for anyone interested in some decent Aussie markings, and it goes together quite well.
There are a couple of things to watch out for such as the handed resin wheels which I think I stuffed up on the Euro version, and some delicate items that should be left of till painting is done that I broke off, but by and large this is a detailed but not complicated kit.
If I had the fun tickets to spare I would get some overtrees from Eduard and do a couple of the other marking options as well.
Posted: Saturday, July 22, 2017 - 01:41 PM UTC
Iain,
Great work! Two awesome spits to be proud of.
Thank you for sharing the build,
Gaz
Great work! Two awesome spits to be proud of.
Thank you for sharing the build,
Gaz
Pave-Hawk
Western Australia, Australia
Joined: May 05, 2006
KitMaker: 900 posts
AeroScale: 200 posts
Joined: May 05, 2006
KitMaker: 900 posts
AeroScale: 200 posts
Posted: Saturday, July 22, 2017 - 01:53 PM UTC
Thanks Gaz .
First full build thread that I have managed to complete so far, and I actually enjoyed so I am pretty happy with it.
I have plans to do a few more like this with the other Eduard dual combo kits I have, as well as a couple of other kits like my Boomerangs, but with uni back in session soon I will have to see how things pan out.
Posted: Monday, July 24, 2017 - 02:45 AM UTC
Great work Iain!
nice to see some Aussie spits flying the colours!