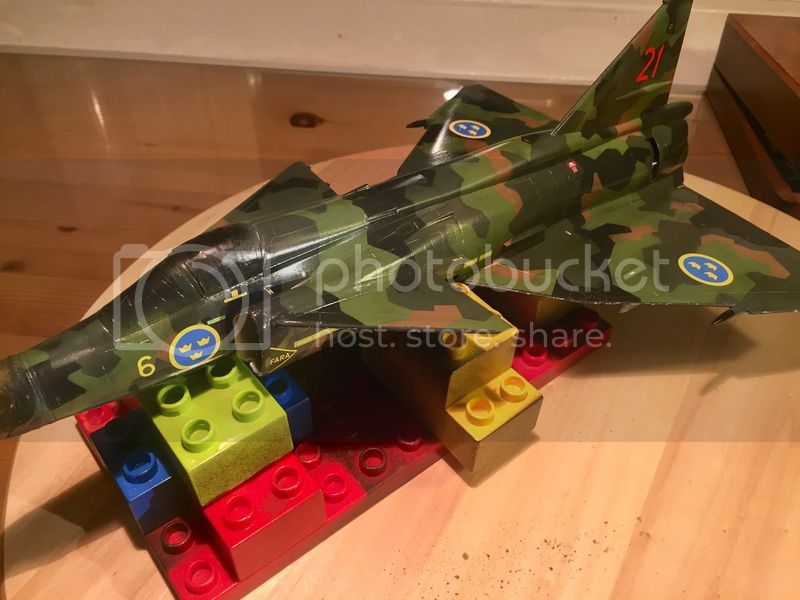
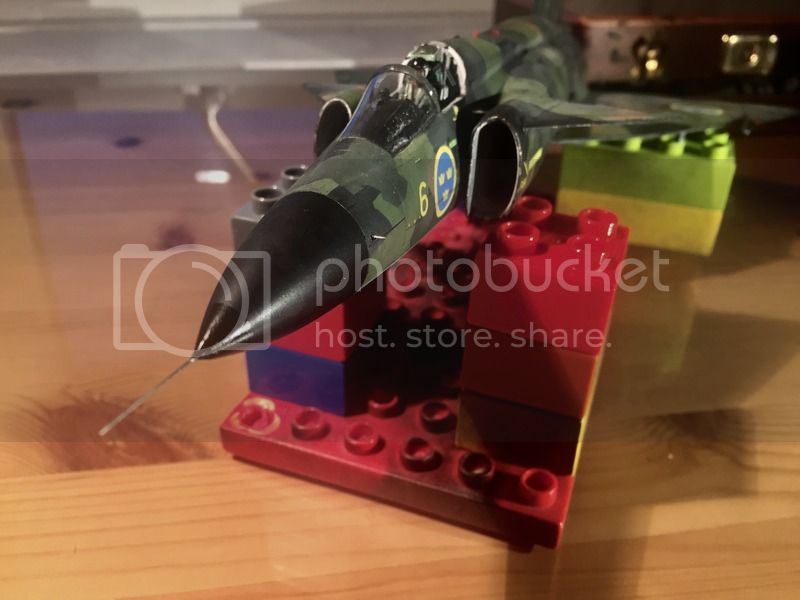
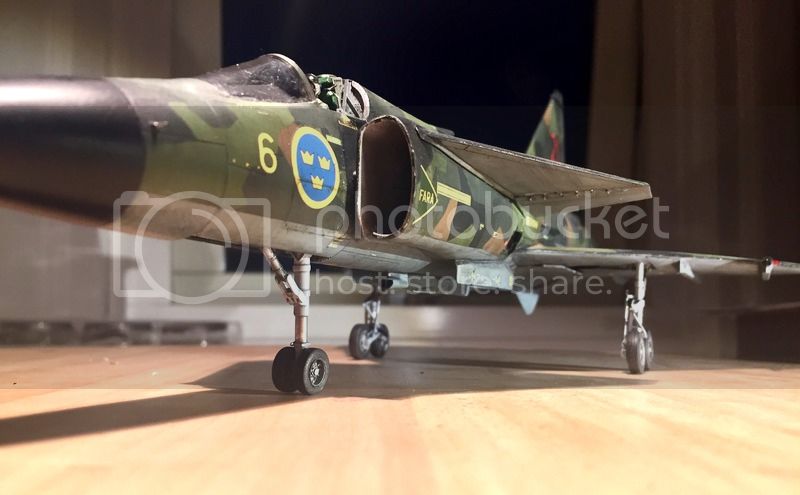
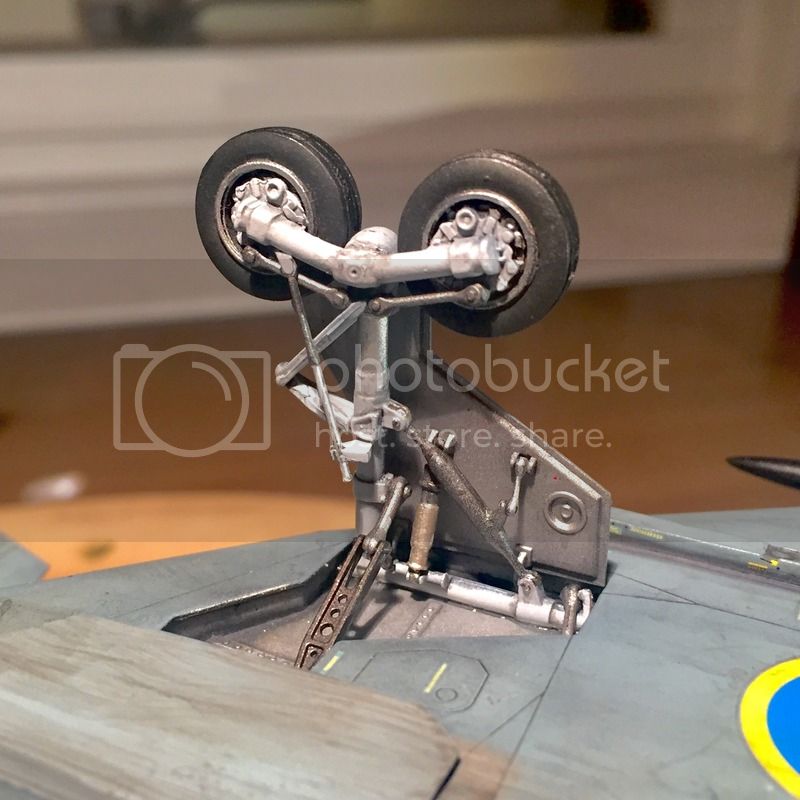
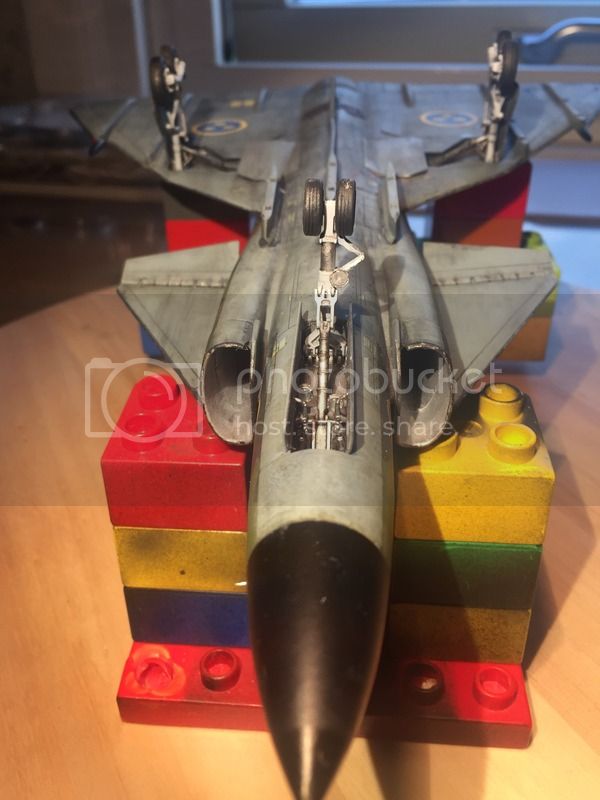
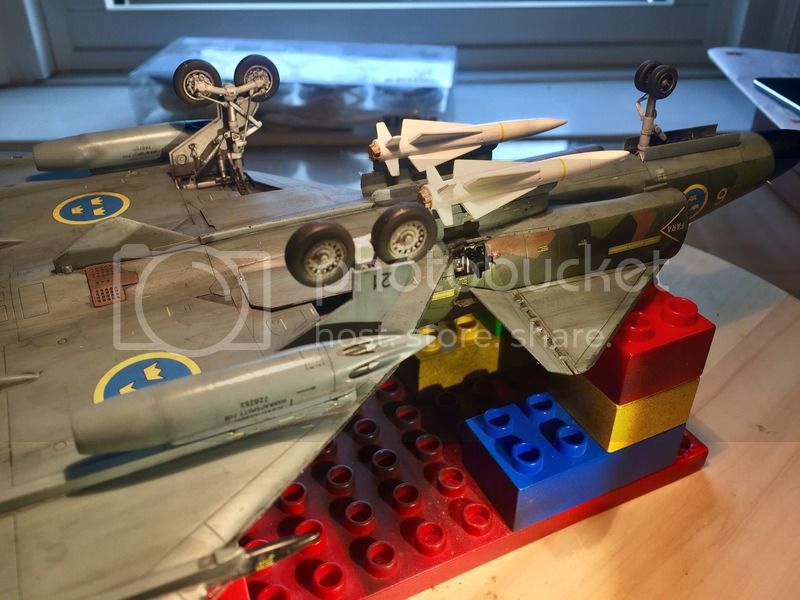
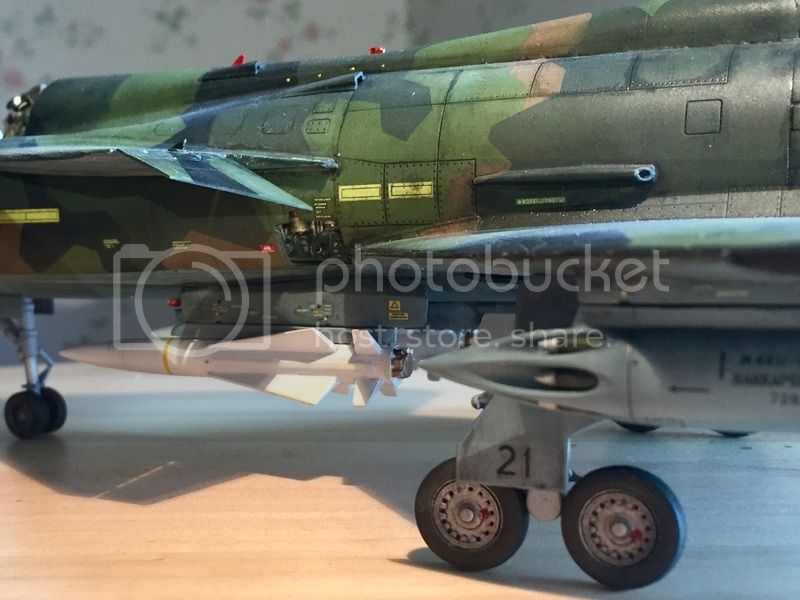
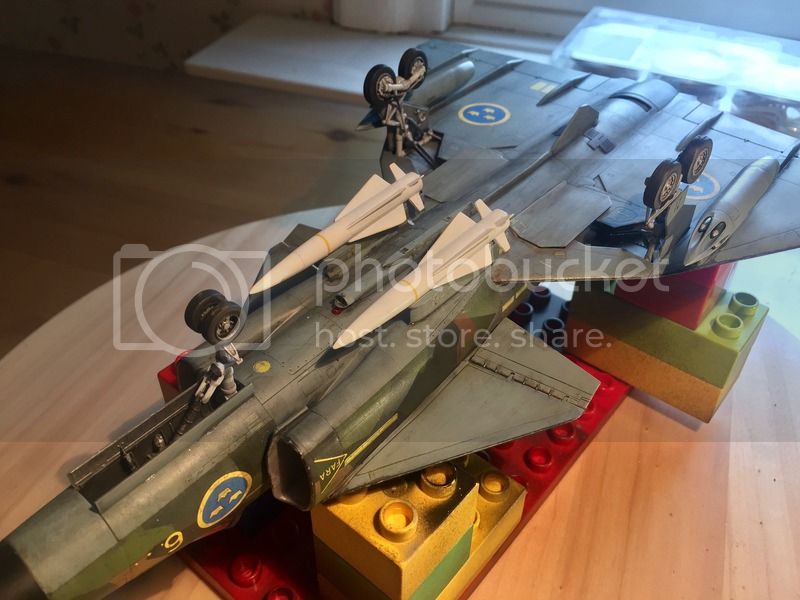
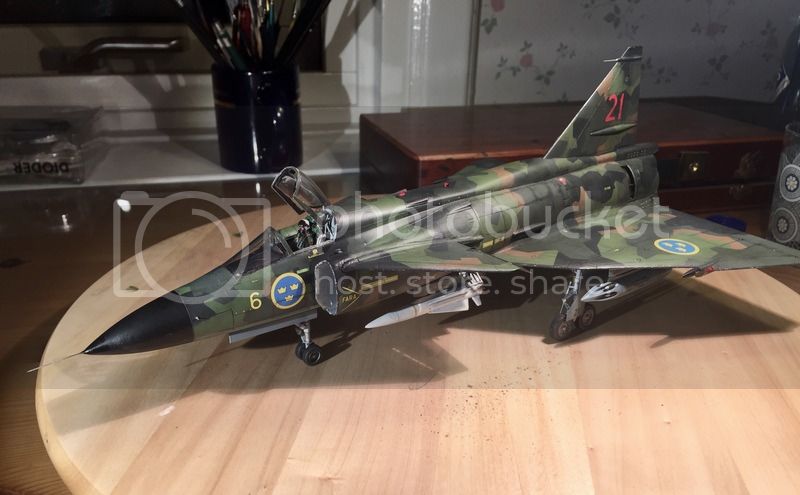
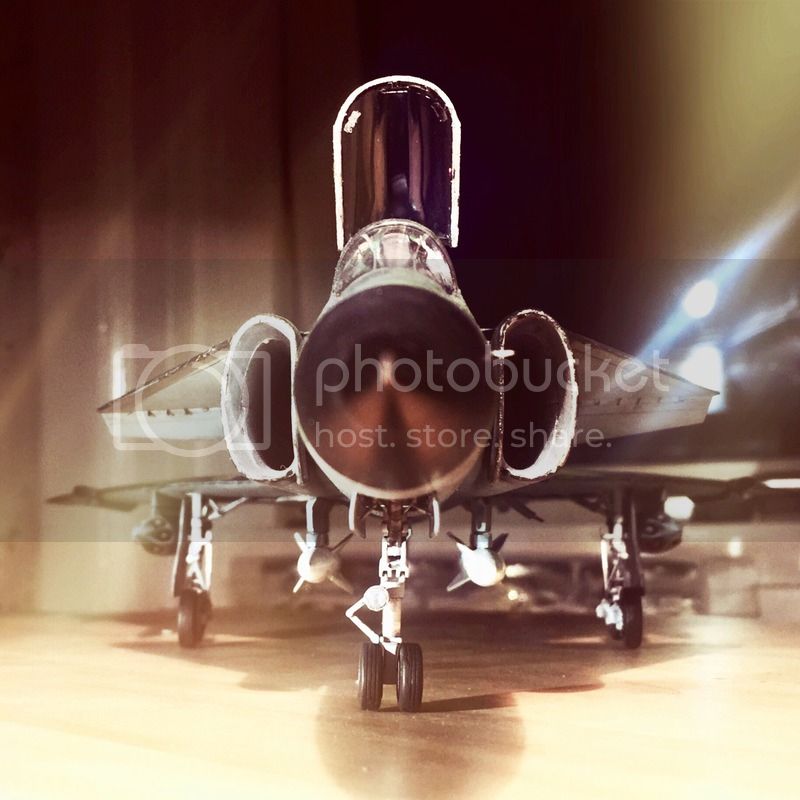
Good models of Saab aircraft in 1/48 was once a rarity. Luckily, this has changed radically during the last few years, and we are now blessed with a wide range of these beauties. Having recently built the J 29F and the J 21A from Pilot Replicas, I was ready for the Viggen!
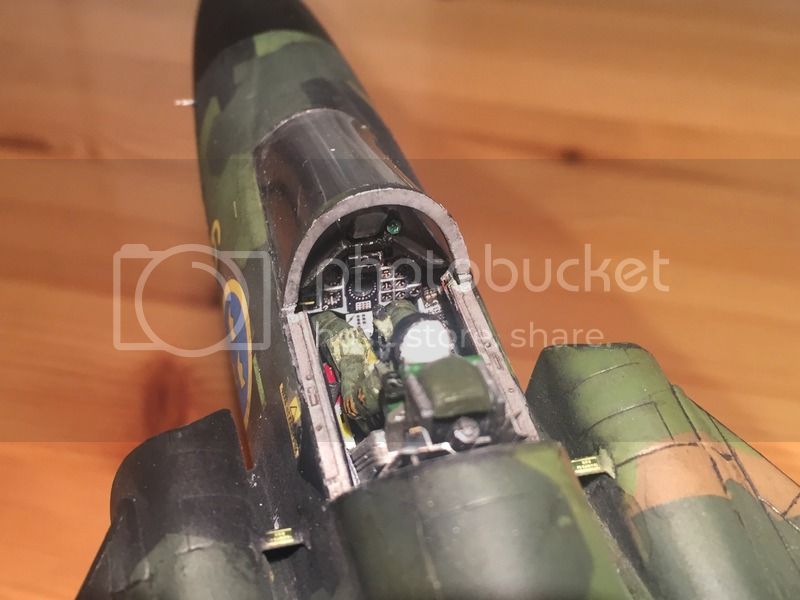
I started with a nice pilot figure from Pilot Replicas, painted with colors from Citadel.
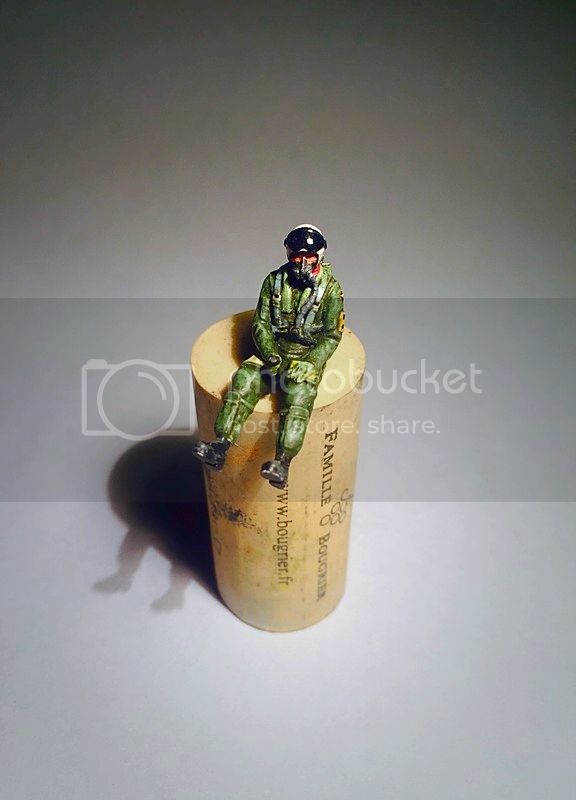
I love adding figures to my aircraft models. The only downside is that they become uneligable for the "Model of the Month" competition here at Aeroscale... Them rules are tough!
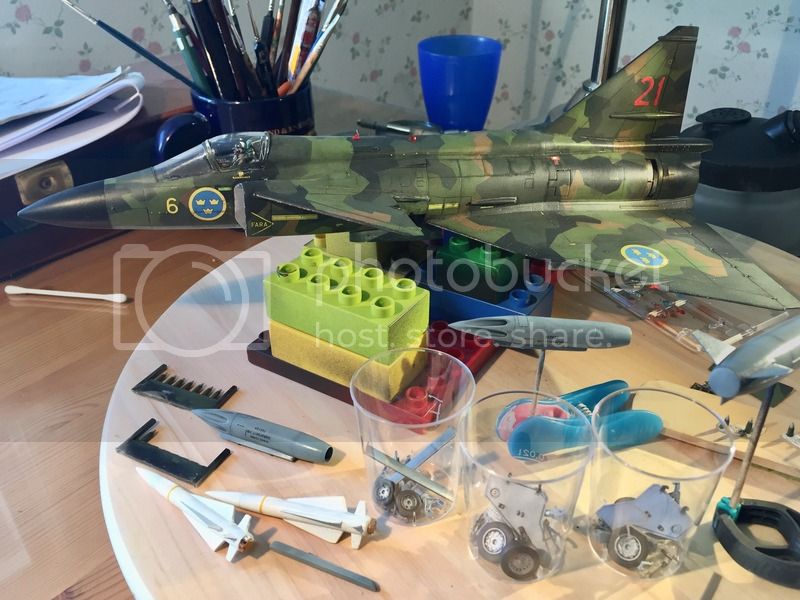
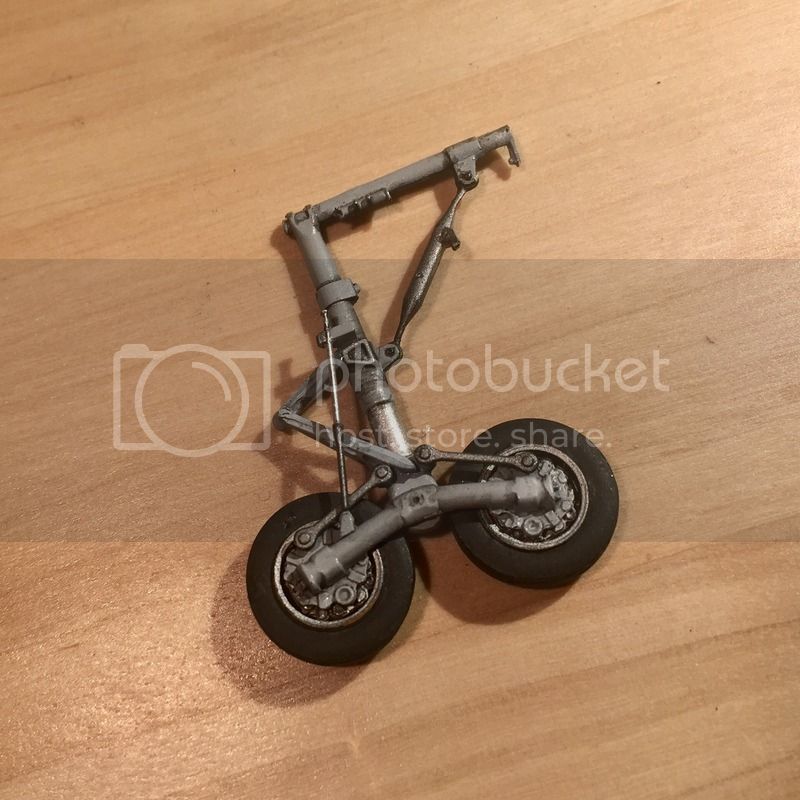
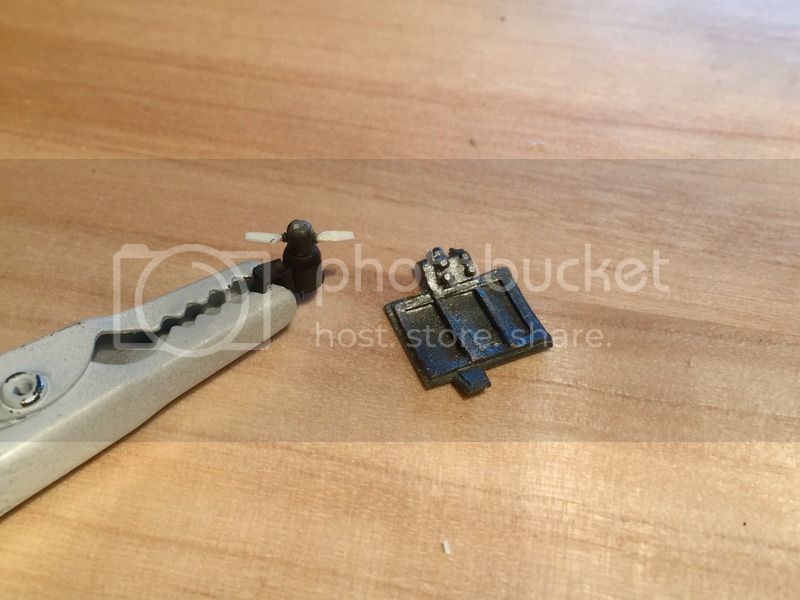
There is a lot of aftermarket stuff to the Tarangus/SH viggens. Some of it, I believe is "necessary", while other is not. The RAT is always visible on landed aircraft, but is not included in the kit. It was not easy to fit the Maestro RAT (which I believe was originally intended for the old ESCI/Airfix kit) in the fuselage, but after a lot of sawing, sanding, cursing and carving...

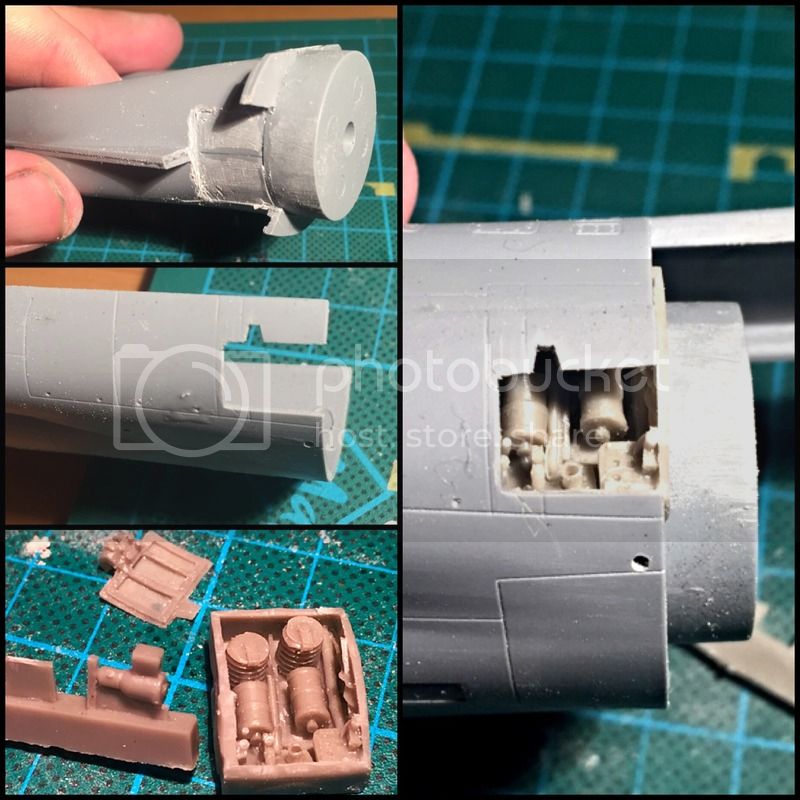
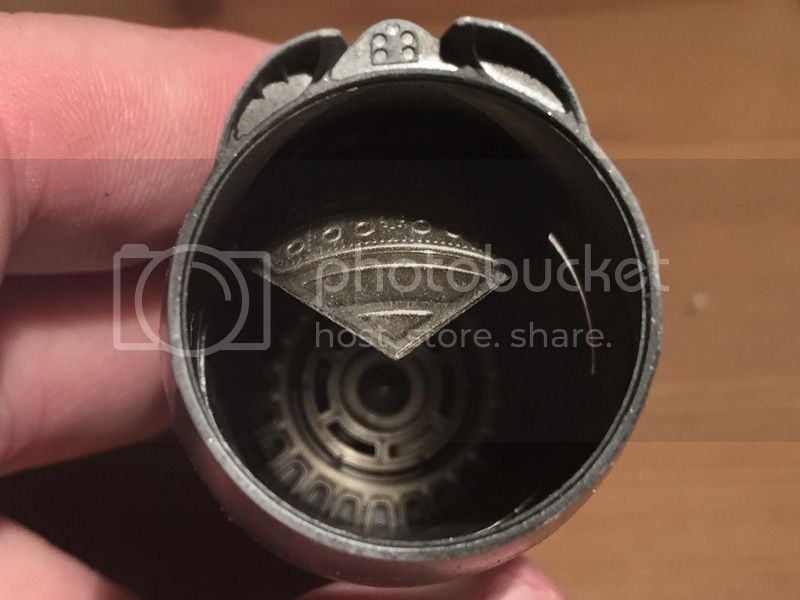
Viggen had a massive engine, and the exhaust area is highly visible. In my view, the detail level of the kit parts is top notch and more than sufficient for me.
I used the kit seat, but with some small adjustments. I also added PE from Maestro (there is a small fret included in the kit, which is reasonably good) for the seat and cockpit.
The fit of the kit is generally very good (and at some times excellent). One has to be very careful though, since it is not the "standard two fuselage halves", but rather an intricate assebly where fit and presure needs to be applied at different points at the same time. Think first. Test fit. Think again. Pray a little (it doesn't hurt). And then go!
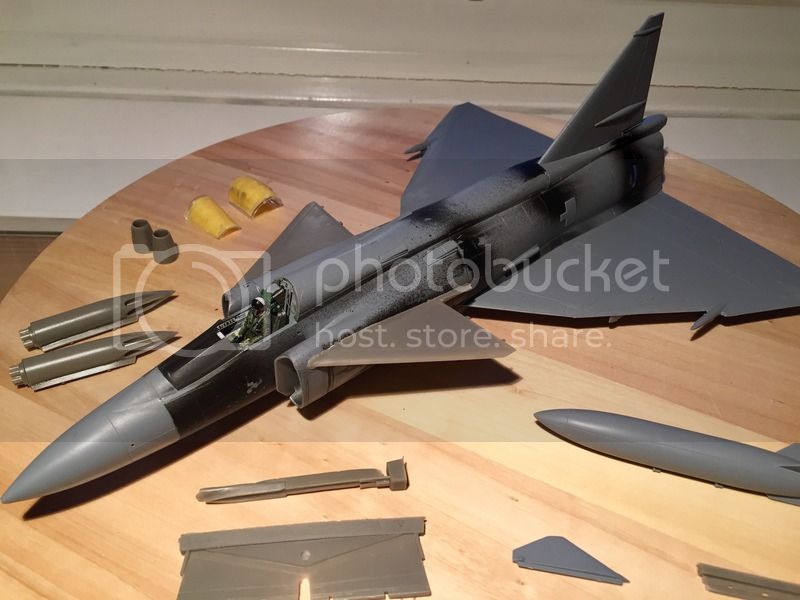
I managed to accomplish a decent fit in most areas. Please note that the spine should be shortened a little (not mentionned in the instructions, but there is a groove in the spine part where the cut should be made). Another after market item that I believe is "necessary" is new canards. Firstly, the kit canards have the wrong shape, and secondly, the flaps are always lowered on parked aircraft. The fit of Maeastro canards was not perfect but they look ok after CA-glue filling. I read that CMK has just released their version, but I don't know if they are better.
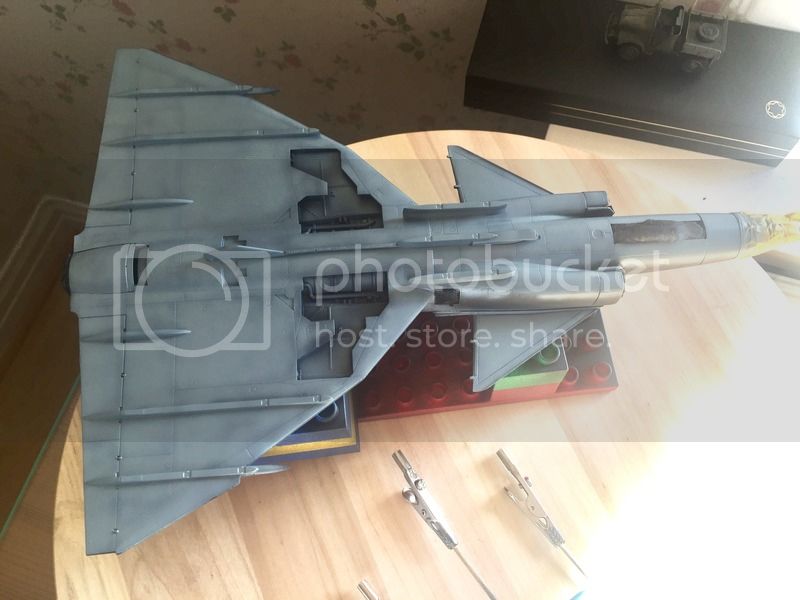
I've used a black primer (Mig "One Shot"), which I am getting quite fond of. It really smothens out to a very thin layer. I am trying out Mr Paint's range for the Swedish Airforce, and so far, I am totally impressed!
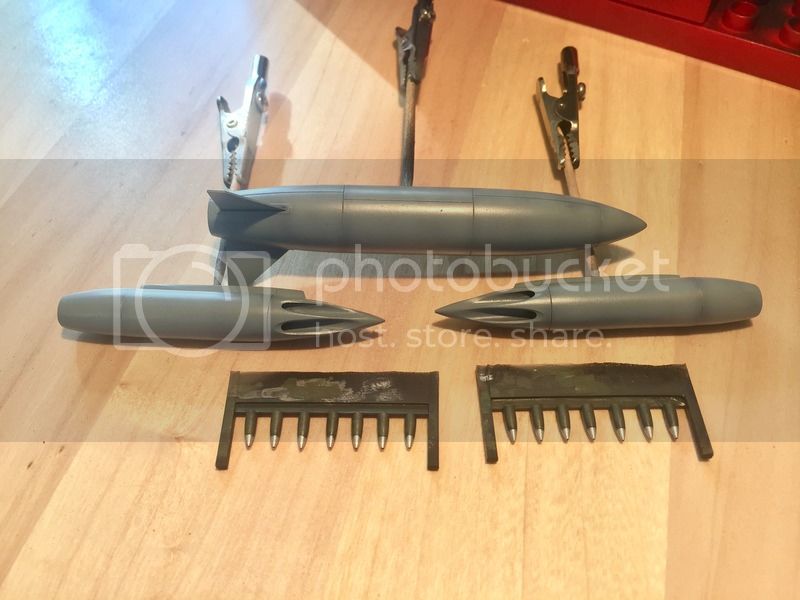
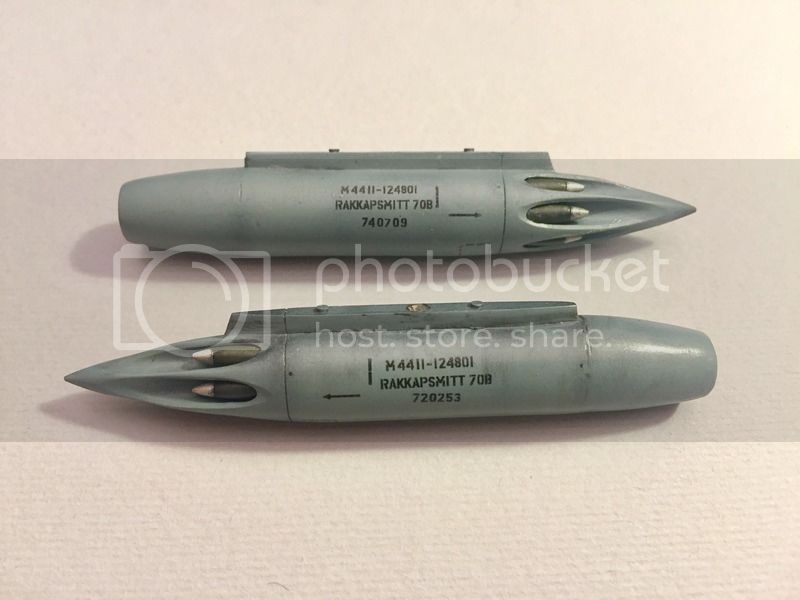
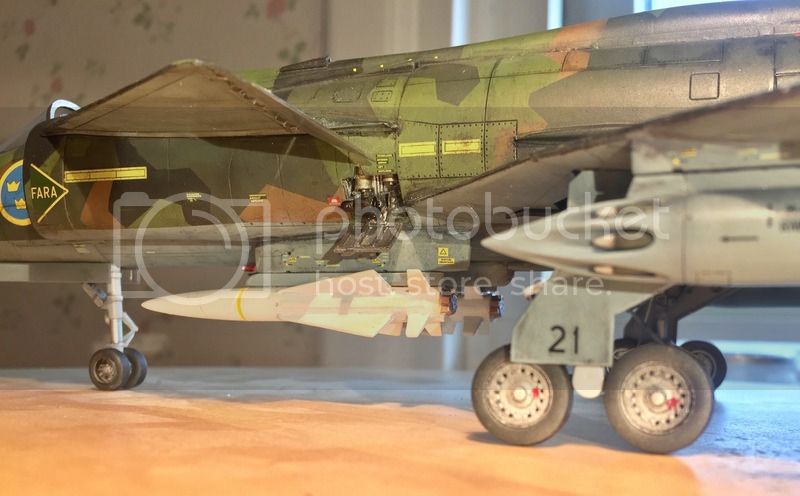
Weapons are not included. The massive rocket pods are from Maestro.
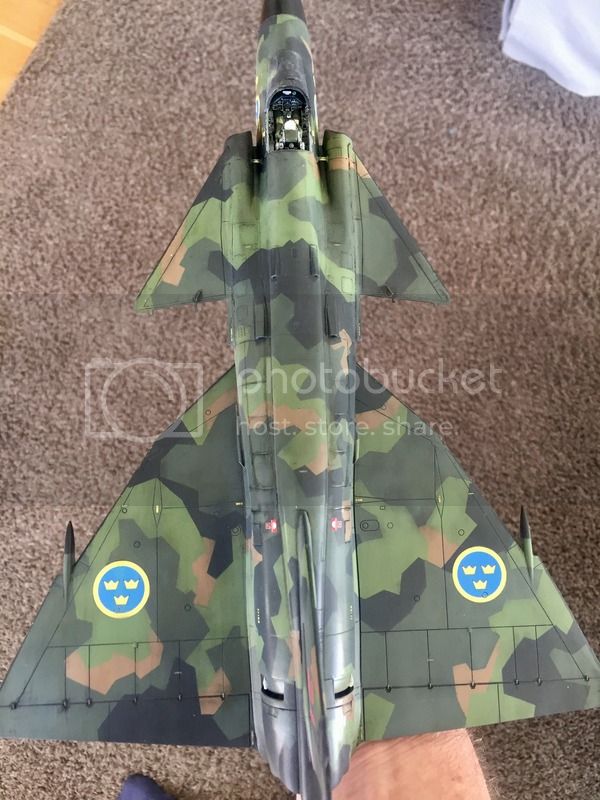
On to the infamous Viggen camouflage! I started with the dark green, since this covers most of the aircraft...
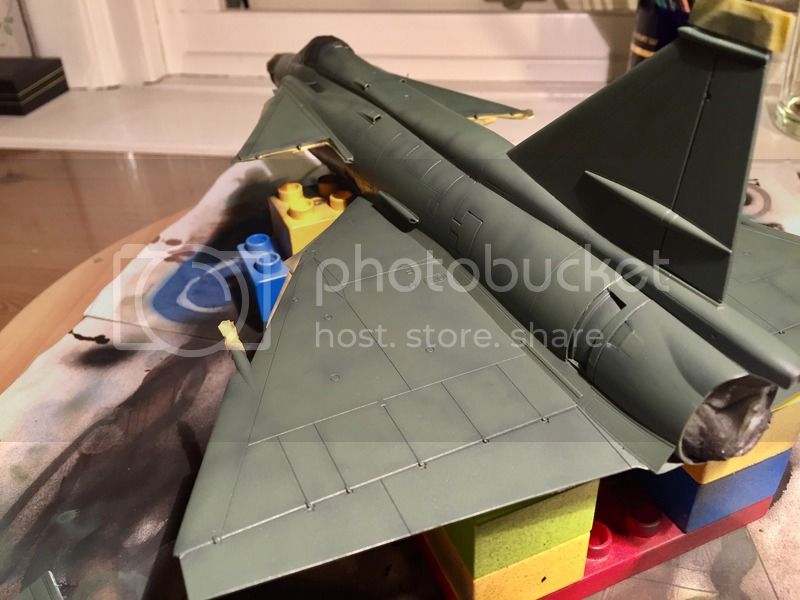
... and then started masking and adding colour after colour. Even with the Maestro Paint mask, it was an awsome task to try and align all the bits of tape in the right places...
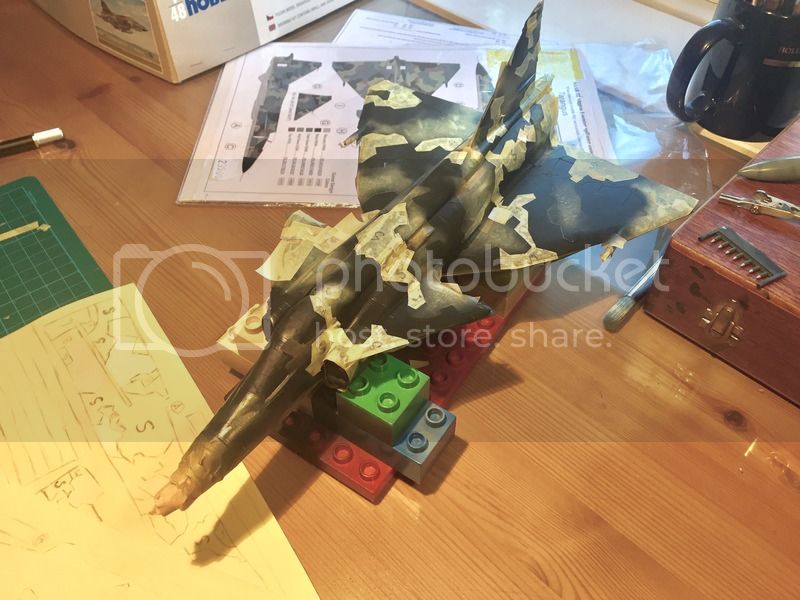
At the end, it looked something like this!

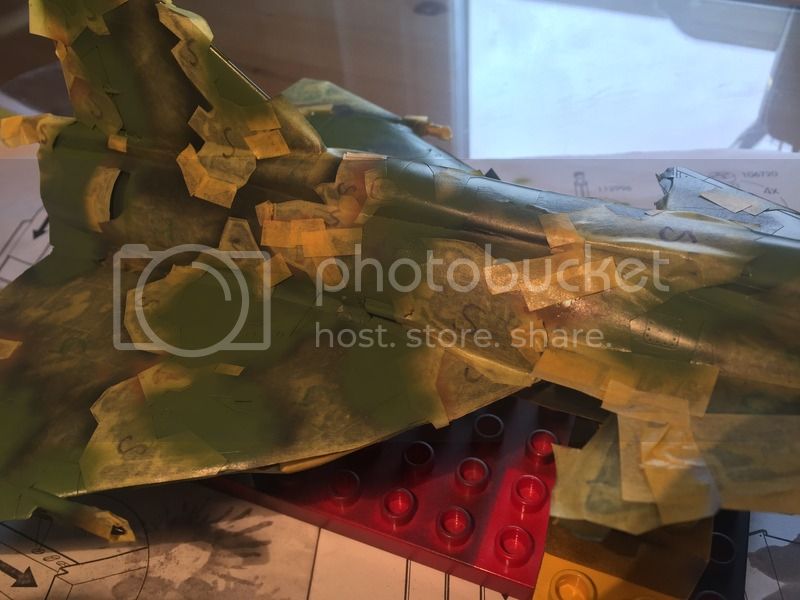
No longer could I see where one piece of tape ended or where the next piece started. My eyes where sore and my mouth tasted like Kabuki tape... Suddenly, I noticed a piece of tape that had fallen off, and I had no clue whatsoever where to put it... I attached it randomly and went to bed, dreaming of beatiful monochrome aircraft...
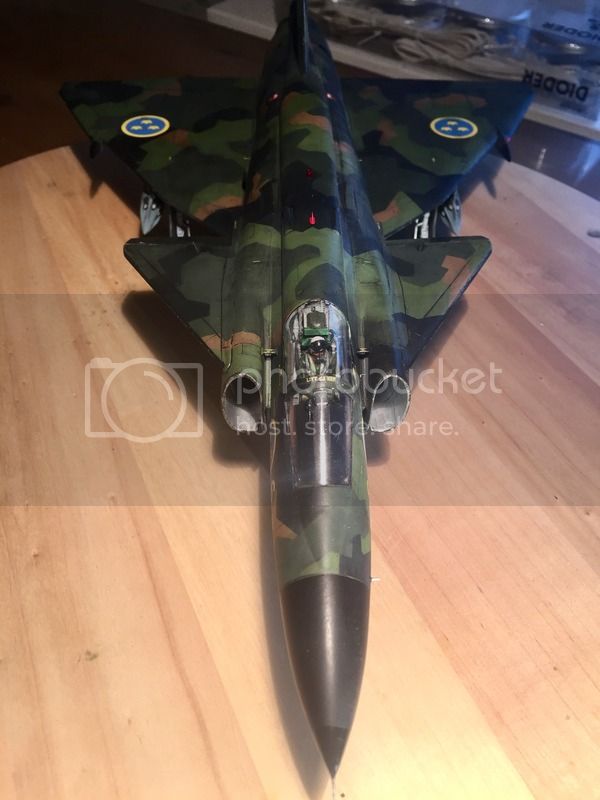
But the next morning... Ta-da!!!

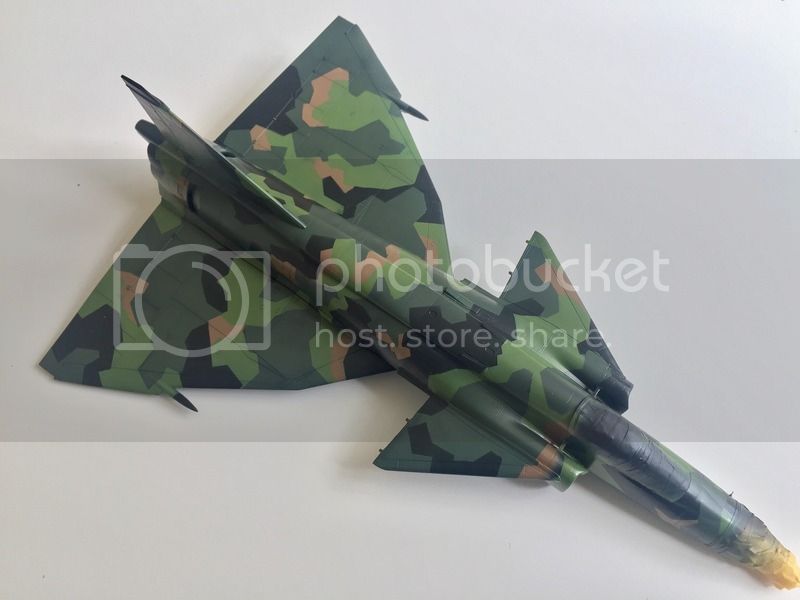
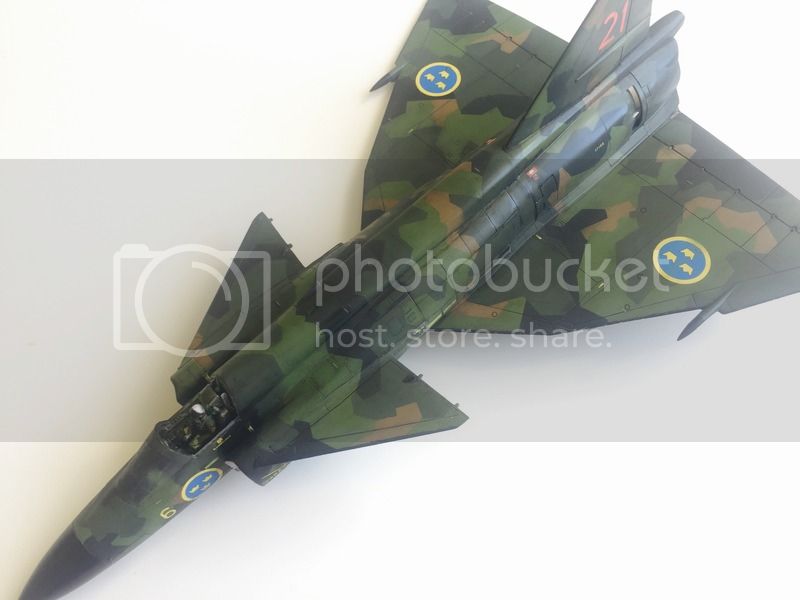
Having made quite a few touch-ups, she looked like this.
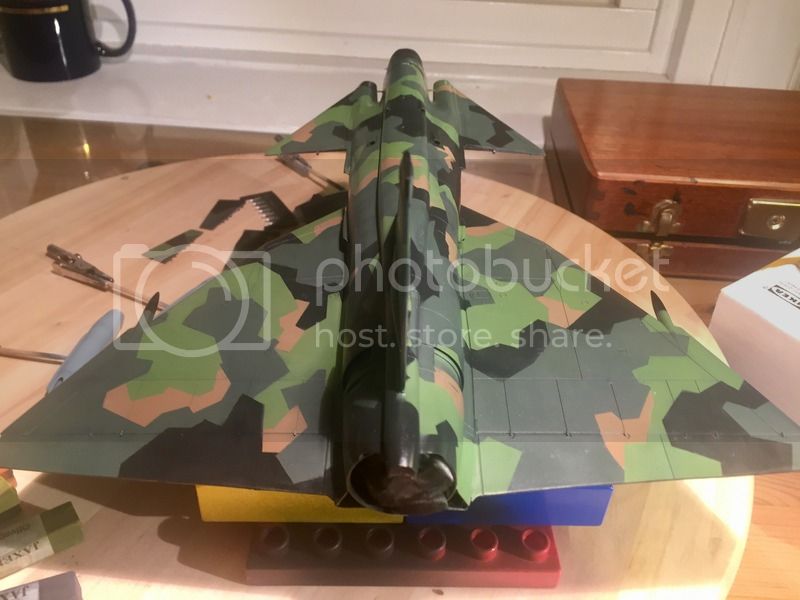
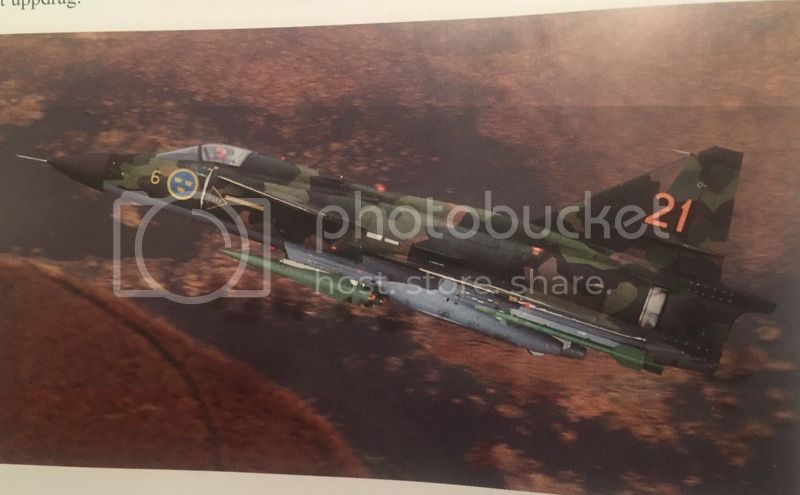
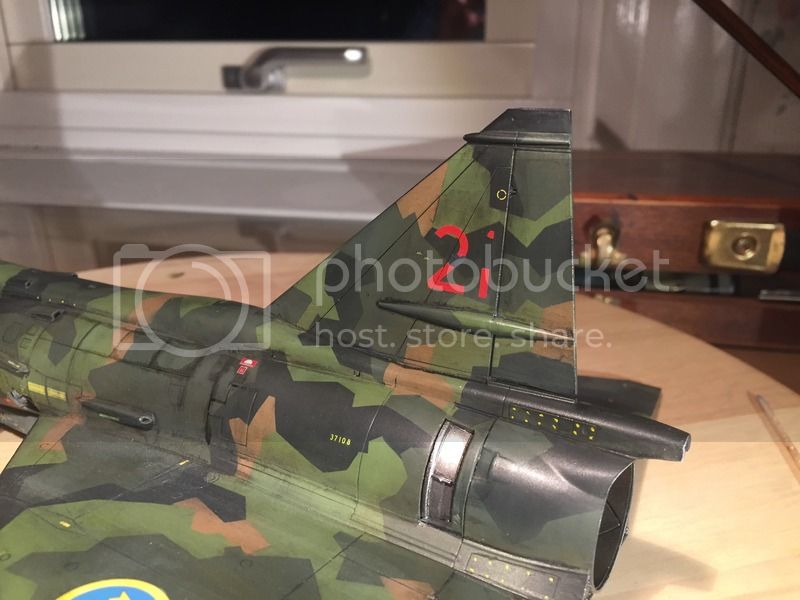
Very nice, but way to "perfect". The camo needs softening, blending, bleaching and dirtying in order to look realistic. This is what I'm aiming for...

I was hoping to try out a ready made filter (such as the AK Interactive NATO-filter), but no such filters at the local dealer. So I had to try some other methods that I had never tried before. First some oil dots...
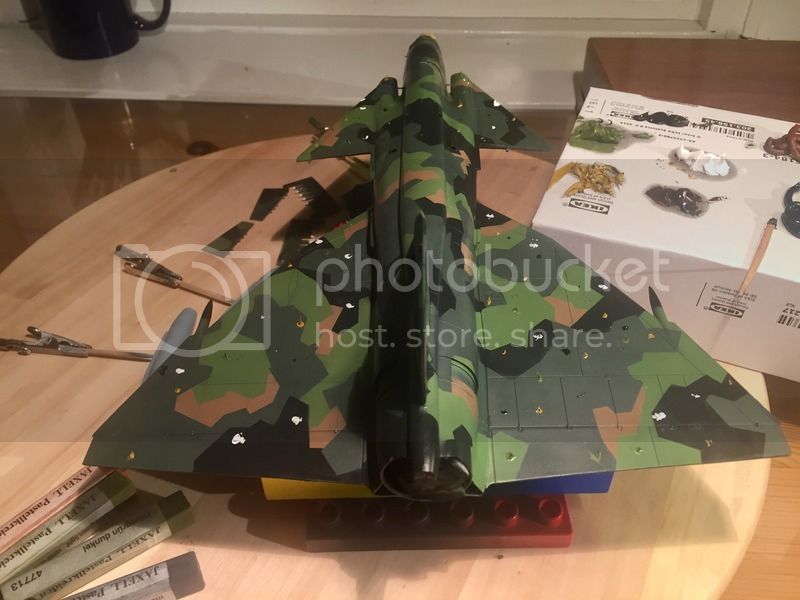
A little scary, given all the work I had with the camo. But from here, there was no return. Only option was "Full speed ahead"!!!
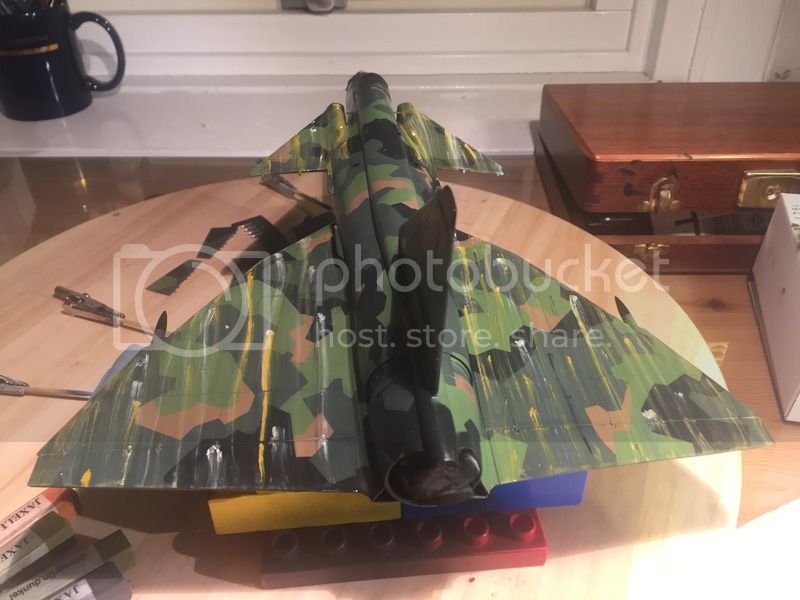
Damn them seagulls!!!

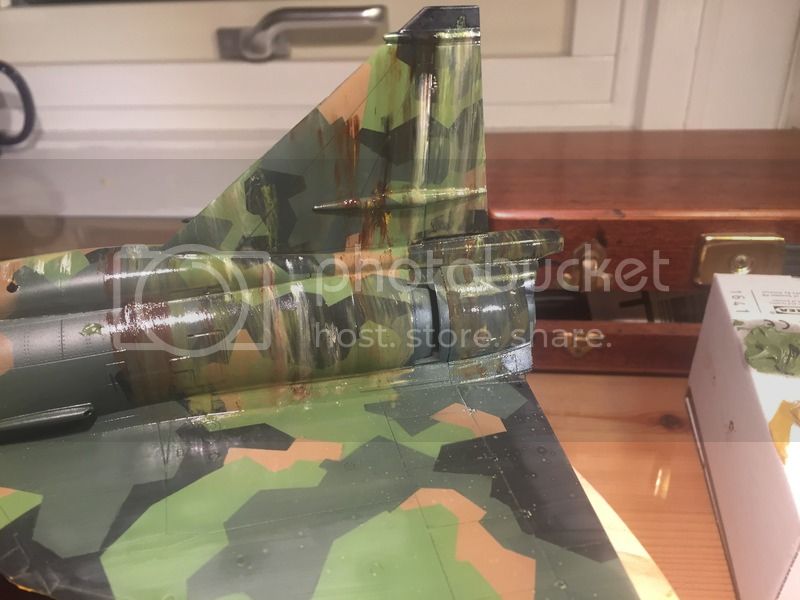
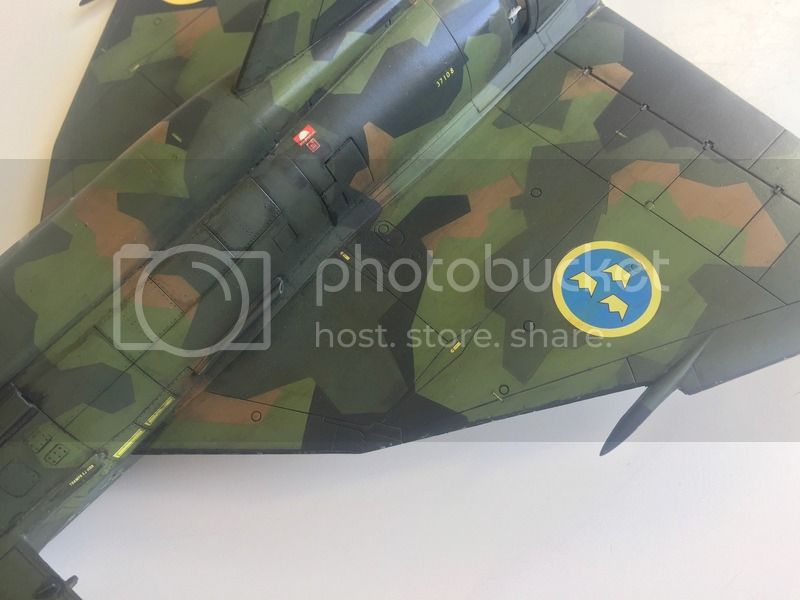
This is the result of the first filter. Not easy to detect in the particular light...
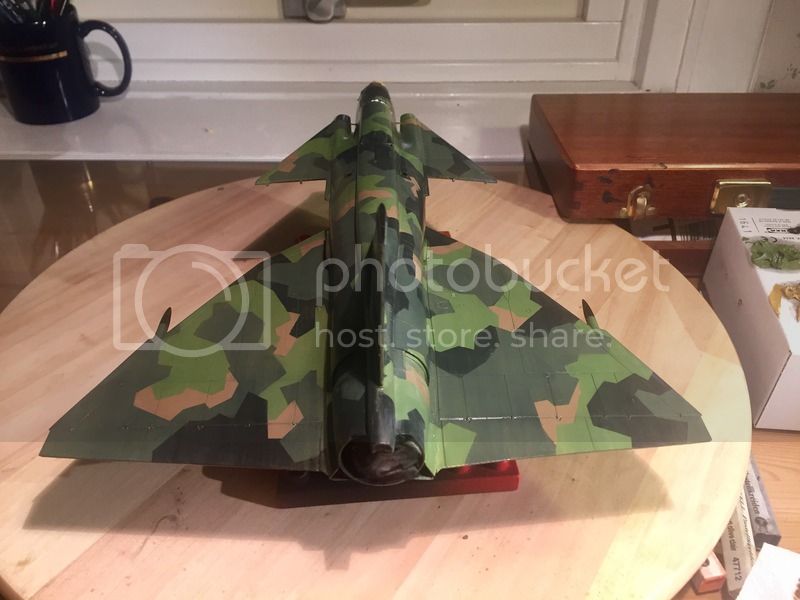
... but a closer look shows that the colours have definitely faded.
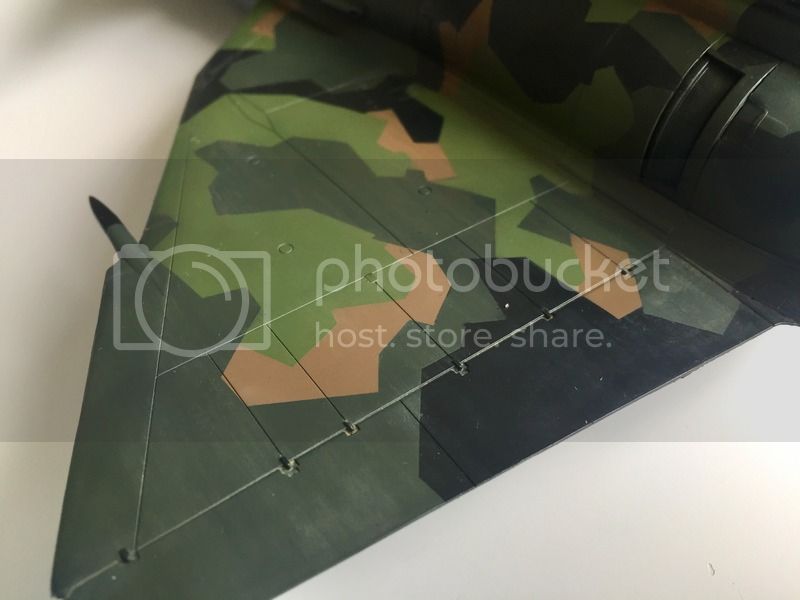
Next step was to try out pastels (another first for me)...
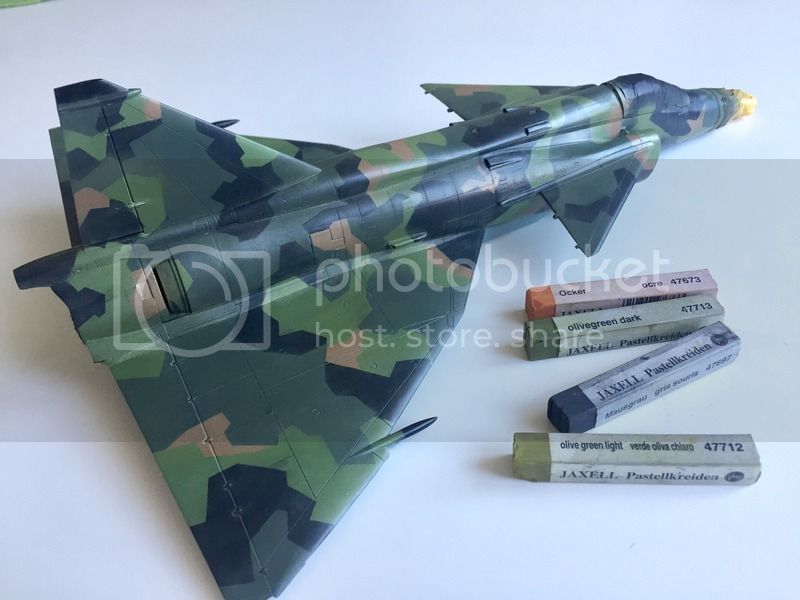
Just like being back at kindergarten...

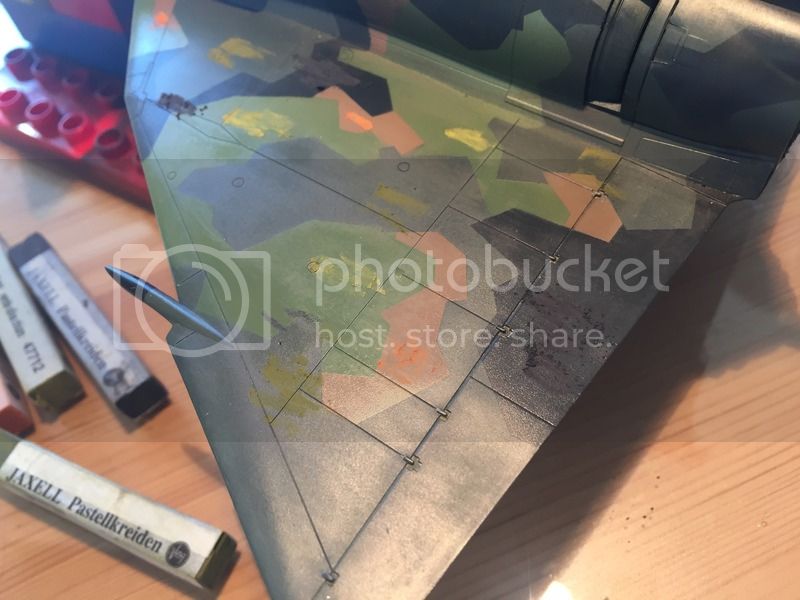
rubbing it in with my fingers... delectably dirty work!
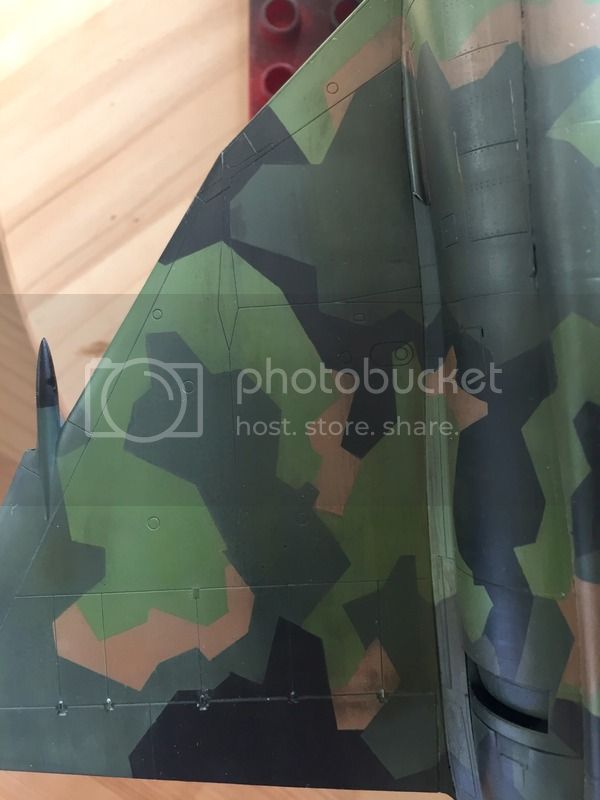
Starting slowly to obtain the effect that I was hoping for. Here's a comparison with the untreated flap.
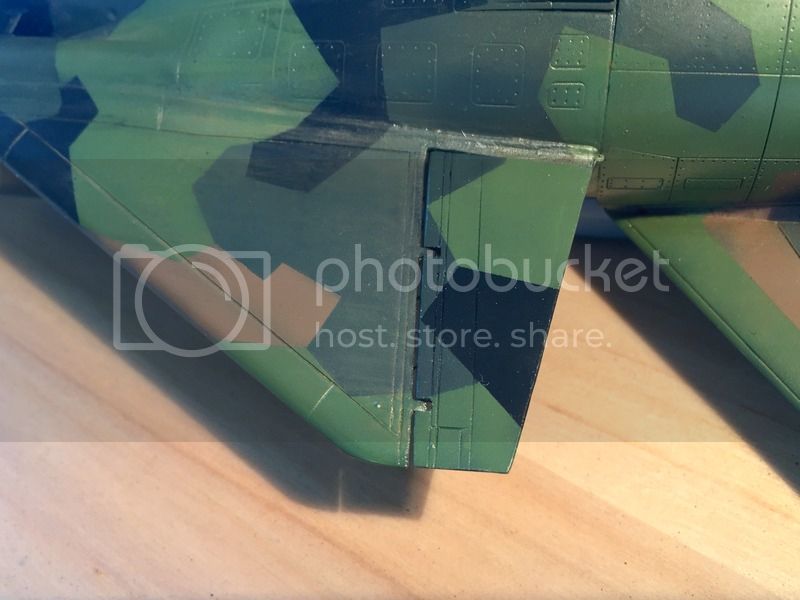
More wheathering will be applied, but only after the decals. Any input, tips and ideas will be greatly welcomed!
Cheers! // PolarBear


