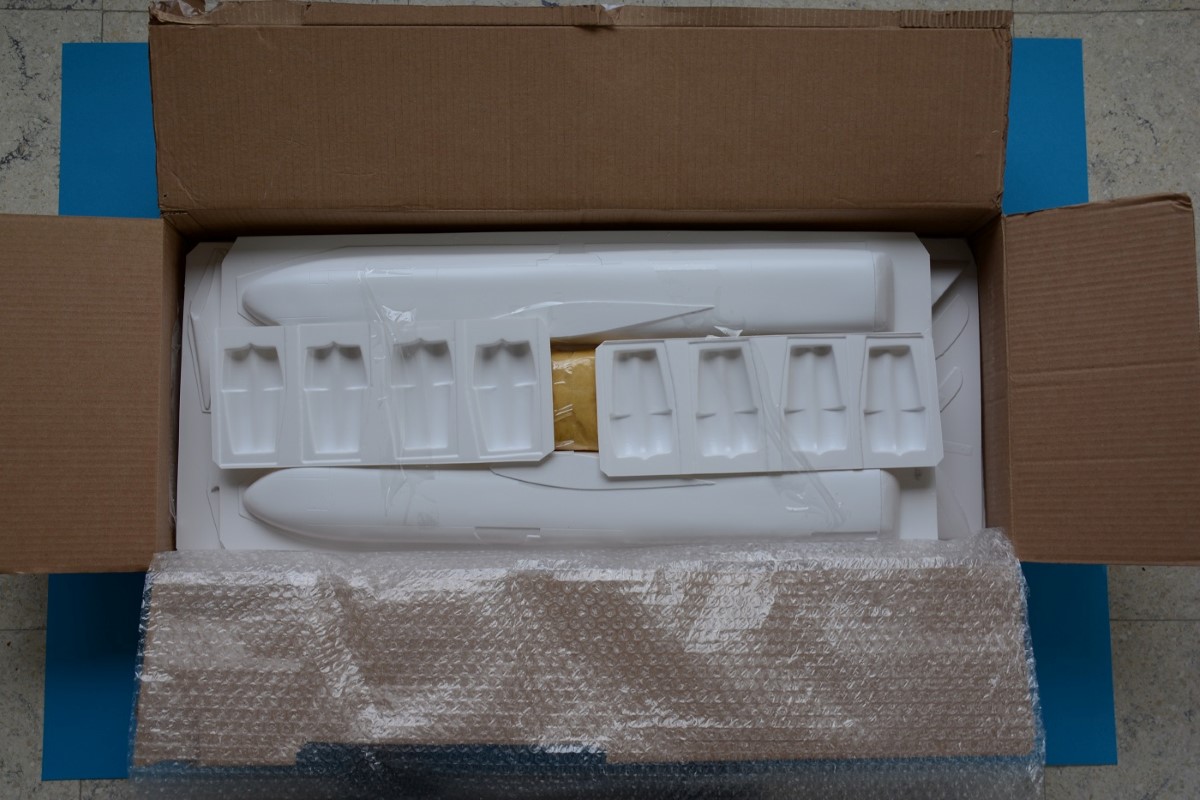
This B-52 will be quite a challenge, but the first steps are taken and ... lokoking more ofr less good so far:
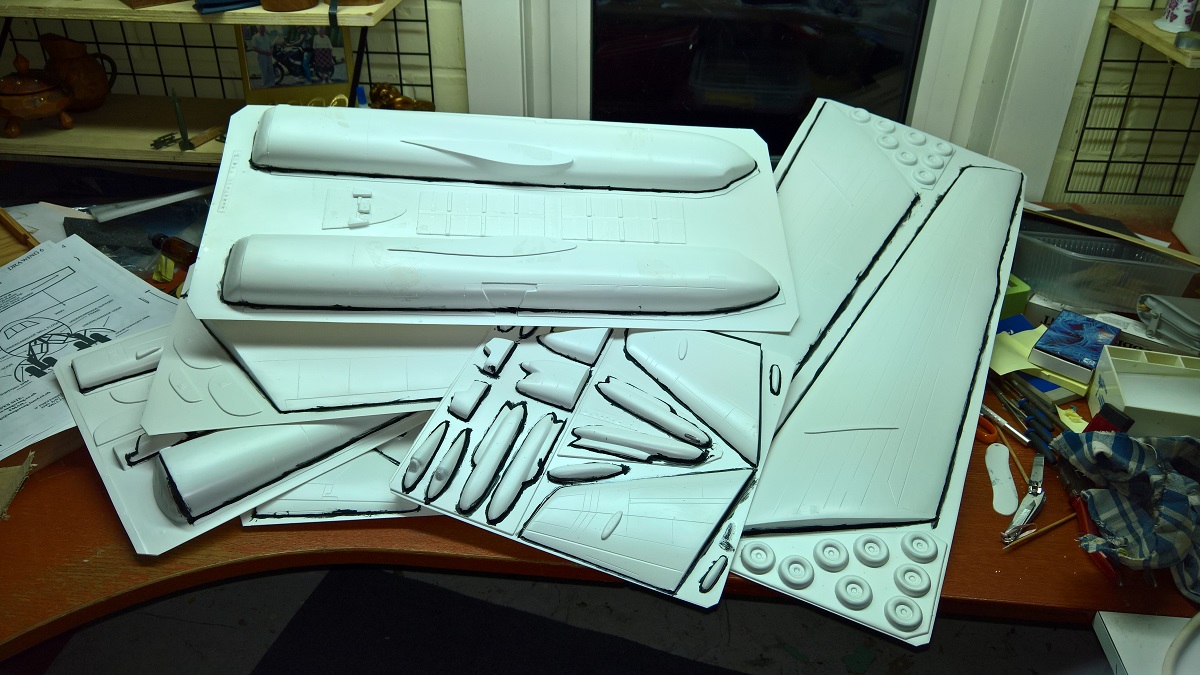
First I painted all the borders of the parts black:
I tried a marker pen first but it proved difficult to reach the corners between part and frame and that is quite important for later steps.
It looks like this when all done:
I would not paint these lines again, next time I will airbrush the parts in black primer. It will immediately emphasise the anomalies in the surface of the parts and it will probably give much better results compared to painting only the borders.
Then, with a new blade I cut the parts loose.

Instructions say that you have to try cutting under a 45 degrees angle so that you cut "under" the part. That is not as easy as it seems. My 3 day experience says that it is is better to cut gently and mulitple times along the same cutline than to try cutting through on one or two strikes. The same instructions say that it is not necessary to cut all the way through. However, I prefer doing one extra cut because that makes it much easier to break the parts from the sheet.
I am not cutting all of them in one go, just those parts that i need, but could not resist doing some of the main parts. This is going to become a big model:
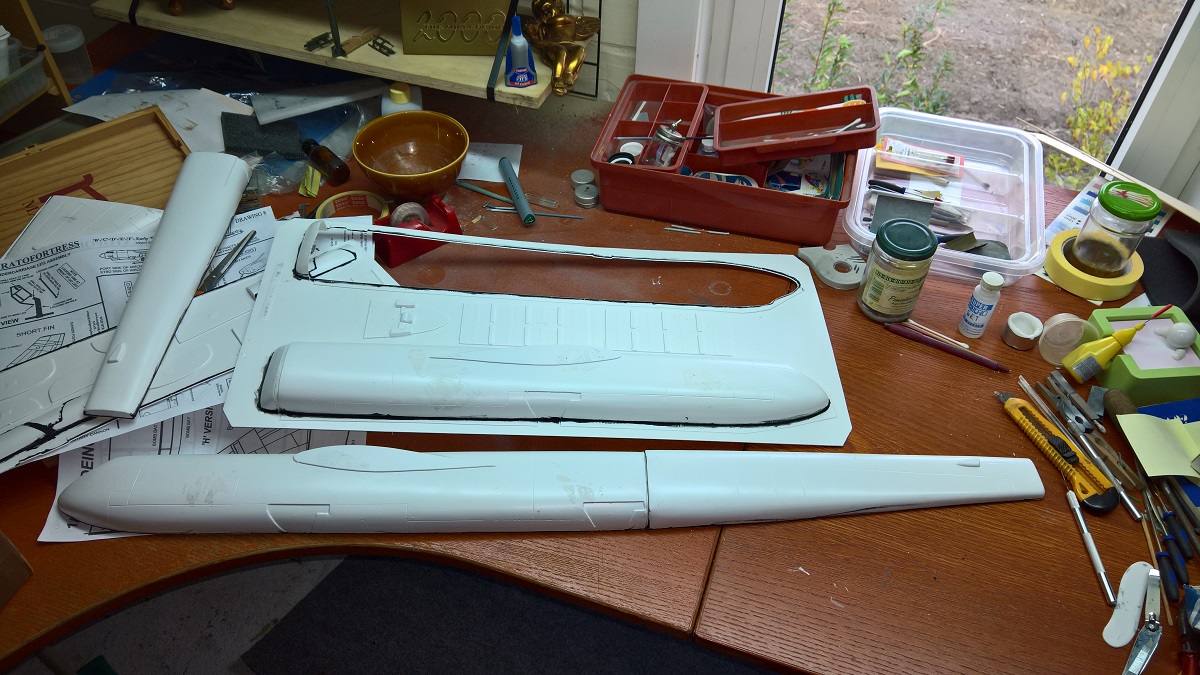
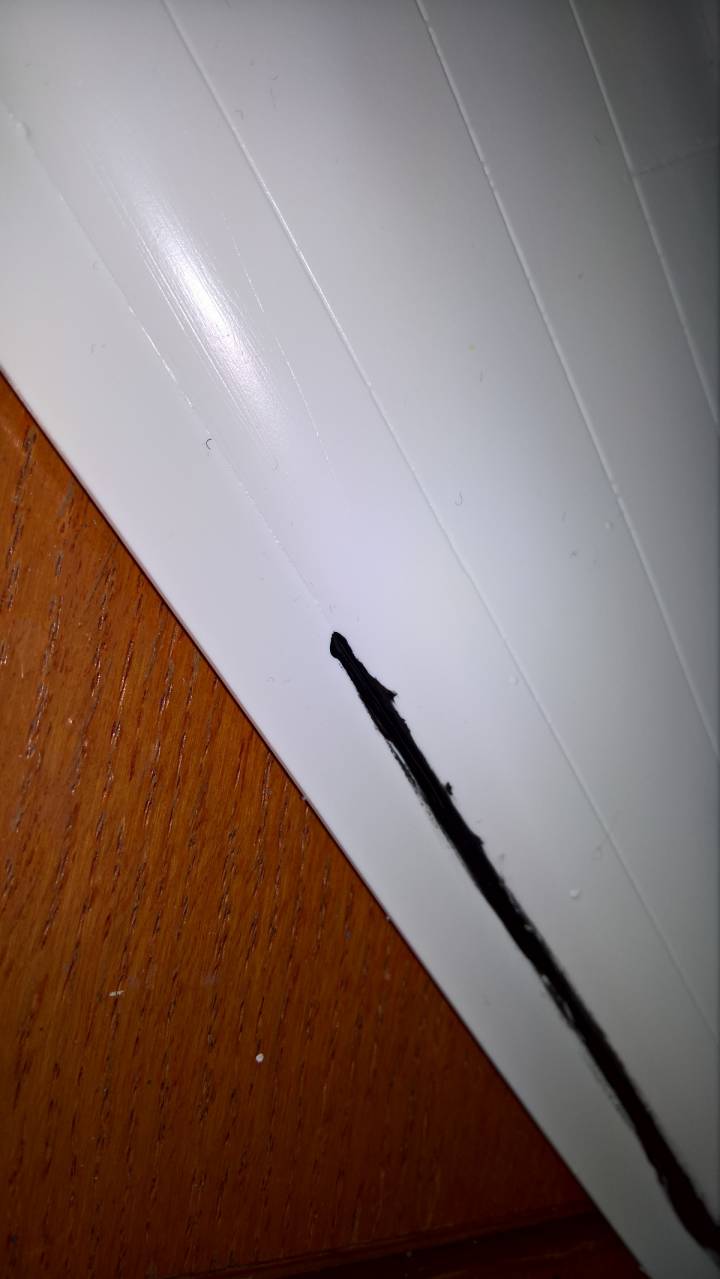
This is how it looks after cutting a part free from the plastic sheet. Everything below the black line mus be sanded away.

I expected that this sanding would be a nightmare but a large sheet of rough sandpaper on a flat surface works miracles.
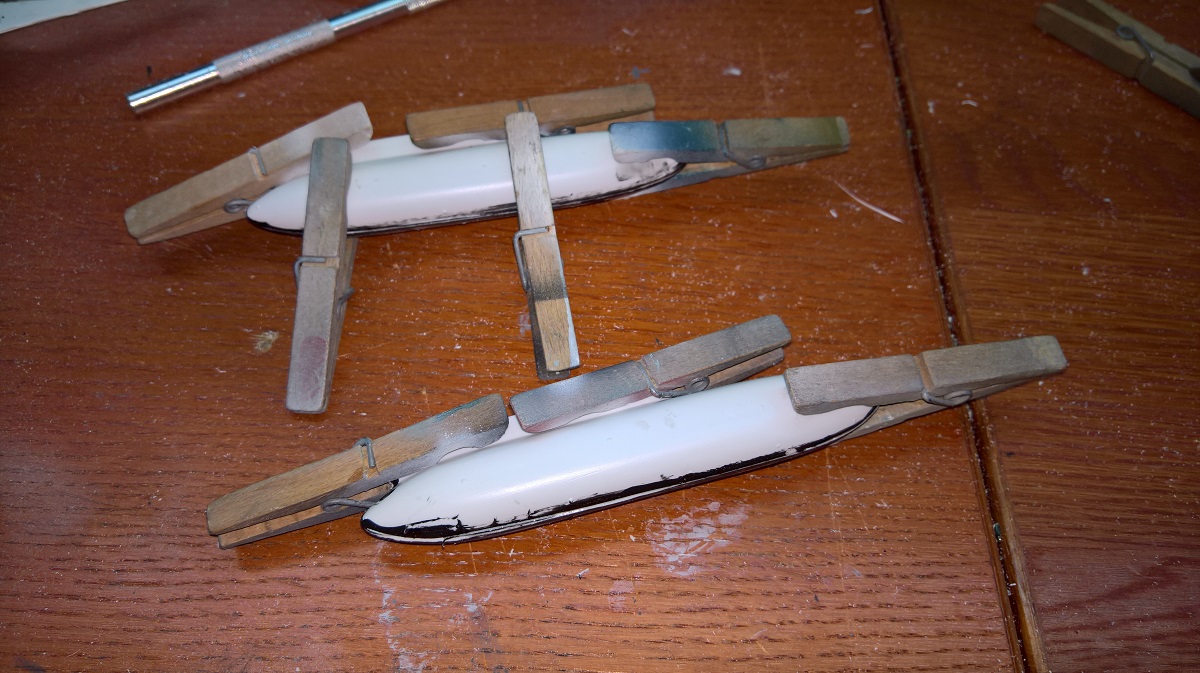
Having no experience with vacform, I decided to assemble some stand-alone parts first. So here it is, my first assembly; the 2650 liter external fuel tanks. Glueing these tanks proved more tricky than expected. The parts are not Tamgawa perfect, even are slightly different in size, and there are no pin-holes to help positioning the parts.
Next came the vertical tail parts.
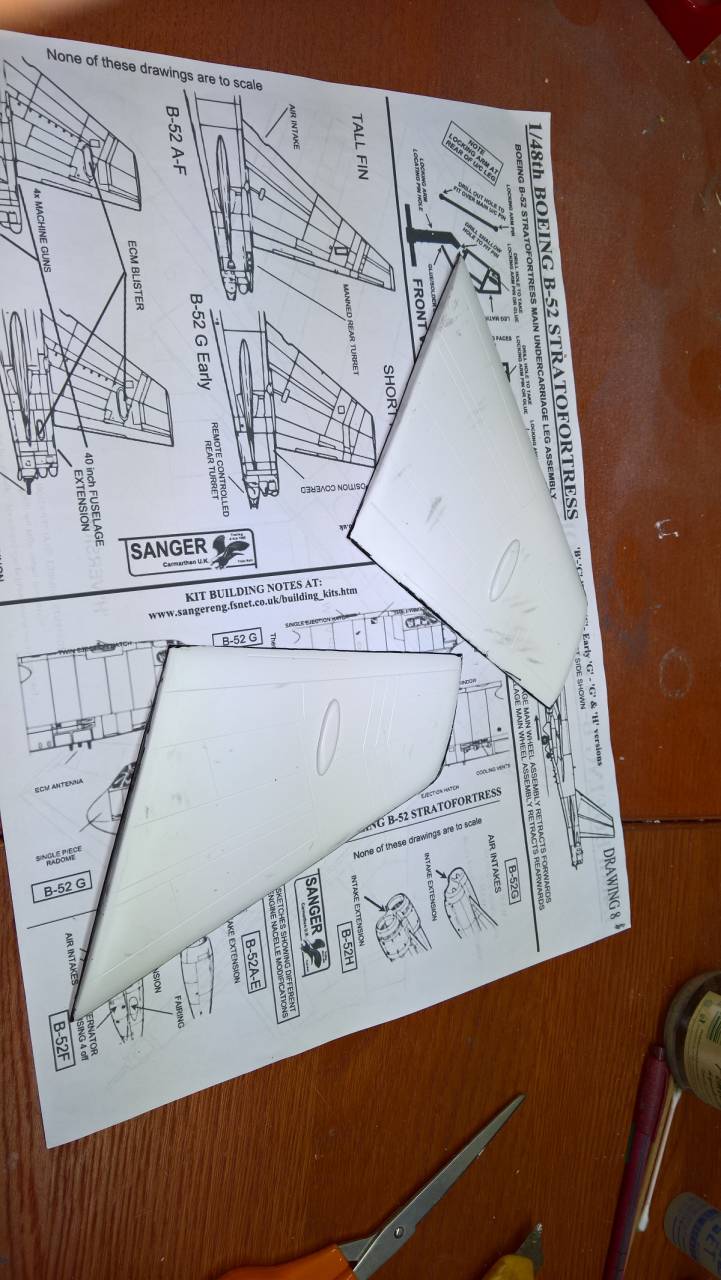
Not identical in size, and without any help from locator pins and holes, this seems like complete guesswork.
So I glued some small leftover plastic (one benefit of vacform is that you end up with heaps of such material) on the inside of the parts. These pins proved to be perfect for fixing one direction of travel of the parts.
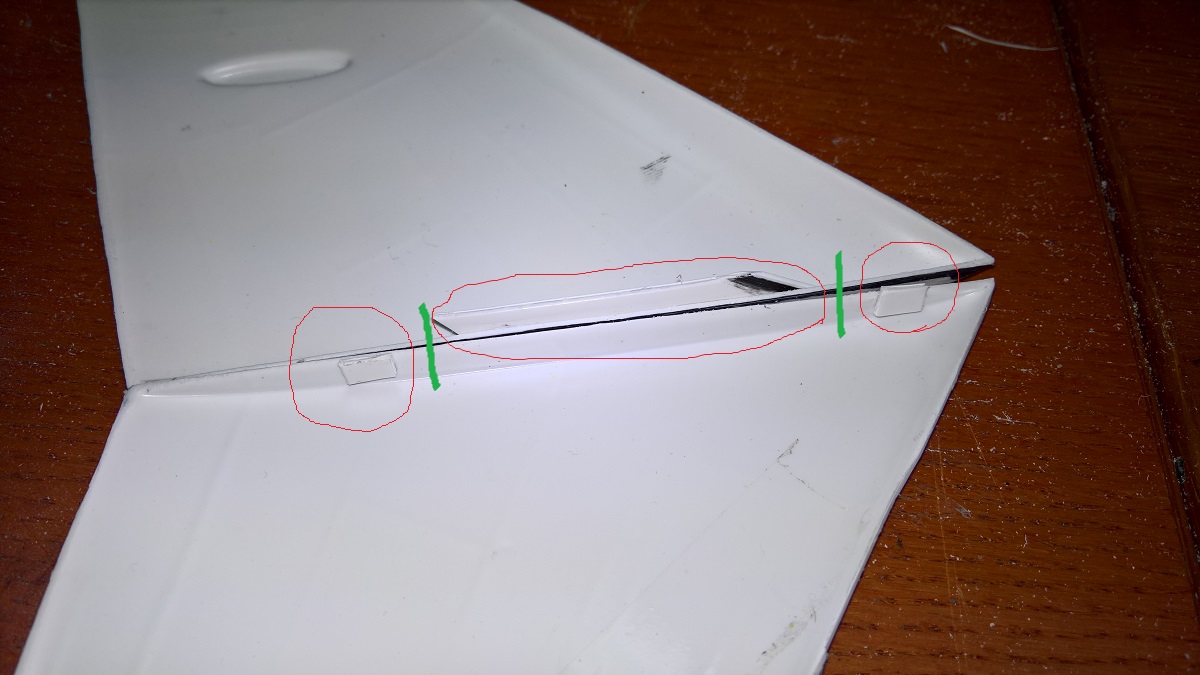
Which allowed me to set also this sub assembly aside.