Introduction
Is was July 1985 (or 1987?) and I was wet, cold and hungry. In fact, I was feeling totally miserable. I had been wet for the last 4 days
and nights while that dream trip to the Fairford Air Tattoo I had been saving money for all year had turned into a nightmare of spitting, dizzling, pouring and any other variation of rain imaginable.
Most sensible people already packed their bags but some die-hards stubbornly stayed on the tarmac hoping for a miracle, or even less realistic, an airplane that would take off despite the heavy winds, the low visibility, the low hanging clouds
The speakers cracked, and a voice in authentic chewing gum English said how sorry he felt for us air enthusiasts, that the weather was sooooo bad. Dont despair he said, the US Air Force would compensate for the bad weather with a performance that no-one, not even on the biggest air shows in the US, had ever seen.
Far away in the distance we heard the noise of many, many jet engines starting up, we couldnt see anything because of the slope of the terrain but definitively, and finally, something was happening. Suddenly, the noise doubled and an enormous tail appeared, Jaws style, on the horizon. A few seconds later a huge B-52 lifted of just in front of us and turned its nose into the wind.
This first Stratofortress was soon followed by 3 others who majestically, all made an identical turn at the end of the runway and disappeared in the clouds. We were staggered and waited if the planes would come back for a fly-by or to land.
Then we saw the plumes of smoke in the distance. Minutes later, the four B-52's, in a perfect four finger formation, thundered in a low pass over the audience, leaving us behind in a cloud of smoke and kerosene. In the distance, we could see them break formation coming in to land again. Unique, fantastic, flabbergasting, bamboozling. My best air show ever!
Fast forward to 2007, I had picked up modelling again and I was googling for a B-52 in my preferred 1/48 scale.
Quite surprised I stumbled upon a vintage looking website (http://www.sangereng.co.uk/) owed by a small company making vacu form airplanes. The site hasnt changed much over the years and is definitively worth a visit if you like 1995 style layouts. More importantly, it promised that a B-52 in 1/48 scale was in the making and very soon, it would be for sale.
I hesitated, I never made a vacu form in my life and what I knew about it was not very comforting but
it seemed like the only possibility to get a 1/48 B-52 so I took an option on one of those kits.
Very soon took another 10 years but now here it is, a box with a vacu form B-52H in 1/48 scale.
The box
The box is quite large weighing 2.7 kilogram. The box art is limited to a big sticker shouting FRAGILE, the delivery address and a considerable amount of tape to keep it together.
Ok, this box is not made to attract buyers as this kit is a limited run (200 ) and only available from the manufacturers web site. It is quite sturdy though and able to protect whatever is inside from transporting damage. It does that job very well, no complaints here.
Still, it shows that I spent 150 British pounds on an extravagantly large model (even for a vacu form kit) from a tiny company. At this stage, I have some doubts about what I will find inside. What on earth have I gotten myself into?
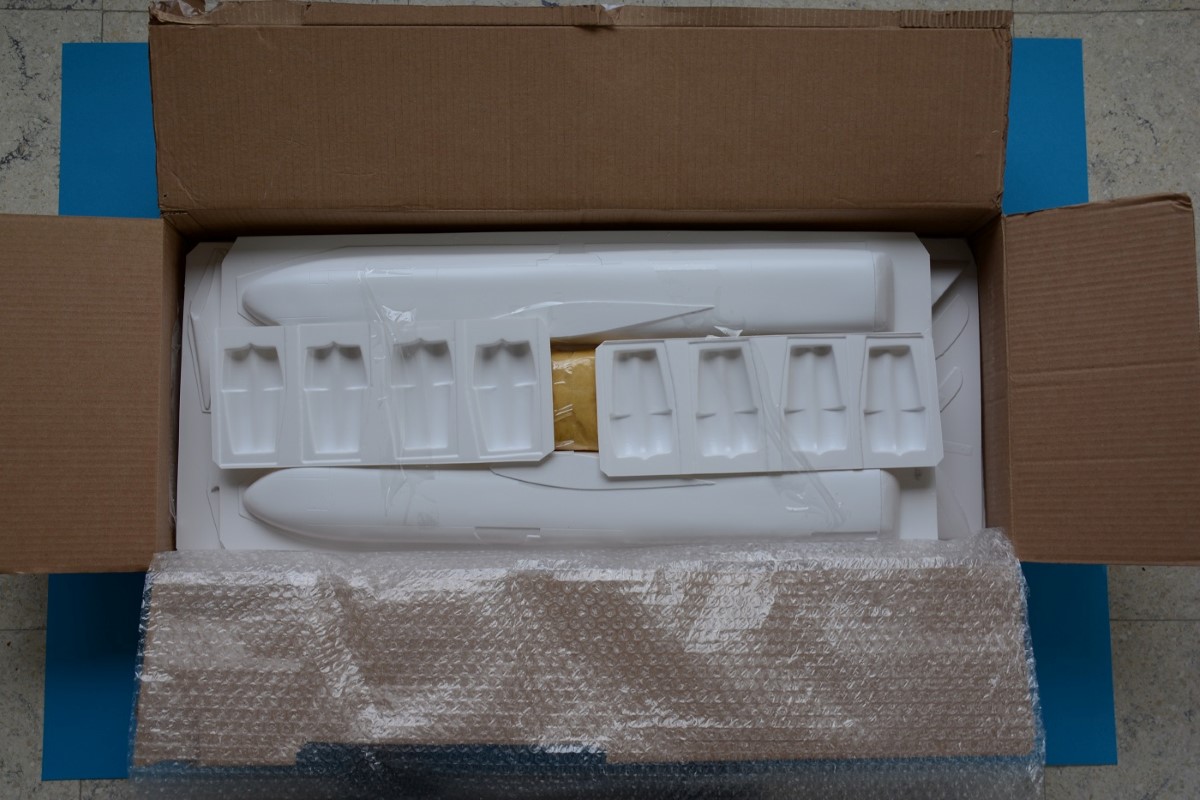
The plastic
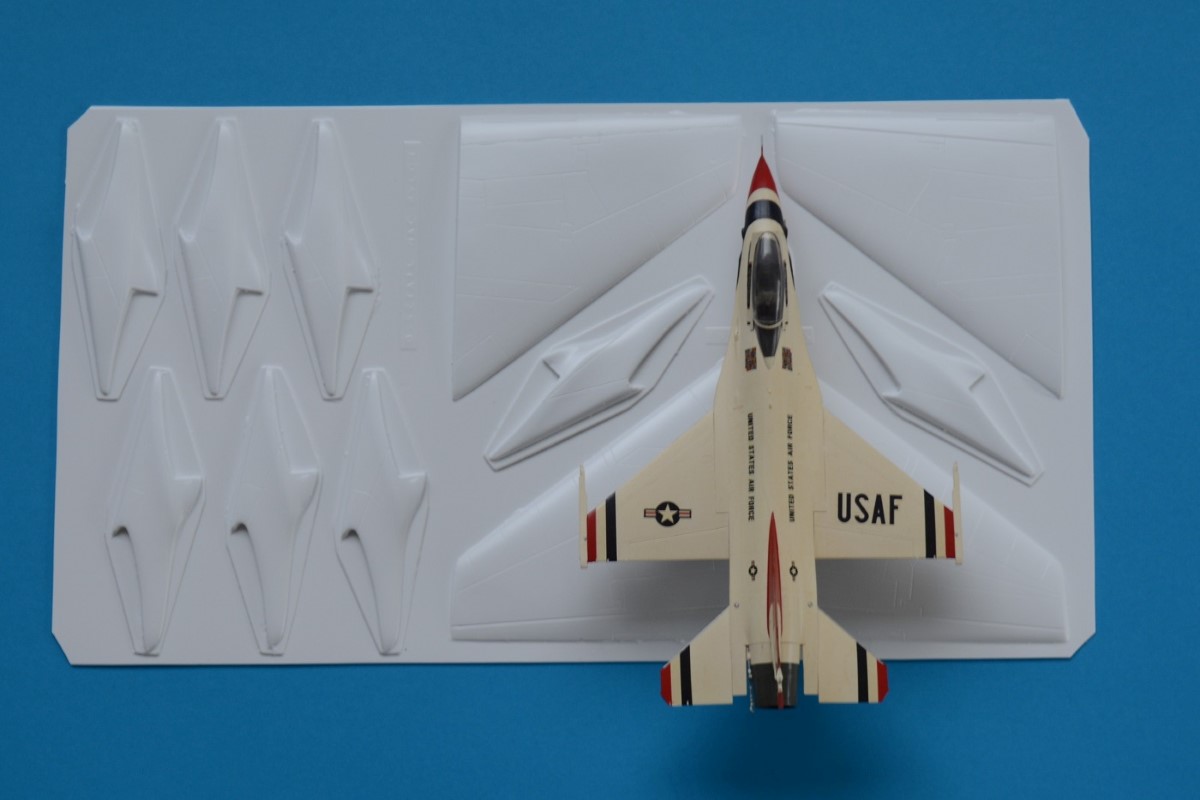
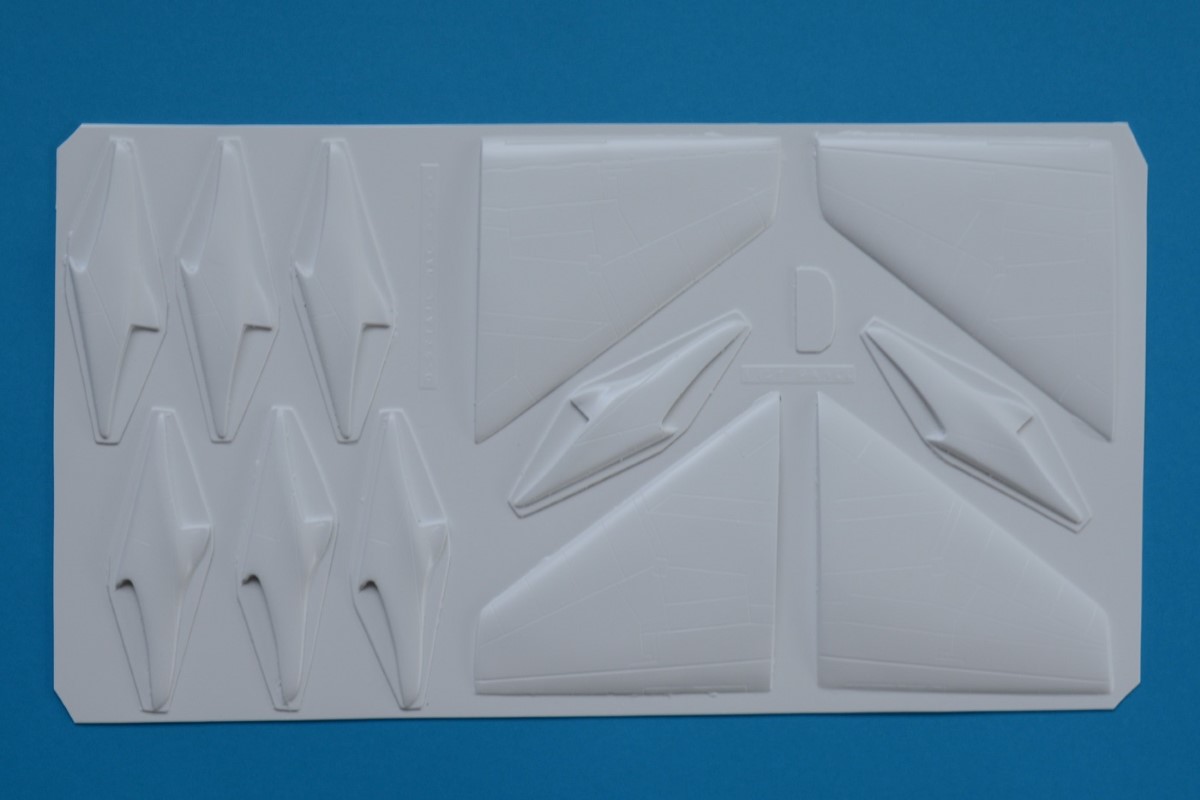
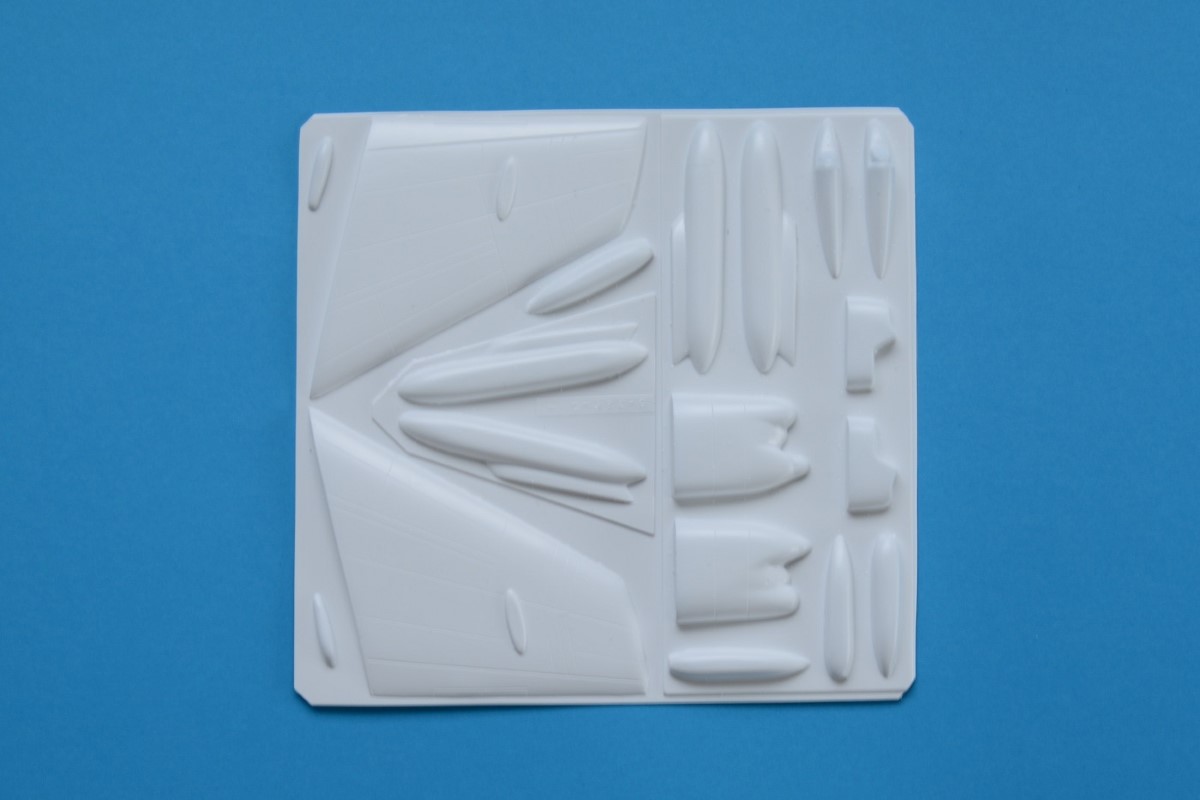
Opening the box first leads to a sheet of bubble plastic as extra protection and a number of white plastic Vacu formed sheets that fit perfectly in the box. Ok, the company may be small but they obviously have eye for detail and are very committed to have the product arriving in-tact with the customer.
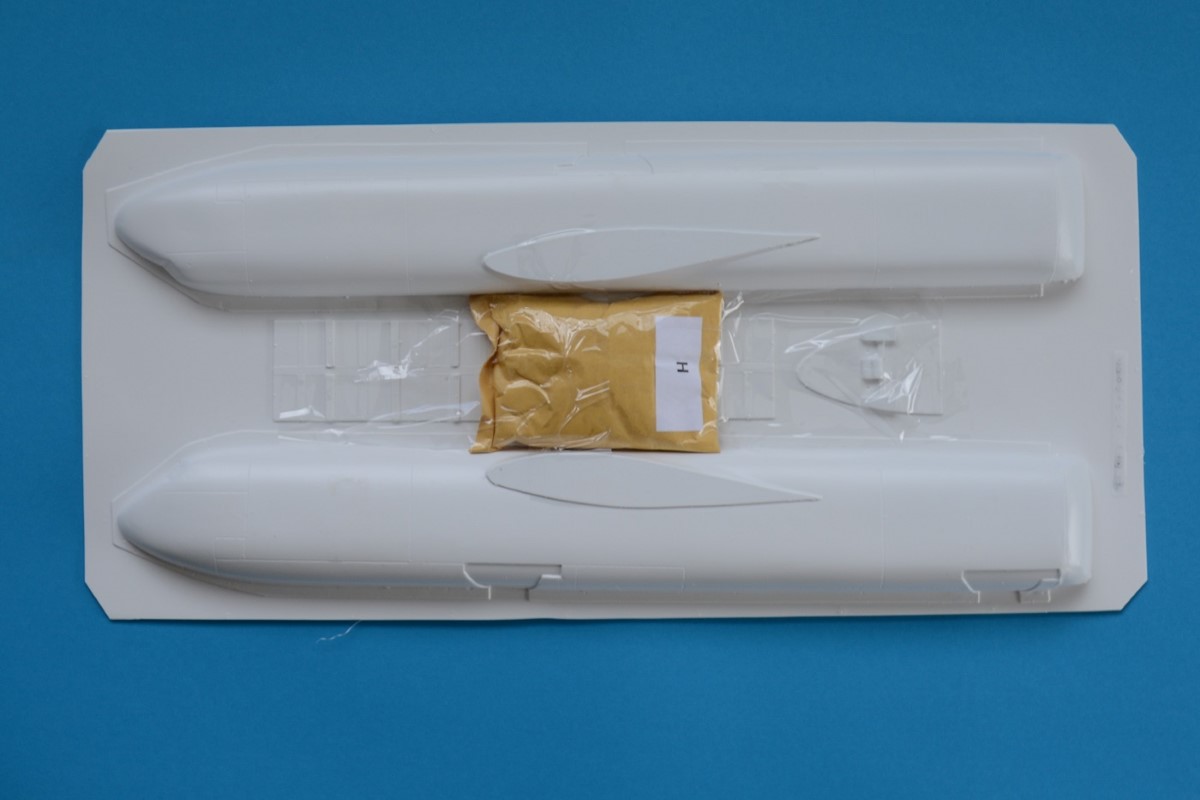
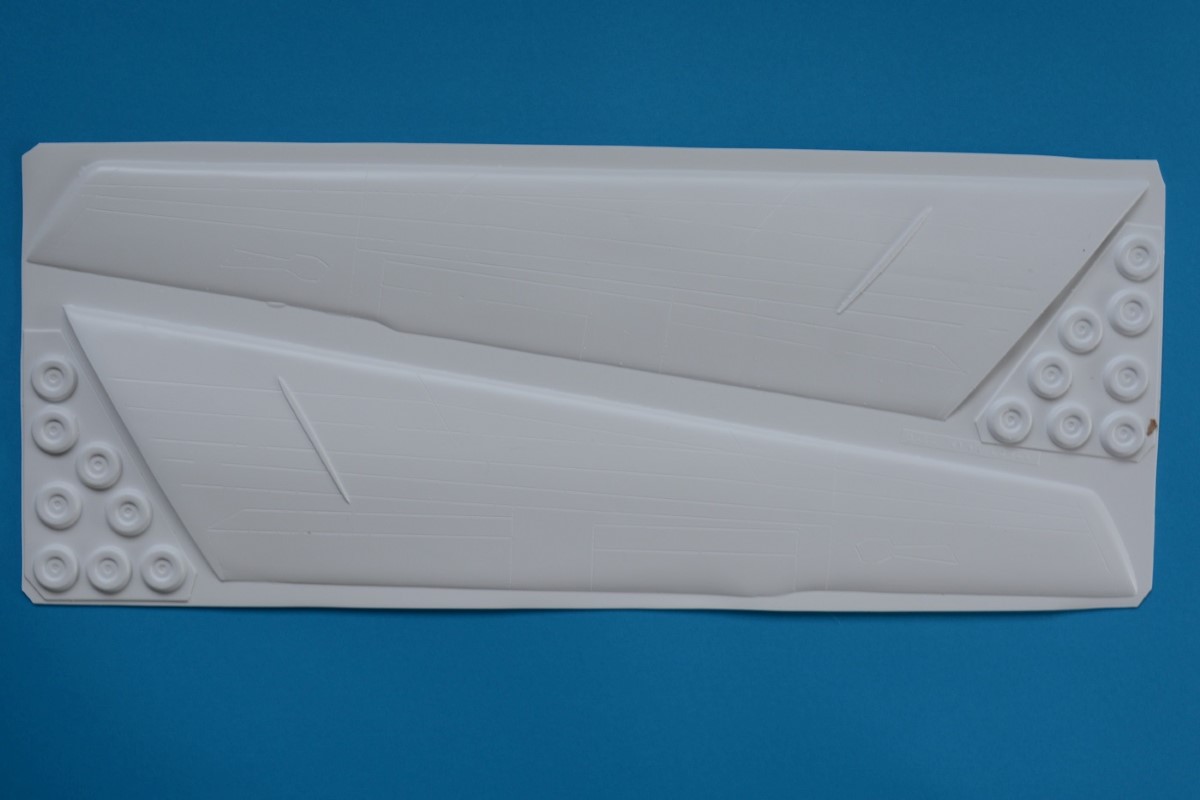
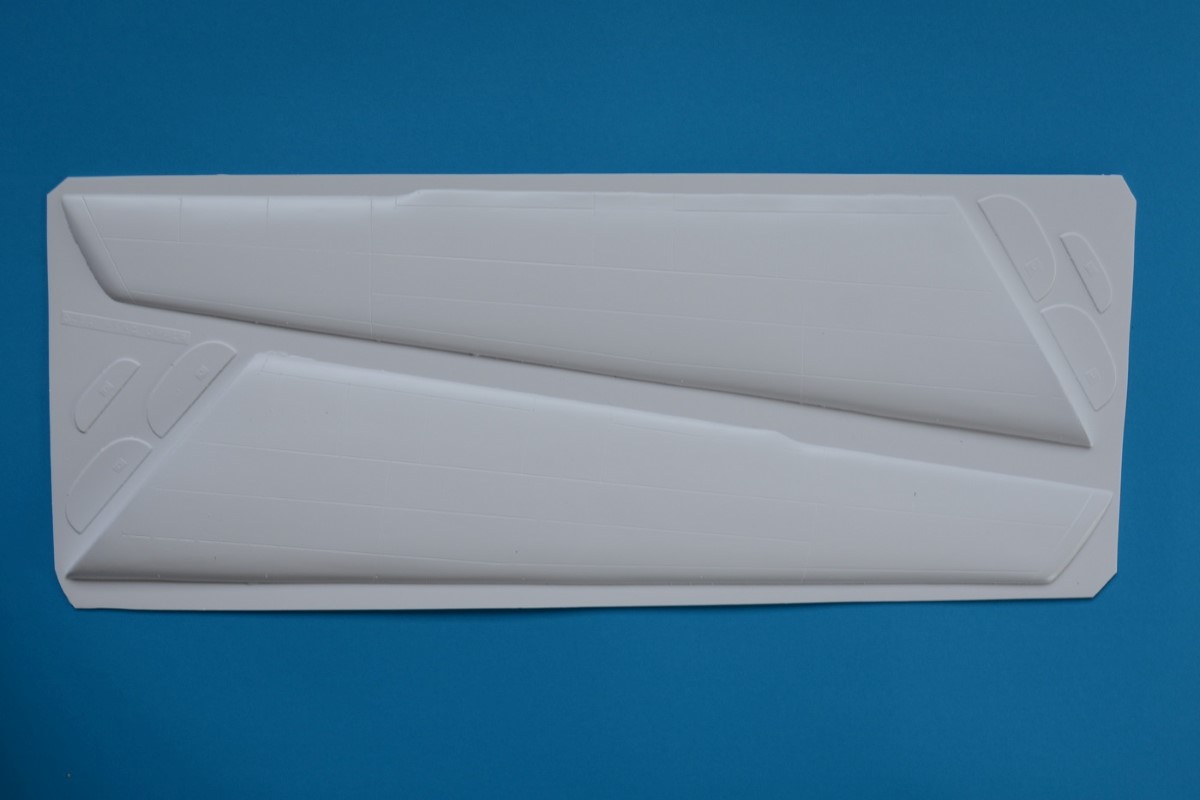
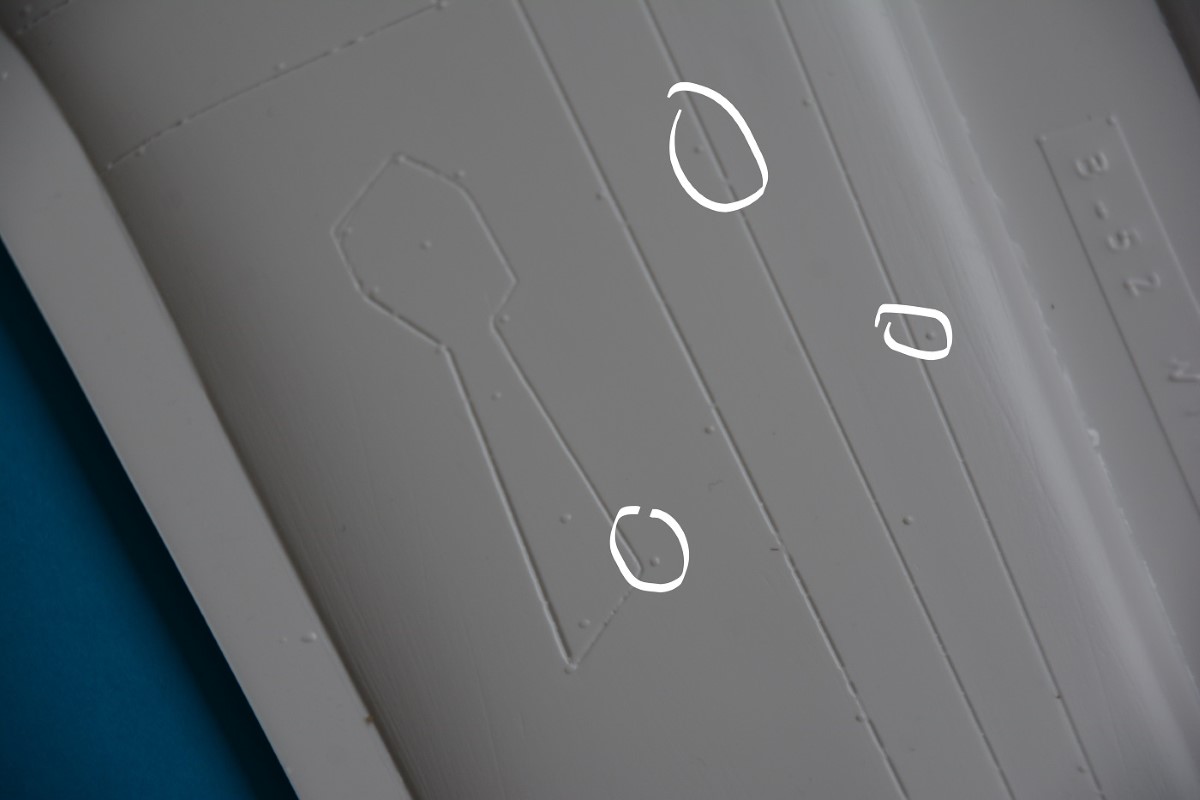
The plastic seems to be between 1.5 and 1.2 mm thick. I expect that the vac formed parts themselves are about one mm thick with the plastic being slightly stretched during forming. The plastic is quite stiff. I expected that the long wings would drop considerably when held only on one side but that is not the case. What is even more surprising to me is the presence of recessed panel lines.
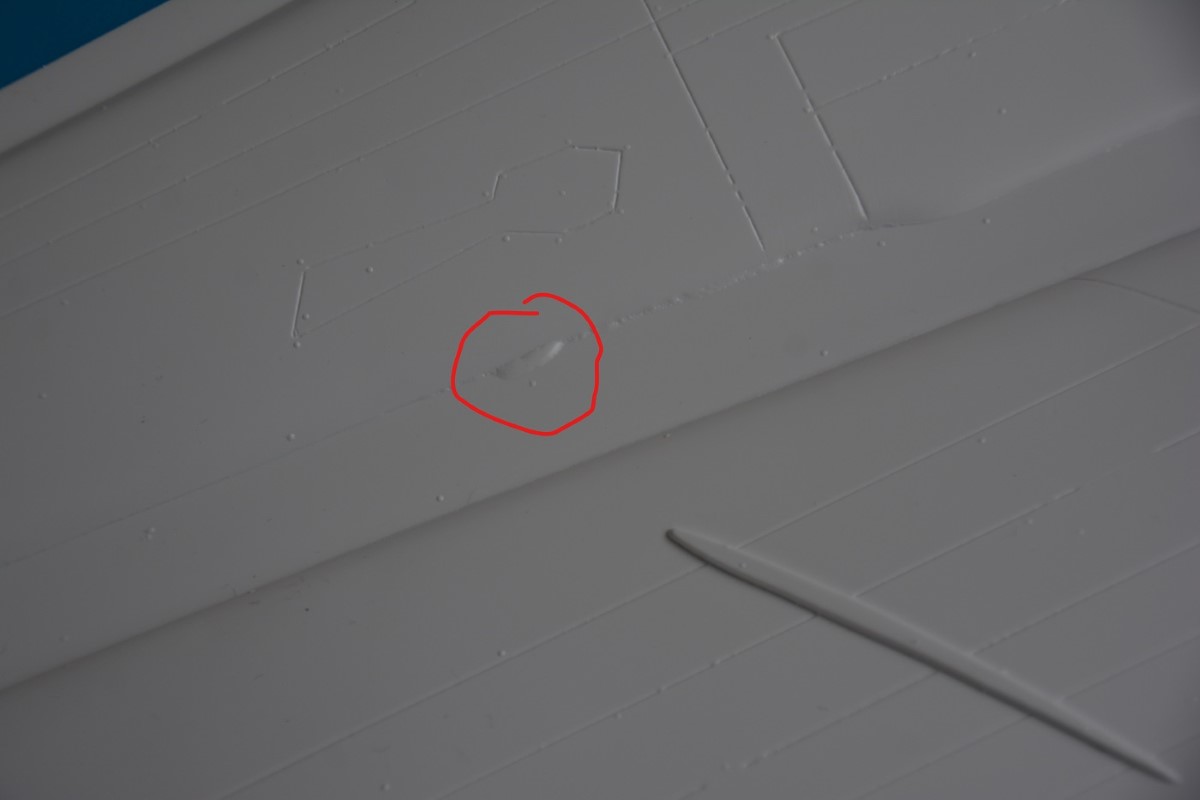
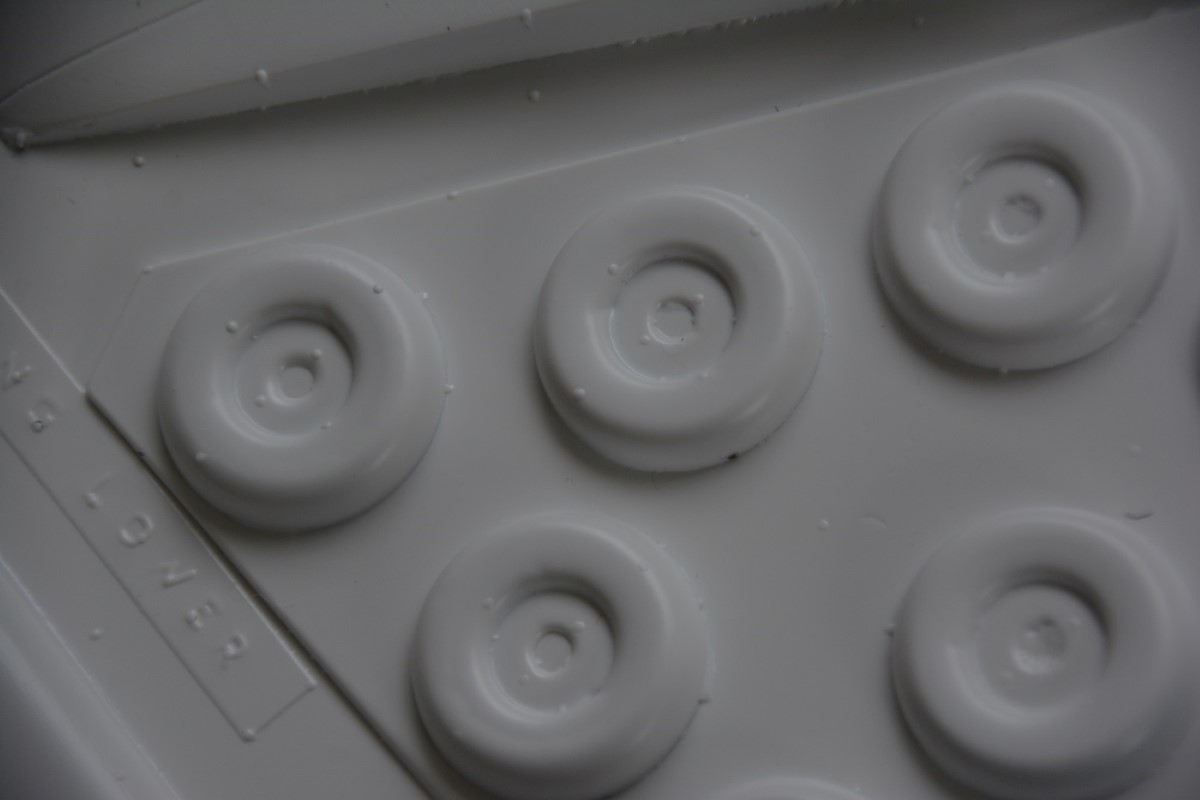
The surface of the parts looks reasonably smooth. However, it is covered with many tiny raised spots that will have to be sanded away. I assume that these spots indicate the location of the holes through which the air is sucked out from under the mould.
As seems to be typical for vacu formed parts, the surface is not perfect with here and there some blister like bumps. Also, the panel lines will need some repairs here and there.
Obviously, the quality of the plastic cant be compared with the quality of injection moulded kits but it still is surprisingly good. So far, I feel a reassured, this is not the disaster I feared that it could be.
The kit is huge. The wing halves are approximately 65 centimetres long. The fuselage is made of 4 parts, the first halves are about 57 centimetres long, the aft parts are 40 centimetres long. For comparison, I added a picture of the tail with a 1/48 scale F-16 on top. The tail sections are visibly much larger than the wings of the F-16.
Size obviously matters. Still, this size could become a problem. I fear that the kit could, long term start sagging and I will put some extra reinforcements here and there. Another weak spot may be the point where the wings are connected to the fuselage; The relatively large weight of the wings may cause the bond to break.
Sanger is adding a shape for a reinforcement to its instruction sheets. I am however thinking about a system that would allow for removing the wings to facilitate transporting the model.
There is very little interior detail. Some bulkheads to strengthen the kit, and a simple cockpit. Maybe this is irrelevant. How many of those highly detailed cockpits have I made that are totally invisible in the completed model?
The white metal
The undercarriage, two cockpit seats and a few other bits and pieces such as the engine fans are supplied in white metal. Considering the expected weight of the plane that metal undercarriage seems a necessity. It will also require learning a few new skills in using epoxy glue, or to learn how to solder that white metal.
The clear parts
There is only one vac formed clear part. It gives me the shape of the cockpit. This part will be very useful. One of the shortcomings of the white plastic is that the windows of the plane are not clearly formed. This large transparent part will not only be a good mould for checking the form of the cockpit, it will also easily compensate for any cutting errors of the windows.
The decals
Sanger has put an enormous effort in preparing the decals. You can buy a grant total of 32 different decal sets for each of the B-52A until H models that
Sanger is producing. My choice was for the B-52H 'High Roller' Serial 80231 RAF Fairford. Not a surprise I guess after my introductory story.
The decals look somewhat different(?) than what I see from eg. Cartograph but seem of very good quality overall. I expect no problems here.
There is not only a huge choice in decals.
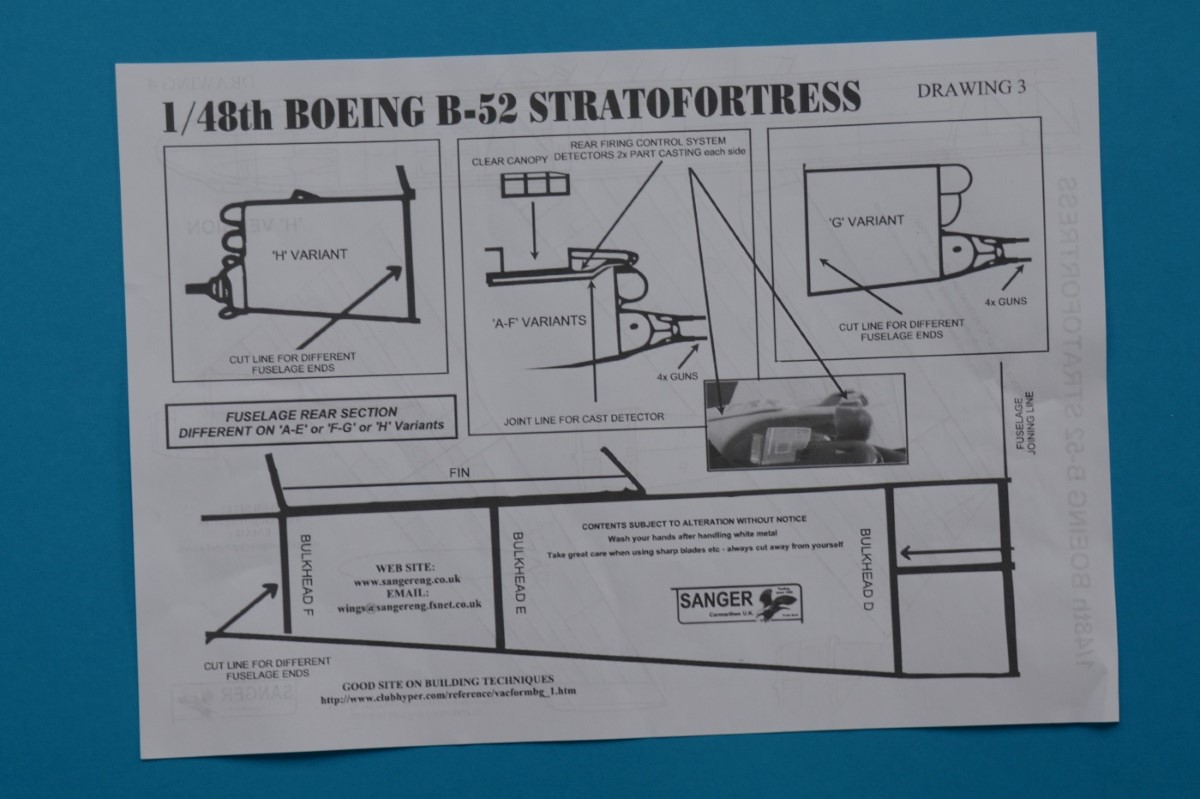
Sanger supplies the kit as four versions along the lines of the various B-52 models that were produced over the years. You can choose between:
- A. NB-52A
- B. B-52 'A-E' Variant
- C. B-52 'F/G' Variant
- D. B-52 'H' Variant
The instruction sheets
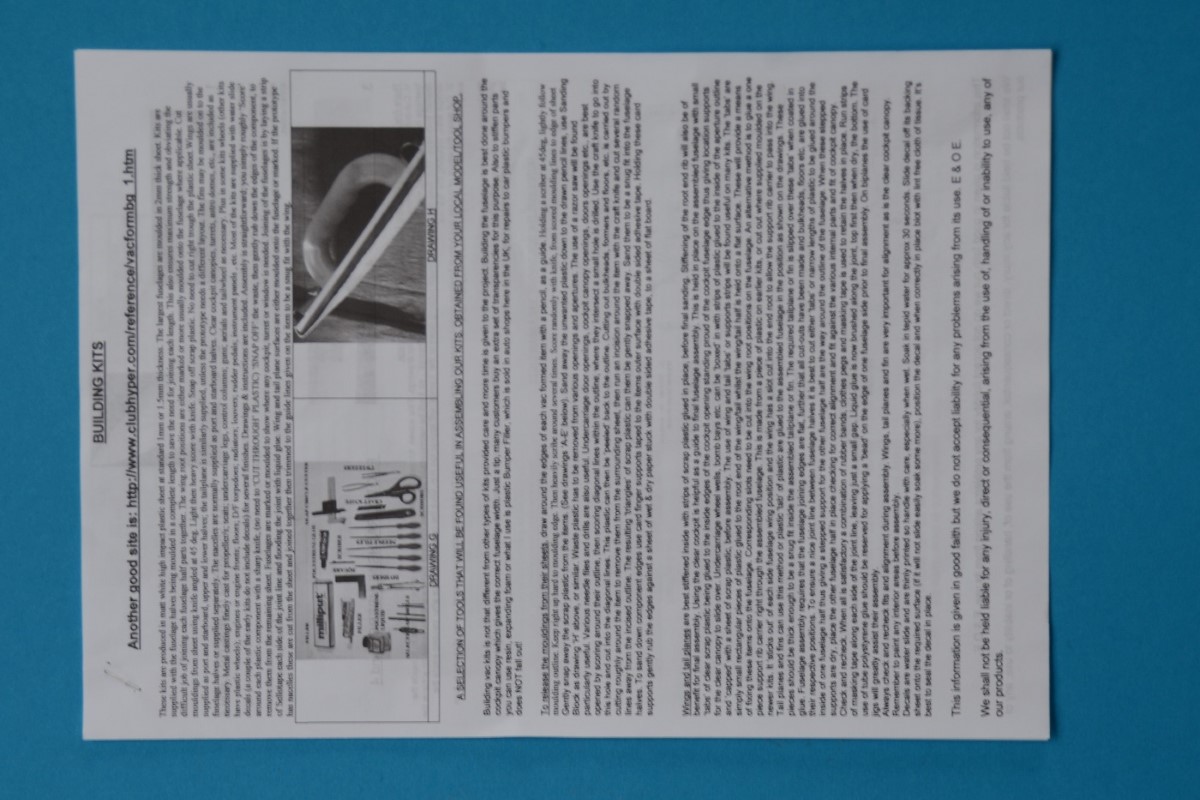
The instruction sheets come in a separate large plastic bag and are simple black and white copies. There are eight A3 size papers giving information on how to assemble the model, there are four A-4 size papers with tips on how to assemble Vacu form models and how to deal with White metal, and there is an instruction sheet explaining how to deal with the decal sheets.
Great!! On some aspects,
Sanger here gives more information on how to build a kit than many large companies.
Still, there is no paint scheme, and the eight pages assembly drawings look more like general guidelines than precise instructions. This will not be a straightforward Kinetamigawa build, that is for sure.
However, it feels strangely exciting having to do my homework, to seek al information missing on the internet, or in books, and to puzzle with the available information and parts until I get it right. I think that while building this kit I will raise dry-fitting to a whole new level.
The verdict
I cant possibly rate this kit. Not only because I have no experience with Vac form and thus nothing to compare with, but predominantly because this kit is the result of so much dedication, determination, and stubborn continuation that any attempt to rate it would express nothing but arrogance.
A small company, most likely a one-man operation, produced a 1 meter long kit (not forgetting to study the subject to great detail) that none of the large kit manufacturers has dared to make.
The quality of the kit is, considering the limitations of the technology used, outstanding and bizarrely enough, where it falls short it appears like an invitation to deviate from the kit and scratch some things myself. What about adding functioning navigation lights, or adding a jet engine sound, or opening up the flaps in the wings, or opening and detailing the huge bomb bay
It is a challenge to build and I just hope that I will be able to do this kit justice. Maybe this is just what modelling is all about.
Thank you
Sanger!


Comments