_GOTOBOTTOM
World War II: Japan
Aircraft of Japan in WWII.
Hosted by Rowan Baylis
1/72 Hasegawa A6M2 and A6M5 "Super Ace" combo
mrockhill
_VISITCOMMUNITY
Pennsylvania, United States
Joined: June 17, 2009
KitMaker: 566 posts
AeroScale: 507 posts
Posted: Sunday, November 26, 2017 - 02:43 AM UTC
Ive been tinkering on and off (mostly off) with the A6M2 half of this kit since February for the pearl harbor campaign being hosted on kitmakers model shipwrights forum. "Super Ace" is apparently refering to Tetsuzo Iwamoto, one of the contenders for japans leading ace pilot. It seems apparent the Japanese military put little emphasis on personal achiements instead focusing on the unit as a whole. Tetsuzos memoirs make claims of some 202 victories with more modern estimates of 80-90 actual victories ranging from prewar China through VJ day. The kit contains markings for 2-3 different aircraft for each of these two versions, all flown by Tetsuzo Iwamoto. I plan to use the kit markings on both builds.
shown here is the A6M5 ready for the PTO campaign. My few early pics of the A6M2 build are lost to PB.


These are nice little kits with adequate detail for a respectable 1/72 kit, however the cockpit area comes up a little short, but has some basics. On my build of the A6M2 I decided to add some cockpit detail and instead basically scratch built most of the front office.


I just finished painting it up a couple days ago


And her she is in her current state, having just landed after a couple zooming passes over the desk.


Seams are filled and sanded a couple lines need some touch up scribing before I focus on closing up the cockpit, masking and getting paint on.

The A6M5 will be built for the PTO campaign here on aeroscale. Having felt like I earned my "scratch built cockpit boy scout badge" I feel entitled to buy an aftermarket pit for this build, $11 well spent IMHO
A6M5 festivities will commence when the cockpit arrives!
rdt1953
_VISITCOMMUNITY
New Jersey, United States
Joined: February 06, 2015
KitMaker: 1,098 posts
AeroScale: 900 posts
Posted: Sunday, November 26, 2017 - 04:09 AM UTC
Hi Mike - looks good ! I get eye strain just hearing " 1/72 scale "
Richard
Joel_W
Staff MemberAssociate Editor
AUTOMODELER
_VISITCOMMUNITY
New York, United States
Joined: December 04, 2010
KitMaker: 11,666 posts
AeroScale: 7,410 posts
Posted: Sunday, November 26, 2017 - 04:28 AM UTC

Quoted Text

Hi Mike - looks good ! I get eye strain just hearing " 1/72 scale "
Richard


Richard,
me too. These days I find myself walking around the house with my Optivisor still on

Mike,
The cockpit detailing looks simply outstanding. More credit is due for being able to still work in that scale.

Joel
mrockhill
_VISITCOMMUNITY
Pennsylvania, United States
Joined: June 17, 2009
KitMaker: 566 posts
AeroScale: 507 posts
Posted: Sunday, November 26, 2017 - 08:24 AM UTC
Thanks for the compliments guys! No matter how much I prefer 1/48 I really enjoy 1/72. In recognition of that ive been leaning towards smaller while I still am able to build them.

Antilles
_VISITCOMMUNITY
Nordrhein-Westfalen, Germany
Joined: March 22, 2015
KitMaker: 671 posts
AeroScale: 614 posts
Posted: Wednesday, November 29, 2017 - 01:17 AM UTC
Mike: The cockpit area of Your builds looks very nice. I like the additional styrene parts very much. Great improvement!

Oliver
thegirl
_VISITCOMMUNITY
Alberta, Canada
Joined: January 19, 2008
KitMaker: 6,743 posts
AeroScale: 6,151 posts
Posted: Wednesday, November 29, 2017 - 04:53 AM UTC
Nice to know that I'm not the only one who does the zooming passes ..

Nice job on the details .


Terri
mrockhill
_VISITCOMMUNITY
Pennsylvania, United States
Joined: June 17, 2009
KitMaker: 566 posts
AeroScale: 507 posts
Posted: Saturday, December 09, 2017 - 09:54 AM UTC
As per SOP I didnt finish in time for the Pearl Harbor campaign but thats not terribly important Im happier having spent the extra time where I did.

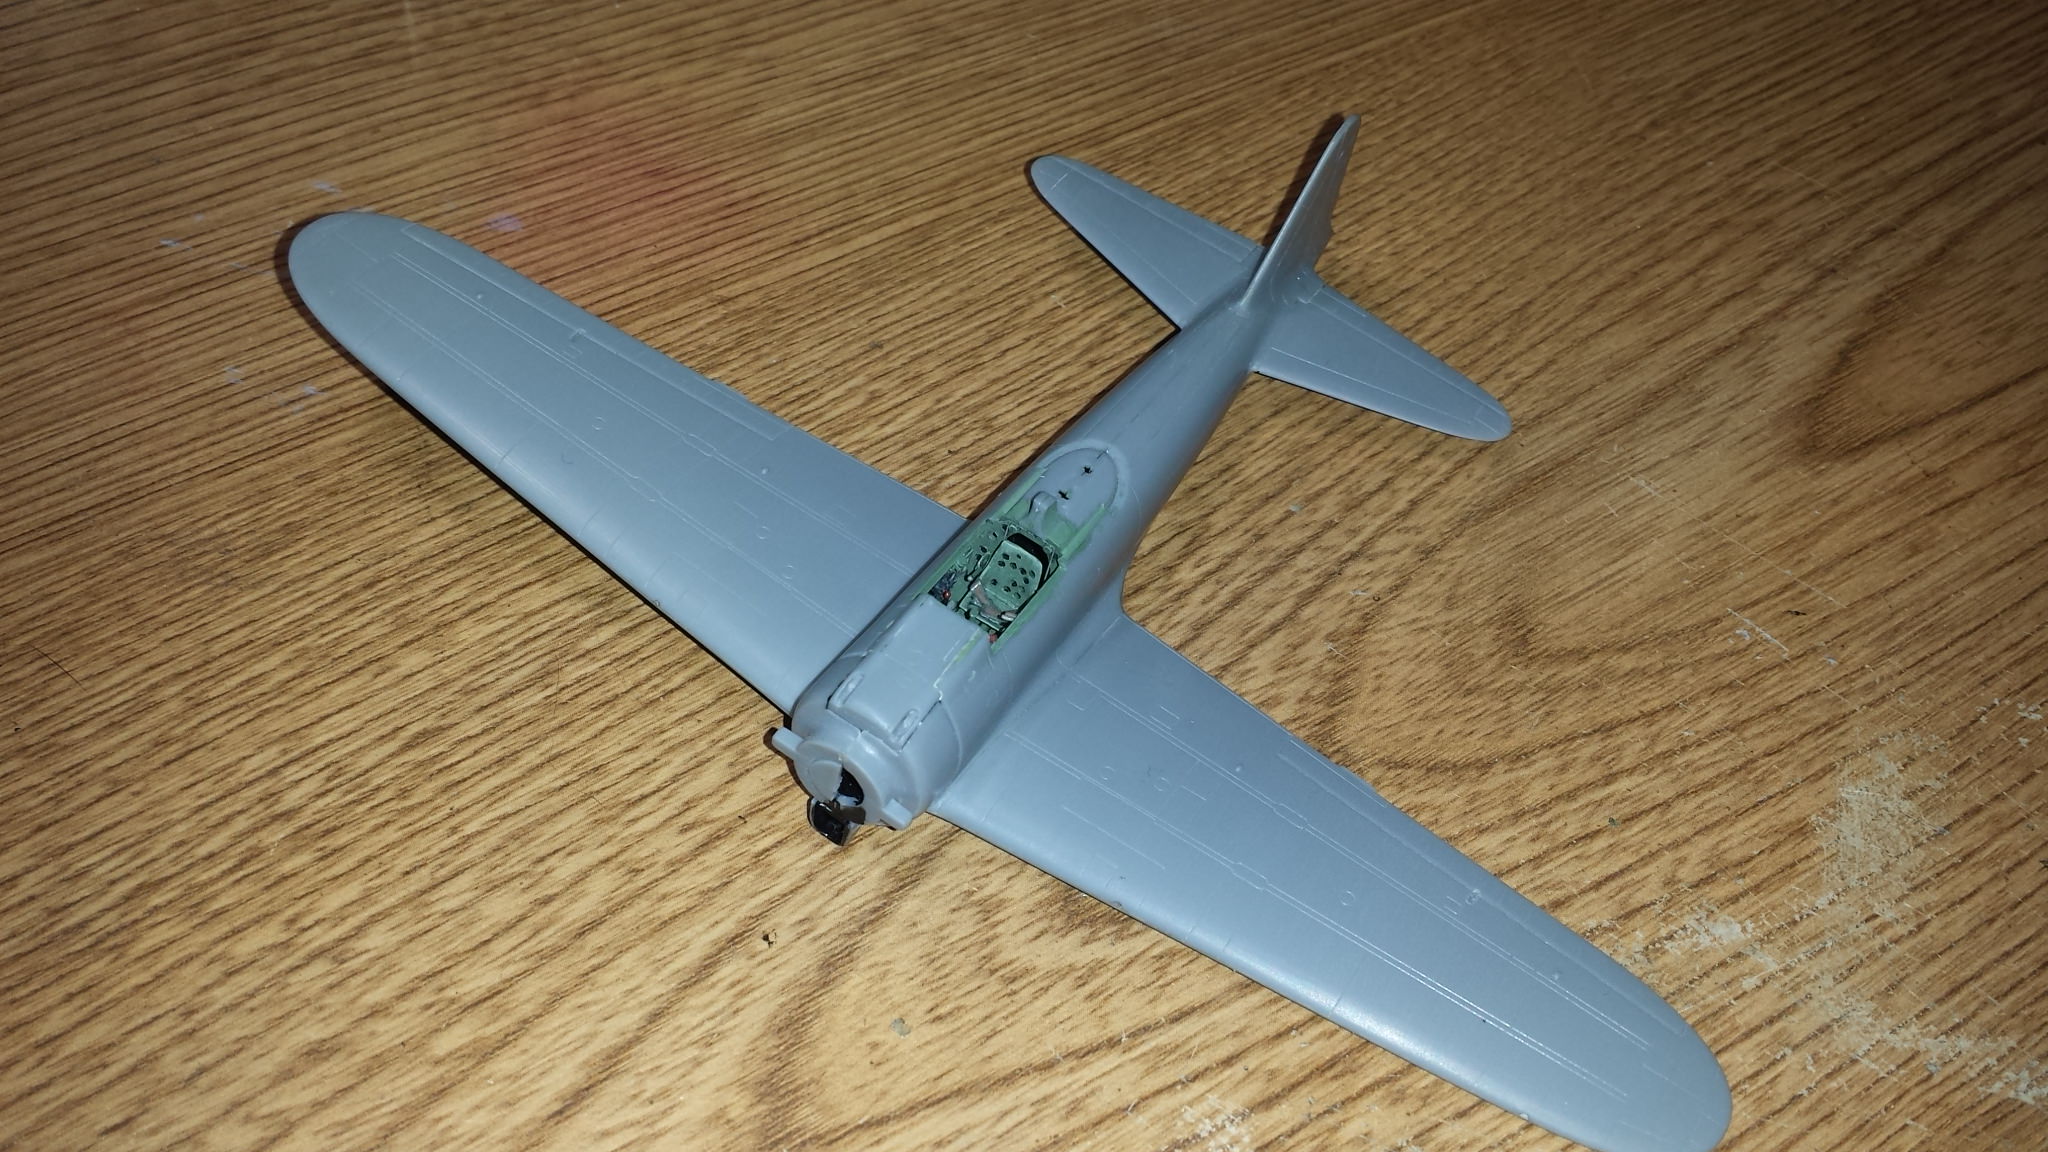
The provided wing openings for the guns are a bit misshapened by nature of the separate wing halves. To fix this I filled all the openings with CA and drill them back out perfectly round. I also filled and drilled the pitot tube hole to help minimize cleanup later. Next I added the prominent cockpit air vent inlet on the starboard wing. A bit too big at first but easily resized with scrap styrene strip.


My next move was to make some sort of type 98 gunsight. With the detailed cockpit skipping it isnt really an option so I started gluing styrene scrap bits together using references and the tamiya 1/72 kit to guide me and got something pretty reasonable


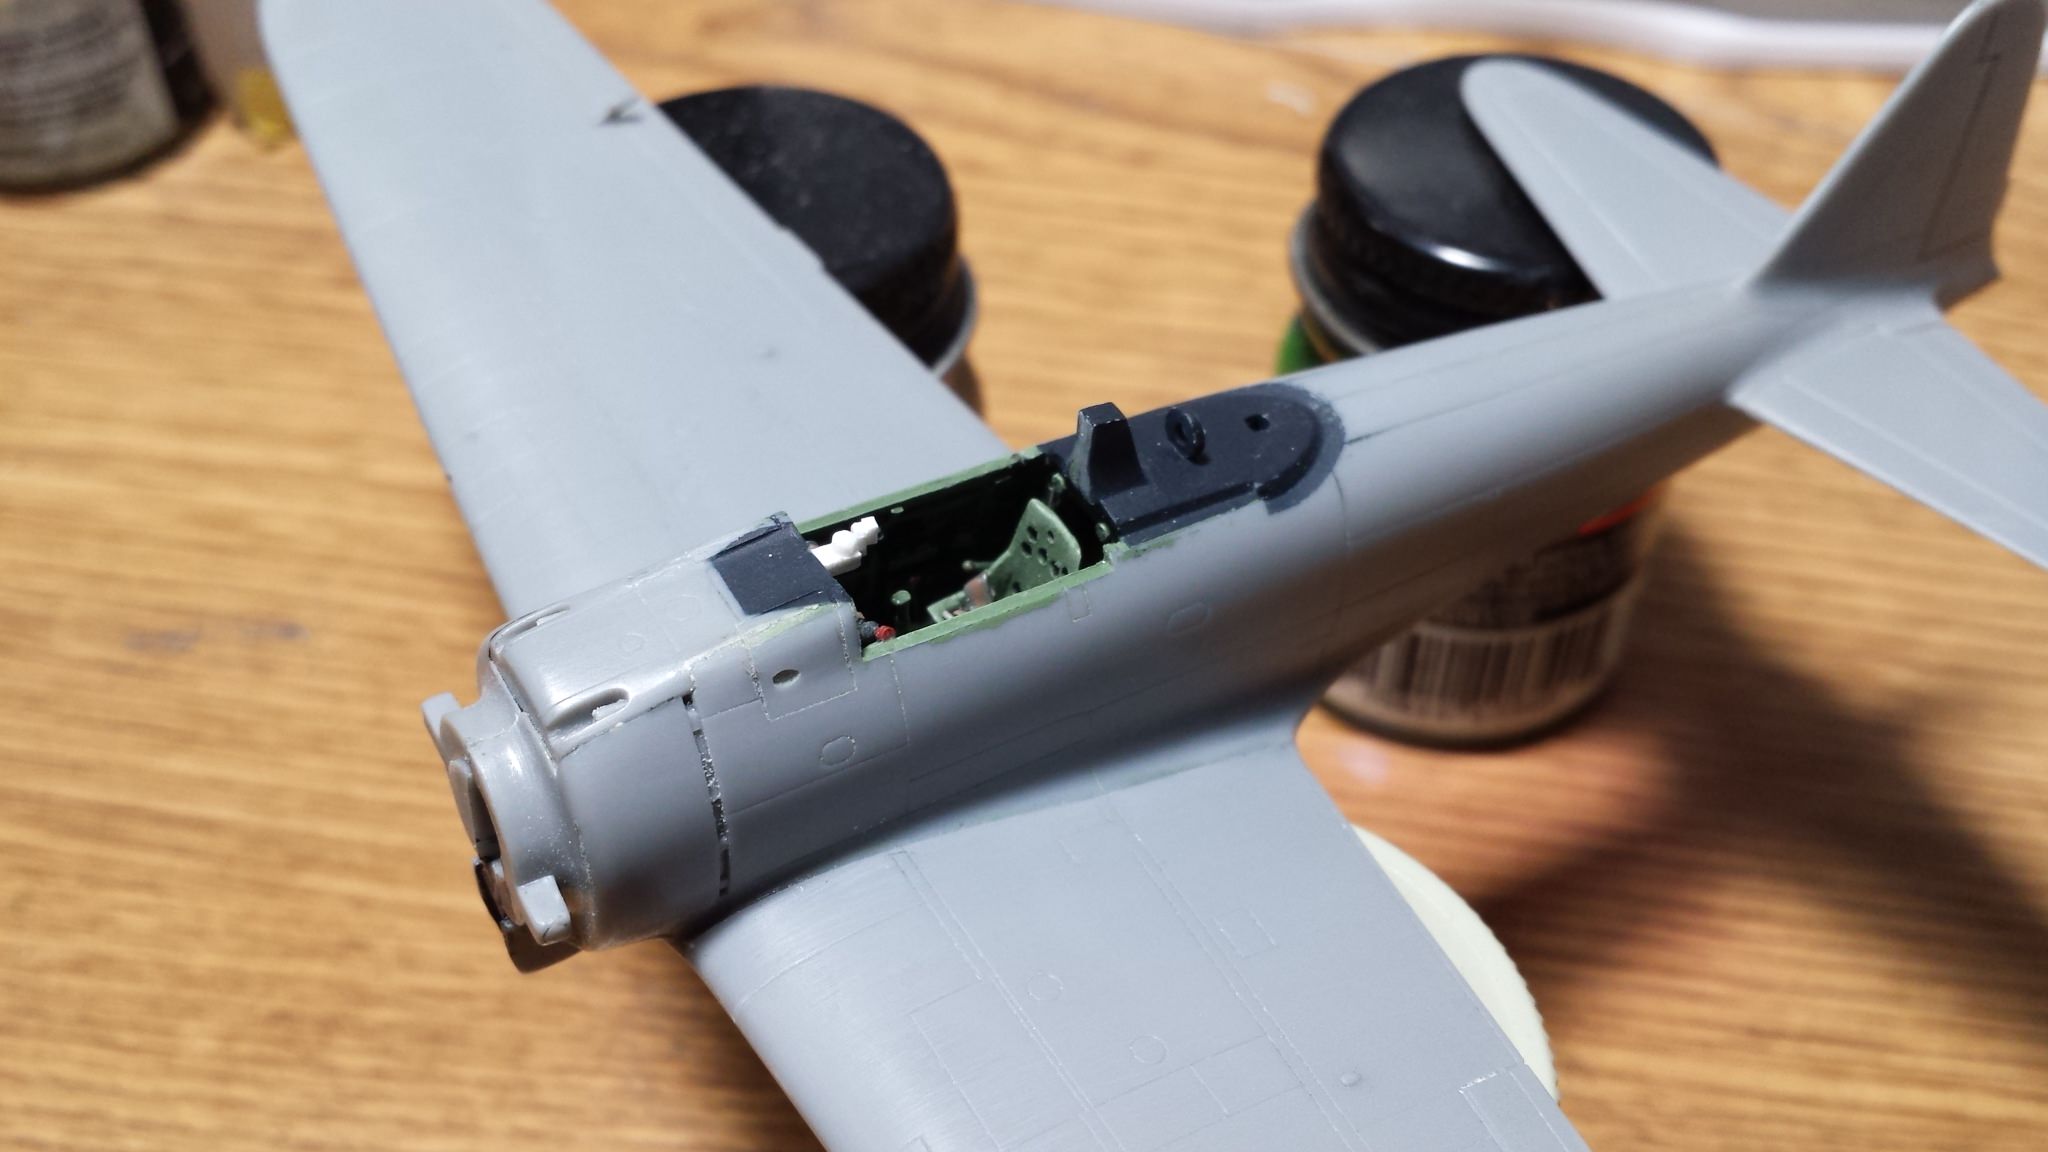
After painting I cut up some scrap acetate for the combining glass and sun shade and attached using micro krystal klear. The sunshade got treated with tamiya smoke.


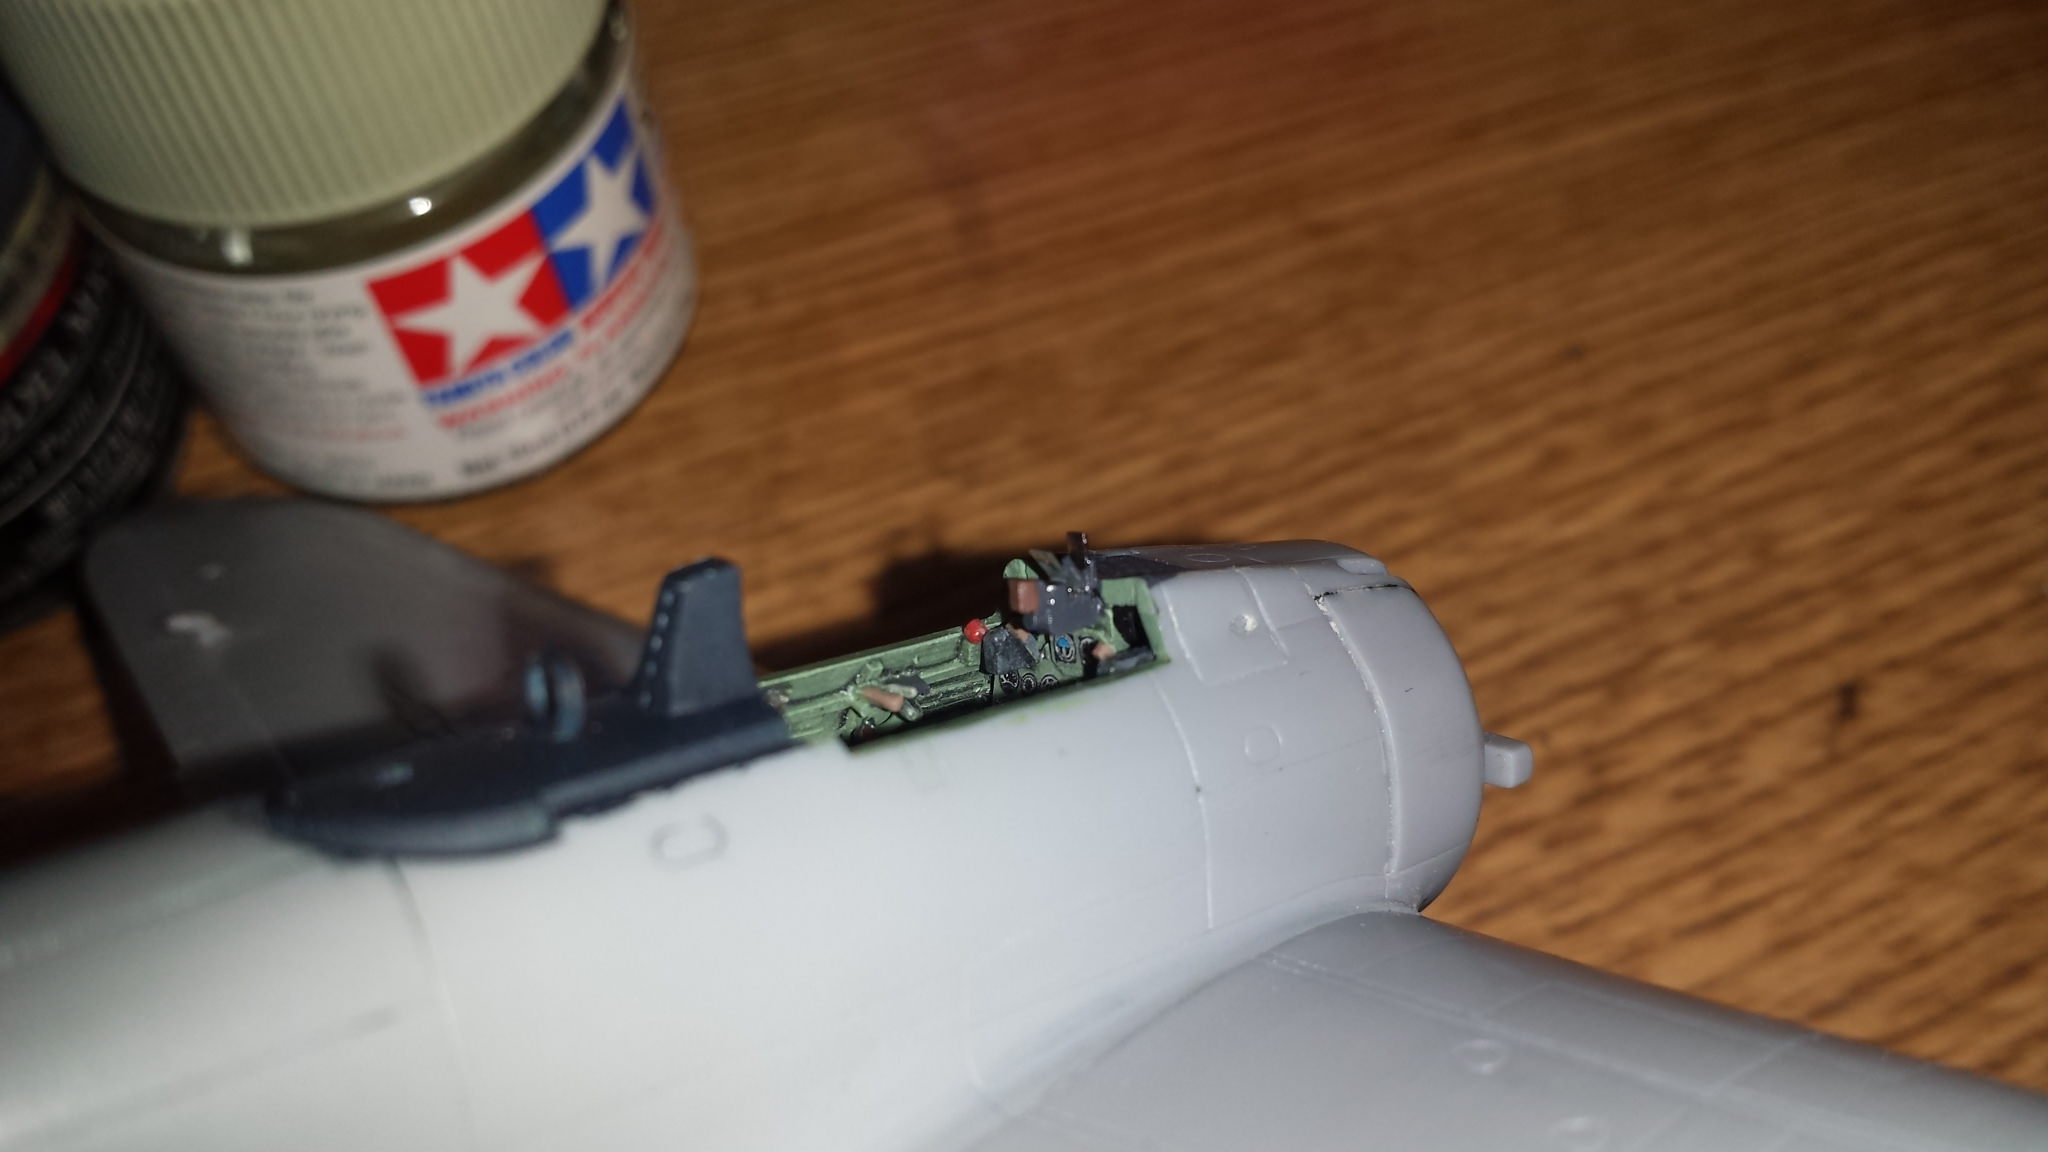
Before installing the sight I masked off the under canopy areas and sprayed them along with the cowling and masked canopy a tamiya blue black of no exact mixture. The paint revealed some rough spots on the cowl I missed that needed resanding. After the gunsight was completed the canopy was fixed in place with formula 560 canopy glue. Naturally a test flight was required.


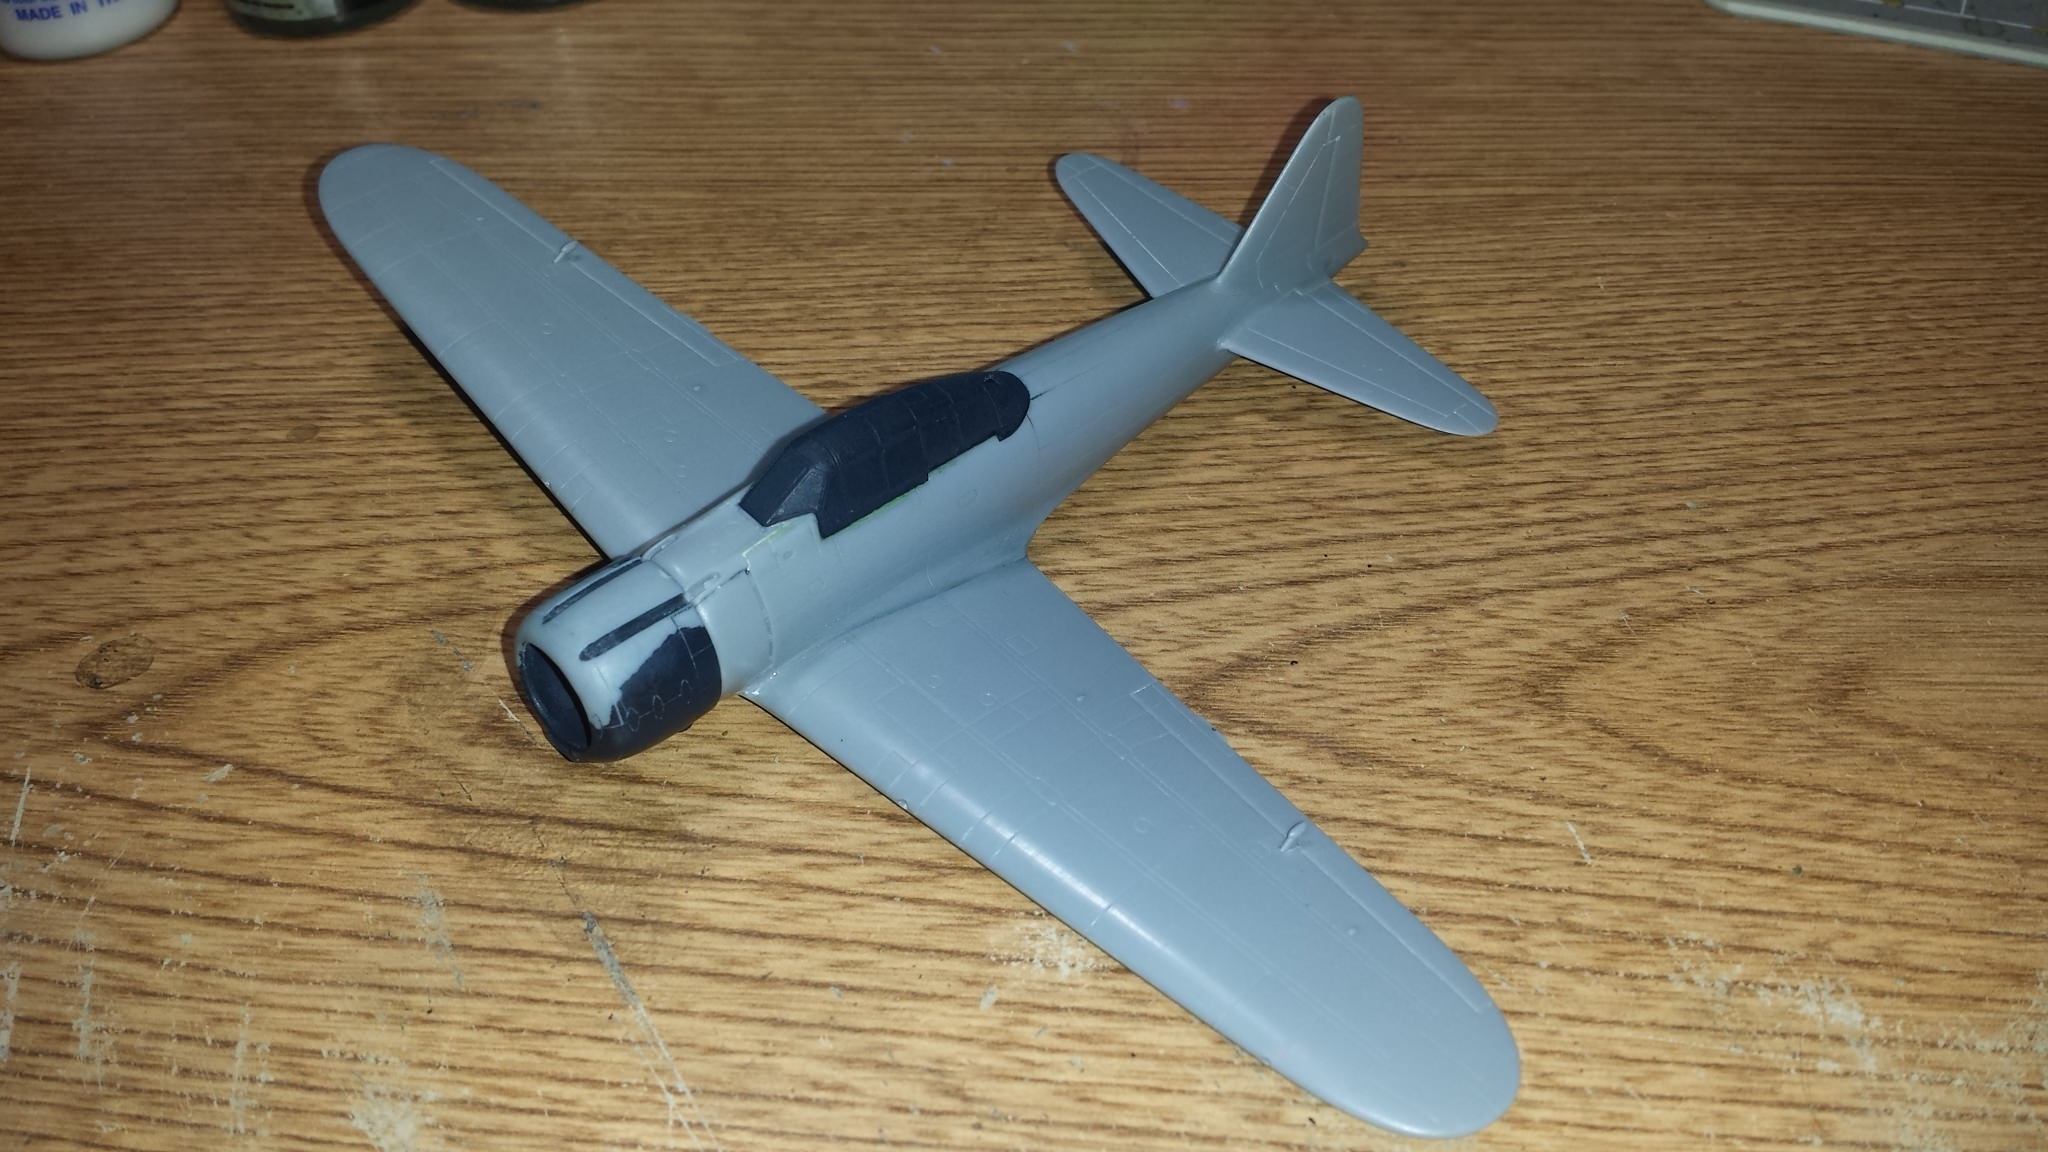
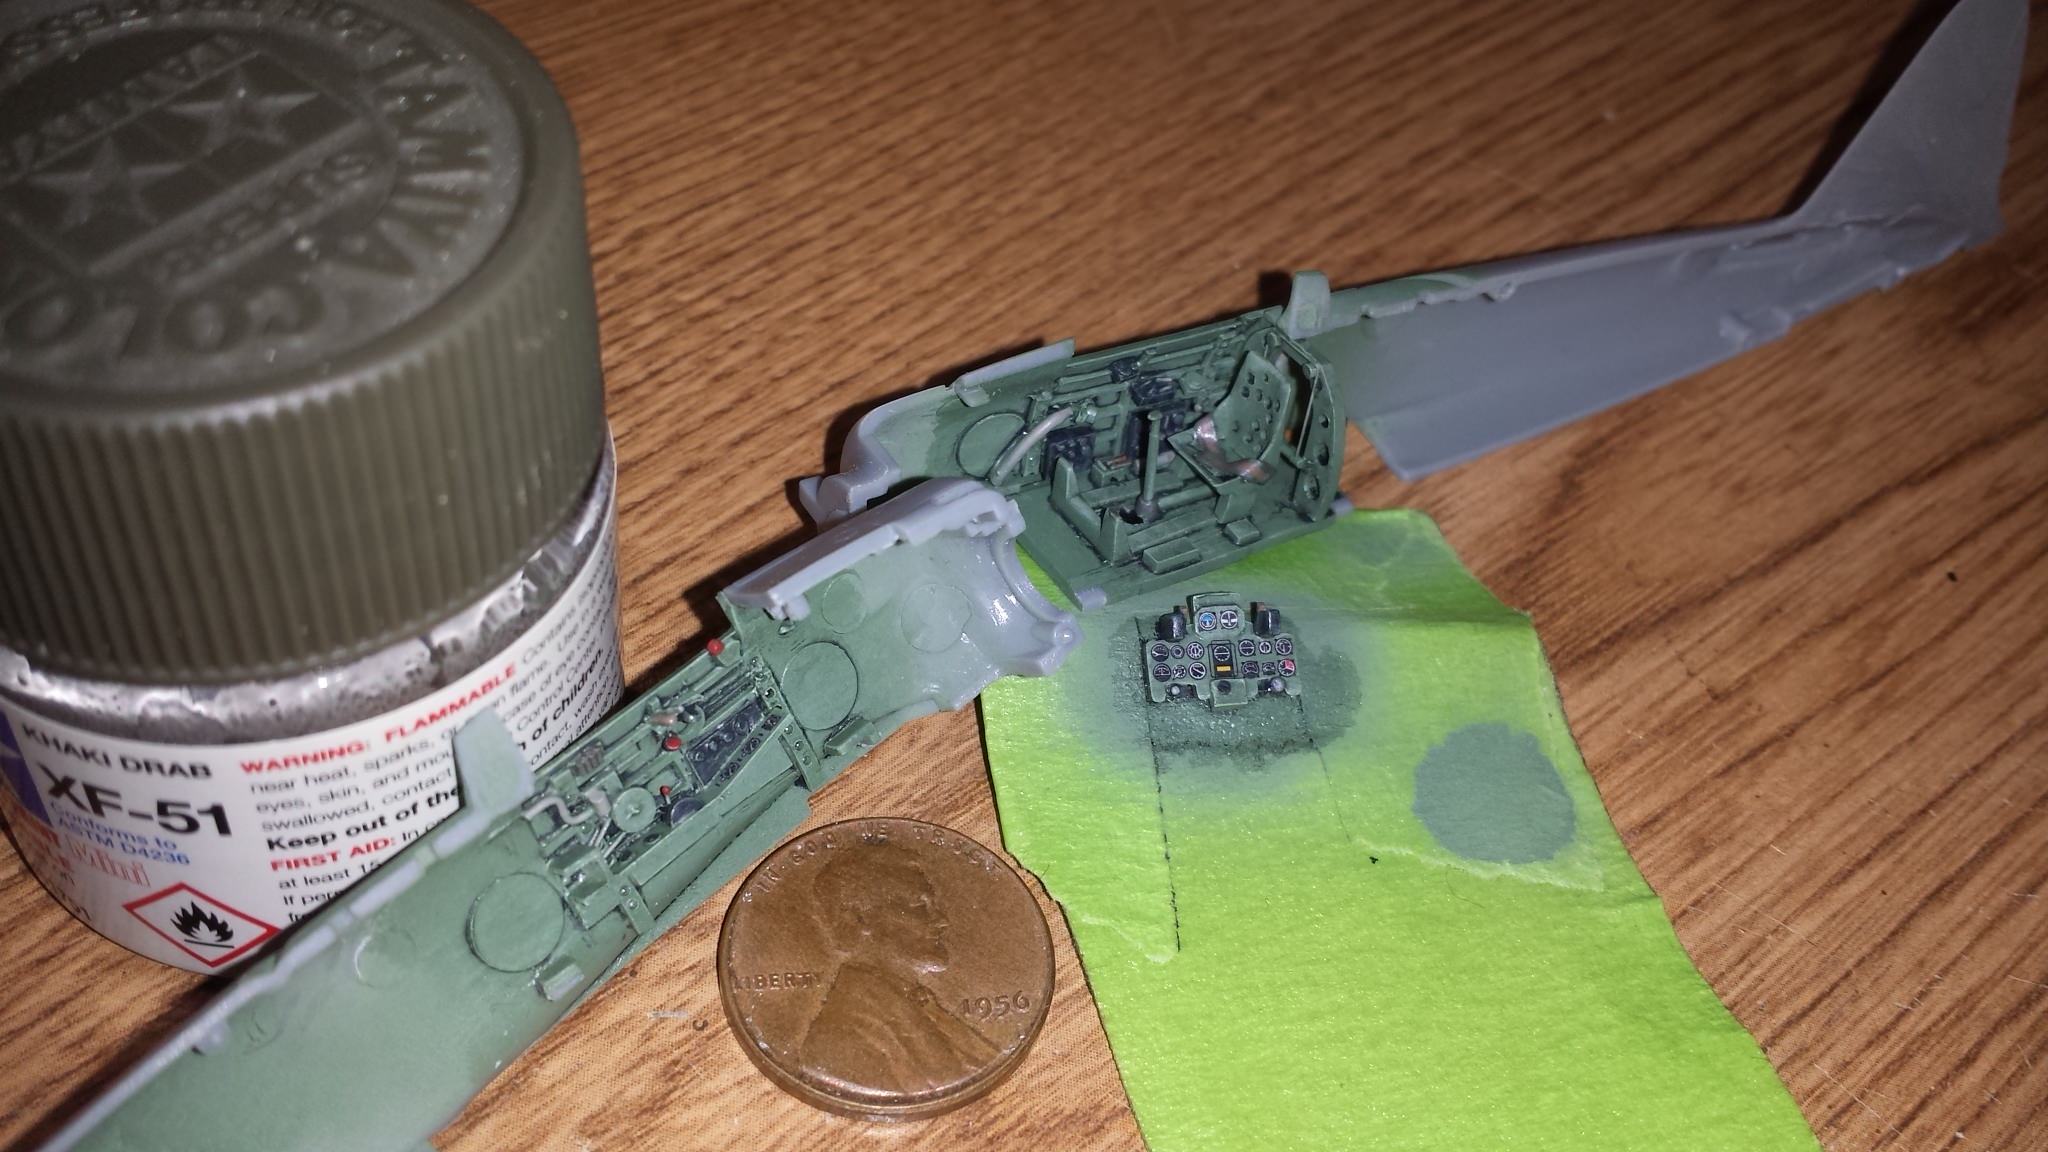
Finally ready for paint I applied tamiya's xf76 IJN gray green to the whole airframe, wheels wells and both sides of all the gear doors as this is going to be a Mitsubishi built machine. Naturally this revealed a couple minor flaws that needed addressing before another coat of xf76 to cover it back up. The cowl also got its blue black repaint. Both are currently in my drying box.

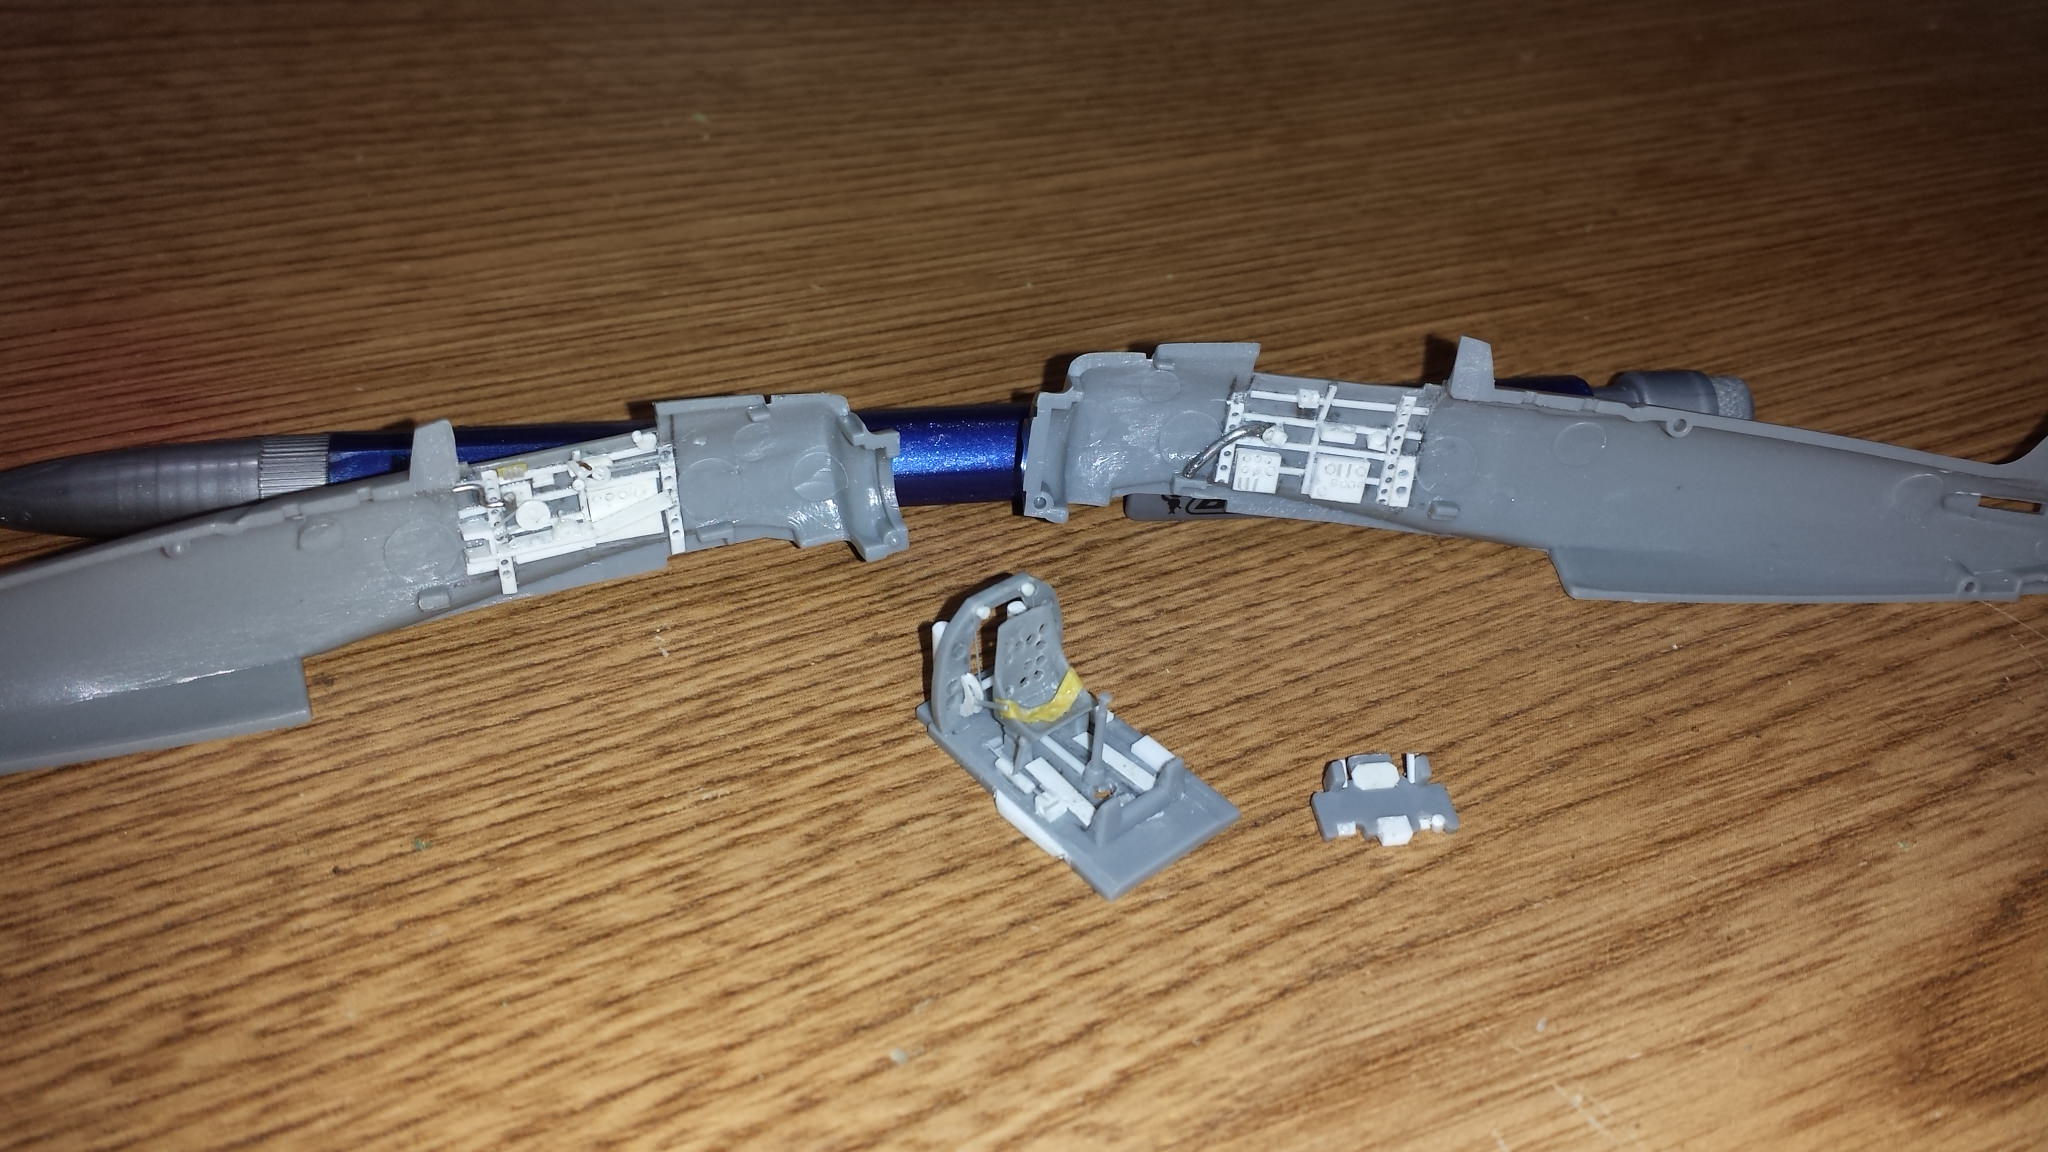
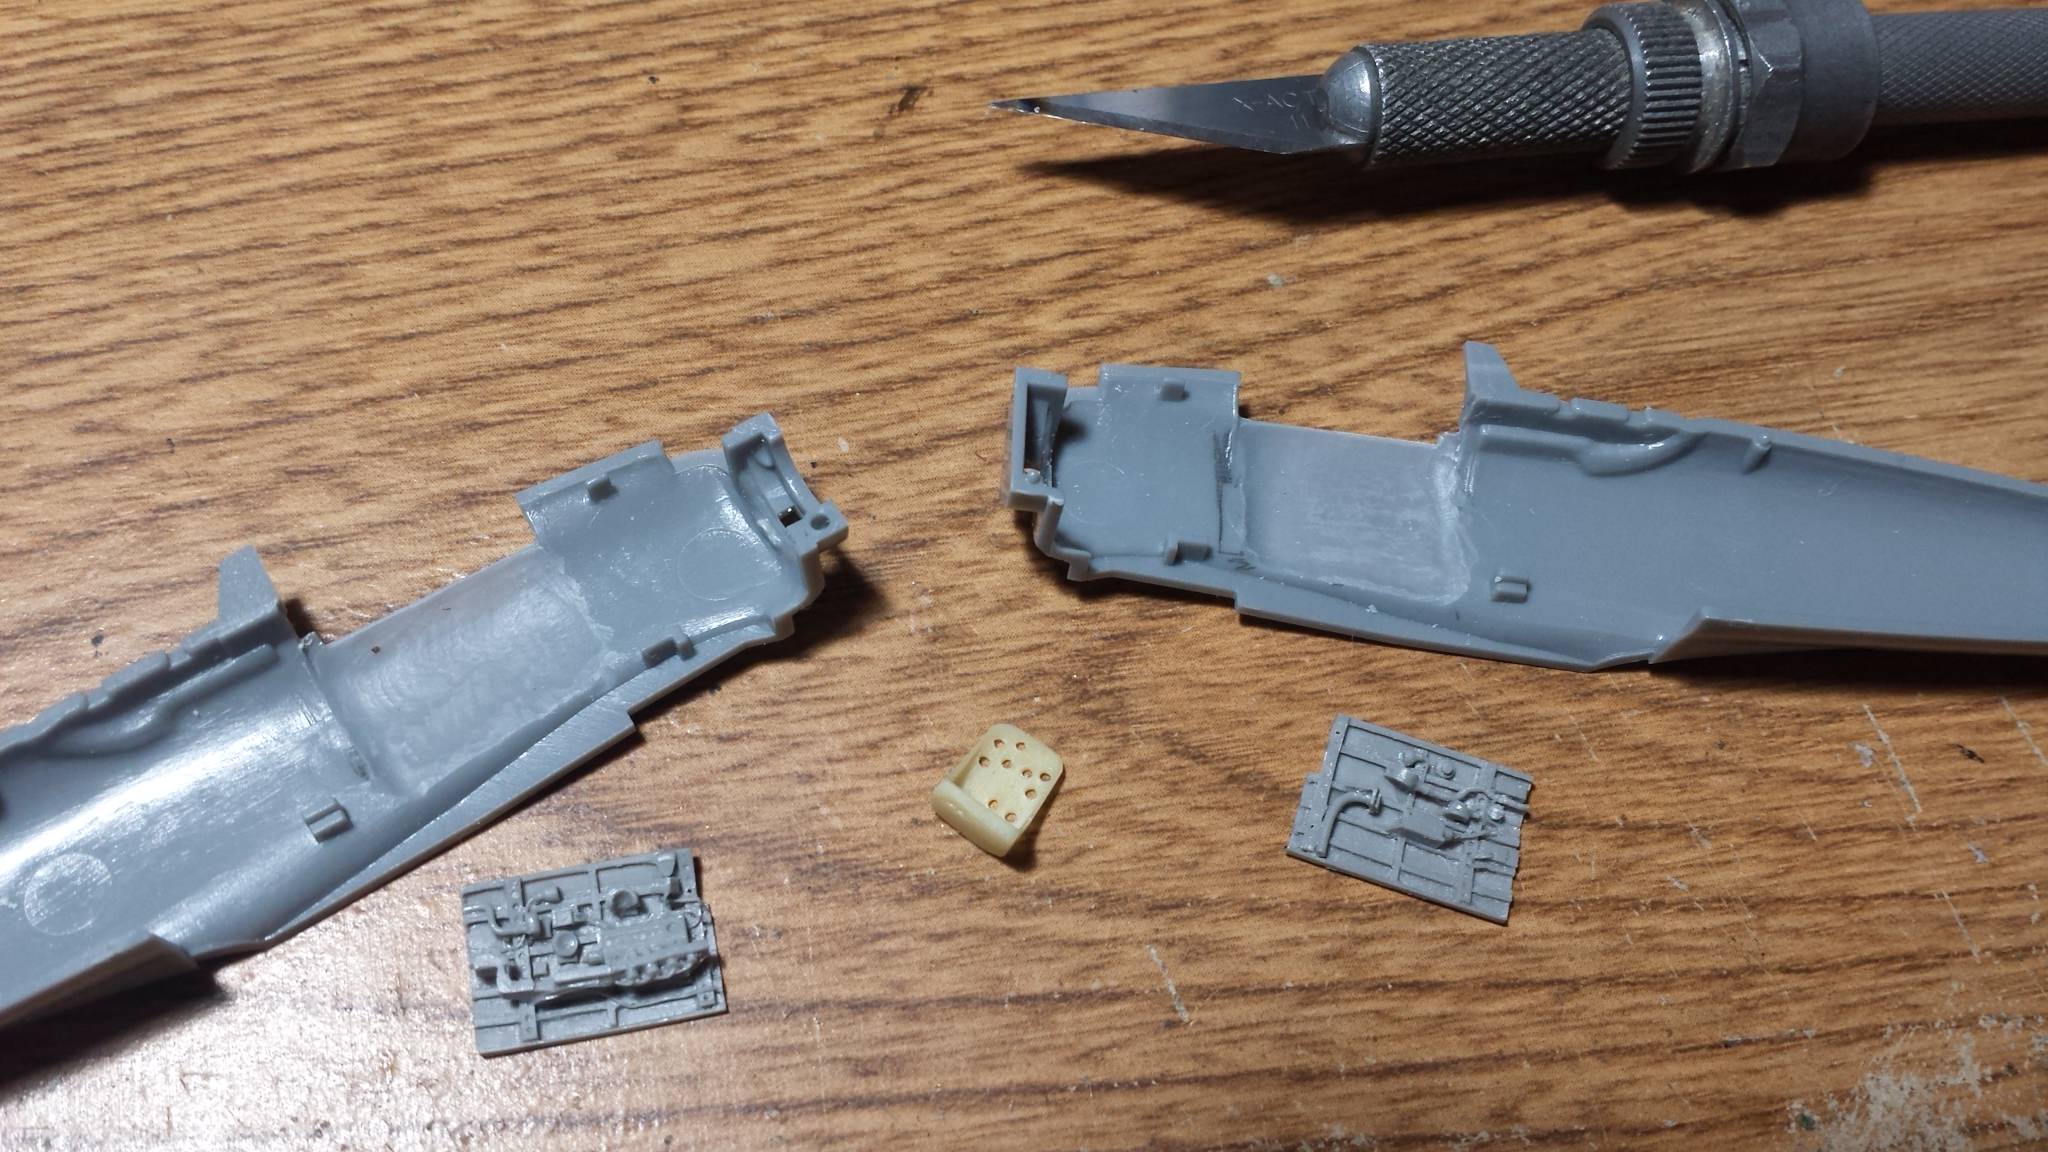
I also kicked off my A6M5 by separating the aires resin cockpit pieces and doing some test fitting. I decided to go full throttle and thin everything down about as far as possible, both resin and kit pieces. Hopefully this will give me a somewhat realistic thickness at the cockpit sills and the bottoms can be shimmed as needed to meet the floor piece and rear bulkhead


These 1/72 Zeros are quite a bit of fun and Im thinking I need to build some more of these
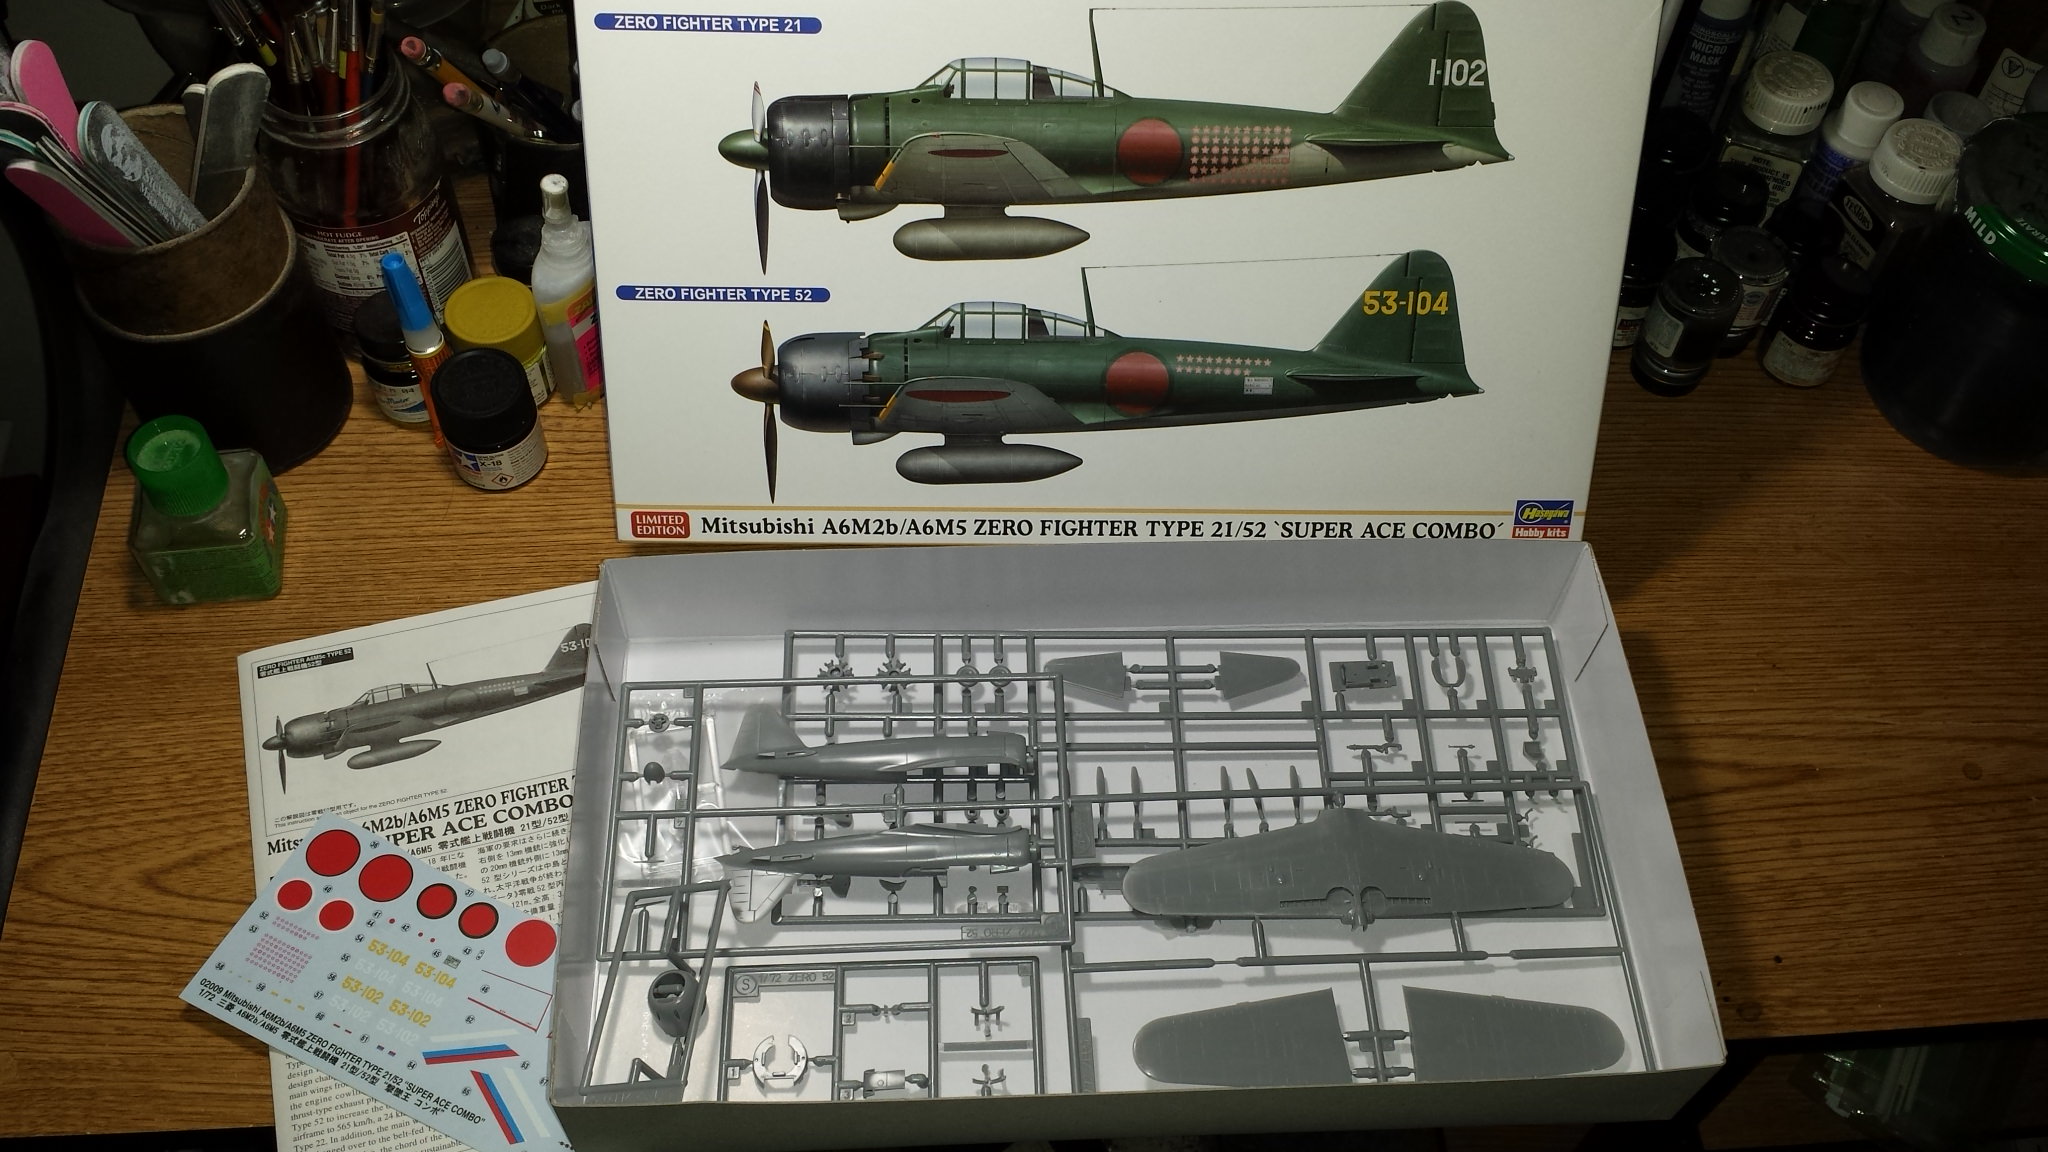
Joel_W
Staff MemberAssociate Editor
AUTOMODELER
_VISITCOMMUNITY
New York, United States
Joined: December 04, 2010
KitMaker: 11,666 posts
AeroScale: 7,410 posts
Posted: Tuesday, December 12, 2017 - 04:28 AM UTC

Quoted Text

Nice to know that I'm not the only one who does the zooming passes ..

Nice job on the details .


Terri


Terri,
Don't we all

Joel
Joel_W
Staff MemberAssociate Editor
AUTOMODELER
_VISITCOMMUNITY
New York, United States
Joined: December 04, 2010
KitMaker: 11,666 posts
AeroScale: 7,410 posts
Posted: Tuesday, December 12, 2017 - 04:32 AM UTC
Mike,
Nice job on thinning the Aires resin cockpit sides, as well as preparing them for gluing. Darn, if they don't look incredible. Hard to believe this is all happening in 1/72 scale.

Joel
 _GOTOTOP