_GOTOBOTTOM
World War II
Discuss WWII and the era directly before and after the war from 1935-1949.
Hosted by Rowan Baylis
Bulgarian Yak-9
Buckeye198
_VISITCOMMUNITY
Ohio, United States
Joined: May 02, 2010
KitMaker: 596 posts
AeroScale: 197 posts
Posted: Thursday, January 25, 2018 - 08:08 PM UTC
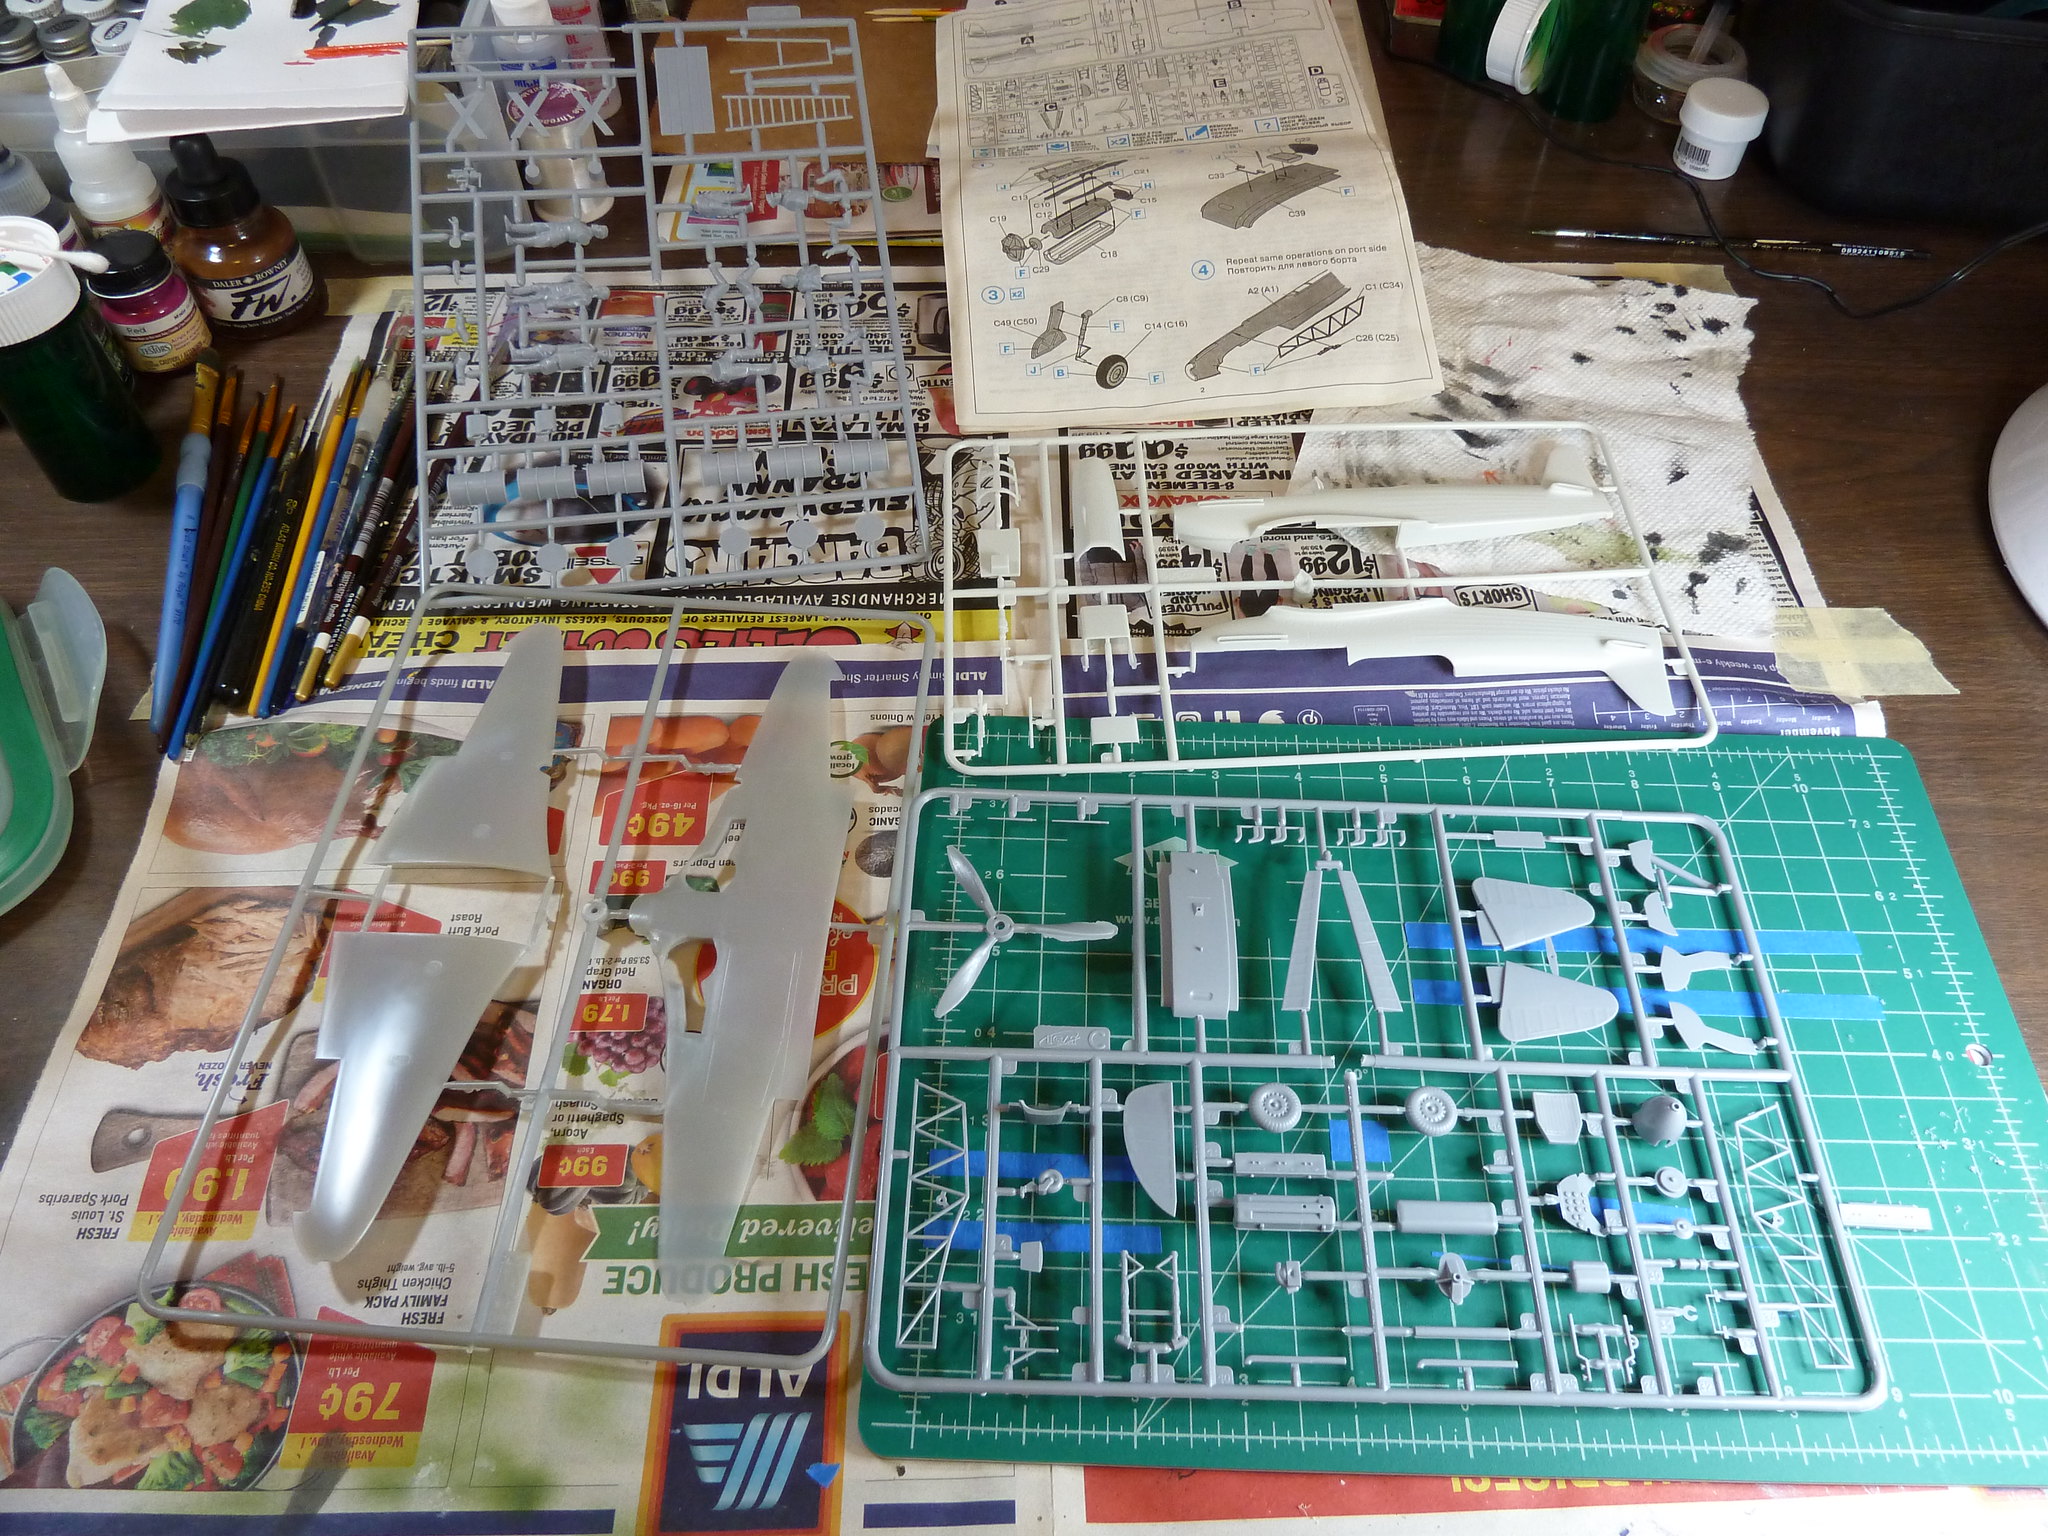
Hello all, it's been a while since I've put up a build log outside of a campaign but there's nothing currently running that my Yak would fit into I got this kit for two reasons: (1) I really want to build ICM's Po-2 medevac kit as a dio, and it was cheaper to buy this Yak-and-figures kit than the figures alone, and (2) I've never built an ICM kit and wanted some practice with their stuff. I've gotten a bit through the build and I gotta say it's much tougher than I anticipated. Granted, anything is tougher when you're coming right off of a Tamiya P-51, but still...no alignment pins, questionable fit, fragile plastic, lots flash, sparse detail, chunky clear parts, etc. If you want a Yak-9, you don't really have a choice (likewise the Po-2 medevac) other than ICM, so get used to it. It seems like it will make for a nice model, and you'll certainly use your skills, but don't go in anticipating a relaxing weekend build.

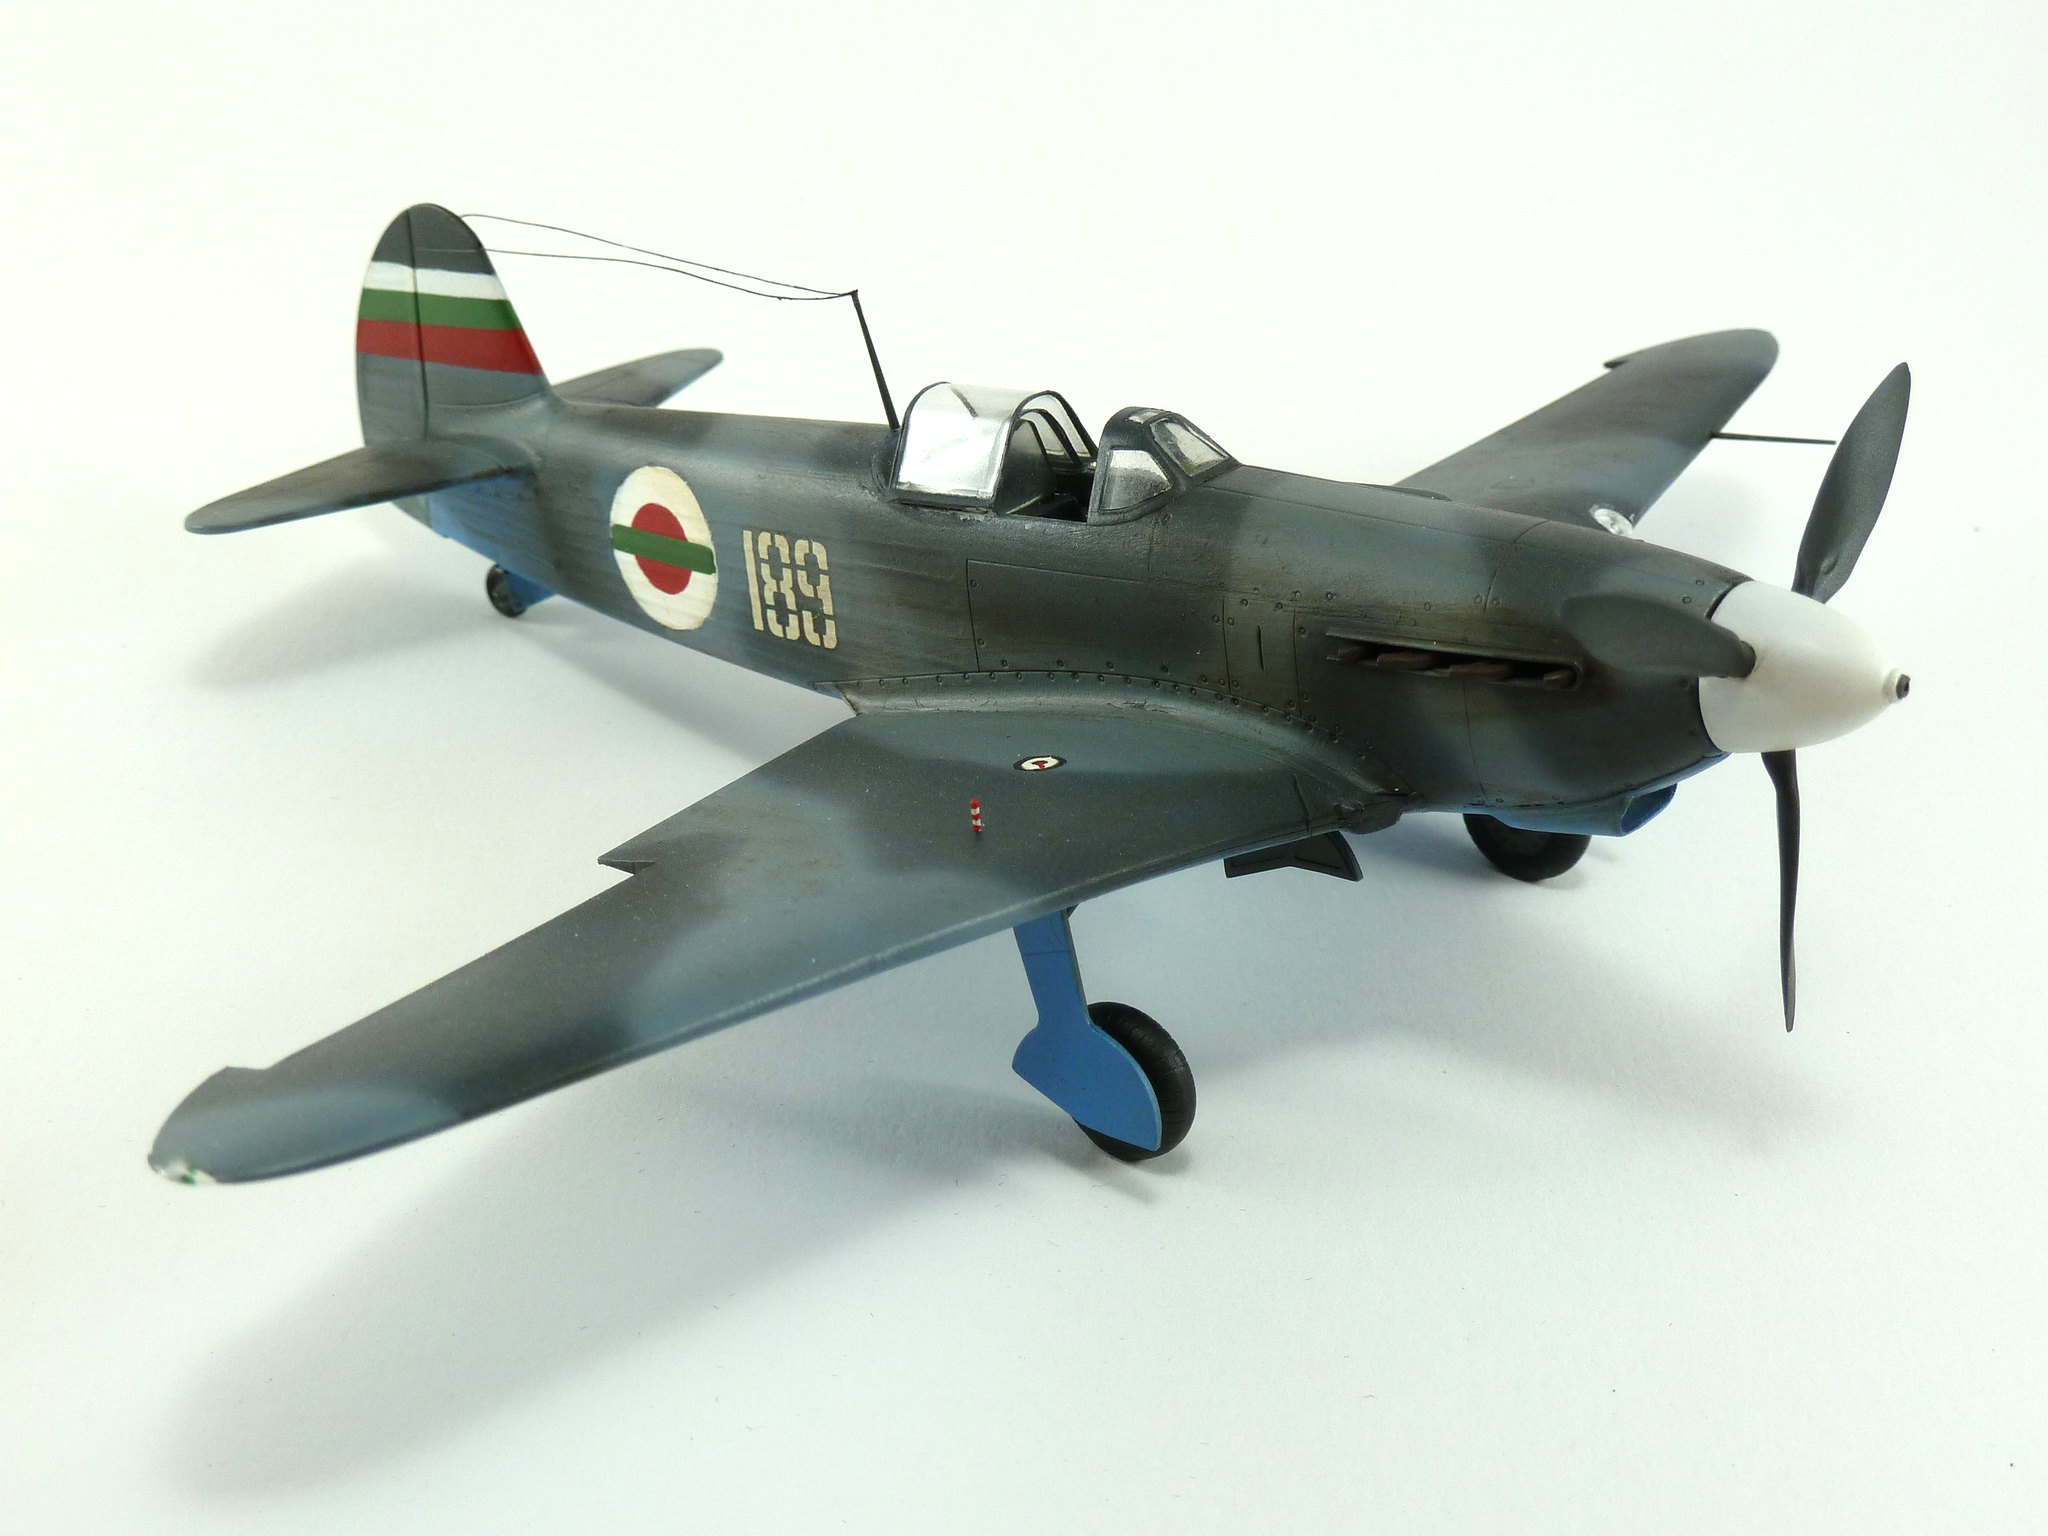
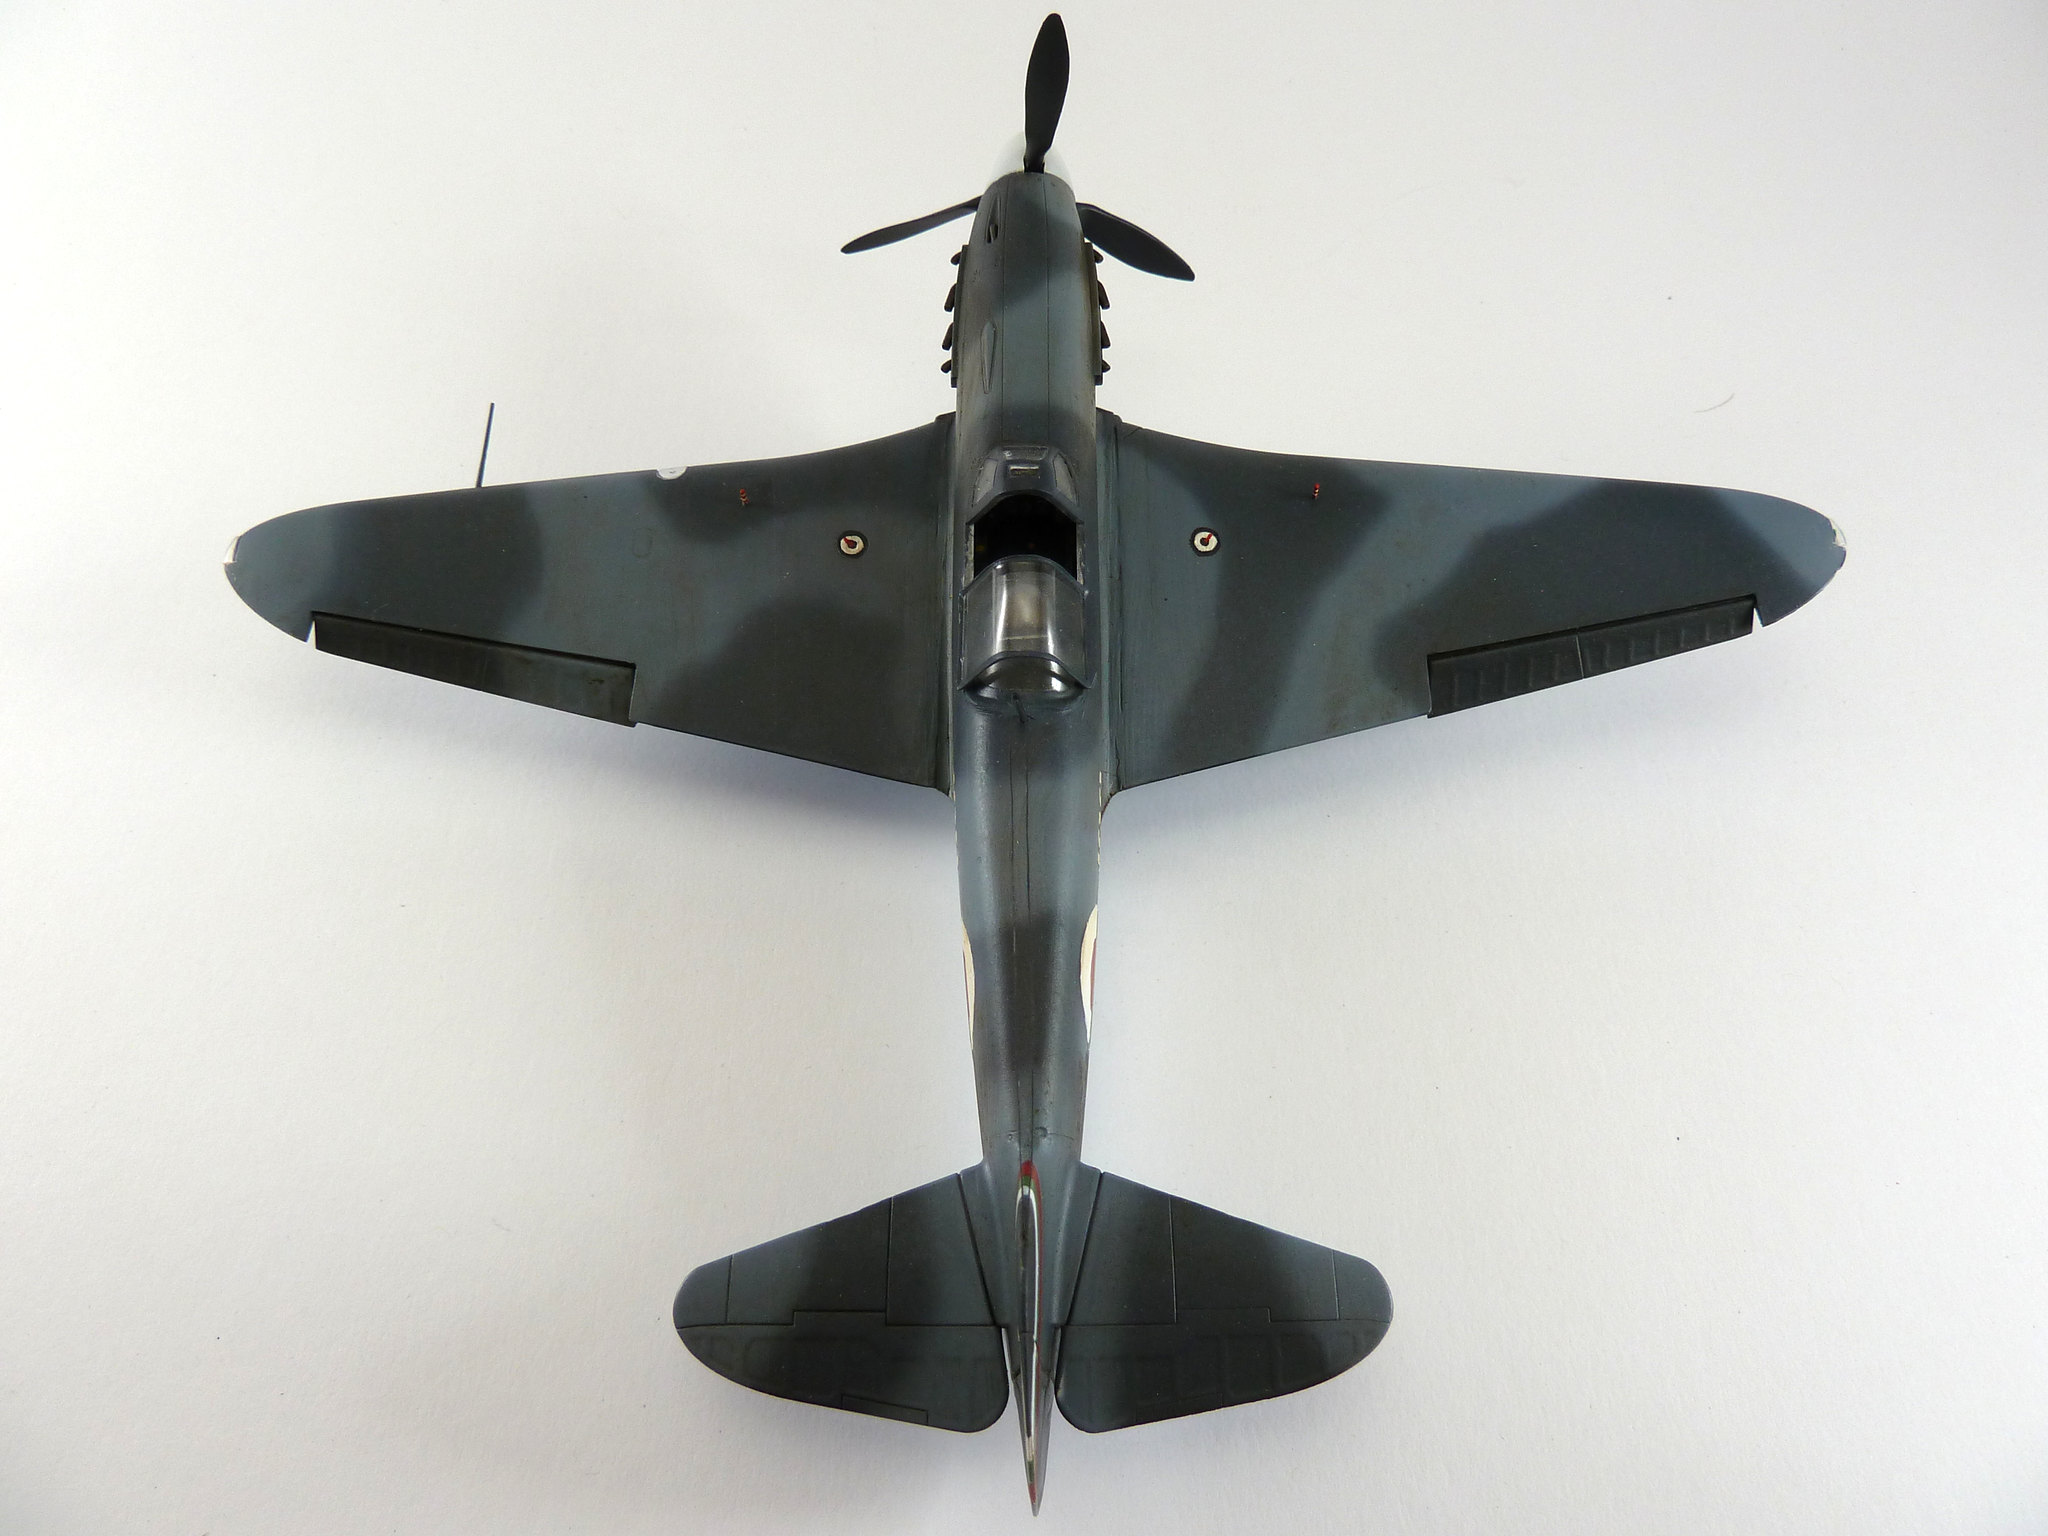
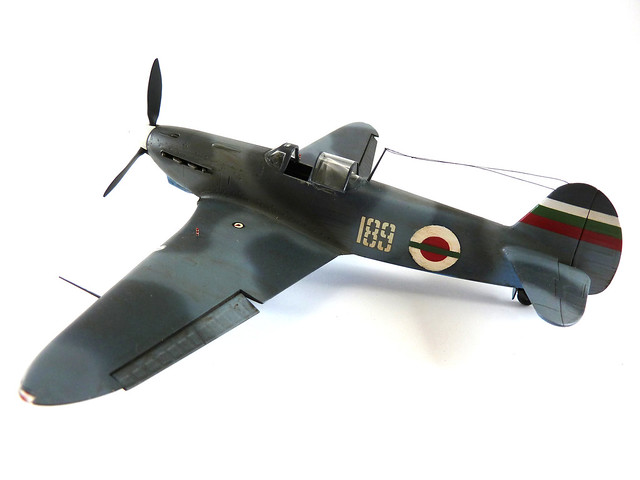
My inspiration is a VVS "surplus" delivered to Bulgaria shortly after the country switched from Axis to Allies in late 1944. The plane is in standard VVS camo, so my painting guides are still applicable. My experiment/goal for this kit will be painting the roundels and numbers rather than using decals. Enough background, on to the build!

Another quirk of the kit, every sprue was made of a different type of plastic. The sprue in the bottom right was the sturdiest, the white/fuselage sprue was rather fragile, and the wing sprue was like putty.

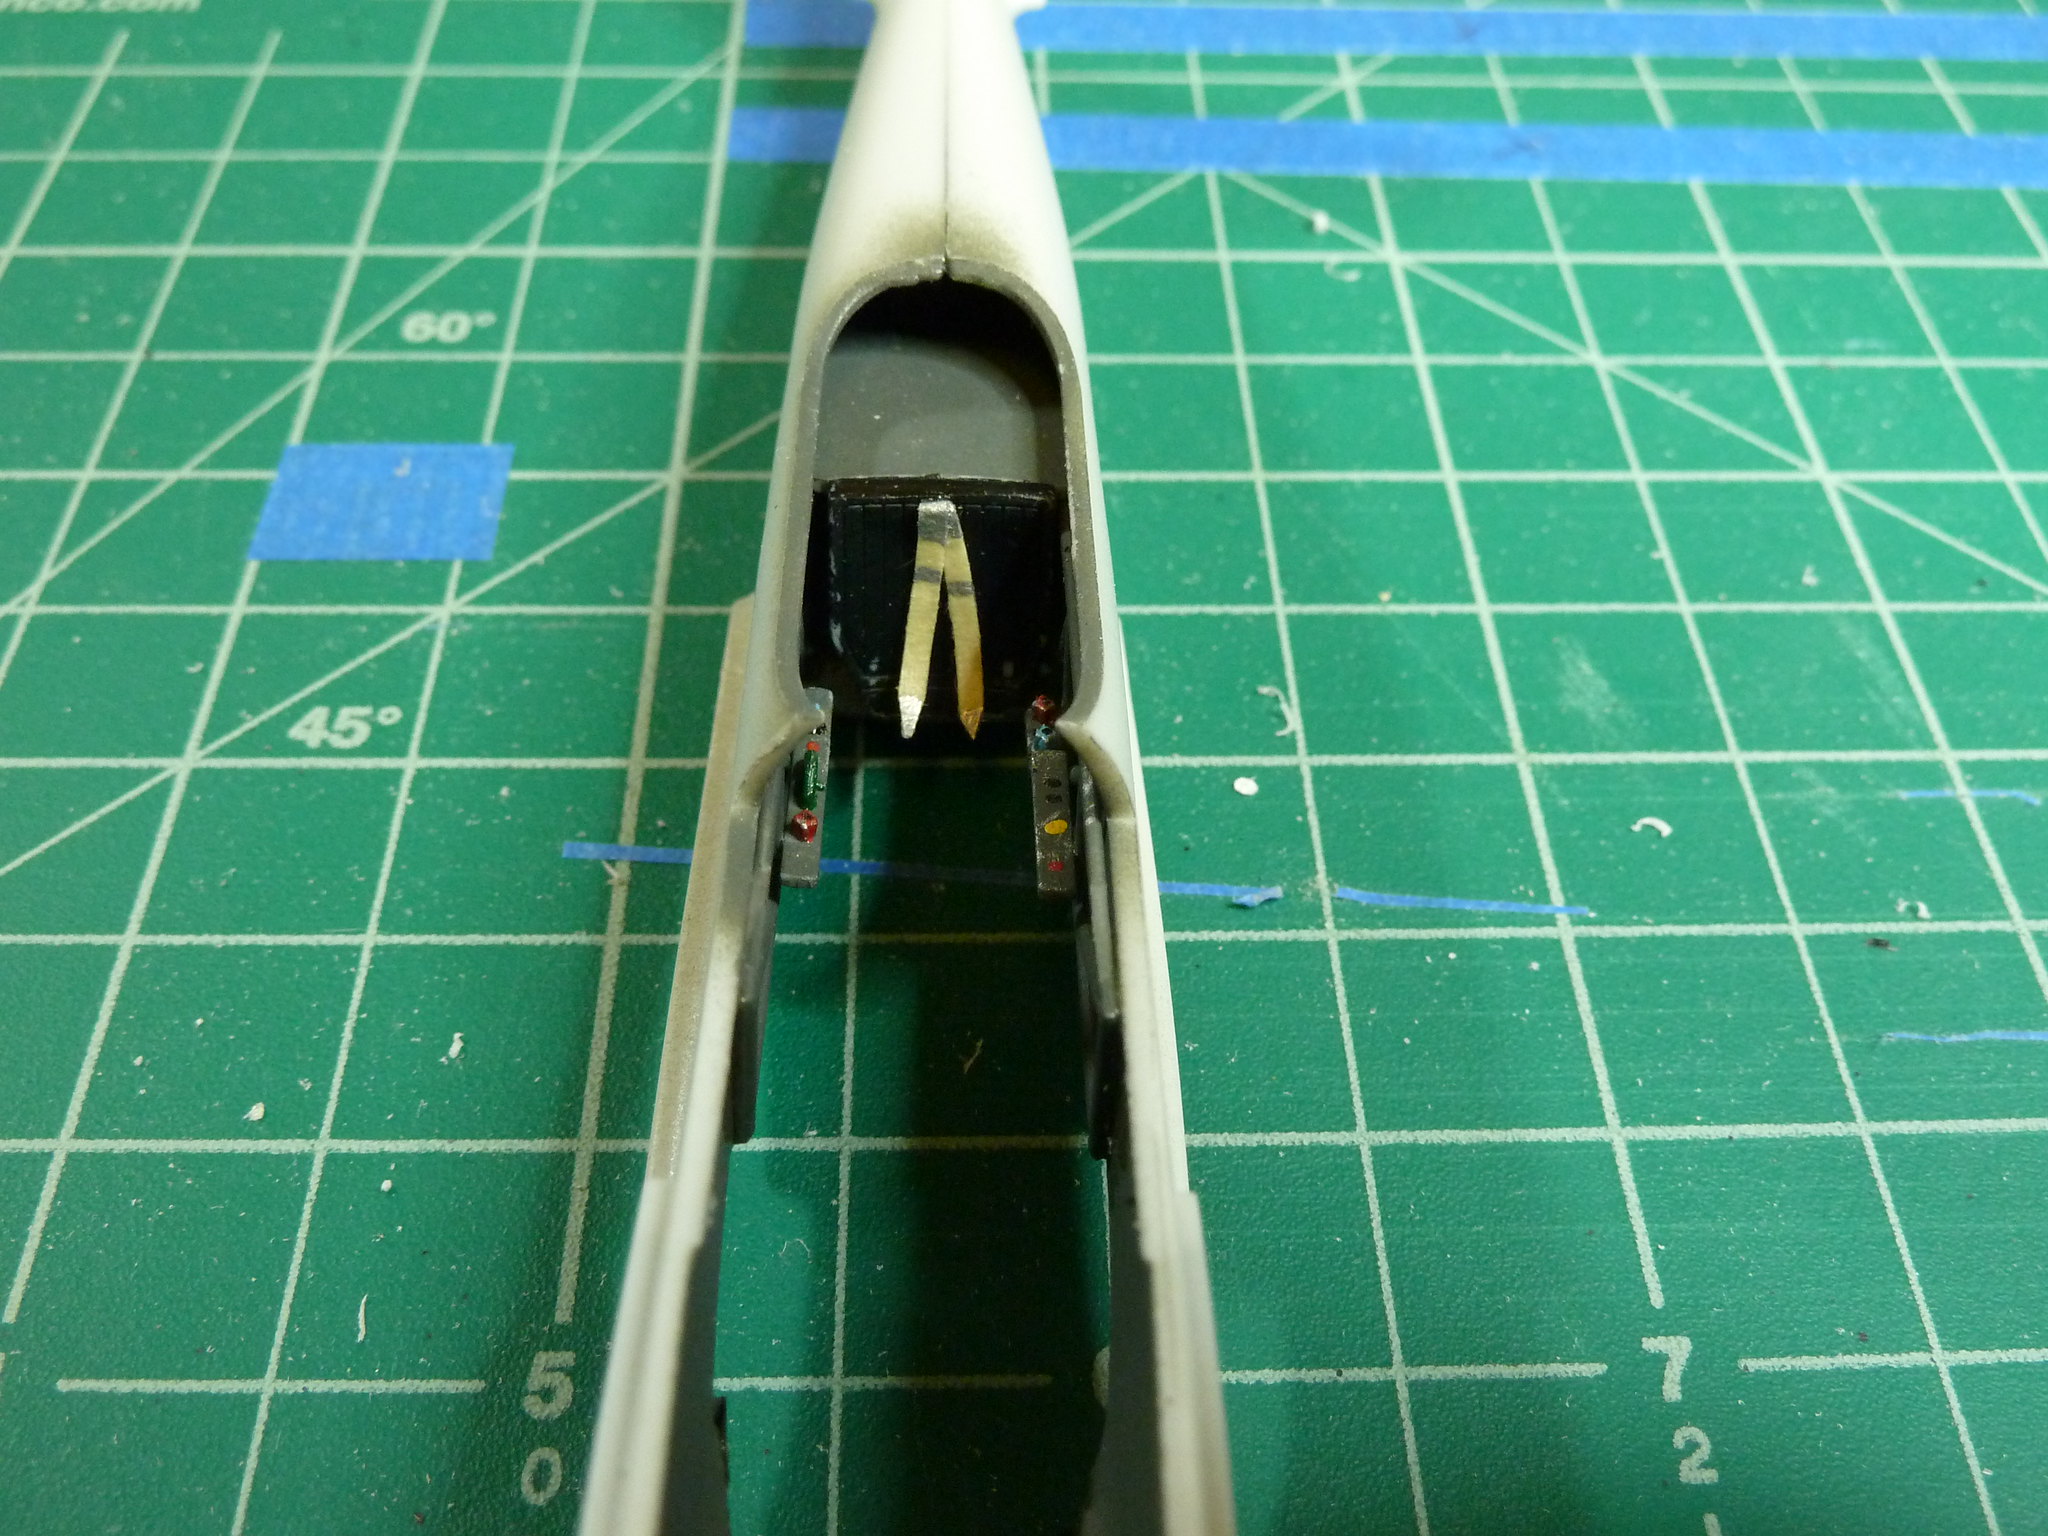
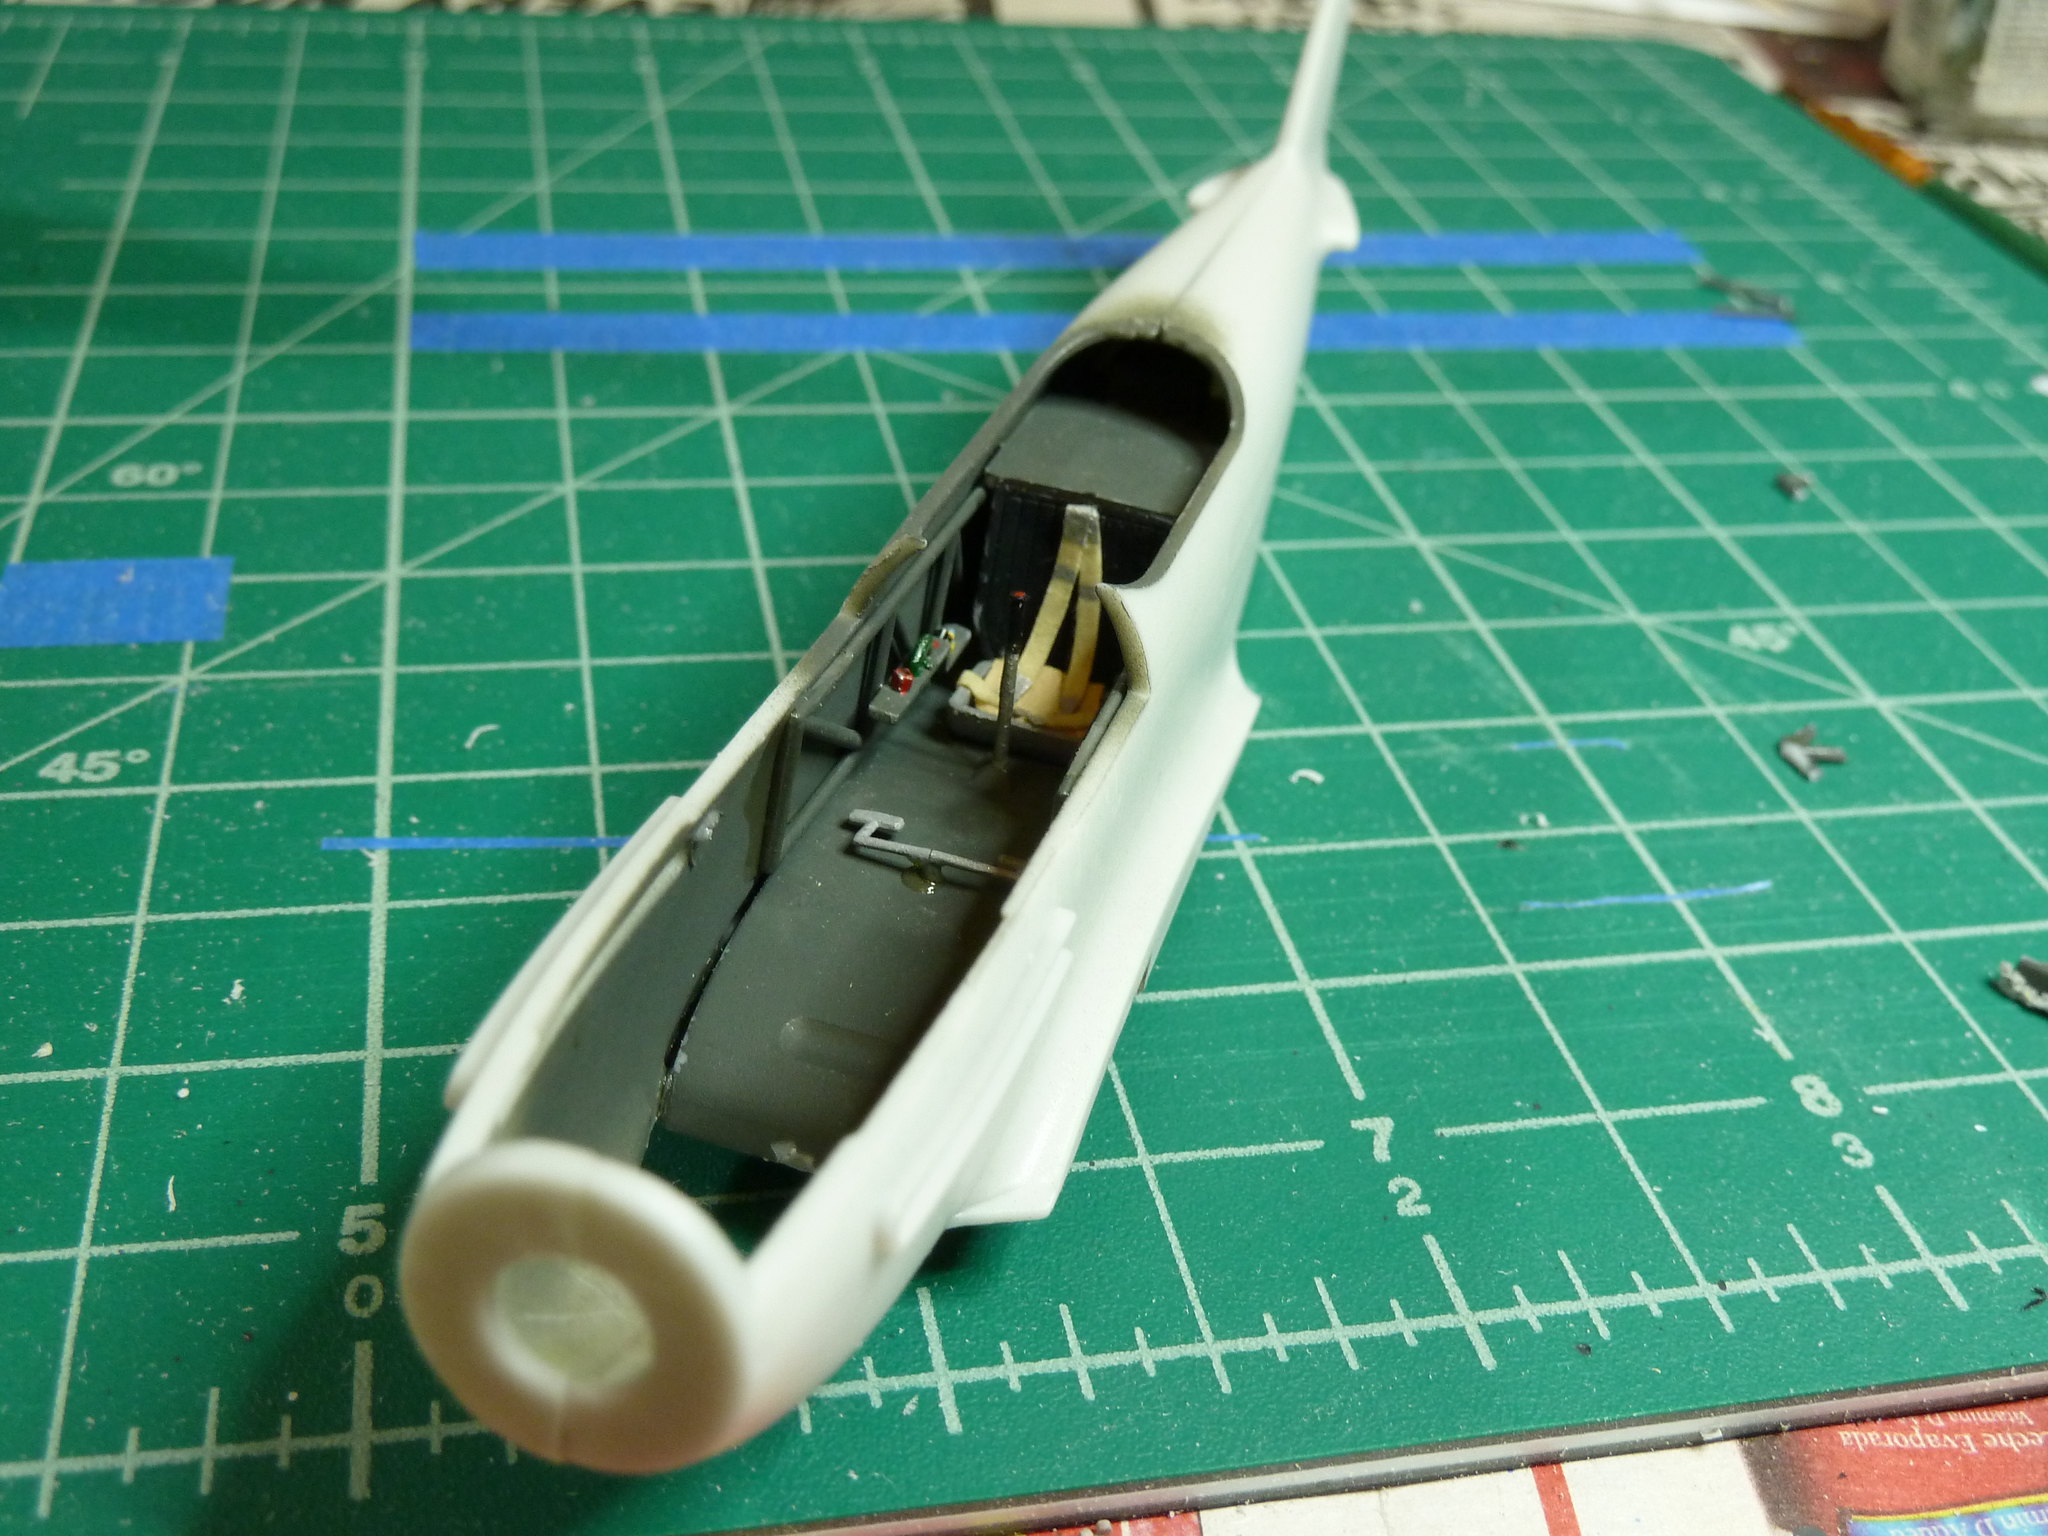
The fuselage was supposed to close around the cockpit seat and floorboard, but they simply didn't align. Instead I built it like an Accurate Miniatures kit, glueing the halves together and then slide the cockpit up from the bottom. (Note the poor man's harness...thin strips of masking tape with silver paint buckles.)

The kit included a nice engine...kinda bare, but a pretty good canvas to work with for superdetailing. As usual, I built it even though it would be completely concealed. Just a habit of mine, I hate unused pieces. I'd recommend leaving it out though. The cowling didn't quite settle right with the engine in place. Since I was modifying it anyway, I decided to open up the cowling's gun port and add a barrel that I hollowed out.
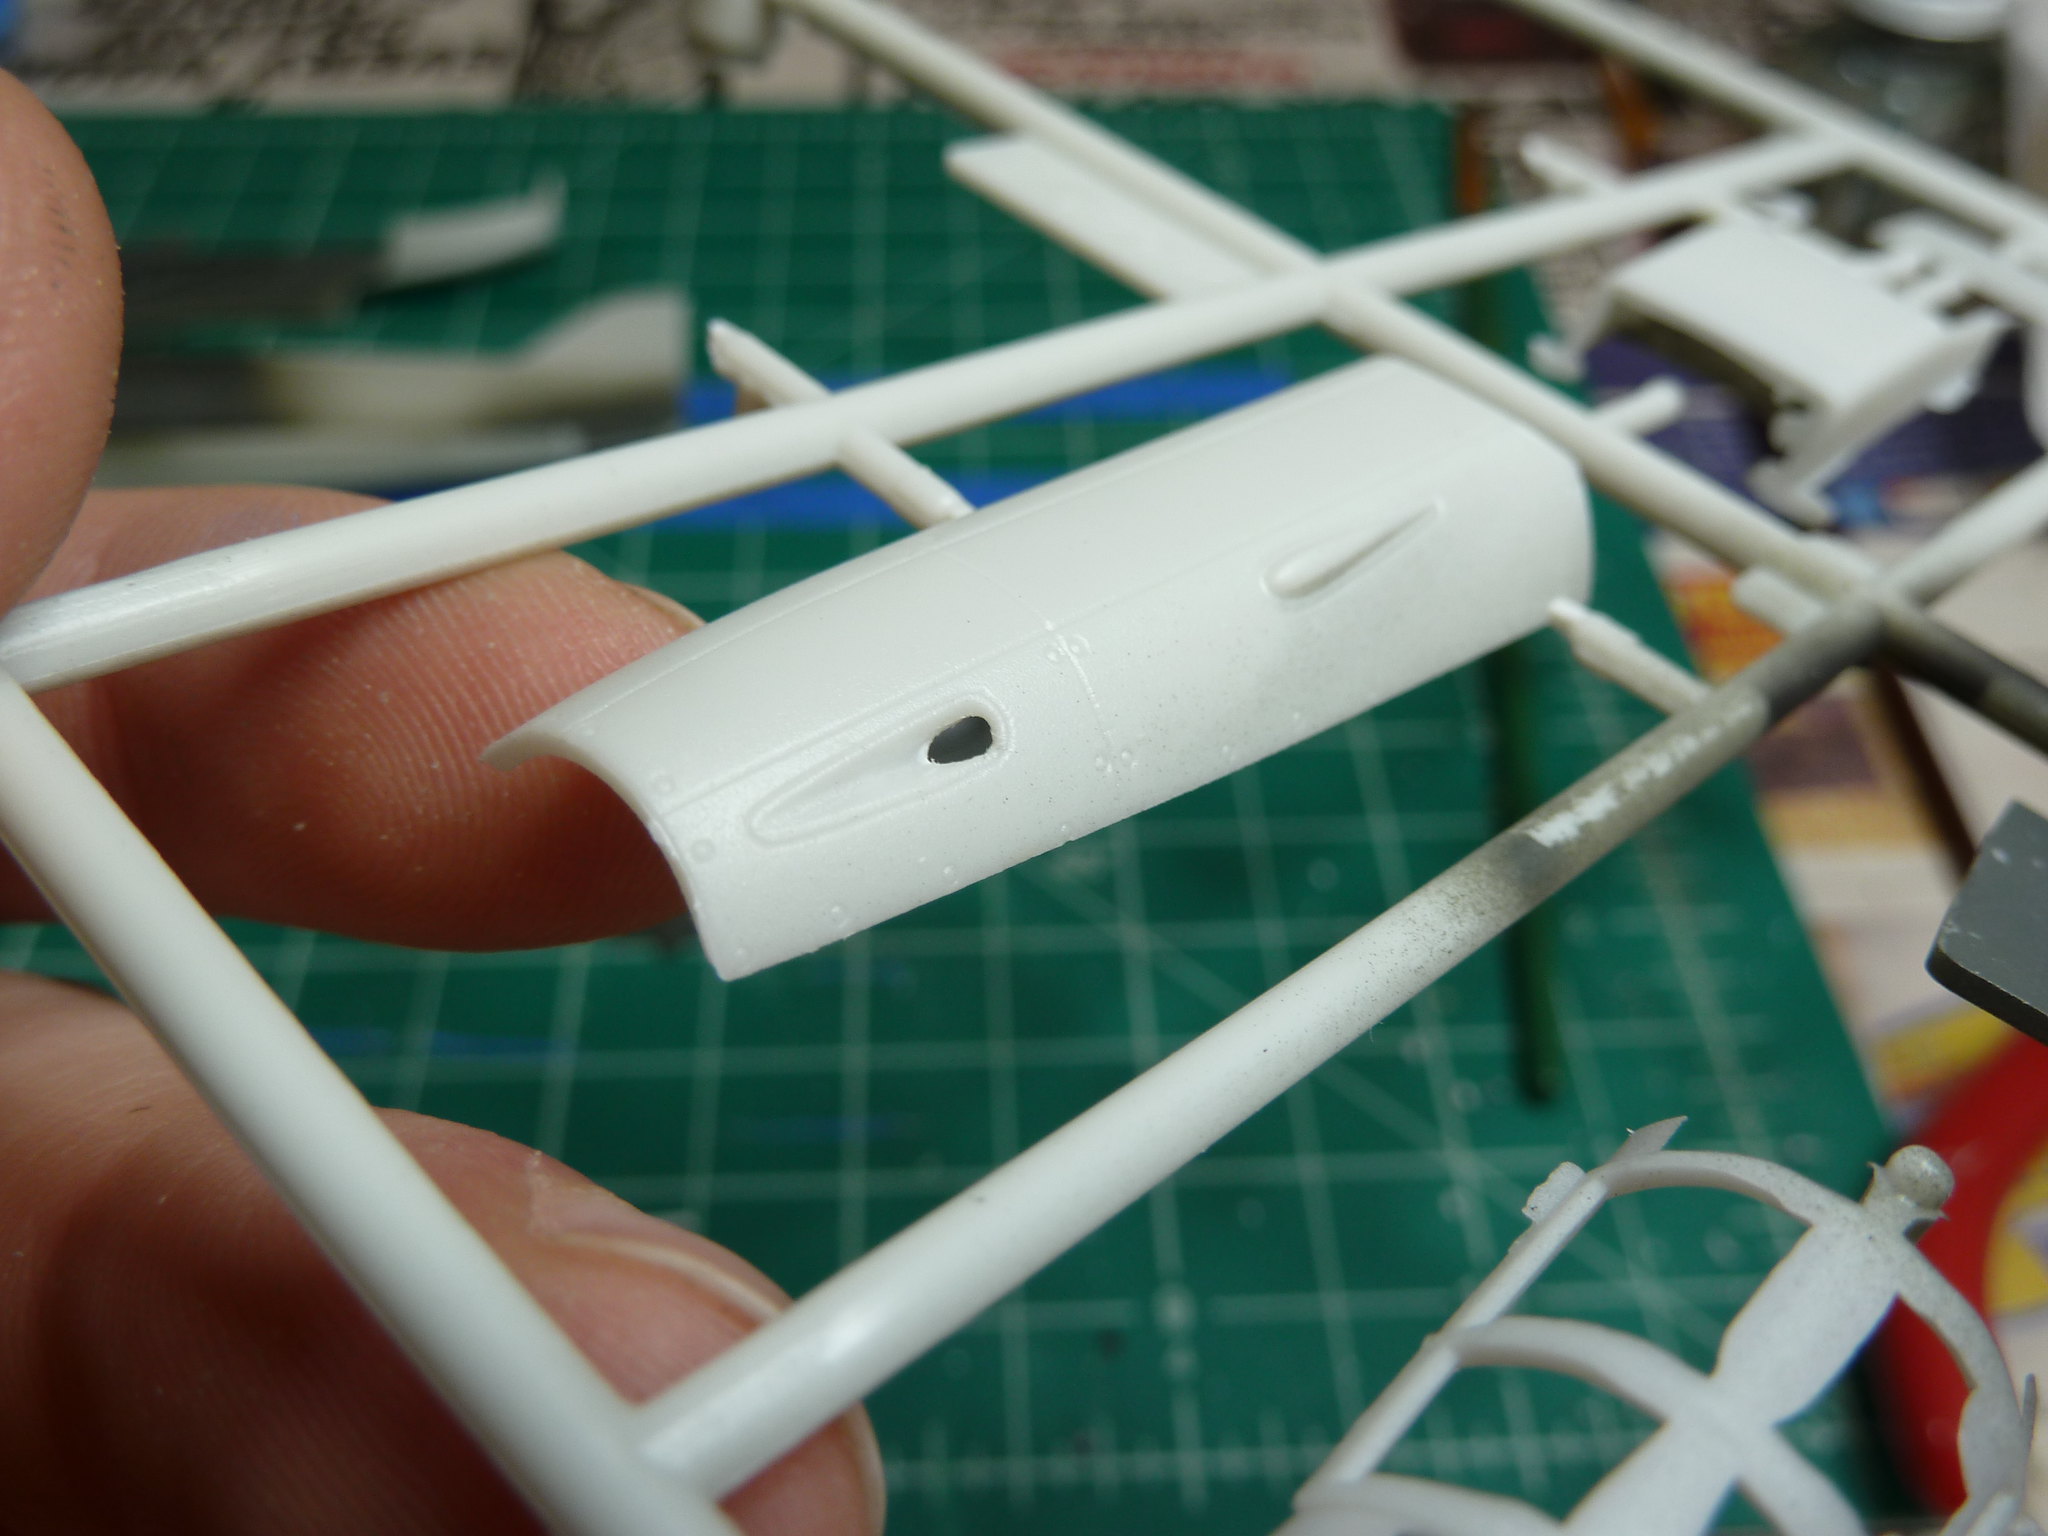
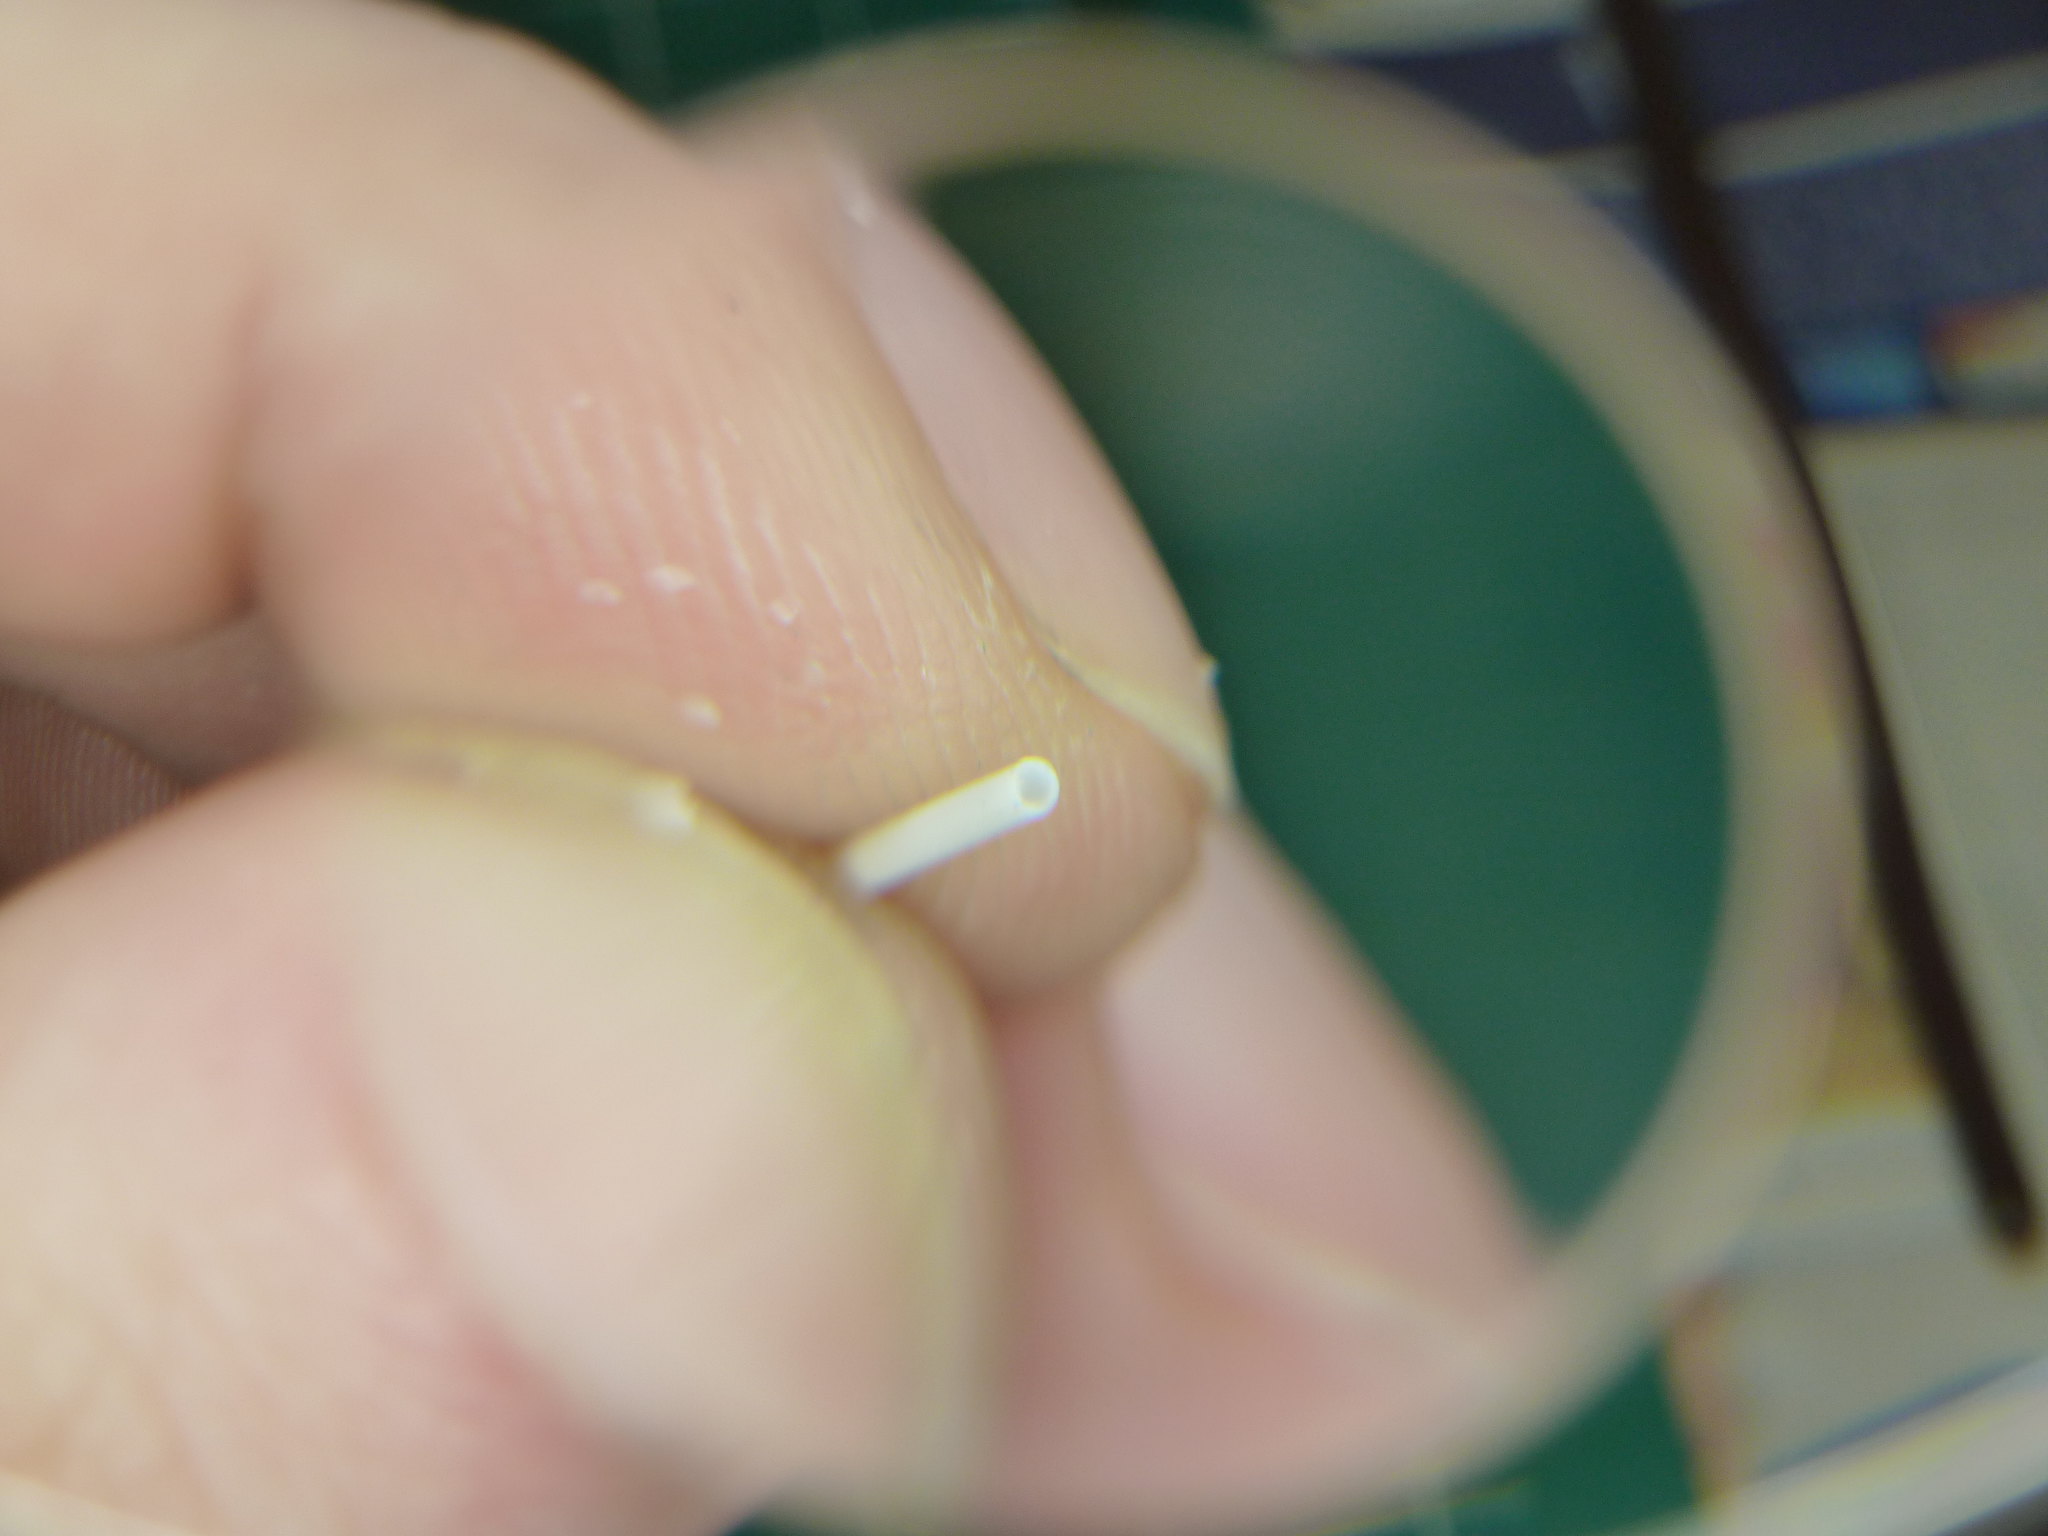
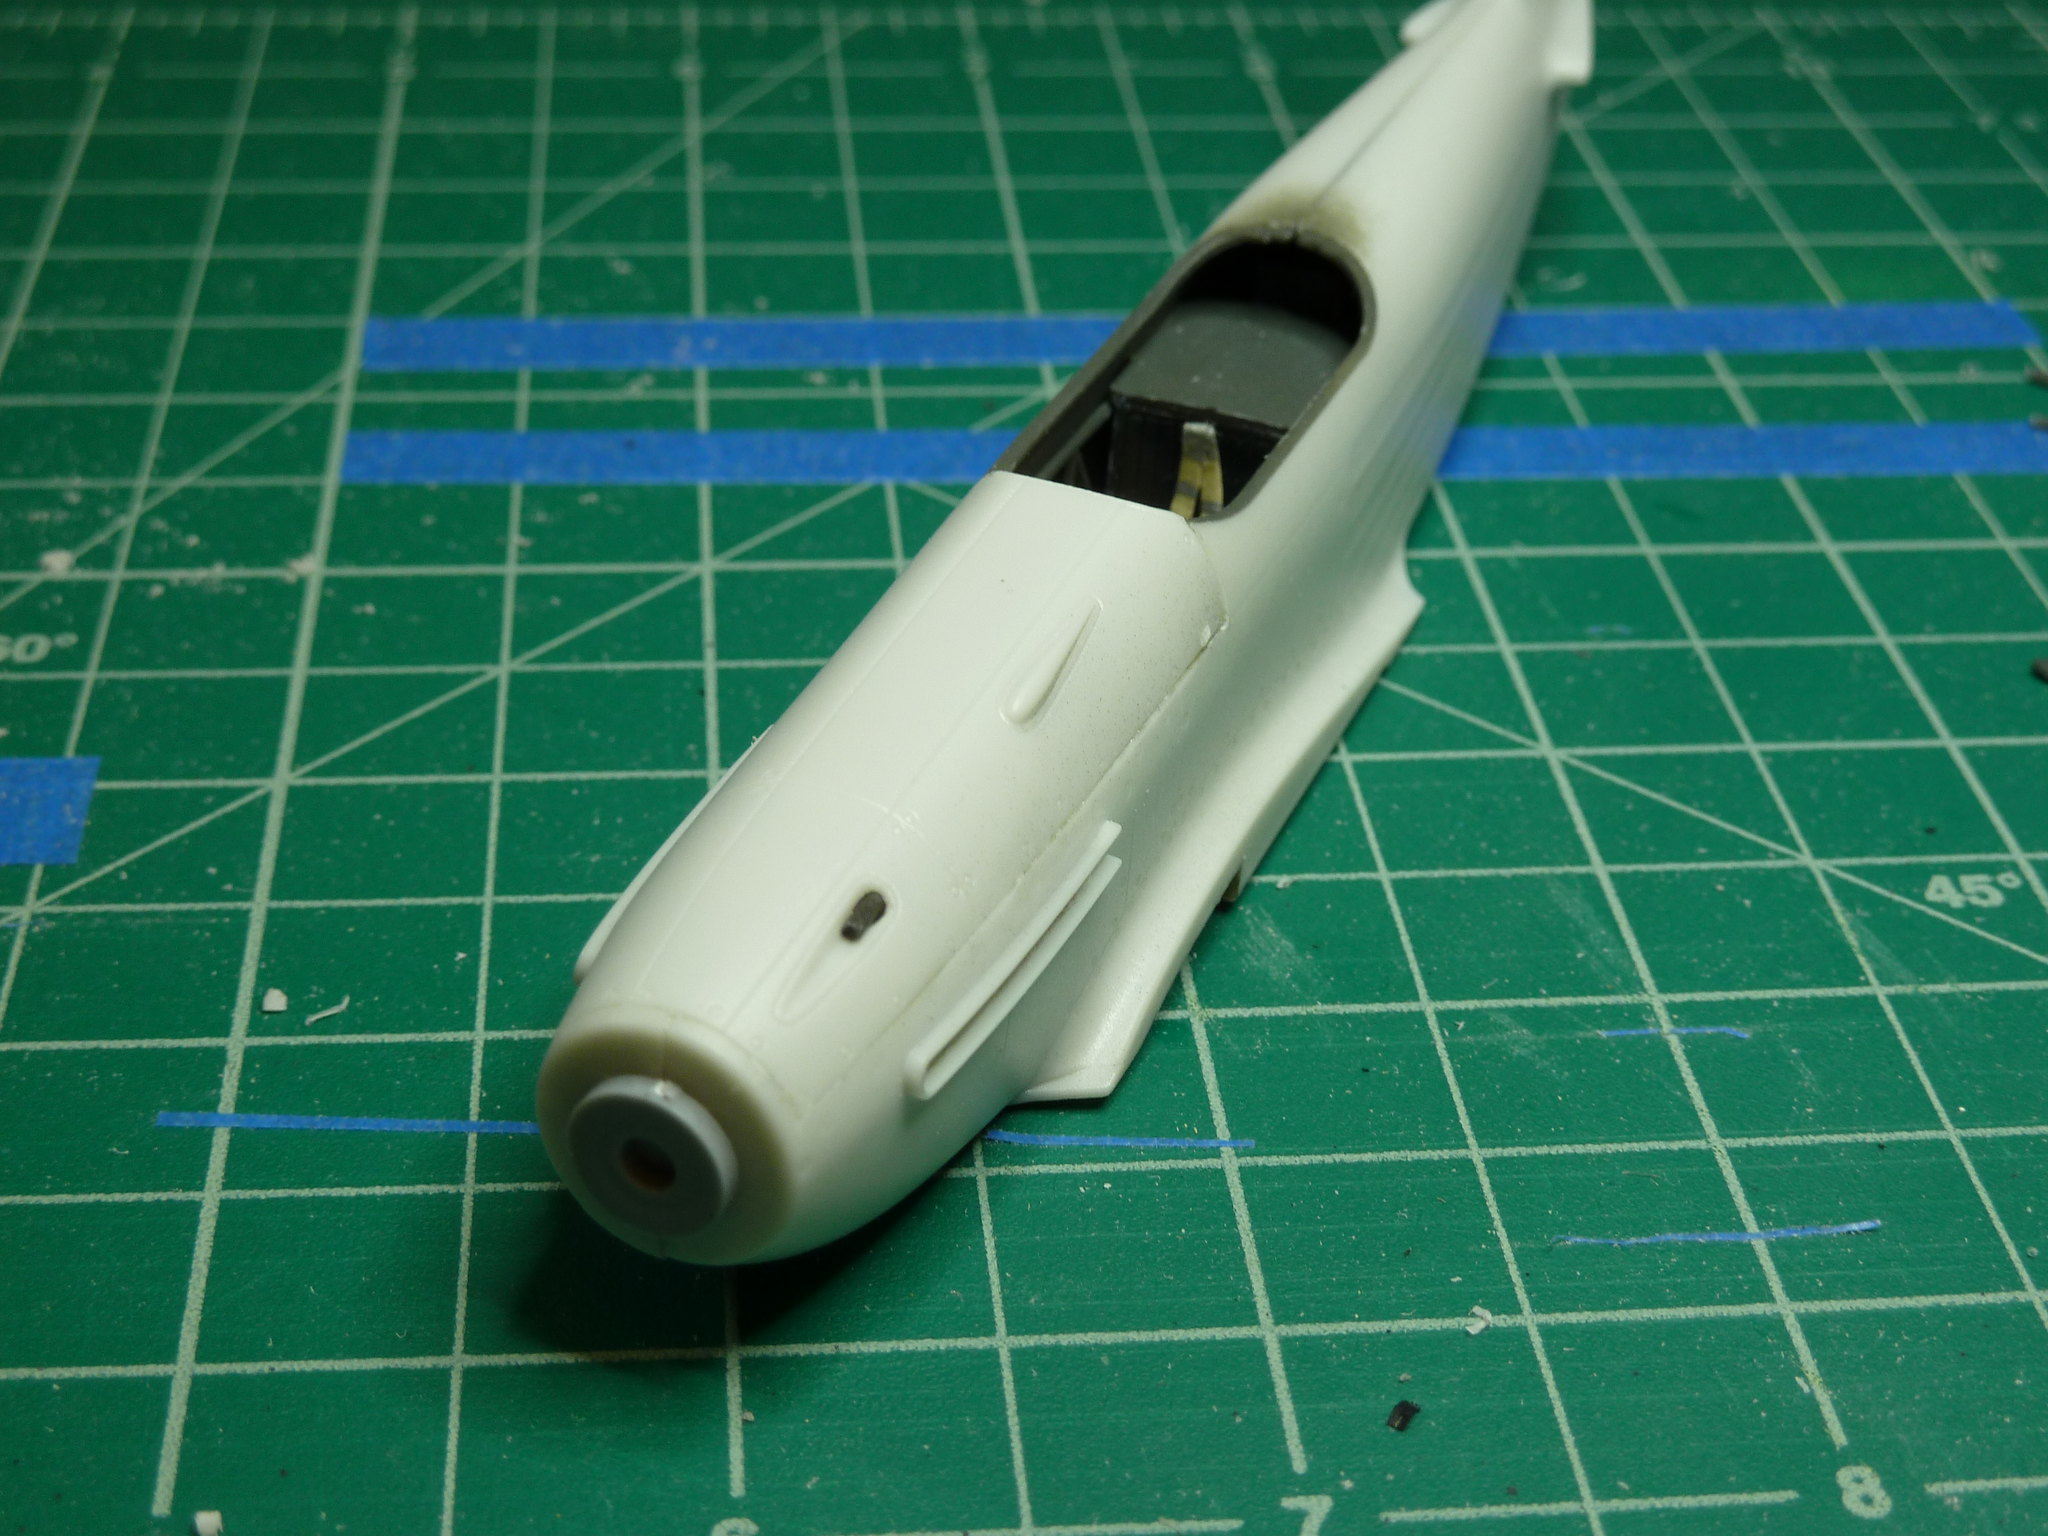

Some major seams to close up. Again, no alignment pins so I'm not sure whose fault it is, but I'm pretty sure I'm not completely to blame this time around

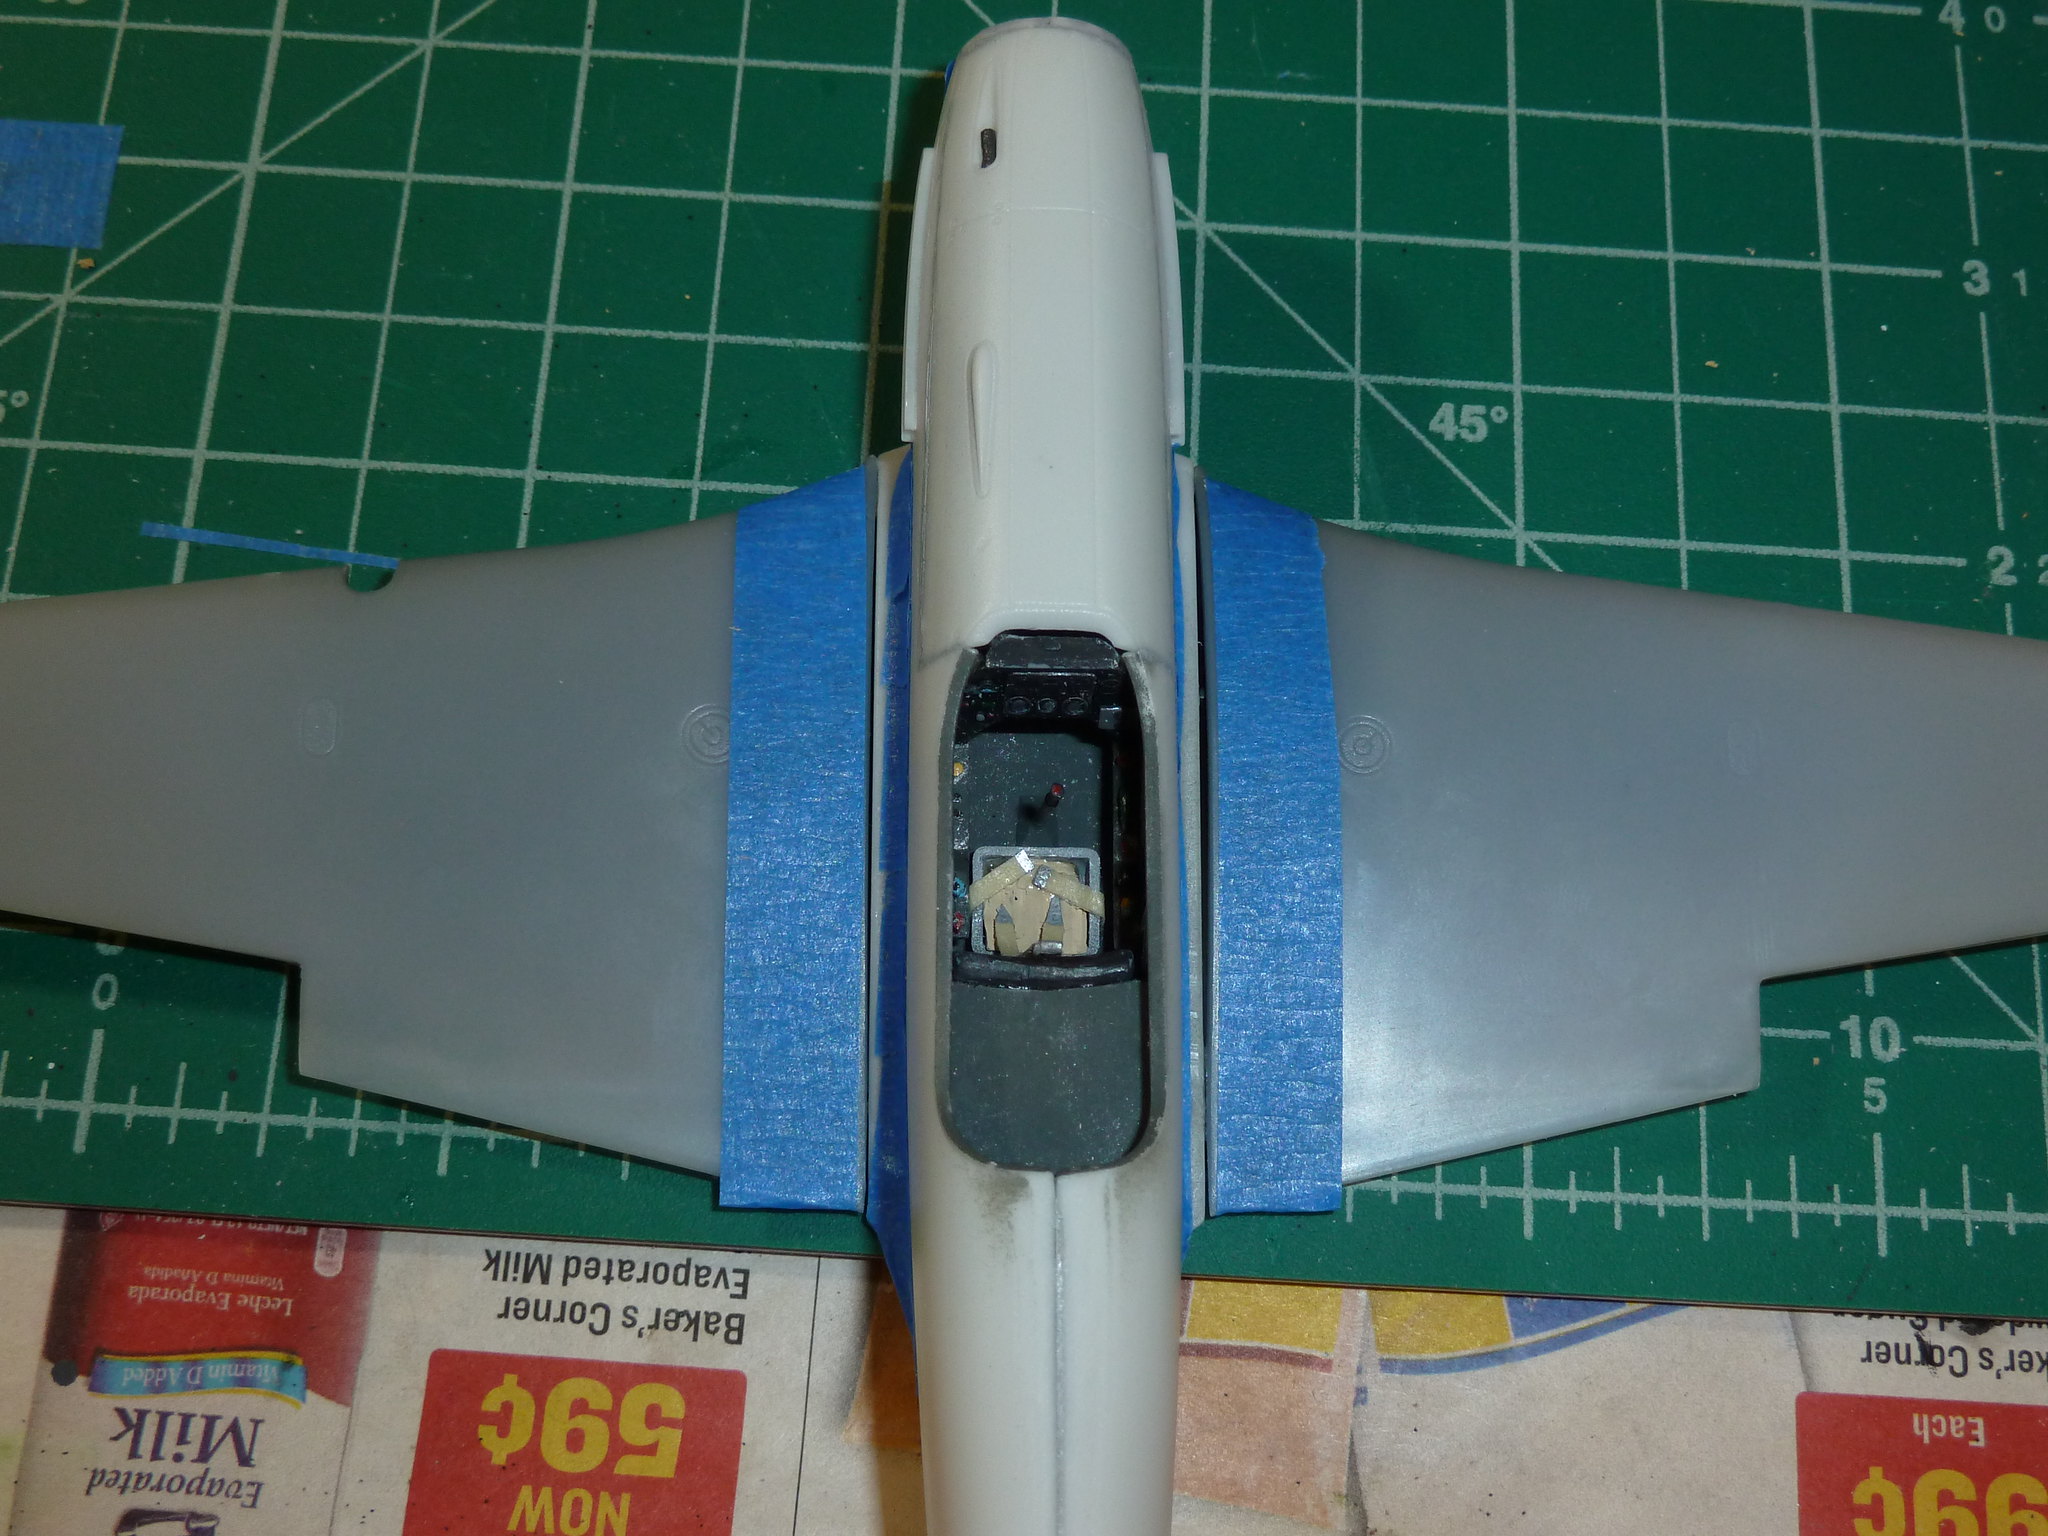
This is it for the preliminary construction. Painting to come next.
mrockhill
_VISITCOMMUNITY
Pennsylvania, United States
Joined: June 17, 2009
KitMaker: 566 posts
AeroScale: 507 posts
Posted: Friday, January 26, 2018 - 07:17 AM UTC
Very cool! Not only the building of a yak, which isnt overly common itself but you've chosen the infamous icm yak-9! I Look forward to seeing this come together. I have one I'd really like to build just for fun and to see how it can turn out. I like your choice of markings too, dont see many Bulgarian builds
Venko555
_VISITCOMMUNITY
Bulgaria
Joined: December 07, 2013
KitMaker: 908 posts
AeroScale: 206 posts
Posted: Friday, January 26, 2018 - 11:50 AM UTC
As a Bulgarian, it will be very interesting to follow this build
Buckeye198
_VISITCOMMUNITY
Ohio, United States
Joined: May 02, 2010
KitMaker: 596 posts
AeroScale: 197 posts
Posted: Tuesday, February 06, 2018 - 11:32 PM UTC
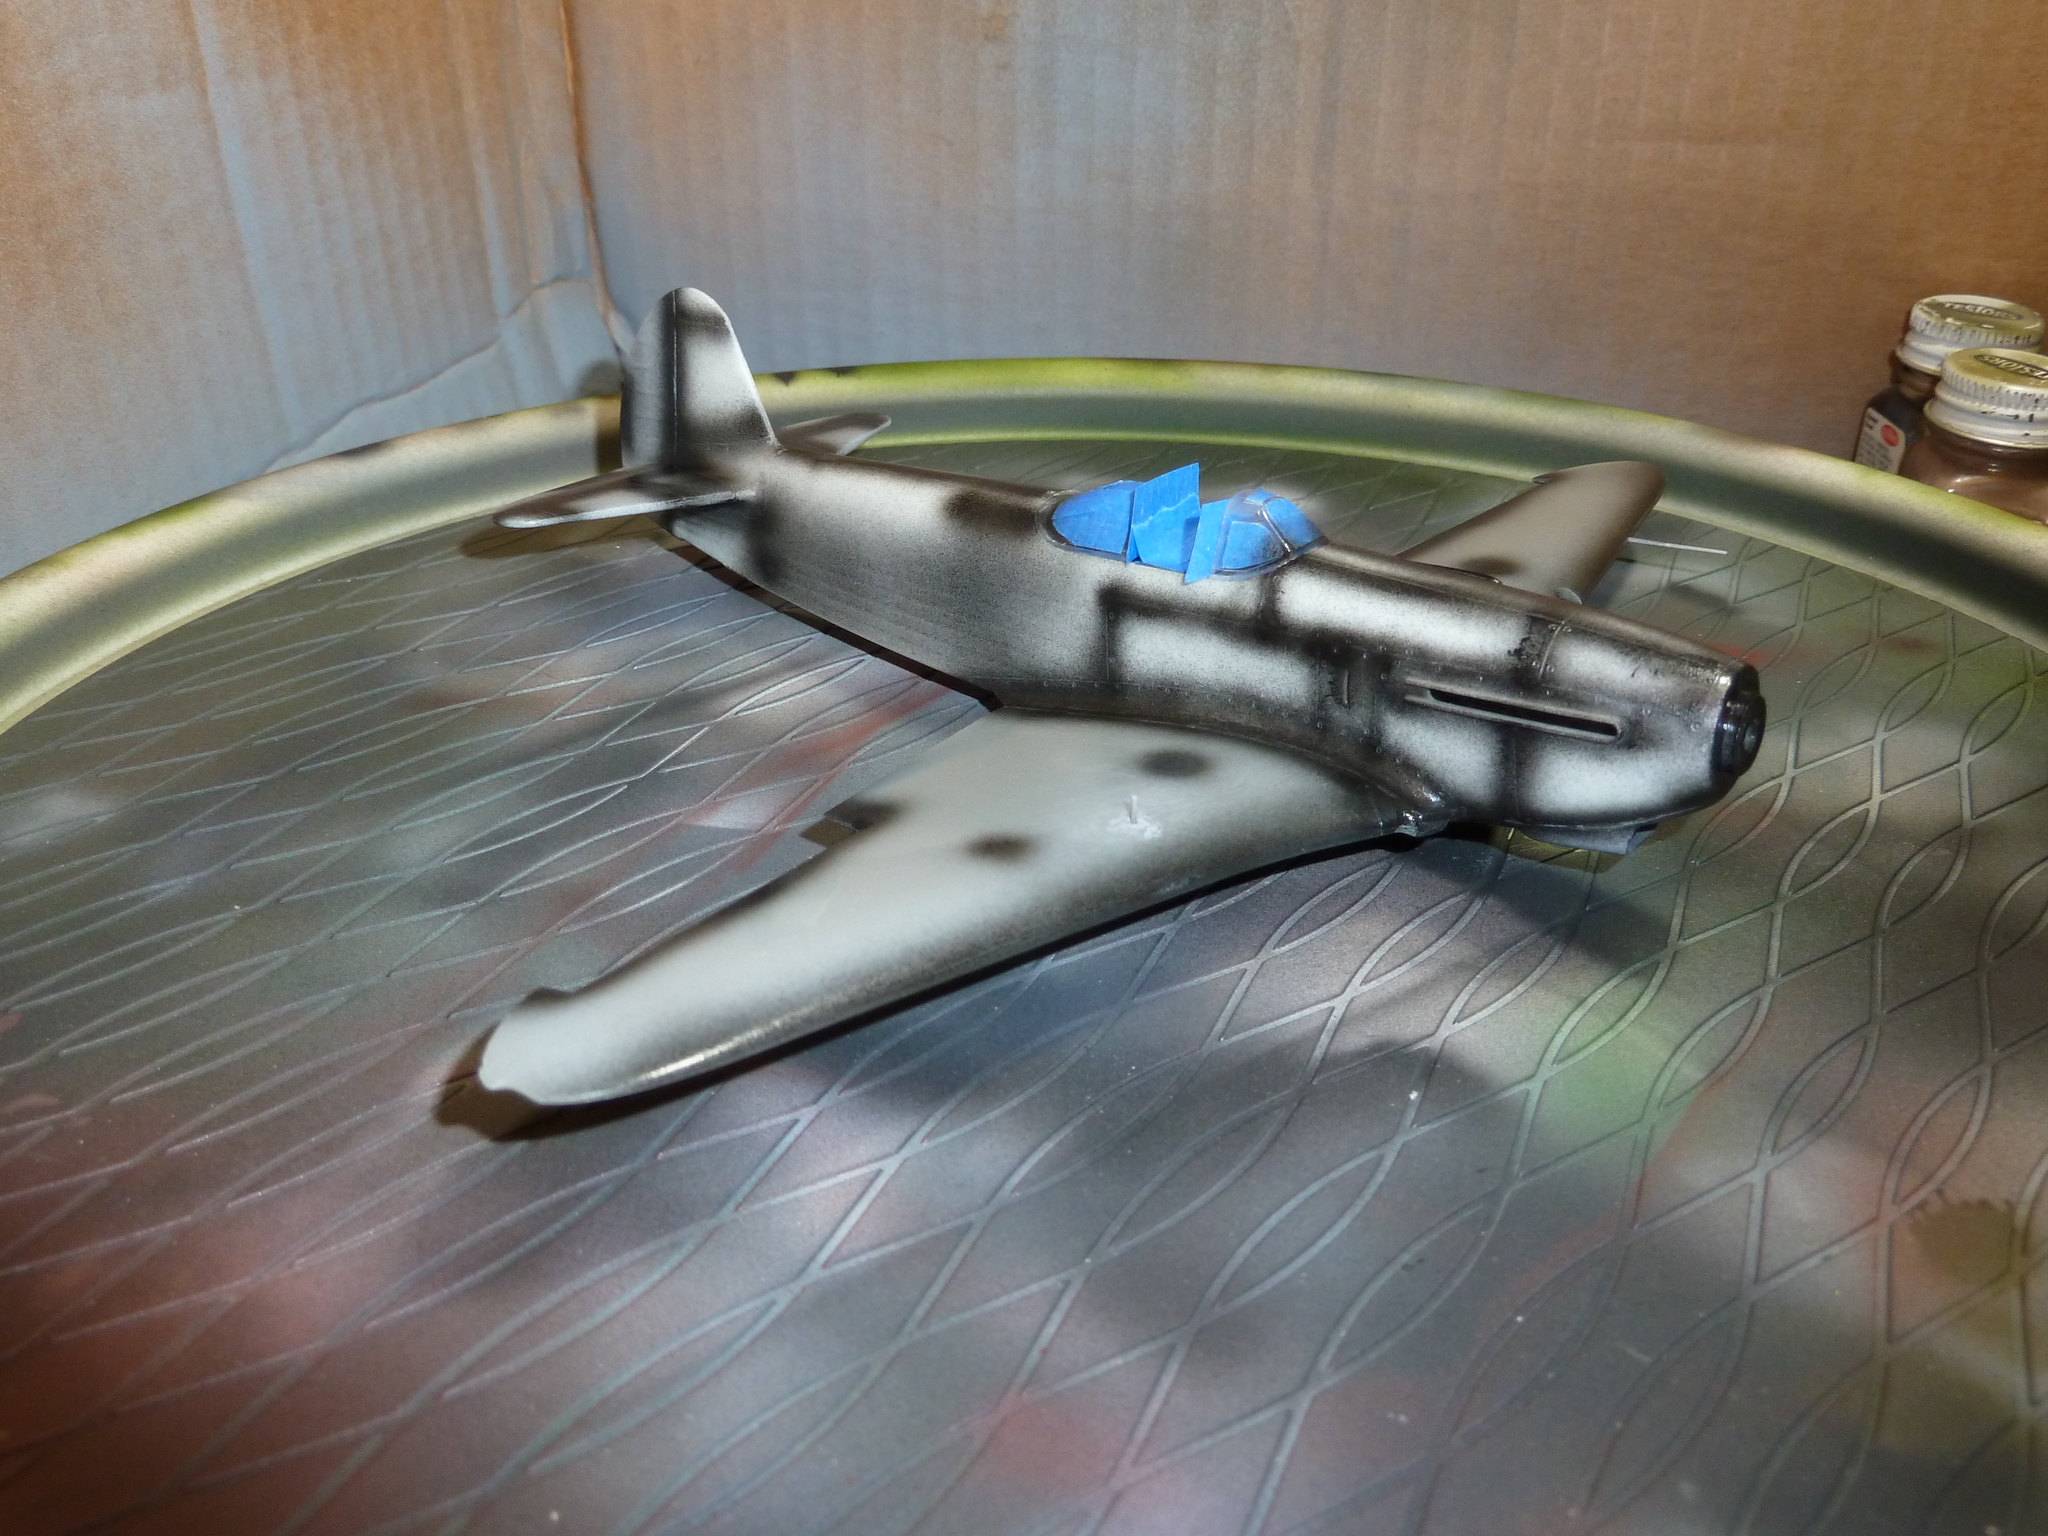
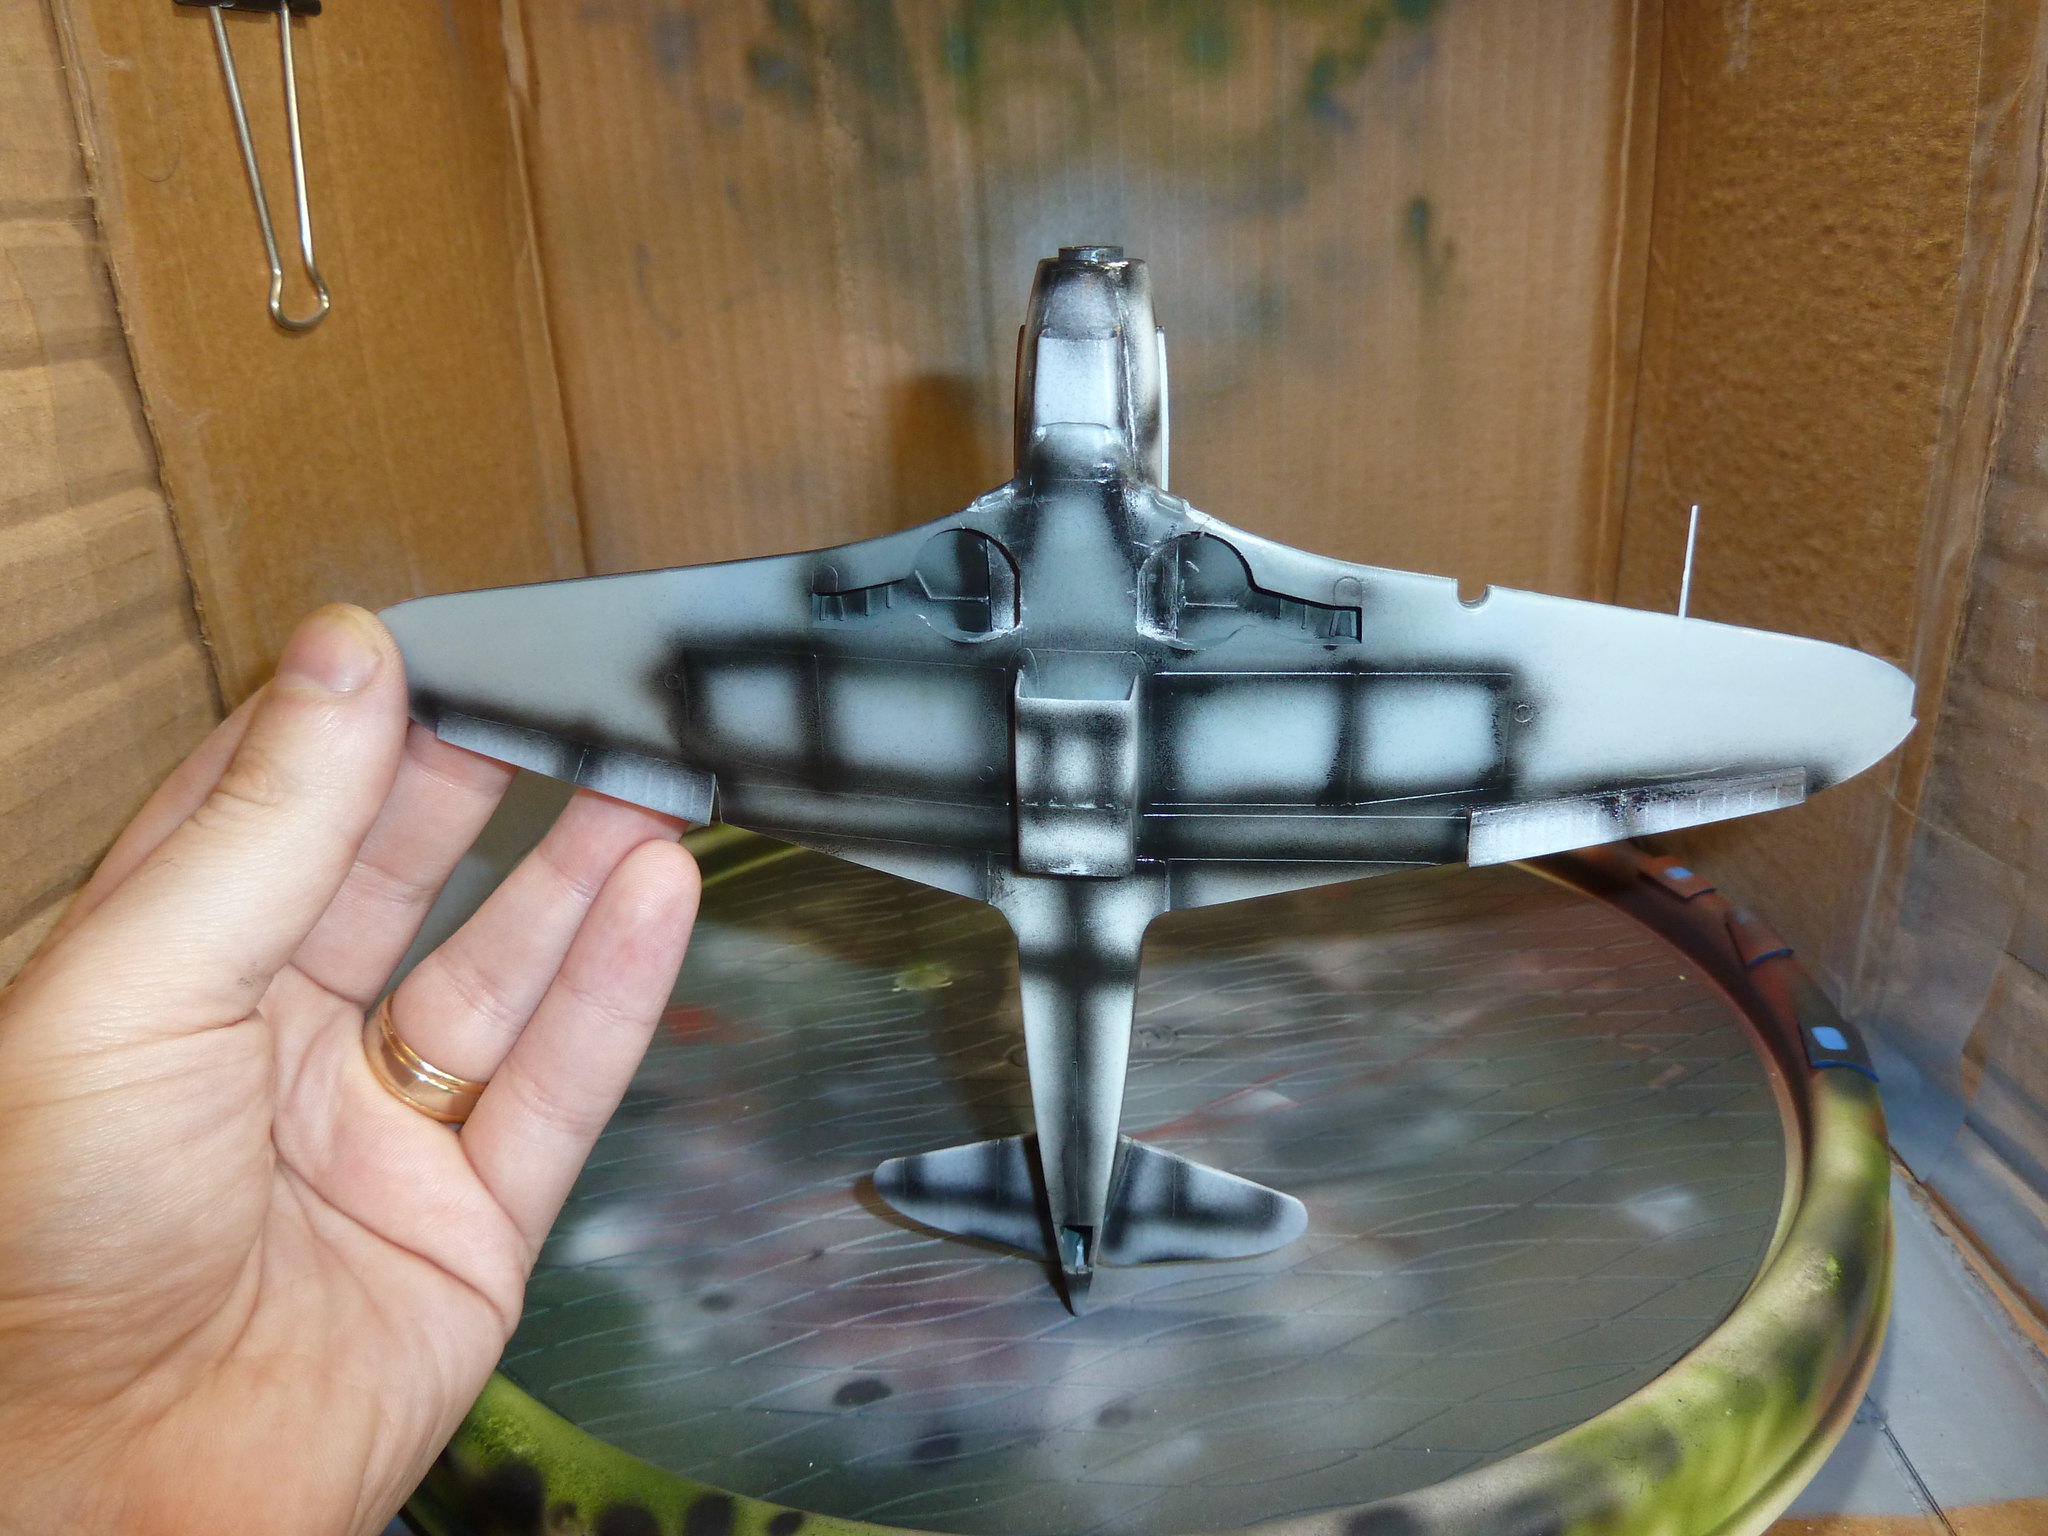
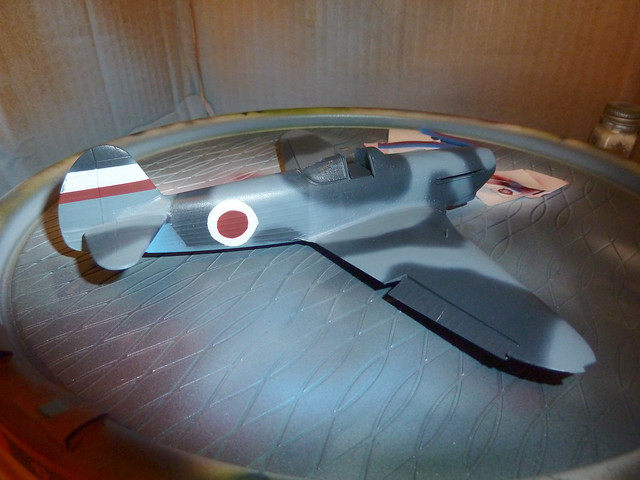
Some very slow progress. Work, flu, and a sick dog have been taking up most of my time and worry. Primary construction is complete (along with my first time using a vacuform canopy) and preshading is done. I'm honestly not sure I like this technique so much now vs postshading. I've seen some really good results with it, but I'm just not sure I have the strongest grasp of it just yet. The lines tend to be too strong under the main colors or they're completely covered up.


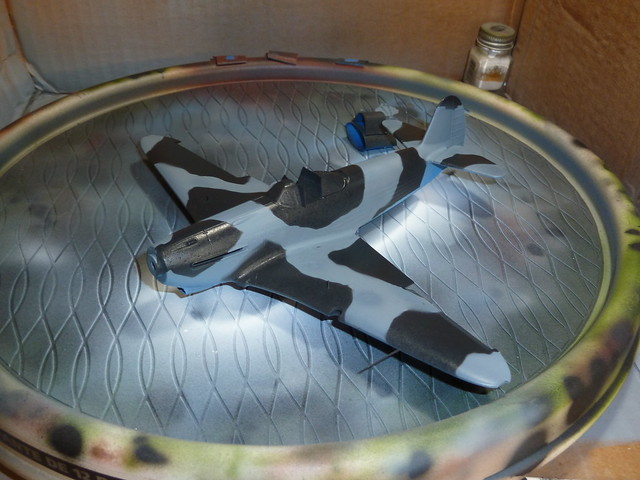
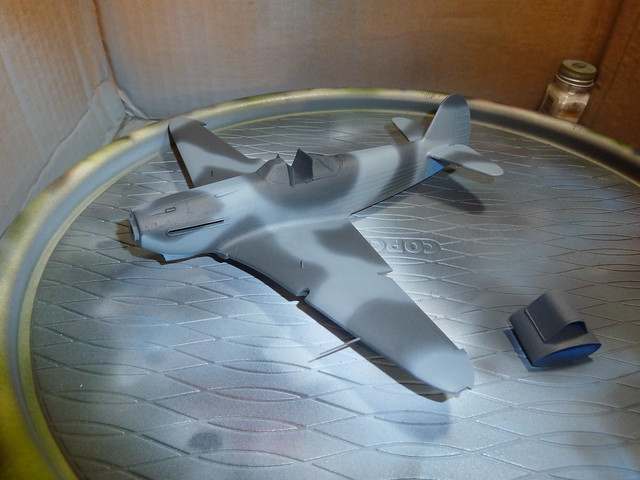
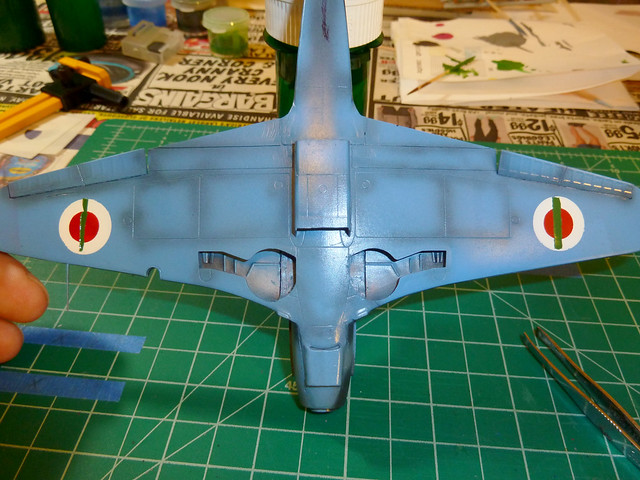
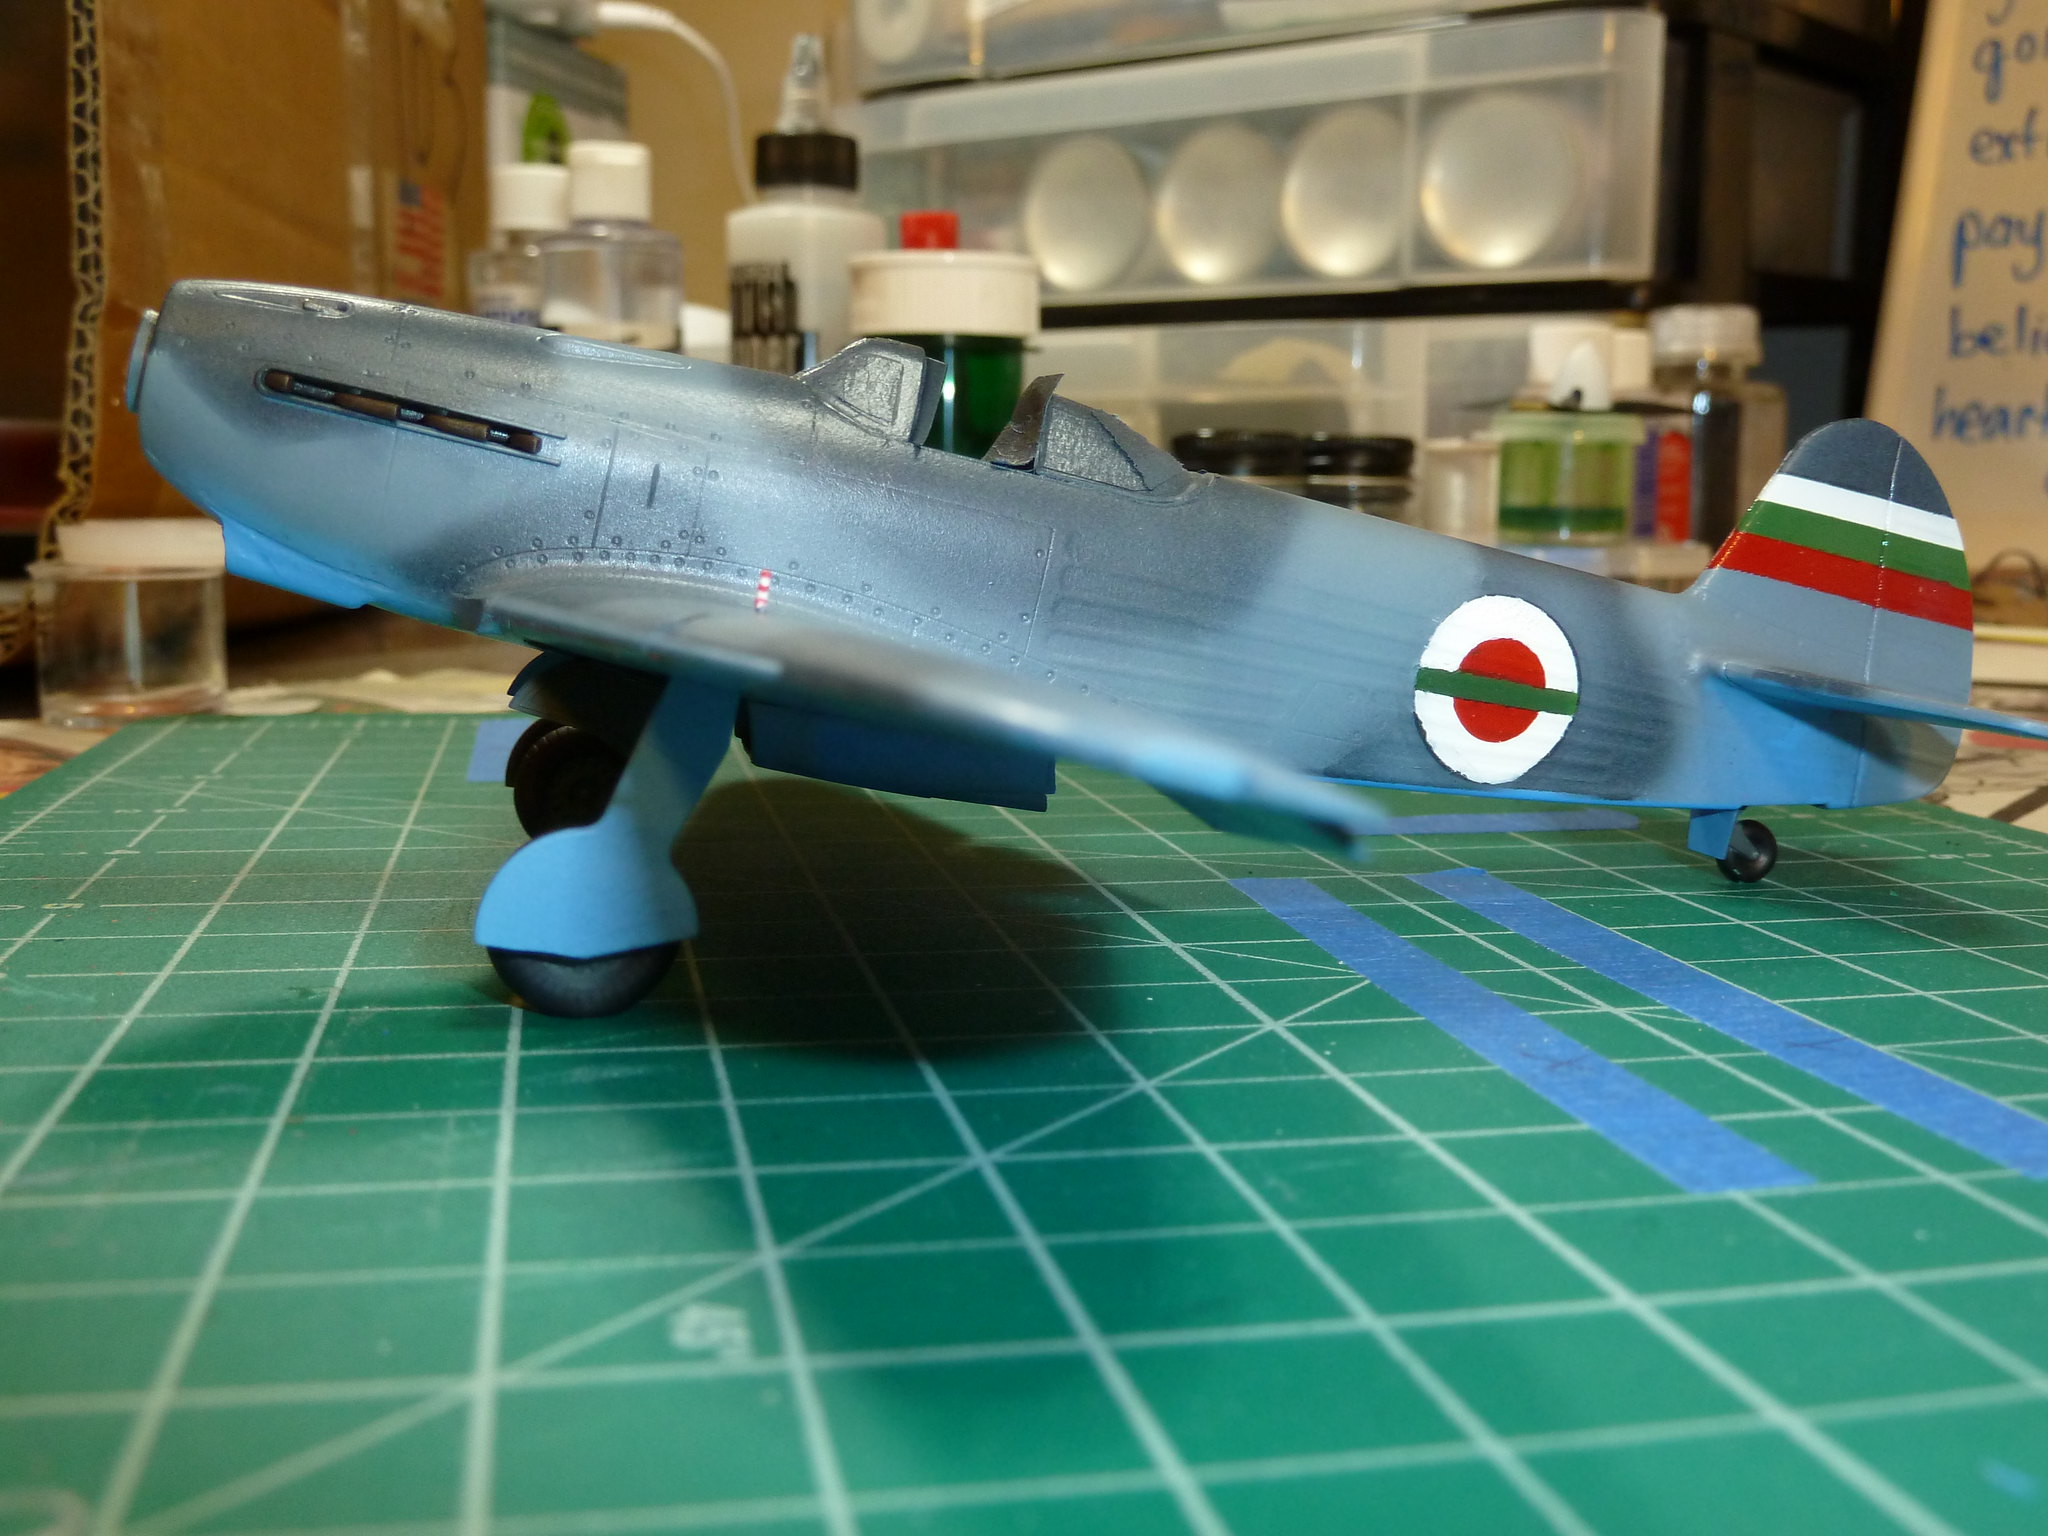
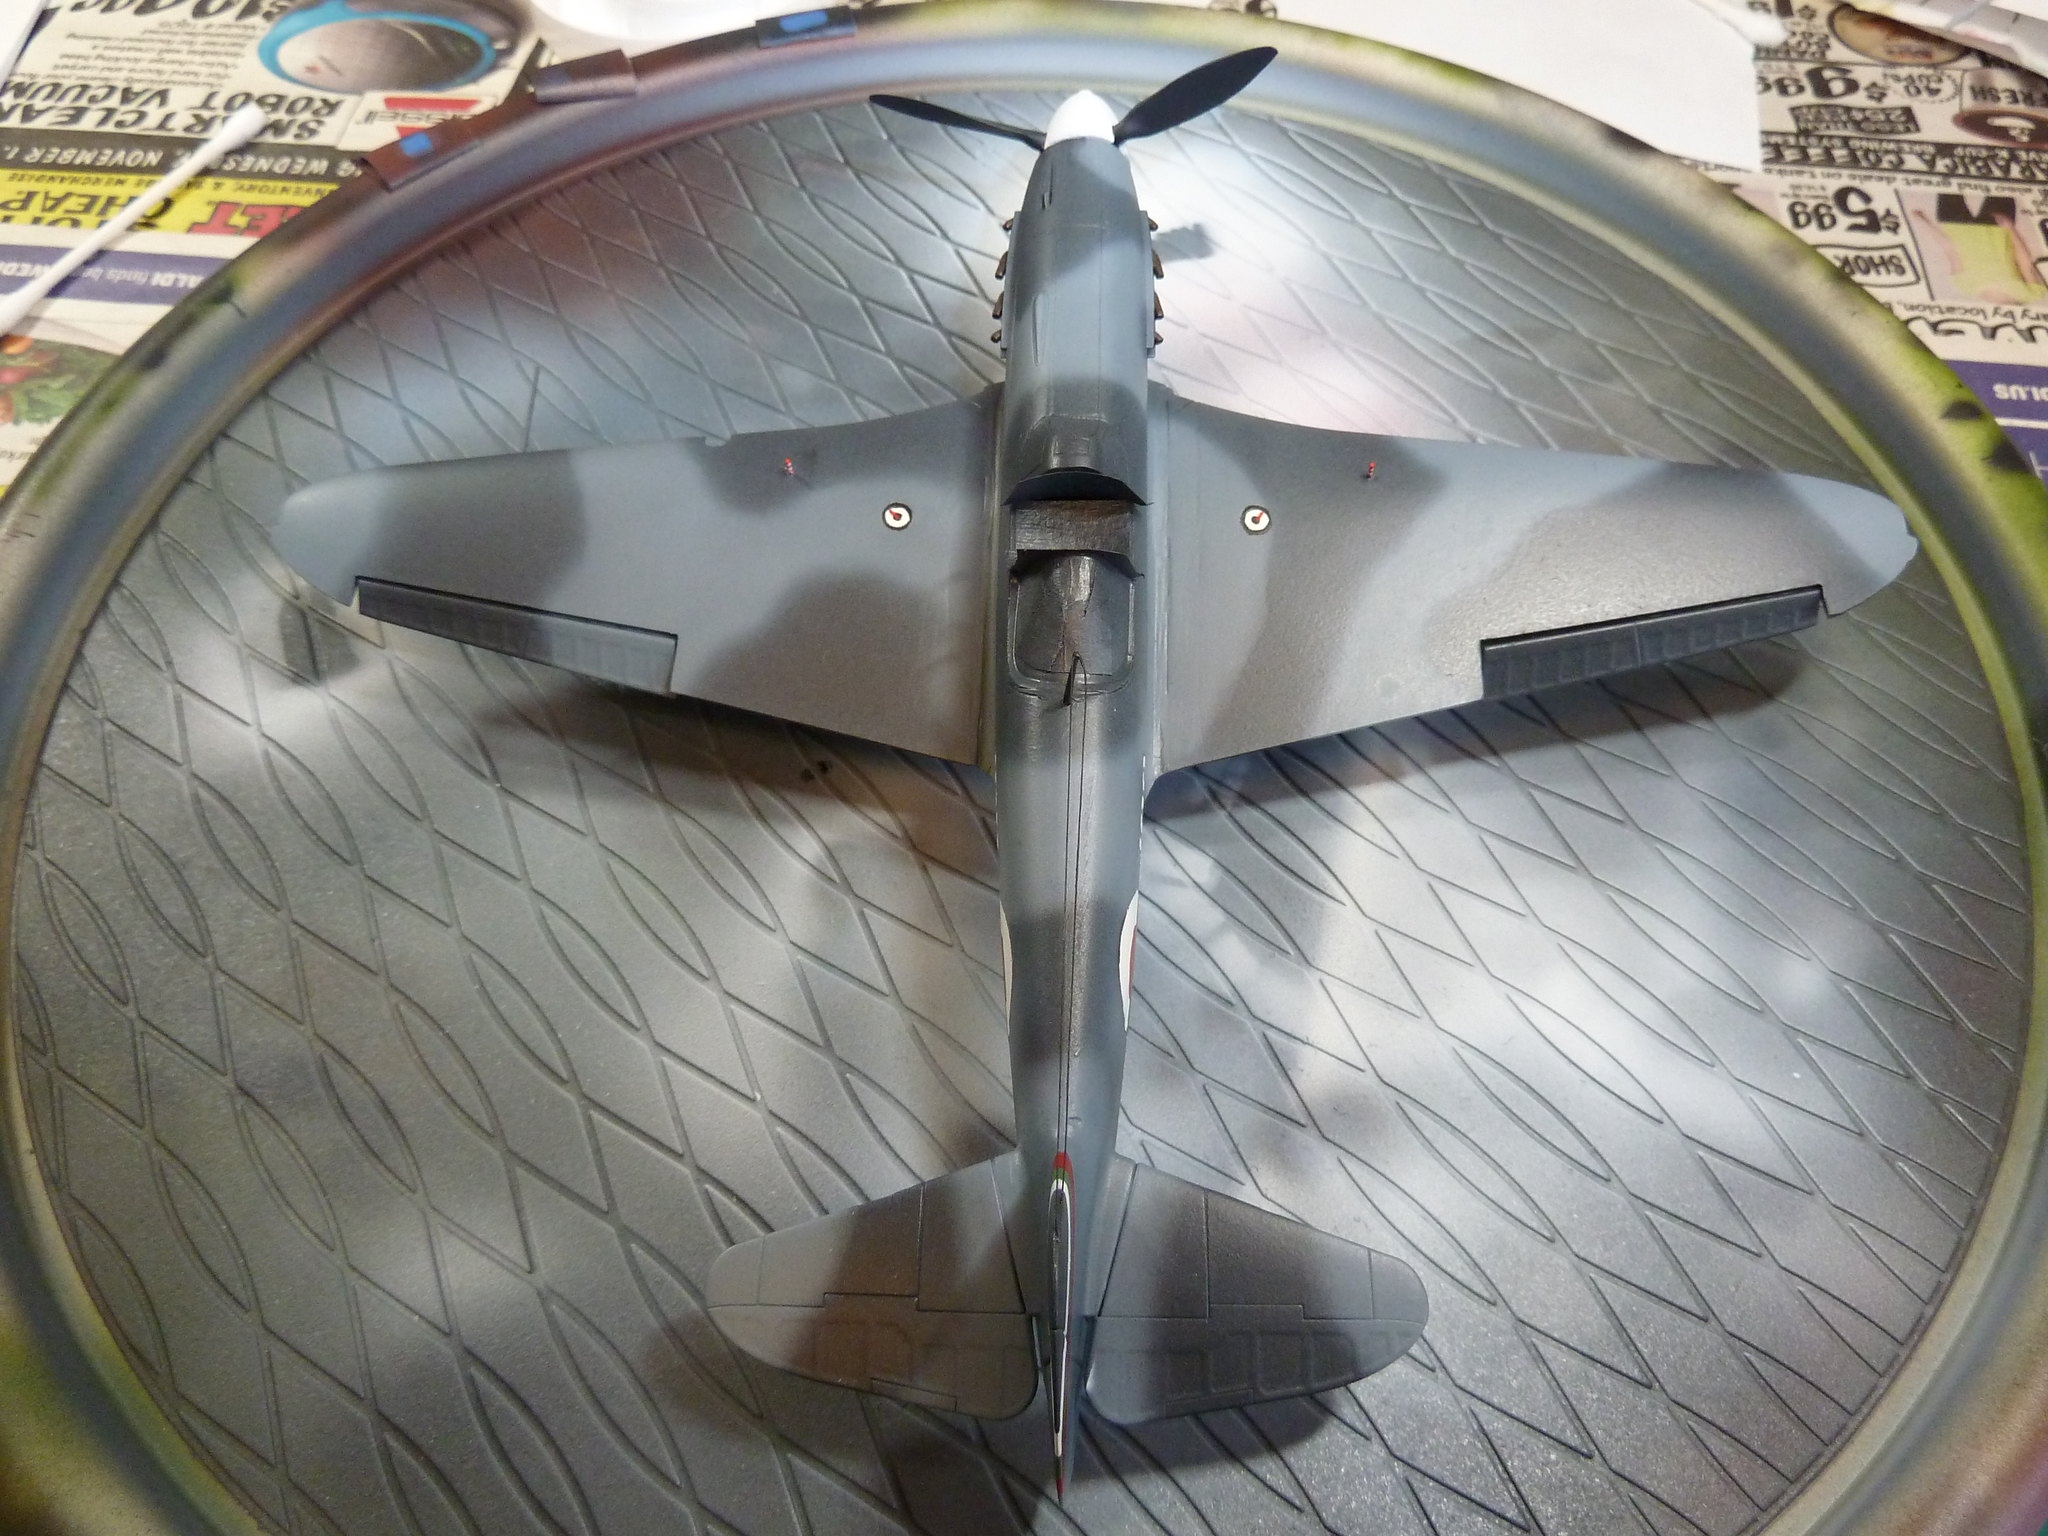
First pass for camo. The dark gray looked more like black on the model, so I had to lighten up my mix and try again. Pattern was initially laid down with poster tack, then sprayed freehand for the lightened layer.


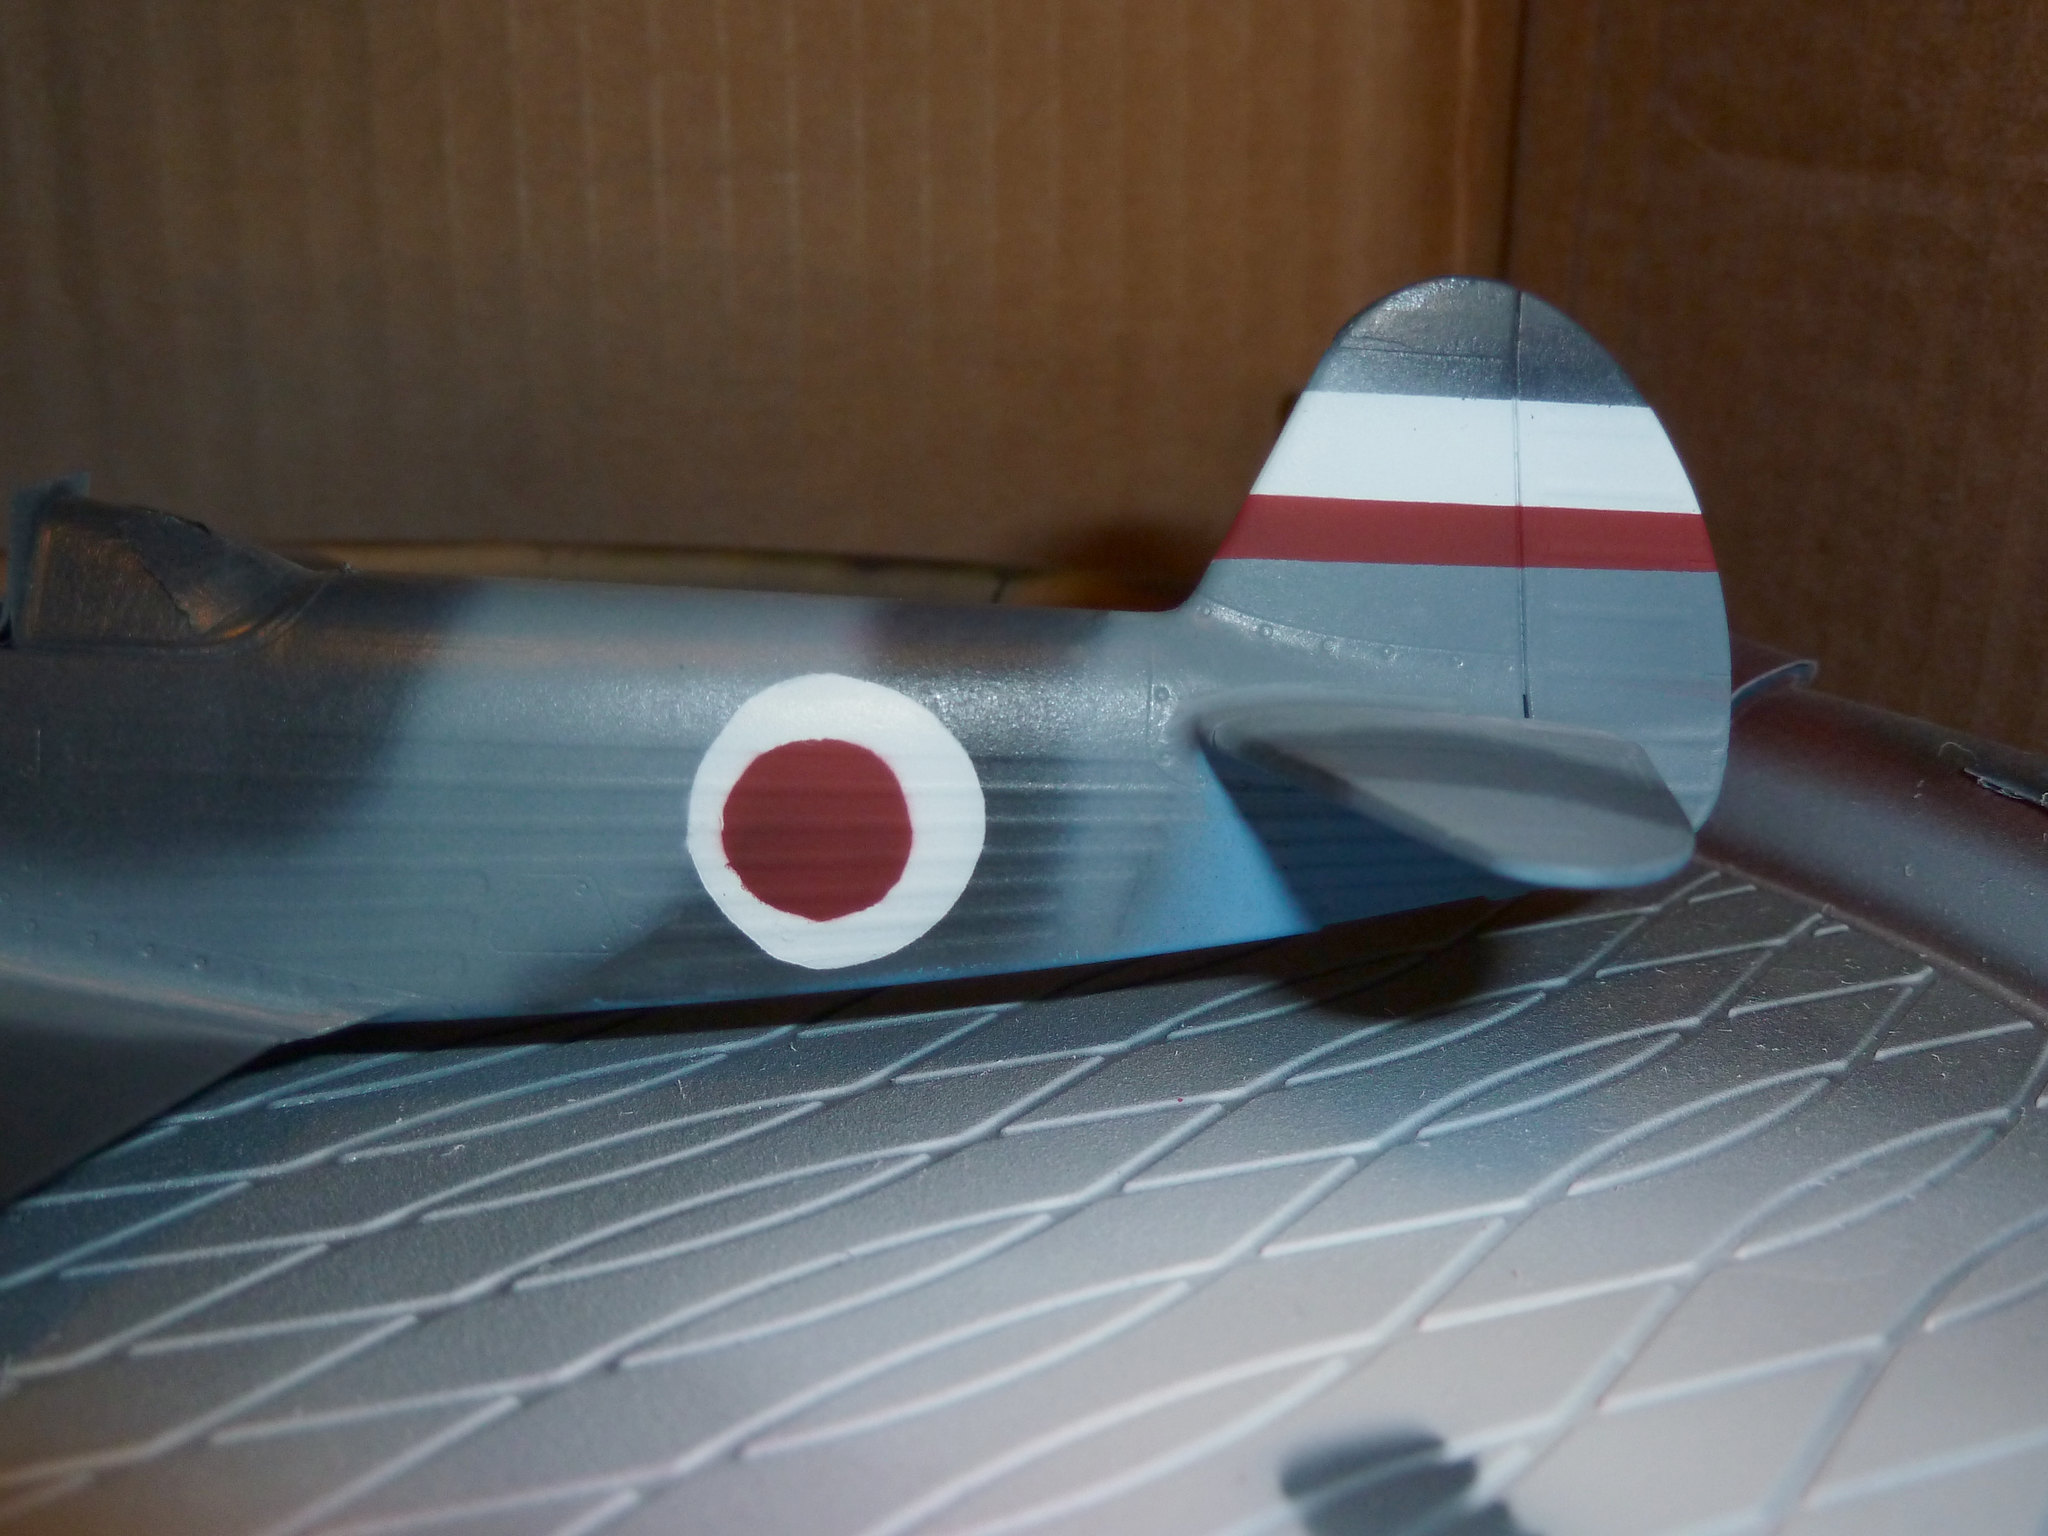
My focus for this build was to practice spraying insignia rather than relying on decals. My first attempt at masking circles was done with sticky notes and scissors. In other words, it kinda sucked. Bleed, uneven shapes, and naturally off-center. I told you, I've been a bit distracted lately.


So that's where the Yak sits now...hey, what's a Robby-build without some unexpected borderline-humorous disaster?? I'm definitely going to be spraying over all that. I also bought a circle-cutter compass and frisket film, hopefully eliminating the uneven and off circles. Always get the right tools for the job. As luck would have it, my LHS is dropping my favorite airbrush paint line, so I also picked up probably $60-80 worth of paint for over half off, so I should be well-stocked for a while now
Buckeye198
_VISITCOMMUNITY
Ohio, United States
Joined: May 02, 2010
KitMaker: 596 posts
AeroScale: 197 posts
Posted: Wednesday, February 21, 2018 - 05:11 AM UTC
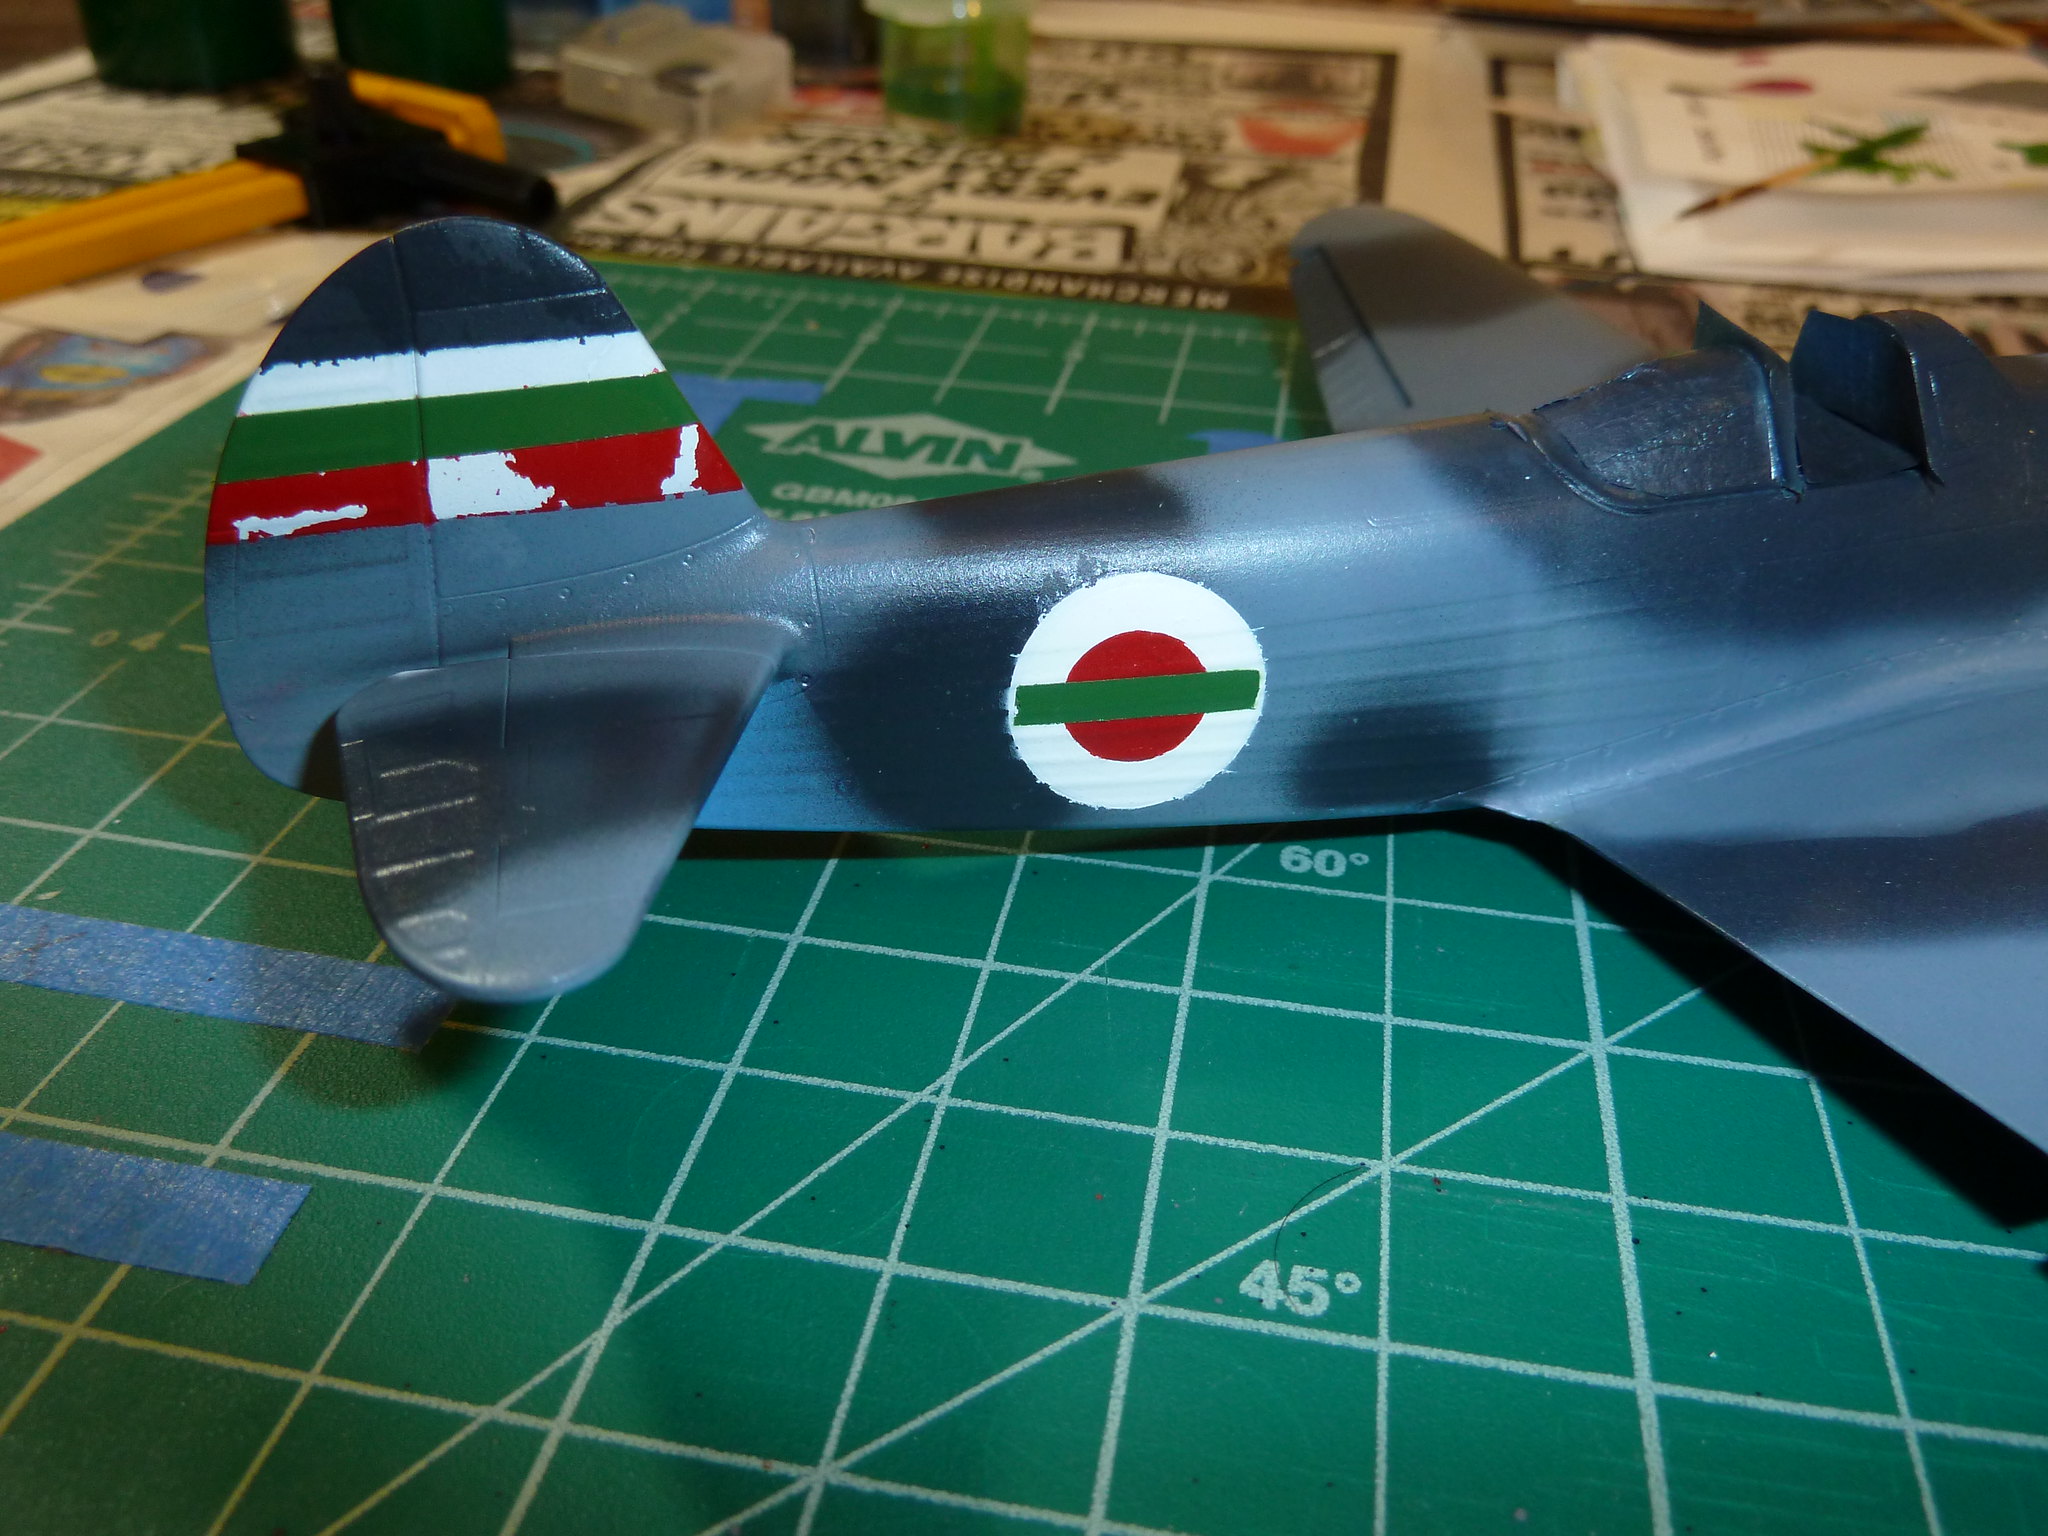
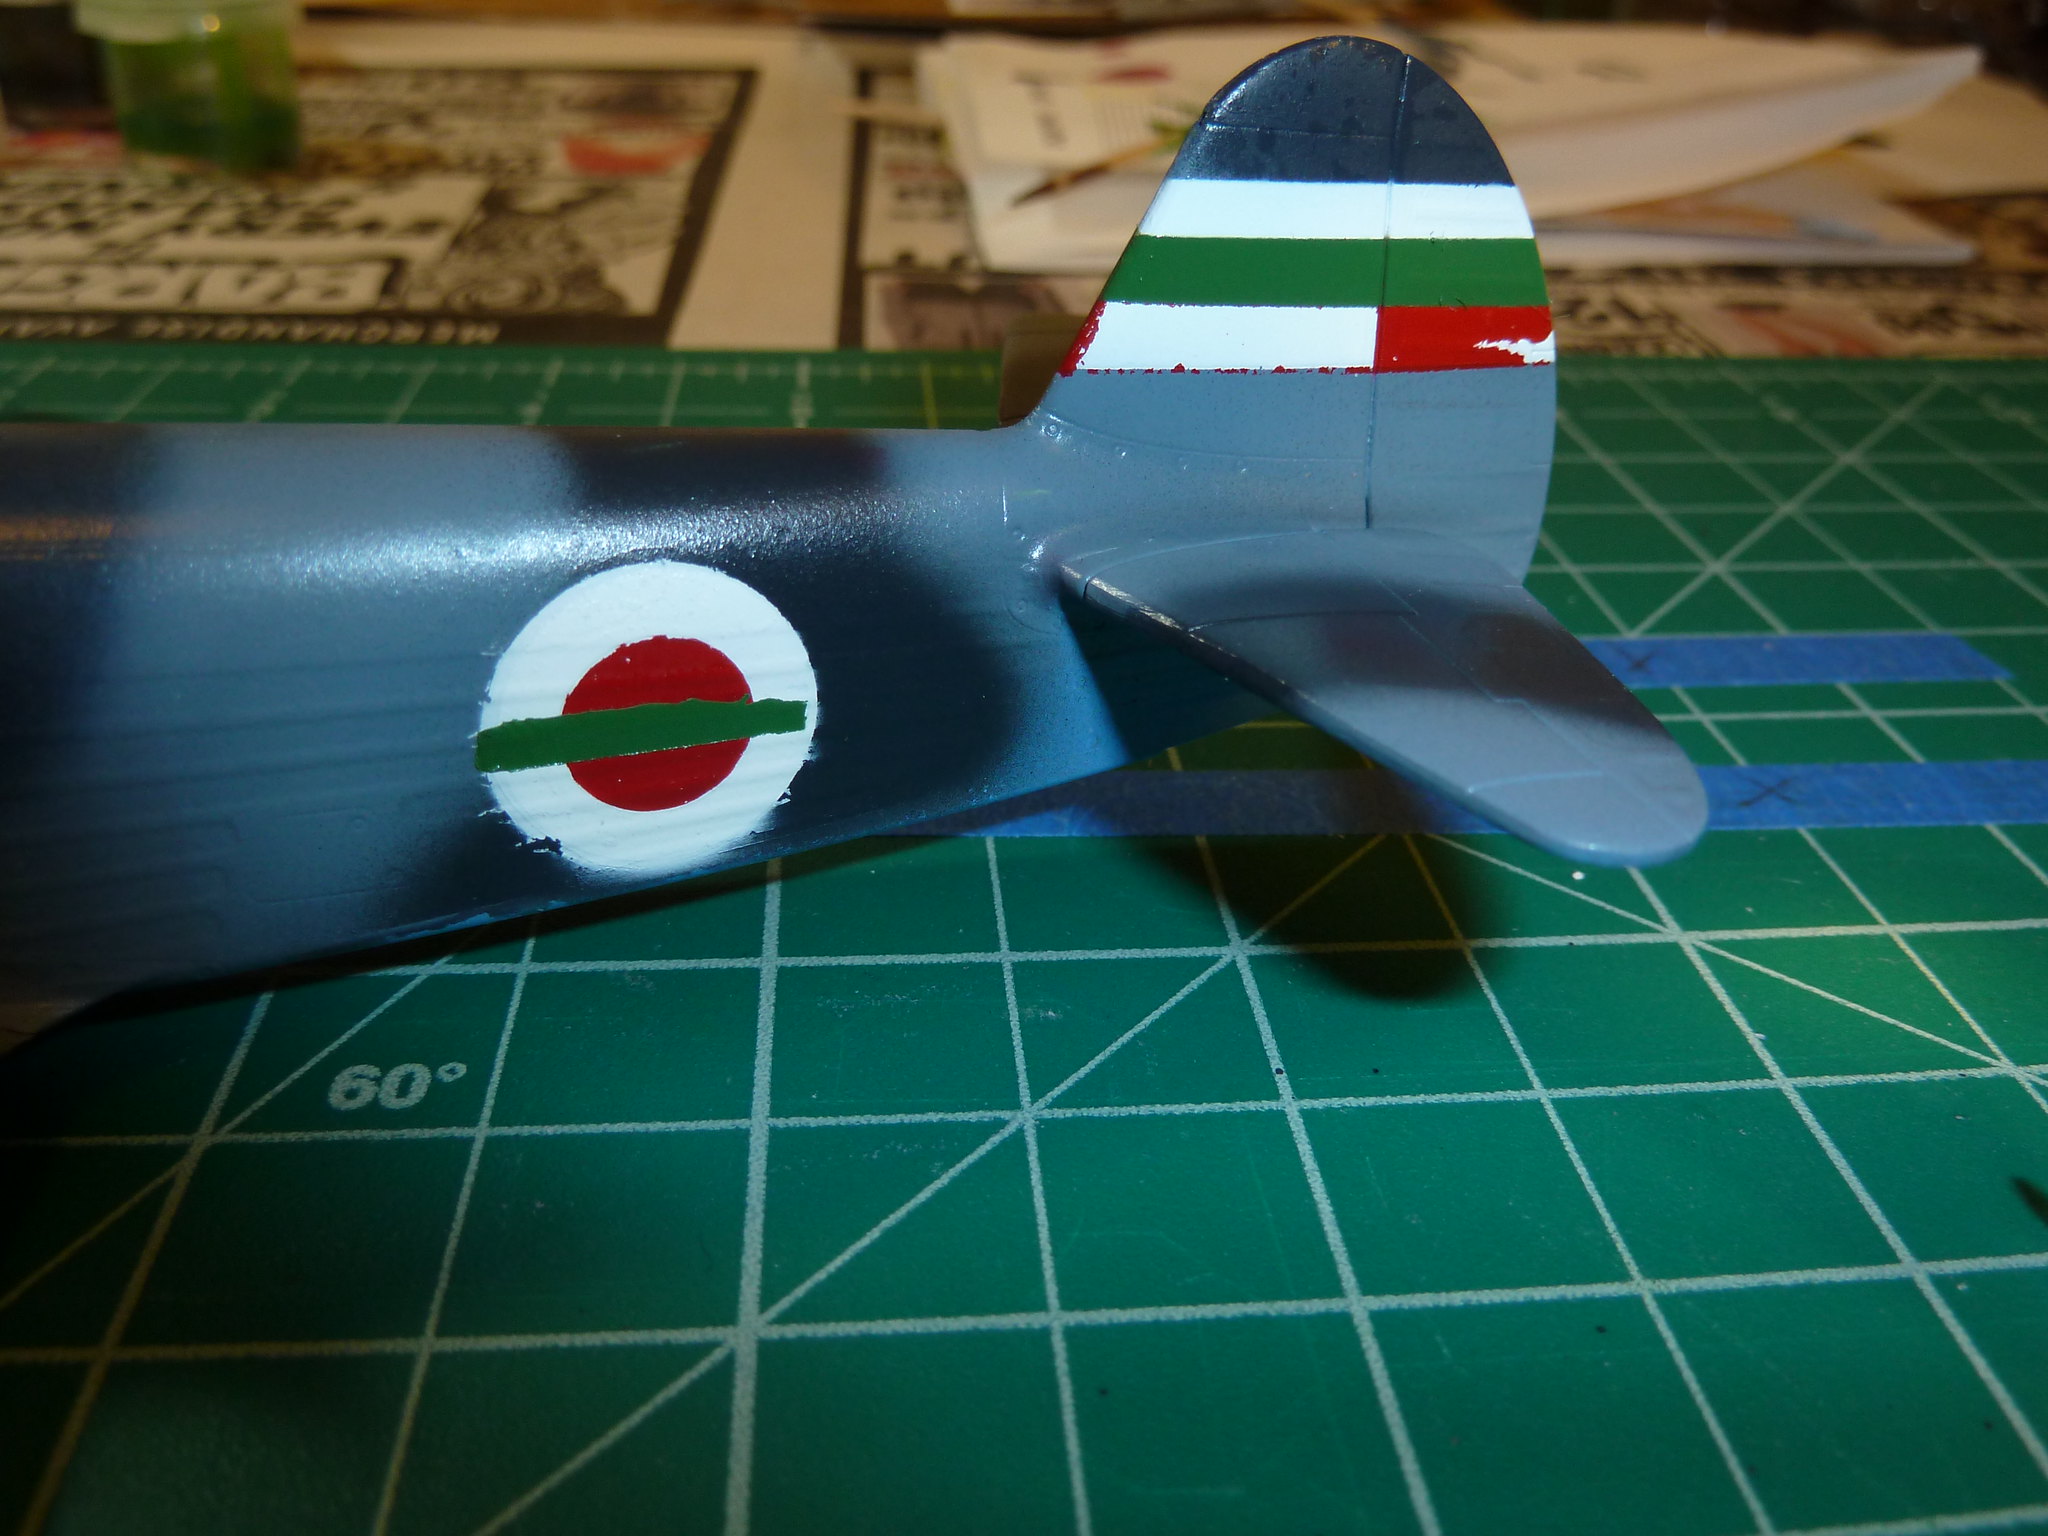
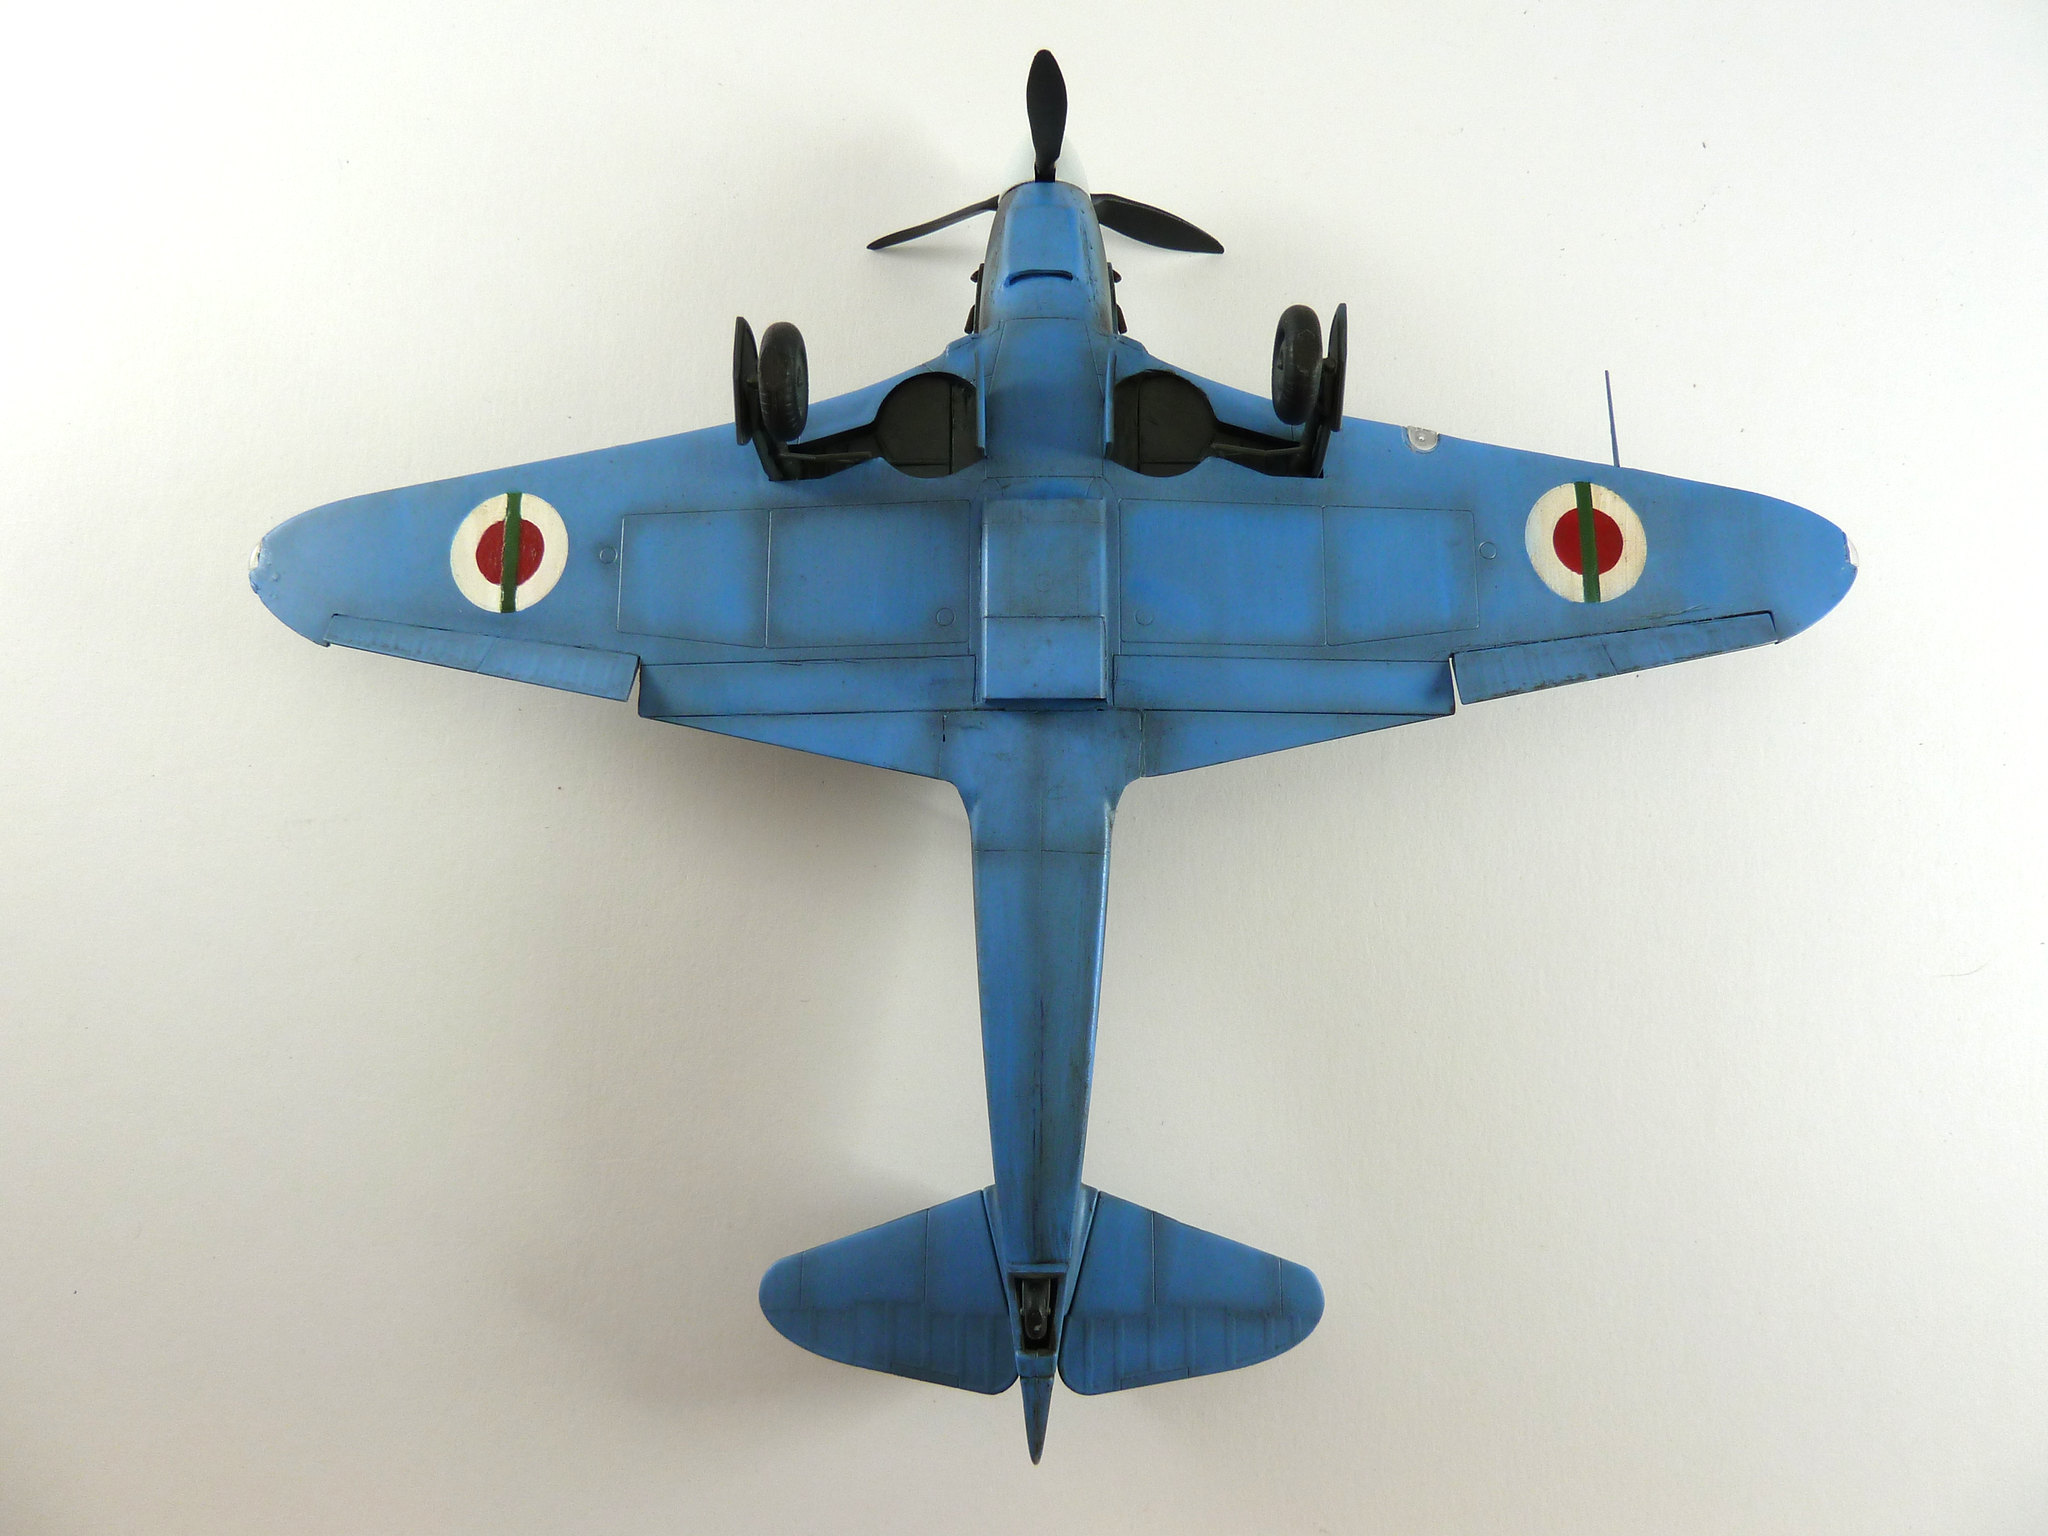
Very slow progress. The circle cutter and frisket film worked very well, and the roundels turned out 2/3 okay. The white and white circles were all good enough (some touch-up will be necessary, but at least they're done with the airbrush), but the green stripes leave much to be desired. Some my fault, some I'll blame on the supplies.


First, I didn't plan the rectangles well. I laid down the white first, then the red, and was left trying to cover those two highly contrasting colors with just one bright color. What I now see is obvious, this caused green's coverage to be very segmented, and the red/white circles were clearly visible underneath the green.

As a result, I had to spray way more than I would've wanted in order to get somewhat-even coverage. Therefore, there was paint buildup along the tape, which made mask removal difficult. I did score lightly, but I guess not enough to stop paint lifting entirely. Here I'll say that I haven't been terribly impressed with Tamiya paints (I seem to have bad luck with the popular paints...namely Vallejo and Tamiya), as I found they sprayed either unevenly or heavy-handed and didn't cover evenly over uniform backgrounds. I have Tamiya thinner, tried many paint:thinner ratios and PSI settings, and thoroughly cleaned my airbrush. No joy, no clue why. Whatever.

Finally, I'm expecting some Tamiya masking tape tomorrow. Hopefully that'll help get some tighter edges and less paint peeling (blue painter's tape lifted most of the red from the tail insignia). Sorry I can't show something better with this model just yet...it's pushing me to some extremes for sure, hopefully I'll get some good skills out of this experience.
Buckeye198
_VISITCOMMUNITY
Ohio, United States
Joined: May 02, 2010
KitMaker: 596 posts
AeroScale: 197 posts
Posted: Friday, March 09, 2018 - 12:29 AM UTC
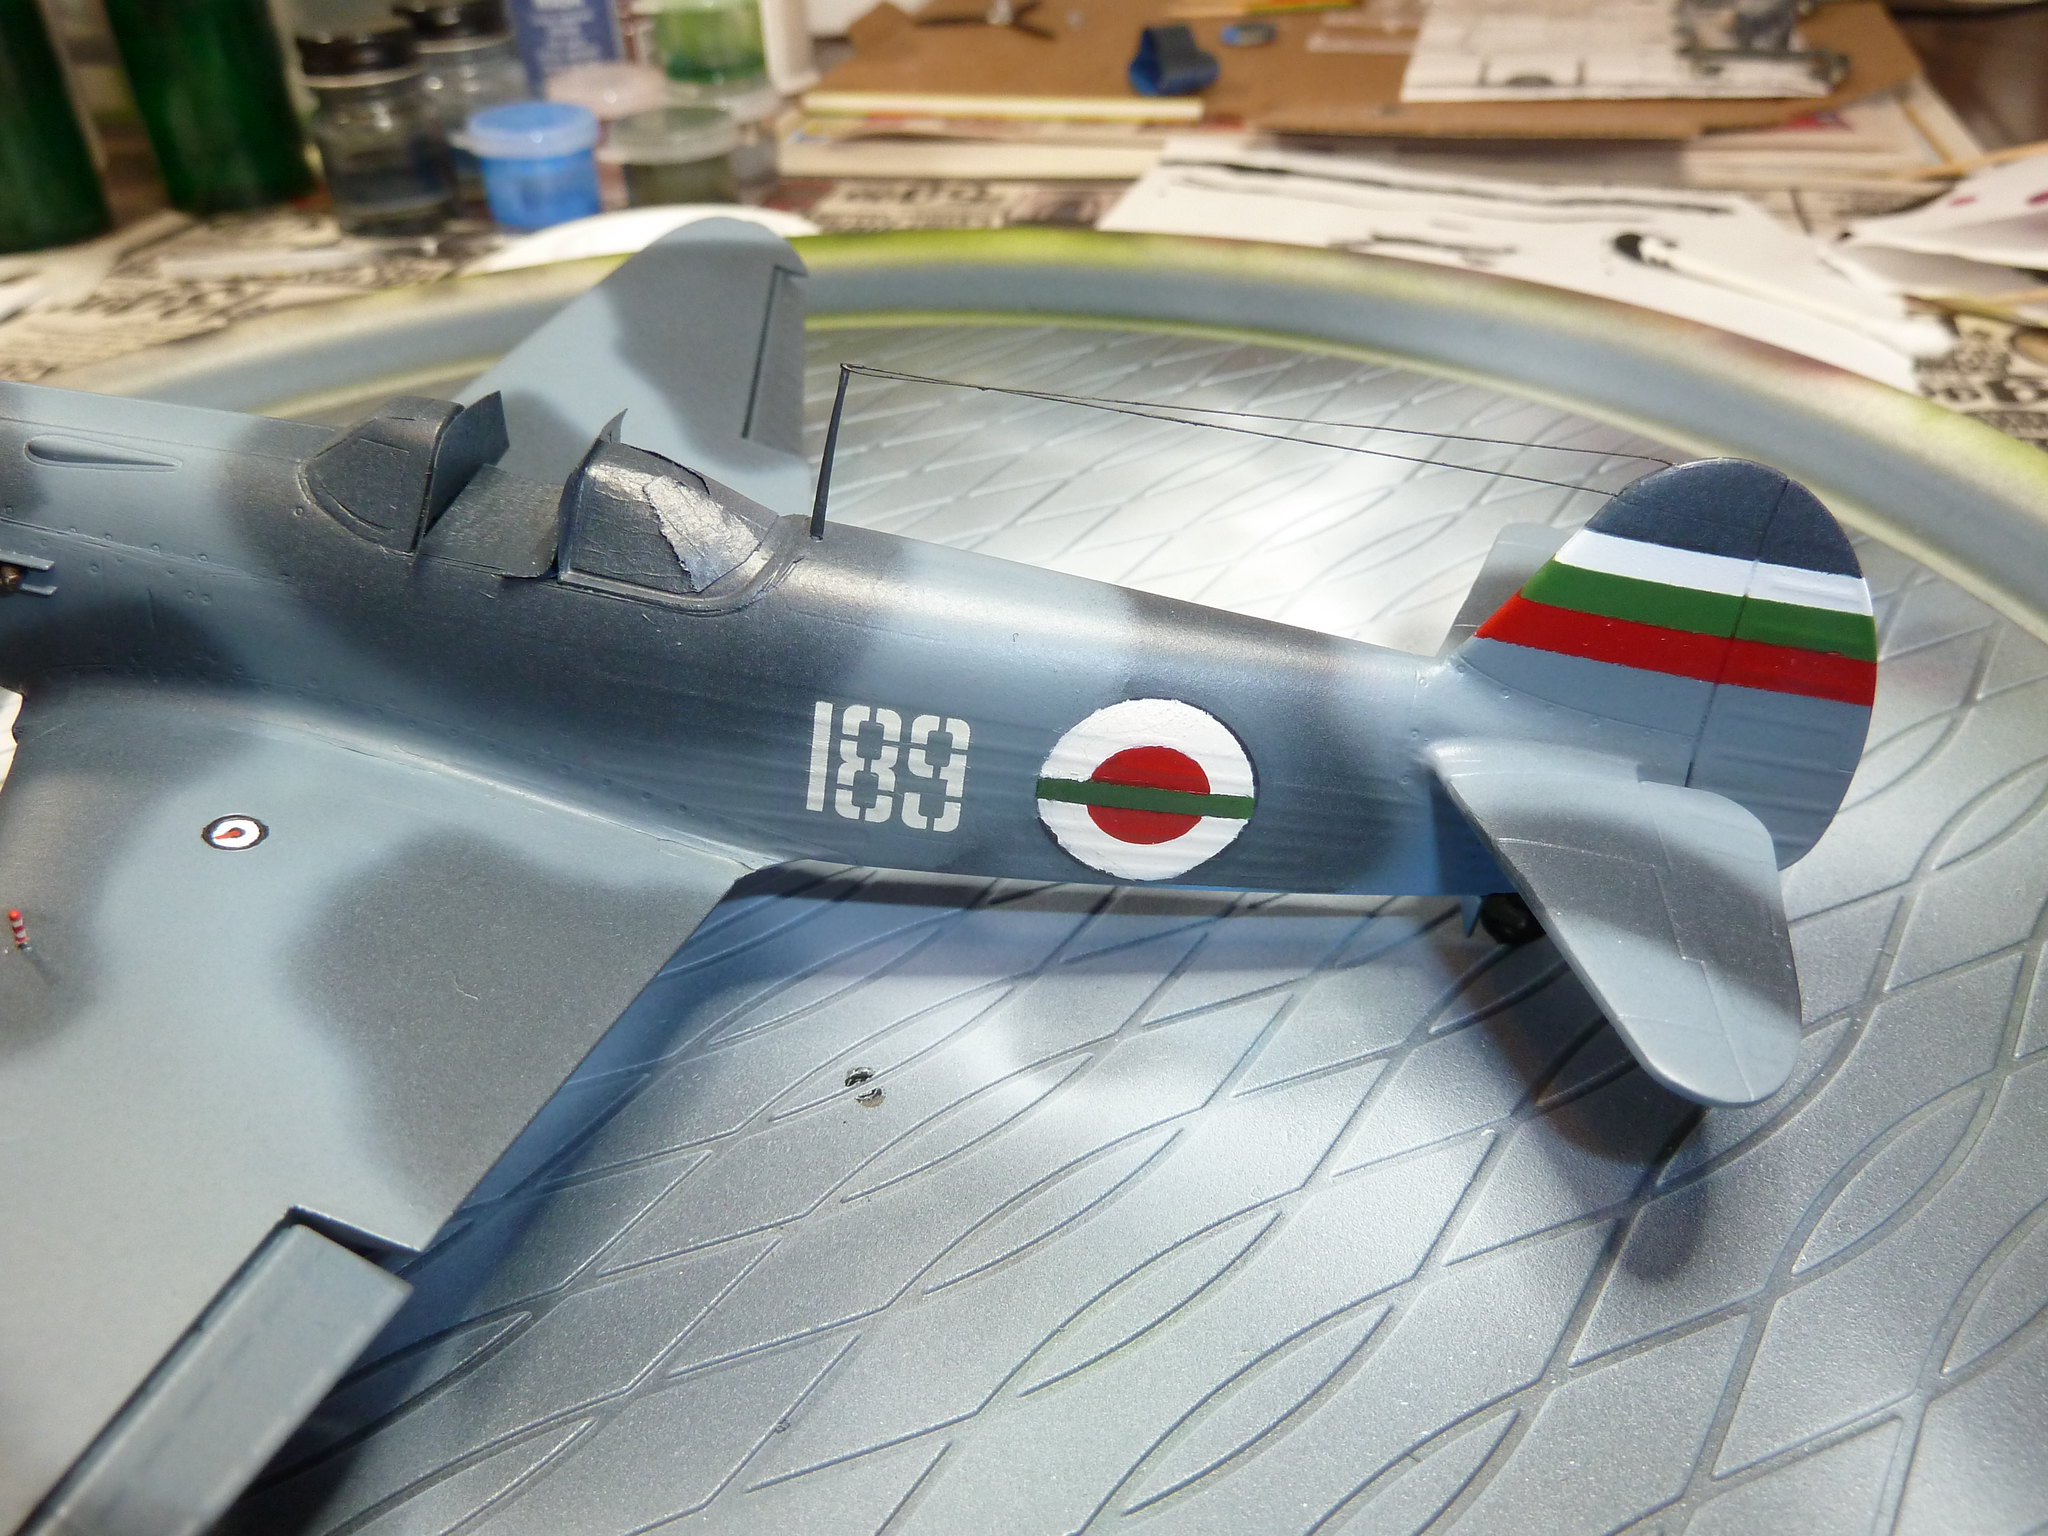
Tamiya tape arrived after a lengthy delay, but I'm a convert now. It didn't lift any paint, cleanest lines I've gotten, easy to manipulate, etc. Finally an ounce of success in this build!

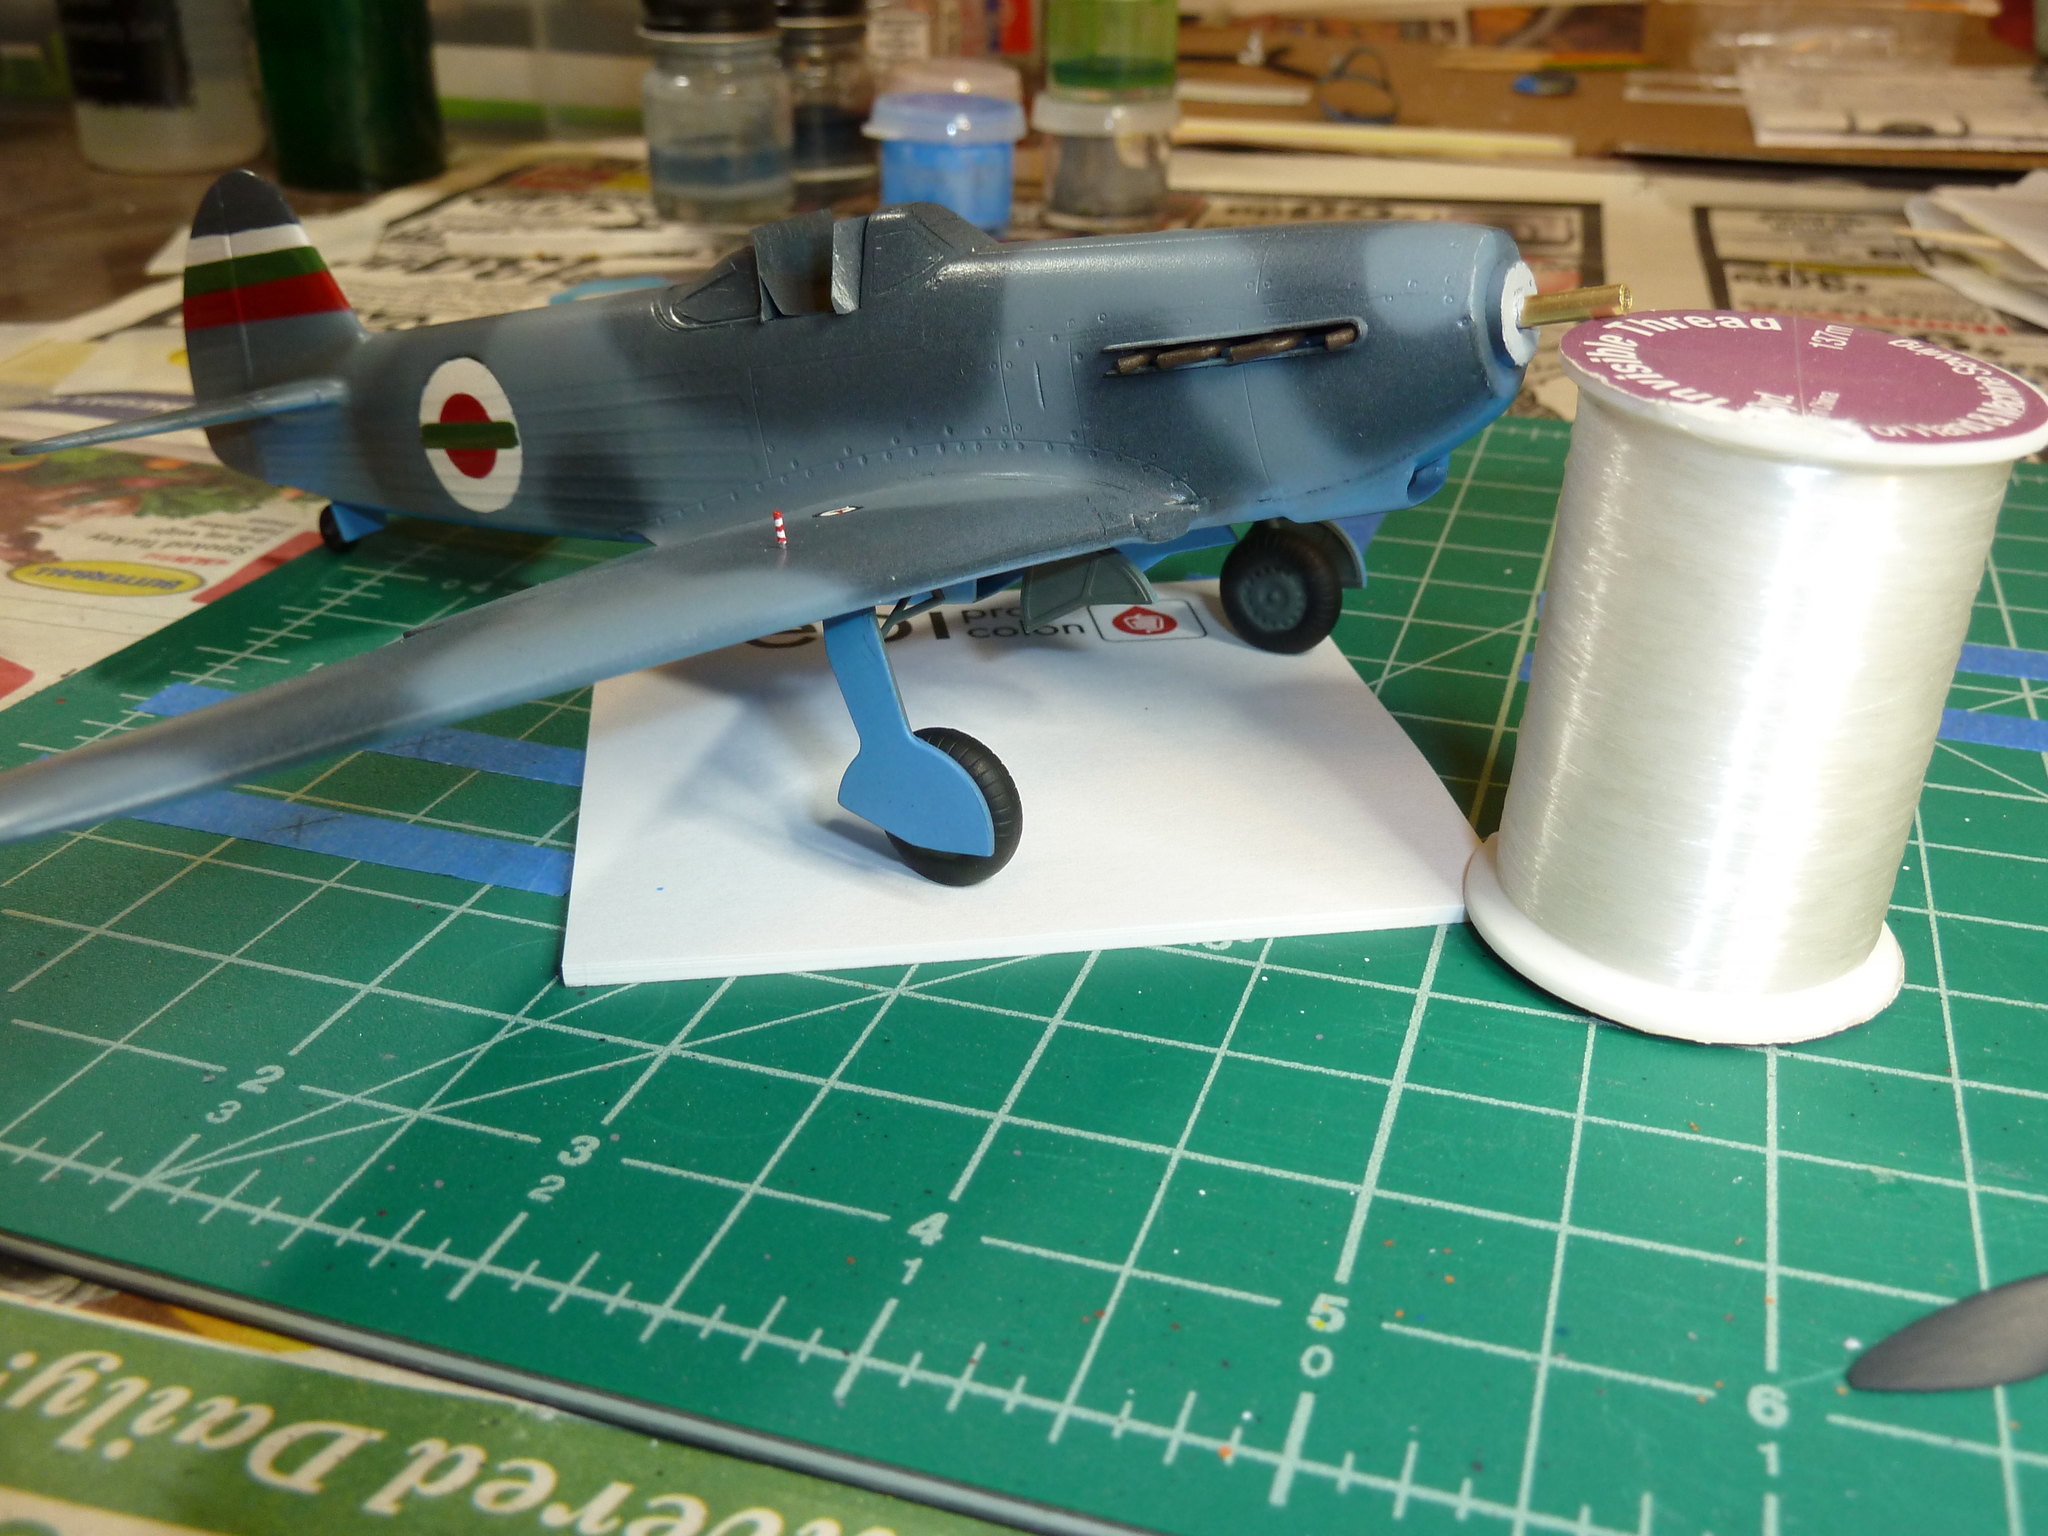
I got most of the assembly completed. It's standing on its own three wheels, brass spinner is installed, and nylon antenna "wires" attached and tightened. I also painted the wing surface fuel gauges details, gave it all a good dusting, Future coat, and then decals (spare Soviet numbers) and a flat coat.


I'm happy with how this is turning out so far. I'm still looking to do an oil wash for some light weathering, but it may be a week or two until I can get the supplies in. Also, it'll be my first experiment with oil washes, so any advice would be appreciated
thegirl
_VISITCOMMUNITY
Alberta, Canada
Joined: January 19, 2008
KitMaker: 6,743 posts
AeroScale: 6,151 posts
Posted: Friday, March 09, 2018 - 06:17 AM UTC
Your build is coming along very nicely so far . Tamiya tape is awesome stuff . Only masking tape I will use . I don't do oil washes so I can't give any advice on using this method . I use pastel chalks or Flory's washes which is a clay , water and soap mix .
Super easy to use . Slop it on let it dry and with a damp towel with water wipe away the excess until you have the effect .


Terri
Buckeye198
_VISITCOMMUNITY
Ohio, United States
Joined: May 02, 2010
KitMaker: 596 posts
AeroScale: 197 posts
Posted: Friday, May 11, 2018 - 03:01 AM UTC
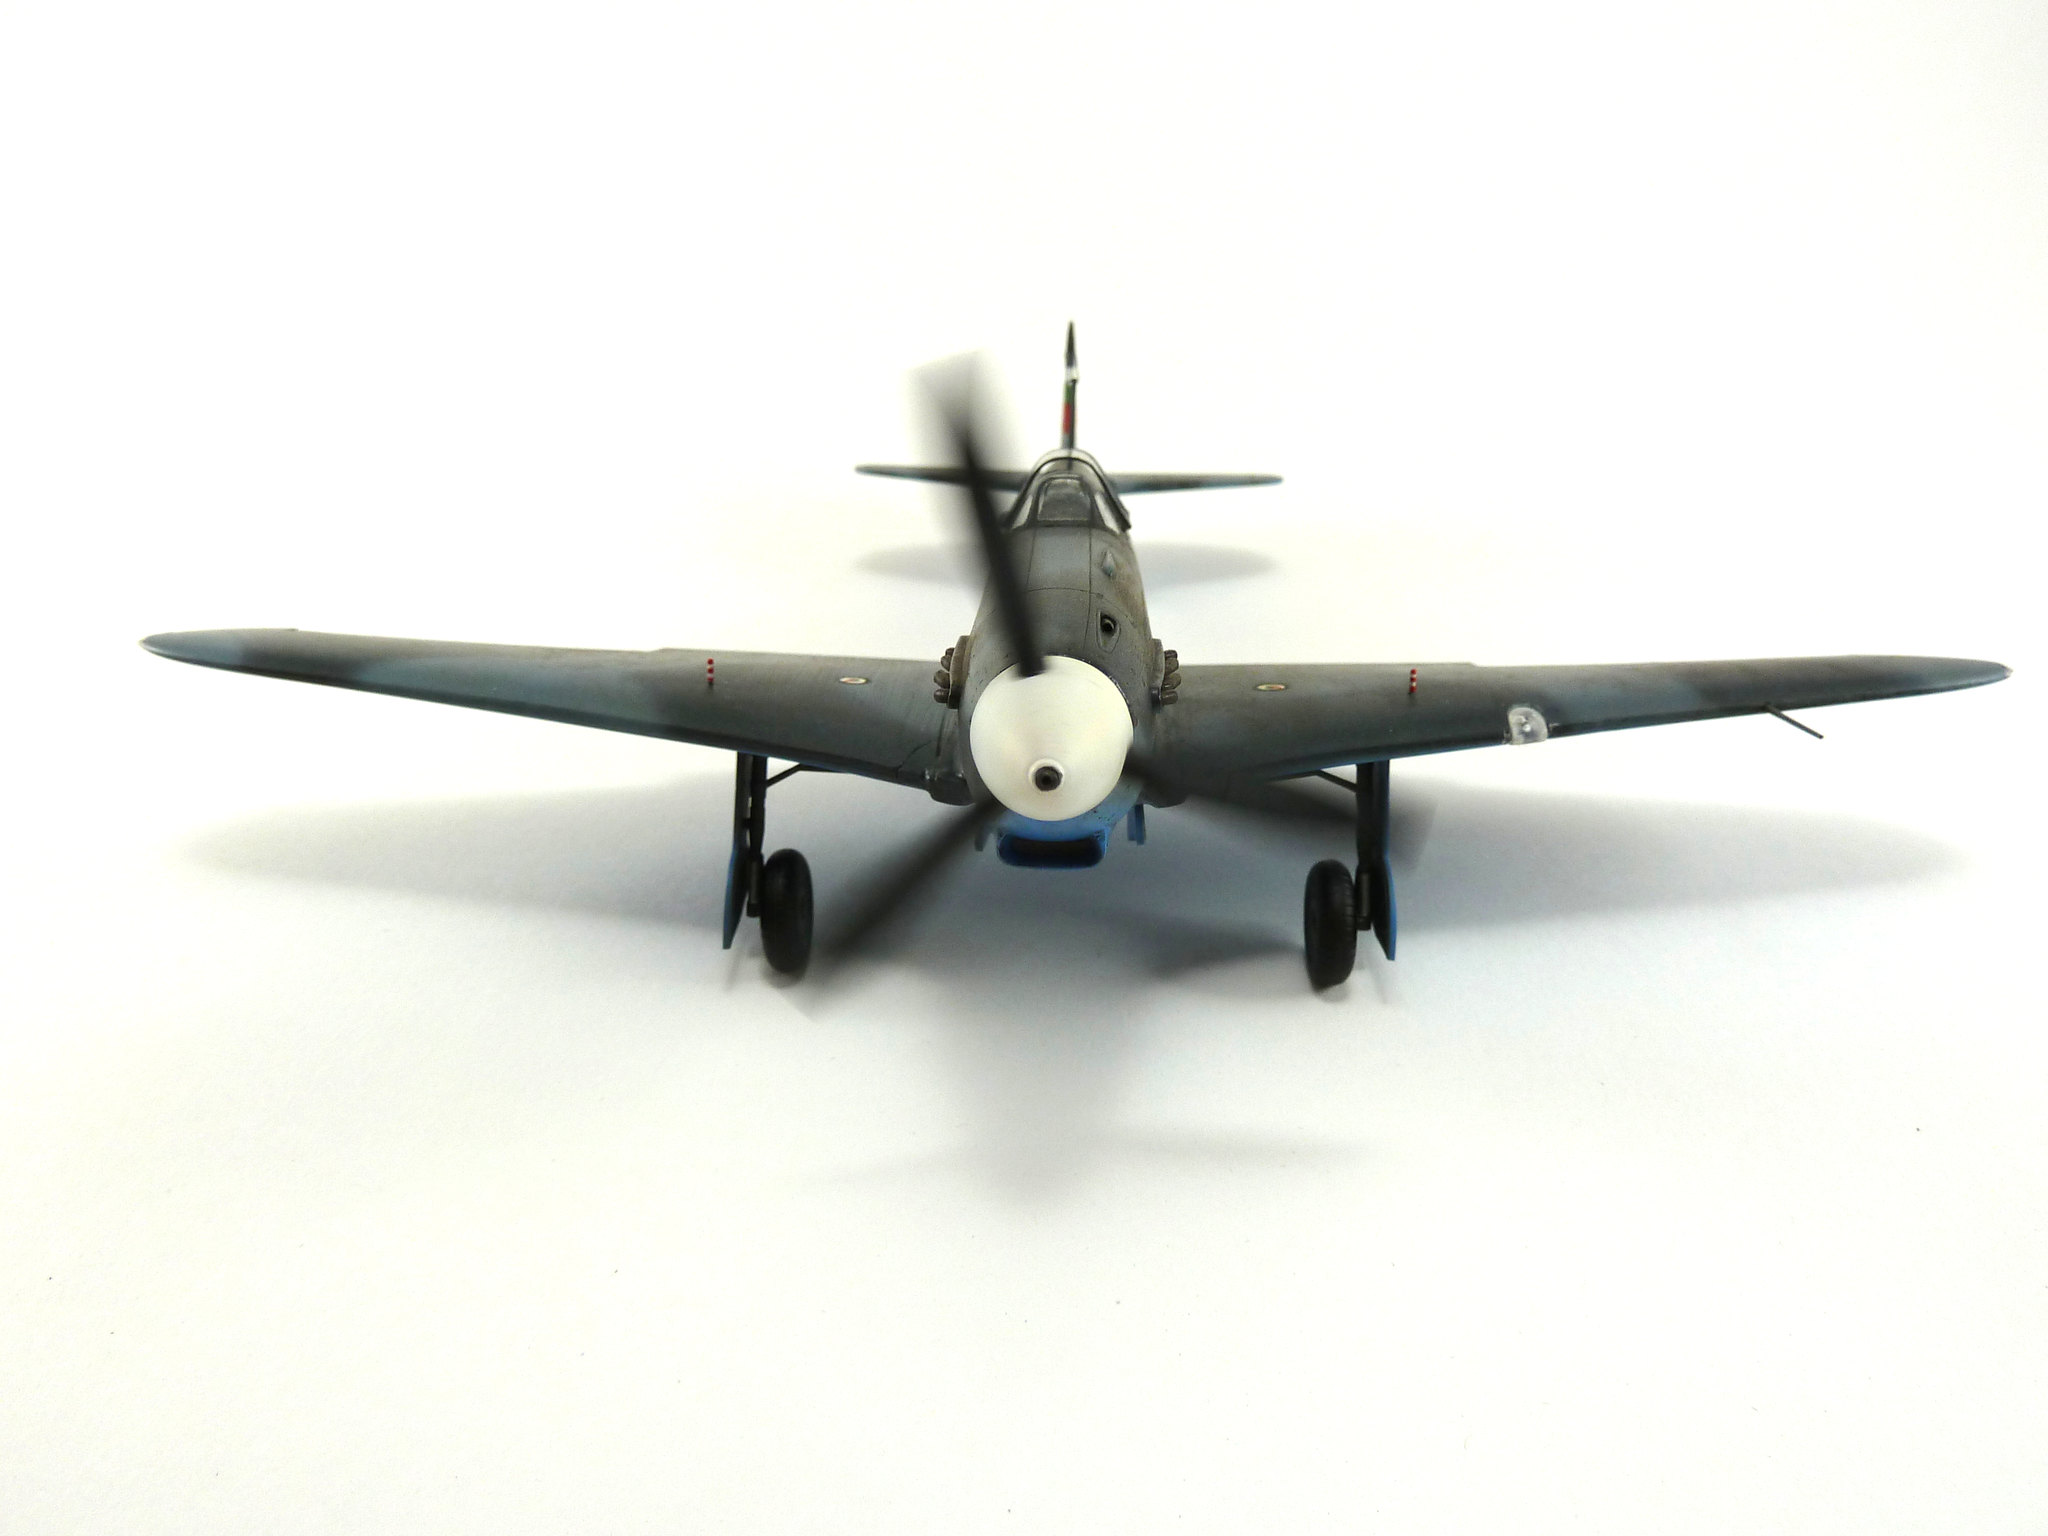
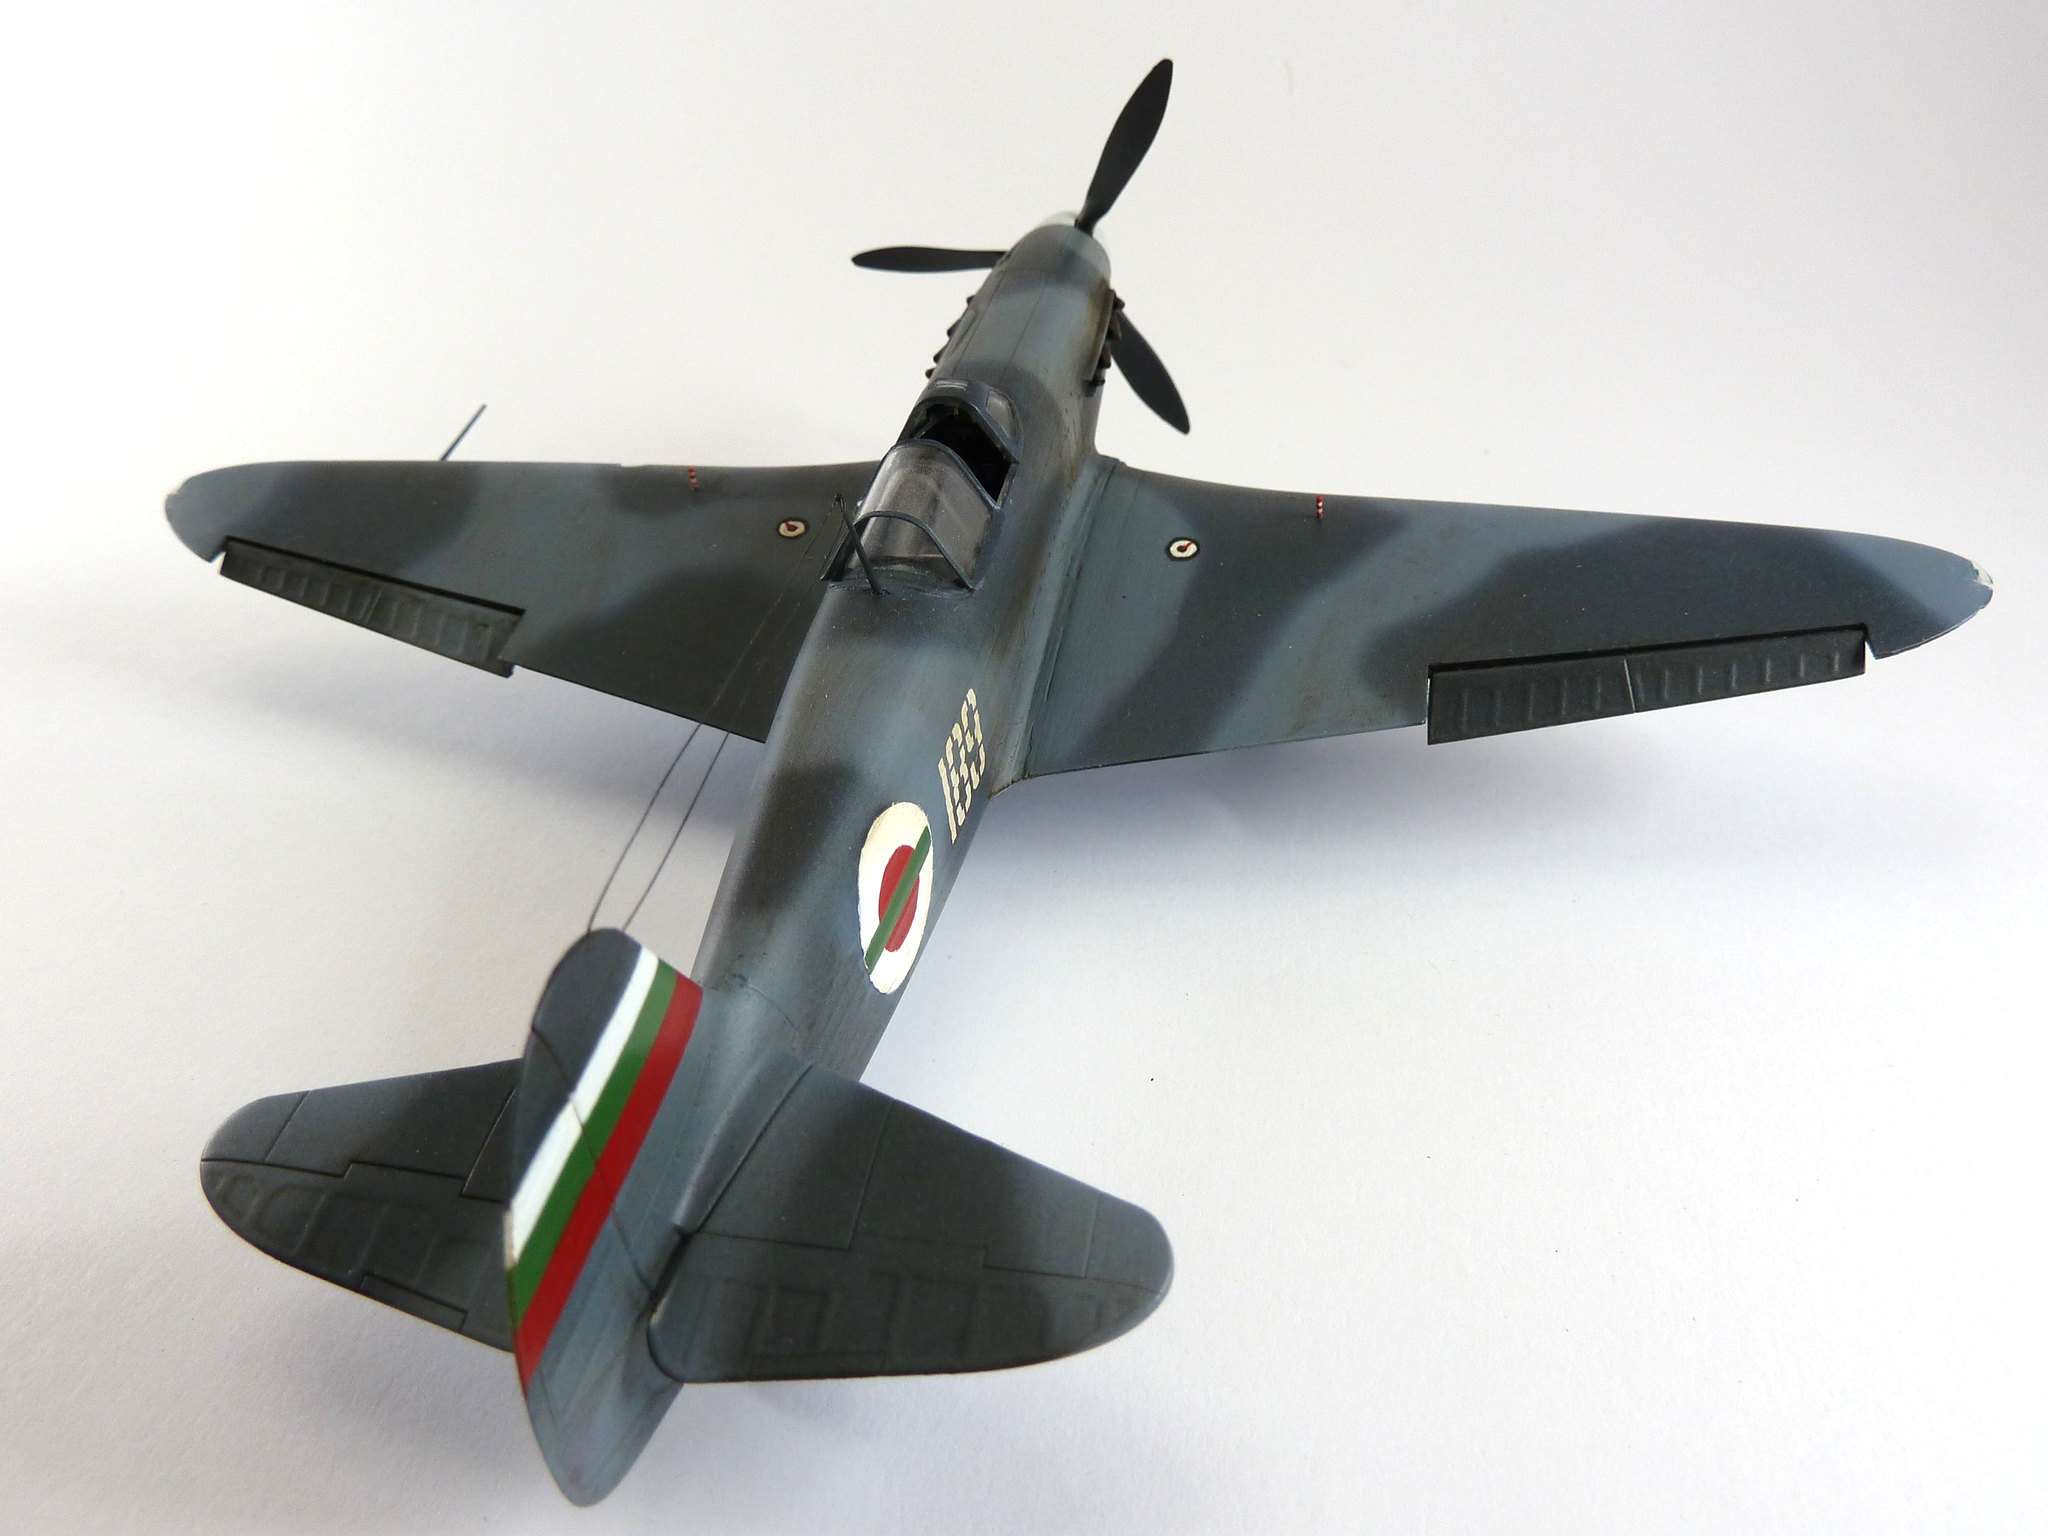
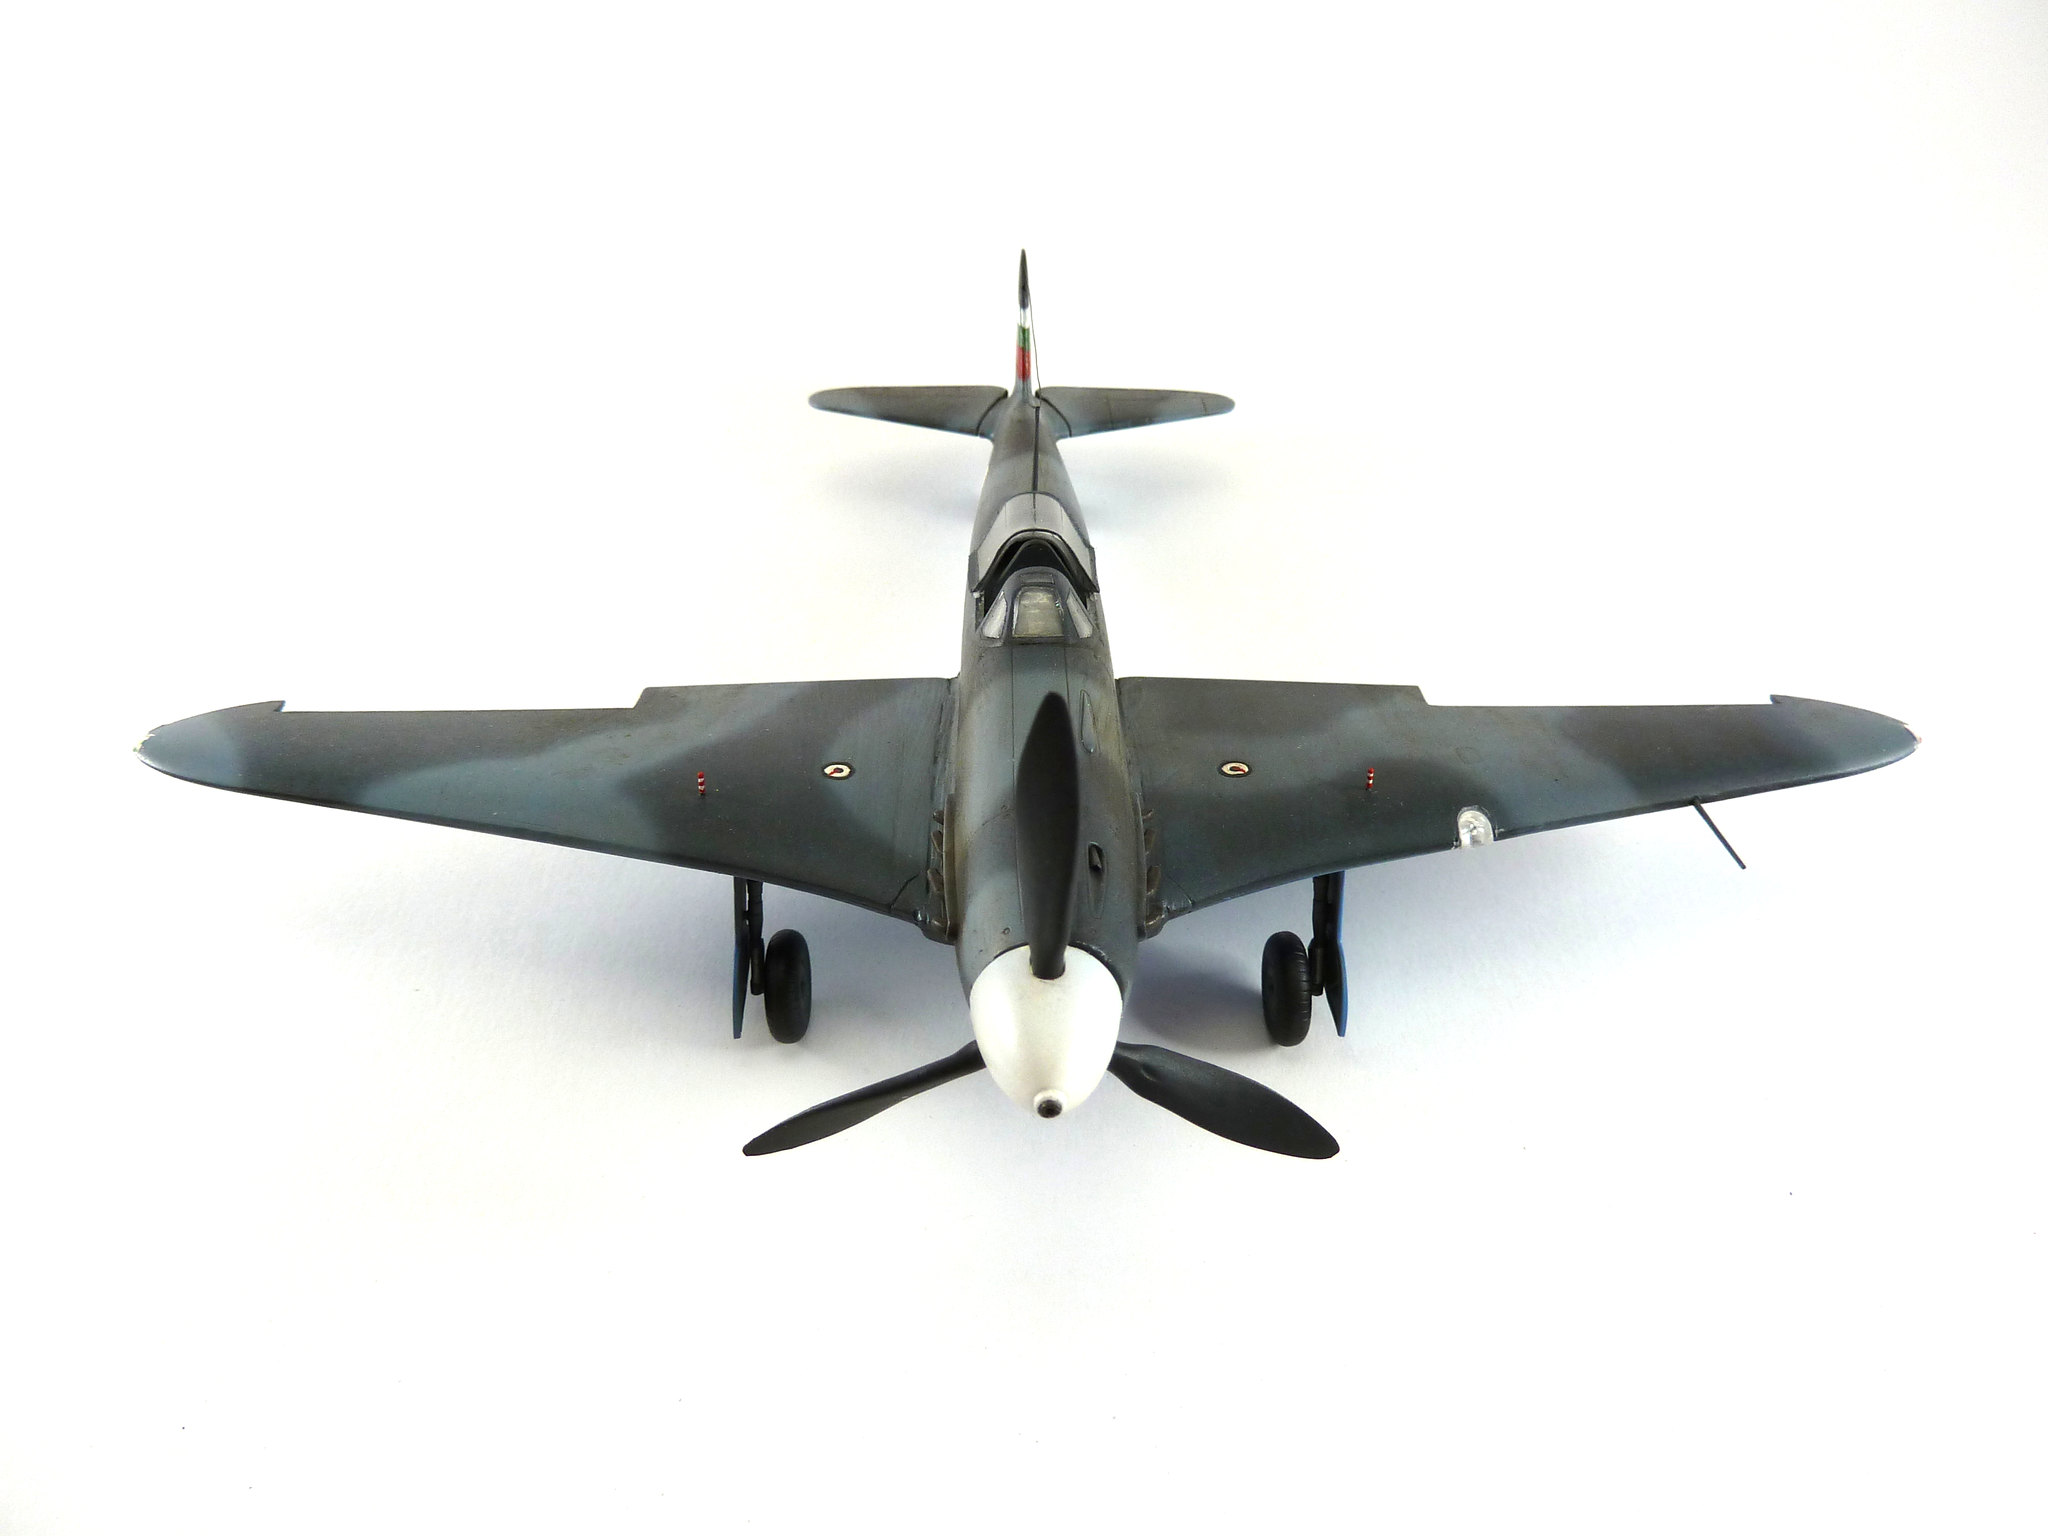
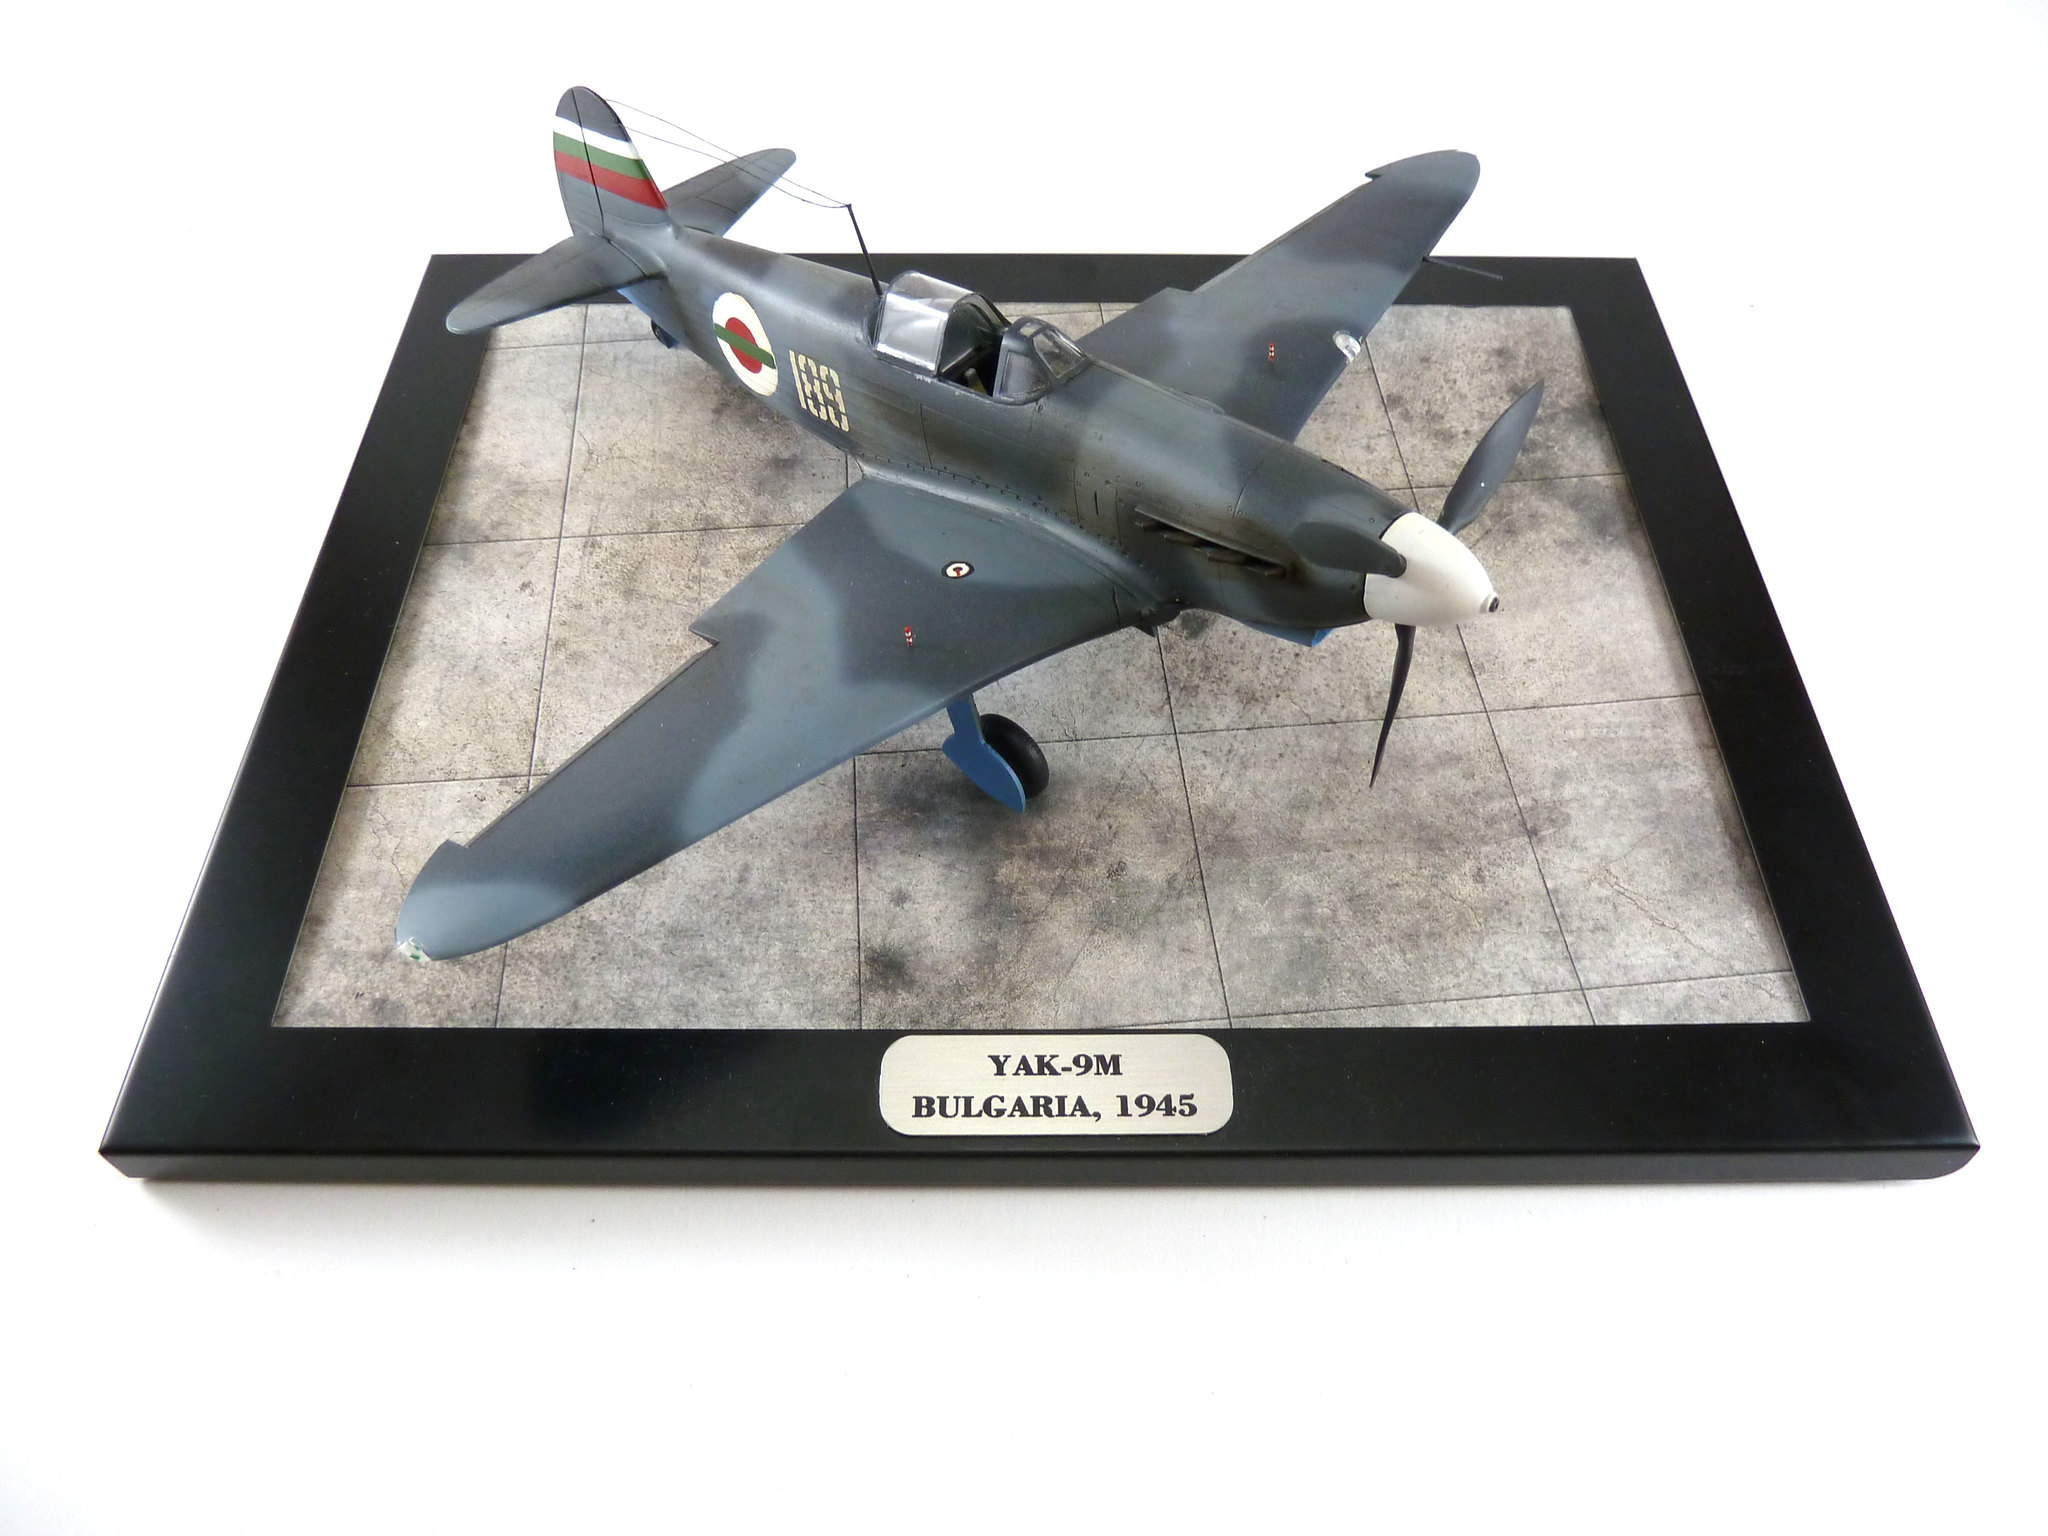
Whoops...I've been done with this model for a few weeks now, but just never got around to posting an update Also, I finally made myself a light box, so my pictures won't be tainted by my unsightly workbench!

The spinner works, glad to report.


I finished up the model with a minor oil wash. The kit doesn't have much surface detail molded on, so the oil wash served to dirty and vary the surface colors a bit. As far as weathering goes, this is as minimal as it gets without skipping it altogether. Also, the aerials got a bit of slack...I noticed it after I took all the pictures, and I just don't want to do that all over again after heating the lines taut.


The display base is a picture frame with a printable tarmac (find them here). The plaque was made by TrophyKits.com.


I entered this in my regional IPMS contest recently as a conversion...the rules defined conversions as "a different variant/mark/model than the one provided by the kit manufacture" and I interpreted "mark" as "marking" I happened to be standing near my piece as the judges came over (I swear it was coincidence!) and I overheard them talking about whether or not it's really a conversion from a Yak-7 to a Yak-9. One of the judges mentioned some minute detail that only Yakovlev himself would've remembered, concluded that it must actually be a Yak-7 as intended by the kit, and therefore it isn't a conversion Whatever, dude. I'm just glad to finally present my Yak-NINE in Bulgarian markings!
 _GOTOTOP