Damian! I've recently replenished my stock of sticks, stay tuned!
Friends! Thanks for your encouragement, it will probably come in handy during the process...
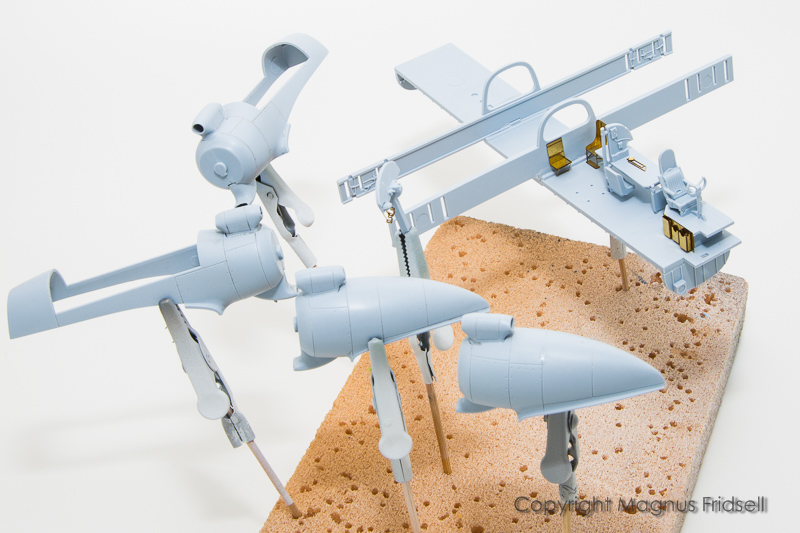
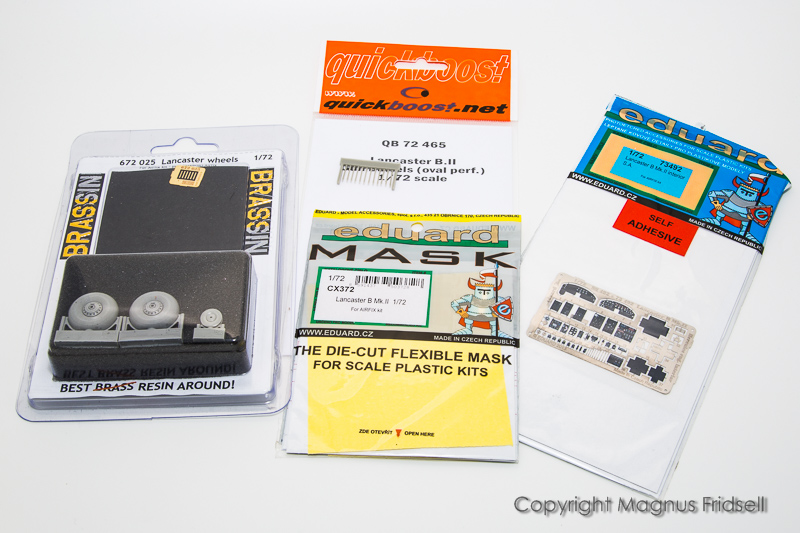
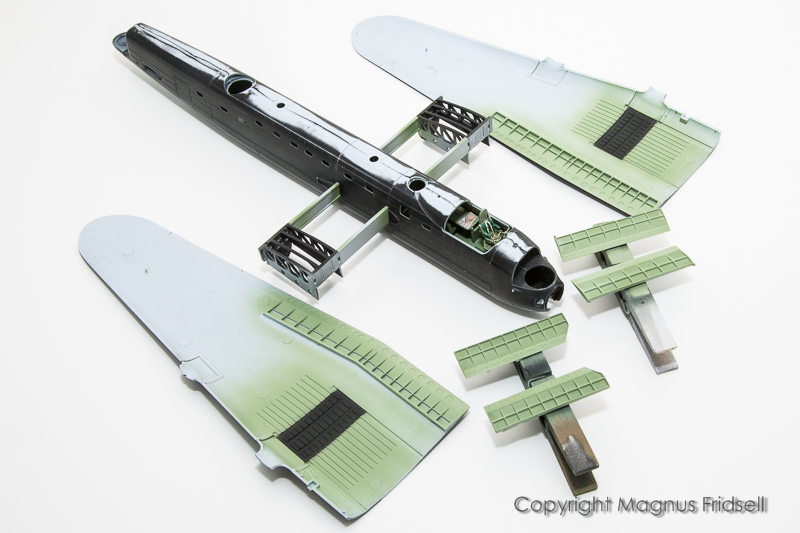
Sticks in action! I'm not used to this amount of bits and pieces... Interior has been improved using a moderate amount of photo-etch, probably leaving the majority of the parts off since it will likely not be seen at all! Another MAJOR IRRITAION: there were no seat belts included in the "interior set" so one of these were sourced on the open market (ebay...) and arrived here a few days ago...
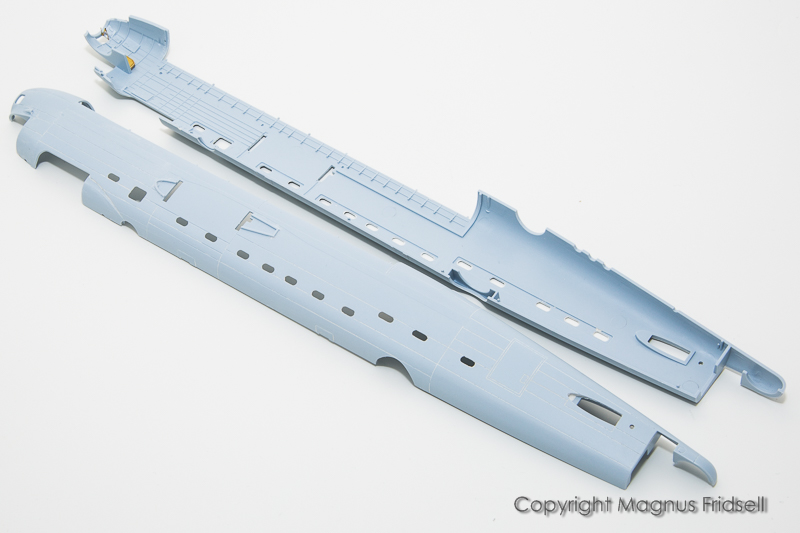
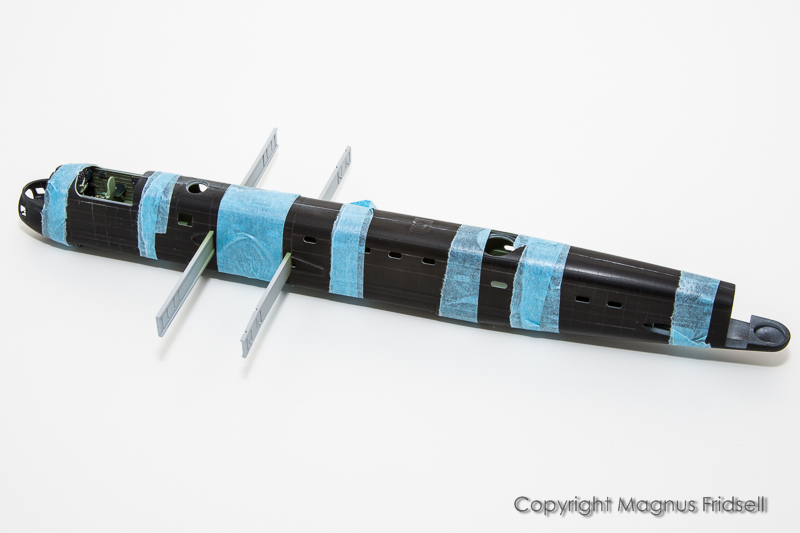
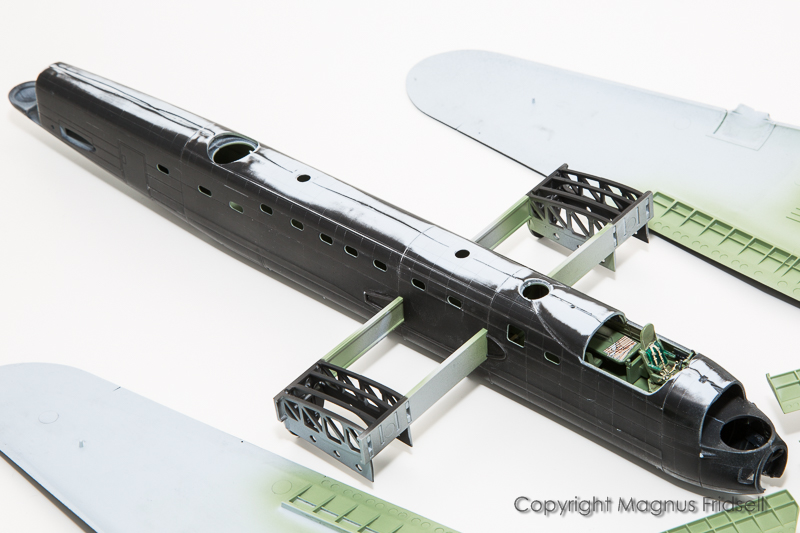
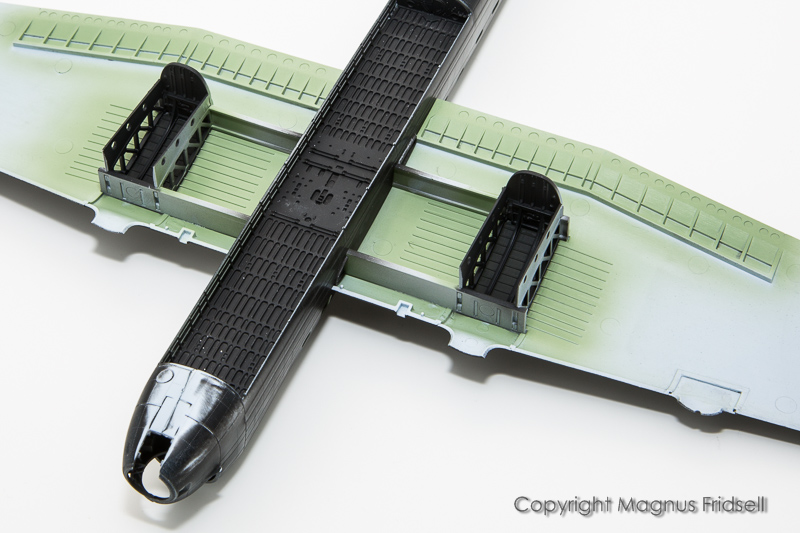
Fuselage halves with most of the kit interior parts installed into them, enhanced once again with the most prominent pe-parts.
And now for something rather unpleasant (that I really knew beforehand after my
Lightnings...)

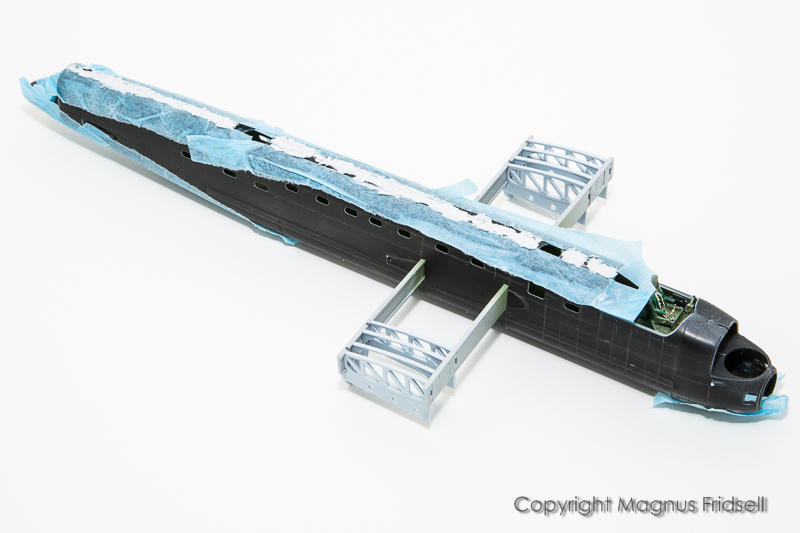
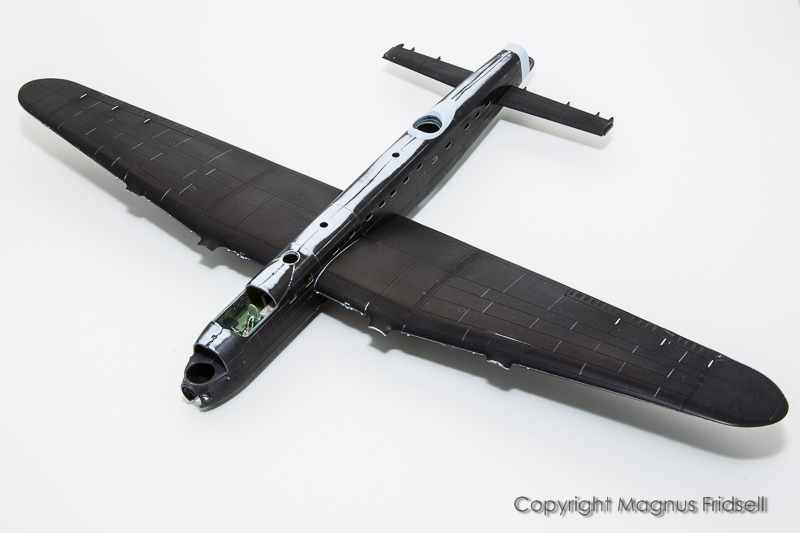
The surfaces really are a bit rough. It is up to the individual modeller, many would probably be perfectly happy (and still get a good result!) building the well-fitting model as it is, but I have decided to raise the bar at least a bit. So I have sanded and polished the outer surfaces, primed them using Games Workshop's "Chaos Black" and then polished them again (I did that on the NMF Lightning with good results, in this case I am even doing it in the right order - before the model has been assembled

!). Another thing I hoped for was that the primer should fill in the rather prominent panel lines a bit but I doubt it helped much and I don't feel like filling them (with what I don't know anyway!), sanding them down and rescribing all of them. Enough is enough, at least this time
!
And now for something even more unpleasant...
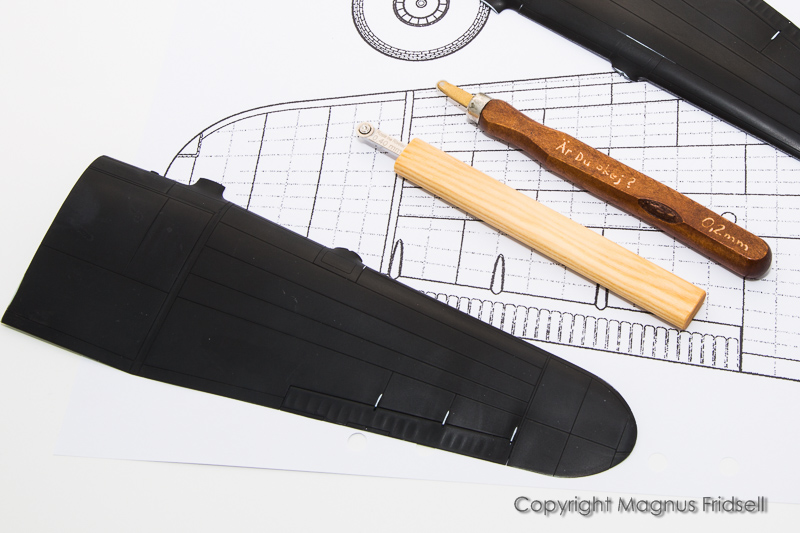
...rivets... I've been thinking about this for the last few weeks, if I start it I know I must pull it through. When I found some drawings on-line showing the rivet lines I decided to give it a go. Rivet tools are a 0,4 mm "Rosie" and a Magnus "Signature edition" 0,2 mm, made by Zoltan in Hungary. The Stradivarius of rivet tools
! I'll probably start tonight. Ouch...
Of course I knew before starting this that it isn't a single engined fighter (can be seen on the box art if looking sharply) but I still didn't really get how much bigger the volume of work is. Well, I've got the rest of the year to finish it...

Magnus