_GOTOBOTTOM
Air Campaigns
Want to start or join a group build? This is where to start.
OFFICIAL: Grumman Campaign 2019
MichaelSatin
Staff MemberCampaigns Administrator
AEROSCALE
_VISITCOMMUNITY
Colorado, United States
Joined: January 19, 2008
KitMaker: 3,909 posts
AeroScale: 2,904 posts
Posted: Tuesday, April 30, 2019 - 11:25 AM UTC
Welcome to the 2019 Grumman Campaign! This campaign is all about the aircraft from the famous Grumman Ironworks. The campaign will run from 1 May through 1 November, 2019.

If you want to see the rules and sign up, go here. Post campaign related discussion and in-progress photos in this thread. Pics of finished models should be posted in the campaign gallery.

Michael
md72
#439
_VISITCOMMUNITY
Washington, United States
Joined: November 05, 2005
KitMaker: 4,950 posts
AeroScale: 3,192 posts
Posted: Tuesday, April 30, 2019 - 11:32 AM UTC
Looks like I'll be starting on my 5th hanger queen of the year in the next couple of days and then this comes along.
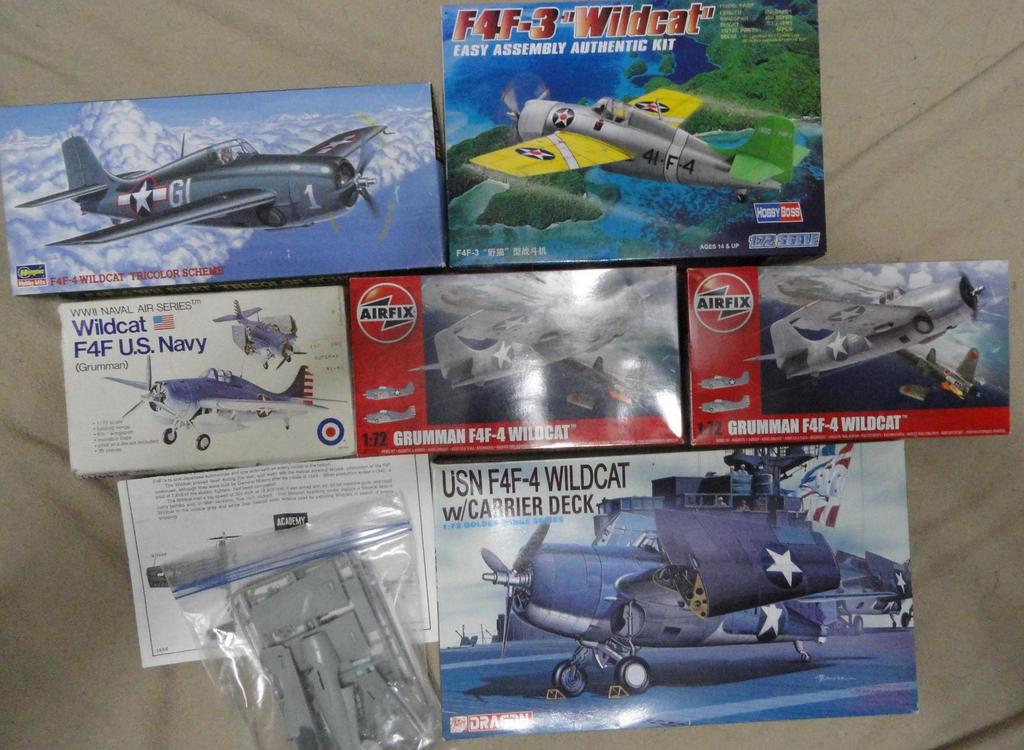
With any luck, I'll go with the New tool Airfix F4F-4 that I tried to start for the Pacific Campaign.
PasiAhopelto
_VISITCOMMUNITY
Uusimaa, Finland
Joined: October 01, 2016
KitMaker: 514 posts
AeroScale: 239 posts
Posted: Tuesday, April 30, 2019 - 06:10 PM UTC
Here's my entry:


I'll probably paint the kit to cover art markings.
PeeJay74
#363
_VISITCOMMUNITY
Pennsylvania, United States
Joined: January 08, 2014
KitMaker: 425 posts
AeroScale: 401 posts
Posted: Sunday, May 05, 2019 - 02:08 AM UTC
Back after a long break involving a new home and a new job. Between the two it took me quite a while to find the time to set up a hobby bench, and I needed to install some air filtration for spraying this time.

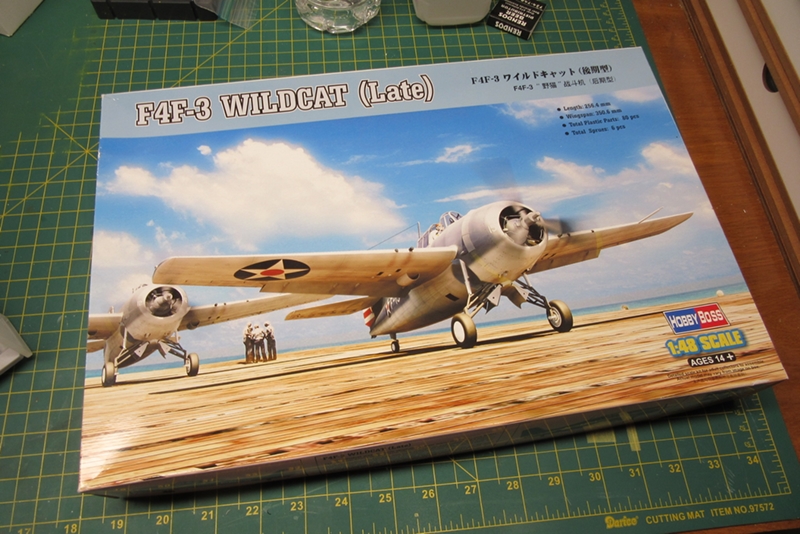
I am going to try to ease back in with an easy build for my first model in a year or so, Hobby Boss's 1/48 Wildcat. Straight OOB, with O'Hare's plane from the USS Lexington.


This should be a simple build to finish in the next 6 months.
squid56
#502
_VISITCOMMUNITY
United States
Joined: May 29, 2010
KitMaker: 21 posts
AeroScale: 16 posts
Posted: Sunday, May 05, 2019 - 05:53 AM UTC
I'm in for this one,it'll be my first campaign.haven't had much time to build lately,so much overtime at work. then I had a heartattack and I have a lot more time on my hands for modeling. this F3F1 shouldn't take too long. now if I can figure out how to upload pictures?
md72
#439
_VISITCOMMUNITY
Washington, United States
Joined: November 05, 2005
KitMaker: 4,950 posts
AeroScale: 3,192 posts
Posted: Sunday, May 05, 2019 - 06:36 AM UTC
Well Stuart, welcome to the club, July 12, 2016 for me.

Uploading pictures:
sign up for a picture hosting site, I use Imgur, it's still free, I used Photobucket till they started charging.
Take your pictures, upload them to your host, follow their instructions.
Edit your photos to your heart's content. But, save them with a resolution of 1024 x YYYy. This makes them small enough for the Aeroscale galleries.
Imagur and Photobucket gave you an option to 'copy' you photos with the proper coding (BBCode) for posting to a site like kitmaker, it looks something like this:
img]https://i.imgur.com/oVexmu4.jpg?1[/img
paste the link into you post and you're good to go.
If you have more knowledge than I do, you can use the [img] at the bottom of the Reply block, ip places the link into your reply, it looks like this:img]http://put.url.here/image.file[/img
replace the space between the brackets ] [ with the web address for your pic. then you can post your reply.
I had to leave the leading and trailing brackets [] off of the two lines so you could see the text.
md72
#439
_VISITCOMMUNITY
Washington, United States
Joined: November 05, 2005
KitMaker: 4,950 posts
AeroScale: 3,192 posts
Posted: Sunday, May 05, 2019 - 06:59 AM UTC
Uploading pictures to the Kitmaker Gallery.
Use your favorite photo editor to prepare your photo for posting. As I suggested above, reduce the size to 1024 x YYY, it has to be smaller than 3Mb to post in the Kitmaker Gallery.
Click on the KM gallery button in the page header.
to the left side of the gallery header there are buttons for Register and Log in.
Even if you're registered for any of the Kitmaker sites, you still have to register for the gallery, then you can log in.
Sort through the gallery options until you find the one you want.
On the right hand side of the header is an "Upload Photos" button. Click that.
You'll get a new screen showing how much space you have for storing photos.
Below that is a field that you can upload photos from your local drive, one by one into that field. At the bottom of the screen, you can add whatever text you desire.
When you're done, press the "Upload/Submit" button.
IF you did everything right, you get a new page showing the photos you uploaded with the text that you added in the previous screen.
If everything looks OK, press the "Submit" button at the bottom of the page.
IF you did everything to the computer's satisfaction you will get an upload successful message.
md72
#439
_VISITCOMMUNITY
Washington, United States
Joined: November 05, 2005
KitMaker: 4,950 posts
AeroScale: 3,192 posts
Posted: Sunday, May 05, 2019 - 07:04 AM UTC
If your photos are too big, after you click the "Upload/Submit" button it will will say that the photos uploaded successfully, but there will be no evidence of the photos in the Gallery. It's almost always because the individual files were larger than 3Mb.

Hope this helps till a real admin shows up to tell you how it's really supposed to be done.
squid56
#502
_VISITCOMMUNITY
United States
Joined: May 29, 2010
KitMaker: 21 posts
AeroScale: 16 posts
Posted: Wednesday, May 08, 2019 - 06:33 AM UTC
hope this works.
md72
#439
_VISITCOMMUNITY
Washington, United States
Joined: November 05, 2005
KitMaker: 4,950 posts
AeroScale: 3,192 posts
Posted: Wednesday, May 08, 2019 - 06:38 AM UTC
OOPS, something went wrong. I'm just seeing a broken picture icon.

I got this Grumman to show up by copying and pasting the code below from imgur
img]https://i.imgur.com/IJIUJdq.jpg?1[/img

Note that you have to start the link with a [ and end it with a ]
squid56
#502
_VISITCOMMUNITY
United States
Joined: May 29, 2010
KitMaker: 21 posts
AeroScale: 16 posts
Posted: Wednesday, May 08, 2019 - 06:50 AM UTC
I got the picture to show up in the gallery,but can't seem to get it on my post.
md72
#439
_VISITCOMMUNITY
Washington, United States
Joined: November 05, 2005
KitMaker: 4,950 posts
AeroScale: 3,192 posts
Posted: Wednesday, May 08, 2019 - 07:35 AM UTC

I might have lied. Try this:
Go into the gallery, select the thumbnail of your photo.
that should open up a large image of you photo
below the photo is a box that sez linked thumbnail. Copy the text and past into your message. If I did that right, there should be an image of an Airfix TBD below this text.


Well, obviously that didn't work.

Click on the little Icon at the end of the text box. A pair of new text boxes shows up:
HTML Code
Direct link.

I copied the HTML code window and got this:


Musta picked a bad example, the F6F works, but the TBD doesn't
I copied that direct link and got this:
/data/30732/AirfixD_Finished_3.jpg

I tried trimming the [url from the linked thumbnail and got:


Well, it's fairly obvious I don't have nearly the clue I thought I had. 8^(
Hope someone else can help.

squid56
#502
_VISITCOMMUNITY
United States
Joined: May 29, 2010
KitMaker: 21 posts
AeroScale: 16 posts
Posted: Wednesday, May 08, 2019 - 08:02 AM UTC
once more into the breech dear frinds.
MichaelSatin
Staff MemberCampaigns Administrator
AEROSCALE
_VISITCOMMUNITY
Colorado, United States
Joined: January 19, 2008
KitMaker: 3,909 posts
AeroScale: 2,904 posts
Posted: Wednesday, May 08, 2019 - 12:25 PM UTC
You guys are really close. I copy the full "HTML code" and just copy it into my post:


Be sure to copy everything in the box!

Michael
Tobar
_VISITCOMMUNITY
Arizona, United States
Joined: October 17, 2002
KitMaker: 192 posts
AeroScale: 70 posts
Posted: Wednesday, May 08, 2019 - 01:39 PM UTC
I'll jump in here,
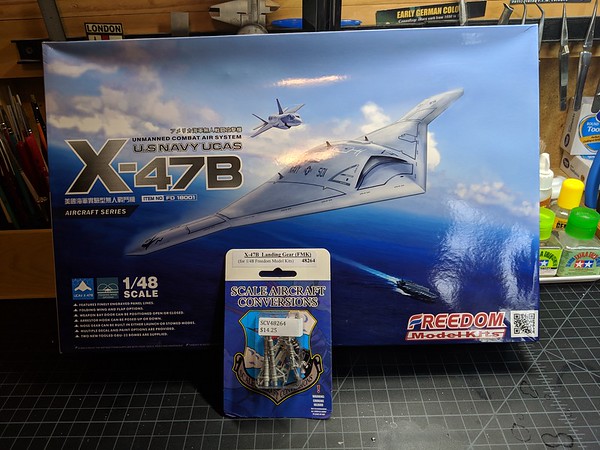
This is a NORTHROP/GRUMMAN product..
X-47B UCAS is a Navy Drone.
Should be an easy build with only addition of white metal landing gear struts and possibly Eduard Resin GBU-32's.


(( FYI: I just needed a week extra to finish my last build for Campaign "Jolly Rogers" ))
PasiAhopelto
_VISITCOMMUNITY
Uusimaa, Finland
Joined: October 01, 2016
KitMaker: 514 posts
AeroScale: 239 posts
Posted: Sunday, June 02, 2019 - 06:30 AM UTC
Super easy build so far:


I think this is as far as I go before painting anything.
SHAKY962
_VISITCOMMUNITY
Buenos Aires, Argentina
Joined: May 21, 2012
KitMaker: 765 posts
AeroScale: 316 posts
Posted: Tuesday, June 18, 2019 - 02:32 PM UTC
This is my entry

IMG_4969 by Shaky962, en Flickr
PeeJay74
#363
_VISITCOMMUNITY
Pennsylvania, United States
Joined: January 08, 2014
KitMaker: 425 posts
AeroScale: 401 posts
Posted: Friday, June 21, 2019 - 04:40 AM UTC
Hobby Boss 1:48 F4F-3 Wildcat (Late)

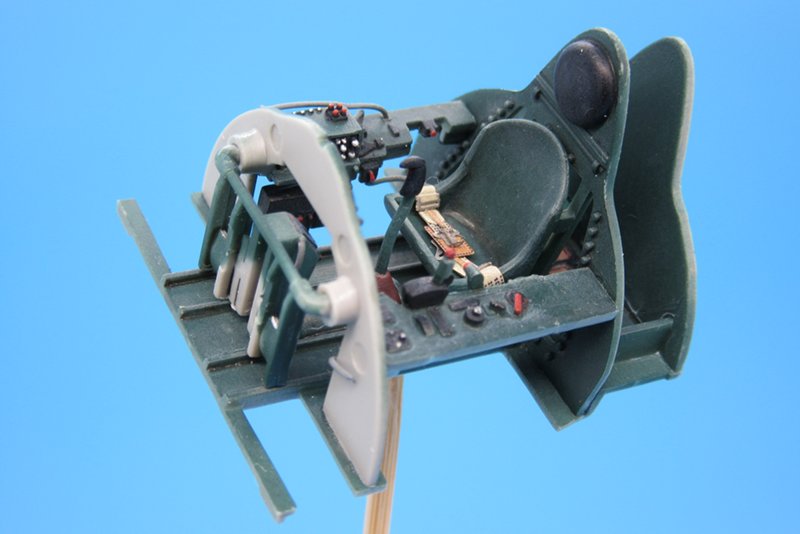
I assembled the cockpit and spruced it up just a little by adding some wires and Eduard PE belts. The instrument panel is a weak point in the kit, there is neither a decal for the dials nor molded detail to drybrush. I debated a PE instrument panel but test fitting convinced me you will barely see anything inside the cockpit anyway so I painted the plastic part black and added a drop of clear parts cement to each dial for glass.


On to the engine...

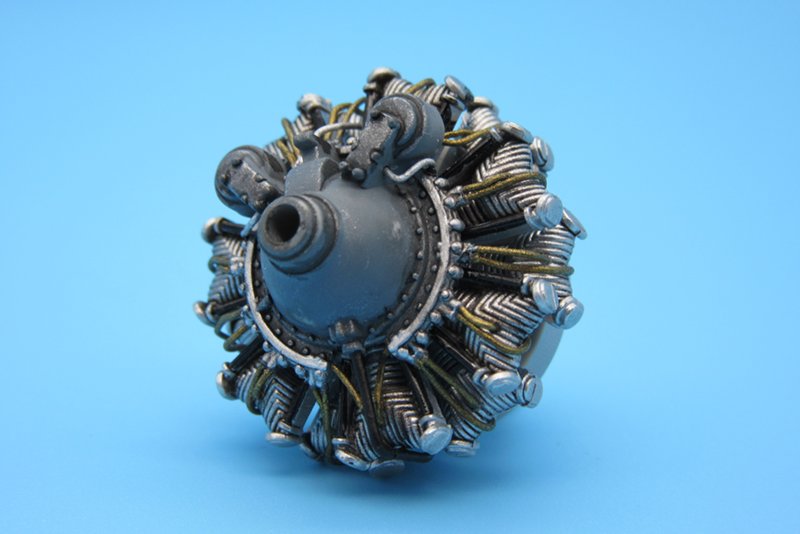
If you check some online reviews of Hobby Boss F4F line, you will likely find several that refer to the engine crankcase as "not all that positive of a fit". That is being generous. HB provide you a very detailed engine right out of the box except the crankcase has zero positive fit. None. It's a female to female connection and the parts don't actually mate up at all, the crankcase just floats a bit in front of the engine cylinders. It's almost like HB forgot to include a piece to connect the two.

No worries. Some 1.5mm Evergreen strip formed into a ring did the trick and the crankcase was solidly attached to the engine. Other than that bit of oddness, the engine is first rate. I spent some time drilling out the ignition harness ring and adding a pile of .015 fly tying wire to it, but I think the end result is worth the extra effort.


That's pretty much it for the more involved sub-assemblies, it should start to go together quickly now.
PeeJay74
#363
_VISITCOMMUNITY
Pennsylvania, United States
Joined: January 08, 2014
KitMaker: 425 posts
AeroScale: 401 posts
Posted: Saturday, June 22, 2019 - 10:22 AM UTC
Hobby Boss F4F-3 Wildcat (Late)

I got more done on her today. Finished up the wheel well/engine bearers then hit it with a wash to dirt it up some.


On to the wings.

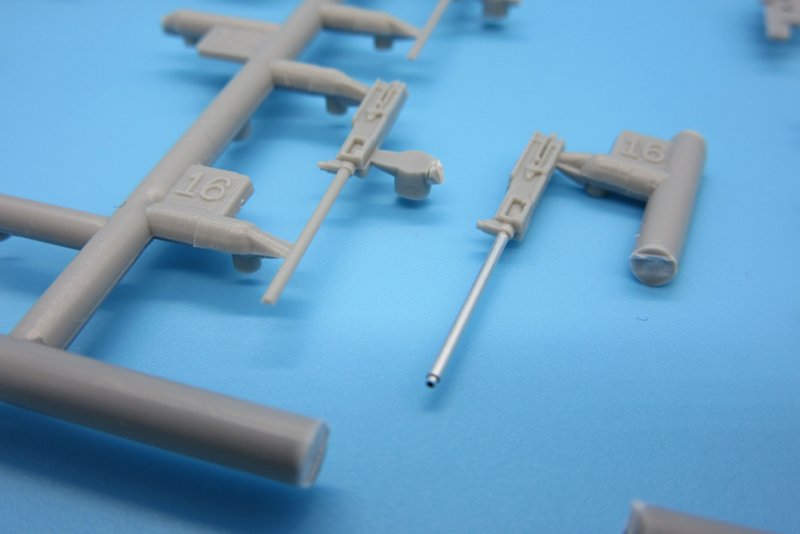
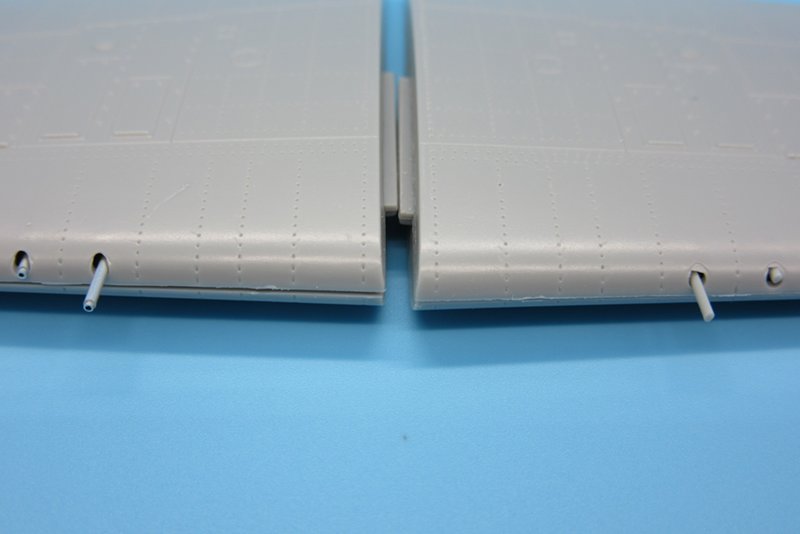
The barrels of the .50cal M2's project out of the upper wings on the F4F-3. Rather than just molding them in situ or providing a barrel to insert, Hobby Boss actually provide the machine guns themselves and you trap them between the upper and lower wing halves with the barrels jutting out through holes.

The kit comes with 6 guns, but only 4 are needed for this version. The guns are not bad but the barrels are pretty bland so I decided to upgrade them with micro-tubing since I had 2 spares if I screwed up. It actually went off without a hitch for a change, so now I have 2 .50cal M2's for the spares bin.


Upgraded M2 using 0.6/0.8mm telescoping micro-tubing from Albion Alloys. The gun bodies are nicely detailed but you won't ever see them unless you plan to open up the bays and do some scratch detailing, which I do not.


Upgraded barrels on the left, kit plastic on the right. No contest.

I am hoping to get the main fuselage and wings assembled this weekend. More to come...
Lakota
#123
_VISITCOMMUNITY
New Mexico, United States
Joined: November 17, 2008
KitMaker: 1,202 posts
AeroScale: 292 posts
Posted: Sunday, June 23, 2019 - 08:11 AM UTC
Paul,
Nice idea with the tubing for the gun barrels. I'll have to remember that trick. I have the same model so I'll be watching your build with interest.
Take care,
Don "Lakota"
PeeJay74
#363
_VISITCOMMUNITY
Pennsylvania, United States
Joined: January 08, 2014
KitMaker: 425 posts
AeroScale: 401 posts
Posted: Sunday, June 23, 2019 - 01:20 PM UTC
Thanks Don.

I wish I would have thought to take a picture of the engine issue and the ring I made to fix it. It might have been helpful for others.
john41492
#442
_VISITCOMMUNITY
Malacca, Malaysia
Joined: July 20, 2015
KitMaker: 363 posts
AeroScale: 335 posts
Posted: Monday, June 24, 2019 - 08:31 PM UTC
Hi All,

Pee Jay, lovely build so far! I've got this kit, and your assessment really helps! Thank you!

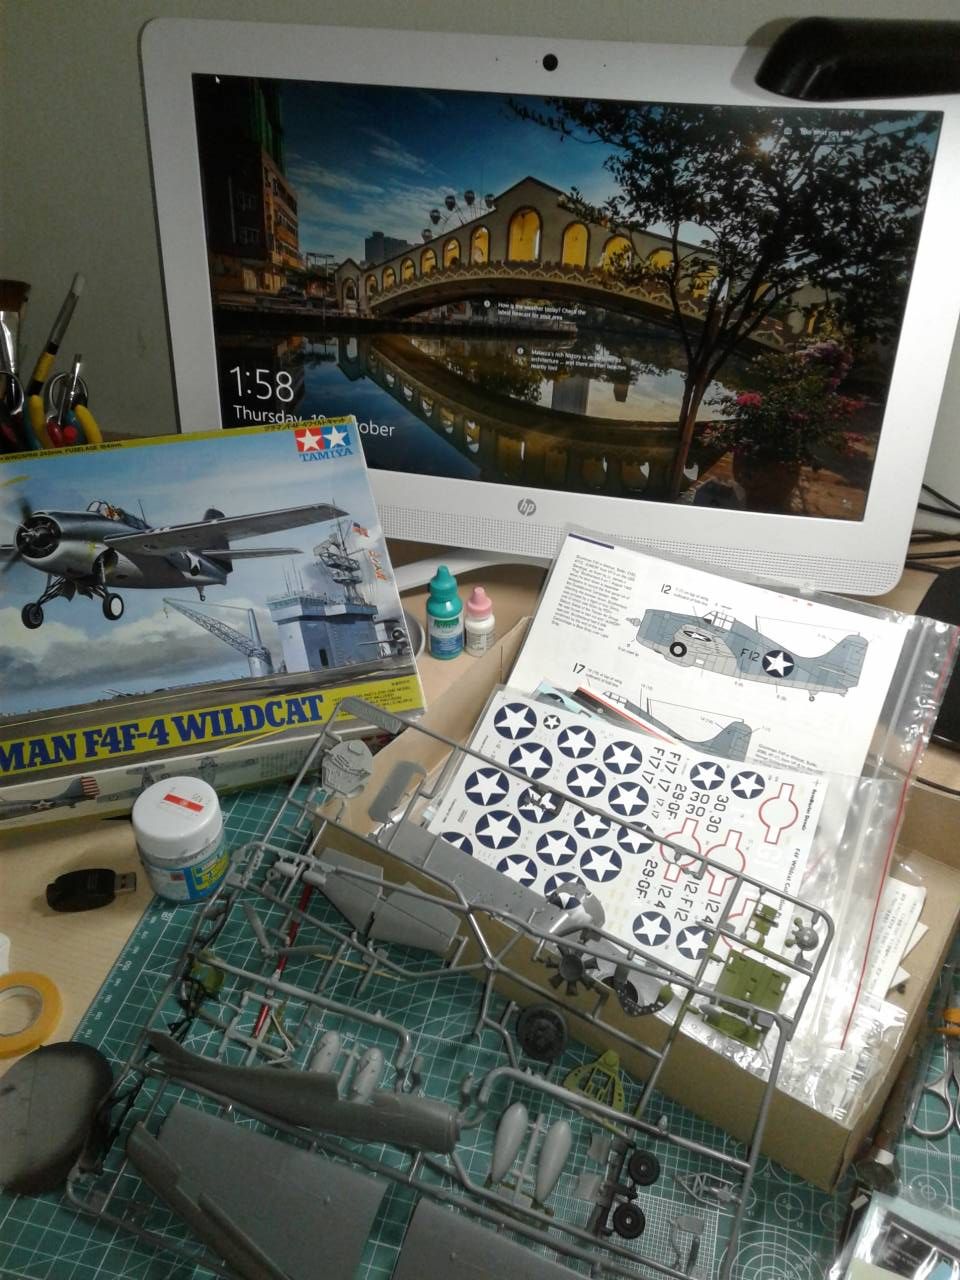
I'm diving in with Tamiya's 1/48 F4F-4, done as Lt. James J. "Pug" Southerland II's "Junior", who is credited with the downing of the first aerial kill of the Guadalcanal campaign.

Shortly thereafter, he became a player in a pivotal point in history, when he tangled with PO1c Saburo Sakai. They fought, an epic air battle, and he lost, but the delay caused Sakai to seek new opportunities. He came upon a flight of TBF's (SBD's ?) and was shot in the eye from a tail gunner. Resulting in his not being part of the following campaigns during most of the war.

Here's where I'm at, and will update soon!


Have fun!

John
MichaelSatin
Staff MemberCampaigns Administrator
AEROSCALE
_VISITCOMMUNITY
Colorado, United States
Joined: January 19, 2008
KitMaker: 3,909 posts
AeroScale: 2,904 posts
Posted: Friday, June 28, 2019 - 09:55 AM UTC
Nuts, nuts, nuts (this is a family friendly website, after all)!

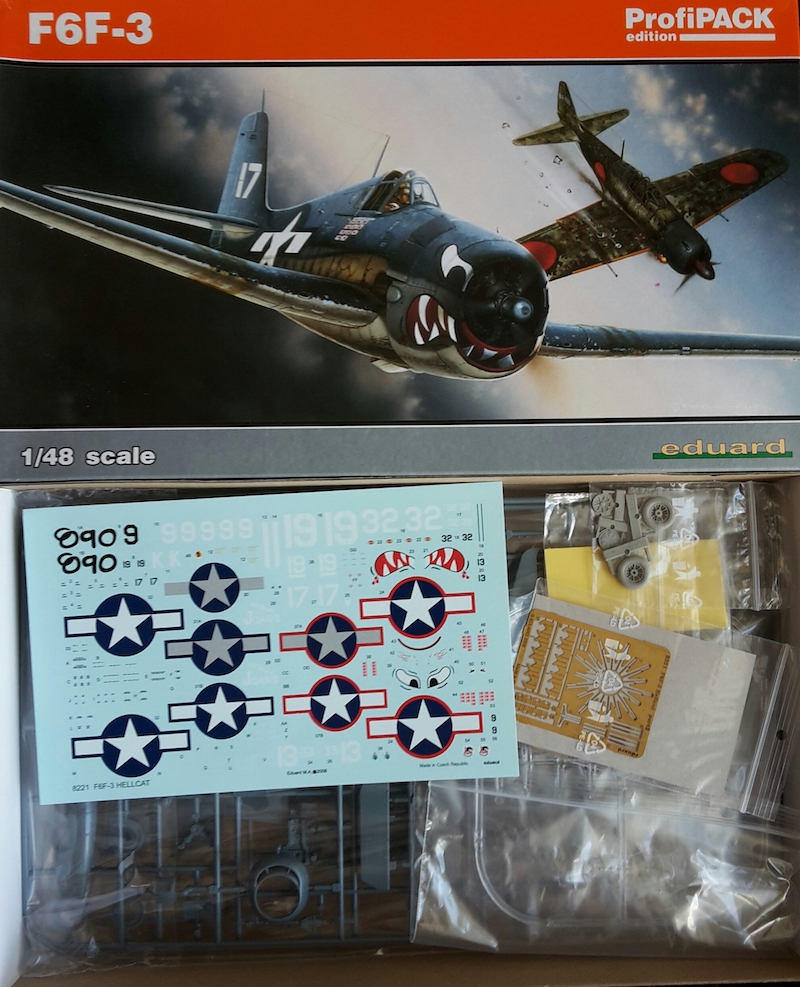
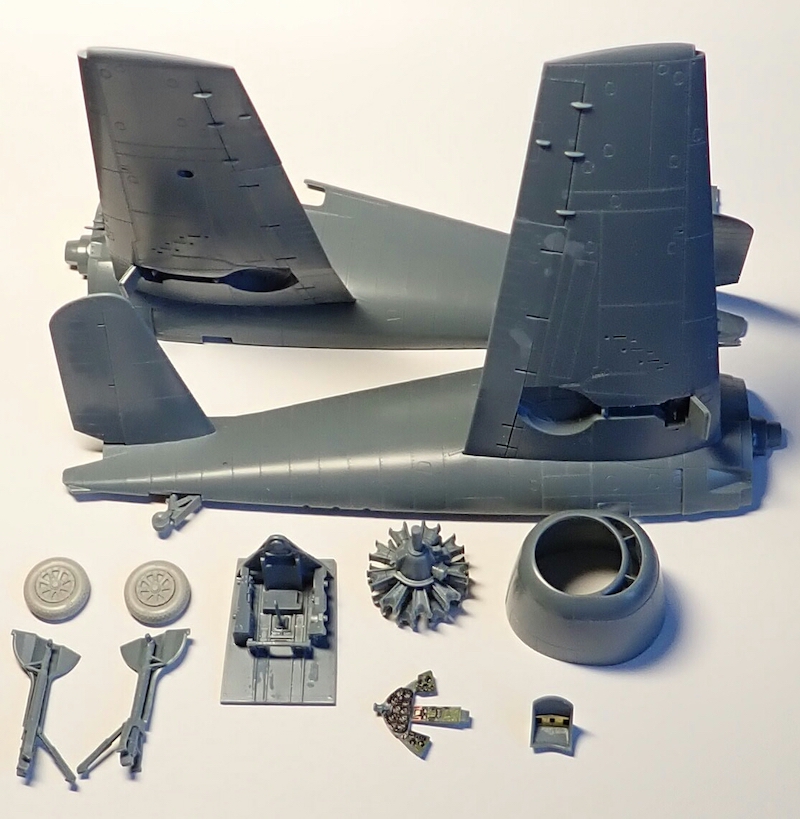
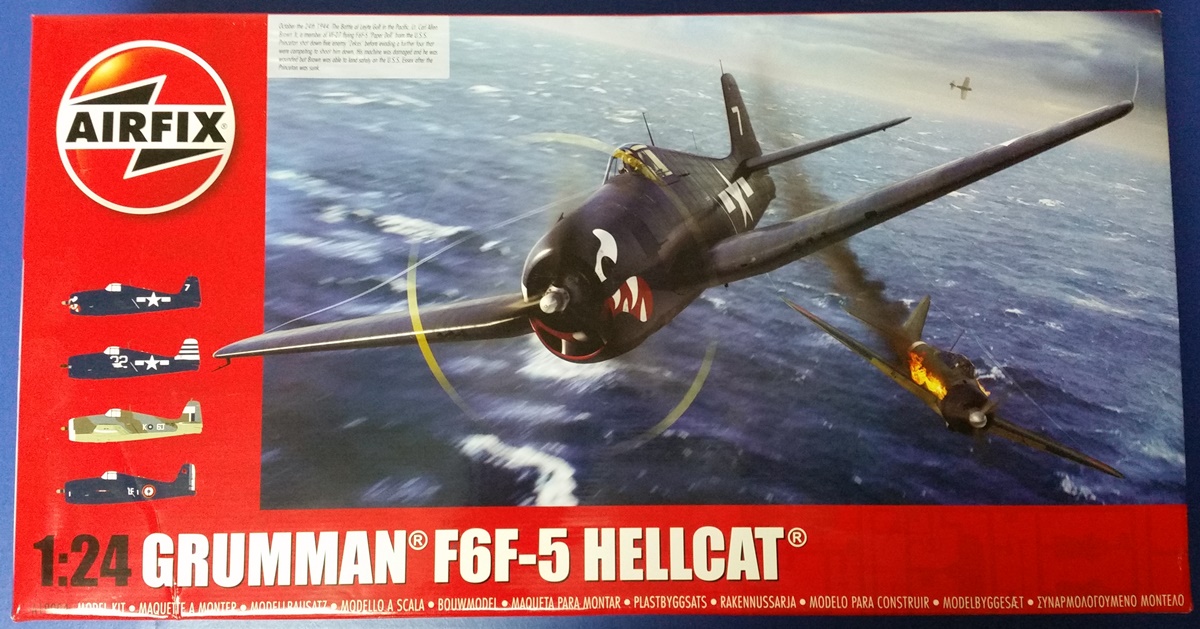
I was gonna resist the temptation. I really was! The -3 is really more my cup of tea than the -5, and I was going to hold out. But a certain online retailer has a 15%-off-plastic-kits anniversary sale going on and just got the big mother in stock. So...

Guess what I'm going to build for this campaign?

Michael
md72
#439
_VISITCOMMUNITY
Washington, United States
Joined: November 05, 2005
KitMaker: 4,950 posts
AeroScale: 3,192 posts
Posted: Sunday, June 30, 2019 - 04:53 PM UTC
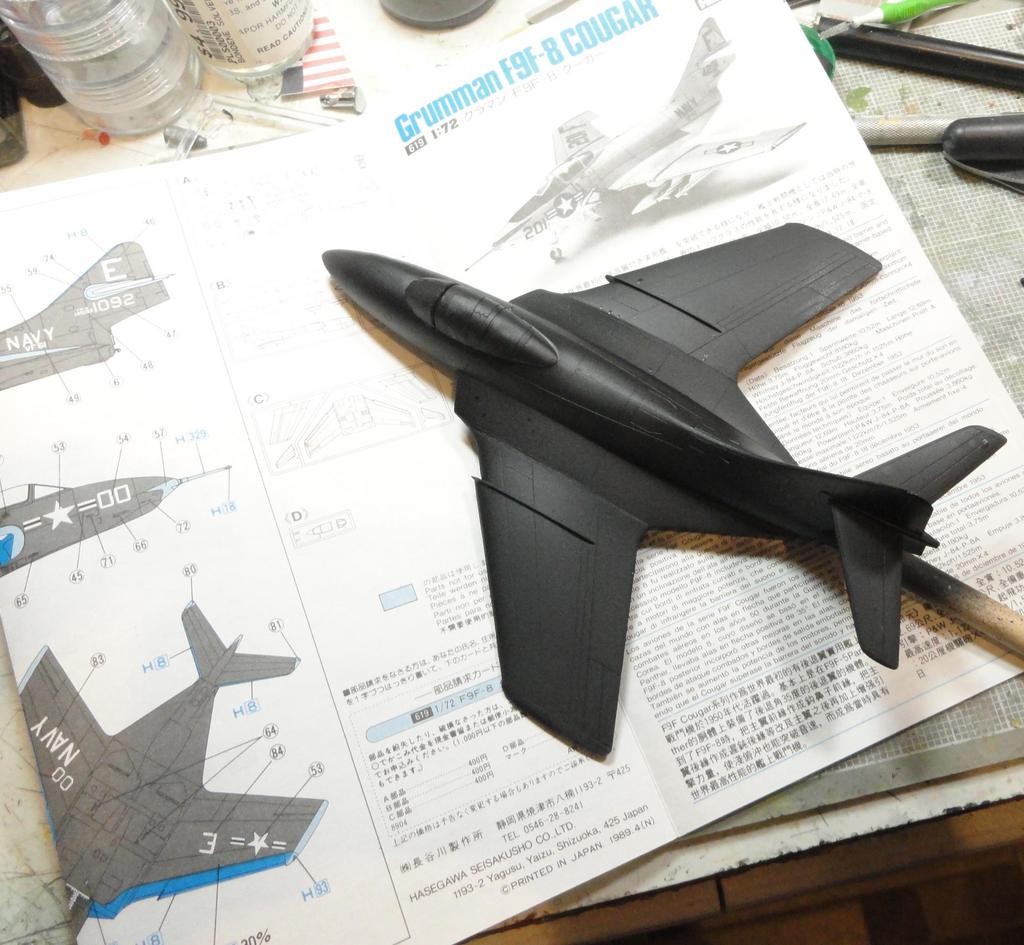
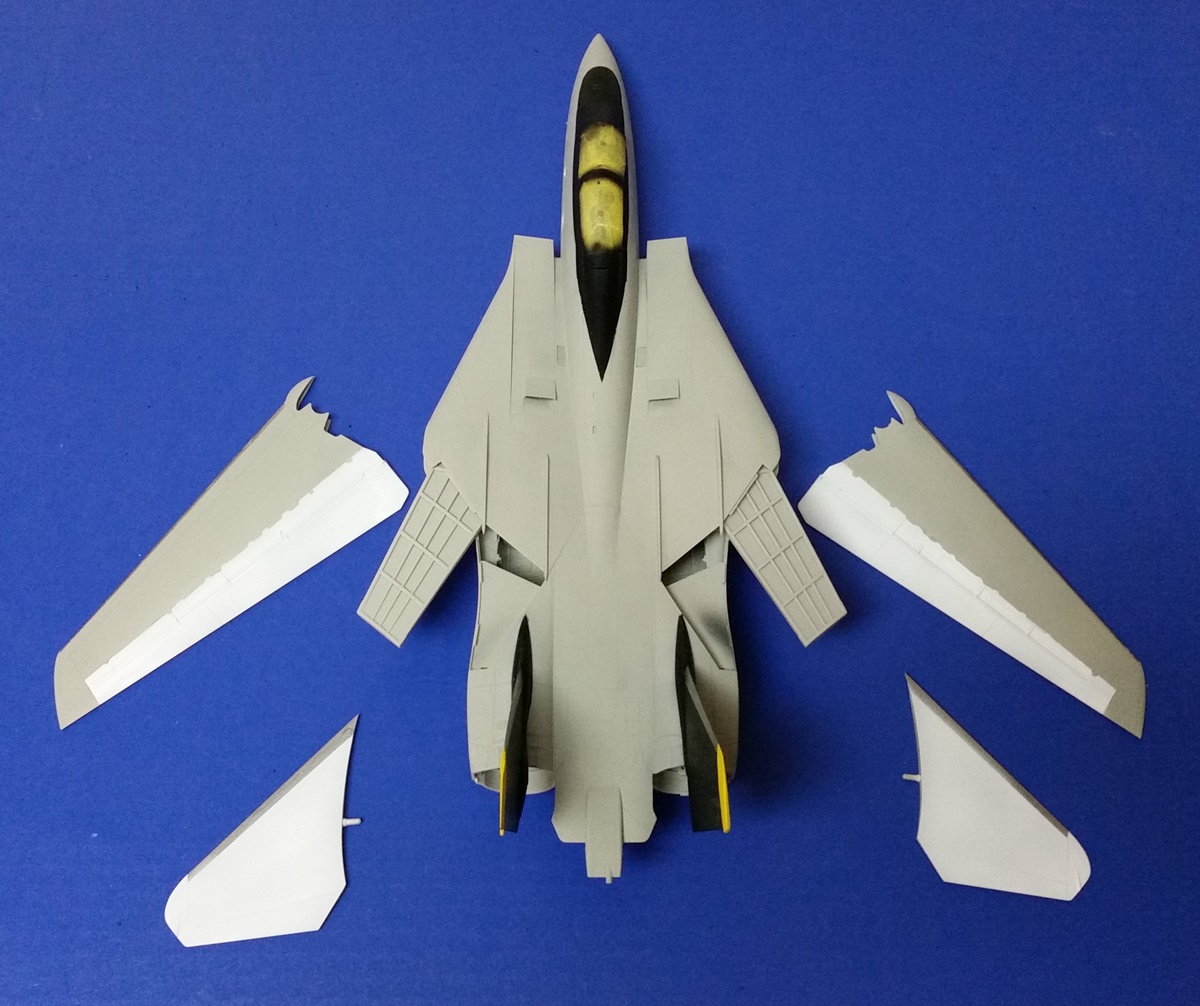
Gee, wonder what Grumman bird I'm planning on?
Hint:

MichaelSatin
Staff MemberCampaigns Administrator
AEROSCALE
_VISITCOMMUNITY
Colorado, United States
Joined: January 19, 2008
KitMaker: 3,909 posts
AeroScale: 2,904 posts
Posted: Thursday, July 04, 2019 - 07:40 AM UTC
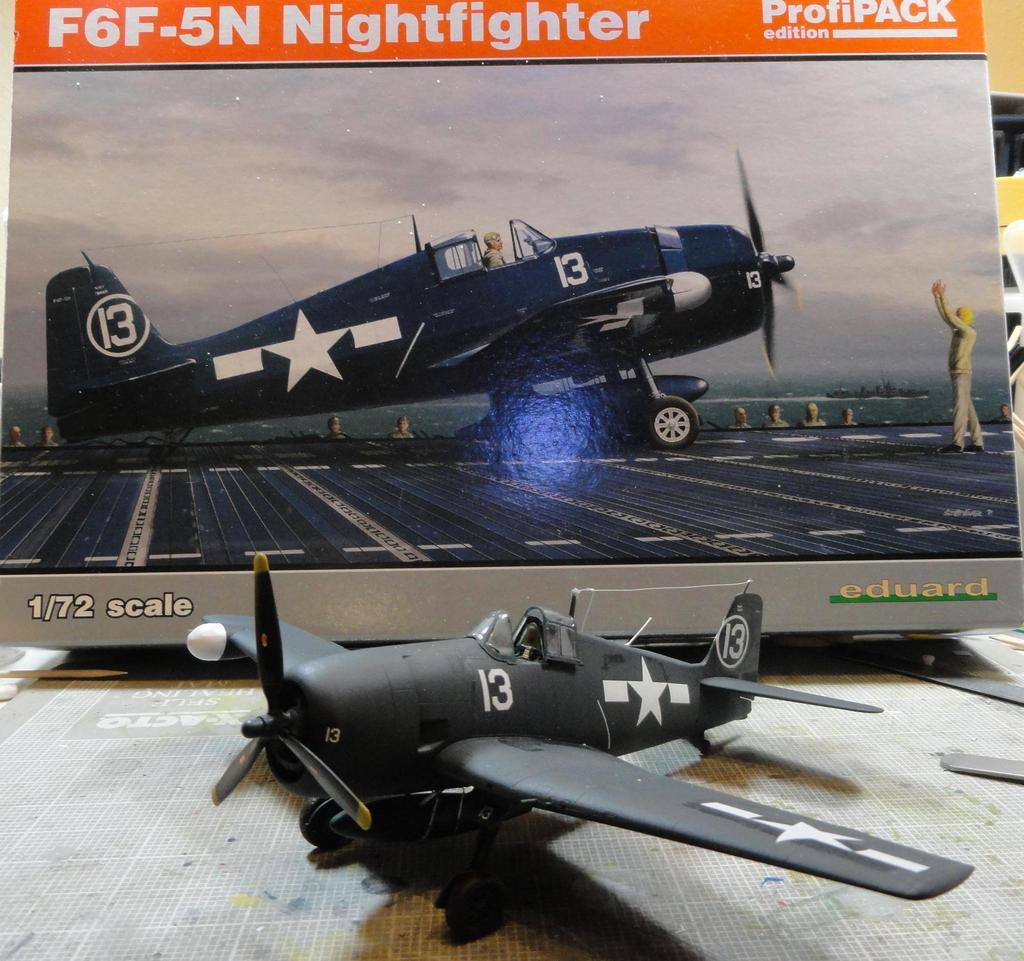
It's HEEEERRRRRREEEEE!!!


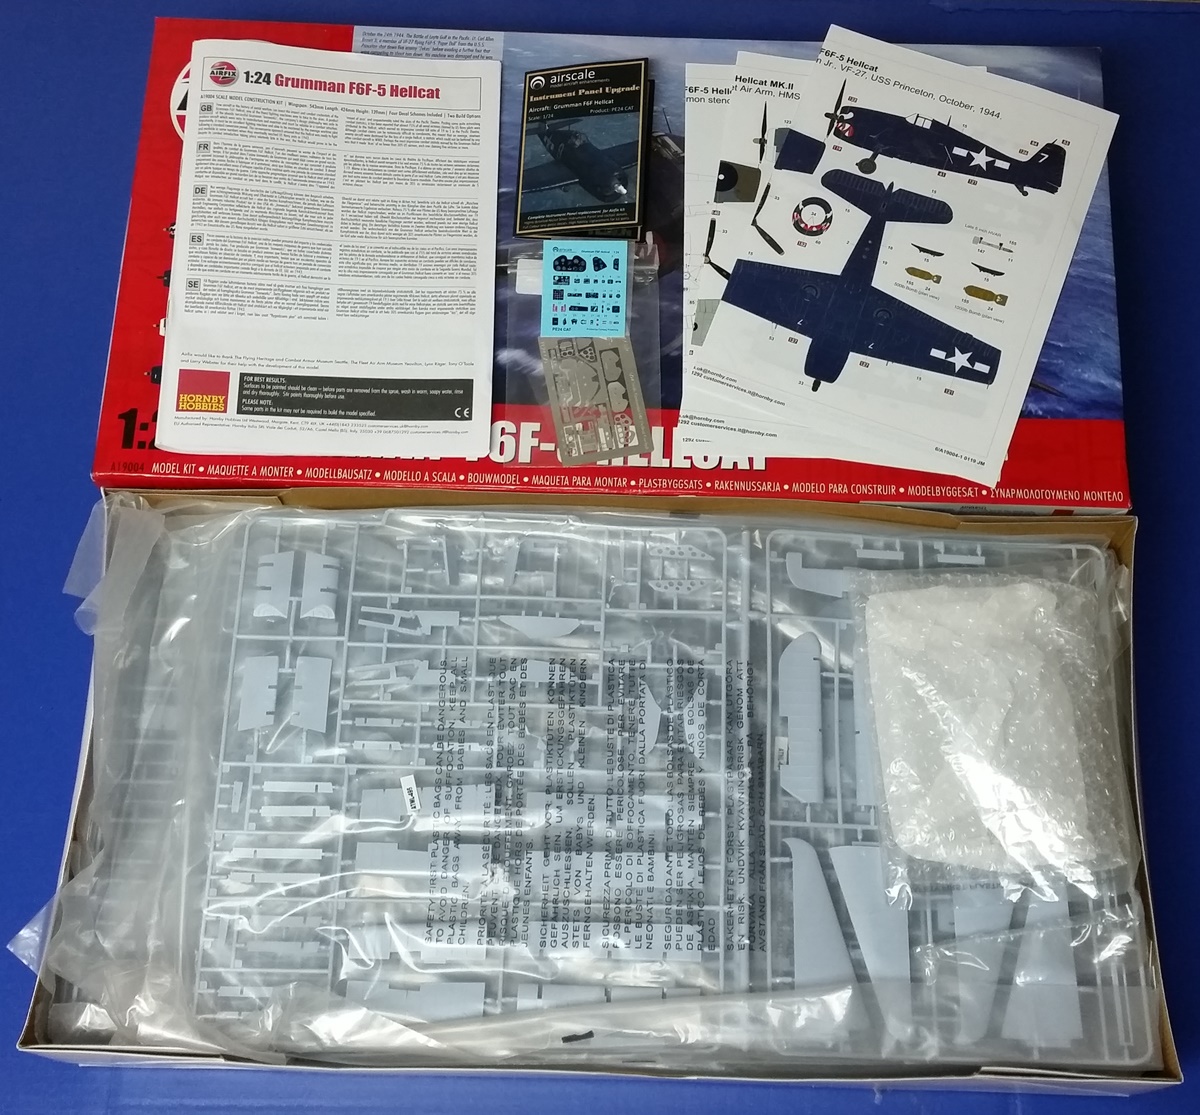
I got the Airscale cockpit set for it as well, though looking at the kit parts I'm not at all sure that using it might not be more trouble than it's worth.

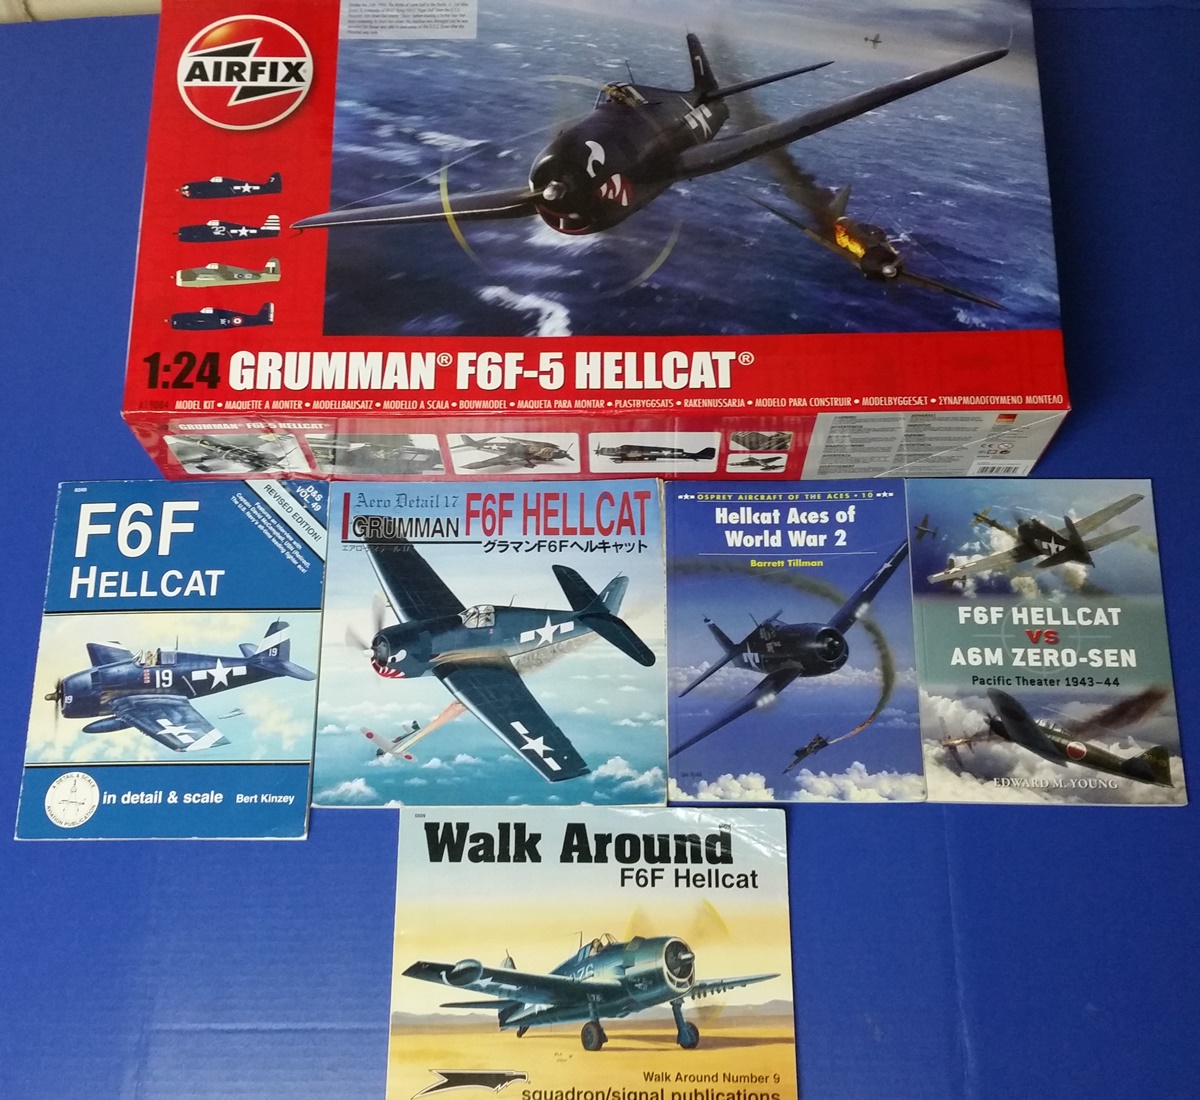
I already have a couple of references:


This is gonna be GREAT!

Michael
 _GOTOTOP