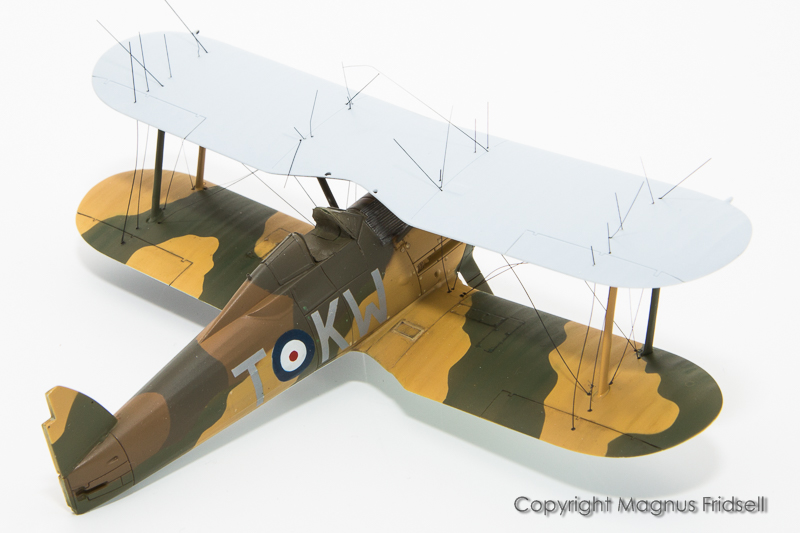
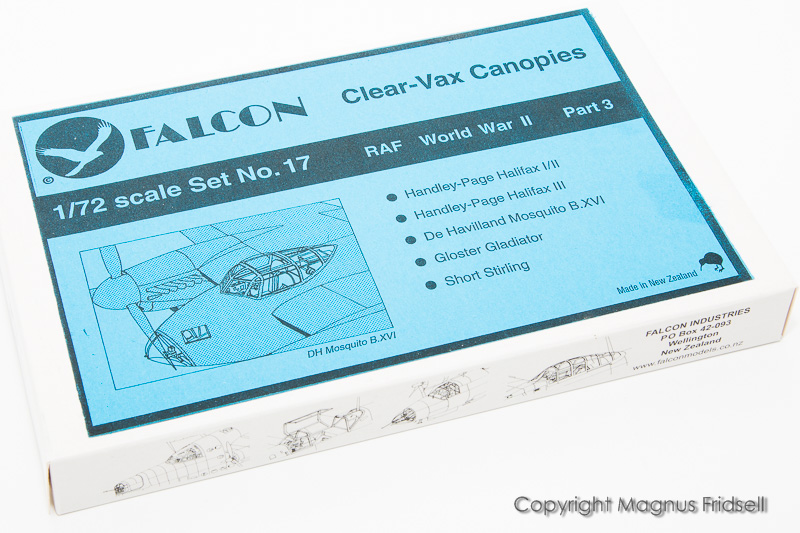
This will be my entry for the Biplanes of WWII-campaign. I have had the Airfix Gladiator in my stash for a few years and there have been a load of different ideas what to do with it, the most obvious one being to finish it in Swedish markings as a J 8. Or as a Swedish machine flying with the Swedish volunteer group in Finland. Or as an outright Finnish machine. Or whatever...
Anyway, latest and greatest idea now is doing an RAF machine from 1939 flying in France. Main reason being the four-colour camouflage with two browns and two greens. With that idea firmly stuck in my head I found exactly the scheme I was looking for in Eduard's 1/48 Gladiator - decals won't be a problem since I can cut my own masks and everything I need apart from that is in the box. Guess what? There is no three-bladed prop! And guess what II: Airfix has done a new boxing labelled Mk I/II with an extra sprue for the prop and a pair of skis... And the exact decals for the machine I want to do!!!
Go shopping for a prop or go shopping for a new kit? Well, a friend of mine came to the rescue with a Heller prop so now we're rolling on the original plan!
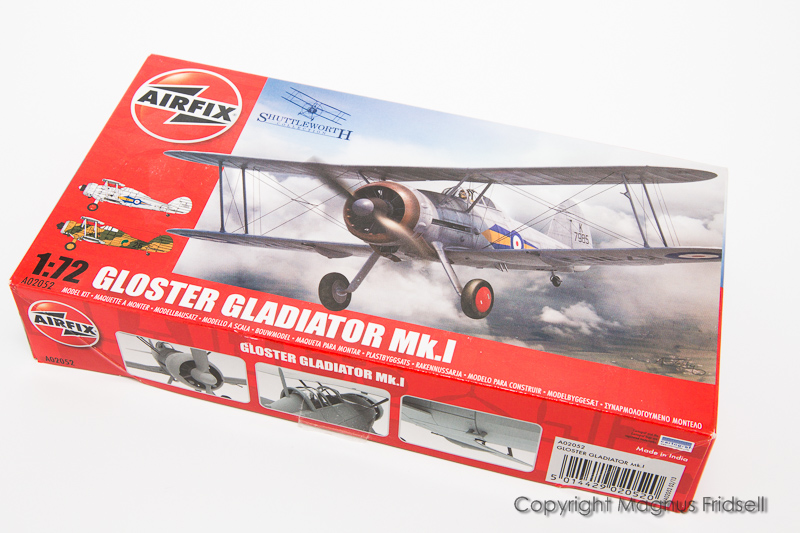
The offending boxing... As usual my own fault !
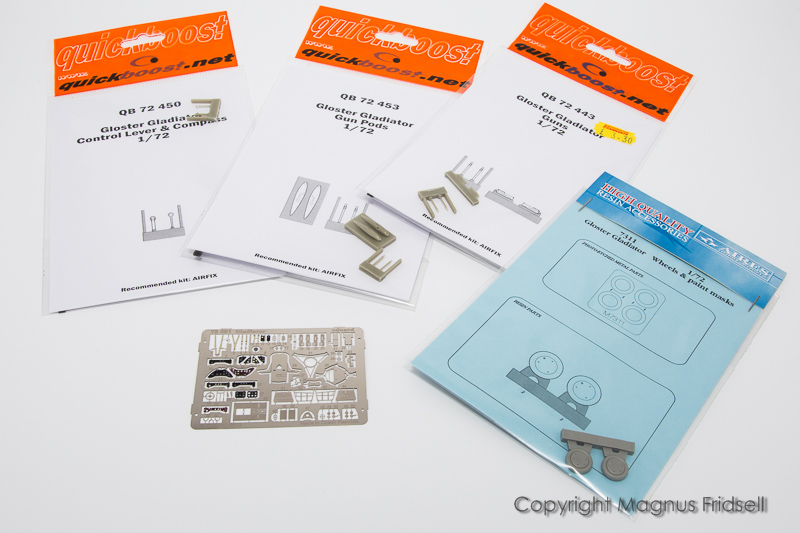
I went on a bit of a shopping spree when I bought the kit, a few extras that might come in handy! I'll spend the next few days in etch-Hades...
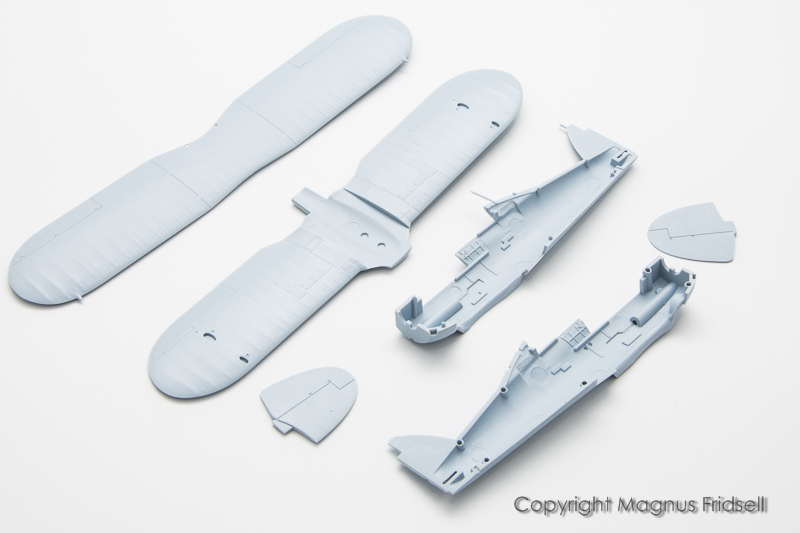
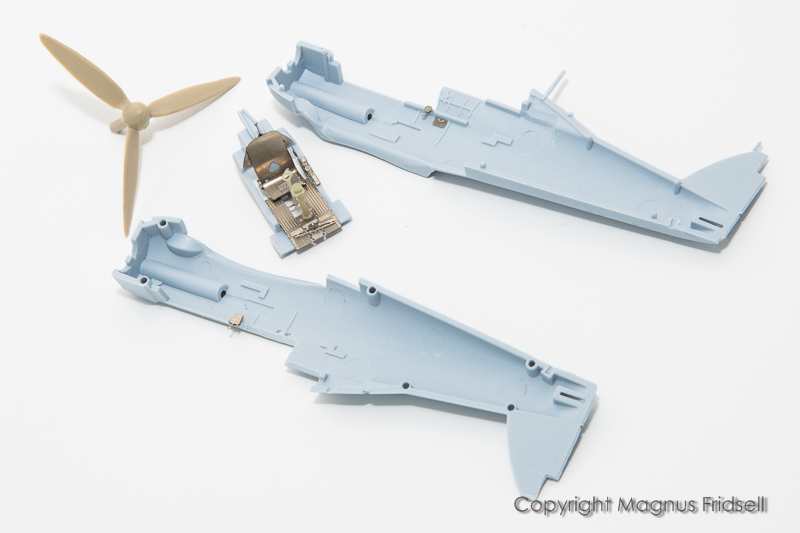
And I have already started to clean up the parts! Plastic is as usual a bit on the soft side but parts are relatively sharp and seem to fit together very well!
Magnus
Hosted by Rowan Baylis
1/72 Airfix Gloster Gladiator
magnusf
Stockholm, Sweden
Joined: May 02, 2006
KitMaker: 1,953 posts
AeroScale: 1,902 posts
Joined: May 02, 2006
KitMaker: 1,953 posts
AeroScale: 1,902 posts
Posted: Saturday, April 04, 2020 - 07:09 PM UTC
Posted: Monday, April 06, 2020 - 07:35 PM UTC
Magnus, great to see you doing the Gladiator!
And for the Bi-planes campaign no less!
I'll be watching closely as that's the same kit I have chosen for that campaign!
And for the Bi-planes campaign no less!
I'll be watching closely as that's the same kit I have chosen for that campaign!
magnusf
Stockholm, Sweden
Joined: May 02, 2006
KitMaker: 1,953 posts
AeroScale: 1,902 posts
Joined: May 02, 2006
KitMaker: 1,953 posts
AeroScale: 1,902 posts
Posted: Wednesday, April 08, 2020 - 06:52 PM UTC
Russell! As I wrote above, a bit soft in the plastic but it feels like a solid model otherwise. I wish I had one of the Heller kits to compare with, I remember that one as very good!
Etch. And the crown-jewel of this build, the Heller prop donated by my friend Jonas!
Plans for today is a bit of primer and then painting the cockpit!
Magnus
Etch. And the crown-jewel of this build, the Heller prop donated by my friend Jonas!
Plans for today is a bit of primer and then painting the cockpit!
Magnus
magnusf
Stockholm, Sweden
Joined: May 02, 2006
KitMaker: 1,953 posts
AeroScale: 1,902 posts
Joined: May 02, 2006
KitMaker: 1,953 posts
AeroScale: 1,902 posts
Posted: Thursday, April 09, 2020 - 04:34 AM UTC
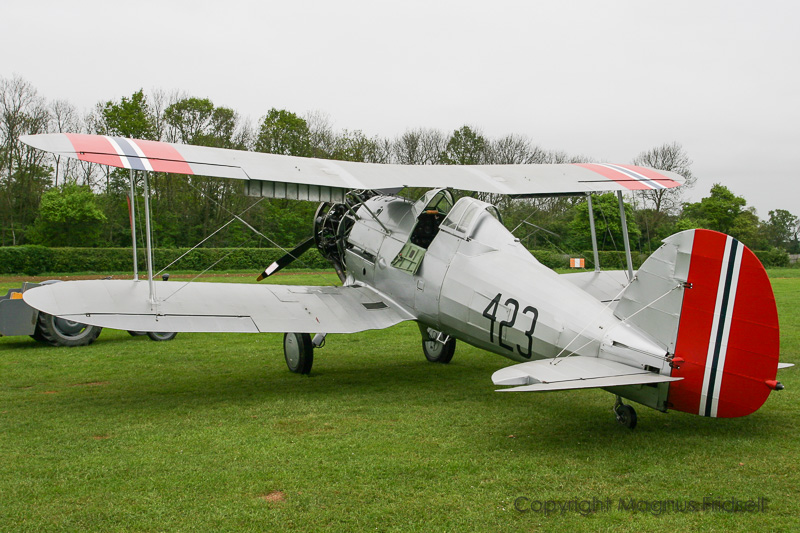
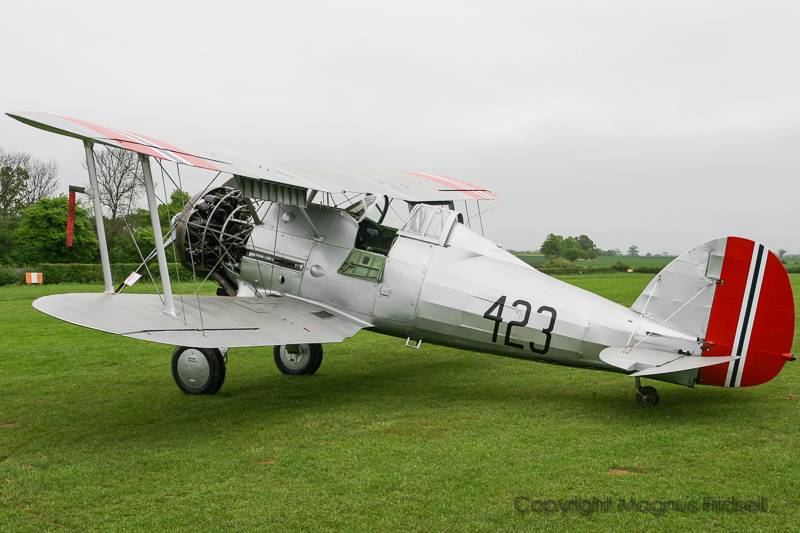
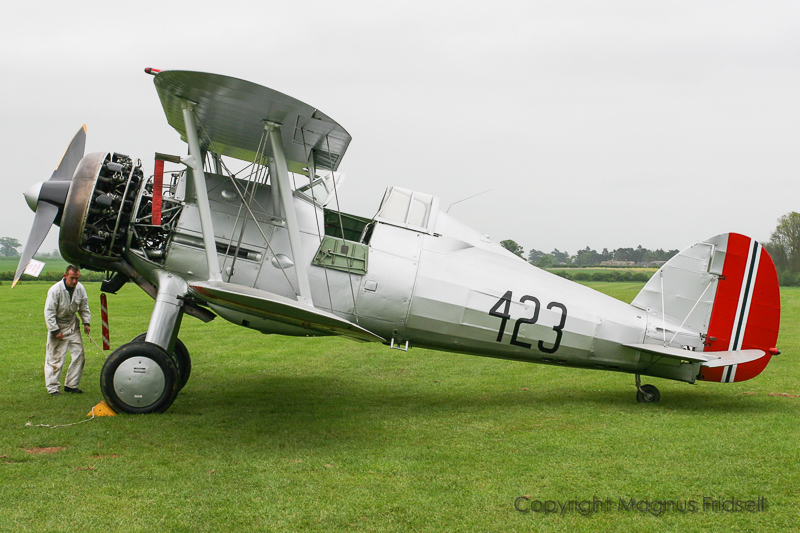
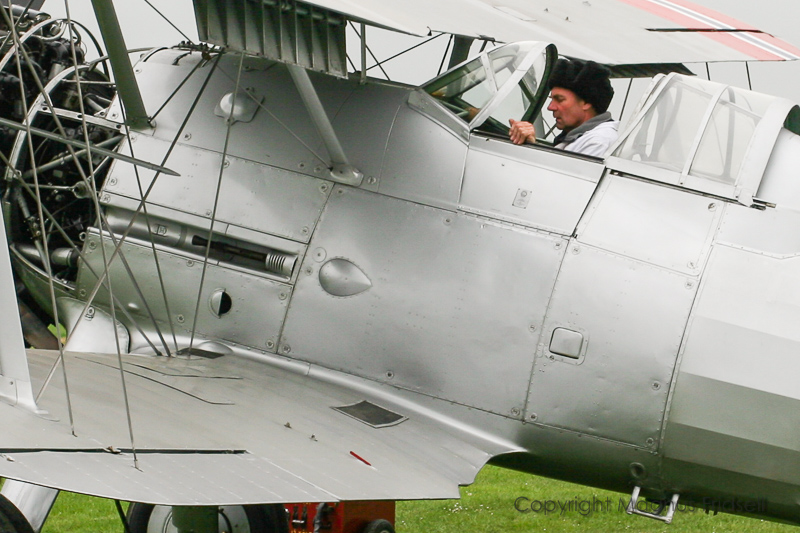
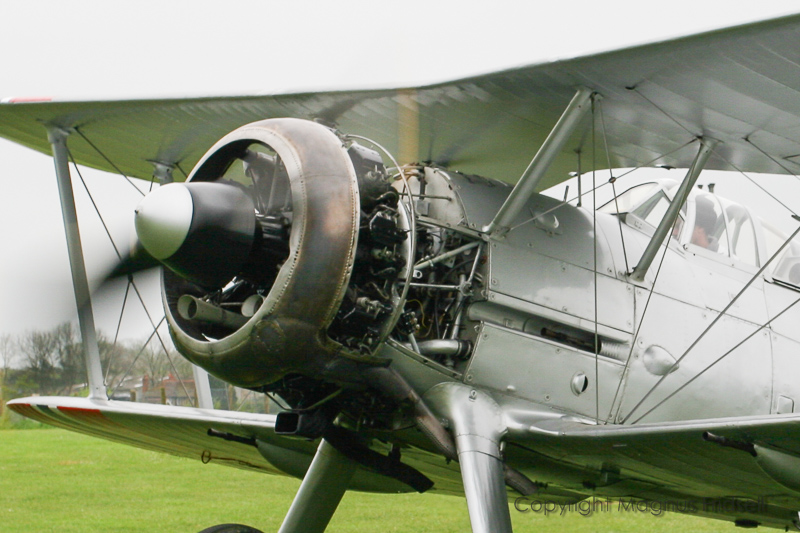
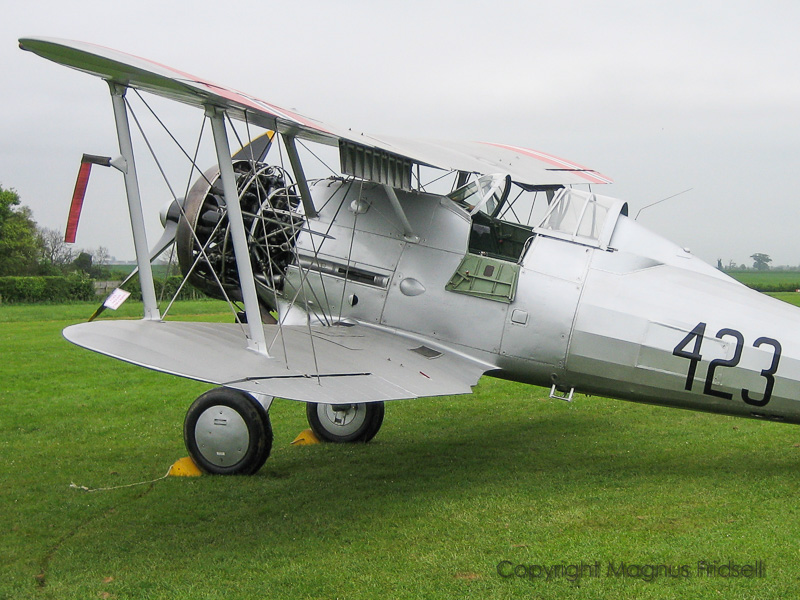
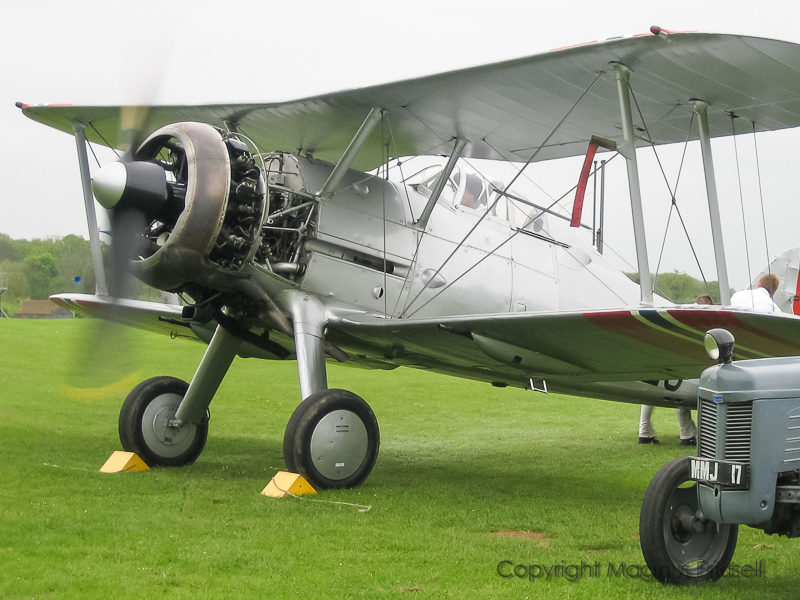
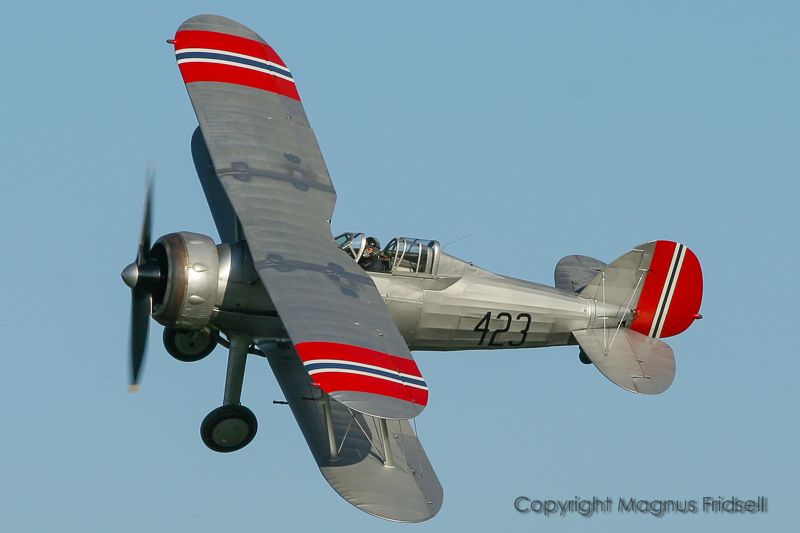
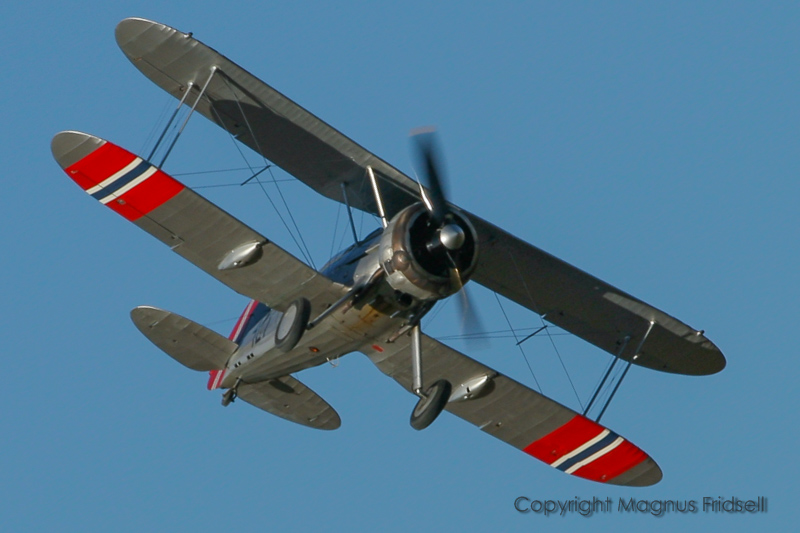
While I was digging around in the photo vault I found these photos from almost 15 years ago, Shuttleworth on May 4 2005. They might come in handy for reference!
Me and a friend were about the only visitors there on that day and we actually helped wheel back the Gladiator into its hangar!
And a quick addendum, I actually saw it fly a year later !
Magnus
Me and a friend were about the only visitors there on that day and we actually helped wheel back the Gladiator into its hangar!
And a quick addendum, I actually saw it fly a year later !
Magnus
magnusf
Stockholm, Sweden
Joined: May 02, 2006
KitMaker: 1,953 posts
AeroScale: 1,902 posts
Joined: May 02, 2006
KitMaker: 1,953 posts
AeroScale: 1,902 posts
Posted: Saturday, April 11, 2020 - 06:39 PM UTC
Soon time to button this one up!
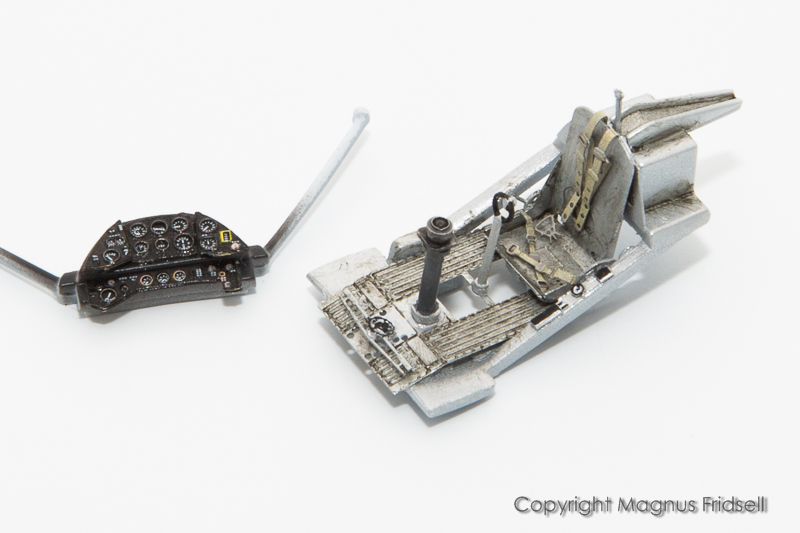
I'm not very fond of etch (I don't like working with it since I after more than 20 years using it still finds it tricky to handle!) but this time I feel it was worth it. Stick and compass column (look at the size of that thing, you obviously never got lost in a Glad!) come from Quickboost.
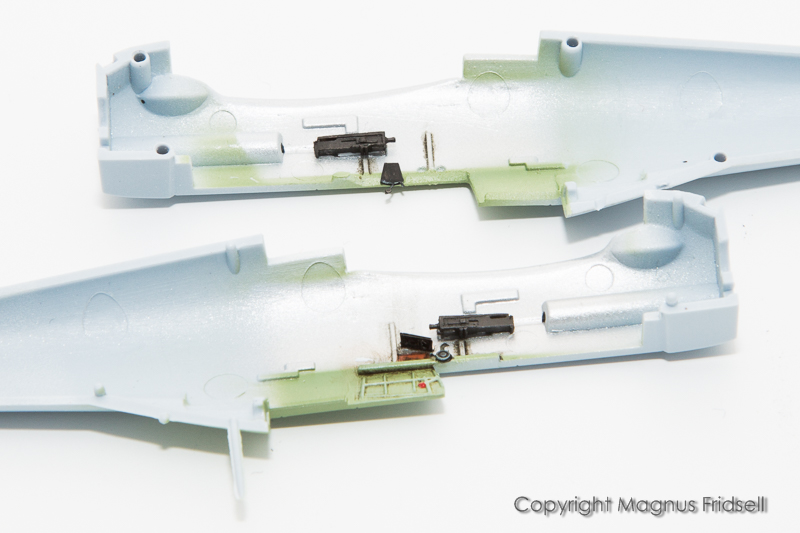
Fuselage halves finished as well, gun breeches once again from Quickboost but I have ordered a set of Master barrels to use instead of the QB resin originals.
Magnus
Posted: Monday, April 13, 2020 - 09:37 AM UTC
nice progress and references Magnus!
Yours is certainly a more detailed build than what I have planned
magnusf
Stockholm, Sweden
Joined: May 02, 2006
KitMaker: 1,953 posts
AeroScale: 1,902 posts
Joined: May 02, 2006
KitMaker: 1,953 posts
AeroScale: 1,902 posts
Posted: Saturday, April 18, 2020 - 05:38 PM UTC
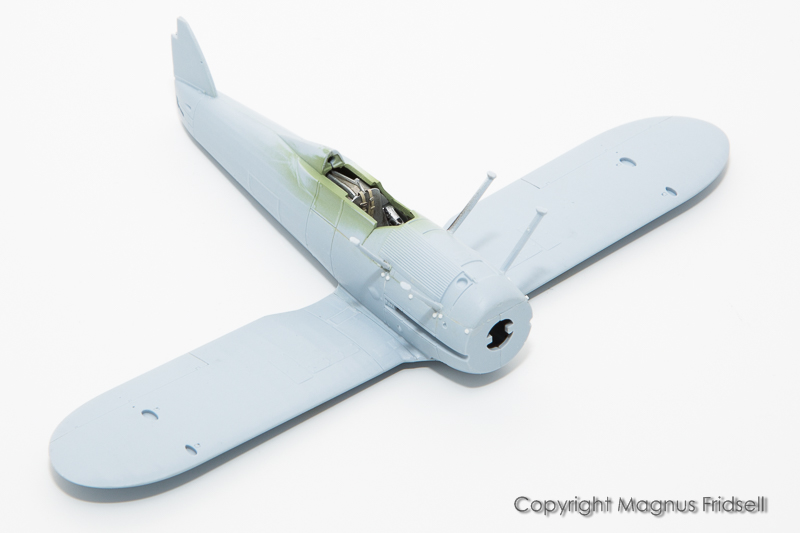
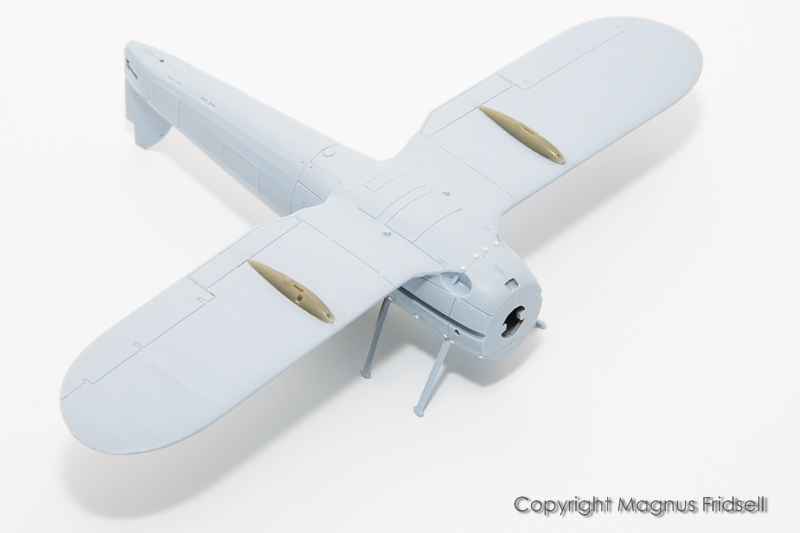
No updates for a week but things have been moving forward anyway! Gladiator assembled and ready for primer.
Engine. Not bad from the box, I drilled out the "trumpets" (I suppose they are carburettor air intakes) and added an etch "frame" to the front. I wish the pushrods had been a separate part but they weren't so I'll live with it as it is!
I restored some lost detail using...
...punched sheet plastic. They are too thick even if I used the thinnest plastic I could find but I'll sand them down after priming!
Magnus
Posted: Saturday, April 18, 2020 - 09:38 PM UTC
neat and quick progress, Magnus
magnusf
Stockholm, Sweden
Joined: May 02, 2006
KitMaker: 1,953 posts
AeroScale: 1,902 posts
Joined: May 02, 2006
KitMaker: 1,953 posts
AeroScale: 1,902 posts
Posted: Friday, April 24, 2020 - 09:46 PM UTC
Not much of a difference compared to last post but it is now ready for primer!
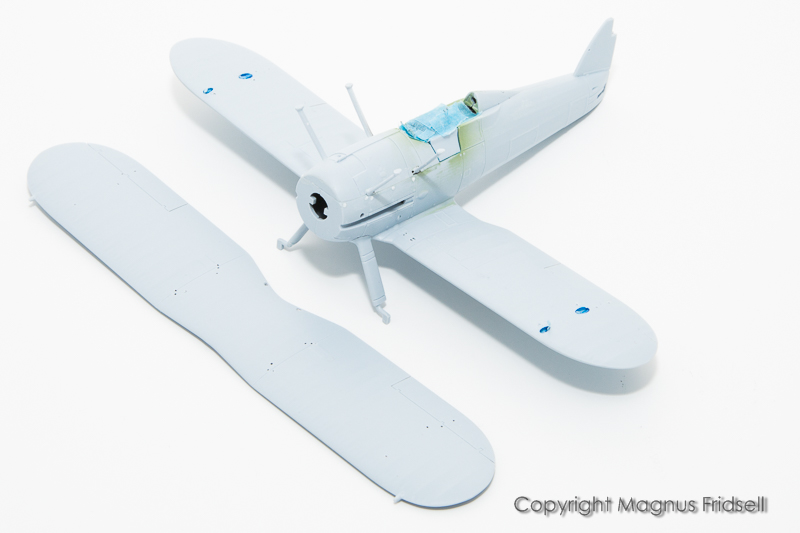
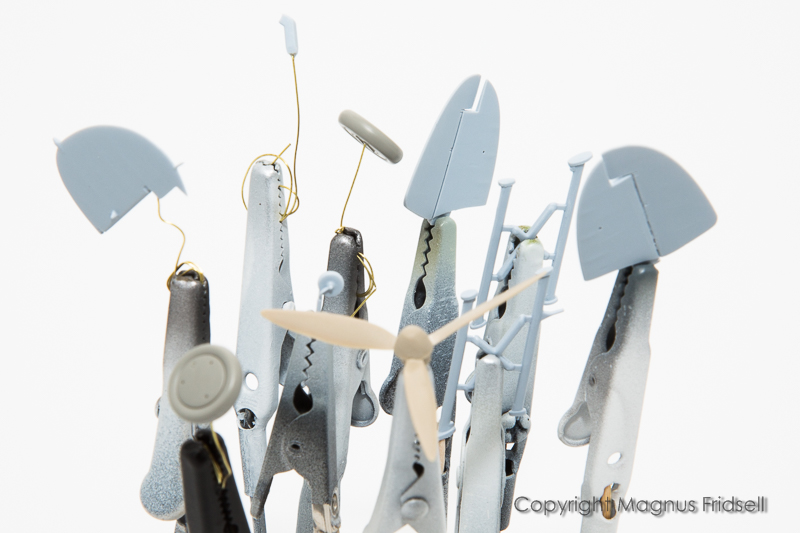
I have for once tried to be a bit clever and plan ahead for the rigging. Holes have been drilled so that I have good anchor points, after studying Eduard's rigging diagram (I never thought 1/48 could be of any use for me ) I decided upon drilling through holes in the upper wing. I will thus have to finish the painting of the upper surface of that one last but I think I can manage that. My original idea was drilling through the lower wings but since there are some wires going from the fuselage to the top wing I wouldn't be able to get away with only that , there would have to be holes in the upper one anyway.
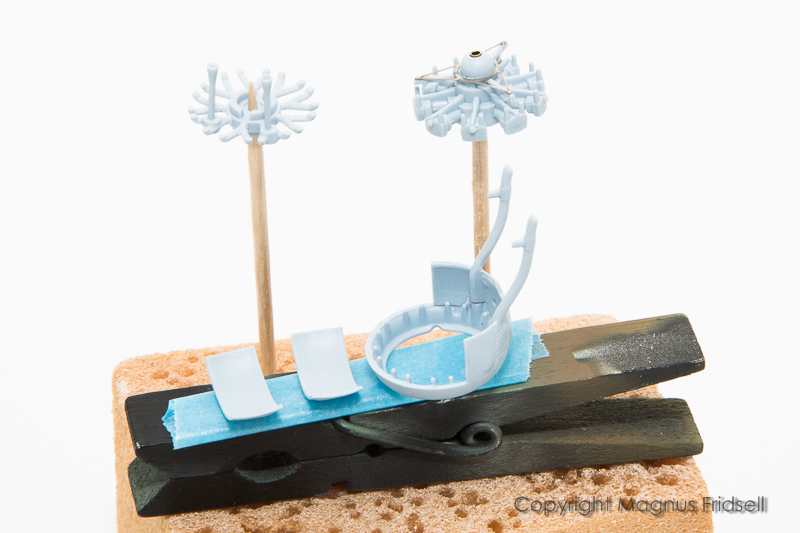
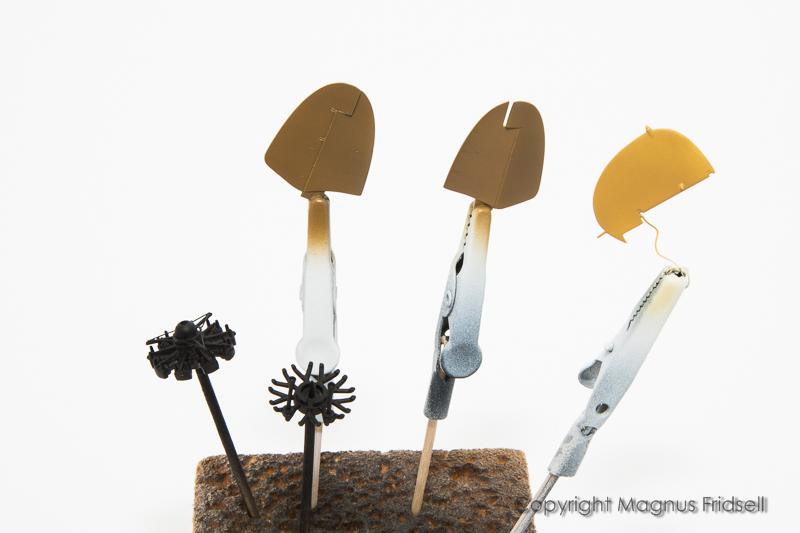
Parts on sticks with dropped elevators, resin wheel and the famous Heller prop ready for primer!
Another thing I did was filling all the cavities for the struts with Micro-Mask in order to keep them free of paint.
Magnus
Posted: Saturday, April 25, 2020 - 09:34 PM UTC
I could be wrong, Magnus, but isn't there detailed rigging instructions provided by Airfix in this kit as well?
magnusf
Stockholm, Sweden
Joined: May 02, 2006
KitMaker: 1,953 posts
AeroScale: 1,902 posts
Joined: May 02, 2006
KitMaker: 1,953 posts
AeroScale: 1,902 posts
Posted: Sunday, April 26, 2020 - 07:59 AM UTC
Russell! Yes, there is a rigging diagram in the Airfix instructions. And a very good one it is ! Thanks for the hint, and i am going back to my old opinion about how useless 48-scale is . Order restored!
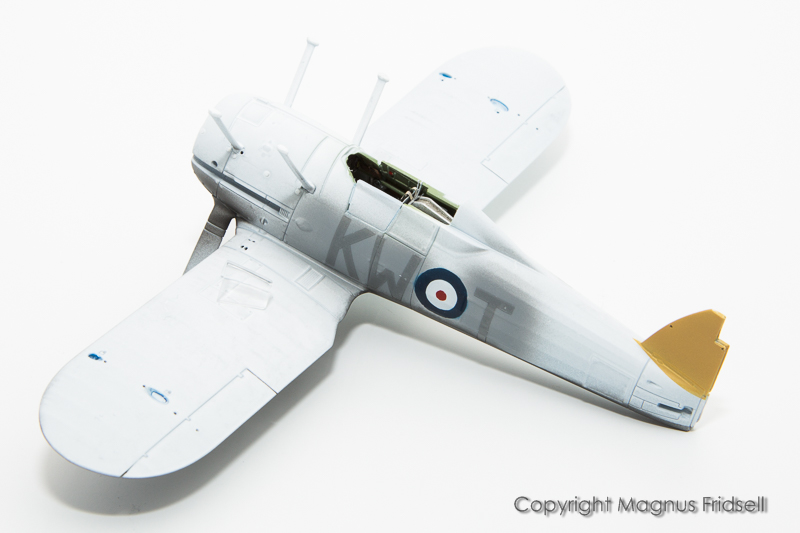
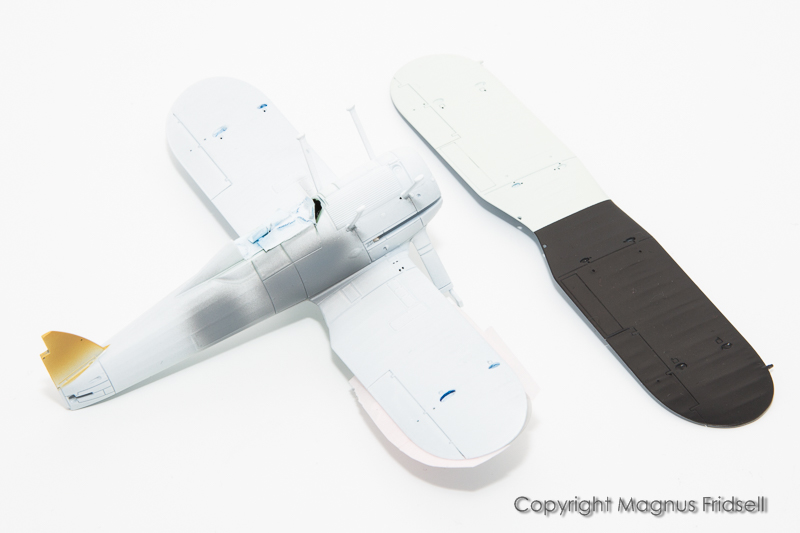
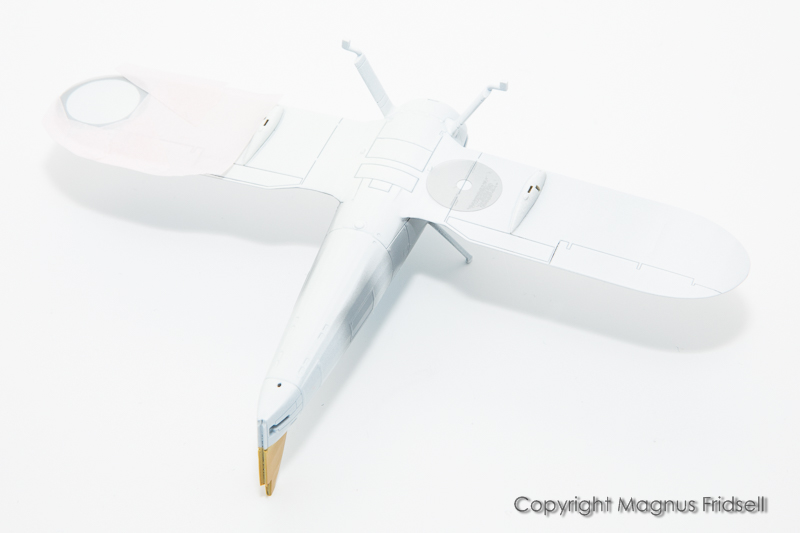
Suddenly things are moving quickly! I've painted MSG for the fuselage codes, fin got some Light Earth...
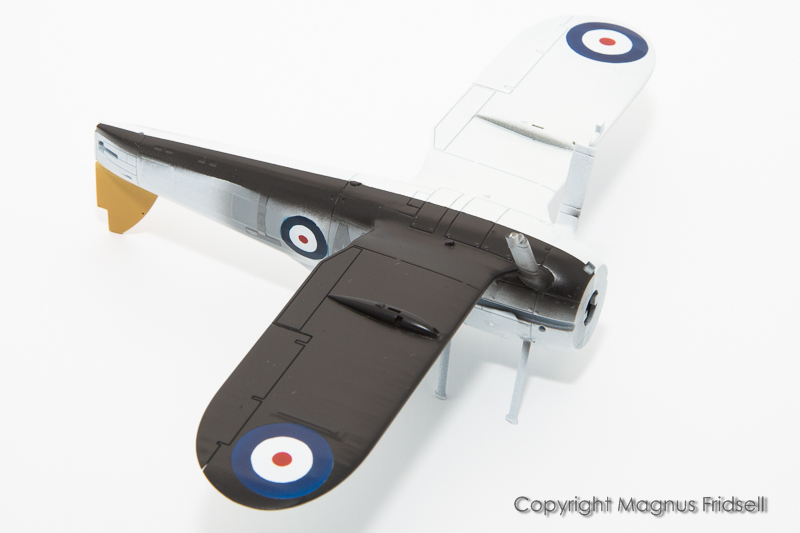
...and the lower surfaces got the "white" paint on. I mixed this one from 3/4 White and 1/4 Sky, both from MRP, in order to avoid a shining white lower surface. Upper wing got the black part done as well, using MRP "Night Black". I had a few blacks to choose from (Russian Black and NATO Black and even some "real" black) but opted for this one after a quick trial on my old Tempest paint victim. Note that there will NOT be a roundel near the wing root, it's just the mask being parked there temporarily...
Finally, stabilisers and rudder also got first paint on them.
Magnus
Posted: Sunday, April 26, 2020 - 10:56 AM UTC
Great start Magnus. Looking forward to seeing how it builds.
Those Quickboost machine guns are really nice.
Posted: Monday, April 27, 2020 - 10:37 PM UTC
Quoted Text
Russell! Yes, there is a rigging diagram in the Airfix instructions. And a very good one it is ! Thanks for the hint, and i am going back to my old opinion about how useless 48-scale is . Order restored!
That's a good opinion, Magnus
Posted: Tuesday, April 28, 2020 - 02:10 AM UTC
Parts on sticks
Opinion on 1/48
Progress on build
2 out of 3 is a pass
Looking forward to more progress Magnus, this is moving along nicely!
Cheers, D
Opinion on 1/48
Progress on build
2 out of 3 is a pass
Looking forward to more progress Magnus, this is moving along nicely!
Cheers, D
magnusf
Stockholm, Sweden
Joined: May 02, 2006
KitMaker: 1,953 posts
AeroScale: 1,902 posts
Joined: May 02, 2006
KitMaker: 1,953 posts
AeroScale: 1,902 posts
Posted: Thursday, April 30, 2020 - 01:24 AM UTC
Stephen! Quickboost parts are quite often just that: nice, simple, useful and great value for money!
Russell! My brother from another mother across the globe !
Damian! I am SO sorry if I accidentally hurt anyone's feelings. It was NEVER my intention to start a war between the scales. NEVER. I would NEVER even DREAM of doing such a thing. Not at all... !
Letters masked, fuselage roundel painted, Airfix original rear glazing (parked on the left wing waiting for assembly) filed down to get rid of the raised detail and polished back to clarity.
I really like this "night-and-white"-look!
Magnus
magnusf
Stockholm, Sweden
Joined: May 02, 2006
KitMaker: 1,953 posts
AeroScale: 1,902 posts
Joined: May 02, 2006
KitMaker: 1,953 posts
AeroScale: 1,902 posts
Posted: Sunday, May 03, 2020 - 07:46 AM UTC
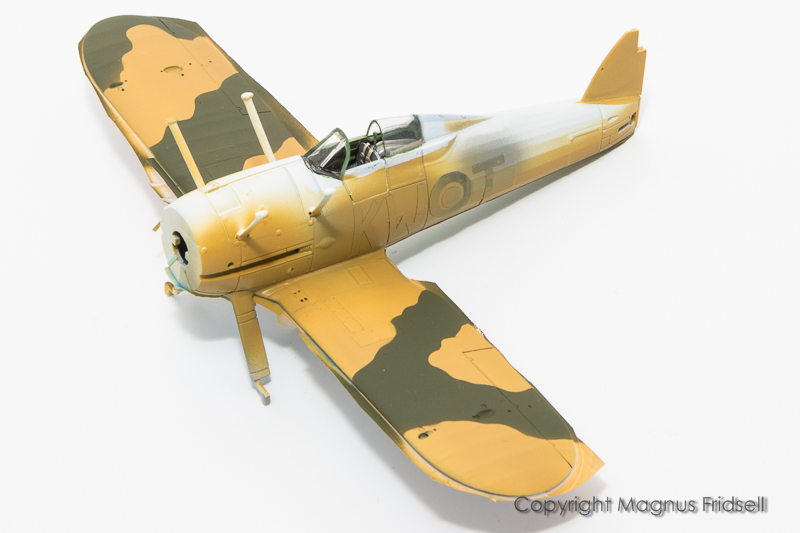
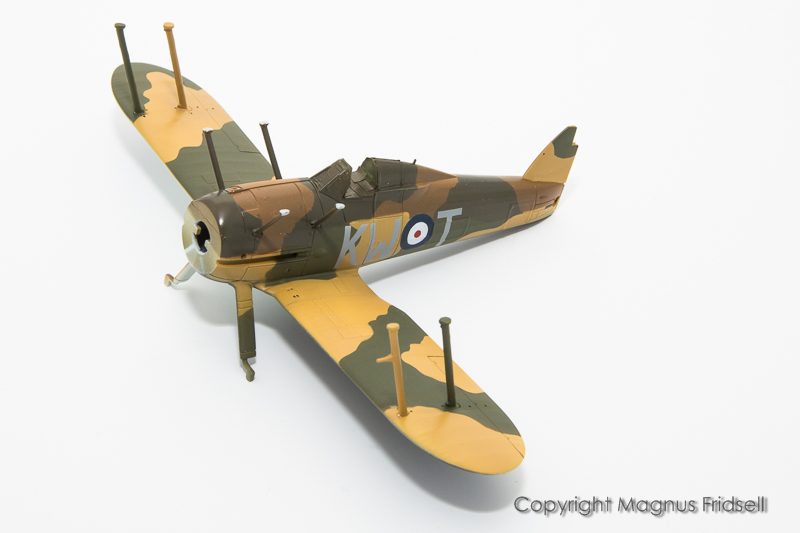
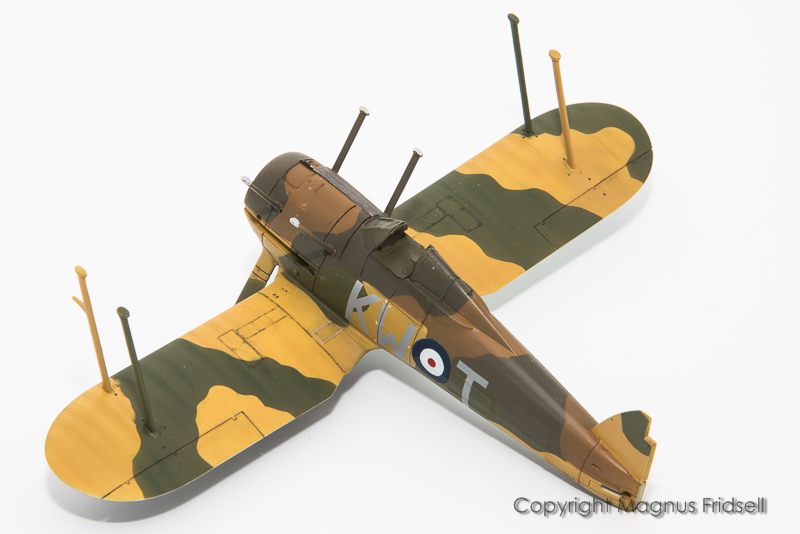
Started on the camo, I really wanted to see what it would look like in these colours. Have a bit of more work to do on the rear glazing before I can continue with the rest of the painting!
Magnus
Posted: Sunday, May 03, 2020 - 12:19 PM UTC
Quoted Text
Damian! I am SO sorry if I accidentally hurt anyone's feelings. It was NEVER my intention to start a war between the scales. NEVER. I would NEVER even DREAM of doing such a thing. Not at all... !
Magnus, it was difficult to detect the slight tone of sarcasm in there, but I spotted it
Beautiful work mate, like you said, the two-tone "night/white" underside is a cool looking scheme, and that is some tight camo work on the wings as well.
Cheers, D
Posted: Sunday, May 03, 2020 - 11:41 PM UTC
Quoted Text
Russell! My brother from another mother across the globe !
Magnus
I like that!
your Gladiator is looking mighty fine Magnus!
magnusf
Stockholm, Sweden
Joined: May 02, 2006
KitMaker: 1,953 posts
AeroScale: 1,902 posts
Joined: May 02, 2006
KitMaker: 1,953 posts
AeroScale: 1,902 posts
Posted: Saturday, May 09, 2020 - 06:33 AM UTC
Damian! You're a clever man, you spotted the subtle irony !
Russell! I know how to make friends. don't I ?
This will be a bit photo-heavy, I've been taking photos all week but haven't gotten around to posting until now.
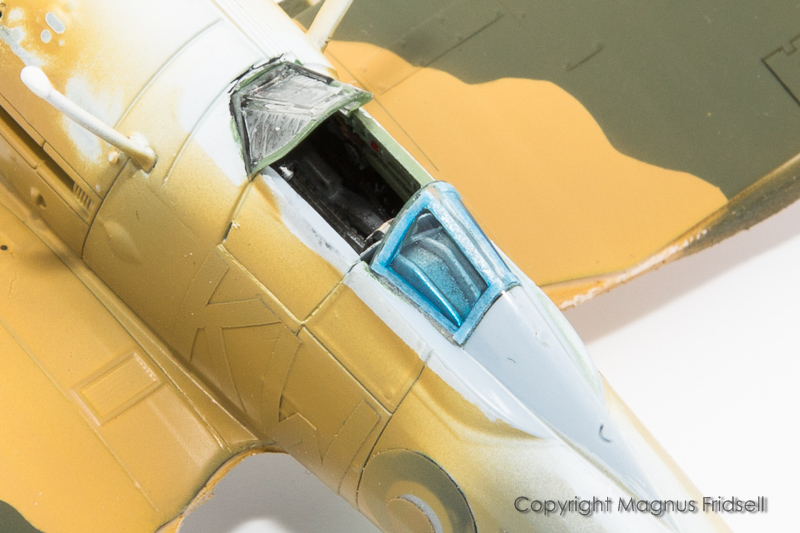
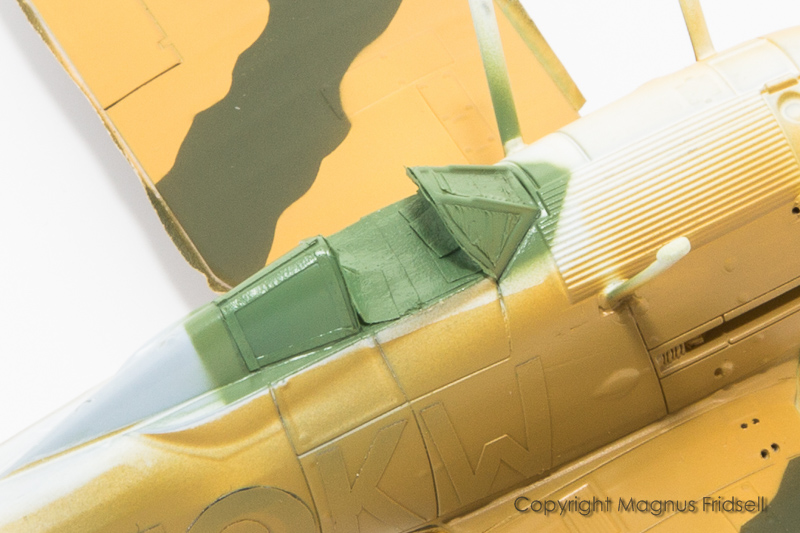
After spending more than a healthy amount of time sanding and polishing the rear glazing the masking was a quite straightforward process using thin cut strips of tape and filling in the rest with MicroMask.
This is what it looks like after some British Interior Green...
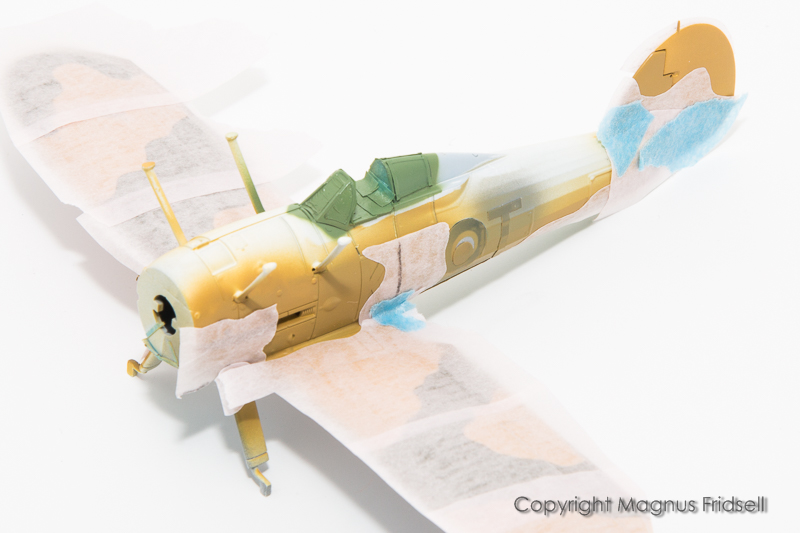
Masking what should be left in the sandy "Light Earth"-colour...
...and after painting some "Light Green"!
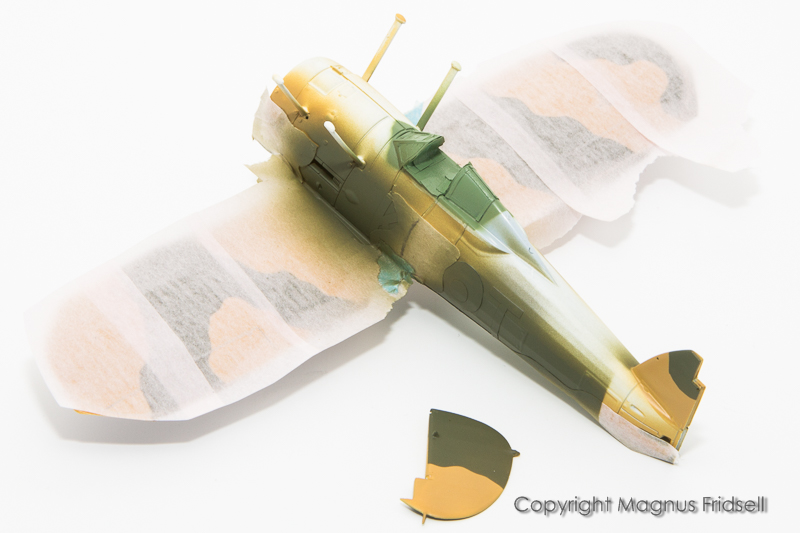
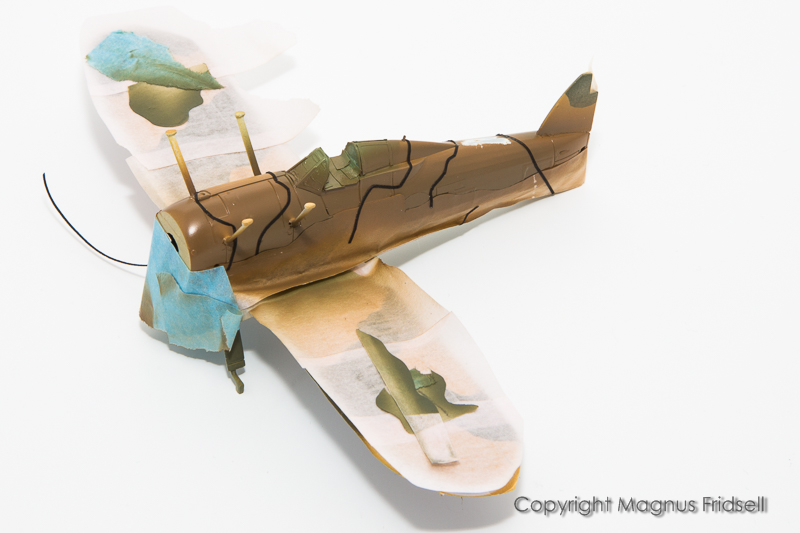
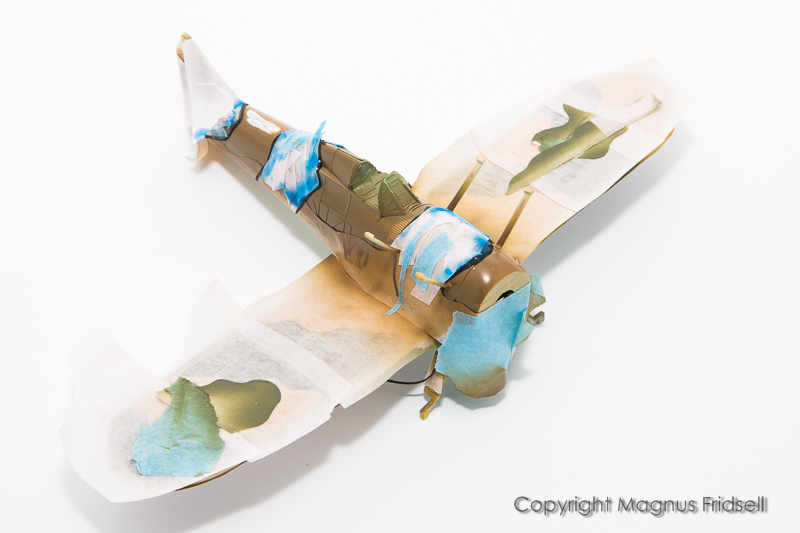
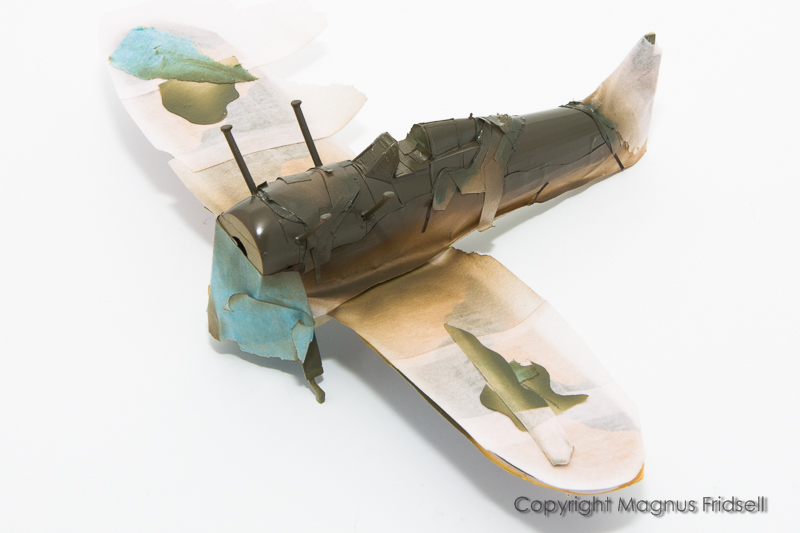
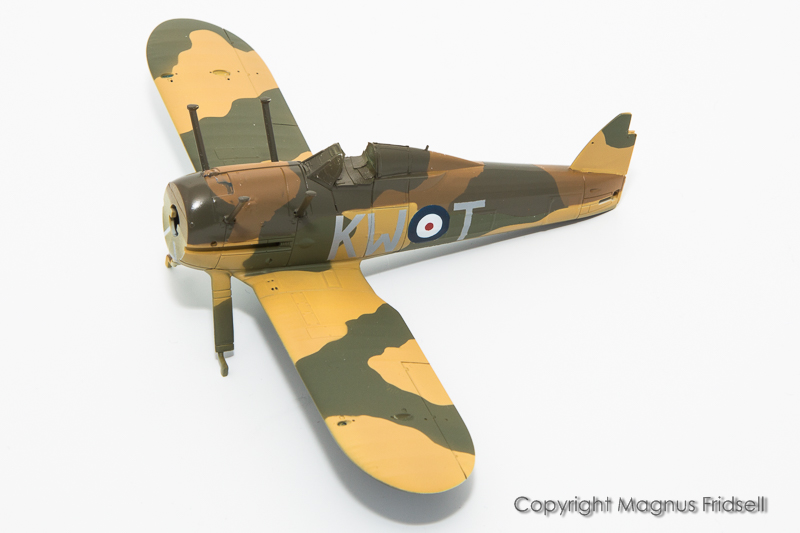
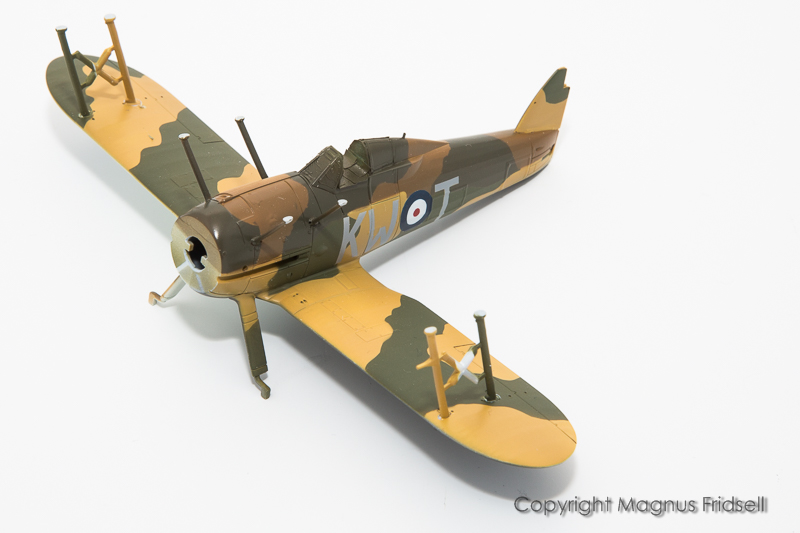
After masking the fuselage lower sides and painting some "Dark Earth" I had to mask for the "Dark Green". Since cutting masks that fit over the compound curves of the fuselage is fairly difficult I opted for using some Letraset thin tape that I bought many years ago but have seldom used. It worked OK even if this .5 mm wide tape is still difficult to bend as tight as I would have liked to!
OMG! (My kids hate when I use this expression .) I filled in the areas that should be left brown with tape strips and sealed them off against the tape using MicroMask. Looks awful...
A quick coat of green and then...
...peeling off the masks! I got a few ridges around the code letters but I can polish them away after letting the paint harden for a day or so. There is a bit of MicroMask left at the top of the nose that hadn't dried, I'll peel it off tonight!
Magnus
BlackWidow
European Union
Joined: August 09, 2009
KitMaker: 1,732 posts
AeroScale: 1,336 posts
Joined: August 09, 2009
KitMaker: 1,732 posts
AeroScale: 1,336 posts
Posted: Sunday, May 10, 2020 - 05:42 AM UTC
I second what Russell said, Magnus! Really lovely looking Gladiator with that colourful camo. I don't have a Gladiator in my stash, but if I had, it would be F19 or finnish looking (of course ....)
Posted: Sunday, May 10, 2020 - 12:11 PM UTC
Great work Magnus! Your step-by-step on the masking and painting methods for seventy-tooth scale is clear and very helpful!
Cheers, D
Cheers, D
Posted: Sunday, May 10, 2020 - 09:34 PM UTC
Awesome work on the camo Magnus!
Always my favorite part of any build-peeling back the layers of masking to reveal the paint beneath!
magnusf
Stockholm, Sweden
Joined: May 02, 2006
KitMaker: 1,953 posts
AeroScale: 1,902 posts
Joined: May 02, 2006
KitMaker: 1,953 posts
AeroScale: 1,902 posts
Posted: Friday, May 15, 2020 - 07:58 AM UTC
Torsten! Of course F 19 or Finland was a possibility but I've had an urge for a long time to do one in this kind of camo!
Main wing struts in place, Airfix did a clever design where they are cast with a bit of supporting structure so that if you glue them this way you will end up with all the right angles.
You will however end up with a bit of a masking and sanding problem as well but I rather take that than having to fiddle around with separate struts though!
Magnus
Posted: Monday, May 18, 2020 - 10:21 AM UTC
Very nice progress Magnus...
Yep, Airfix really did a good job on helping out the modeller on this kit. Bi-planes being particularly tricky to align the top wing.
I've heard good things about the rigging as well, not just the helpful instructions, but from memory, there's pre-marked holes as well?
...now if only they'd apply the same magic to a Supermarine Walrus in 1/72...
magnusf
Stockholm, Sweden
Joined: May 02, 2006
KitMaker: 1,953 posts
AeroScale: 1,902 posts
Joined: May 02, 2006
KitMaker: 1,953 posts
AeroScale: 1,902 posts
Posted: Thursday, May 21, 2020 - 08:22 AM UTC
Russell! I did some cheating, that means drilling out the attachment points... See below!
Some basic work done to the surfaces of the lower wing to help light and shadows and make it look a bit more detailed!
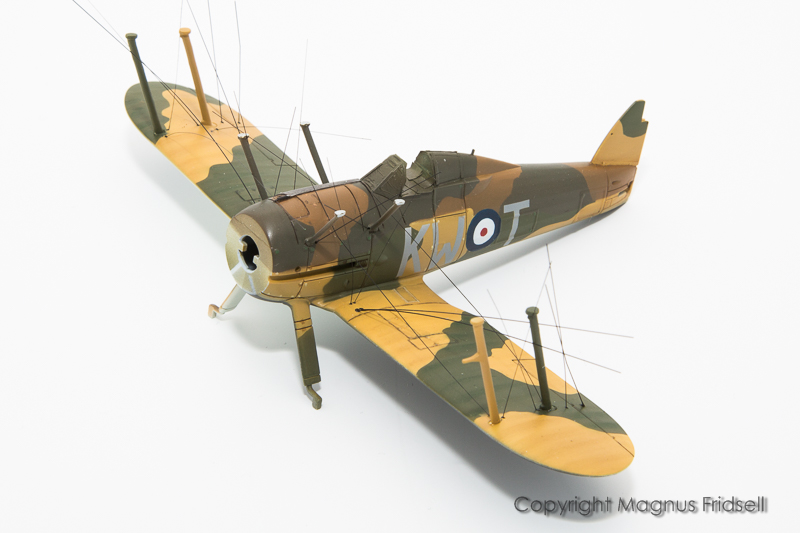
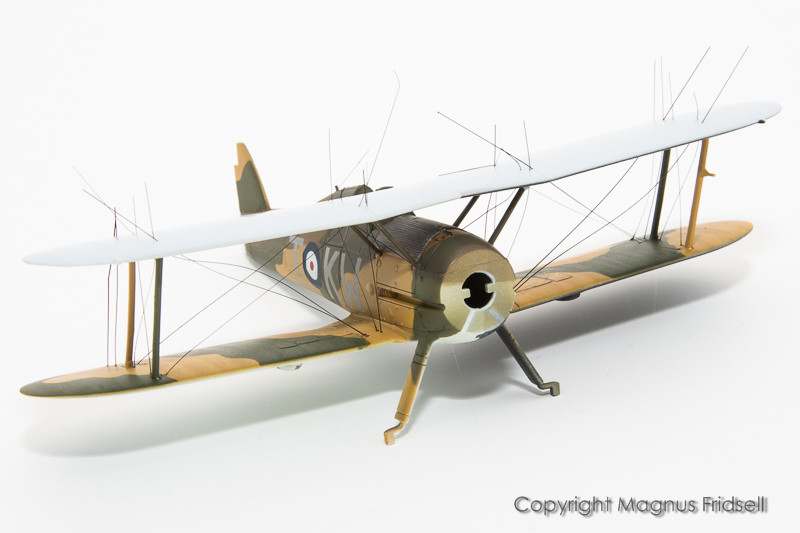
OMG! There is lots of rigging when it all gets glued in place at the same time!
Top wing in place with the threads pulled through all the pre-drilled holes, I'll let this set for a day before locking the rigging in place with super glue and cutting off the excess.
Another view of the rigging in place!
And finally, just what I need for that open canopy.
Magnus