Wow! Been so long since my last update.
Hope the photo's are working and everyone can see them.
Since last time I've been trying to get all the fiddly bits done ready for the final assembly. Still seems like I have a box full of unused parts and decals, so I'm constantly having to check that I haven't missed anything. The final jobs always seem to take forever on large complex kits. I think I might build a simple Matchbox after this just for a break

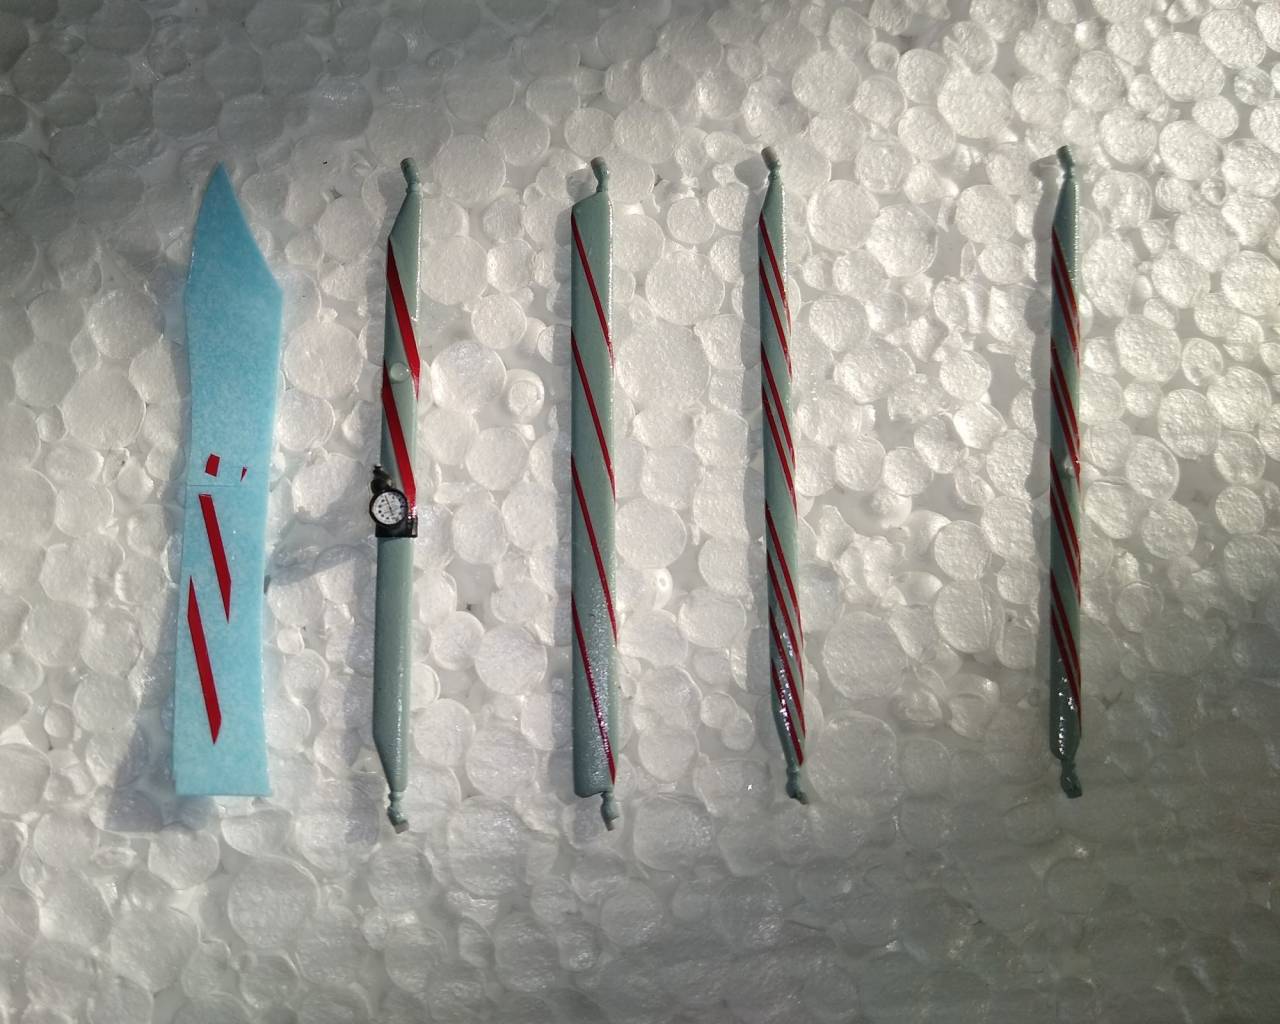
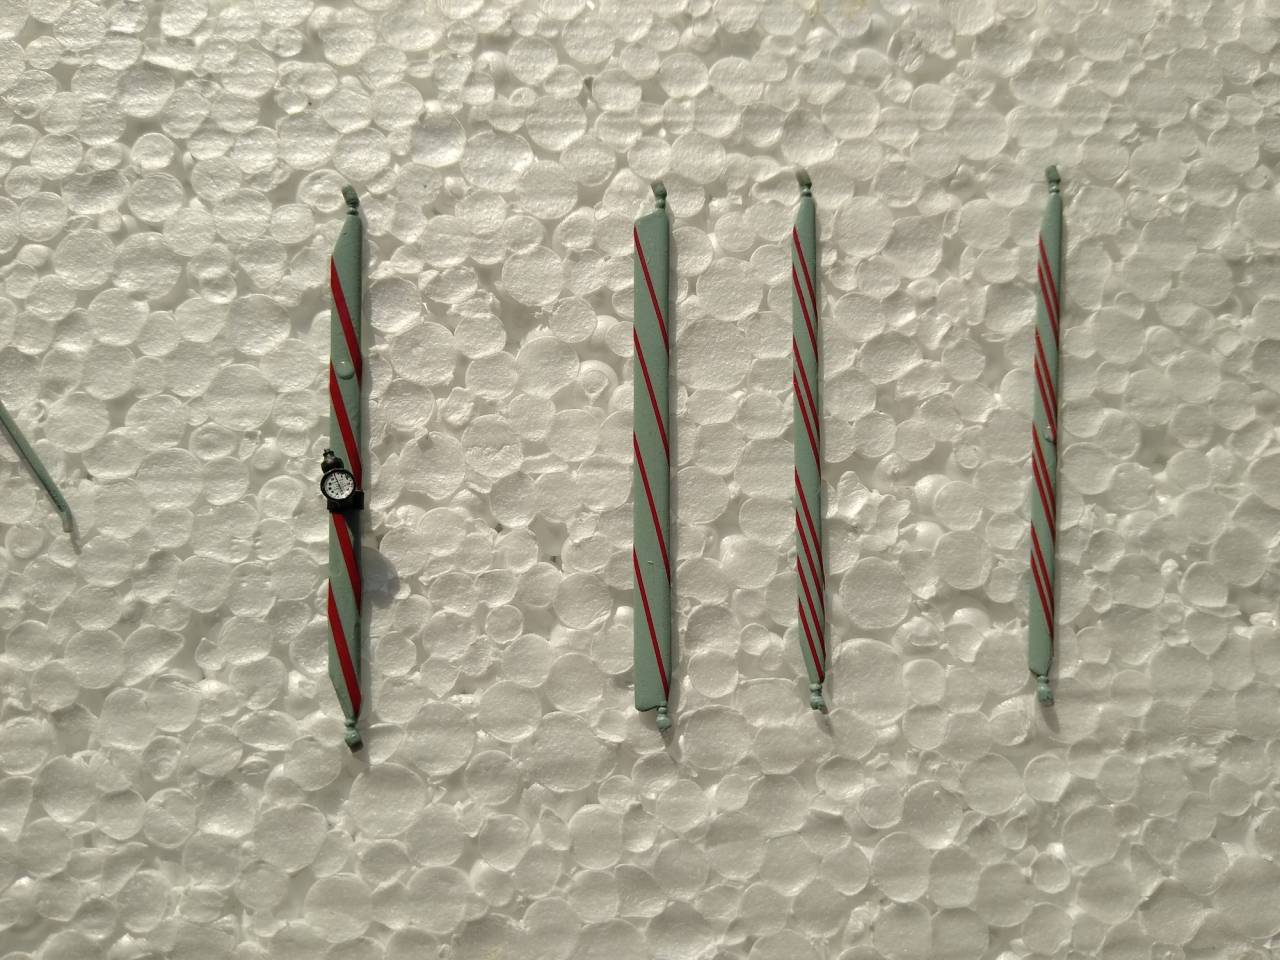
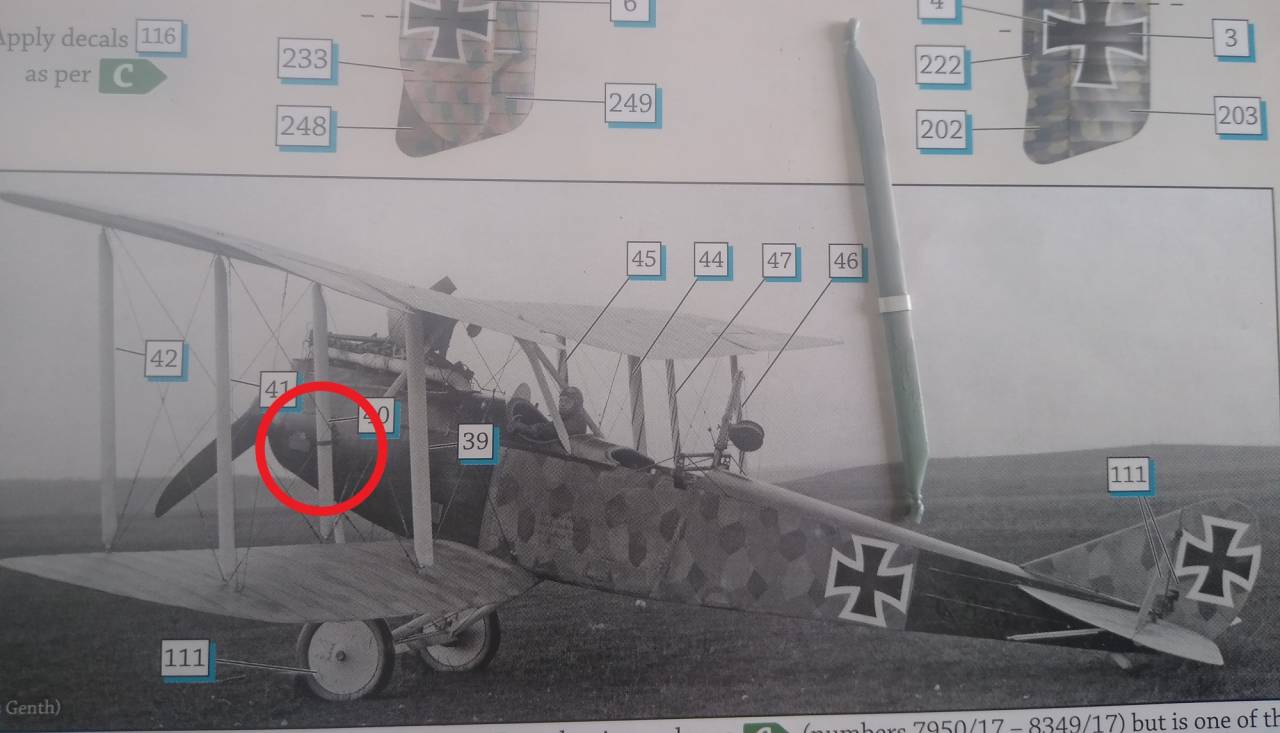
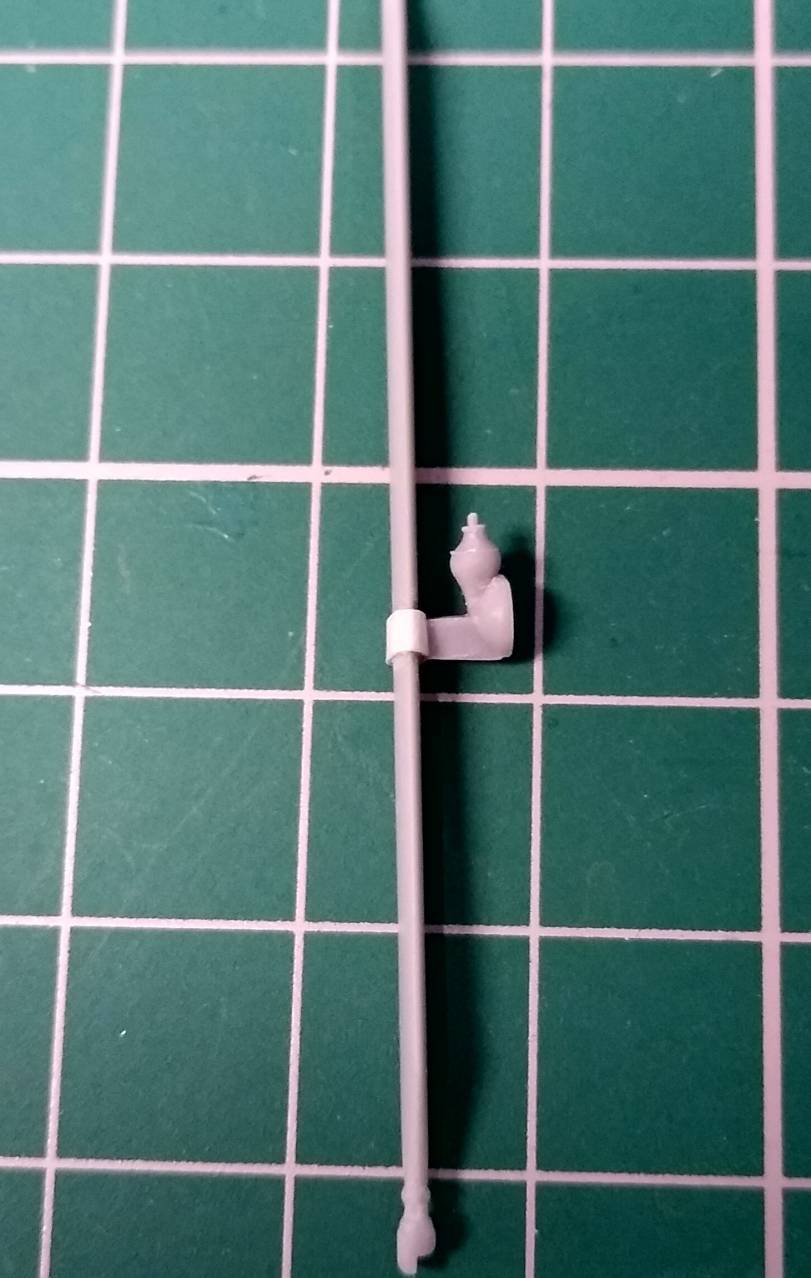
So, first the struts. Looking at the instructions I noticed that the port forward inboard strut needed the anenometer fitting. Looking at the reference photo in the instruction sheet, this was attached with a metal strap around the strut. I made this up with a thins strip of the the thinnest plasticard I could find. Seems a little out of scale, but I think it will look ok once painted. I didn't do any measuring, just eyeballed going from the photo and the pilots eyeline from the cockpit. Which was probably how the real thing was fitted.
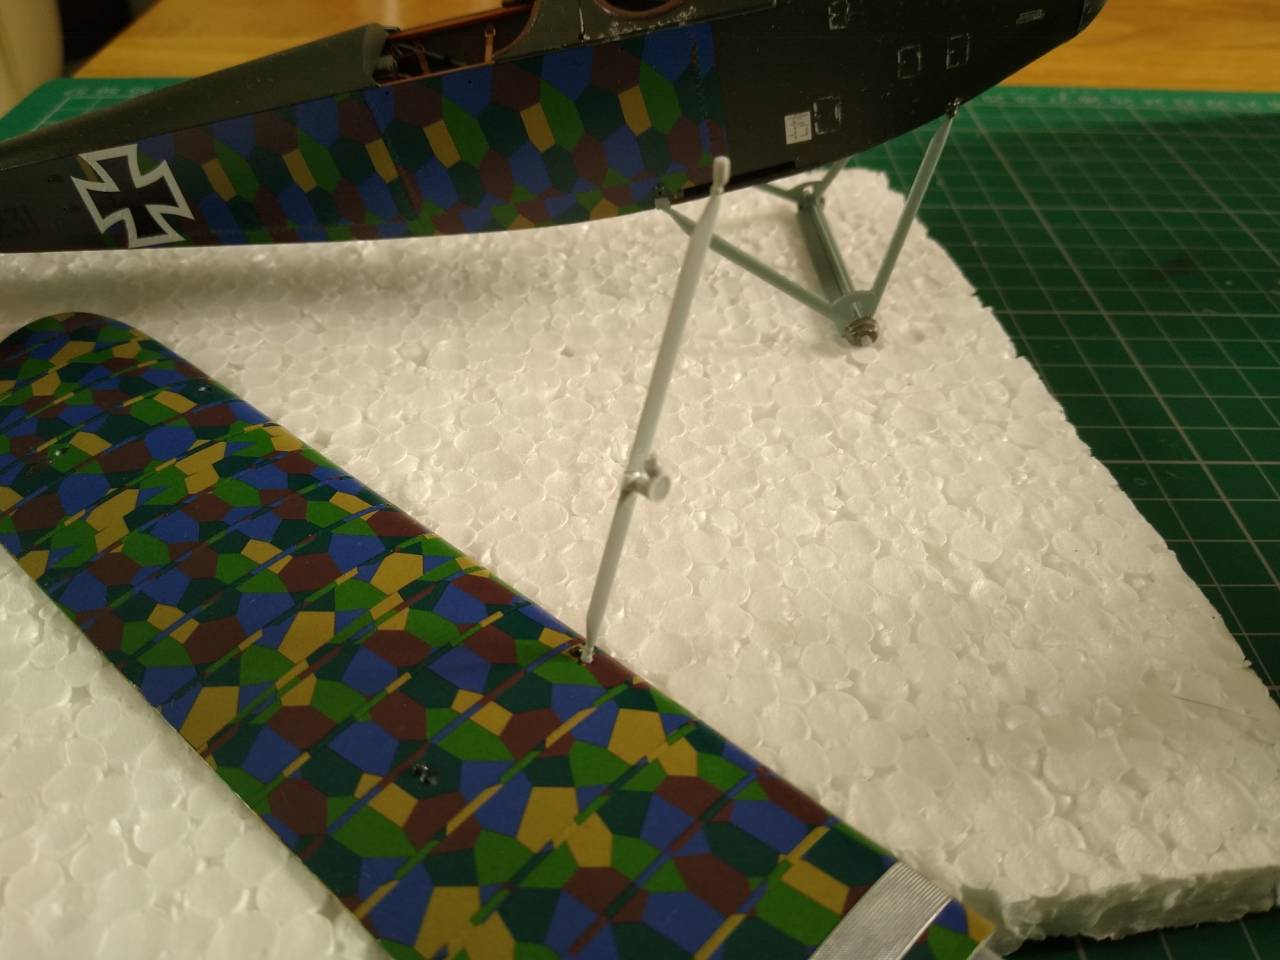
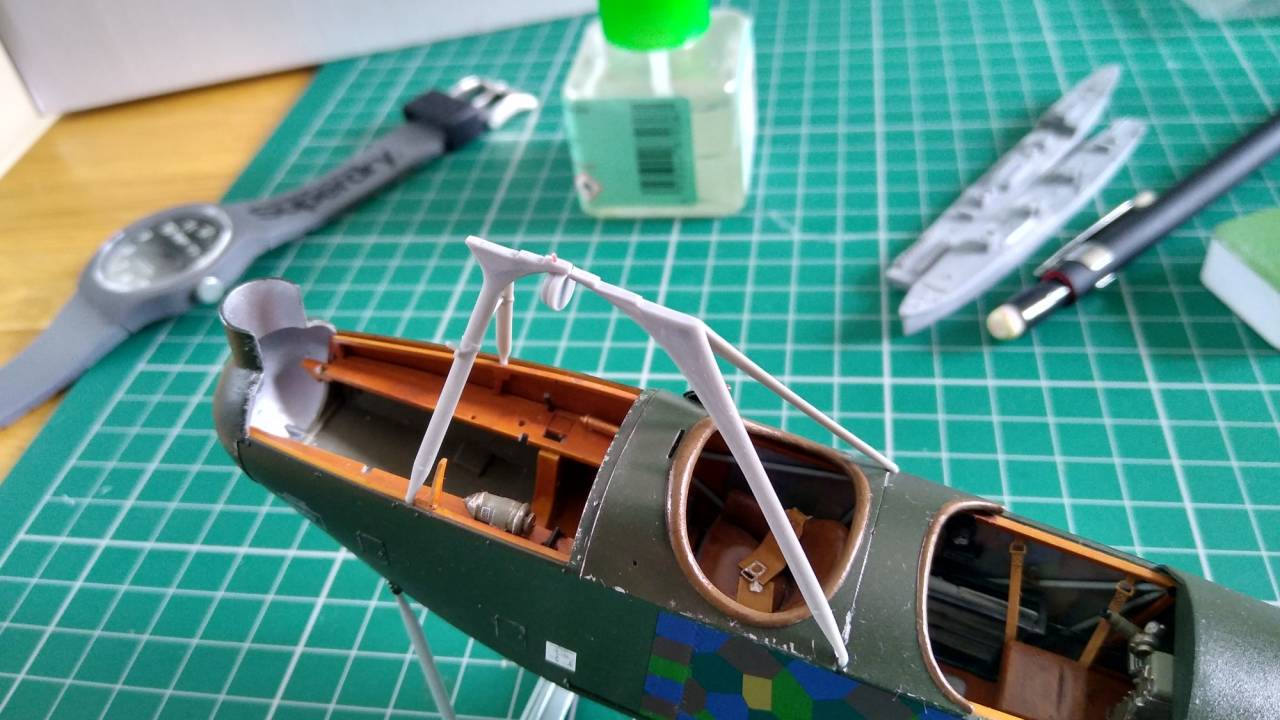
And lastly the cabane struts. These were a little awkward to clean up and I managed to break one of the attachment pegs when trimming the large sprue gates. Bit tricky to get it reattached at the correct angle, little bit of wire and plasticweld soon had it fixed.
The particular aircraft I chose also needed the altimeter fitting between the struts. To make a positive joint between the altimeter and struts, I drilled and inserted a piece of plastic rod between the two parts. Gave me a good solid join and allowed me to adjust the angle of the dial.
