Post your entries for the MOM for July here.
Please read the following.
1. Do not forget to add information about the model, voters will be encouraged to check this out before voting and it may influence their vote. New.......please put the info about your model in one place. I will only copy the first set of information to put in the gallery, so if you add a piece before each picture only the first part (above the first pic) will be copied.
2. Only post 3 pics, no composites and no pics of real aircraft (even for comparison)
3. Any model of an aircraft, from any era in any scale is eligible
4. Entry will be open until the 15th
5. NEW Your pics MUST be a maximum of 750 pixels wide. (if you aren't able to alter the size then send them to me and I can do it for you. Alternatively I may be able to copy the pic, size and replace it. Any pics over this size will have to be deleted (I do not want to have to do this)
6. Also, Please comply with this
Please rename your pics using a number followed by your CALLSIGN. By this I mean the file name, this is because:
a. When I copy the pics into a folder on my hard drive I have to copy them with the original filename (so I can't change them when I copy them)
b. So that they stay together in the gallery and so that I don't have to name each pic and so they appear in the order in which they were posted I have to re-name each pic with the member’s callsign. You may imagine what it's like trying to get the 3 pics from each member together (50-60 pics in total with all sorts of file names and some not matching their mates).
A further explanation: When you take the pic it will be given a file name, by the camera. When you open the pic on your PC, right click on it and choose "change name" change the name of the pic to a number (001) followed by your Callsign (Holdfast). the pic is now re-named 001Holdfast (or your number and callsign) .
So if you use a file name that begins with a number and has your Callsign you will save me about 2 hours work
For example my 3 pics could be 001Holdfast, 002Holdfast and 003Holdfast. I hope this is clear
Lets see if we can get an even better turn out this month and for the coming year.
Entry will close on the 15th and I will start the voting thread as soon as possible after that.
There will be a prize to the winning entry of a "Harricature," a caricature of that entry drawn by Harri (Jetprovost), see thread about this HERE
Mal
Hosted by Jim Starkweather
Model of the Month (MOM) July 2006
Posted: Saturday, July 01, 2006 - 02:10 PM UTC
Removed by original poster on 07/02/06 - 17:47:18 (GMT).
Posted: Saturday, July 01, 2006 - 06:48 PM UTC
Tamiya 1/48 Mitsubishi Isshikirikko type 11 bomber. Misawa Naval Fighter Group, 2nd Squadron, Rabaul base, 1942.
Built OOB, markings handpainted. Alclad 2 used for the paint chipping and painted in Mr Color paints.
Andy
Built OOB, markings handpainted. Alclad 2 used for the paint chipping and painted in Mr Color paints.
Andy
CPTKelley
Pennsylvania, United States
Joined: January 15, 2005
KitMaker: 206 posts
AeroScale: 115 posts
Joined: January 15, 2005
KitMaker: 206 posts
AeroScale: 115 posts
Posted: Sunday, July 02, 2006 - 07:52 AM UTC
Hi Everybody! It's been more than a month or two sunce I've posted in MoM....I missed you all! Anyways, life is no more under control than it was, so I'll just have to start posting again!!
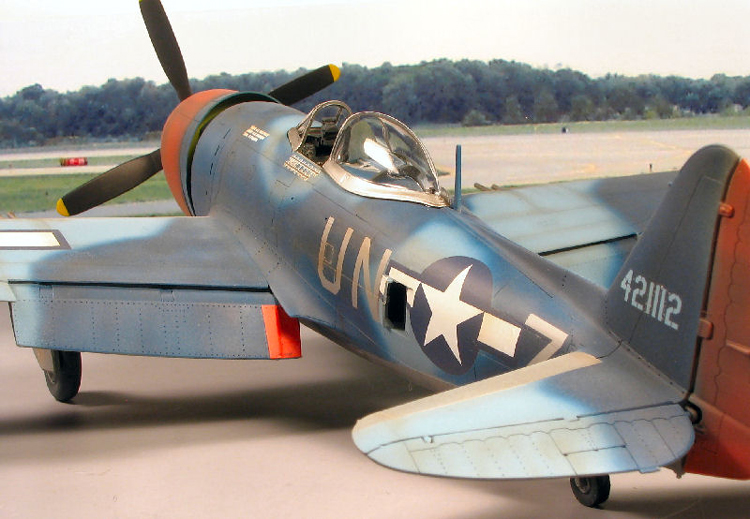
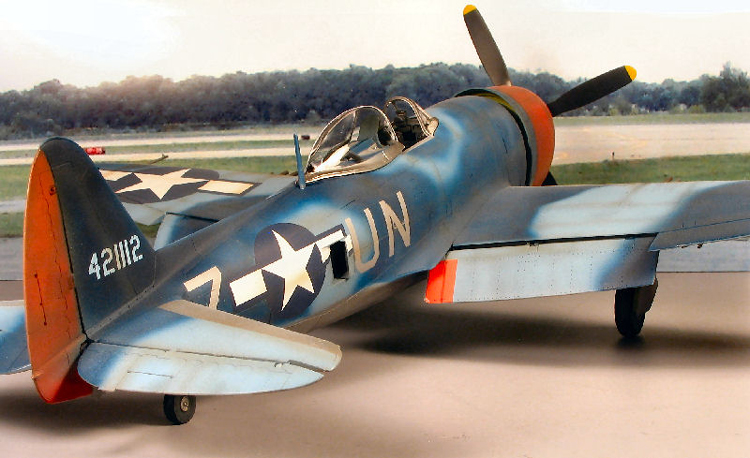
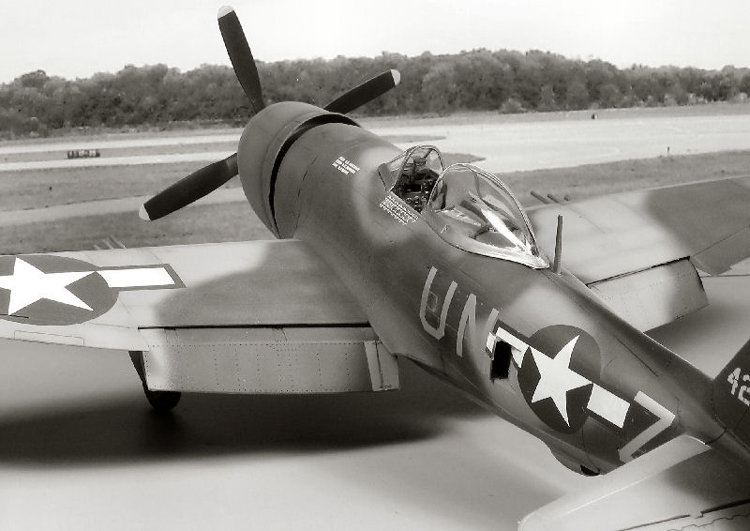
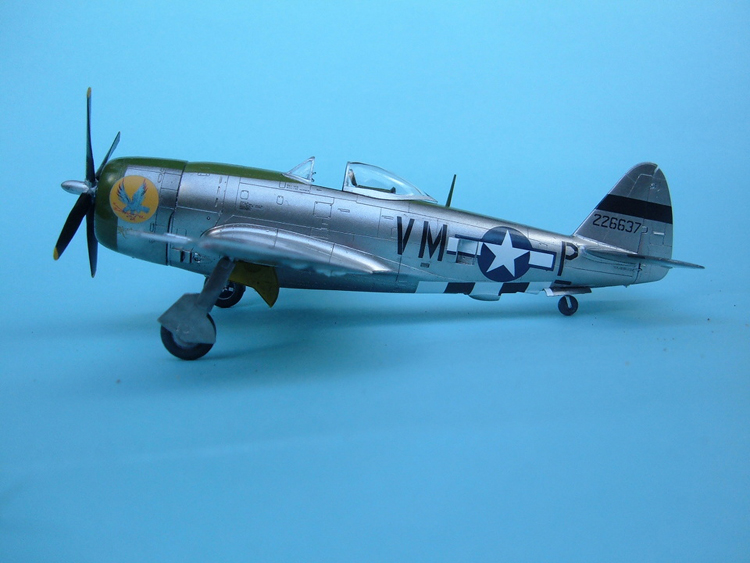
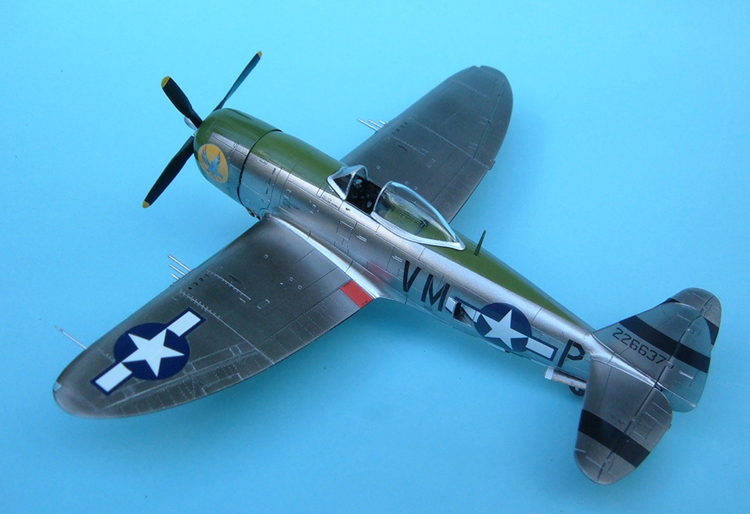
This is the impeccable Tamiya 1:48 P-47M Thunderbolt, representing a nmachine from the 56th Fighter group in 1945. Built OOB except for an Eduard PE seatharness. Airbrushed freehand with Tamiya Acrylics and an Iwata HP-C. Enjoy!
JK
This is the impeccable Tamiya 1:48 P-47M Thunderbolt, representing a nmachine from the 56th Fighter group in 1945. Built OOB except for an Eduard PE seatharness. Airbrushed freehand with Tamiya Acrylics and an Iwata HP-C. Enjoy!
JK
Posted: Sunday, July 02, 2006 - 05:22 PM UTC
Hi all.
Its good to have something to enter again,as Ive only finished 8 models since I restarted the hobby,and had nothing to enter last month.
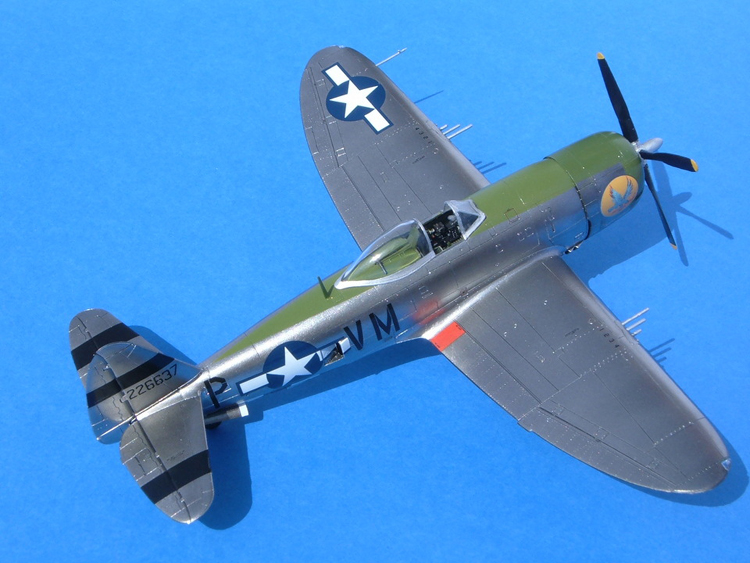
This is the Tamiya P47D Bubbletop in 1/72.
Built OOB and painted with Humbrol enamels,Tamiya Acrylics,and my first try with Alclad.(I used polished aluminium).Decals are from the kit and I sealed everything with Klear,and the anti glare strip will dull down naturally over time.
Painted to represent the personal aircraft of Major General William Kepner based in Norfolk UK 1944,this aircraft didnt fly combat sorties and would therefore have been kept in pristine condition by the ground crew.
A review of the build and more pictures of Kokomo can be found here.
Tamiya P47 Review
Here are the 3 pics and good luck everybody
Red4
California, United States
Joined: April 01, 2002
KitMaker: 4,287 posts
AeroScale: 1,164 posts
Joined: April 01, 2002
KitMaker: 4,287 posts
AeroScale: 1,164 posts
Posted: Wednesday, July 05, 2006 - 05:59 AM UTC
Lockheed F-104C-10-LO 57-928, assigned to the 479th TFW, George AFB Ca. SNJ metalizer for the fuselage with white upper wings and ADC gray lower wings. Eaglestrike decals sheet #48029. Cutting edge ejection seat used iunstead of the kit seat. Light wash of burnt umber used to bring out the panel lines. Little to no weathering as I wanted to show a clean bird. Thanks. "Q"
Removed by original poster on 07/09/06 - 10:19:26 (GMT).
hkshooter
Indiana, United States
Joined: May 04, 2006
KitMaker: 78 posts
AeroScale: 72 posts
Joined: May 04, 2006
KitMaker: 78 posts
AeroScale: 72 posts
Posted: Saturday, July 08, 2006 - 08:53 AM UTC
I have a submission to make but I'm not real clear about posting pics.
I know about hosting and have all my photos on Photobucket. Where I am not clear is how to post the renamed photos here in the post when I make it. I have downloaded photos from the web host and renamed them on my computer in the fashion indicated (001callname, 002 ect.) and have also uploaded them to Armorama. Now, how do I get them here? If I just copy and paste the image tag from photobucket then the original file names will be used and not numbered as needed. How do I put the renamed images in the post from my gallery? I imagine I'm thinking to hard.
Thanks.
Posted: Saturday, July 08, 2006 - 02:21 PM UTC
Hi HK.
Youve got a PM
Nige
Youve got a PM
Nige
hkshooter
Indiana, United States
Joined: May 04, 2006
KitMaker: 78 posts
AeroScale: 72 posts
Joined: May 04, 2006
KitMaker: 78 posts
AeroScale: 72 posts
Posted: Sunday, July 09, 2006 - 03:41 AM UTC
My first submission.
Amtec 1/48 P-40N with resin nose.
Scratch built and modified landing gear includes brake lines and retraction gear. Cockpit includes scratch built control stick, gunsight, flap lever and rudder pedals. The seat is an Ultracast unit and the seat belts are Eduard. IP decals from Mike Grant add interest to the cockpit along with a few placards. Hypo tubing makes the gun barrels and pitot tube. The exhausts are Ultracast as are the correct wheels. The canopy is a vac part and the ring and bead sights are courtesy of Eduard. Decals are Pyn-Up. I didn't post a great close up of the tail for fear of having the submission removed. But believe me, it's nice!
Paint is all free hand Tamiya acrys with my trusty Iwata CR.
All was accomplished while listening to Glen Miller and Benny Goodman jazz. I wear Sketcher shoes and eat plenty of Lucky Charms. And I believe this is my tenth kit since a seven year break. I'm happy with it considering I had only "heard" of PE before the hiatus and resin parts were from a planet I'd never heard of.
Comments are welcome, good or bad. Thanks for looking!
edited to add, I hope I got the pic names right for you Holdfast!:)
Posted: Wednesday, July 12, 2006 - 03:20 AM UTC
AVG P-40C
Monogram 1/48 kit with P/E cockpit set.
Rescribed panel lines.
Monogram 1/48 kit with P/E cockpit set.
Rescribed panel lines.
bf443
Vendor
Idaho, United States
Joined: May 16, 2003
KitMaker: 895 posts
AeroScale: 457 posts
Joined: May 16, 2003
KitMaker: 895 posts
AeroScale: 457 posts
Posted: Wednesday, July 12, 2006 - 10:50 AM UTC
Hi everyone,
Here is my AV8B Harrier II I built for the "Close Support" campaign. I really enjoyed this model but there was a learning curve at least for me. I tried a bunch of new things. First time I ever built a Hasegawa kit. The directions almost drove me nuts. I also used artist oil wash for the first time, used a drafting pen as well, I even went and purchased a sanding stick for the canopy (that was nerve wracking but it worked). Thanks to everyone who gave me advise and encouragement.
Here it is:
Sincerely,
Brian
Red4
California, United States
Joined: April 01, 2002
KitMaker: 4,287 posts
AeroScale: 1,164 posts
Joined: April 01, 2002
KitMaker: 4,287 posts
AeroScale: 1,164 posts
Posted: Wednesday, July 12, 2006 - 06:13 PM UTC
Nice jump-jet Brian. "Q"
Red4
California, United States
Joined: April 01, 2002
KitMaker: 4,287 posts
AeroScale: 1,164 posts
Joined: April 01, 2002
KitMaker: 4,287 posts
AeroScale: 1,164 posts
Posted: Thursday, July 13, 2006 - 04:21 AM UTC
My second submission for MOM. Another F-104, this one, a "G", in Greek markings. Built with the addition of the Hasegawa Bullpups, Cutting Edge resin seat with belts, and Eagle Strike decals #48240. Nothing hard other than all the little fiddly pieces here and there. I just love the way these birds are so weathered. I kept mine kind of subtle, but weathered none the less. Thanks. "Q"
Posted: Thursday, July 13, 2006 - 09:18 PM UTC
Thanks for helping HK with his pics Nige and HK you pics are fine, thanks
Just to let you guys know, I will be deleting all replies, including this one, except for those containing members pics. There are several reasons for this, but the main one is to tidy up the thread so that punters can browse the pics easier. Don't worry the replies without pics aren't a problem, I just want to make it easier to view the pics
Oh, Nige, I haven't forgot to post my pics, I'm working to get something finished. It will be in the spray booth,after tea tonight, for it's matt coat and I should be able to finish, easily, for the midnight deadline. Mmmmm, what could it be, a B-25 a 1/32 Ju 87G-2 a Westland Lysander a De havilland Mosquito Mk VI or even a Catalina a Mistel or He219 It could be any of these
Mal
Thunderthud
New York, United States
Joined: June 26, 2005
KitMaker: 82 posts
AeroScale: 47 posts
Joined: June 26, 2005
KitMaker: 82 posts
AeroScale: 47 posts
Posted: Friday, July 14, 2006 - 07:36 AM UTC
This is my first time with MOM,Second time trying to post pics.
An Academy's P-38E in 48th scale Aluetian's markings,true details cockpit,mostly built "Out of the box".
Thunderthud
New York, United States
Joined: June 26, 2005
KitMaker: 82 posts
AeroScale: 47 posts
Joined: June 26, 2005
KitMaker: 82 posts
AeroScale: 47 posts
Posted: Friday, July 14, 2006 - 07:49 AM UTC
I'm not sure how many entries were allowed but I'll put this one in also.
this is my Academy's P-47D another bult "out of the box".The cowl checkers are painted as I found fighting the decals here useless.I detail the engine a bit adding ingnition wires and brake lines with True detail tires,and hypodermic 50 cal's.
Posted: Friday, July 14, 2006 - 02:43 PM UTC
Hi Joe, welcome to the MOM
You can actually post as many different models as you like. However I would caution against this as it not only can dilute the vote for either of you models it causes quite a headache in the voting. This is because most voters aren't actually aware when someone has posted more than 1 model so, when they vote, they don't differentiate between the 2. I.E. they may vote using just you callsign, leaving me to decide which model they are voting for. If you were to receive 2 votes, both only giving your callsign (Thunderthud), I can only either ignore them both or give one to each model. This is Ok if you only get 2 votes, but imagine if you were vying for the top slot with 1 of you entries and one vote gives you the win, but the last vote was for your other entry, what would you do?
Also, and it isn't a problem this first time of posting can you re-name your pics as per "6" in the posting guidlines, above. If you are unable to do this, or re-size them to be no more than 750 pixels wide, then post them but drop me a PM to alert me. Nige did this as his pics are hosted off site and he couldn't re-size them.
Having said all that, don't worry about posting pics of 2 models as it isn't outside the rules, I just wanted you to be aware of the, possible consequences. It is really down to the voters and I will try and make them aware of the fact that there are 2 modellers with 2 models entered, even though it wont be read by most
Good luck on your first attempt and watch out for the voting thread which I will open tomorrow
Mal
You can actually post as many different models as you like. However I would caution against this as it not only can dilute the vote for either of you models it causes quite a headache in the voting. This is because most voters aren't actually aware when someone has posted more than 1 model so, when they vote, they don't differentiate between the 2. I.E. they may vote using just you callsign, leaving me to decide which model they are voting for. If you were to receive 2 votes, both only giving your callsign (Thunderthud), I can only either ignore them both or give one to each model. This is Ok if you only get 2 votes, but imagine if you were vying for the top slot with 1 of you entries and one vote gives you the win, but the last vote was for your other entry, what would you do?
Also, and it isn't a problem this first time of posting can you re-name your pics as per "6" in the posting guidlines, above. If you are unable to do this, or re-size them to be no more than 750 pixels wide, then post them but drop me a PM to alert me. Nige did this as his pics are hosted off site and he couldn't re-size them.
Having said all that, don't worry about posting pics of 2 models as it isn't outside the rules, I just wanted you to be aware of the, possible consequences. It is really down to the voters and I will try and make them aware of the fact that there are 2 modellers with 2 models entered, even though it wont be read by most
Good luck on your first attempt and watch out for the voting thread which I will open tomorrow
Mal
Posted: Saturday, July 15, 2006 - 01:00 AM UTC
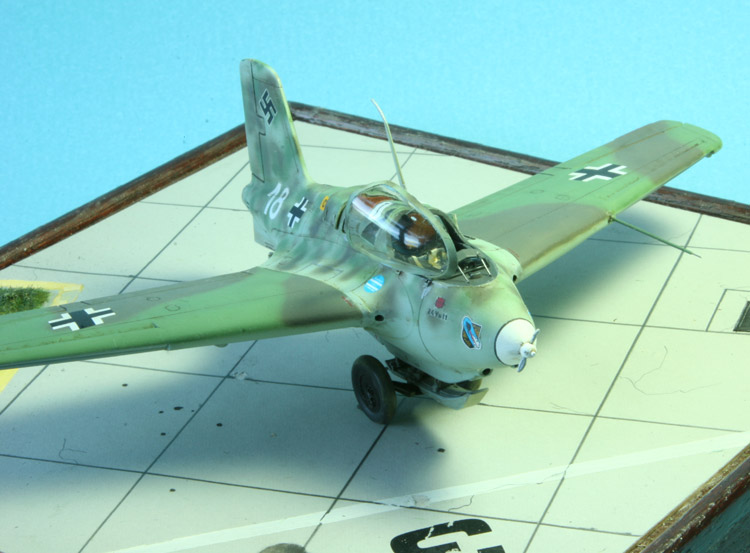
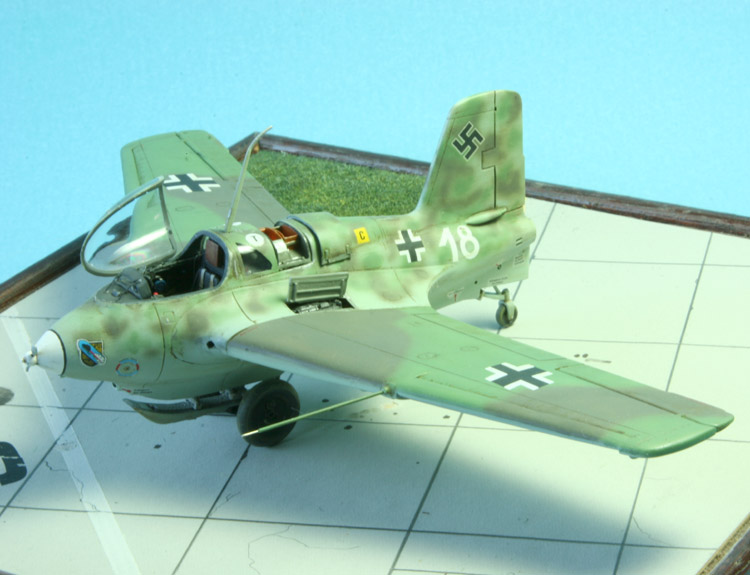
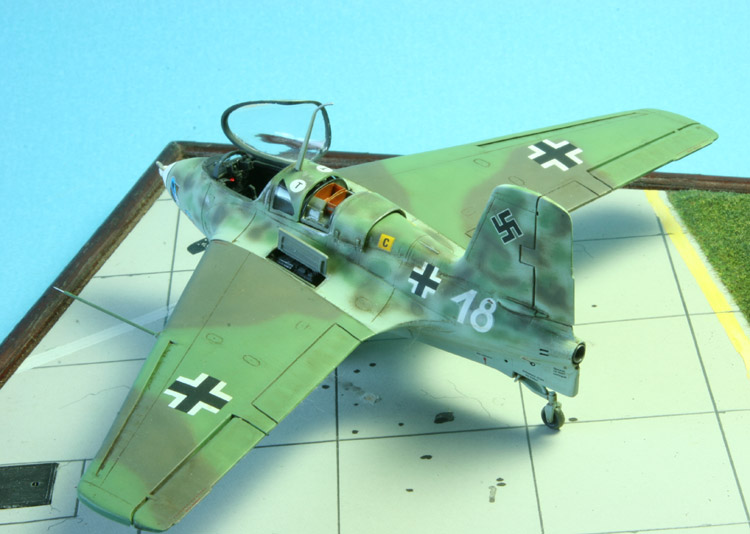
Phew that was getting close, I have spent all day today doing the final assembly on this, my entry for July’s MOM. It is Revell’s boxing of, what I believe is, Dragons 1/48 Me 163B-1.
1. I have added an Aires resin cockpit detail set, which included both gun bays and the ammunition bay, on top of the fuselage. You get both filled and empty ammo boxes, I used the empty one as the filled one had a flaw. I only opened one gun bay.
2. I primed the model with white plastic primer and painted the camo using my pre-shading method. The paints are Colourcoates and Xtracolour enamels, sprayed freehand. A clear coat of Klear was brushed on.
3. The kit decals were used but are not recommended, although I have managed to get them looking OK, they did put up a fight. A further coat of Klear was applied by brush, over the decals.
4. A wash was done using artist oils and Turpentine and, when dry, Humbrol matt coat was sprayed on.
5. For a change I tried RLM 02 to represent paint chipping, on the fuselage only (plywood was used for the wings). I’m still trying to determine what colour undercoat was used, on the wooden surfaces, so I can weather them a little more, I think they look alright though.
6. The only additions, other than the resin and PE detail set, were the, very, small pipe, just above the rocket exhaust, from very small diameter stainless tube, and the pito tube, which is telescoping stainless tube.
7. I don’t normally put models on a base, but as this has panels open I thought that it was appropriate. This is a base I made some time ago for my 1/72 F-86 Sabre, but it is almost perfect for the diminutive Me 163. They were always parked well out of the way, on a hard standing, because of the volatile nature of the fuels used. The fuel was known as “C” Stoff and “T” Stoff which when mixed exploded. 2 “T” Stoff tanks are in the cockpit, and pilots have been desolved, during landing accidents, when these tanks leaked.
Mal
Posted: Saturday, July 15, 2006 - 01:14 AM UTC
I have been asked for a 1 day extension for entry to this months MOM. For lots of reasons, one being a "relatively" poor turnout, I have granted it (you won't be disapointed, well you might, it depends on your point of view :-) ). So I will close entry when this meber has posted and I'm back from the airshow Harri (jetprovost) of Harricature fame and I are going to tomorrow.
Another reminder that I will be deleting all posts in this thread other than the entries.
Mal
Another reminder that I will be deleting all posts in this thread other than the entries.
Mal
Posted: Saturday, July 15, 2006 - 01:48 AM UTC
Hi Mal
One question: Do the models have to be finished in the last month ?
I would of course prefer to post a model I finished recently but thats not always possible as I finish them in waves ("some" months nothing and then 2 or 3)
thanks
best wishes
Steffen
P.S. hope Rowan will enter his I-16 this month, so I can do next ... or so ... got the WEM colours finally today
Thunderthud
New York, United States
Joined: June 26, 2005
KitMaker: 82 posts
AeroScale: 47 posts
Joined: June 26, 2005
KitMaker: 82 posts
AeroScale: 47 posts
Posted: Saturday, July 15, 2006 - 08:42 AM UTC
Beautiful Komet there Mal ! Once More thank you for resizing my photo's. Have one on me! Cheers!
Posted: Saturday, July 15, 2006 - 01:05 PM UTC
Quoted Text
One question: Do the models have to be finished in the last month ?
That would be preferable, Steffen, but we tried that and there weren't any antries Maybe when we have more aircrfat modellers here we can try that again. As the aim of this is really to get pics of models into the gallery any model you have built, in any time frame is elligable. They are most likely new to most, if not all anyway.
Quoted Text
Once More thank you for resizing my photo's. Have one on me! Cheers!
No problem Joe, cheers
Mal
Posted: Saturday, July 15, 2006 - 02:00 PM UTC
Well then
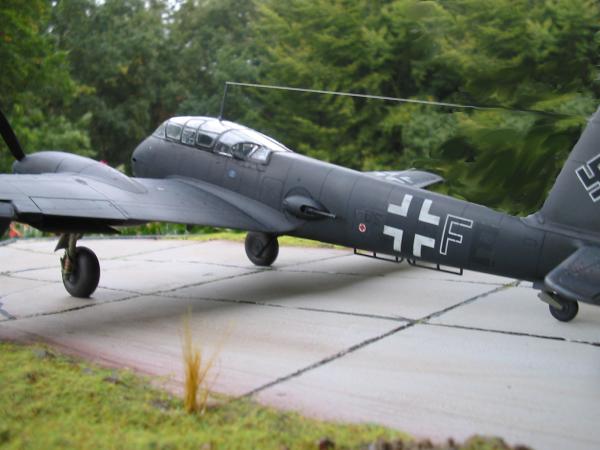
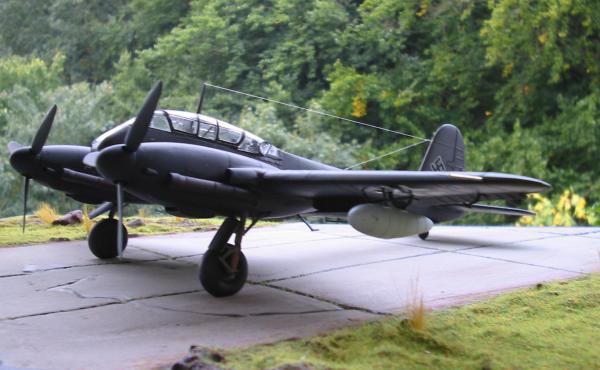
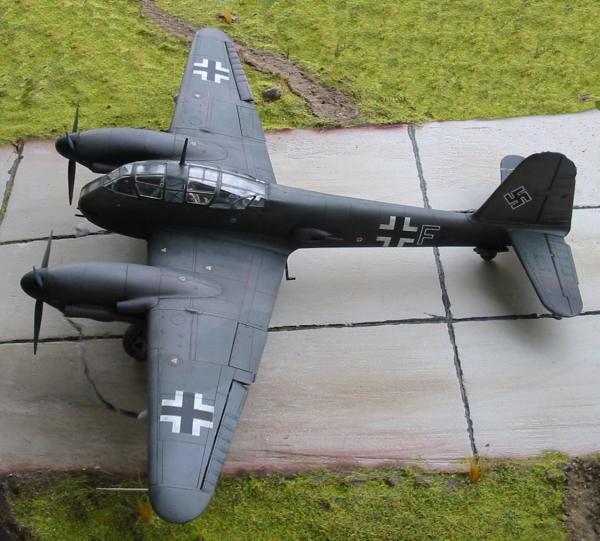
I have on older project which took some time to be finished, as I had to find suitable letters for the code: it is the
Revell Me 410
in the Markings of Rudolf Abrahamczik of 14./KG 2. This unit flew night harassment missions over England and the western front after the invasion. I added flame dampers from a Dragon Ju 88 G kit (which are not totally correct, but look o.k.) and I added wing tanks from the Revell Bf 110 G kit. The turbocharger intakes were not corrected. I used a photo as a guide where R. Abrahamczik is standing besides this a/c. and airbrushed with JPS (jpsmodell.de) RLM colours and Tamiya black ligtened to a dark grey
Hope you like it
cheers
Steffen
Posted: Saturday, July 15, 2006 - 06:39 PM UTC
Hi there
Many thanks for extending the deadline Mal, and thank you to everyone for their patience.
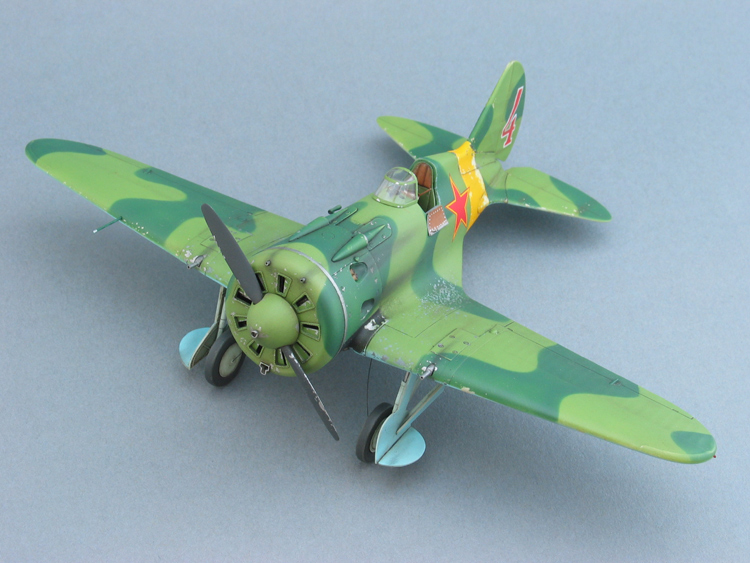
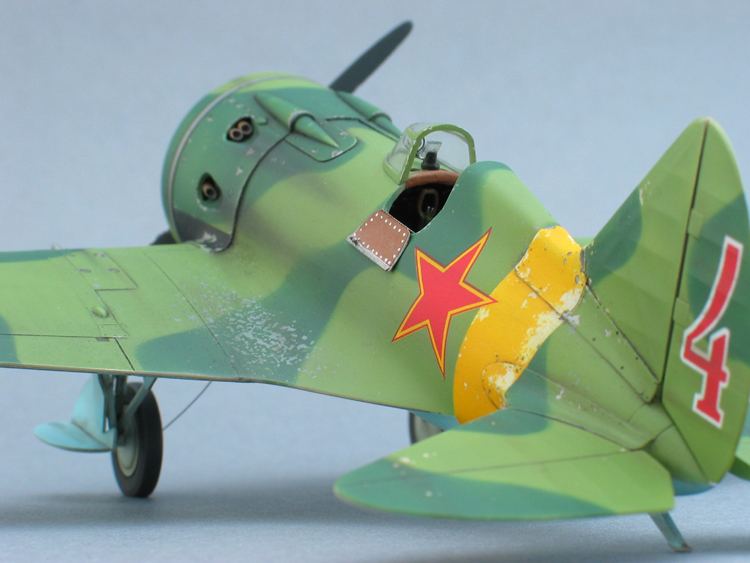
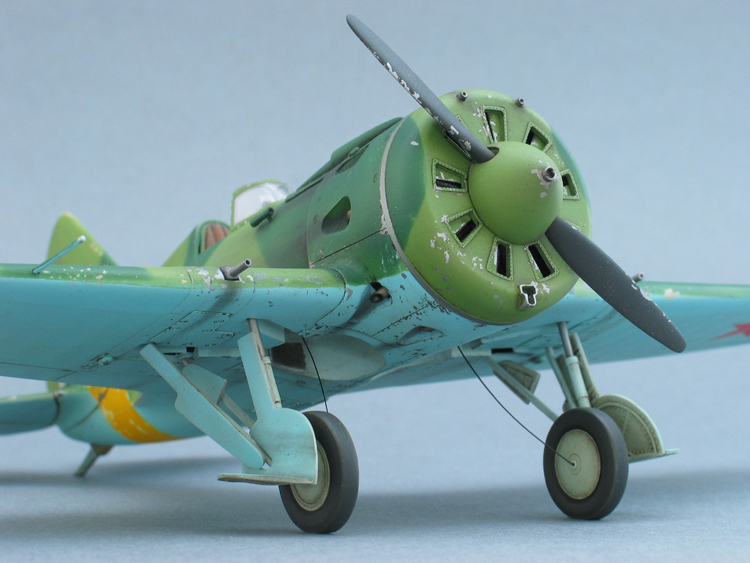
Probably no great surprise what my entry is - Eduard's Polikarpov I-16. It's been a really fun build, but maybe a bit rushed at the end - I'm not totally sure everything's dry yet! :-) The build was intended to be OOB, but I ended up following Steffen's example and modified the cowling, adding replacement guns and intake.
The paints are WEM VVS Colourcoats, including the latest addition to the range - AII Dark Green. I painted the model in appropriate primer colours and then applied latex stippling before applying the camouflage. With the latex removed, I weathered things further with oil paints and pastels.
All the best
Rowan