Post your entries for the MOM for October here.
Please read the following.
1. Do not forget to add information about the model, voters will be encouraged to check this out before voting and it may influence their vote. New.......please put the info about your model in one place. I will only copy the first set of information to put in the gallery, so if you add a piece before each picture only the first part (above the first pic) will be copied.
2. Only post 3 pics, no composites and no pics of real aircraft (even for comparison)
3. Any model of an aircraft, from any era in any scale is eligible
4. Entry will be open until the 15th or 16th
5. NEW Your pics MUST be a maximum of 750 pixels wide. (if you aren't able to alter the size then send them to me and I can do it for you. Alternatively I may be able to copy the pic, size and replace it. Any pics over this size will have to be deleted (I do not want to have to do this)
6. Also, Please comply with this
Please rename your pics using a number followed by your CALLSIGN. By this I mean the file name, this is because:
a. When I copy the pics into a folder on my hard drive I have to copy them with the original filename (so I can't change them when I copy them)
b. So that they stay together in the gallery and so that I don't have to name each pic and so they appear in the order in which they were posted I have to re-name each pic with the members callsign. You may imagine what it's like trying to get the 3 pics from each member together (50-60 pics in total with all sorts of file names and some not matching their mates).
A further explanation: When you take the pic it will be given a file name, by the camera. When you open the pic on your PC, right click on it and choose "change name" change the name of the pic to a number (001) followed by your Callsign (Holdfast). the pic is now re-named 001Holdfast (or your number and callsign) .
So if you use a file name that begins with a number and has your Callsign you will save me about 2 hours work
For example my 3 pics could be 001Holdfast, 002Holdfast and 003Holdfast. I hope this is clear
Lets see if we can get an even better turn out this month and for the coming year.
Entry will close on the 15th or 16th and I will start the voting thread as soon as possible after that.
[b]There will be a prize to the winning entry of a "Harricature," a caricature of that entry drawn by Harri (Jetprovost), who also does comissions.
Mal
Hosted by Jim Starkweather
Model of the Month (MOM) October 2006
Posted: Friday, September 29, 2006 - 08:35 PM UTC
Posted: Friday, September 29, 2006 - 09:49 PM UTC
Hi
here is my model for octobre. I just finished it a few days ago. It is the Hasegawa P-40E finished in the markings of Georgi V. Gromov. The decals are from Tally Ho! (CZ) and were easy to work with. I do not like the Hasegawa kit, as I think it is waaaay overengineered.
More pictures can be found here:
IPMS D page (German)
or
Aeroscale thread
hope you like it
cheers
Steffen
Posted: Saturday, September 30, 2006 - 01:16 AM UTC
Eduard 1/48 Albatros D.III. Built OOB (except for the rigging). Merlin's Easy Wood Grain Effects was used for the fuselage, and Tamiya acrylics used for the rest. Build thread can be found here on the I.P.M.S British Bulldogs site
Andy
Andy
wingman
Pennsylvania, United States
Joined: December 09, 2003
KitMaker: 880 posts
AeroScale: 654 posts
Joined: December 09, 2003
KitMaker: 880 posts
AeroScale: 654 posts
Posted: Saturday, September 30, 2006 - 04:24 AM UTC
Hi, here is my entry for MOM October. This is the Tamiya 1/48 scale FW 190 A-3 built out of the box using ModelMaster paints and Aeromaster decals. The pilot figure is a combination of legs and a torso from Verlinden and the [blackman] is also a Verlinden fugure. The camo netting is gauze that was painted different shades of green and attached to bamboo skewers with leather straps made from Tamiya tape. The crates and barrels are Verlinden items. The hardstand was made from basswood strips that were stained with a wood stain and applied to the base with white glue. Real dirt and Verlinden static grass was applied to a layer of diluted white glue. Thanks for looking, Wingman out.
akhilleus
Joined: January 28, 2003
KitMaker: 28 posts
AeroScale: 27 posts
KitMaker: 28 posts
AeroScale: 27 posts
Posted: Saturday, September 30, 2006 - 05:30 AM UTC
Hi,
This is 1/48 Accurate Miniatures SBD-5 Dauntless finished in the markings of VC-40 based at Piva Uncle strip, Bougainville during April 1944. The painting and weathering was done with Gunze Sangyo acrylics.
Siderius
Tennessee, United States
Joined: September 20, 2005
KitMaker: 1,747 posts
AeroScale: 1,673 posts
Joined: September 20, 2005
KitMaker: 1,747 posts
AeroScale: 1,673 posts
Posted: Sunday, October 01, 2006 - 09:48 AM UTC
This is the 1/72 scale Academy kit of a P-47D "razorback" in the markings of the 325th fighter group; the checkertail clan.
It was built out of the box, and painted with polly scale acrylic colors. Standard colors of neutral grey on the bottom and olived drab on the top. Painted in seatbelts instead of making some. I really am an out of the box modeler.
gregax
Slovenia
Joined: May 11, 2005
KitMaker: 124 posts
AeroScale: 118 posts
Joined: May 11, 2005
KitMaker: 124 posts
AeroScale: 118 posts
Posted: Sunday, October 01, 2006 - 04:18 PM UTC
Hello!
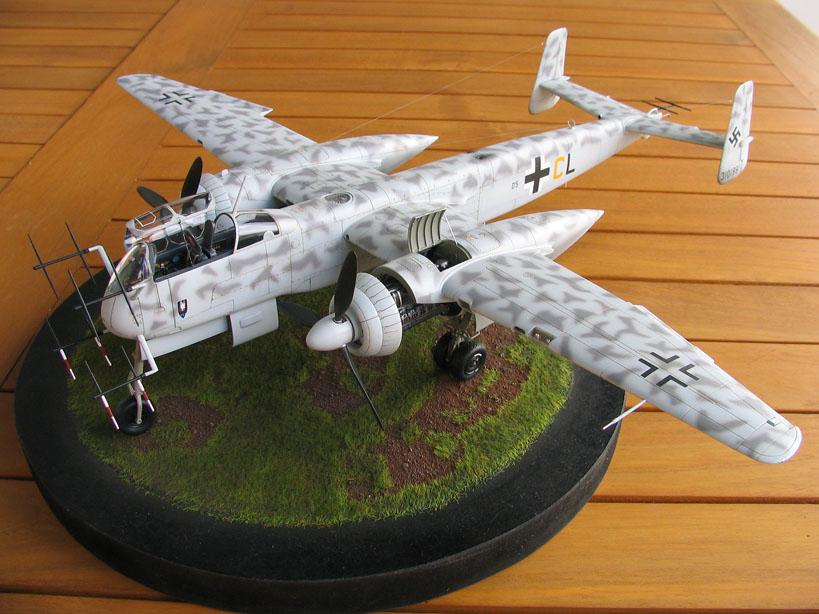
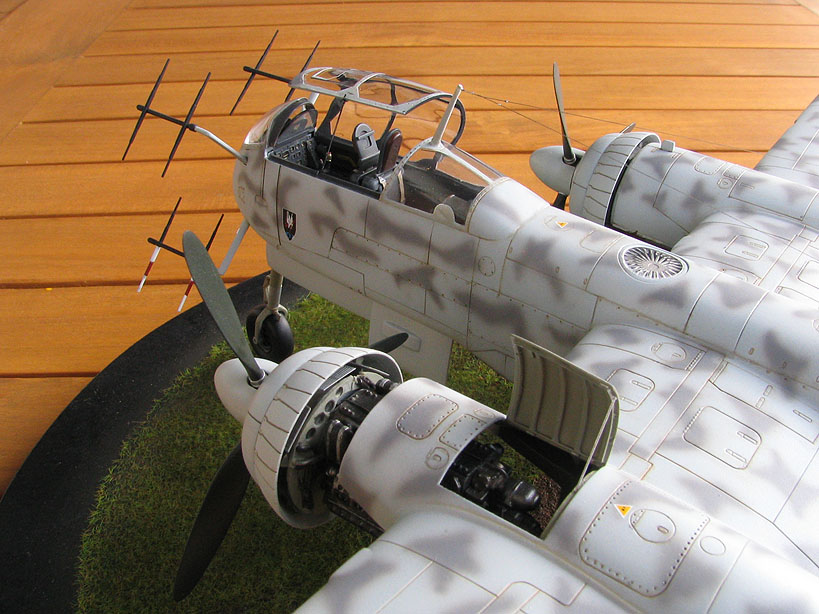
Here it is; 1/48th tamiya's He-219 Uhu with added CMK engine, control surfaces and Eduard PE set. Painted with Gunze acrylics, weathered with oils. Here are the photos.
csch
Buenos Aires, Argentina
Joined: December 27, 2002
KitMaker: 1,941 posts
AeroScale: 1,040 posts
Joined: December 27, 2002
KitMaker: 1,941 posts
AeroScale: 1,040 posts
Posted: Sunday, October 01, 2006 - 08:37 PM UTC
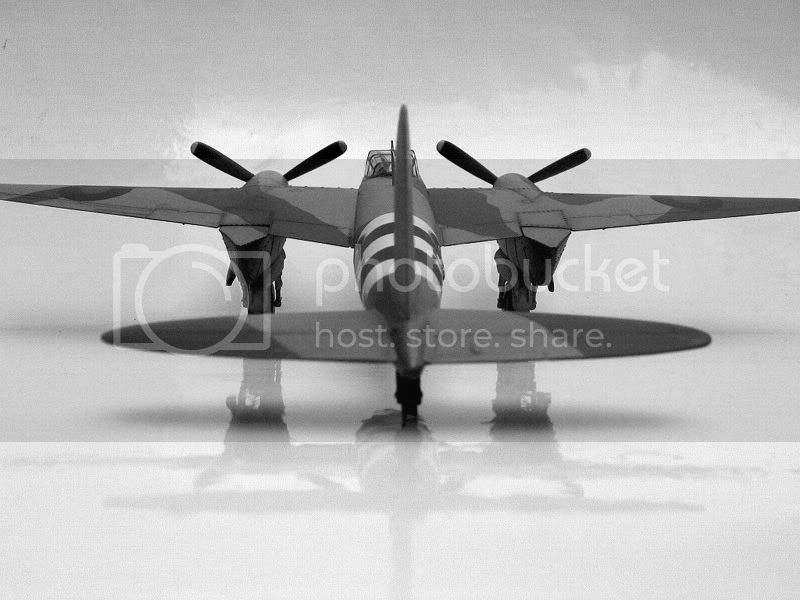
Airfix Mosquito NF Mk XIX in 1/72 - OOB build
Posted: Tuesday, October 03, 2006 - 07:59 PM UTC
heres my entry, its a C.R.32 in 1/72 by a firm called supermodel. i tweaked this kit a little, including a pilot figure from the spares box to hide a lack of detail in the cockpit, i replaced the kits tailwheel which was basicly a flat disk moulded onto the cover with a more 3-d wheel, again from the spares box, the wing gun barrels were replaced by another raid on the spares box! paints are white ensign models enamels, rigging is fishing line with control horns added from a Part of poland set
Removed by original poster on 10/04/06 - 22:00:58 (GMT).
Serhan
Adana, Turkey / Türkçe
Joined: August 30, 2006
KitMaker: 34 posts
AeroScale: 0 posts
Joined: August 30, 2006
KitMaker: 34 posts
AeroScale: 0 posts
Posted: Wednesday, October 04, 2006 - 12:51 AM UTC
Hi,
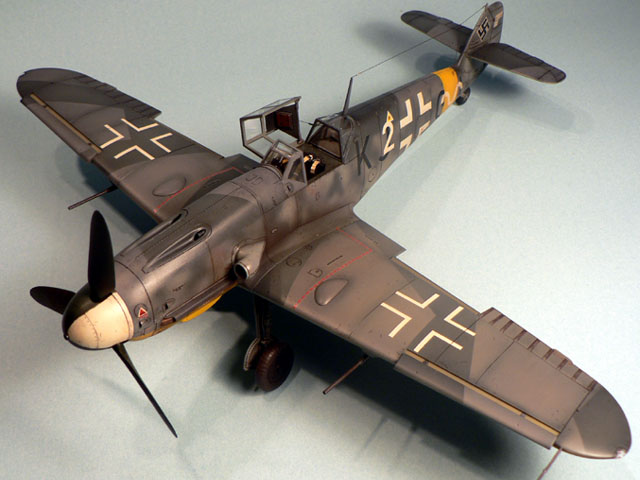
Academy's 1/72 Me-109 G6. OOB.
Removed by original poster on 10/05/06 - 23:49:17 (GMT).
klimmer
Ontario, Canada
Joined: May 16, 2003
KitMaker: 250 posts
AeroScale: 207 posts
Joined: May 16, 2003
KitMaker: 250 posts
AeroScale: 207 posts
Posted: Wednesday, October 04, 2006 - 09:53 PM UTC
Hi there everyone
Here is my entry for October
Revel B-17G from the "Duels" campain, built OOB except the decals for "Just Plain Lonesome".
I hope you like it.
Ted
Thanks for looking.
Here is my entry for October
Revel B-17G from the "Duels" campain, built OOB except the decals for "Just Plain Lonesome".
I hope you like it.
Ted
Thanks for looking.
Ares
Joined: November 26, 2004
KitMaker: 23 posts
AeroScale: 7 posts
KitMaker: 23 posts
AeroScale: 7 posts
Posted: Thursday, October 05, 2006 - 01:56 AM UTC
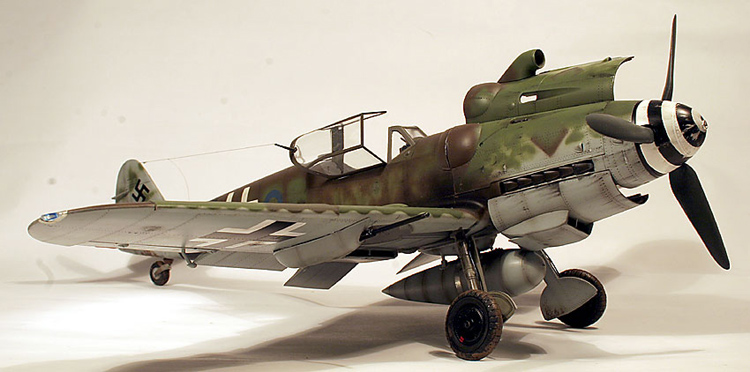
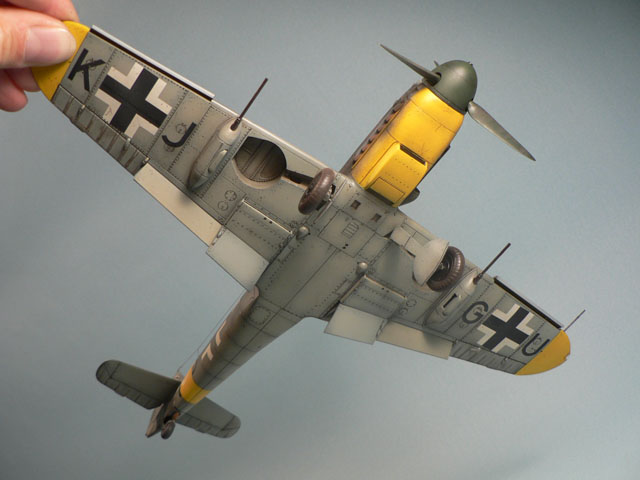
Trumpeter 1/24 Bf-109 G-6 Late, Modelmaster 2 and Gunze RLM colors used. No decals used.
bf443
Vendor
Idaho, United States
Joined: May 16, 2003
KitMaker: 895 posts
AeroScale: 457 posts
Joined: May 16, 2003
KitMaker: 895 posts
AeroScale: 457 posts
Posted: Tuesday, October 10, 2006 - 09:58 AM UTC
Finnish P-36 Hawk
Hello everyone,
This is my entry for the 'Fighters Under the Midnight Sun' A curtiss P-36 Hawk captured by Germany and sold to Finland to fight the VVS. This particular aircraft was used to shoot down 10.75 Russian aircraft.
The kit is 1/48 Hobbycraft and is 99% out of the box (the propeller shaft was to short and I had to get creative). The kit instructions lacked clarity in some places and it appears the cockpit seat was mounted to low so I raised it up 1/4 inch. The decals are Aeromaster Foreign Hawk and went on without much problem.
This is the first time I have used pre-shading on a model. It was then painted with RML 04 for Yellow recognition aids, RML 65 for the undersides and RML 71 for the sides and top. Each color was sprayed full strength and then gone over with a lighter shade of the same color working from the center of each panel to its edges. The black under the wing was a 50/50 mix of Flat Black and Burnt Sienna.
Gun barrels and engine exhaust were drilled out with a pin vise. The pilot is an extra from the Monogram P-38. This was a fun project
Sincerely,
Brian
brandydoguk
England - North, United Kingdom
Joined: October 04, 2002
KitMaker: 1,495 posts
AeroScale: 643 posts
Joined: October 04, 2002
KitMaker: 1,495 posts
AeroScale: 643 posts
Posted: Tuesday, October 10, 2006 - 08:16 PM UTC
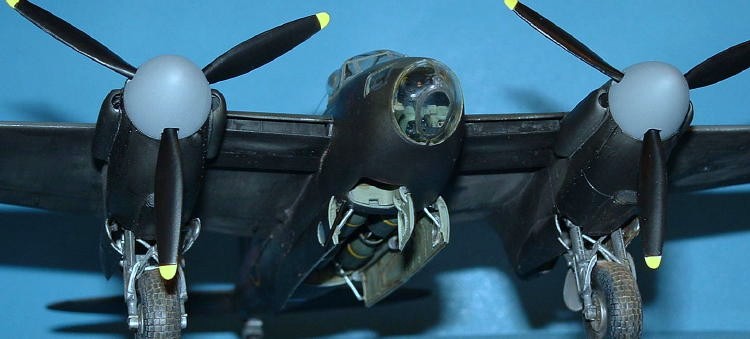
This is Tamiya's 1/48 Mosquito B MkIV. It was built OOB and primed with acrylic car primer. It was then airbrushed with WEM Colourcoats. I applied two coats of Future before the decals followed by another after. A wash of oils was done to darken the panel lines and a final coat of WEM colourcoats matt varnish. To break up the black areas I used some Mig powders.. The antenna wire is fishing line inserted into 0.3mm holes drilled with a microdrill.
Posted: Saturday, October 14, 2006 - 01:27 AM UTC
Ooops nearly missed entering, I've been a little busy with SMW preperations so I have just had to pick something that I already have pictures of.
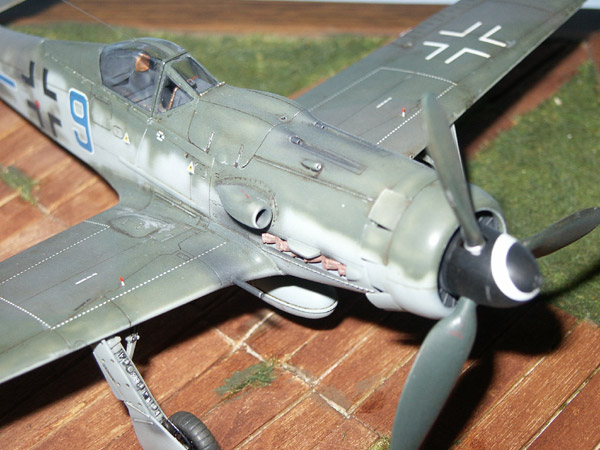
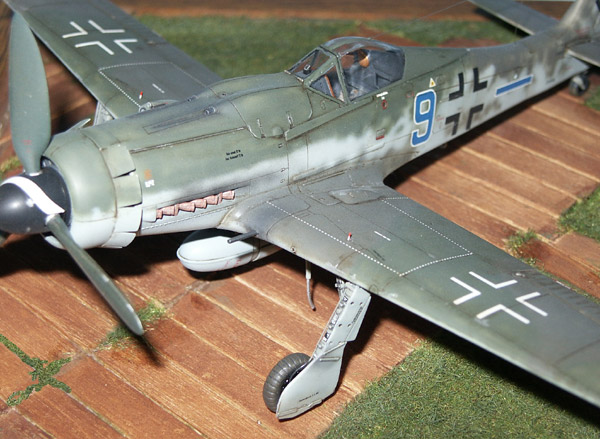
Tamiya's Fw 190 D-9 in 1/48 scale.
1. Out of the box except for:
a. Brake lines from stretched sprue.
b. Antenna wire from smoke coloured invisable mending thread.
Painted with Xtracolor enamels, using my own pre-shading technique.
Decals by Eagle Cal.
Washed with artist oil colours.
Mal
Tamiya's Fw 190 D-9 in 1/48 scale.
1. Out of the box except for:
a. Brake lines from stretched sprue.
b. Antenna wire from smoke coloured invisable mending thread.
Painted with Xtracolor enamels, using my own pre-shading technique.
Decals by Eagle Cal.
Washed with artist oil colours.
Mal
Posted: Saturday, October 14, 2006 - 08:55 AM UTC
DML's 1/48 Fokker Dr. I. Box stock. I wanted to model an early one canvased with the blue covering which was olive-painted at the factory.
To simulate the diagonal streaks on the wings I drybrushed the olive against a piece of cardstock, creating a demarcation line where the strips of fabric were sewn together along the ribs. The yellow chevron was applied at the Jasta, thus partially obscuring the Werk Number.
The machine is low-time, yet has just returned from a sortie, hence the oils from the engine are still covering the forward fuselage. You can't see it well but I flicked a stiff paintbrush along the underside of the wing in line with the tires, simulating mud splatter.
Posted: Saturday, October 14, 2006 - 11:41 AM UTC
Hi all!
I know it's another Bf 109... but it's the only model I've completed recently.
It's Hasegawa's 1/32 Bf 109 G-4 with markings for an aircraft flown by Erich Hartmann. I built this one for the "Duel" Campaign and it is out of the box, except for Eduard pre-painted seatbelts and PE rudder pedals from the spare box. The kit was a joy to build and there was no major difficulties other than fitting the upper cowling insert part. Some filler was needed to make the apparent seam disapear. Other than that an easy kit.
Jean-Luc
Posted: Saturday, October 14, 2006 - 10:05 PM UTC
I'm going to leave this open until tomorrow, partly due to the fact that I'm pretty busy and partly because we still have entries coming in. It might take me a couple of days to get the gallery sorted and start the voting thread, but I think the time can be well used deciding on your favourites
lampie as added something for the winner this month, more in the voting thread.
Mal
lampie as added something for the winner this month, more in the voting thread.
Mal