Hi all!
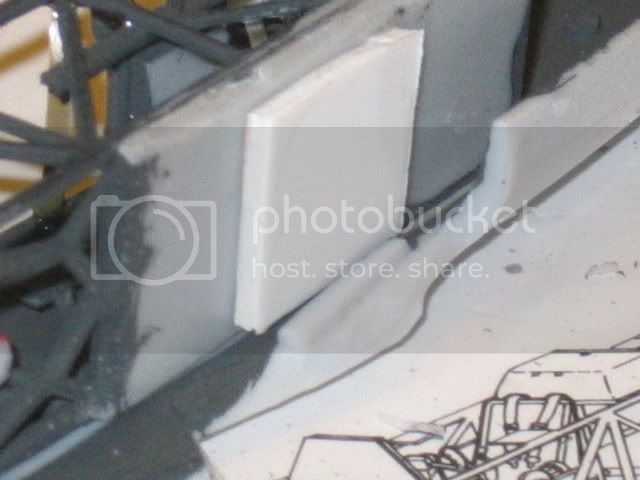
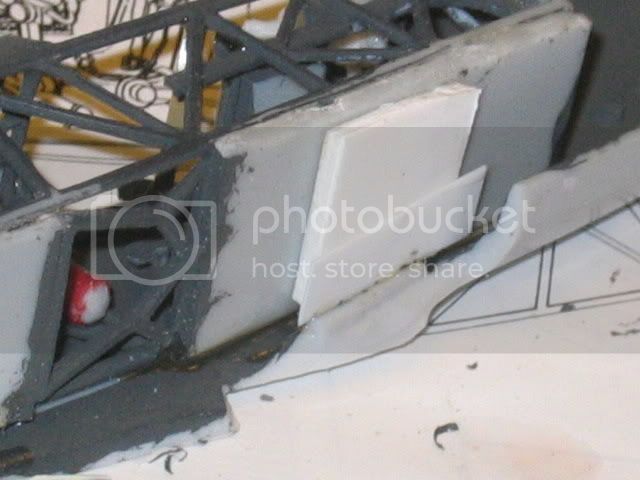
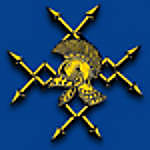
After spending so much time and effort on the seams, and sanding all parts to an acceptable finish, I finally reached the point when enough is ENOUGH!
Now it was off to the paint-shop!
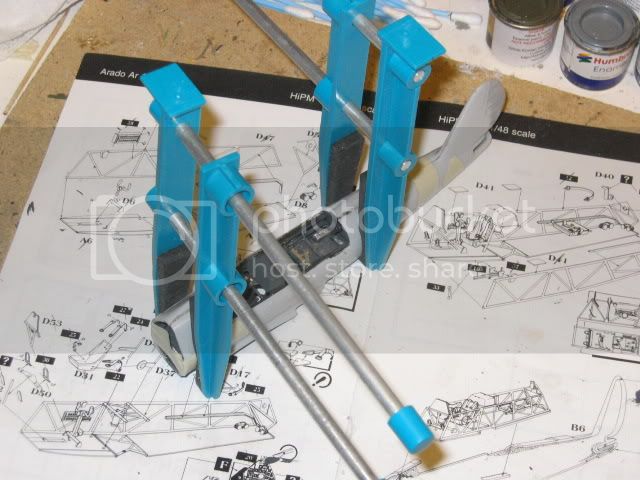
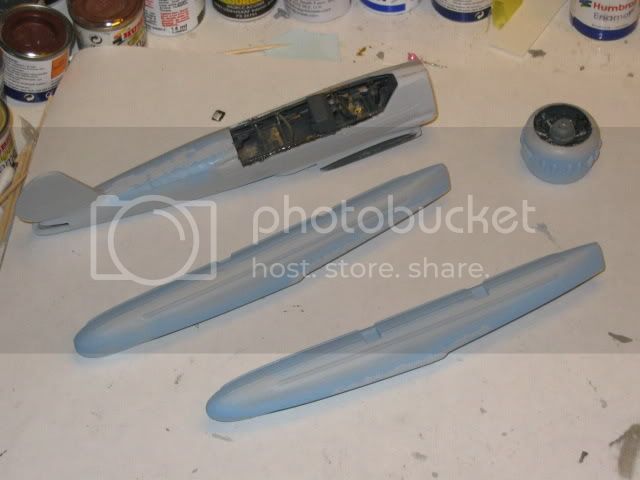
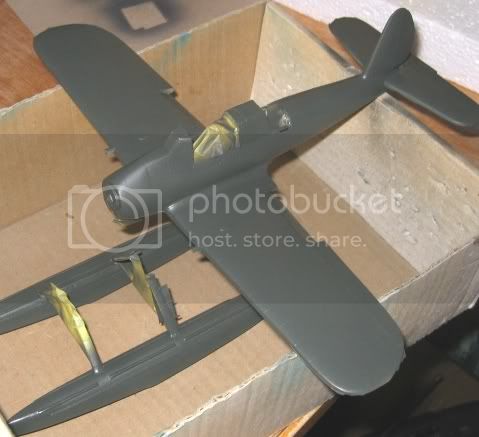
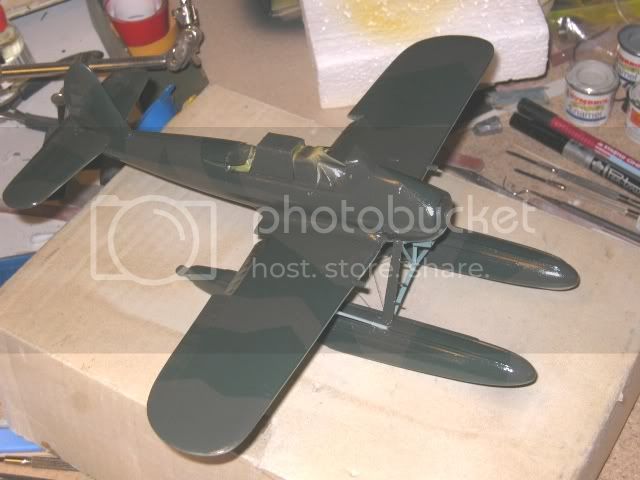
I decided it would be easier to paint the fuselage, floats and engine assemblies separate.
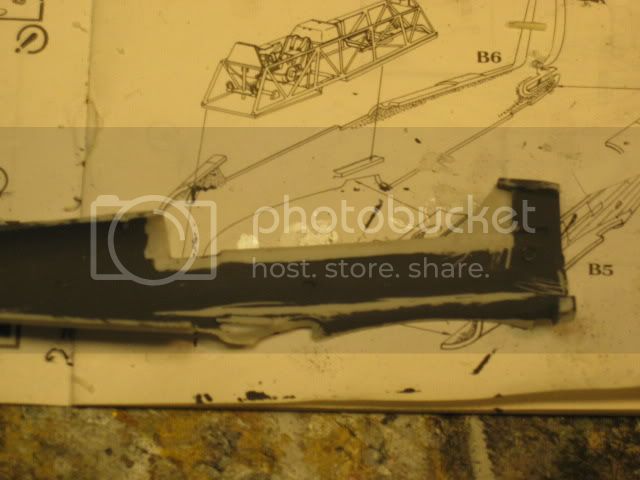
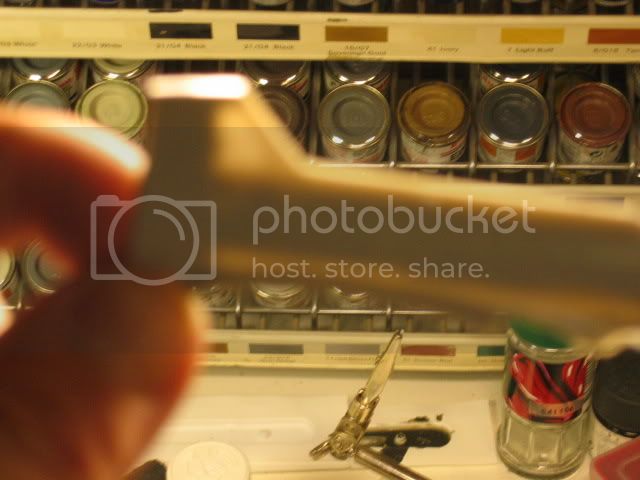
Oh what a feeling when the RLM65 Light blue paint covered all the filler and blemishes on the underside, revealing a smooth surface!
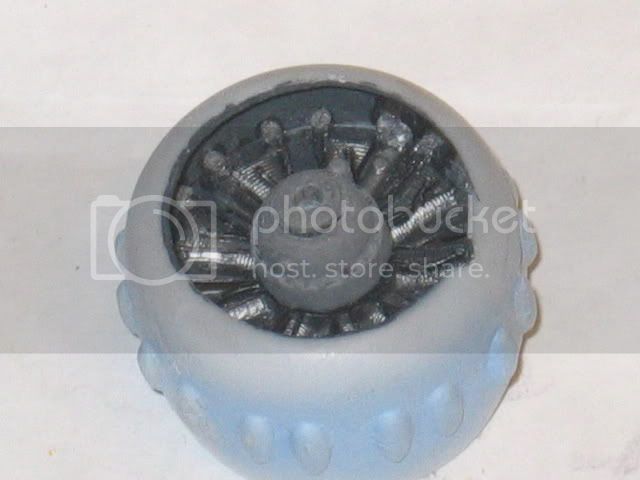
I also painted the complete float and engine assembly light blue.
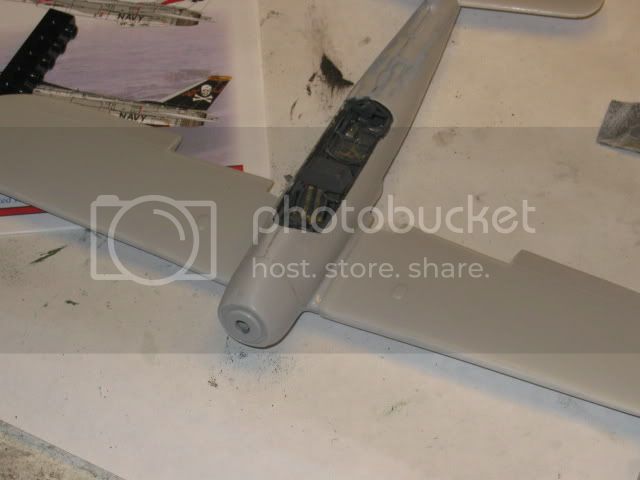
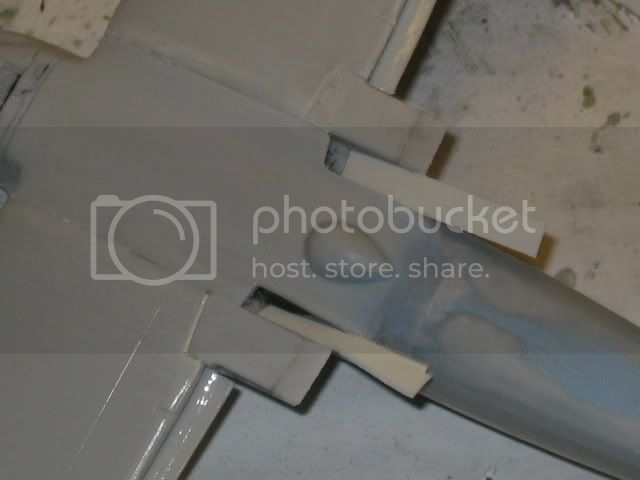
I masked the underside with tape and painted the first, lighter, green RLM72, with as good result as the light blue!
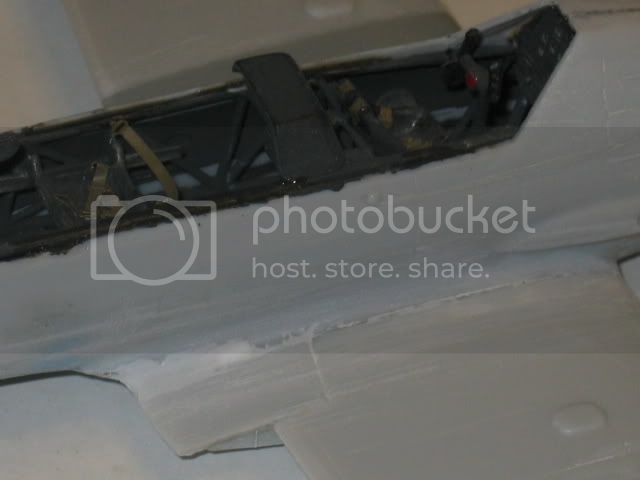
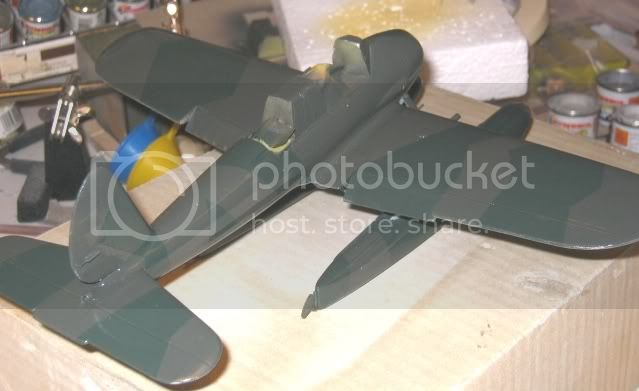
Next step was masking for RLM73, a slightly darker green shade.
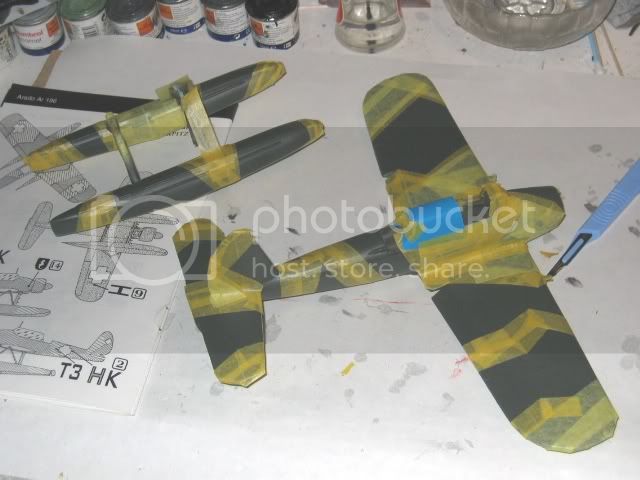
Then painting the color and the de-masking.

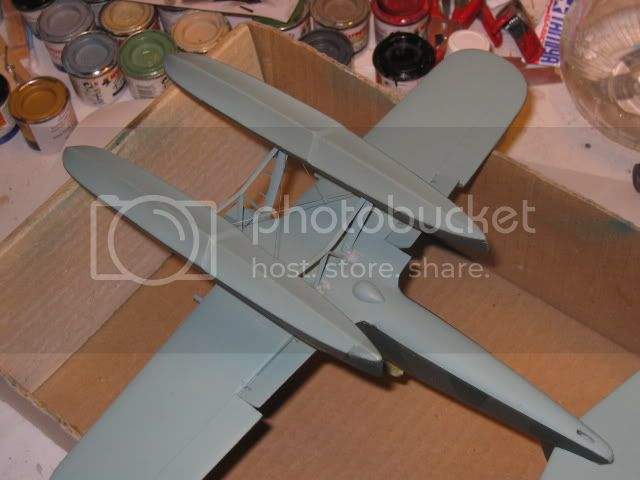
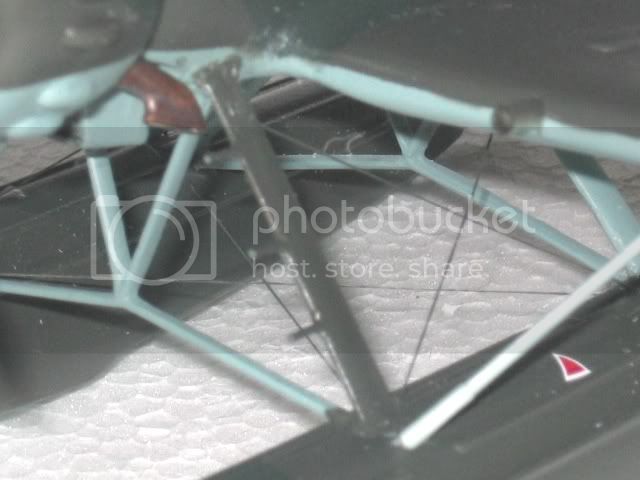
De-masking the very delicate float assembly showed to be very hard, and of course I managed to snap one of the braces.
Luckily it was fixed with a little superglue.

While rigging the floats I managed to break BOTH of the cross-braces and was sooo near to do a "test-flight" in the nearest wall!

After much foul words

colorIng the air over my work-bench a deeper shade of purple, during the fiddly repair-job, I finally ended up with a rigged set of floats.
Phew!
Now the floats were so fragile I hardly could handle them, but somehow I got them in place on the underside of the fuselage.
To get a really strong join I used the good ole´ Britfix tube glue, works everytime!
It worked very well, and the assembly became very solid (a great surprise to me!) when fully cured!
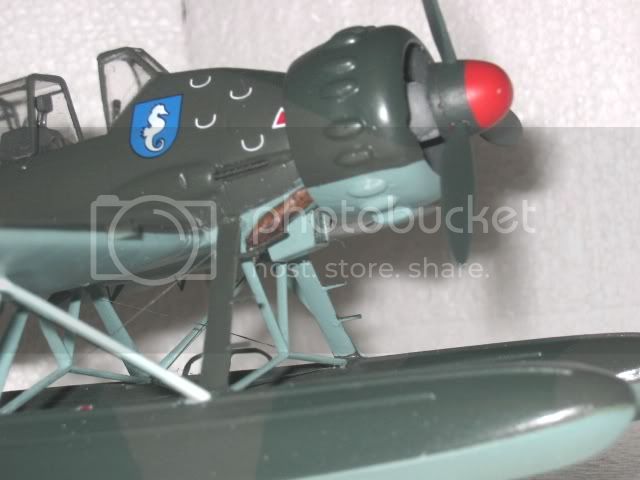
Then I gave the model a good coat of Humbrol #35 Gloss clear to prepare the surface for decals.
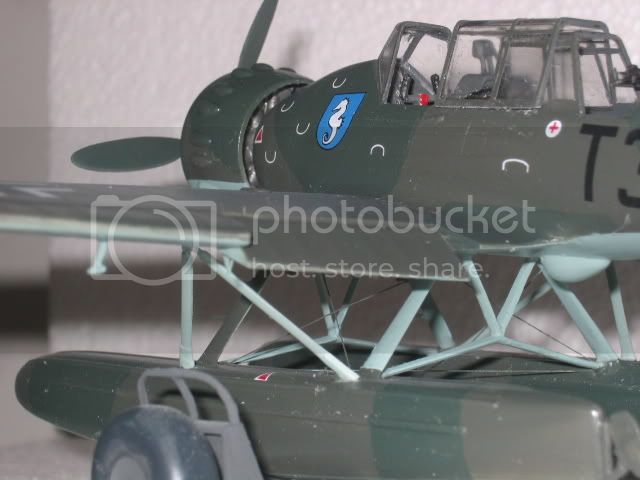
After curing for a few days It was time to use the decals.
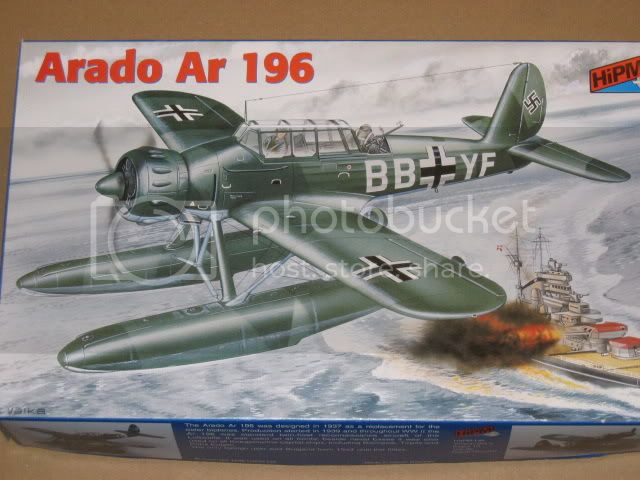
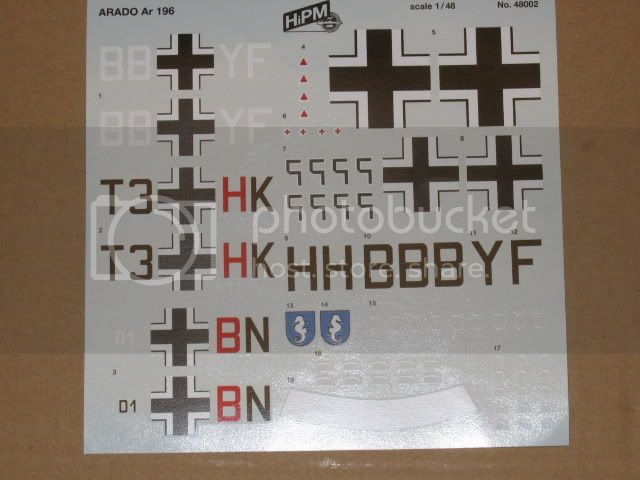
As the subject is somewhat esoteric, there´s no after market decals whatsoever for the Arado.
So I had to use the kit´s supplied decals.

But, as opposed to so much in this kit, they showed to be excellent!
I used Micro-set, and that was about the strongest sovent I had to use!
But, as always there´s a hitch!
Those decals took a very long time to soak before releasing from the backing paper, even thogh I used VERY hot water!
The decals showed to be extremley thin, teared very easily and stuck "ZAP", about 2-3 seconds was all I had to get them in position!
The best liquid you can use is saliva, yes, spit on it! :-)
Then I got some more (much needed!) seconds!
But they were opaque, no bleed trough on the white decals, not even over the dark greens and when dry, they got that painted-on look we all search for!

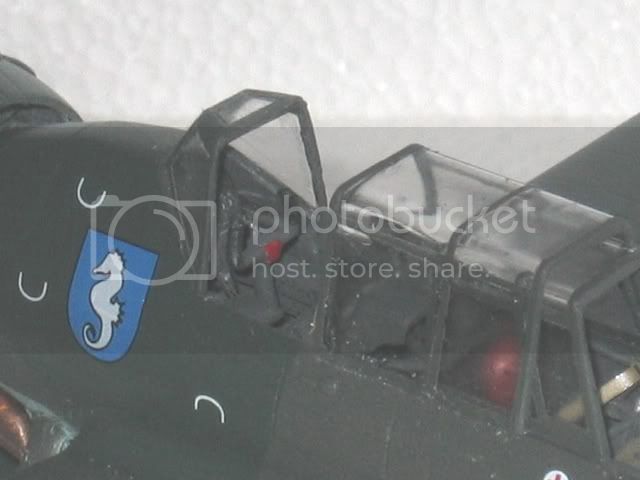
I used a swastika from a Aeromaster generic sheet as I did not want to use the two-part ones in the kit.
Final assembly was a snap and the final matt-coats went on, leaving a slightly satin finish.
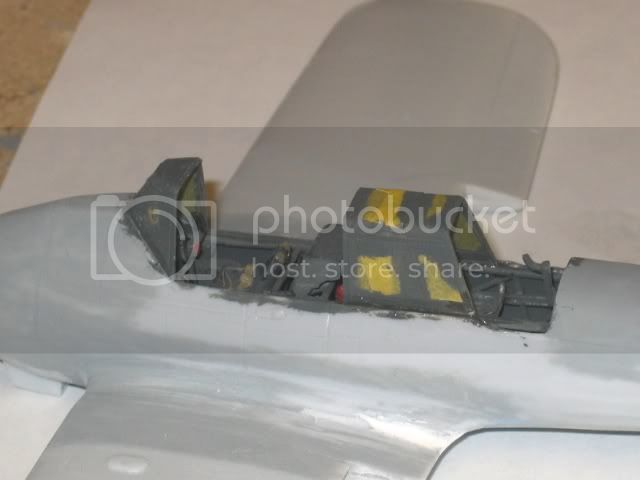
When I peeled the masking from the windscreen and the canopies I had some bleeding trough, but that was easily scraped off with a wooden coctail-stick.
I had a set of metal exhausts from Moskit, the prop was pushed in it´s place and my Arado Ar196 is FINISHED!
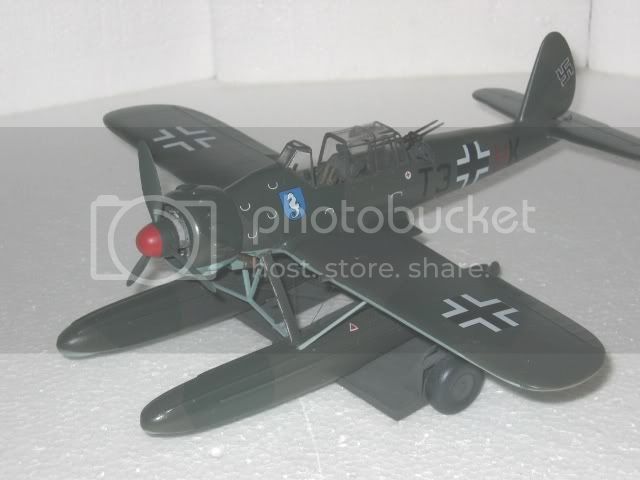


Despite all troubles and all the hard work, I´m really satisfiyed with my Arado, and I feel It was worth the effort!
I can only recommend this kit to very experienced builders who are used to short run kits!
Hope you will like my little Arado!
Cheers!

Stefan E