Hi all!
Quoted Text
I know you used Tamiya X11 Chrome Silver for the main coat but what colour and paint make did you use for the different panels ?
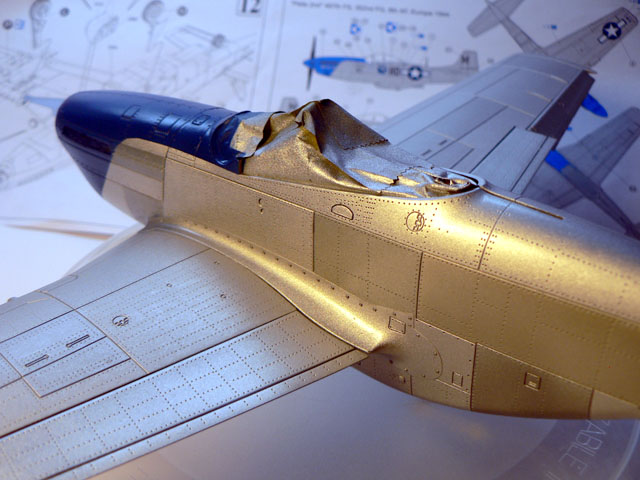
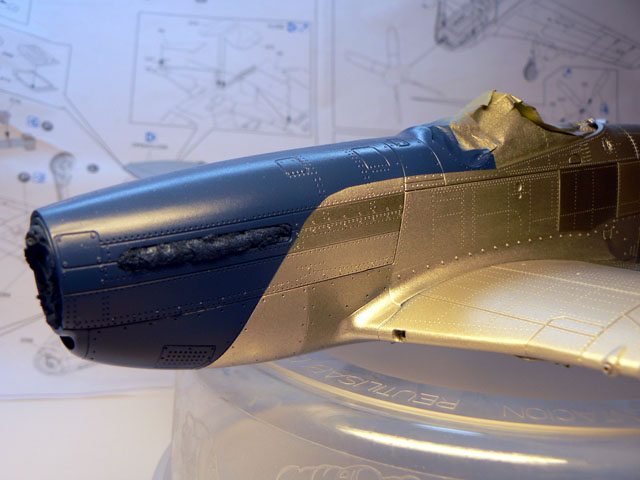
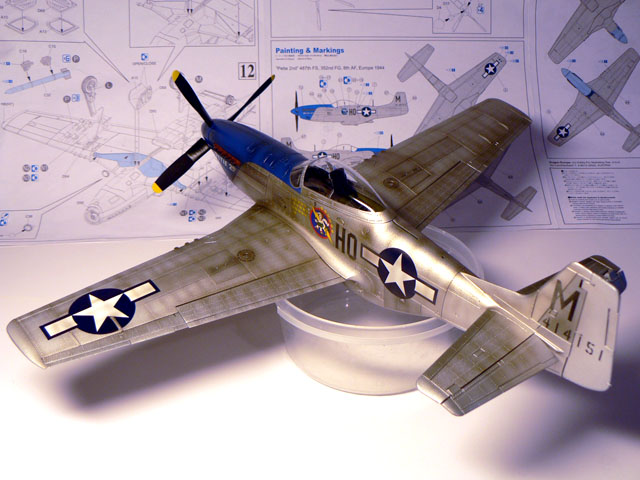
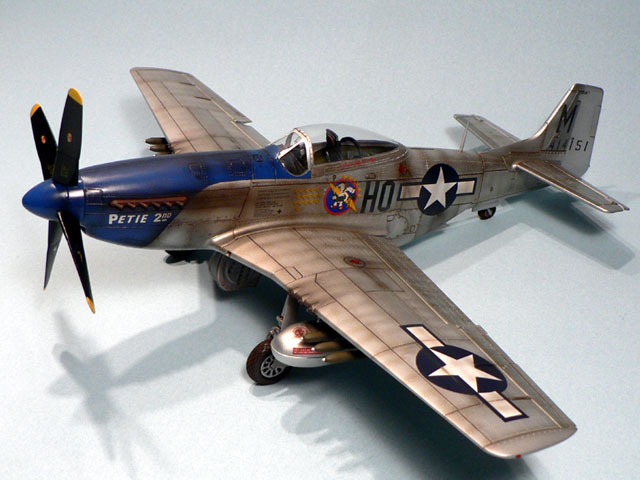
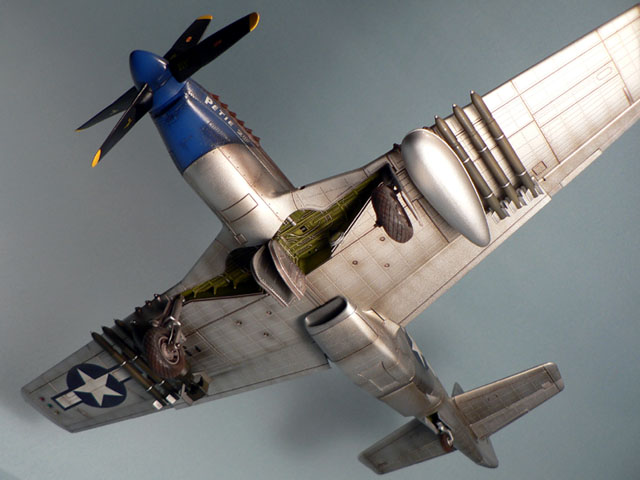
Andy, Tamiya X-11 Chrome silver was indeed my base color. Some panels are a mix of X-11 with X-10 (Gun Metal) and others X-32 Titanium Silver. The wings received a coat of XF-16 Flat Aluminium afterwards. I then sprayed a coat of future to protect the paint and also X-22 Clear on the fuselage, tailplanes, flaps and ailerons.
Quoted Text
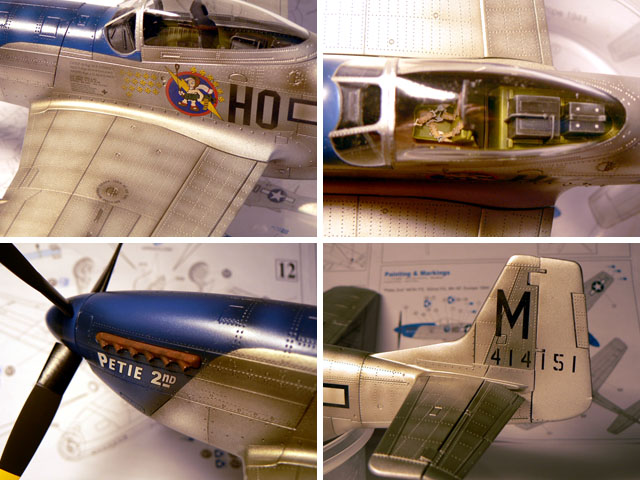
,,how did you mask the blue curve on the cowling?,,,blue tac sausage?
Nigel, I simply used Tamiya masking tape. To polish the canopy I used Tamiya sanding paper and Tamiya polishing Compound. When I apply paint I use Tamiya brushes and to know the exact colors of the kit I use Tamiya's 1/48 scale P-51 D kit instructions. It's a Dragon kit but there is a lot of Tamiya stuff on it... and no, I'm not paid by Tamiya to make some advertisement for them! :-)
Quoted Text
Cant wait to see it with the decals!,
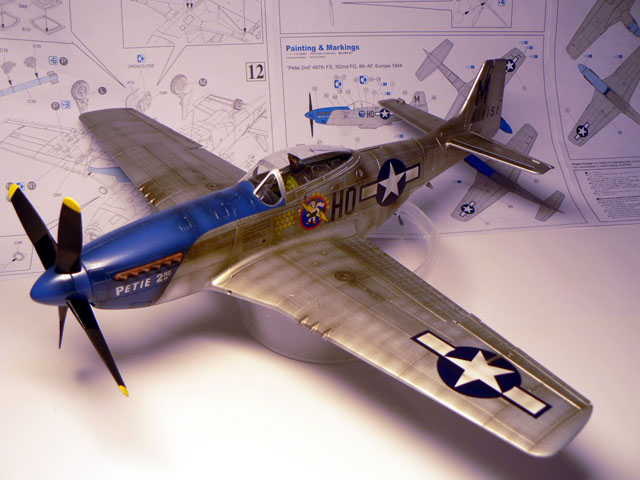
Your wish is my command...
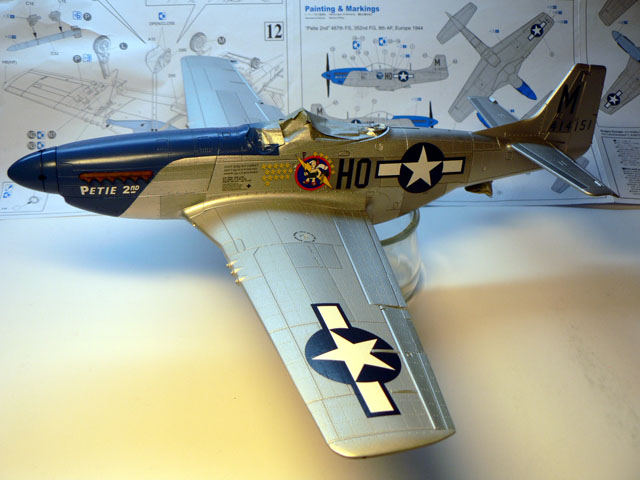
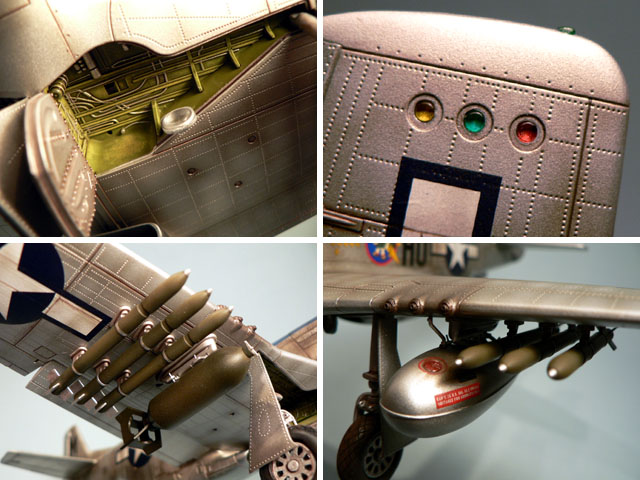
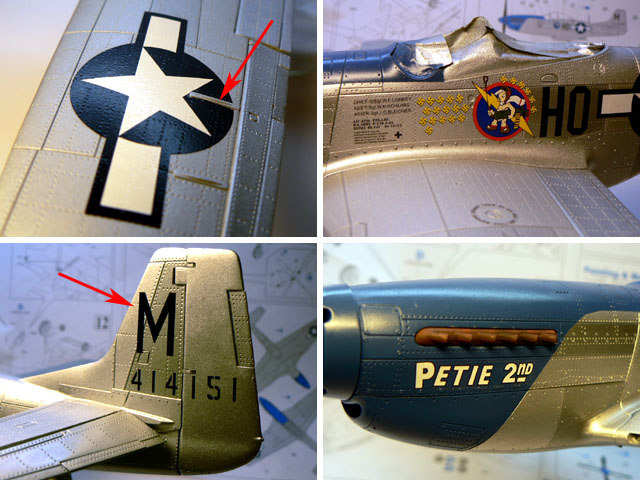
The decals are good so far and started to react well with Micro Sol despite the heavy surface detail. Some decals (like the
M) are not easy to apply because there is almost no carrier film). I cut out the wing's roundel because the aileron hinge cover (?) was in the way. I will paint it later.
Still some detail work to do and of course add some weathering...
Jean-Luc


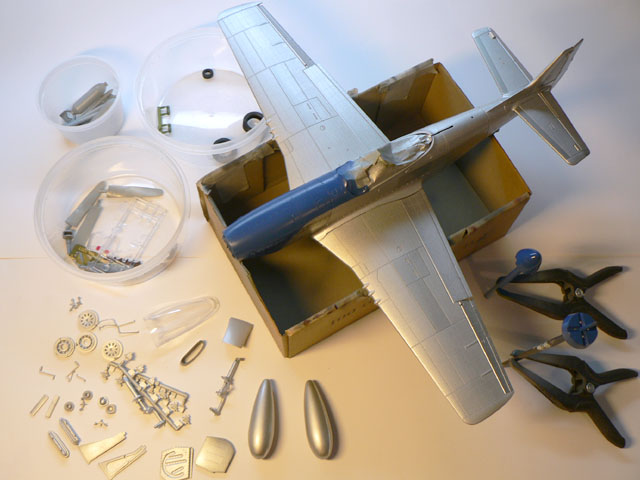
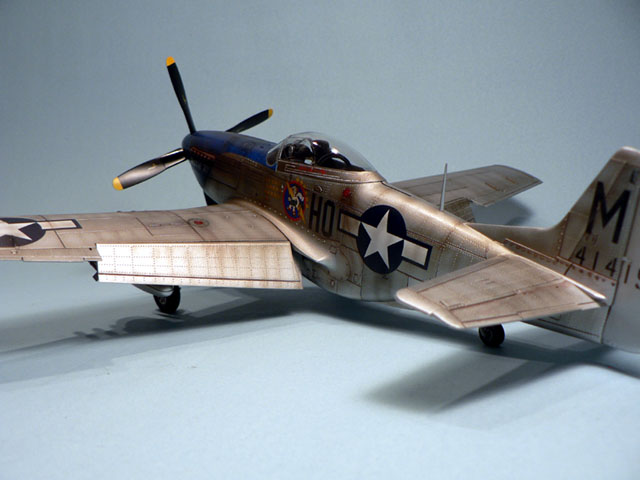
 I still have to paint the canopy parts, the propellers and the bombs/rockets though...