Hi all!
Quoted Text
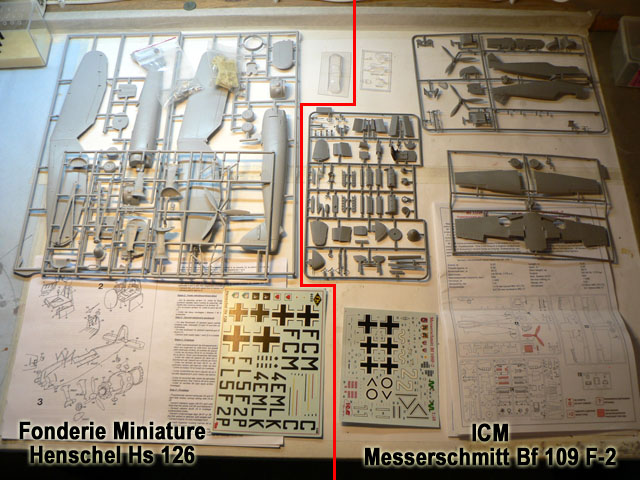
only yesterday at the milton keynes show i had a good look at the FM Henschel Hs 126 kit, although its 1/48 i was almost tempted to buy one, small world is'nt it.
nice box artwork can sell me almost any kit!
Phil, it was better you didn't purchased the kit I think! The boxart is probably the best part of it!

Quoted Text
as you might have noticed I am a little short of time now, so I will join you next week
Steffen, can't wait to fly a "Rotte" with you!

Quoted Text
Whether ICM's kits count as "mainstream injected plastic technology" is debatable... your unpainted pics already flatter the '109 - my example's cockpit is really quite nasty... there could be a lot of variation in this kit...
Rowan, compared to the Fonderie Miniature kit, believe me, the ICM one IS a mainstream kit! :-)
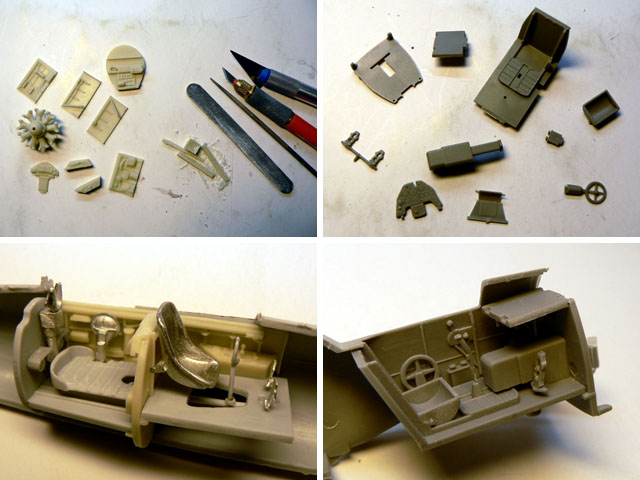
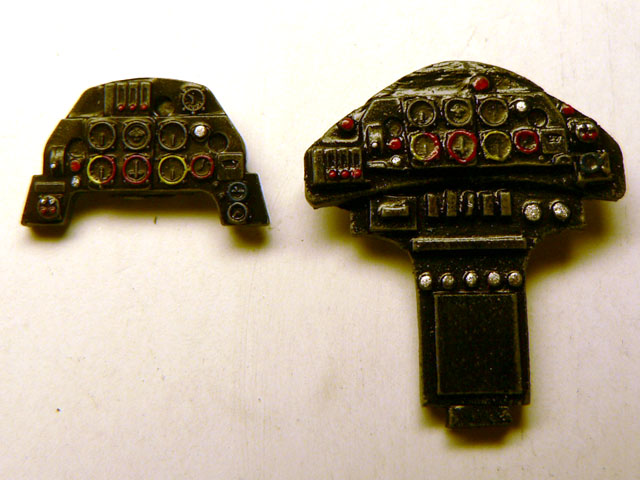
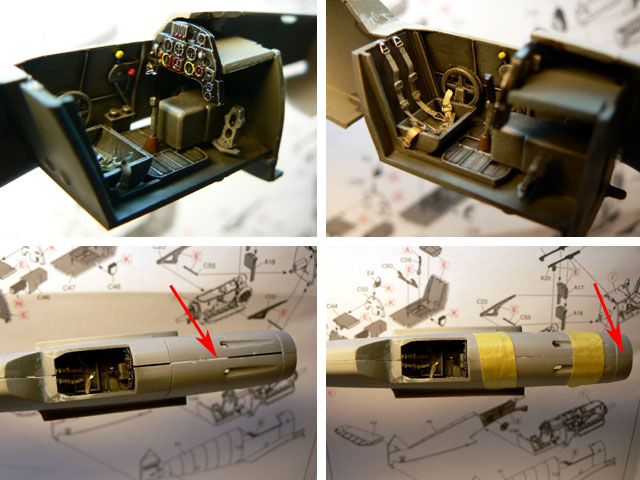
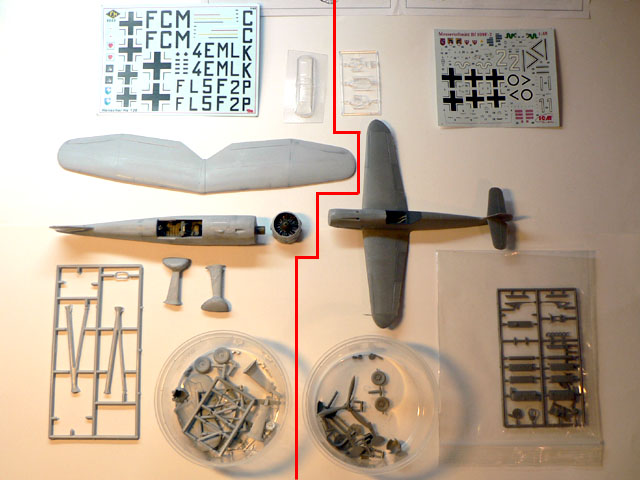
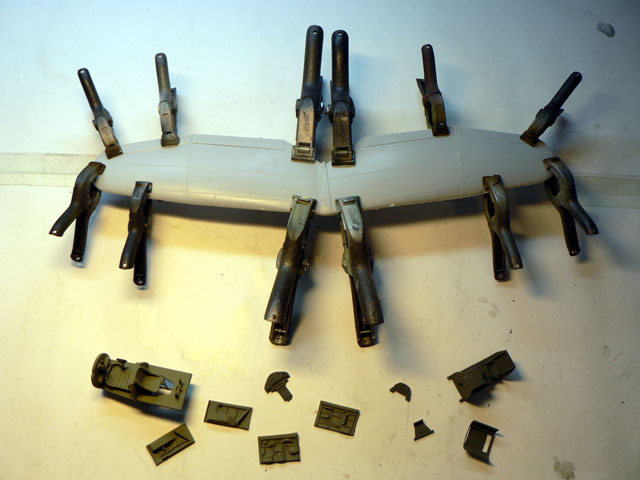
As for the cockpit, you are quite right, take a look at the picture below and guess what parts I will use?
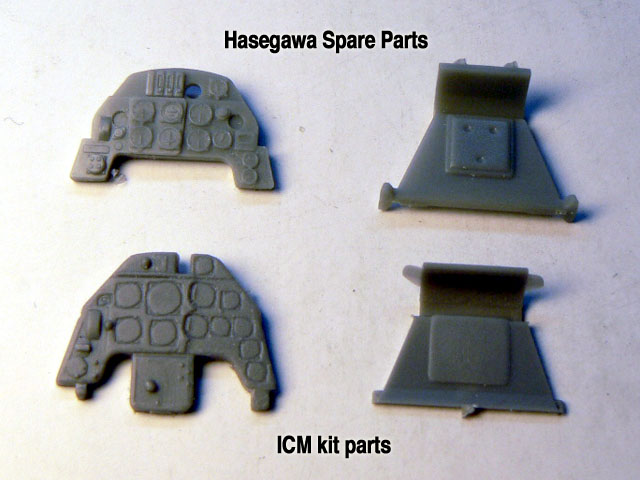
I painted the interiors with their basic colors: RLM 02 for the Hs 126 and RLM 66 for the Bf 109. Is that correct Steffen? If not I can still change as I didn't drybrushed or washed the cockpits.
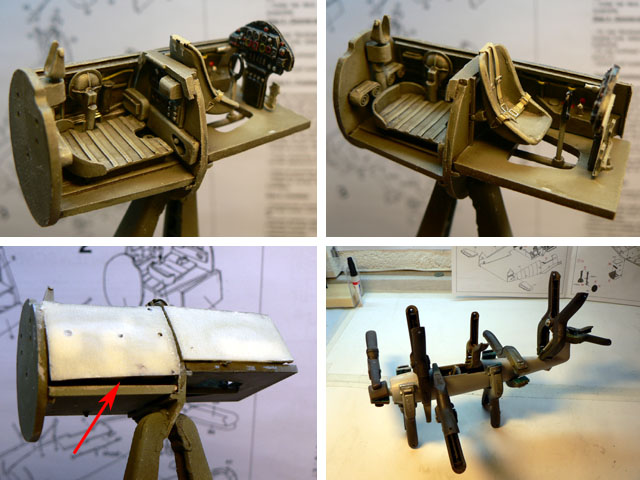
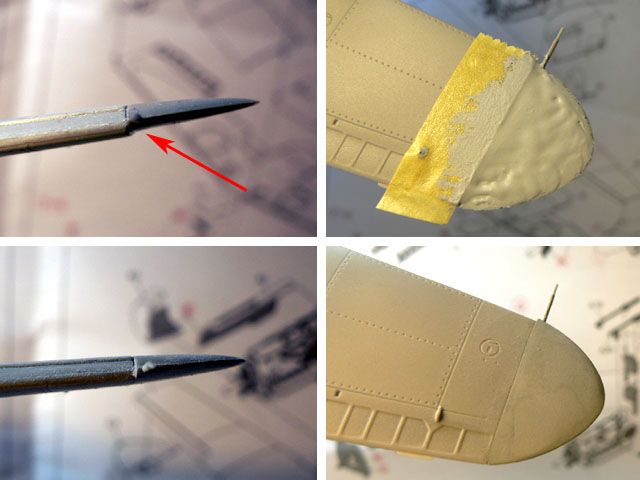
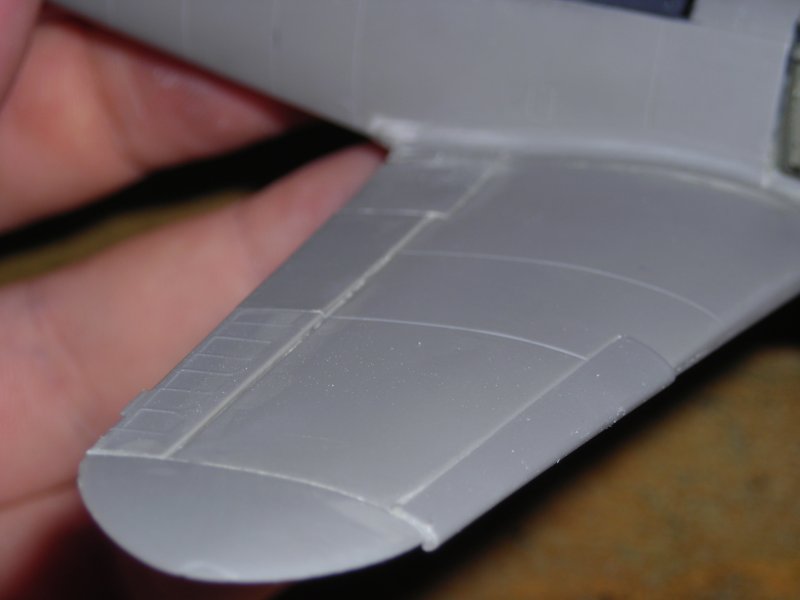
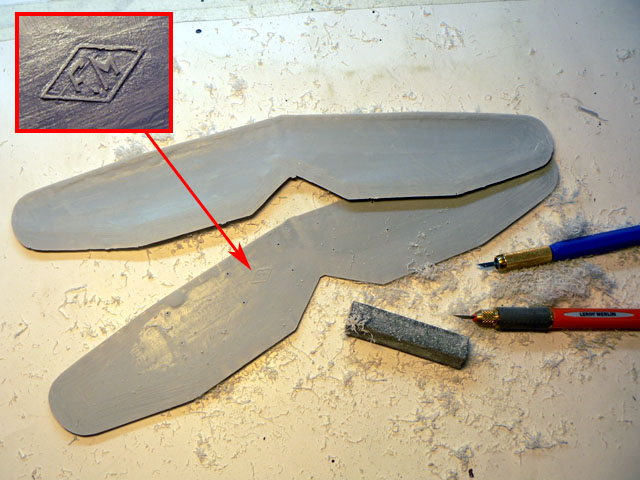
Meanwhile I sanded the wings of the Hs 126 so to get thinner leading and trailing edges. This is not something unusual when building a short run kit and it took me an hour! I should have been prepared for that because there is a WARNING sign inside the underwing part...
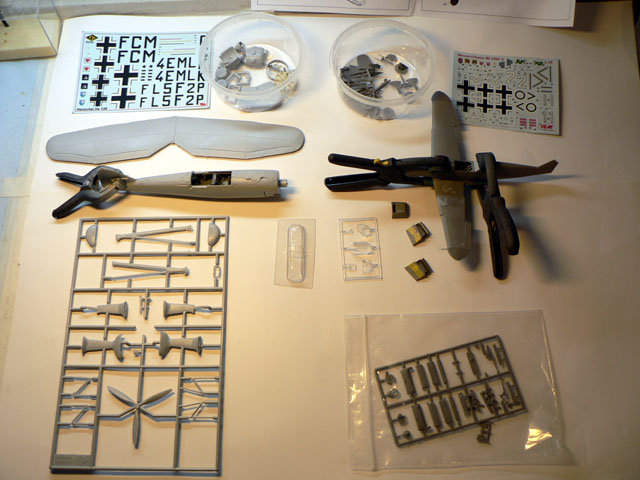
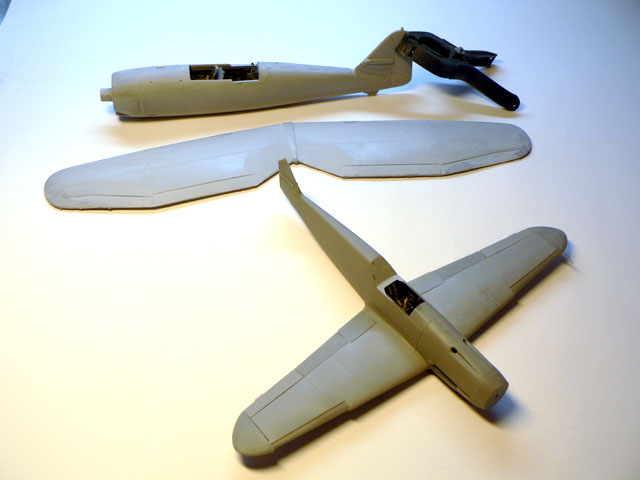
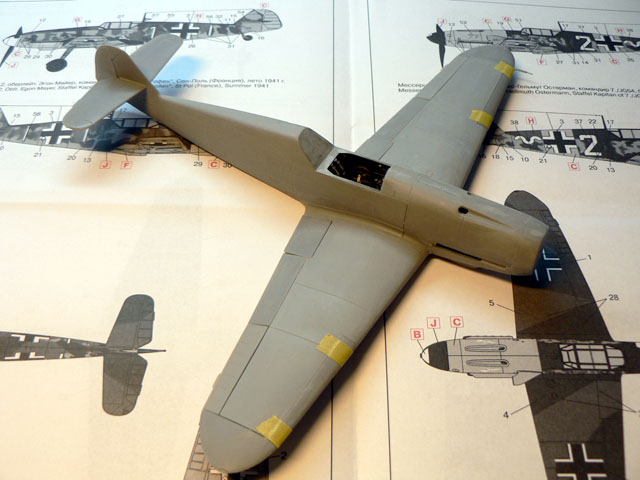
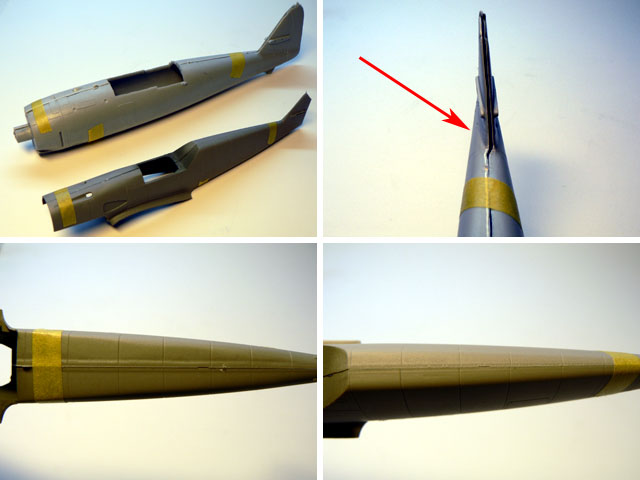
Below is the current status of the kits...
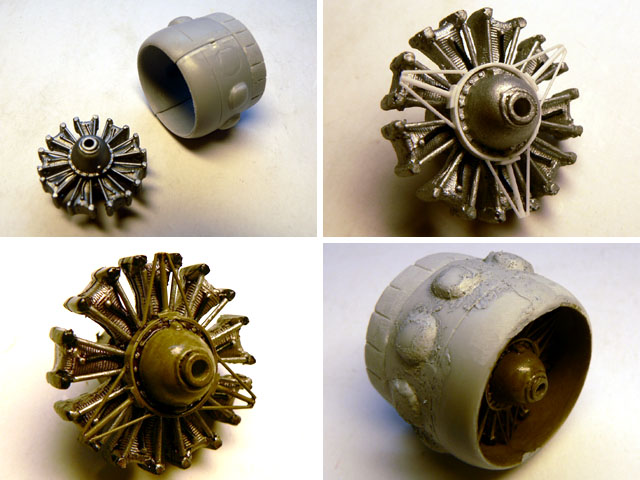
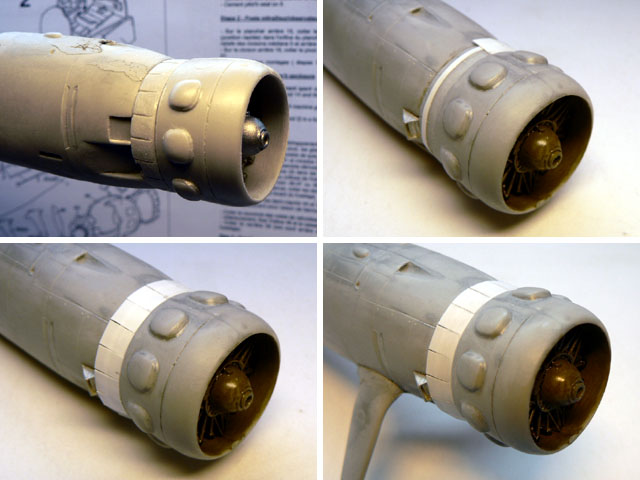
I also test fitted the fuselage halves of both models. You can note I already glued the engine cowlings of the ICM kit because I don't want to display the engine. I found out some interesting things (at last for me):
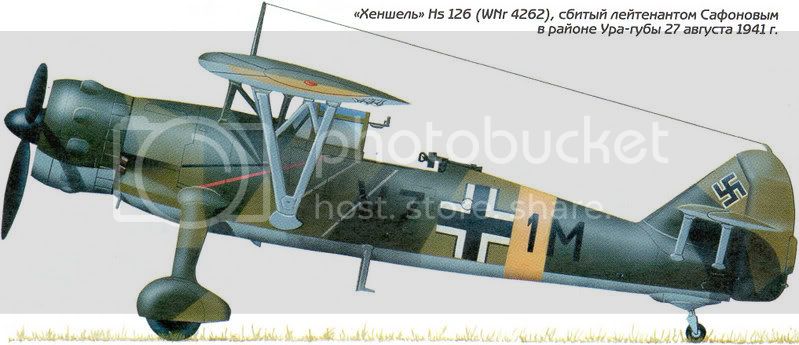
- The Hs 126 is a big aircraft compared to the Bf 109. No wonder it was an easy target for French and Russian fighters!
- The tail of the Hs 126 is noticably offset on the kit! I found a 3 view plan on the web and it seems this was a feature of the real plane (I didn't knew that). It must have been designed like that to counter the inertia of the radial engine.
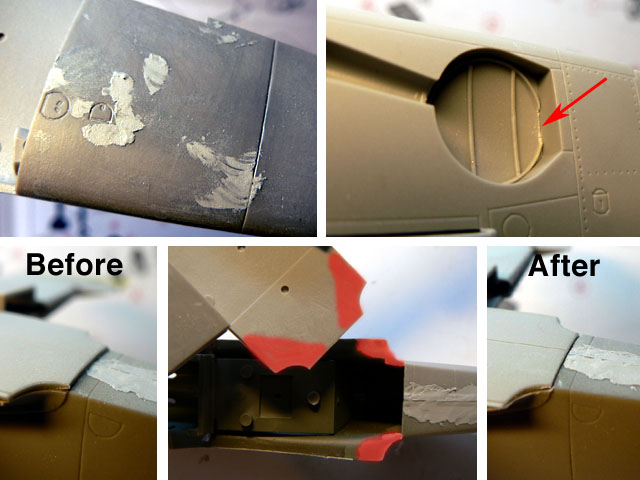
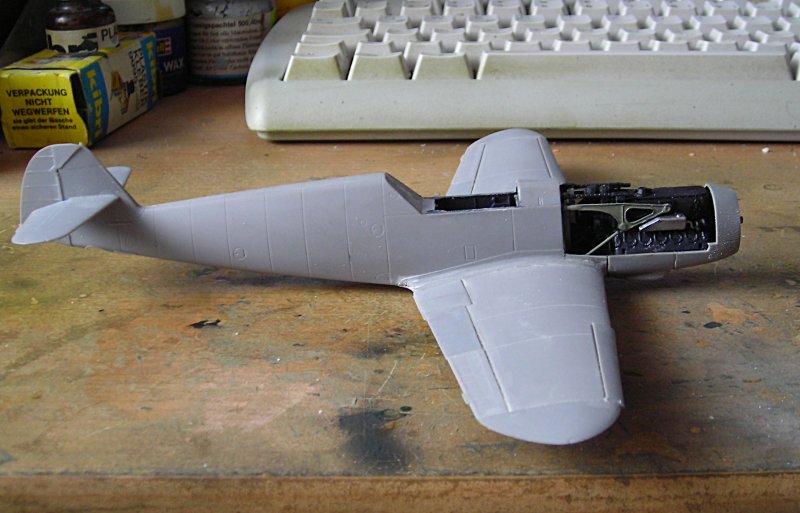
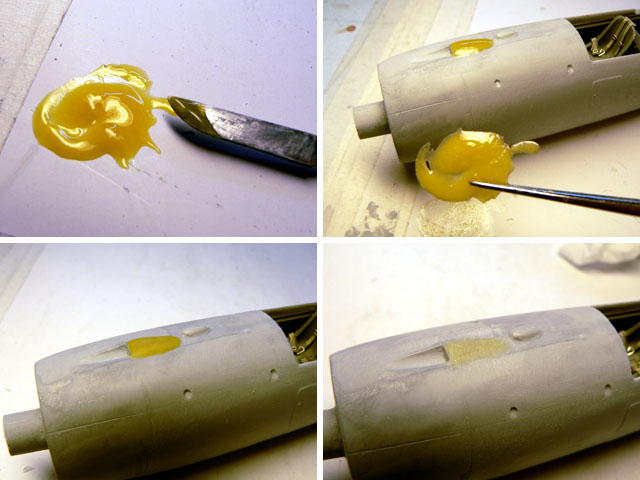
- There are ugly sink marks along the Bf 109's fuselage bottom!
- The panel lines of each fuselage halves don't match to each other at the top.
Well, that's all for today. My first impression is that a lot of work will be needed for both kits!

Jean-Luc