_GOTOBOTTOM
Pre-Flight Check
Constructive critique of your finished or in-progress photos.
WIP: Academy 1/72 Sopwith and 1/144 F-14
goldstandard
_VISITCOMMUNITY
California, United States
Joined: March 29, 2007
KitMaker: 208 posts
AeroScale: 186 posts
Posted: Thursday, April 05, 2007 - 12:42 PM UTC
Hi there. I've been working on my building skills and right now for practice I have been working on two cheap Academy kits, the Sopwith Camel and F-14 Tomcat. The F-14 should be interesting, as despite its small size and cheapness it looks relatively well detailed. (Sorry about the slightly blurry photos, camera has an autozoom that doesn't always work right)


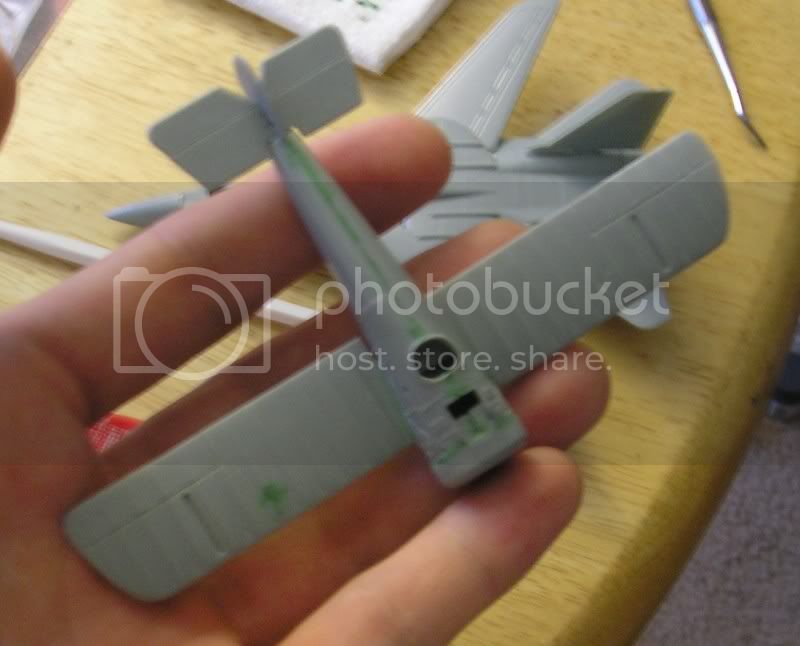
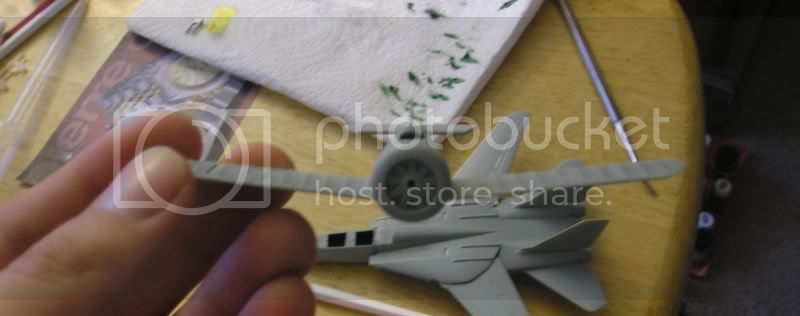
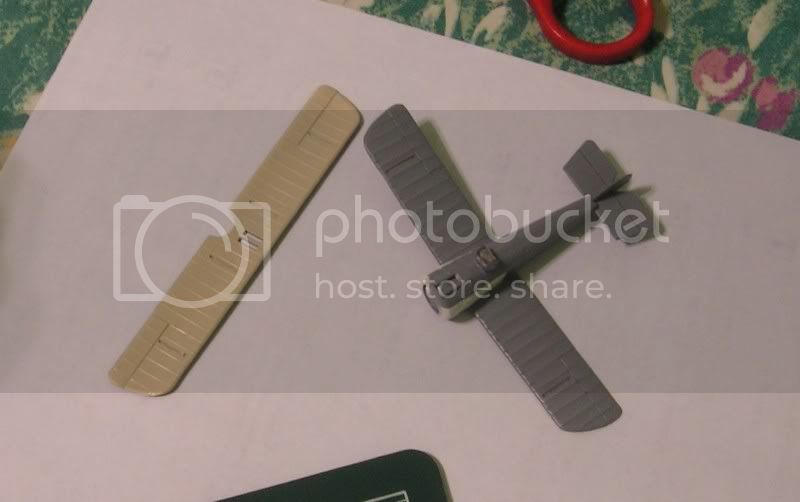
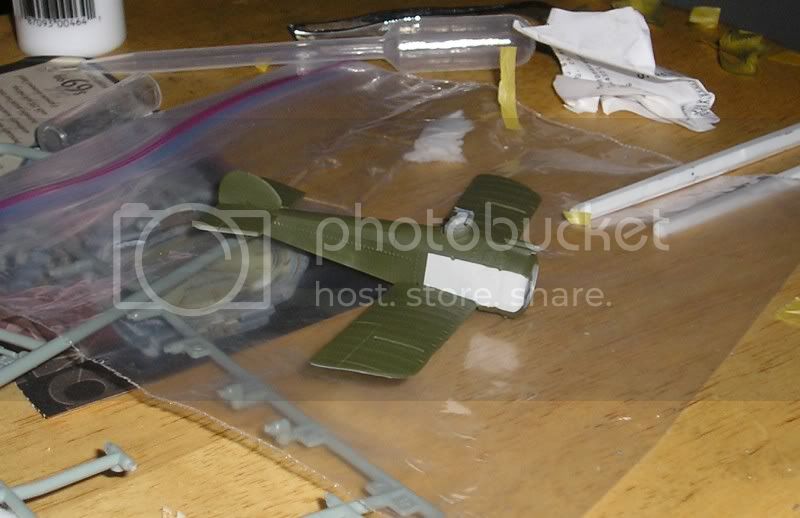
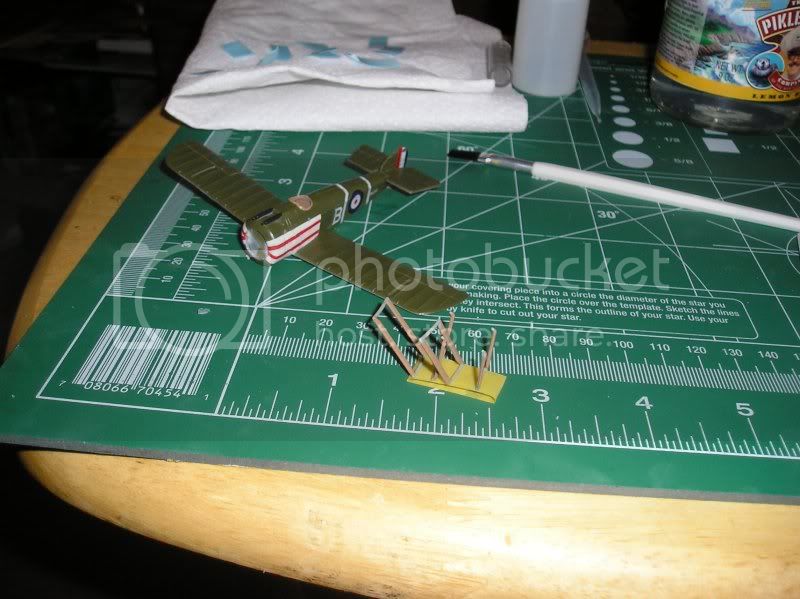
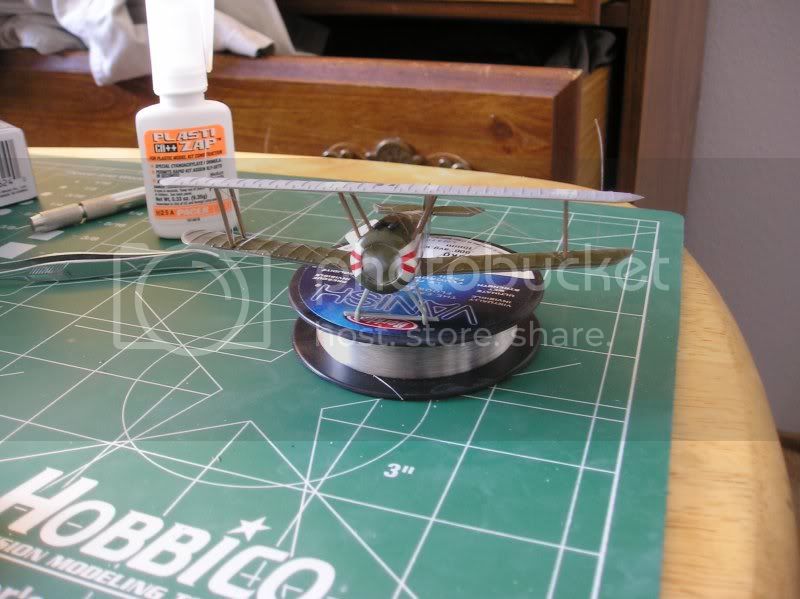
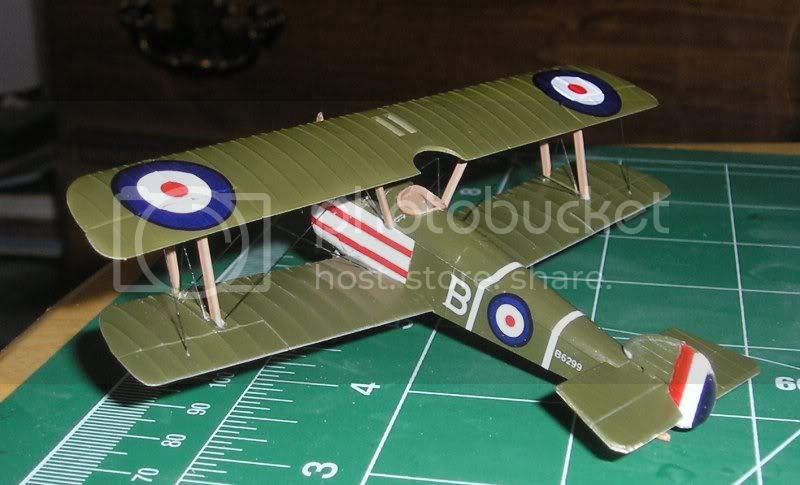
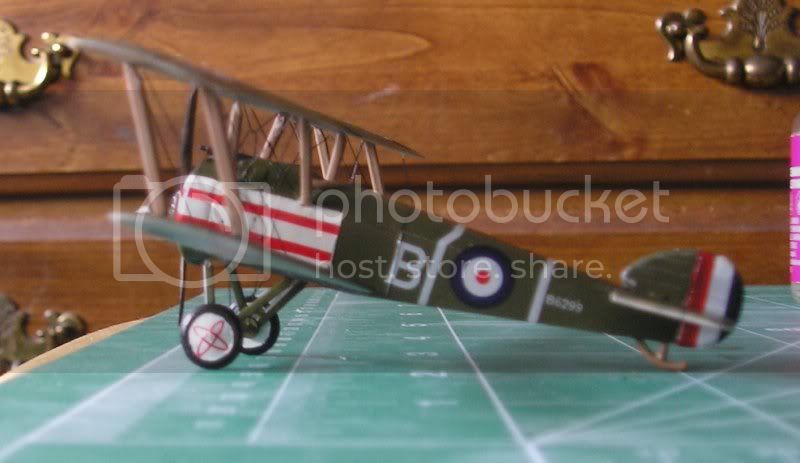
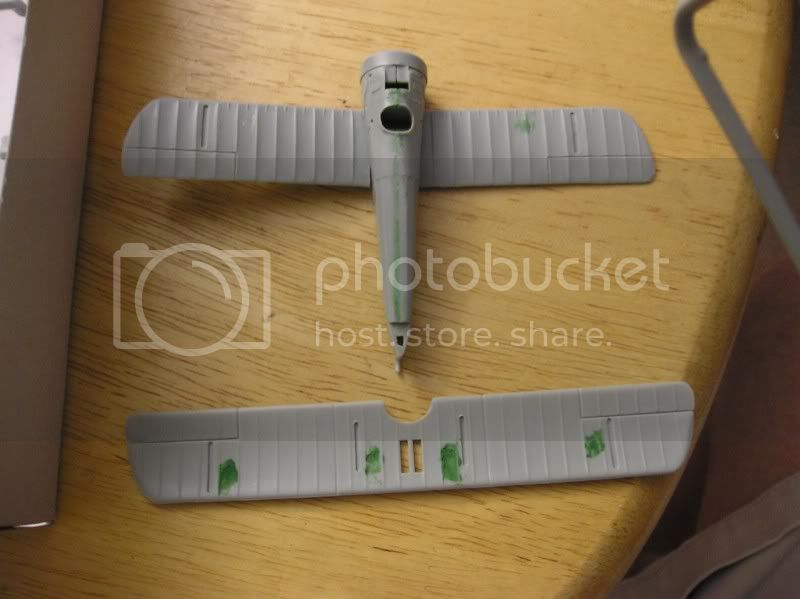
The sopwith camel on the other hand, isn't the best fit , as the front cowling looks much to large. It should be flush with the fuselage. I would fill it with putty but I worry about damaging the detail on the nose. I think I will carefully shave plastic off the cowling and sand that down instead.


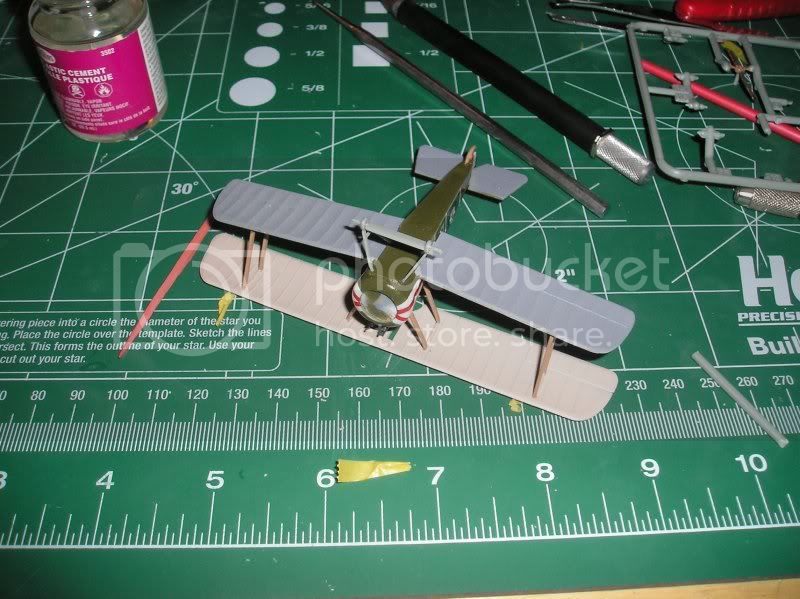
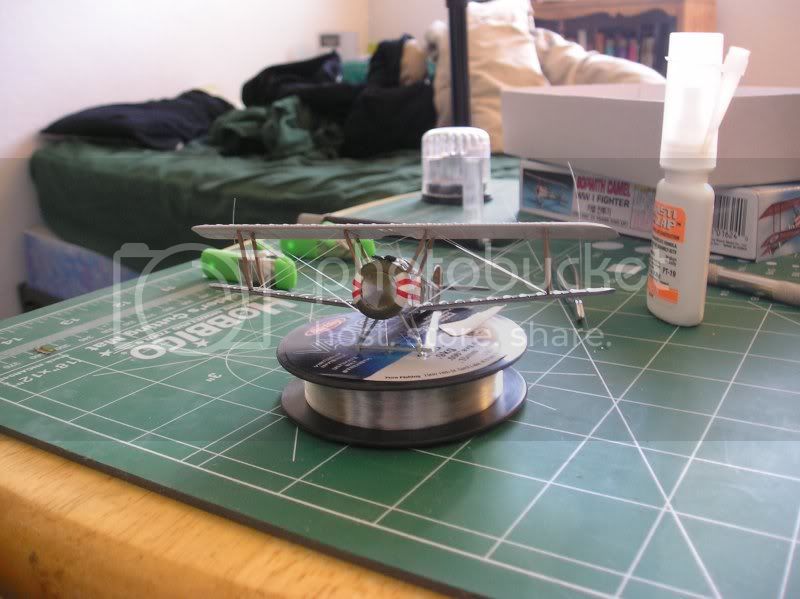
I also found a bunch of nasty ejector pin marks all over the wings, as well as an uneven seam on the bottom of the fuselage. Thats good though, because it gives me plenty of putty practice.


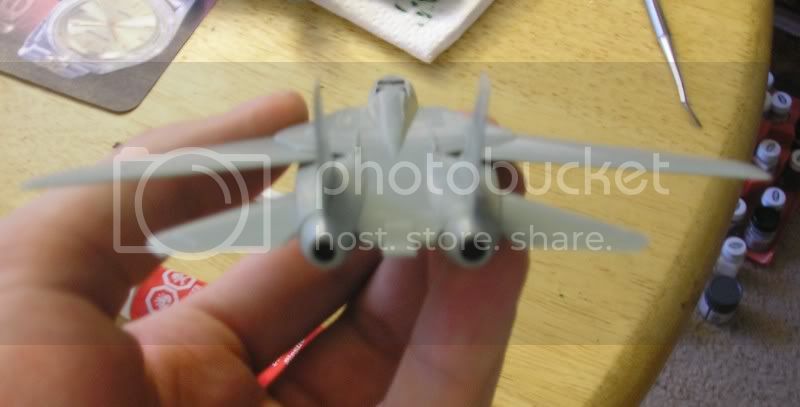
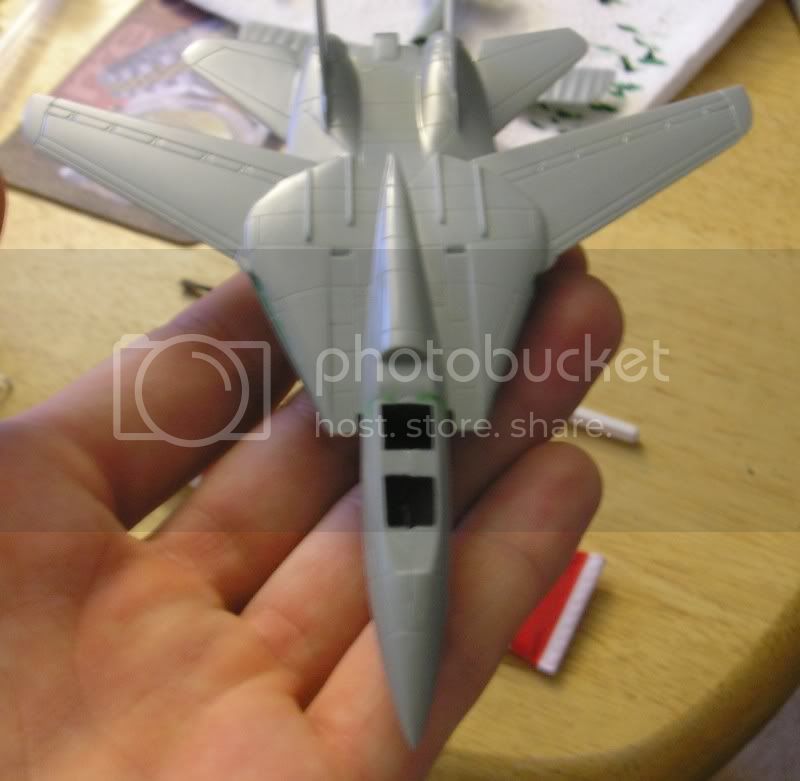
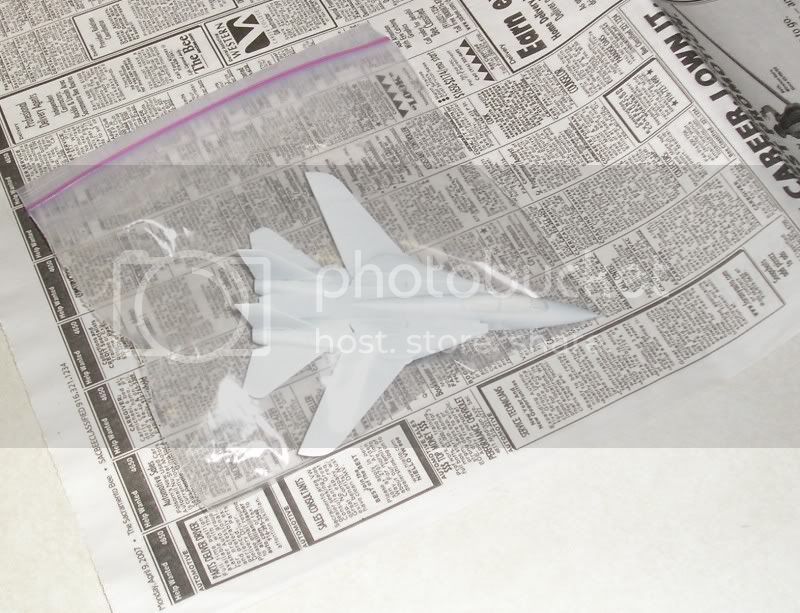
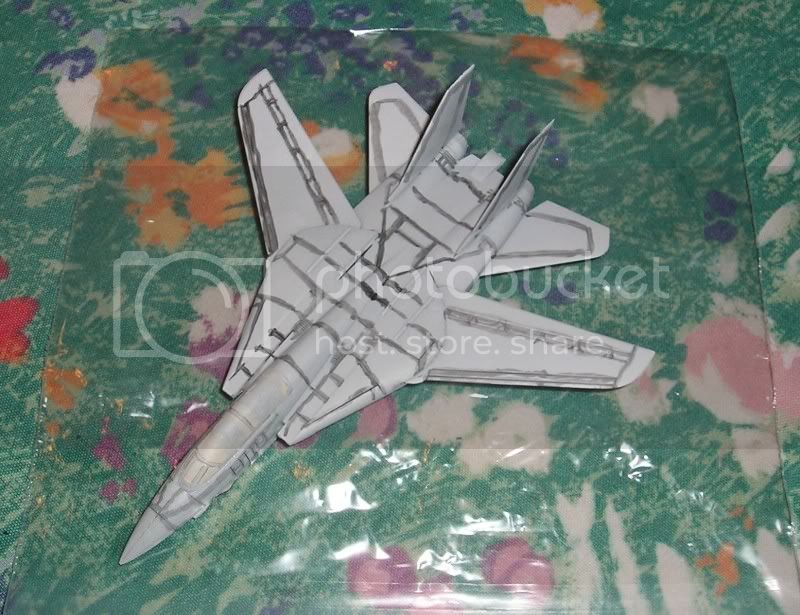
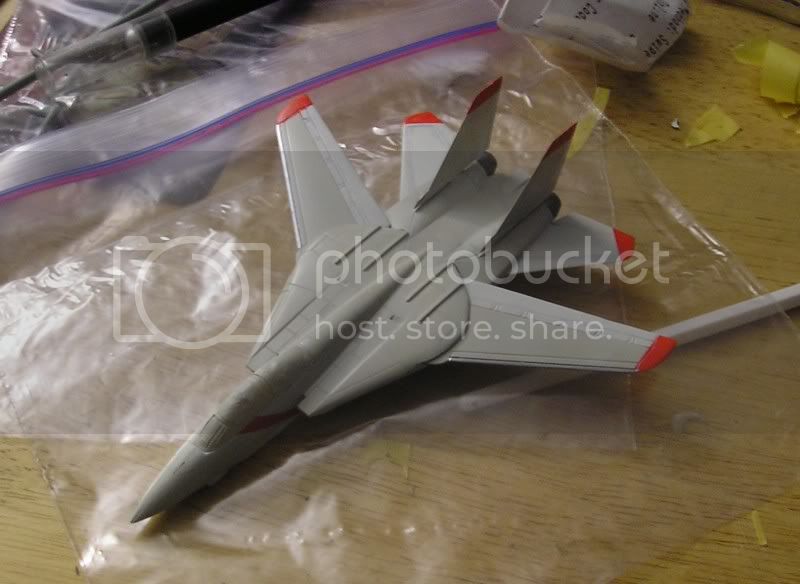
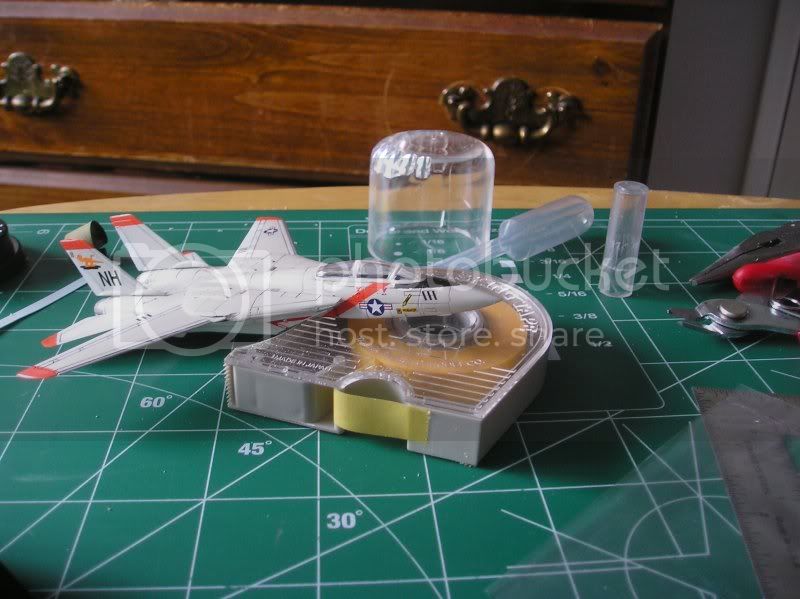
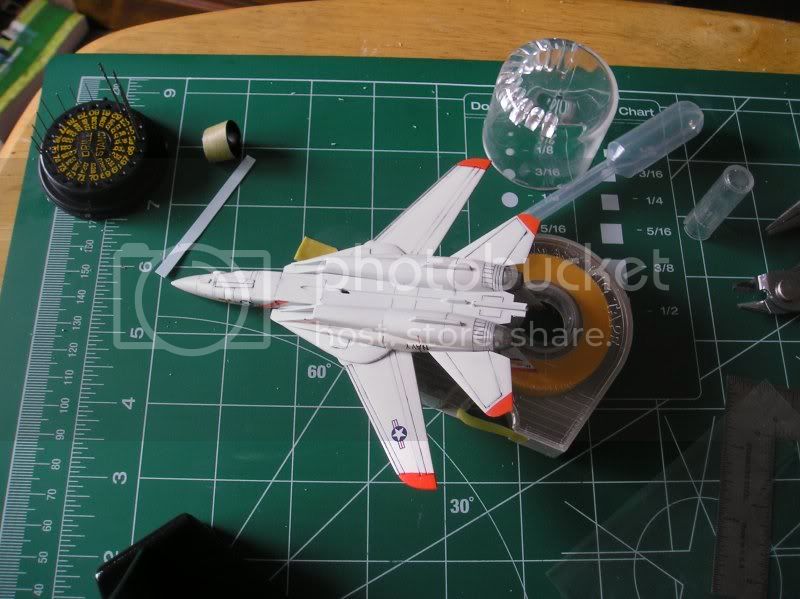
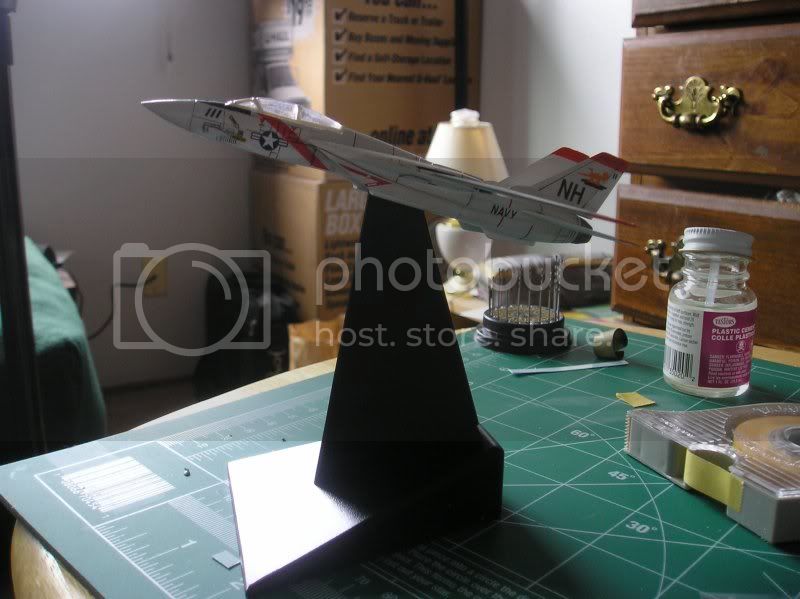
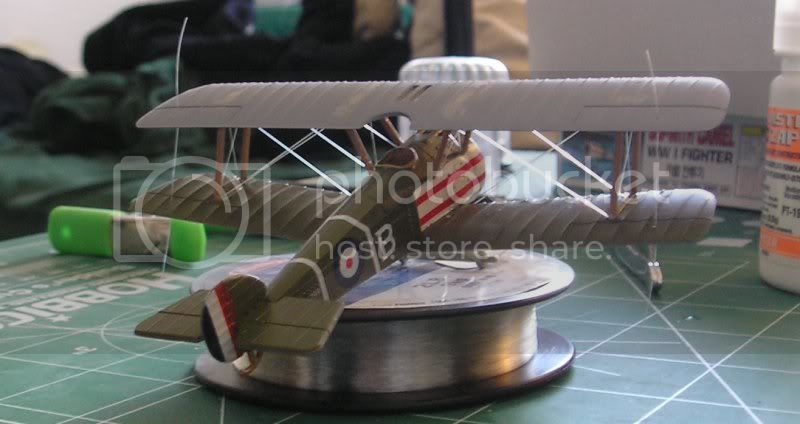
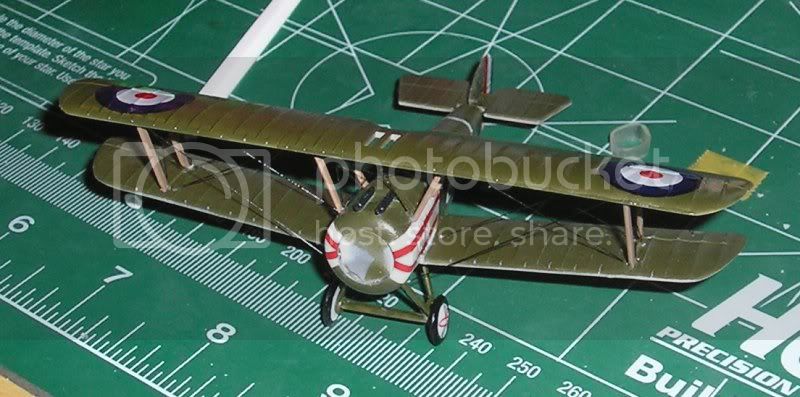
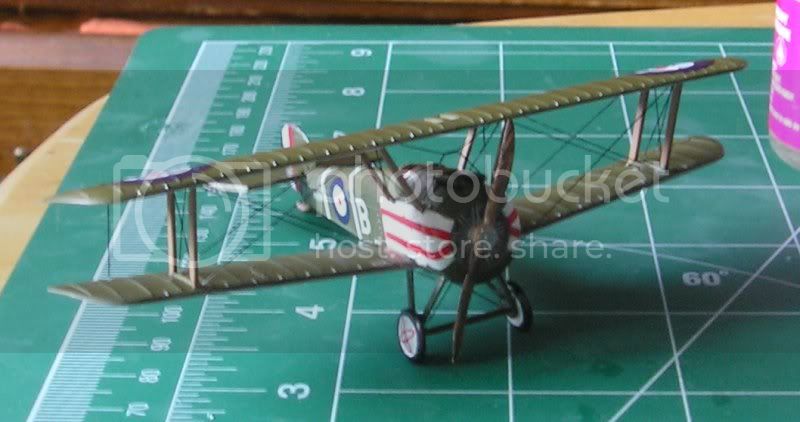
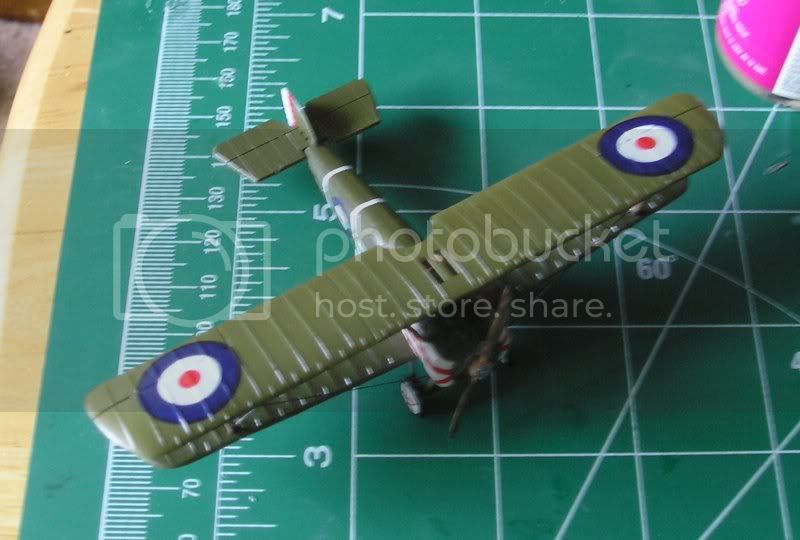
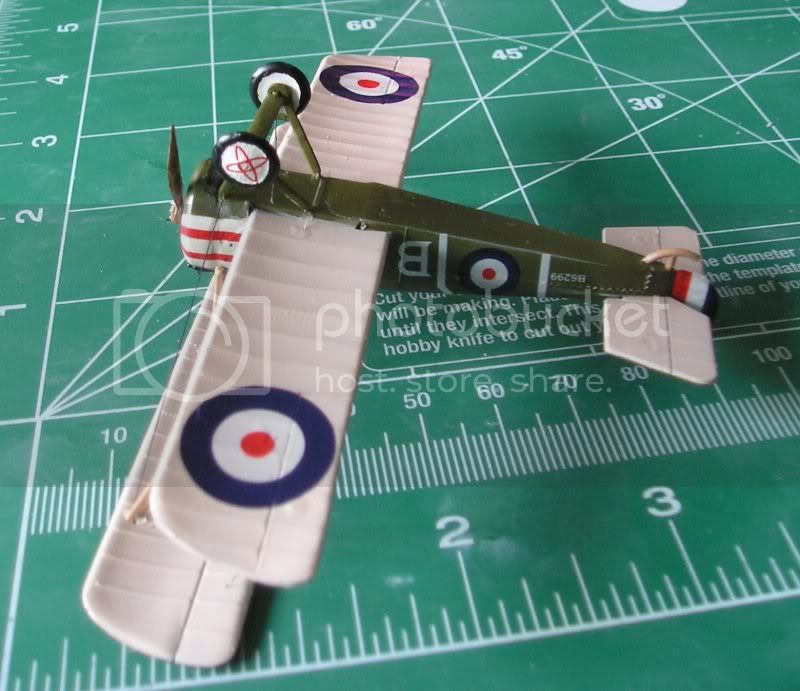
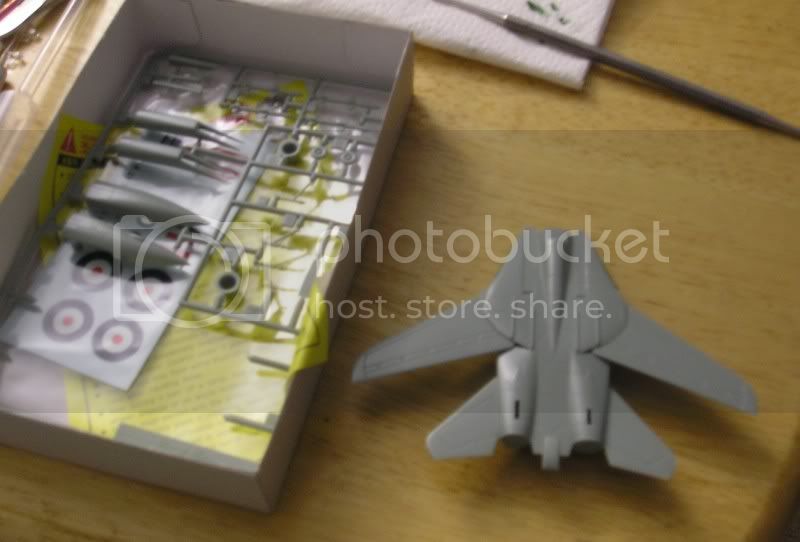
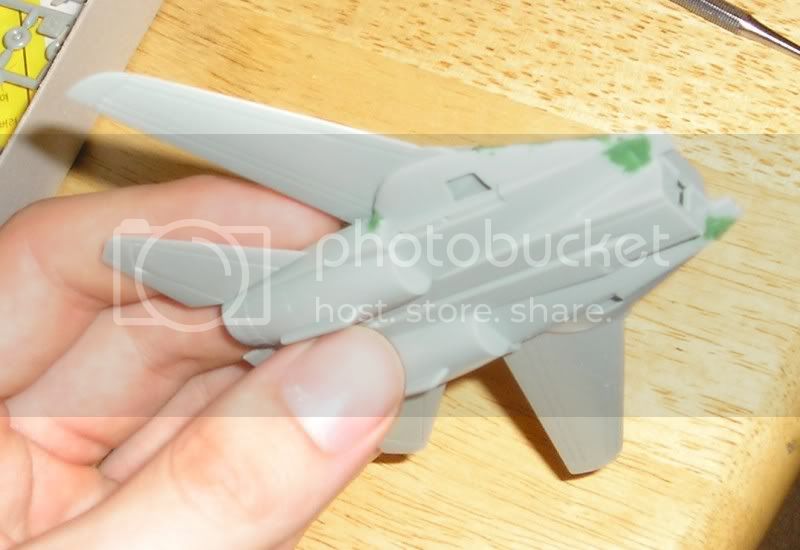
For the F-14, I have decided to stick with the box art and provided instructions for the paint scheme. The Sopwith, on the other hand, doesn't look like a good match to the provided box art, so I think I will exercise more artistic freedom there. The nose decals in particular look like more trouble than they are worth at this scale. I might try some stretched sprue to set up some rigging if it turns out nice.

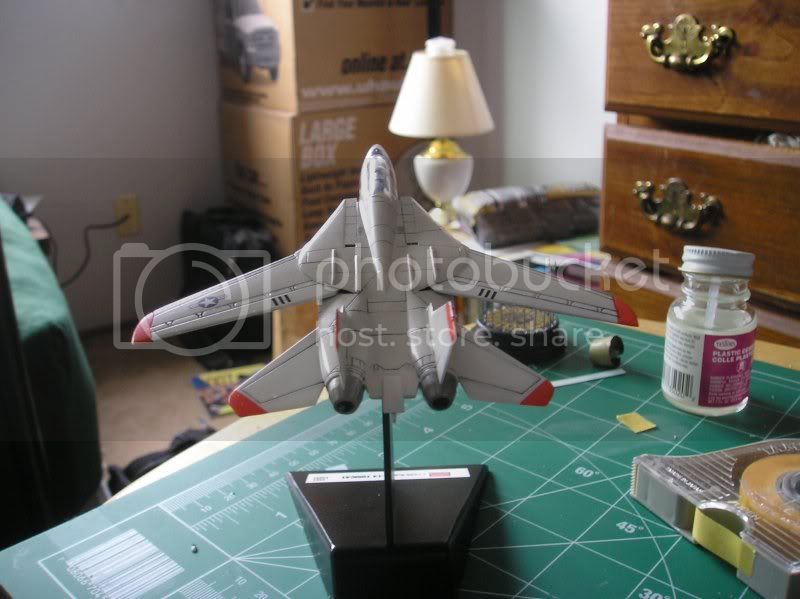
On a final note, I posted a bunch of pics earlier of my second finished airplane, but forgot that not everyone has a 1600x1200 monitor so the pics are huge. It can be found here. From now on I will stick to restricting the width of my pics to 800 pixels.
JackFlash
_VISITCOMMUNITY
Colorado, United States
Joined: January 25, 2004
KitMaker: 11,669 posts
AeroScale: 11,011 posts
Posted: Thursday, April 05, 2007 - 03:15 PM UTC
April 6, 2007 Memo from the Air Board, Aeroscale Early Aviation Hangar.

It will be noted this day that "mentioned in dispatches" contains a note that Aeroscale member - callsign - "goldstandard" has begun the assembly of the 1/72 Academy Sopwith F.1 Camel. It should be noted that this has aggrevated many a good modeler previously and for "goldstandard" to venture into this arena is a mark noting his bravery and intestinal fortitude.

This kit's heavy and overscale details are its greatest problem and care should be taken in getting the wing gap correct between the upper and lower planes.

It is noted that filler had been applied in the usual areas and it is expected that this kit may take the better part of a month's supply issue to get the job done. This is the mould's fault not the modeler's.

Credit should be noted at this modeler's courage and tenacity to tackle this kit.

For the correctness of the report
Brig. Gen S.T. Lawson (call sign JackFlash)
Aeroscale Early Aviation Hangar ...the usual accolades etc etc.
goldstandard
_VISITCOMMUNITY
California, United States
Joined: March 29, 2007
KitMaker: 208 posts
AeroScale: 186 posts
Posted: Friday, April 06, 2007 - 01:57 AM UTC
Thanks for the interest. Personally my main reason for getting this model was the fact that it was only 5 bucks and my ignorance of just how much work it would be. I'll keep the wing distance issue in mind when dry fitting. Wikipedia.com has a good article on the plane with a sillouete from the side, so it should be a good reference for placement of the wings. I have decided to use putty instead of shaving the nose, as it seems that in some areas the nose is correct while in others the front fuselage is too small. It will be a tricky job...
goldstandard
_VISITCOMMUNITY
California, United States
Joined: March 29, 2007
KitMaker: 208 posts
AeroScale: 186 posts
Posted: Friday, April 06, 2007 - 04:02 AM UTC
Here is an update on the progress. I have the F-14 assembly mostly complete, all that is left to do are the little details. I evened out the nose of the sopwith a little better, and attached the rear fins. I plan to save the upper wing attachment for after the painting is done, to make the paint job easier. One thing that interested me about the F-14 was that the Academy kit looks a lot like the pictures of the revel brand kits of that scale. Perhaps the revel kit is a rebox of the academy model?


Comments and criticism are always welcome.
goldstandard
_VISITCOMMUNITY
California, United States
Joined: March 29, 2007
KitMaker: 208 posts
AeroScale: 186 posts
Posted: Monday, April 09, 2007 - 11:27 AM UTC
Well, I finally purchased a pin vise so I can continue with the Sopwith Camel. I haven't had time to get started on that one yet but the F-14 was finally ready for primer, and since it is so small it is easy to use a sandwich bag as a dust cover.


Tomorrow I will put down the base coat and get started with finishing the Camel, after homework has been completed, of course...
goldstandard
_VISITCOMMUNITY
California, United States
Joined: March 29, 2007
KitMaker: 208 posts
AeroScale: 186 posts
Posted: Wednesday, April 18, 2007 - 04:59 AM UTC
Well, It has been a while but I managed to get some more work done. I took some pictures during the first parts of the masking process before going to work but they didn't turn out right afterwards.

My first attempt at preshading. Nexttime I will take care to do straighter lines.


I did the F-14 OOB as per the provided instructions. Not sure if the orange tabs are accurate, but only rivet counters would care and I do this mainly for recreation at the moment:


Here is the F-14 completely painted, now it is ready for some Future and a wash. I made it wheels up and intend to use some clear plastic to make a stand for it.


And now on to the Sopwith:


I only painted the underside of the upper wing and top of the lower wing. I figured the sanding off of rigging contact points would just ruin any paintjob anyways.

For the paint scheme of the sopwith I used the box art and some research since the instructions provided none. I don't think this is accurate either, as I made the colors by mixing some old Testors Medium Green with leftover olive drab from airbrushing I had lying around. The underside of the wings is a mixure of flat white, light tan, and creme color.
goldstandard
_VISITCOMMUNITY
California, United States
Joined: March 29, 2007
KitMaker: 208 posts
AeroScale: 186 posts
Posted: Wednesday, April 25, 2007 - 07:55 AM UTC
Ok, I finally added decals and a wash to the F-14. I wanted it wheels up but had no stand so I scratchbuilt one, the full build of it can be found here.

I had a better time working with the wash this time, as I was able to get out most of the excess to minimize the muddy look I had with my P-40. In case you are wondering, I haven't forgotten about the Sopwith camel, I will post pictures when I get more of that done.


goldstandard
_VISITCOMMUNITY
California, United States
Joined: March 29, 2007
KitMaker: 208 posts
AeroScale: 186 posts
Posted: Thursday, April 26, 2007 - 07:52 AM UTC
Ok, I finally got some more work done on the Sopwith last night. I am going to finish up everything except for the top upper and bottom lower wings, thats where I will be sanding off the excess rigging.

In the third photo you can see where I messed up the tail decal. I accidentally brushed my finger against it after applying decal solvent. No worries though, as a small amount of white paint should fix that.


goldstandard
_VISITCOMMUNITY
California, United States
Joined: March 29, 2007
KitMaker: 208 posts
AeroScale: 186 posts
Posted: Thursday, April 26, 2007 - 12:08 PM UTC
JackFlash was right about attaching the upper wing. It almost seems as if the spars themselves weren't even of equal length! Same went for the main landing gear. The upper wing seems to be just a tad to far to starboard, but after an hour I have given up trying to get it perfect...

Working from various photos I have found on the net, I have begun to drill all the tiny holes for the rigging. They arent finished yet, I will save the rest for the next session.


For now, I will take a well deserved break with my favorite beverage...
goldstandard
_VISITCOMMUNITY
California, United States
Joined: March 29, 2007
KitMaker: 208 posts
AeroScale: 186 posts
Posted: Monday, April 30, 2007 - 10:23 AM UTC
Well, I managed to get the rigging done, (Well, almost...) all that is left now is to clean up the holes and paint the remainder of this plane. I managed to break my precious #80 drill bit so I had to resort to #79 to finish the job. I am sure there is some rigging I missed but after spending three hours straight rigging this guy (on top of the hours preparing the holes...) and nearly going cross-eyed, I decided enough was enough.


I don't know when I will do the final touches, as for now I have to focus on more pressing issues, like Finals...

Once the worst of it is over though, it's back to modeling for me.
goldstandard
_VISITCOMMUNITY
California, United States
Joined: March 29, 2007
KitMaker: 208 posts
AeroScale: 186 posts
Posted: Tuesday, May 01, 2007 - 01:33 PM UTC
I decided to go ahead and get the rest of this done as much as I could before it starts raining again. Finally got the wheels on and painted the remaining parts as well as the rigging. Applied the last of the decals, now all that is left to do is to spray on the dullcote and glue on the propeller.


Well Stephen, it looks like you were right and this Sopwith took me about a month to finish. If there is no break in the rain the next sunny day will be the 5th, one month to the day since I started this thread.
JollyRoger
_VISITCOMMUNITY
Istanbul, Turkey / Türkçe
Joined: December 22, 2004
KitMaker: 1,241 posts
AeroScale: 616 posts
Posted: Tuesday, May 01, 2007 - 07:16 PM UTC
Cute looking craftys! I have an irrelevent question. Is that a drill head set that I see in the underside shot of the Kitty? If so where can I get one?
goldstandard
_VISITCOMMUNITY
California, United States
Joined: March 29, 2007
KitMaker: 208 posts
AeroScale: 186 posts
Posted: Wednesday, May 02, 2007 - 02:22 AM UTC
Well, it is sold by Xacto. Not sure about its availability in Turkey.

Looking at Micromark's website, I have determined that they do have the exact same product made by another manufacturer here.

The problem with this type of drill set is that when you drop it it easily pops open, risking damage to the drill bits. I have had it happen to me twice, forcing me to hunt for it with my flashlight though the carpet, but luckily nothing broke. I do a better job breaking my drill bits while using them...

I have found a set that is not only cheaper, but should be less prone to the problems of the above kit, here.

goldstandard
_VISITCOMMUNITY
California, United States
Joined: March 29, 2007
KitMaker: 208 posts
AeroScale: 186 posts
Posted: Wednesday, May 02, 2007 - 05:42 AM UTC
Well, the weather gods have decided to give me a break, so I was able to apply the final coat of flat laquer today. Too bad my kit didn't come with a Snoopy figure...

The finished product:


Any comments welcome.
JackFlash
_VISITCOMMUNITY
Colorado, United States
Joined: January 25, 2004
KitMaker: 11,669 posts
AeroScale: 11,011 posts
Posted: Wednesday, May 02, 2007 - 01:20 PM UTC
goldstandard. That Camel kit never looked so good. I can't wait to see what you do with a really good kit. I particularly like your down low shot ( as if taken at ground level.) Nicely Done!
goldstandard
_VISITCOMMUNITY
California, United States
Joined: March 29, 2007
KitMaker: 208 posts
AeroScale: 186 posts
Posted: Thursday, May 03, 2007 - 08:54 AM UTC
Thank you. I am at a bit of a loss as to which plane to do next. Lately I have been buying up a small collection of WW1 kits, not sure which one to do next.


I just pick up whatever suits my fancy when at one of the three local hobby shops I visit, which means whatever is on sale. That Eduard Spad XIII was on sale for 15 bucks! (But later I found it even cheaper at Squadron.com) The Albatros and 1 1/2 strutter were ten bucks each.

At the moment the Albatros D.1 looks the most tempting. That injection molded 6-cylinder inline looks real purrrrrdy...
 _GOTOTOP