Like fellow forumite Lars, I am currently building the Roden 1/32 scale Albatros D.III. I am doing this build on consignment for a good friend of mine who is a big fan of the mercurial German Ace, Werner Voss, and he has asked me to paint the aircraft in Voss' markings. I mainly build in 1/48 scale, however my last project was in 1/72 scale and was quite an eye strain, so moving stright from 1/72 to 1/32 was a bit of a jump. Alot has been written already on the Roden Albatros, so I will not repeat it here, rather I will show what I did and let you decide on the merits of the kit for yourself!
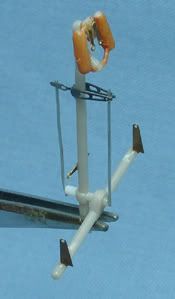
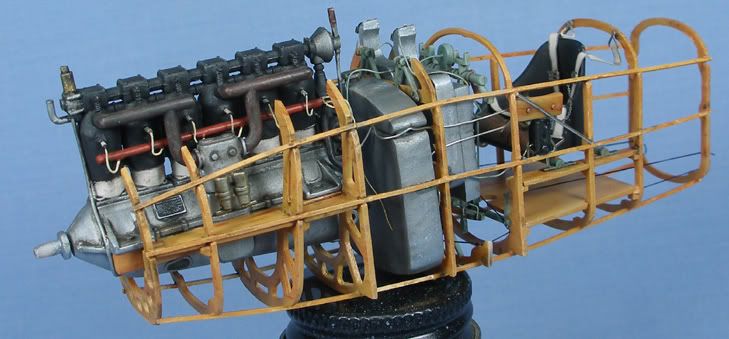
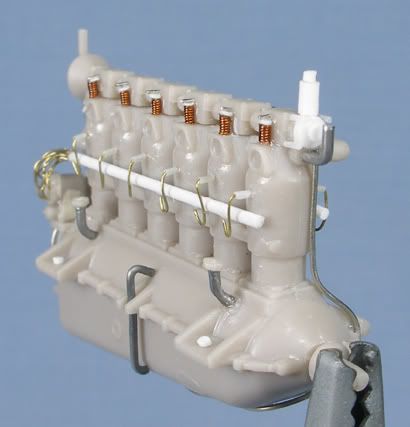
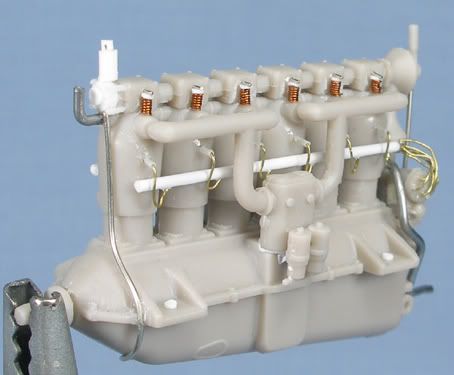
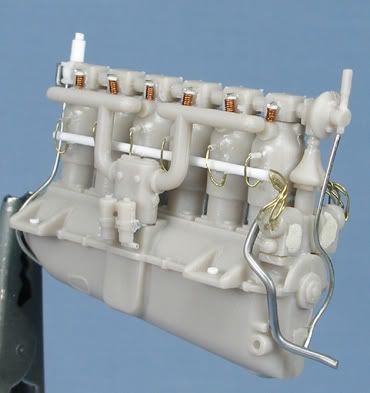
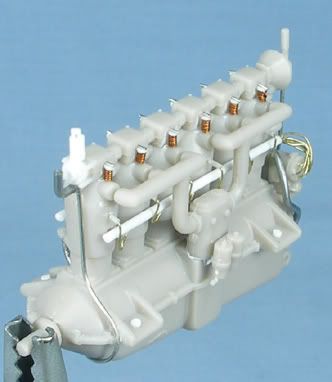
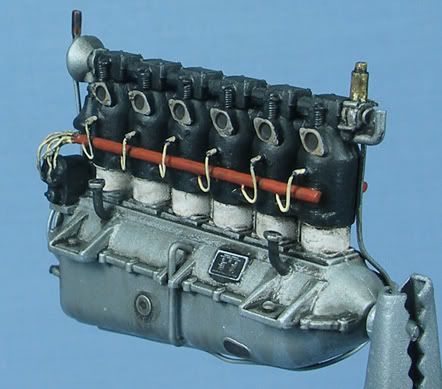
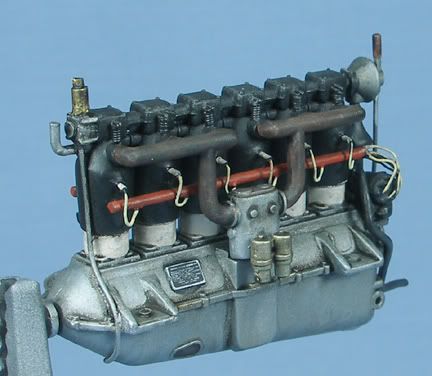
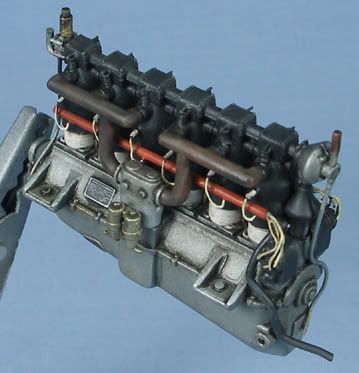
The first step was the engine - Roden has made a nice representation of the 160HP Mercedes D.III, but improvements can be made. Firstly, the distributor boxes (parts 8Z) have major sinkholes that need filling. I did so with putty. The prop shaft (part 9Z) is not included in the instructions - it should be sandwiched between the engine halves in step 6. I drilled holes in the distributor caps on part 8Z to accept the ignition wires. Roden represents the spark plugs as little blobs on the side of each cylinder - I cut these off and drilled holes in their place to take lengths of fuse wire to represent the ignition wires. Over these wires, I threaded some finely heat streched Q-tips cut to size and glued them at the cylinder end to represent the end of the spark plugs - these to me look much better. I also replaced kit parts 6Z, 3Z and 7Z with plastic rod or fine solder as the kit parts were not round and had seam lines that would require clean up (hey I'm lazy). The kit engine's rocker arm springs are also a bit too blobby - I replaced these with wound fuse wire, added caps from sliced plastic rod, and arms from wire. Again, in my opinion these look much more convincing. Other additions included scratchbuilding fuel pressurisation air pump on the front of the engine (why do manufacturers ALWAYS omit this from their kits??), and adding some other bits of wiring.
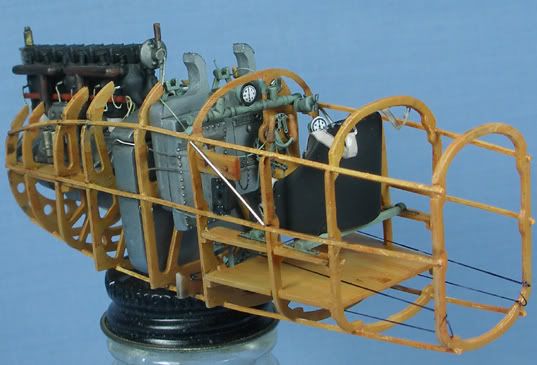
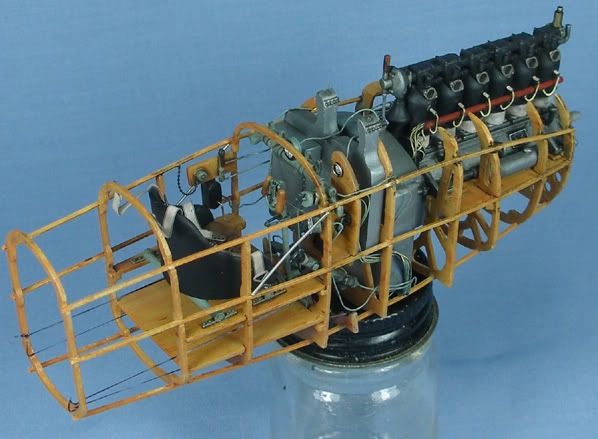
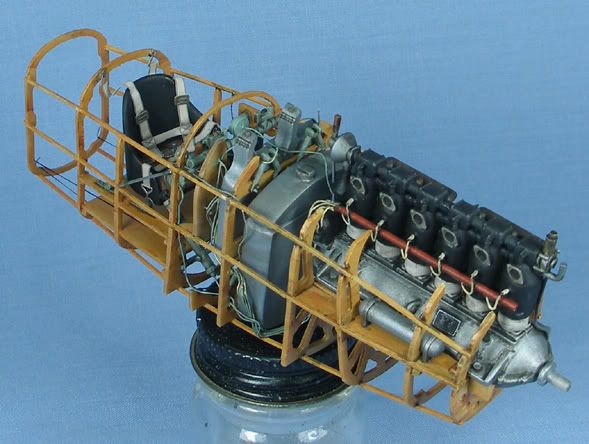
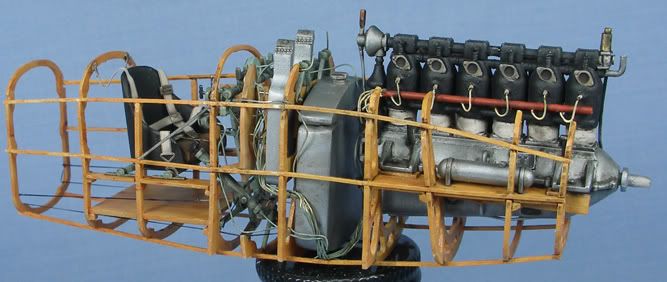
Here are some pics of the engine before and after paint:

Currently, I am working on the cockpit and foward fuselage structure.
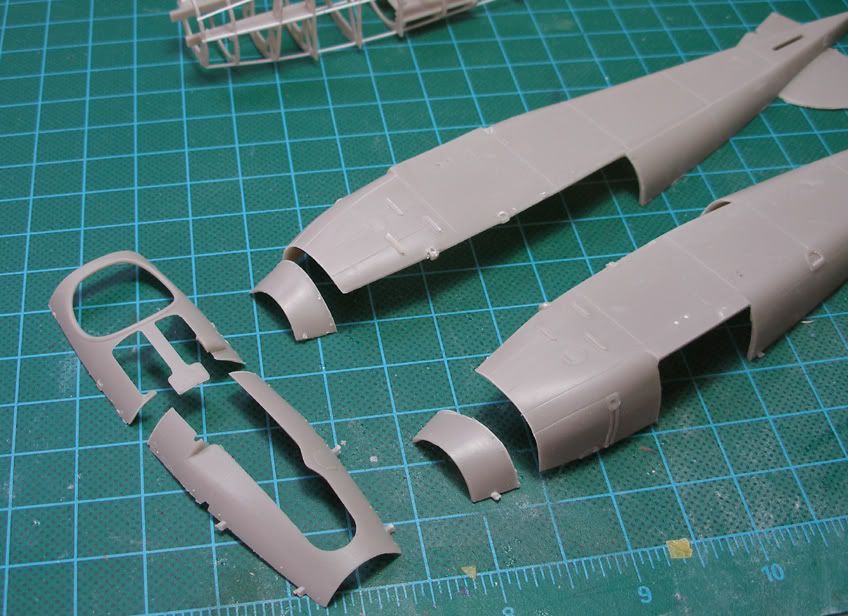
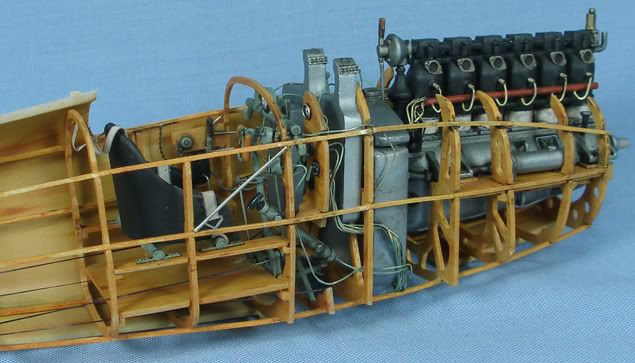
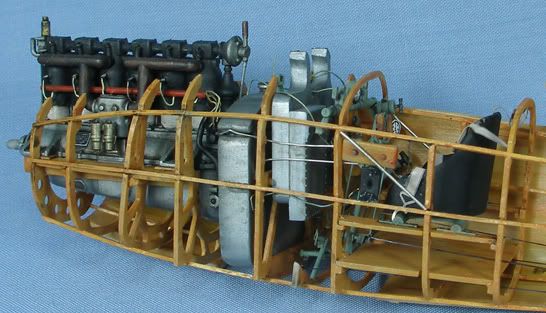
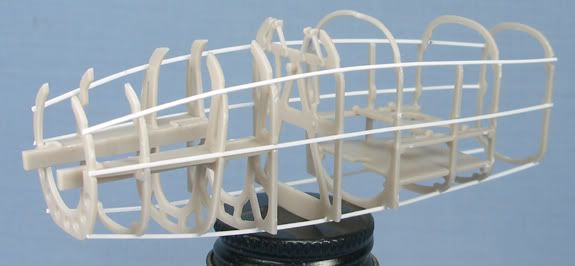
Roden supplies all of the bulkheads in the forward fuselage, which is great! There are alot of sprue attachment points and mould release tabs on the bulkheads, and a number of them were bent. Careful removal with a sharp knife and straightening helps here. Also, I beleive Roden gets you to install the 3rd bulkhead from the front (part 45A) backwards - the side with the rounded top should be on the port side to match the others, and the flat topped side should be on the starboard side. Also, make sure this bulkhead is slanted at the correct angle. In fact, the entire engine support frame work structure was a little tricky - I installed the fwd and aft most bulkheads onto the supporting boards first, aligning, then fitting the centre bulkheads.
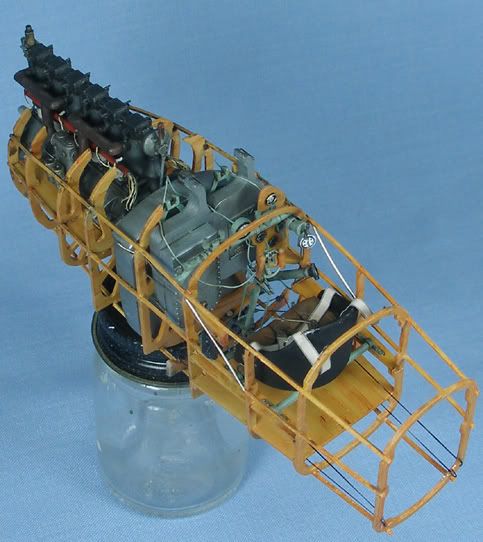
Roden provide positive locating tabs on the fuselage sides for the bulkheads, which in the instructions attach to the fuselage before closing. As the roden fuselage is not very stiff, I could see alignment issues if I followed the instructions. Therefore, I decided to take a different approach and build the forward fuselage interior as one assembly before installation into the fuselage. This ensures allignment of all of the forward fuselage interior, and as the bulkheads have recesses for the moulded fusealge stringers, it is an easy job to scratch the stringers and run them all the way back along the fuselage. Here's how it looks (obviously unpainted):
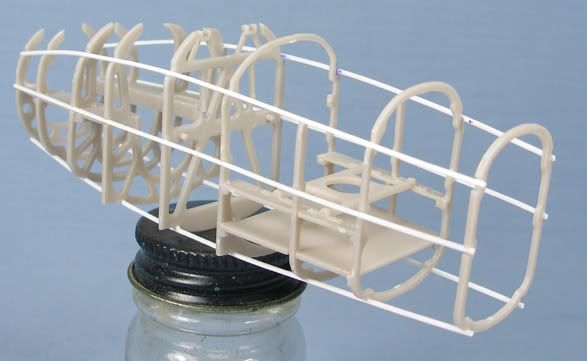
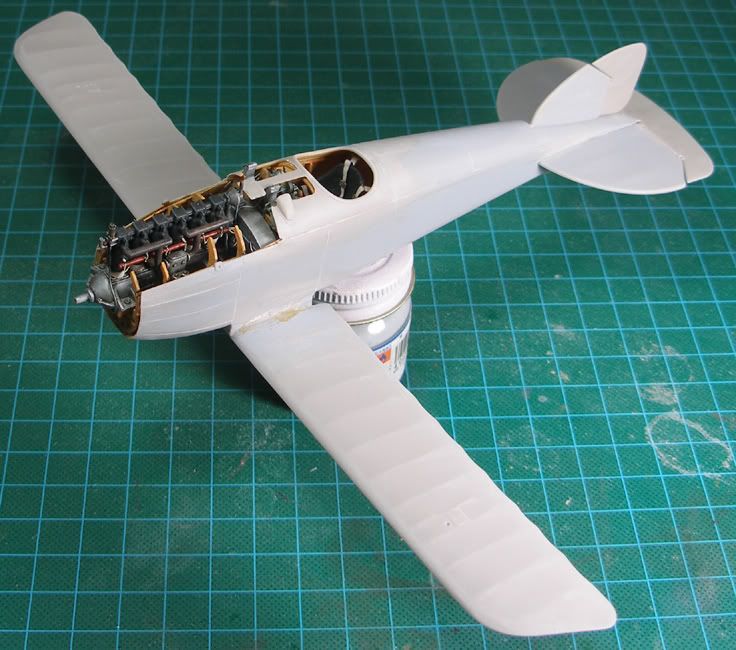
And here is is with some of the major components dry fitted to give an idea of where everything sits.
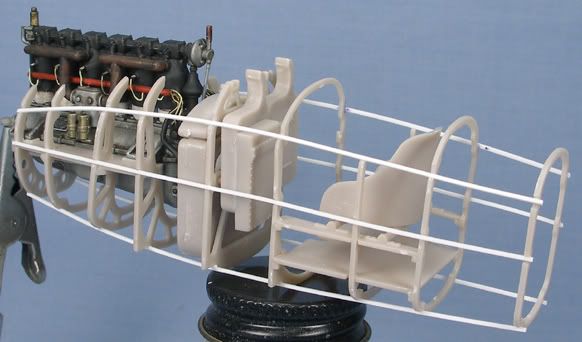
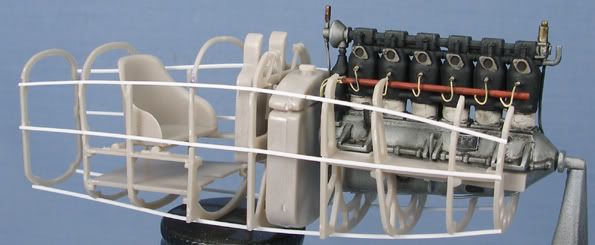
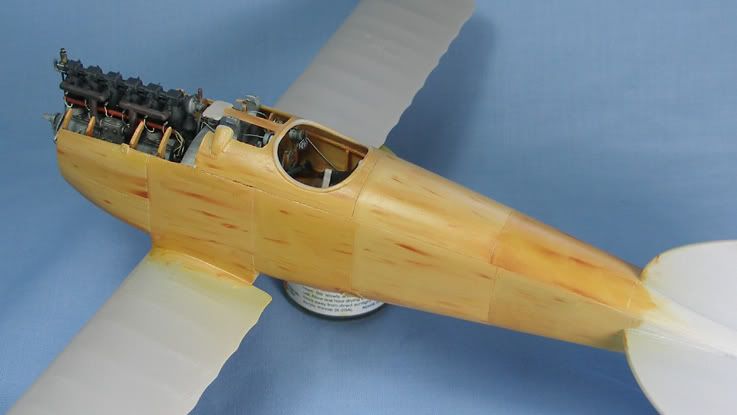
Next is on to painting - I have never tried to replicate a wood grain in this scale befoe so it should be fun.
All comments and feedback welcome!
BC


