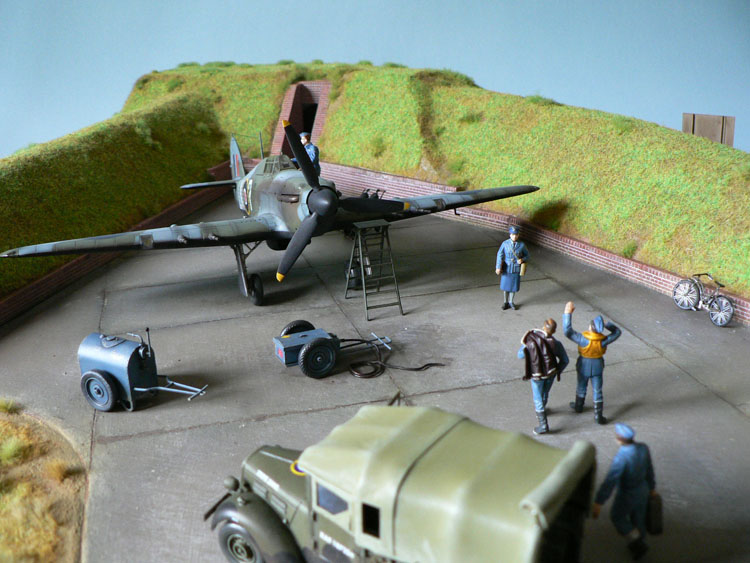
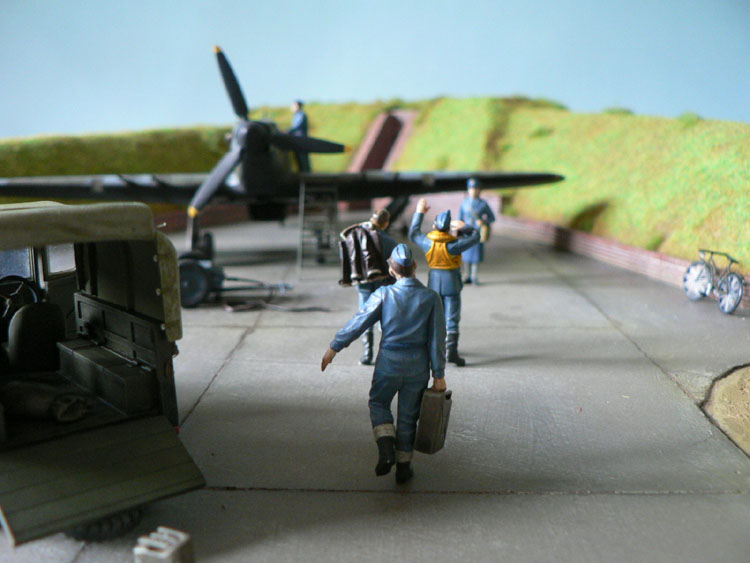
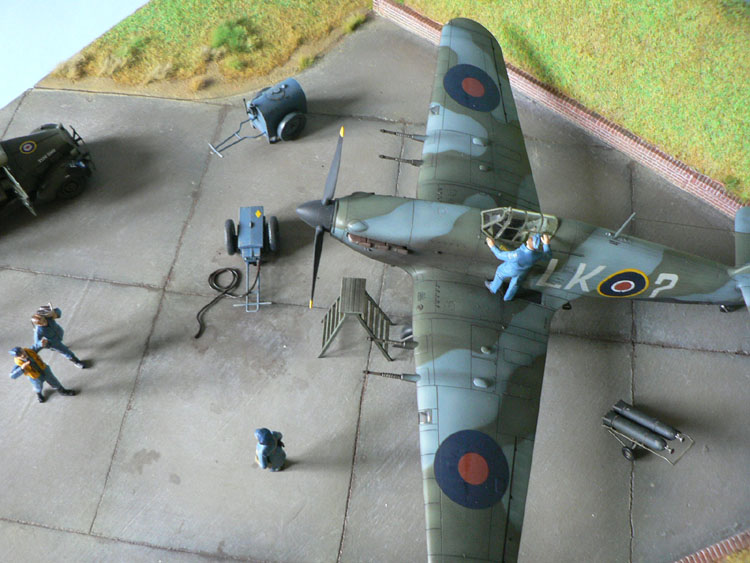
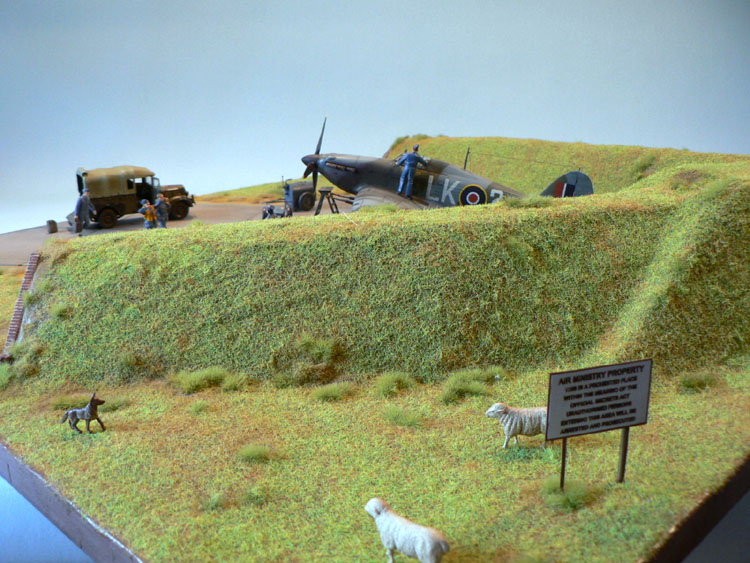
RAF Dispersal Pen diorama

#029
England - East Midlands, United Kingdom
Joined: December 23, 2005
KitMaker: 6,249 posts
AeroScale: 3,270 posts
Posted: Wednesday, July 11, 2007 - 06:13 AM UTC
This is looking really good Jean-Luc.
i like the various "stories within the story" that youve got going on. Nice and busy without looking cluttered.
What do you think of the Eduard figures? I have the ICM figures,(for when I eventually build a diorama), and I looked at the Eduard RAF figures at a show the other day. I feel the poses are a bit more animated than the ICM ones,but thats just from the box art.
No 24hr speed build for the Hurricane then?

Nige

It's not the same, better, but not the same...
Germany
Joined: September 07, 2005
KitMaker: 5,609 posts
AeroScale: 5,231 posts
Posted: Wednesday, July 11, 2007 - 06:22 AM UTC
Hi Nigel
I also like the boxart of the eduard RAF 1940 set ... would be nice to combine it with the miniamali outhouse


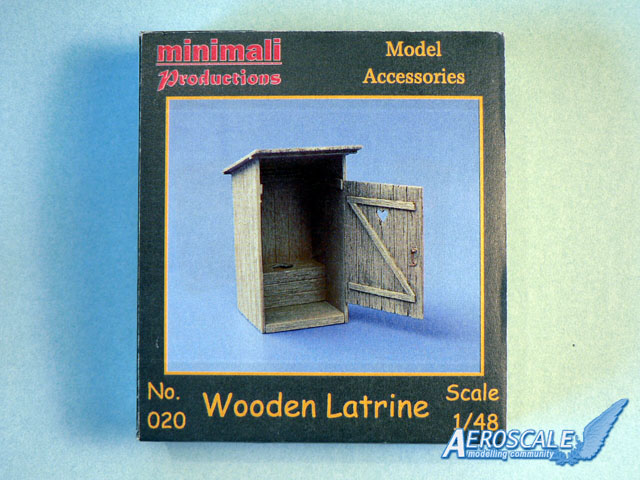
hope Jean-Luc will do the review of the sets (including VVS) soon ... IMO the ICM stuff is the best (in plastic) at the moment.
cheers
Steffen
DULCE ET DECORUM EST PRO HOBBY MORI
Moselle, France
Joined: May 15, 2005
KitMaker: 5,653 posts
AeroScale: 4,347 posts
Posted: Wednesday, July 11, 2007 - 07:18 AM UTC
Hi Steffen!
Do you mean the pilots are not running to their planes?

I just build the RAF figures for the review to come. They are not to the level of the ICM set... by far! They do look a little like "fat robots"...

I didn't built the VVS ones but they look better in the box.
Jean-Luc

Better think one hour and build five minutes...
Than think five minutes and build an hour!
Germany
Joined: September 07, 2005
KitMaker: 5,609 posts
AeroScale: 5,231 posts
Posted: Wednesday, July 11, 2007 - 07:24 AM UTC
Hi Jean-Luc
I have read more than one report where the pilots ran faster after the mission than before .. sometimes they did not make it ......
It is really sad that eduard does not improve the figures as fast as their aircraft models ...
I am curious about your article(s) anyway
cheers
Steffen
DULCE ET DECORUM EST PRO HOBBY MORI
Moselle, France
Joined: May 15, 2005
KitMaker: 5,653 posts
AeroScale: 4,347 posts
Posted: Wednesday, July 11, 2007 - 09:51 PM UTC
Quoted Text
No 24hr speed build for the Hurricane then? 
Hi Nigel!
No, no 24hr speed build this time. I think Vincent wouldn't agree!

I made a start on the kit though and it seems my little boy is rather pleased with it... for the moment.

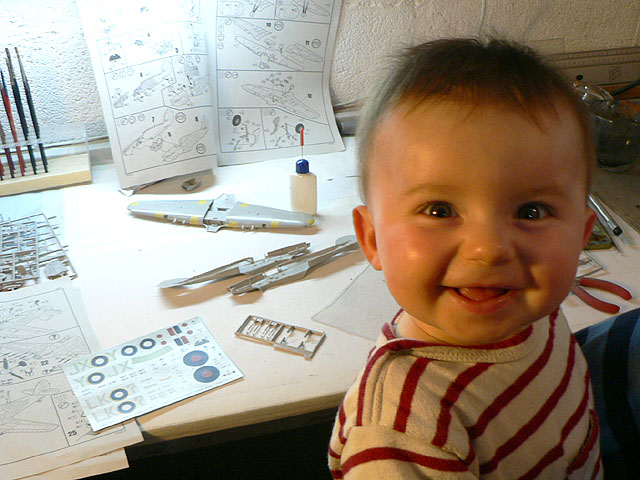
Jean-Luc

Better think one hour and build five minutes...
Than think five minutes and build an hour!

#041
Kobenhavn, Denmark
Joined: July 20, 2006
KitMaker: 10,069 posts
AeroScale: 3,788 posts
Posted: Wednesday, July 11, 2007 - 10:03 PM UTC
Hi Jean-Luc
Great diorama - very good job on the figures! Looking forward to see what you can make with the Hurricane.
Off topic: What a handsome little boy you have. You must be proud

Campaign'oholic - 252+ campaigns completed
Germany
Joined: September 07, 2005
KitMaker: 5,609 posts
AeroScale: 5,231 posts
Posted: Wednesday, July 11, 2007 - 10:12 PM UTC
What a cute little model ... did you make it yourself or had you have some help


cheers
Steffen
DULCE ET DECORUM EST PRO HOBBY MORI
Moselle, France
Joined: May 15, 2005
KitMaker: 5,653 posts
AeroScale: 4,347 posts
Posted: Thursday, July 12, 2007 - 09:03 AM UTC
Hi Jesper and Steffen!
Thanks for the kind words about my little model!

Yes I'm rather proud of this one, but Steffen, please understand that I won't tell you the secret of manufacture!

Despite little Vincent, I managed to make some progress on the Hurricane. Cockpit is complete and the wing to fuselage assembly is done to...
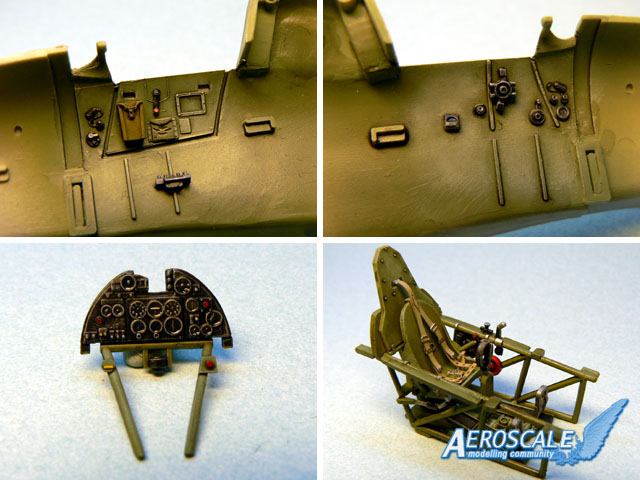
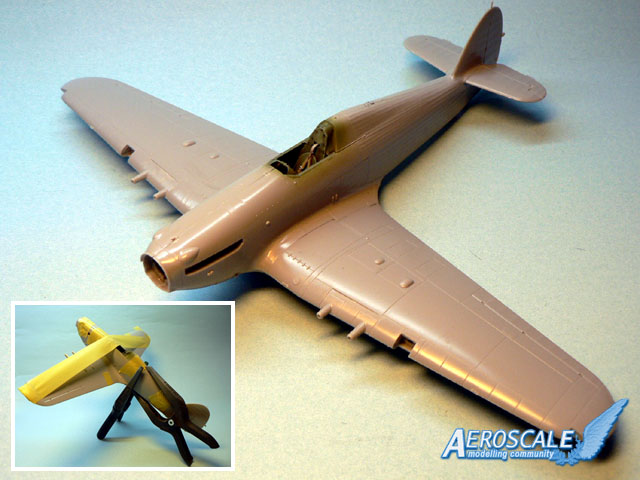
So far I can say that this is a typical Hasegawa kit (although it's a Revell boxing): good detail, very nice surface finish with delicate panel lines and relief surface structures and... modular assembly!

Fortunately the fit is good and only a little amount of filler is needed here and there.
Let's see how far I can go tomorrow...
Jean-Luc

Better think one hour and build five minutes...
Than think five minutes and build an hour!
New York, United States
Joined: April 04, 2006
KitMaker: 279 posts
AeroScale: 194 posts
Posted: Friday, July 13, 2007 - 05:49 AM UTC
You do great work Jean Luc... on the dio, aircraft and the 1:1 scale figures! He is such a cute kid!
This is coming along very nicely. I have to agree that the grass does look rather "lush" for a military installation. Perhaps "yellowing" some patches might help. (Maybe I'm just not used to seeing grren grass anymore, here in the states, it seems it's all dead due to this drought.) Either way, you are going to have one hell of a dio when you're done.
Justen Hanna
IPMSUSA #45680
Proprietor, Section 8 Hobbies
"The distance between genius and insanity is measured only by success."
Moselle, France
Joined: May 15, 2005
KitMaker: 5,653 posts
AeroScale: 4,347 posts
Posted: Monday, July 16, 2007 - 08:04 AM UTC
Hi all!
Quoted Text
Let's see how far I can go tomorrow...
Obviously not very far!

After weeks of bad weather here in France the sun returned so I was a bit lazy during the week-end...

I applied the two tone upper camouflage today using the BluTack method...
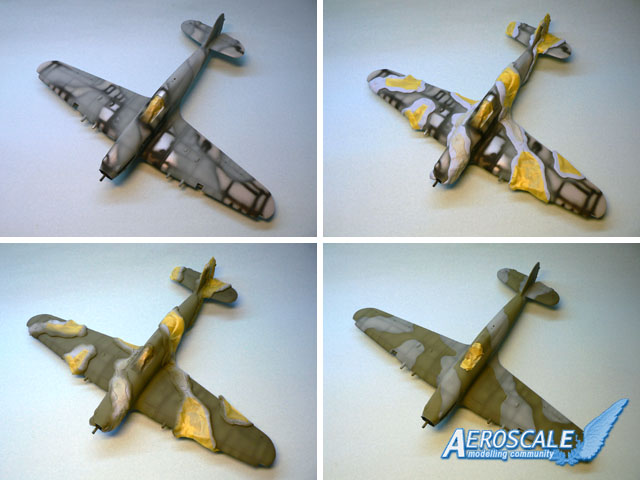
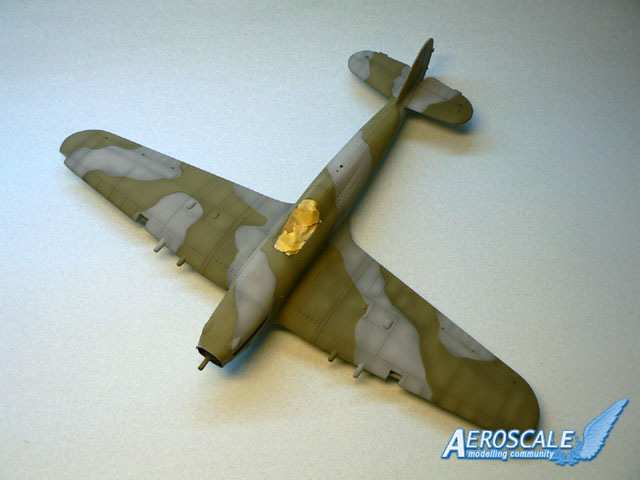
Next time I will apply the black underside color since I opted to do the night fighter scheme. If you build the Revell kit one day you must be carefull with the painting instructions as the upper views have been exchanged between option A and B. The night fighter didn't carried a sky tail band and yellow wing leading edge markings.
Justen, thanks for the kind words about my models!

Jean-Luc

Better think one hour and build five minutes...
Than think five minutes and build an hour!
Moselle, France
Joined: May 15, 2005
KitMaker: 5,653 posts
AeroScale: 4,347 posts
Posted: Monday, July 16, 2007 - 07:53 PM UTC
Hi all!
I applied the "black" underside color this morning...
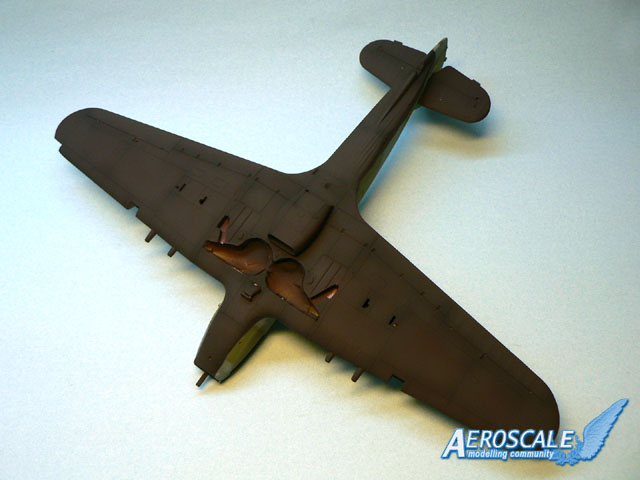
Next I'll apply some coats of Future and the decals...

Jean-Luc

Better think one hour and build five minutes...
Than think five minutes and build an hour!

#041
Kobenhavn, Denmark
Joined: July 20, 2006
KitMaker: 10,069 posts
AeroScale: 3,788 posts
Posted: Monday, July 16, 2007 - 09:35 PM UTC
Looks good, Jean-Luc.
I am always impressed how you make the pre-shading show through on the finished model. I have tried this (although only a few times) but I always end up covering all the pre-shading.

Looking forward to see it with some decals on.

Campaign'oholic - 252+ campaigns completed
Moselle, France
Joined: May 15, 2005
KitMaker: 5,653 posts
AeroScale: 4,347 posts
Posted: Tuesday, July 17, 2007 - 01:15 AM UTC
Quoted Text
I am always impressed how you make the pre-shading show through on the finished model. I have tried this (although only a few times) but I always end up covering all the pre-shading. 
Hi Jesper!
I was in Tibet a few years ago. One day, while we were climbing a snow covered mountain to go on a Yeti hunt, an old Monk (he must have been 250 years old, now he's probably 300) told me how to achieve such effects! the receipt was hidden in a golden chest which was hidden in a deep and dark cave...

More seriously, I think only practice can help here. By the way I pre-shade (black in this case), apply the basic color and then post-shade with a slightly lighter color.
I applied the decals this afternoon. They are a bit thick but I've already seen worse made by Revell...
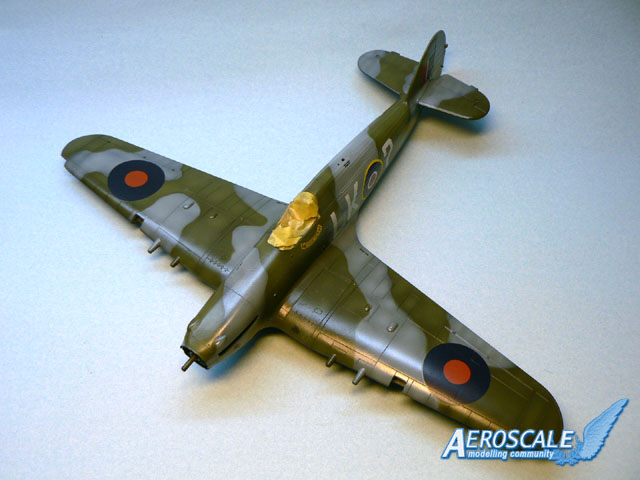
Next I will apply a matt coat and then glue the detail parts in place before final weathering.
Jean-Luc

Better think one hour and build five minutes...
Than think five minutes and build an hour!
Indiana, United States
Joined: May 14, 2007
KitMaker: 3,117 posts
AeroScale: 2,270 posts
Posted: Tuesday, July 17, 2007 - 01:39 AM UTC
Lookin good. That Hurricane sure built up into a beauty. It should into the sheep pen diorama quite nicely.

Seriously though, I think you have achieved a great balance between the aircraft and the setting. In most dioramas, one will tend to overpower the other and cause the viewer to lose interest, and concentrate on only a small part of the whole. On this, my eye will go back and forth finding details, interest, and a skillful build in both areas. The only thing that would make it better is a Sergeant Major scrapping his boots.


Great build Rottenfuhrer.
"Treat 'em Rough", Current Builds--Wingnut Rumpler
I am frequently seen with blood shot eyes from staying up past my nap time to get the right colour scheme on my latest WWI model?
Moselle, France
Joined: May 15, 2005
KitMaker: 5,653 posts
AeroScale: 4,347 posts
Posted: Wednesday, July 18, 2007 - 12:09 AM UTC
Hi Carl!
Thanks for the kind words. I'm afraid there was no Sergeant Major scrapping his boots in the latest Eduard RAF fighter crew set. they should have included one as it would have made the kir a lot better!

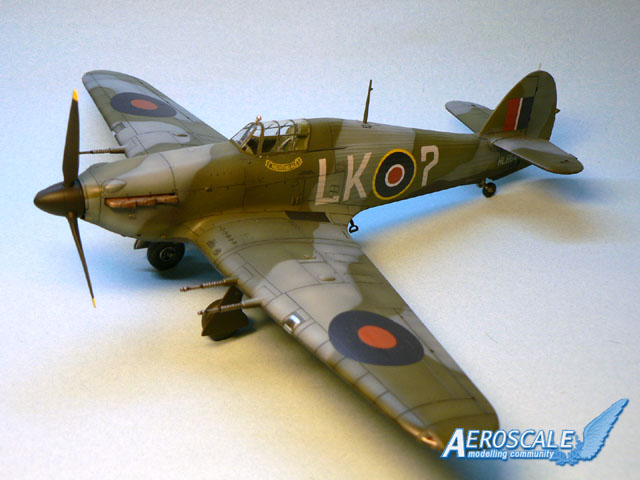
I'm almost done with the Hurricane: I made some detail work such as hollowing the exhausts, doing the panel lines, applying a matt coat etc...
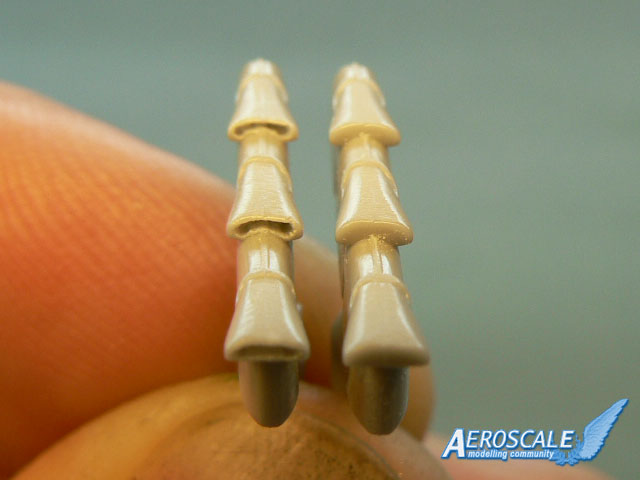
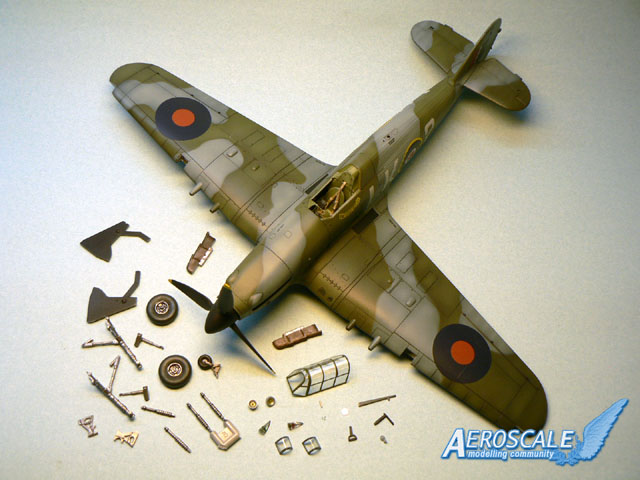
All what is left to do is assemble the small parts such as the landing gear, the formation and landing lights, antenna with aerial, exhausts, canopy etc...
Jean-Luc

Better think one hour and build five minutes...
Than think five minutes and build an hour!
Merlin
 Senior Editor
#017
United Kingdom
Joined: June 11, 2003
KitMaker: 17,582 posts
AeroScale: 12,795 posts
Posted: Wednesday, July 18, 2007 - 12:44 AM UTC
Hi Jean-Luc
Amazingly quick work! - and a wonderful job on the exhausts - it makes a huge difference!

All the best
Rowan

BEWARE OF THE FEW...
As I grow older, I regret to say that a detestable habit of thinking seems to be getting a hold of me. - H. Rider Haggard
Moselle, France
Joined: May 15, 2005
KitMaker: 5,653 posts
AeroScale: 4,347 posts
Posted: Wednesday, July 18, 2007 - 06:57 AM UTC
Better think one hour and build five minutes...
Than think five minutes and build an hour!
California, United States
Joined: July 08, 2003
KitMaker: 1,936 posts
AeroScale: 1,168 posts
Posted: Wednesday, July 18, 2007 - 07:02 AM UTC
New York, United States
Joined: April 04, 2006
KitMaker: 279 posts
AeroScale: 194 posts
Posted: Wednesday, July 18, 2007 - 07:31 AM UTC
Very nice looking Hurricane, Jean Luc. The gub barrels look very realistic. Did you dry-brush or use graphite?
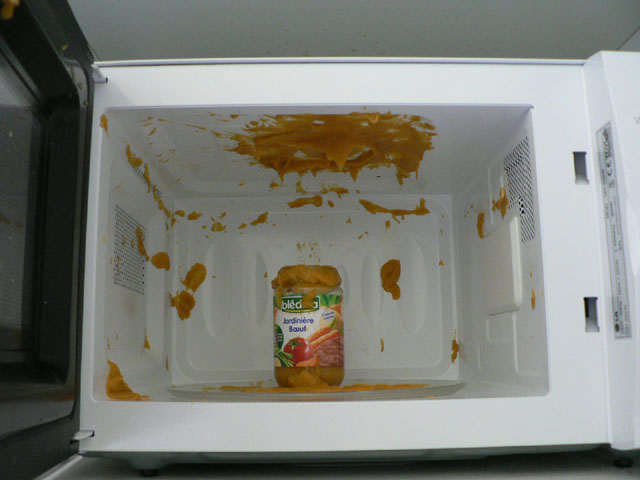
BTW: I have to agree with Chuck. If you nuke baby food, it's really easy to get "hot-spots" that can burn the little guy, even if you stir it really well. I learned that the hard way...... and felt AWFUL about it.
Justen Hanna
IPMSUSA #45680
Proprietor, Section 8 Hobbies
"The distance between genius and insanity is measured only by success."
staff_Jim
 Publisher
New Hampshire, United States
Joined: December 15, 2001
KitMaker: 12,571 posts
AeroScale: 510 posts
Posted: Wednesday, July 18, 2007 - 04:26 PM UTC
Quoted Text
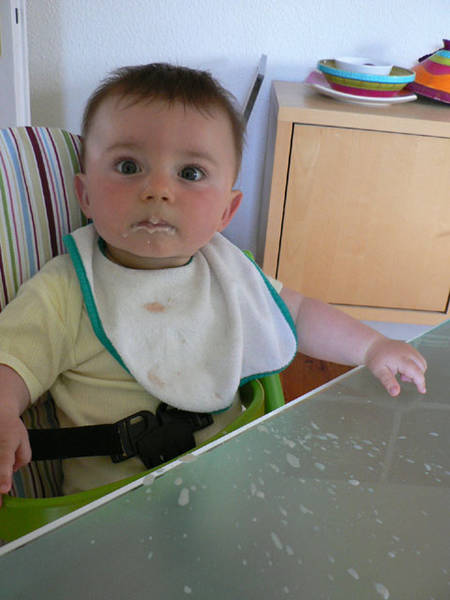
Fortunately I'm doing a cleaner job when I build plastic models... 
Lol....too cute!! Nice job dad.

Cheers,
Jim
Indiana, United States
Joined: May 14, 2007
KitMaker: 3,117 posts
AeroScale: 2,270 posts
Posted: Thursday, July 19, 2007 - 12:19 AM UTC
I often have the same exact look about half way through a build.

"Treat 'em Rough", Current Builds--Wingnut Rumpler
I am frequently seen with blood shot eyes from staying up past my nap time to get the right colour scheme on my latest WWI model?
Bucuresti, Romania
Joined: May 30, 2007
KitMaker: 35 posts
AeroScale: 32 posts
Posted: Thursday, July 19, 2007 - 12:57 AM UTC
Well, your son is just adorable, and it has that "I am next generation modeller-to-be" look on his face. Kinda curious, kinda thoughtful of details

My second one is incoming so I guess a very tough round of negotiation w/ my wife will follow, regarding osupational space in our house

Sorry for being

BTW, your HH Mk II looks smashing !!! Can you please describe the techniques you are using in pre and post shading? Are the colors that you use for camouflage afterwards prepared in any special way? Are you using acrilics or enamel?
Thank you!

Working on:
MiG-21 MF S/N 9806 of FARSR - Academy 1/48
Bf-108 Taifun of ARR - Eduard 1/48
VW Kaffer - Tamiya 1/48
Joined: May 21, 2007
KitMaker: 77 posts
AeroScale: 76 posts
Posted: Thursday, July 19, 2007 - 02:30 AM UTC
Jean-Luc,
You do an amazing job of not only building, but sharing your builds with others. Your threads are always informative, and I tend to learn many things from reading them. Thanks for that.
BTW, Vincent is very cute.
Allen
Moselle, France
Joined: May 15, 2005
KitMaker: 5,653 posts
AeroScale: 4,347 posts
Posted: Thursday, July 19, 2007 - 03:57 AM UTC
Better think one hour and build five minutes...
Than think five minutes and build an hour!
California, United States
Joined: July 08, 2003
KitMaker: 1,936 posts
AeroScale: 1,168 posts
Posted: Thursday, July 19, 2007 - 04:06 AM UTC
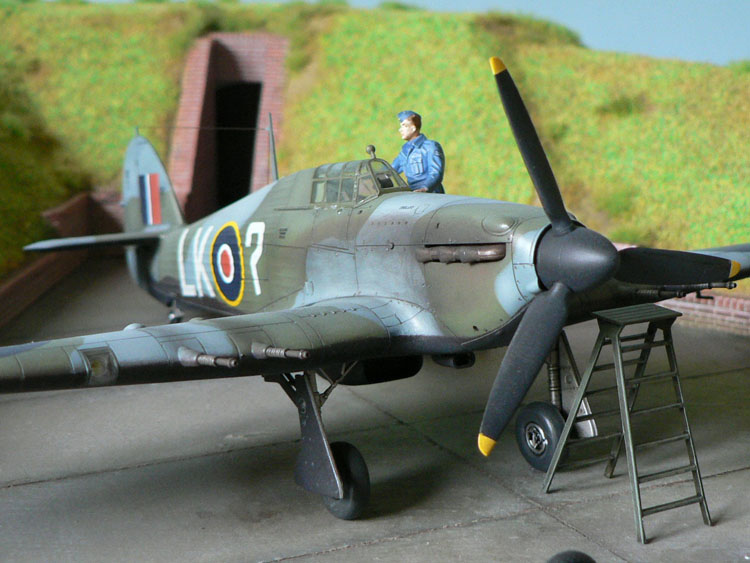
The last photo of the Dio is a great "candid" shot. What a great job, thanks for sharing.


