

1⁄32Re. 2000 Heja/J20 Build Guide
Wings & Undercarriage
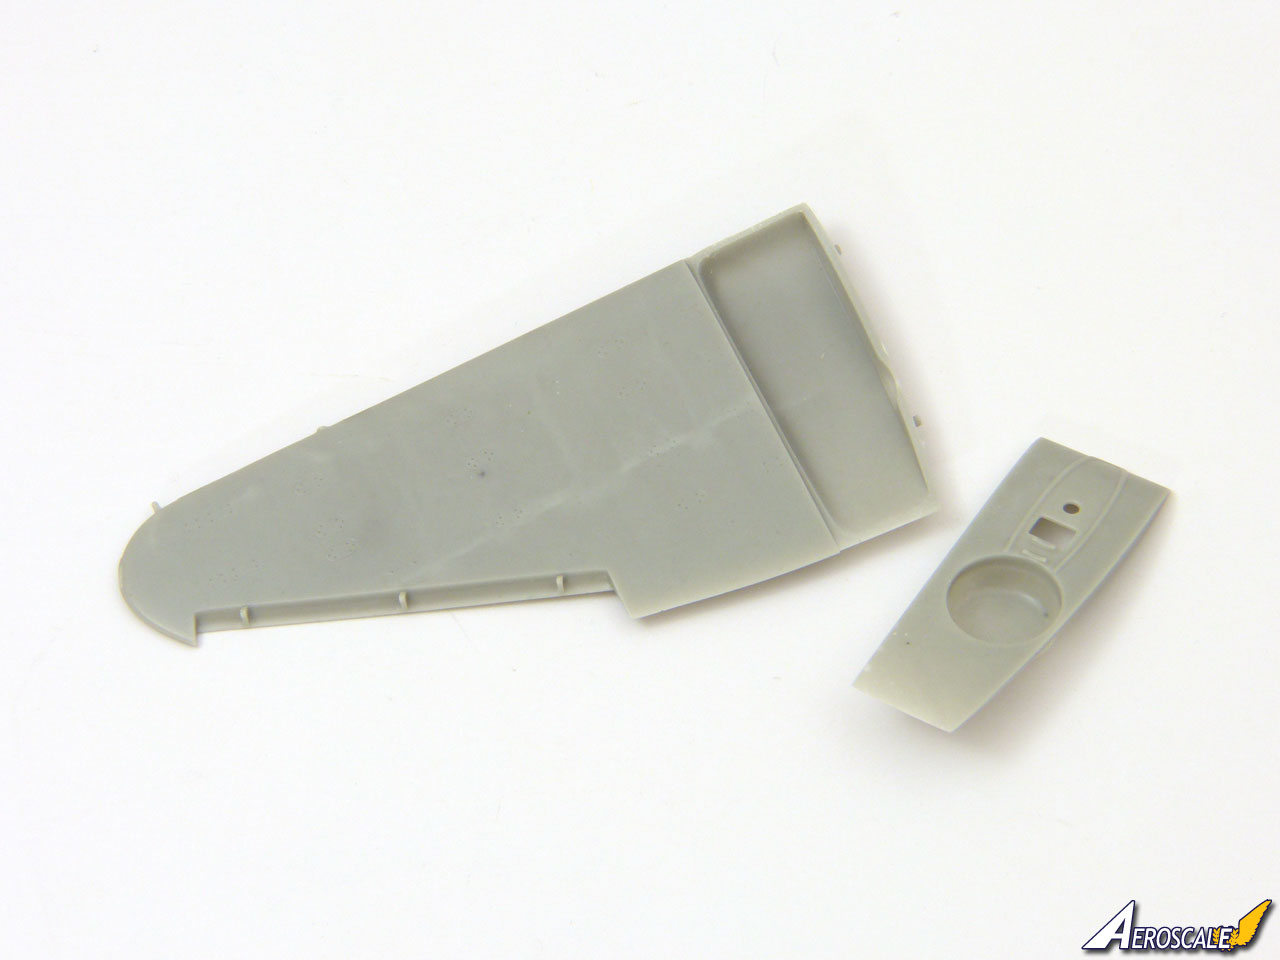
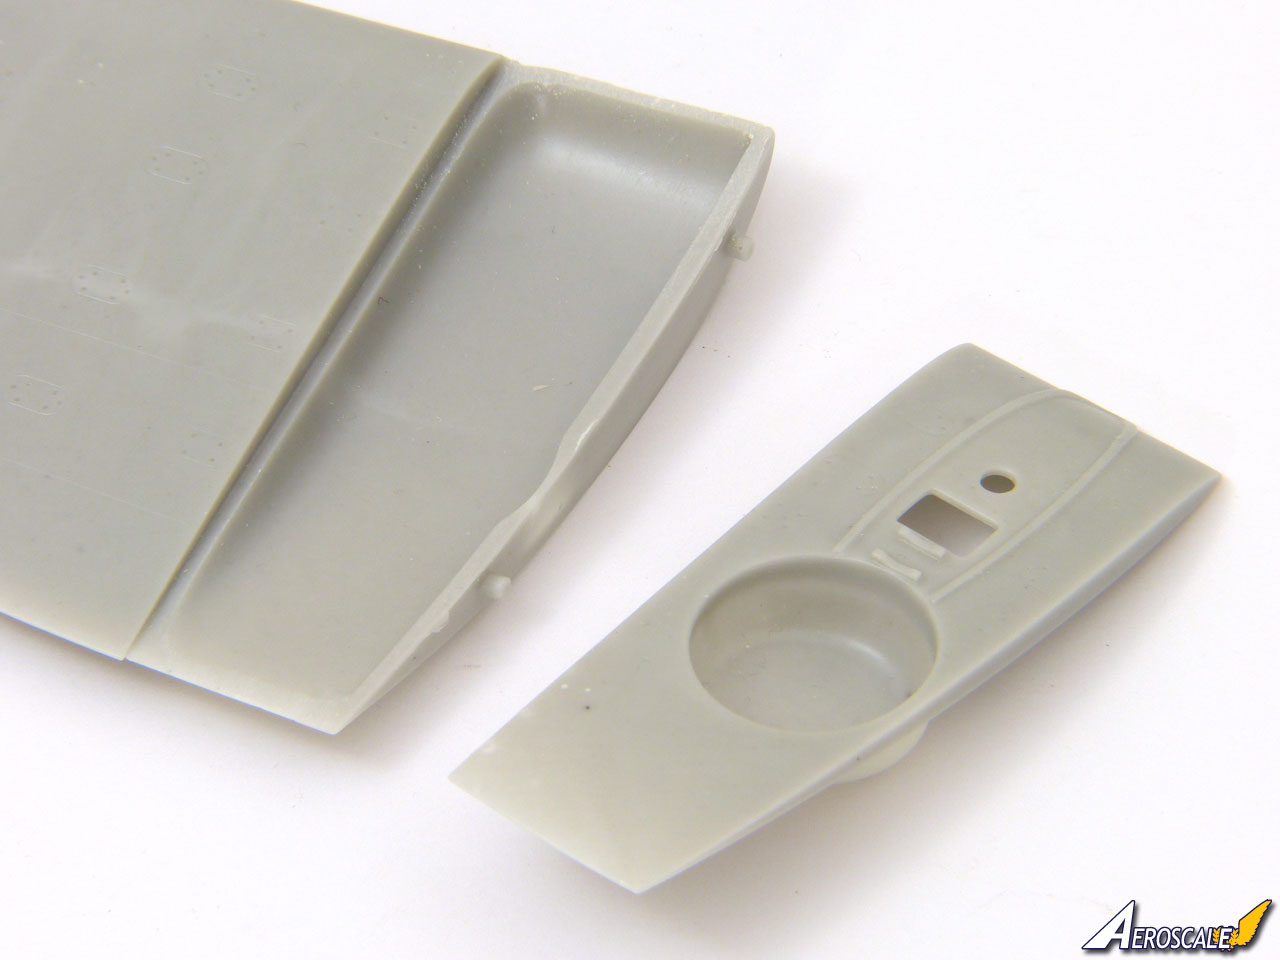
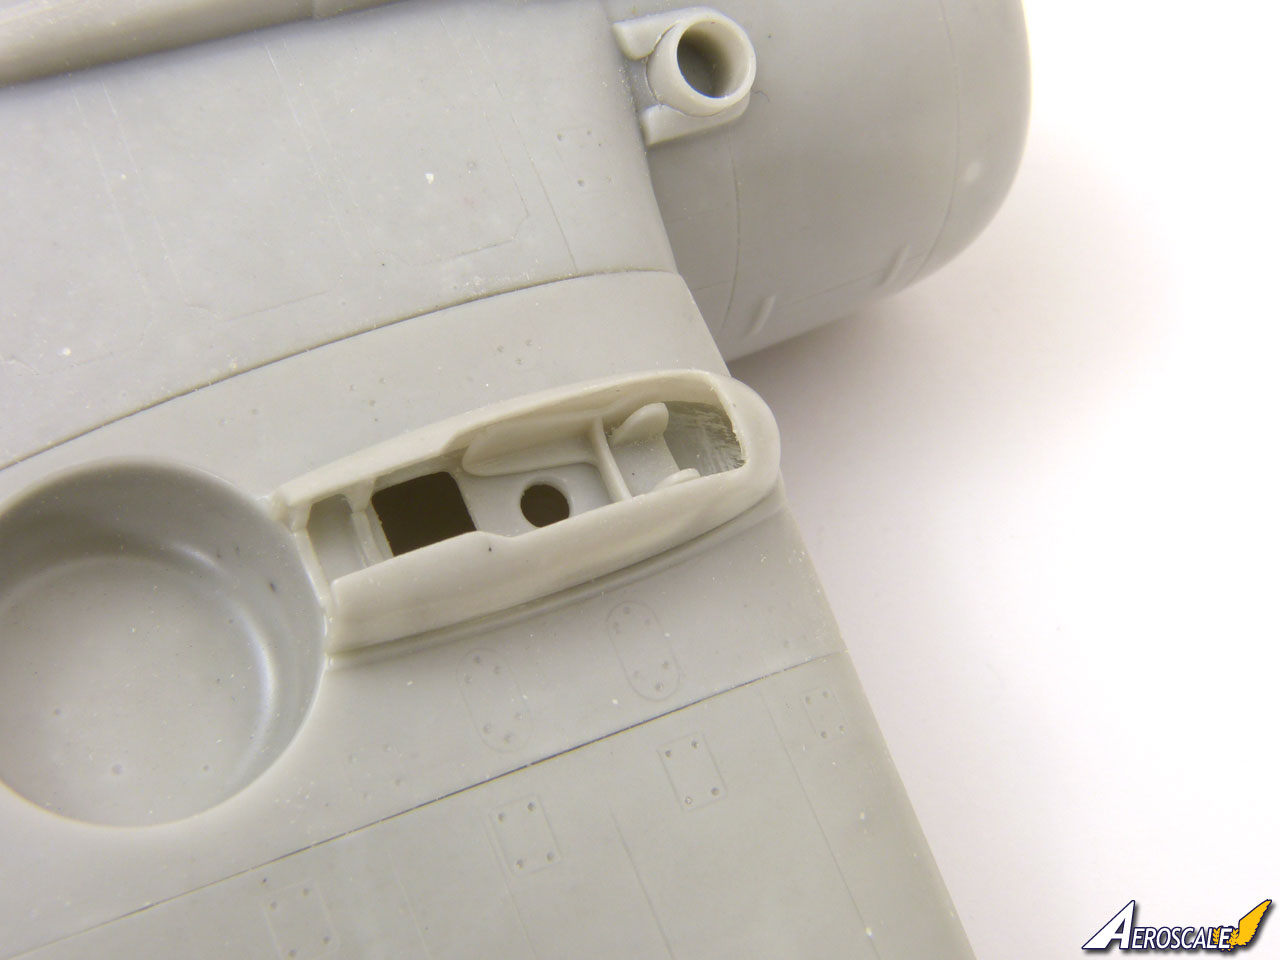
The instructions indicate to build and fit the undercarriage before attaching the wings to the fuselage, but I always prefer to complete the main parts of kits airframe before adding parts like these which are easy to damage.The wheel wells are cleverly designed to avoid problems with casting. The wells themselves are cast along with the innermost section of the underside of each wing as a drop-in panel. This also leaves an open bay for the retraction arms. The fit is excellent.
I found the wings a good tight fit at the roots - but there's a snag. Getting the best overall fit created too much dihedral. Looking at photos of the full-sized aircraft, there's only a small amount of dihedral evident, so I tacked the wings in place with CA at the correct angle and then filled the resulting gaps with 5-minute epoxy glue for strong joints. It looks ugly in the accompanying shots - but I was conscious of the "no filler" requirement of the build, so this was my best warts 'n all compromise - and it actually created a pretty smoothly blended seam, so it's a fix I'll remember for future builds.
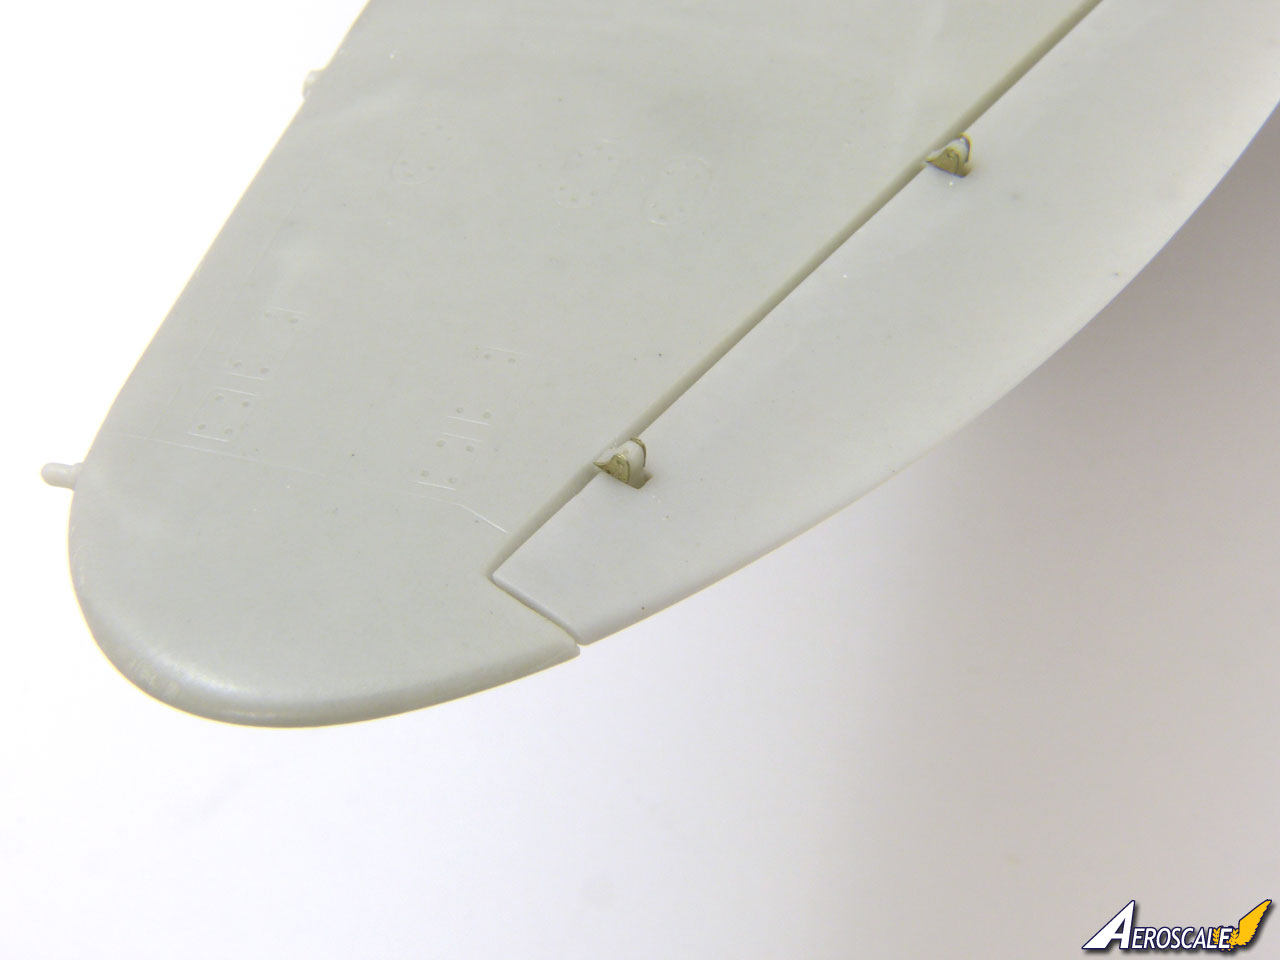
With the wing joints dry, I fitted the ailerons. Each hinge has a pair of etched faces. I attached these after the ailerons were in place as they might interfere with the fit.
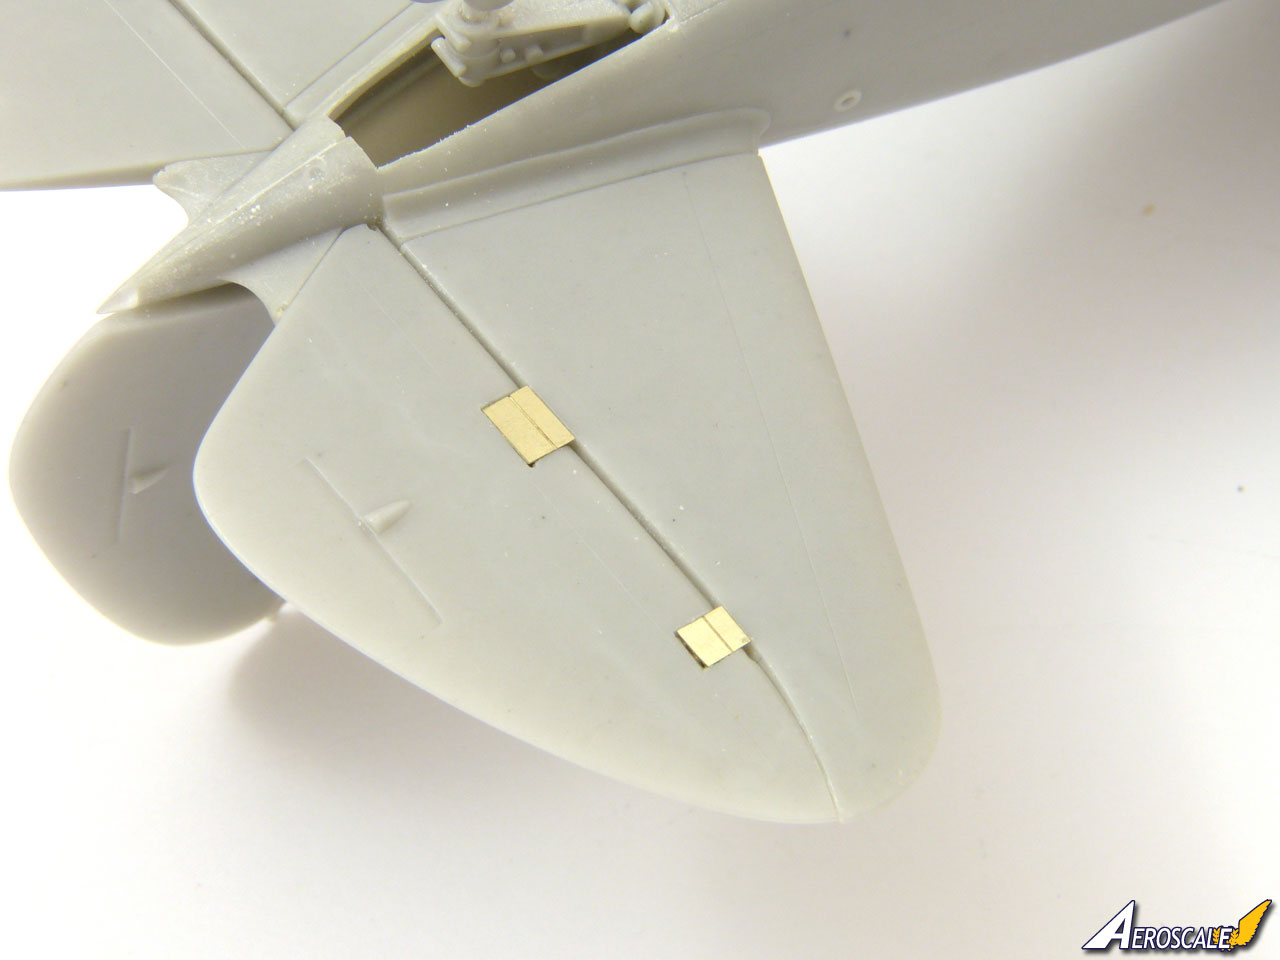
Once I was happy with the wings, I turned to the horizontal tail and attached it (minus the elevators), checking that everything was square and true.
My kit lacked a clear tail light, so I attached a small piece of clear styrene and filed it to shape. With that done, you can fit the elevators and rudder without fear of knocking them. The hinge covers are supplied as photo-etched pieces. I found them slightly too large for the cut-outs, so I spent a few minutes adjusting them. I attached the control surfaces first, using the cut-outs to position the hinges.
Once you're happy that the main airframe is complete, you can think about fitting the undercarriage.
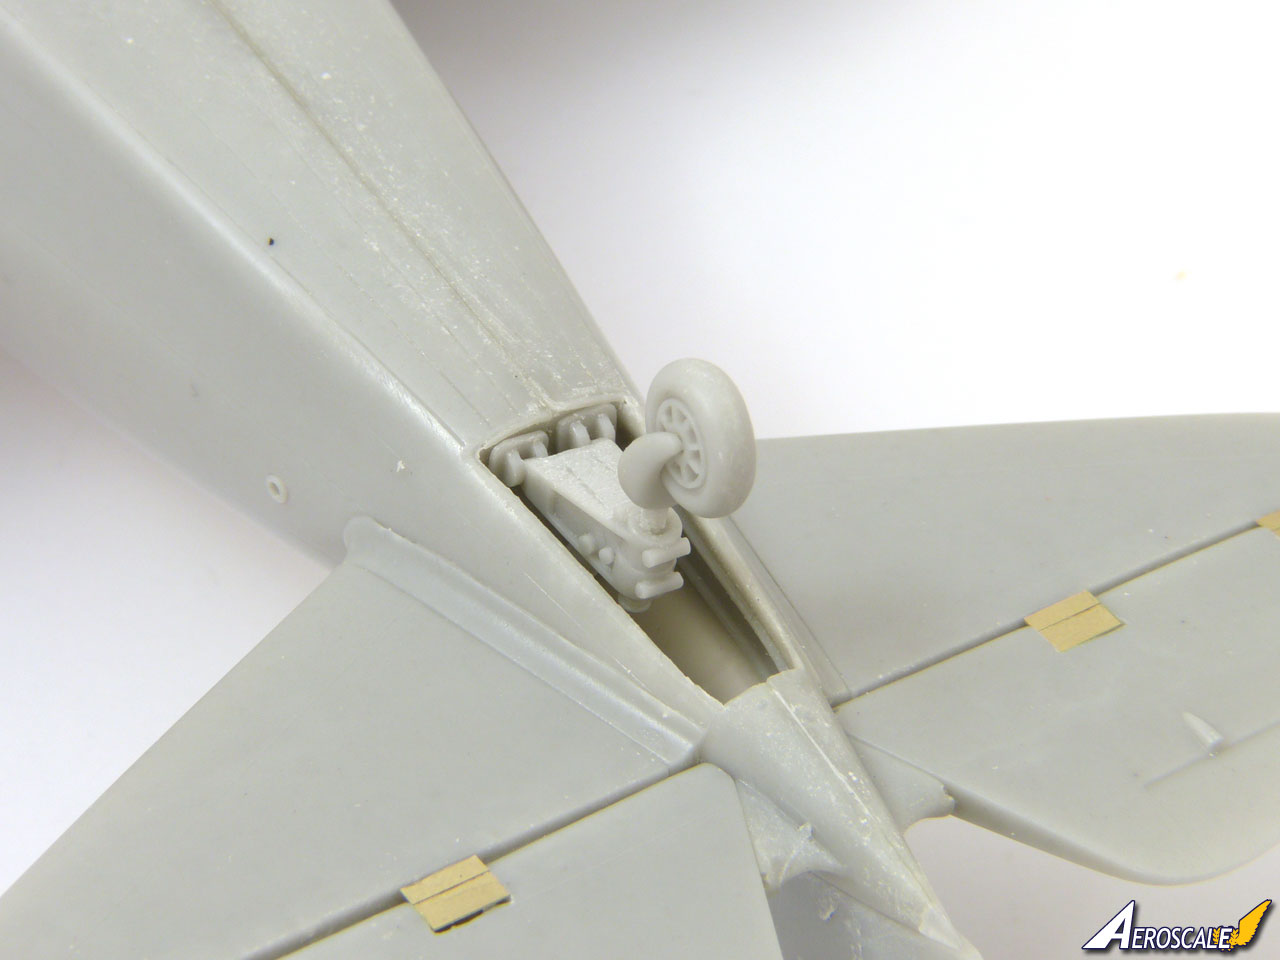
I installed the tailwheel first, attaching the brackets in the marked locations. With that done, the tailwheel doors can be fitted.
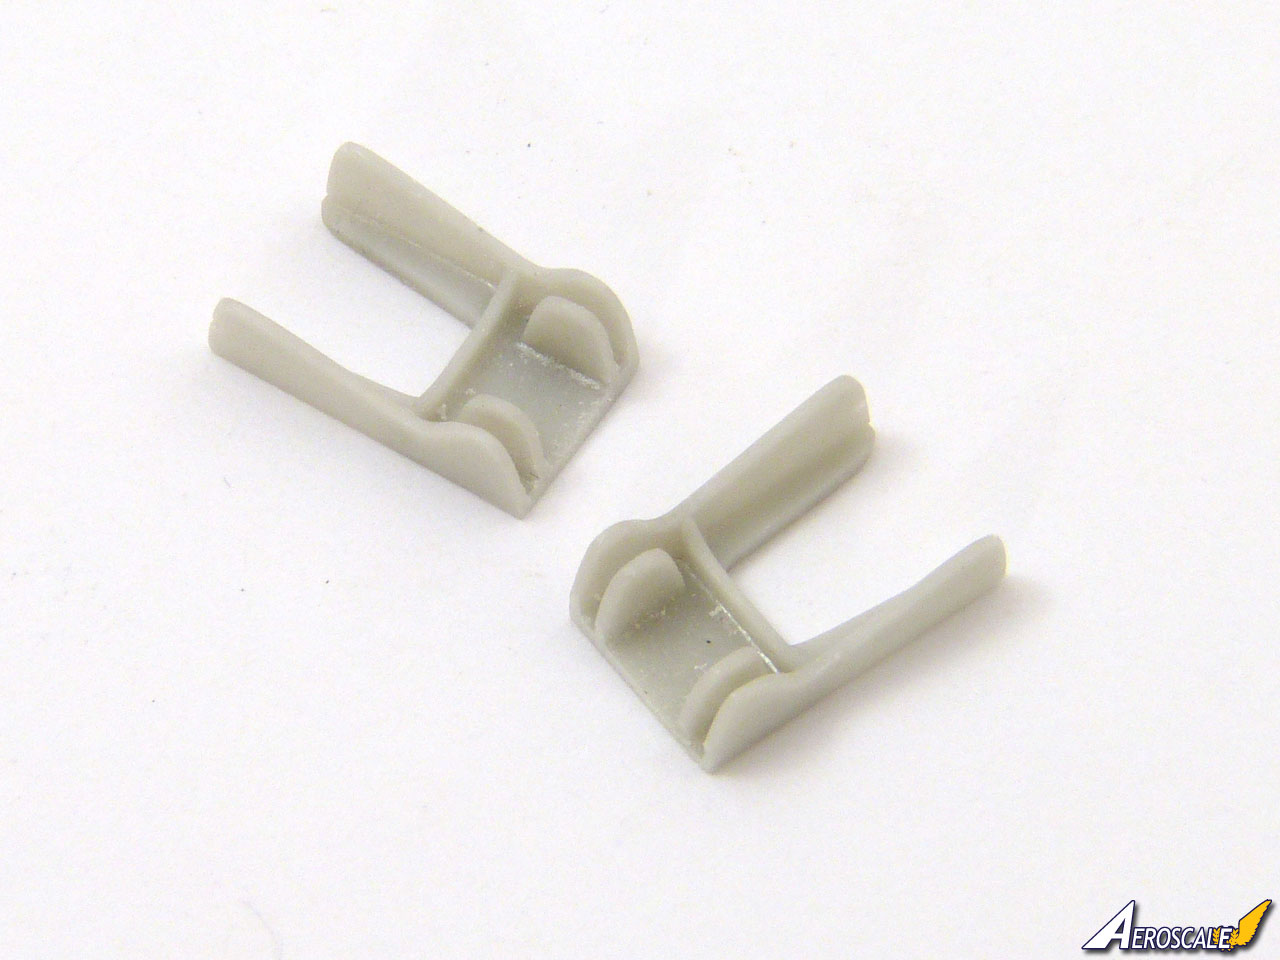
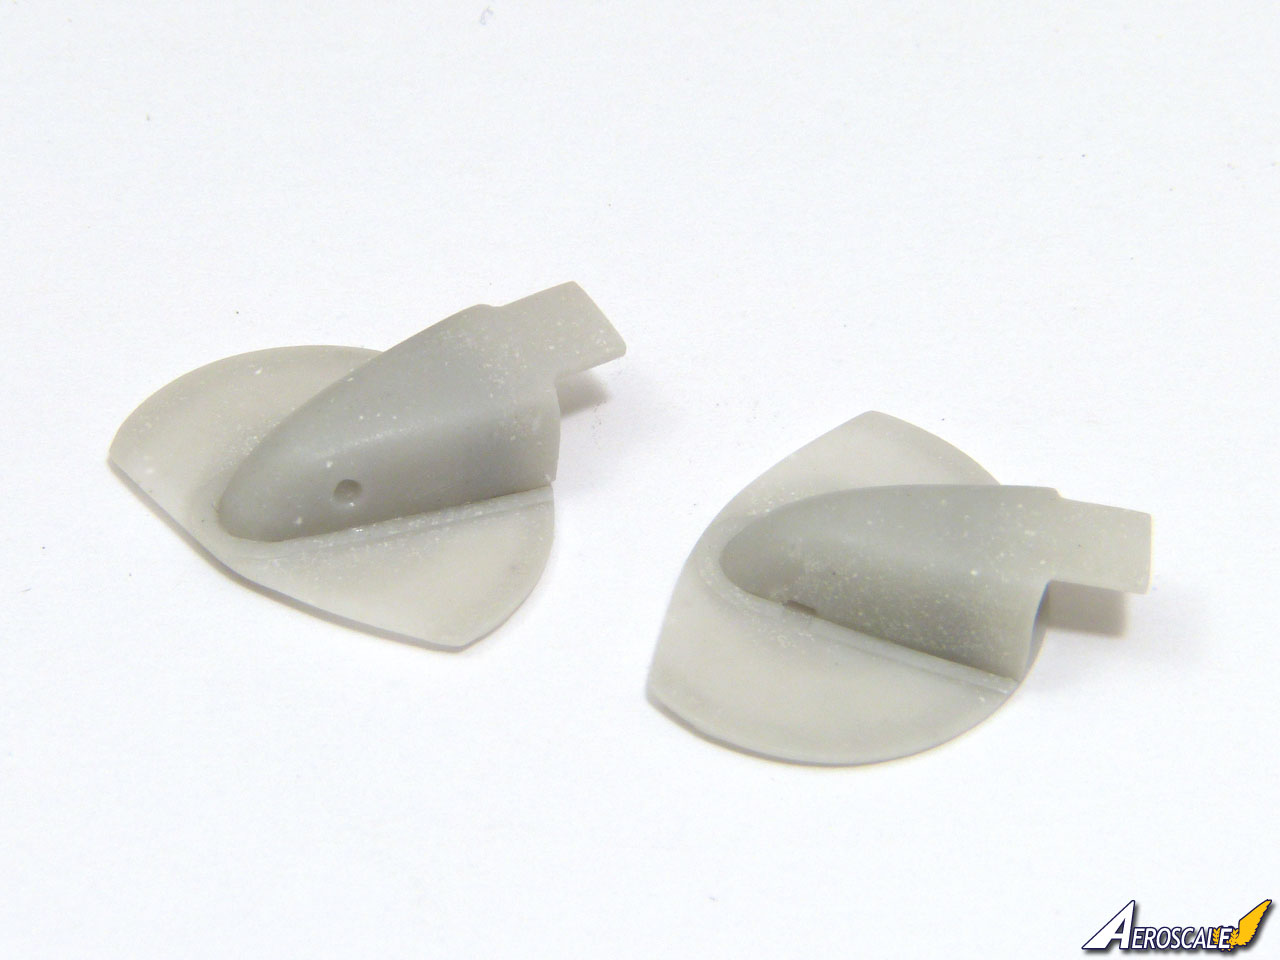
The mountings for the undercarriage legs are handed, being angled to compensate for the wings' dihedral, so make sure to get them the right way around. The same is true for the fairings for the gear legs. The deeper side should be outboard.
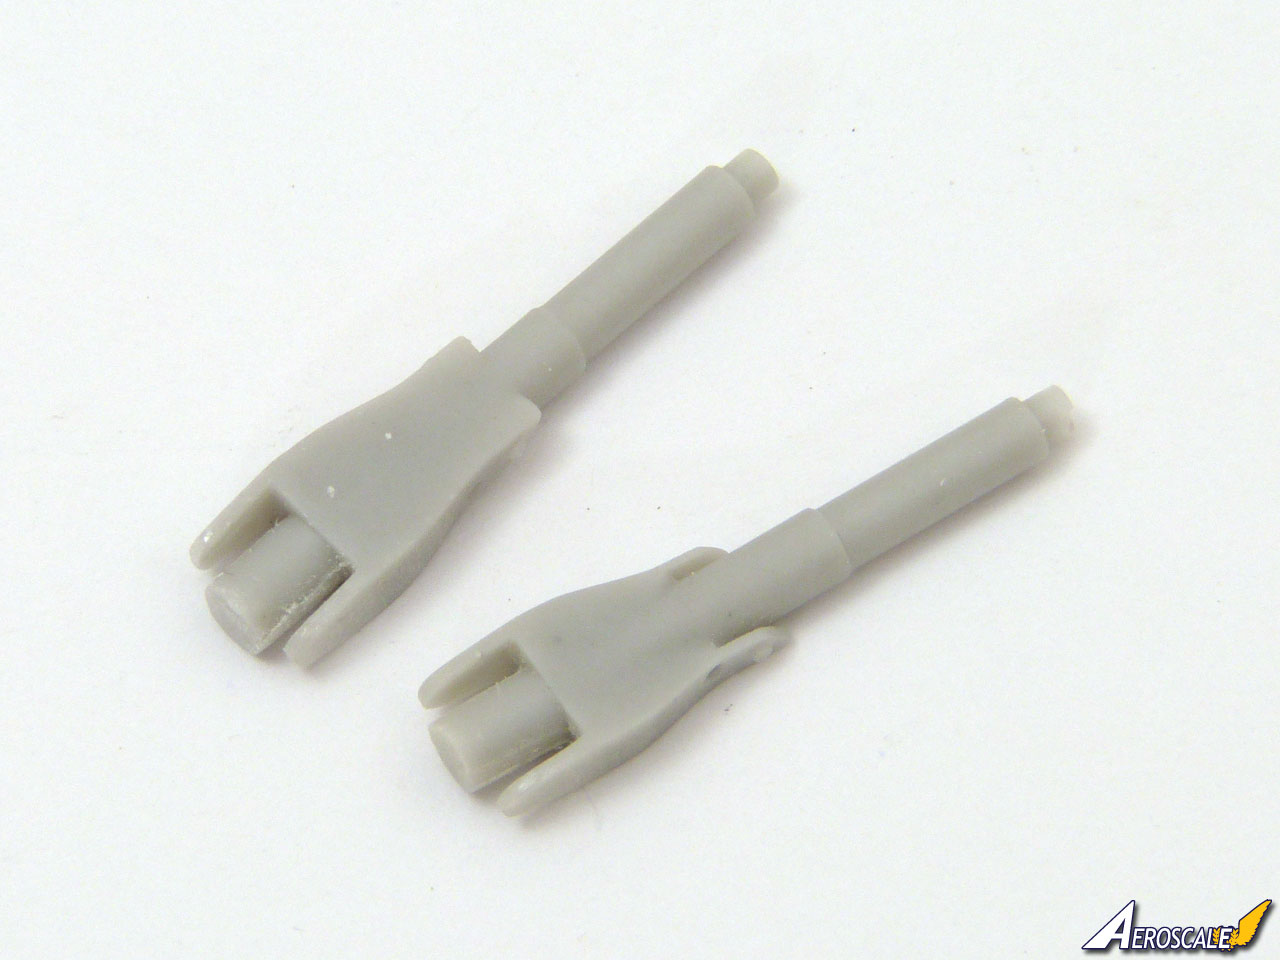
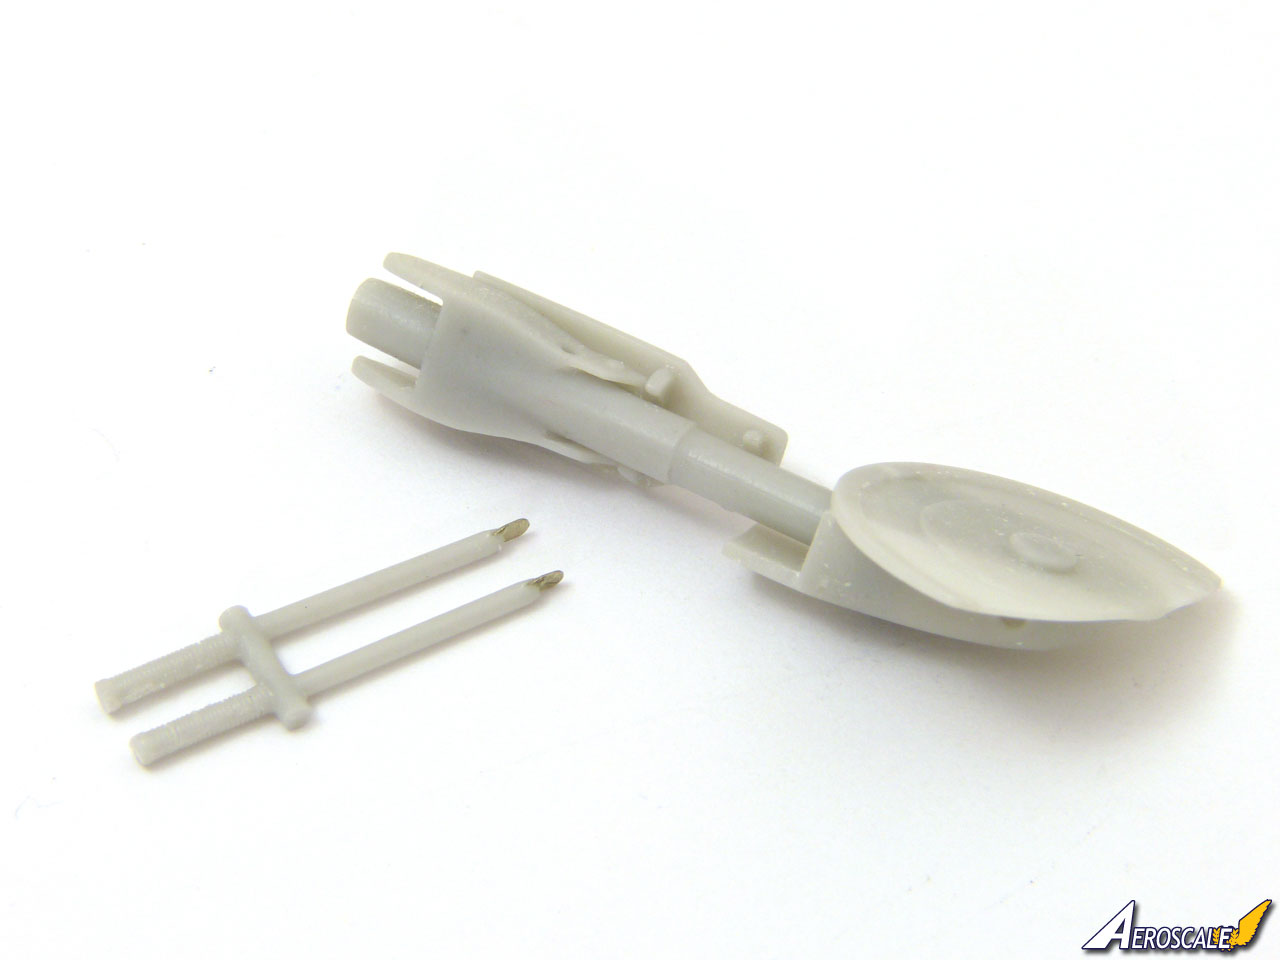
The undercarriage legs should have the flat face on the front. Glue them firmly to the lower sections, making sure they are set at 90 degrees to the wheel covers and allow them to dry well.
You need to attach a tiny etched tip to the end of each retraction arm. As theres very little gluing surface and theyd be likely to snap off, I cut tiny slots for them with a fine razor saw. This allows stronger joints.
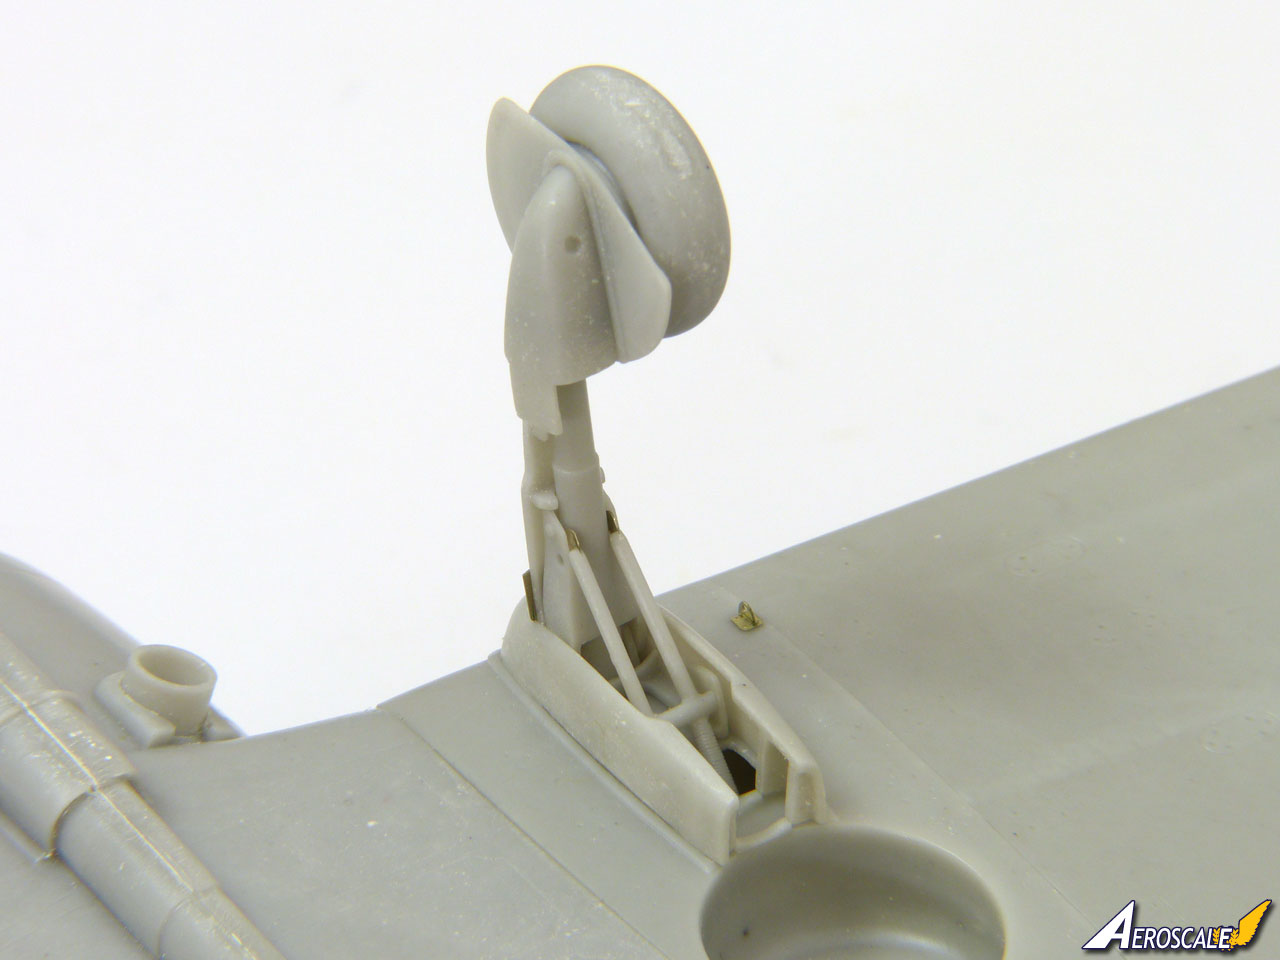
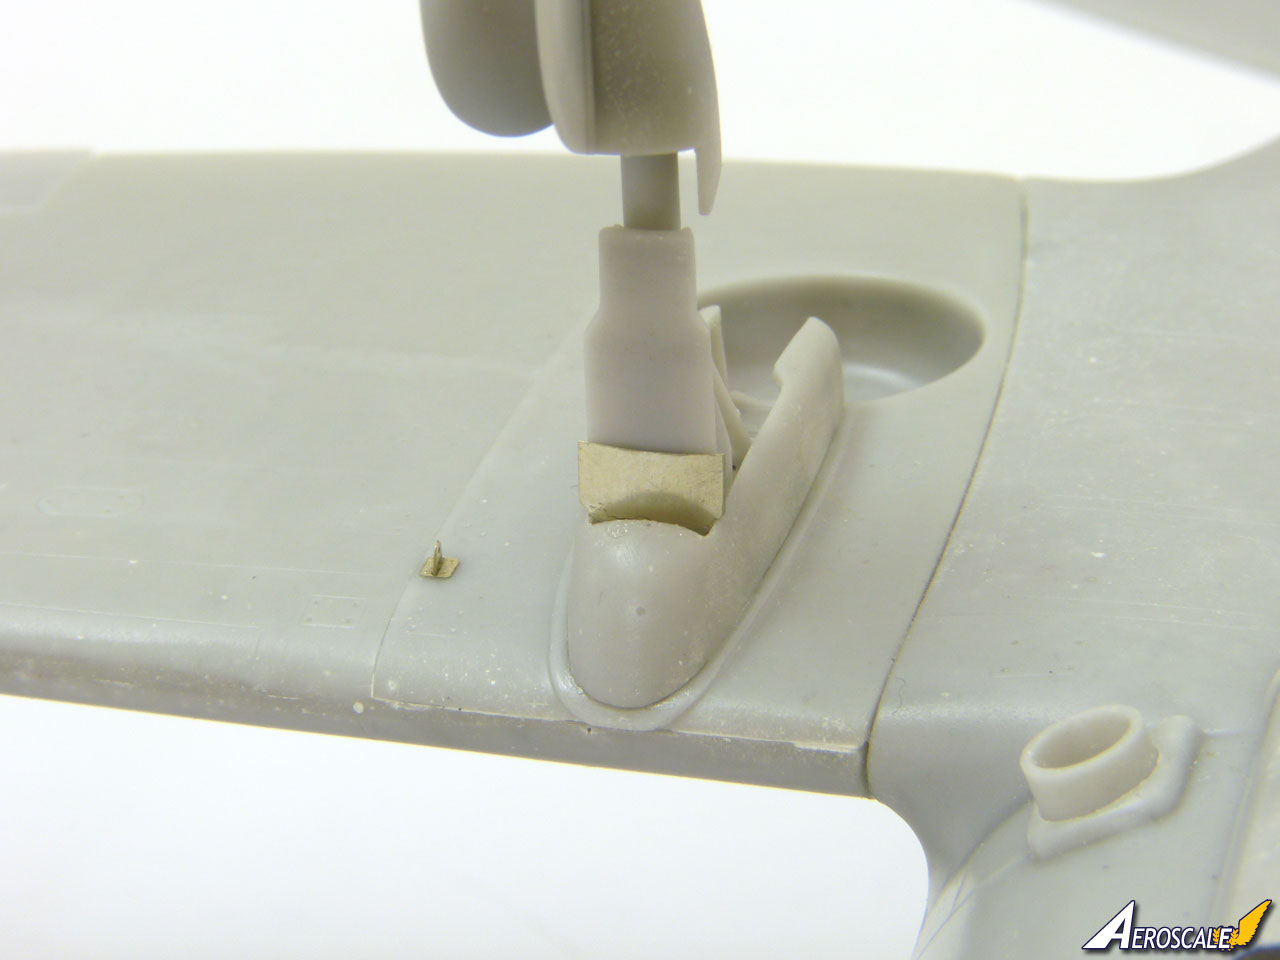
Each leg attaches to the pair of mounting brackets, with the retraction arms tucking to the rectangular hole behind them. Ideally, use a slower-setting CA or an epoxy glue to allow a little bit of working time to ensure that you have the legs lined up correctly.
Small gear doors are supplied as etched parts. You should curve these slightly to match the contour of the main leg covers and the gear housings.
The mainwheels attach onto very short "axles", but they are quite sufficient for the task. When you've removed each wheel from its casting block, you may want to file a slight "flat" on the resulting scar and position them to give the effect of weighted wheels.
With everything dry its time for the moment of truth! Standing the model on its wheels. Be careful - it's pretty heavy - but the undercarriage is sturdy and well able to take the weight.

About the Author


FROM: NO REGIONAL SELECTED, UNITED KINGDOM
I've been modelling for about 40 years, on and off. While I'm happy to build anything, my interests lie primarily in 1/48 scale aircraft. I mostly concentrate on WW2 subjects, although I'm also interested in WW1, Golden Age aviation and the early Jet Age - and have even been known to build the occas...
Copyright ©2021 by Rowan Baylis. Images also by copyright holder unless otherwise noted. The views and opinions expressed herein are solely the views and opinions of the authors and/or contributors to this Web site and do not necessarily represent the views and/or opinions of AeroScale, KitMaker Network, or Silver Star Enterrpises. Images also by copyright holder unless otherwise noted. Opinions expressed are those of the author(s) and not necessarily those of AeroScale. All rights reserved. Originally published on: 2018-10-10 00:00:00. Unique Reads: 14684

WEB HOSTING BY


Copyright ©2021 AeroScale and Kitmaker Network, a subsidiary of Silver Star Enterprises
All Rights Reserved. Please read our Conditions of Use and Privacy Policy.
All Rights Reserved. Please read our Conditions of Use and Privacy Policy.