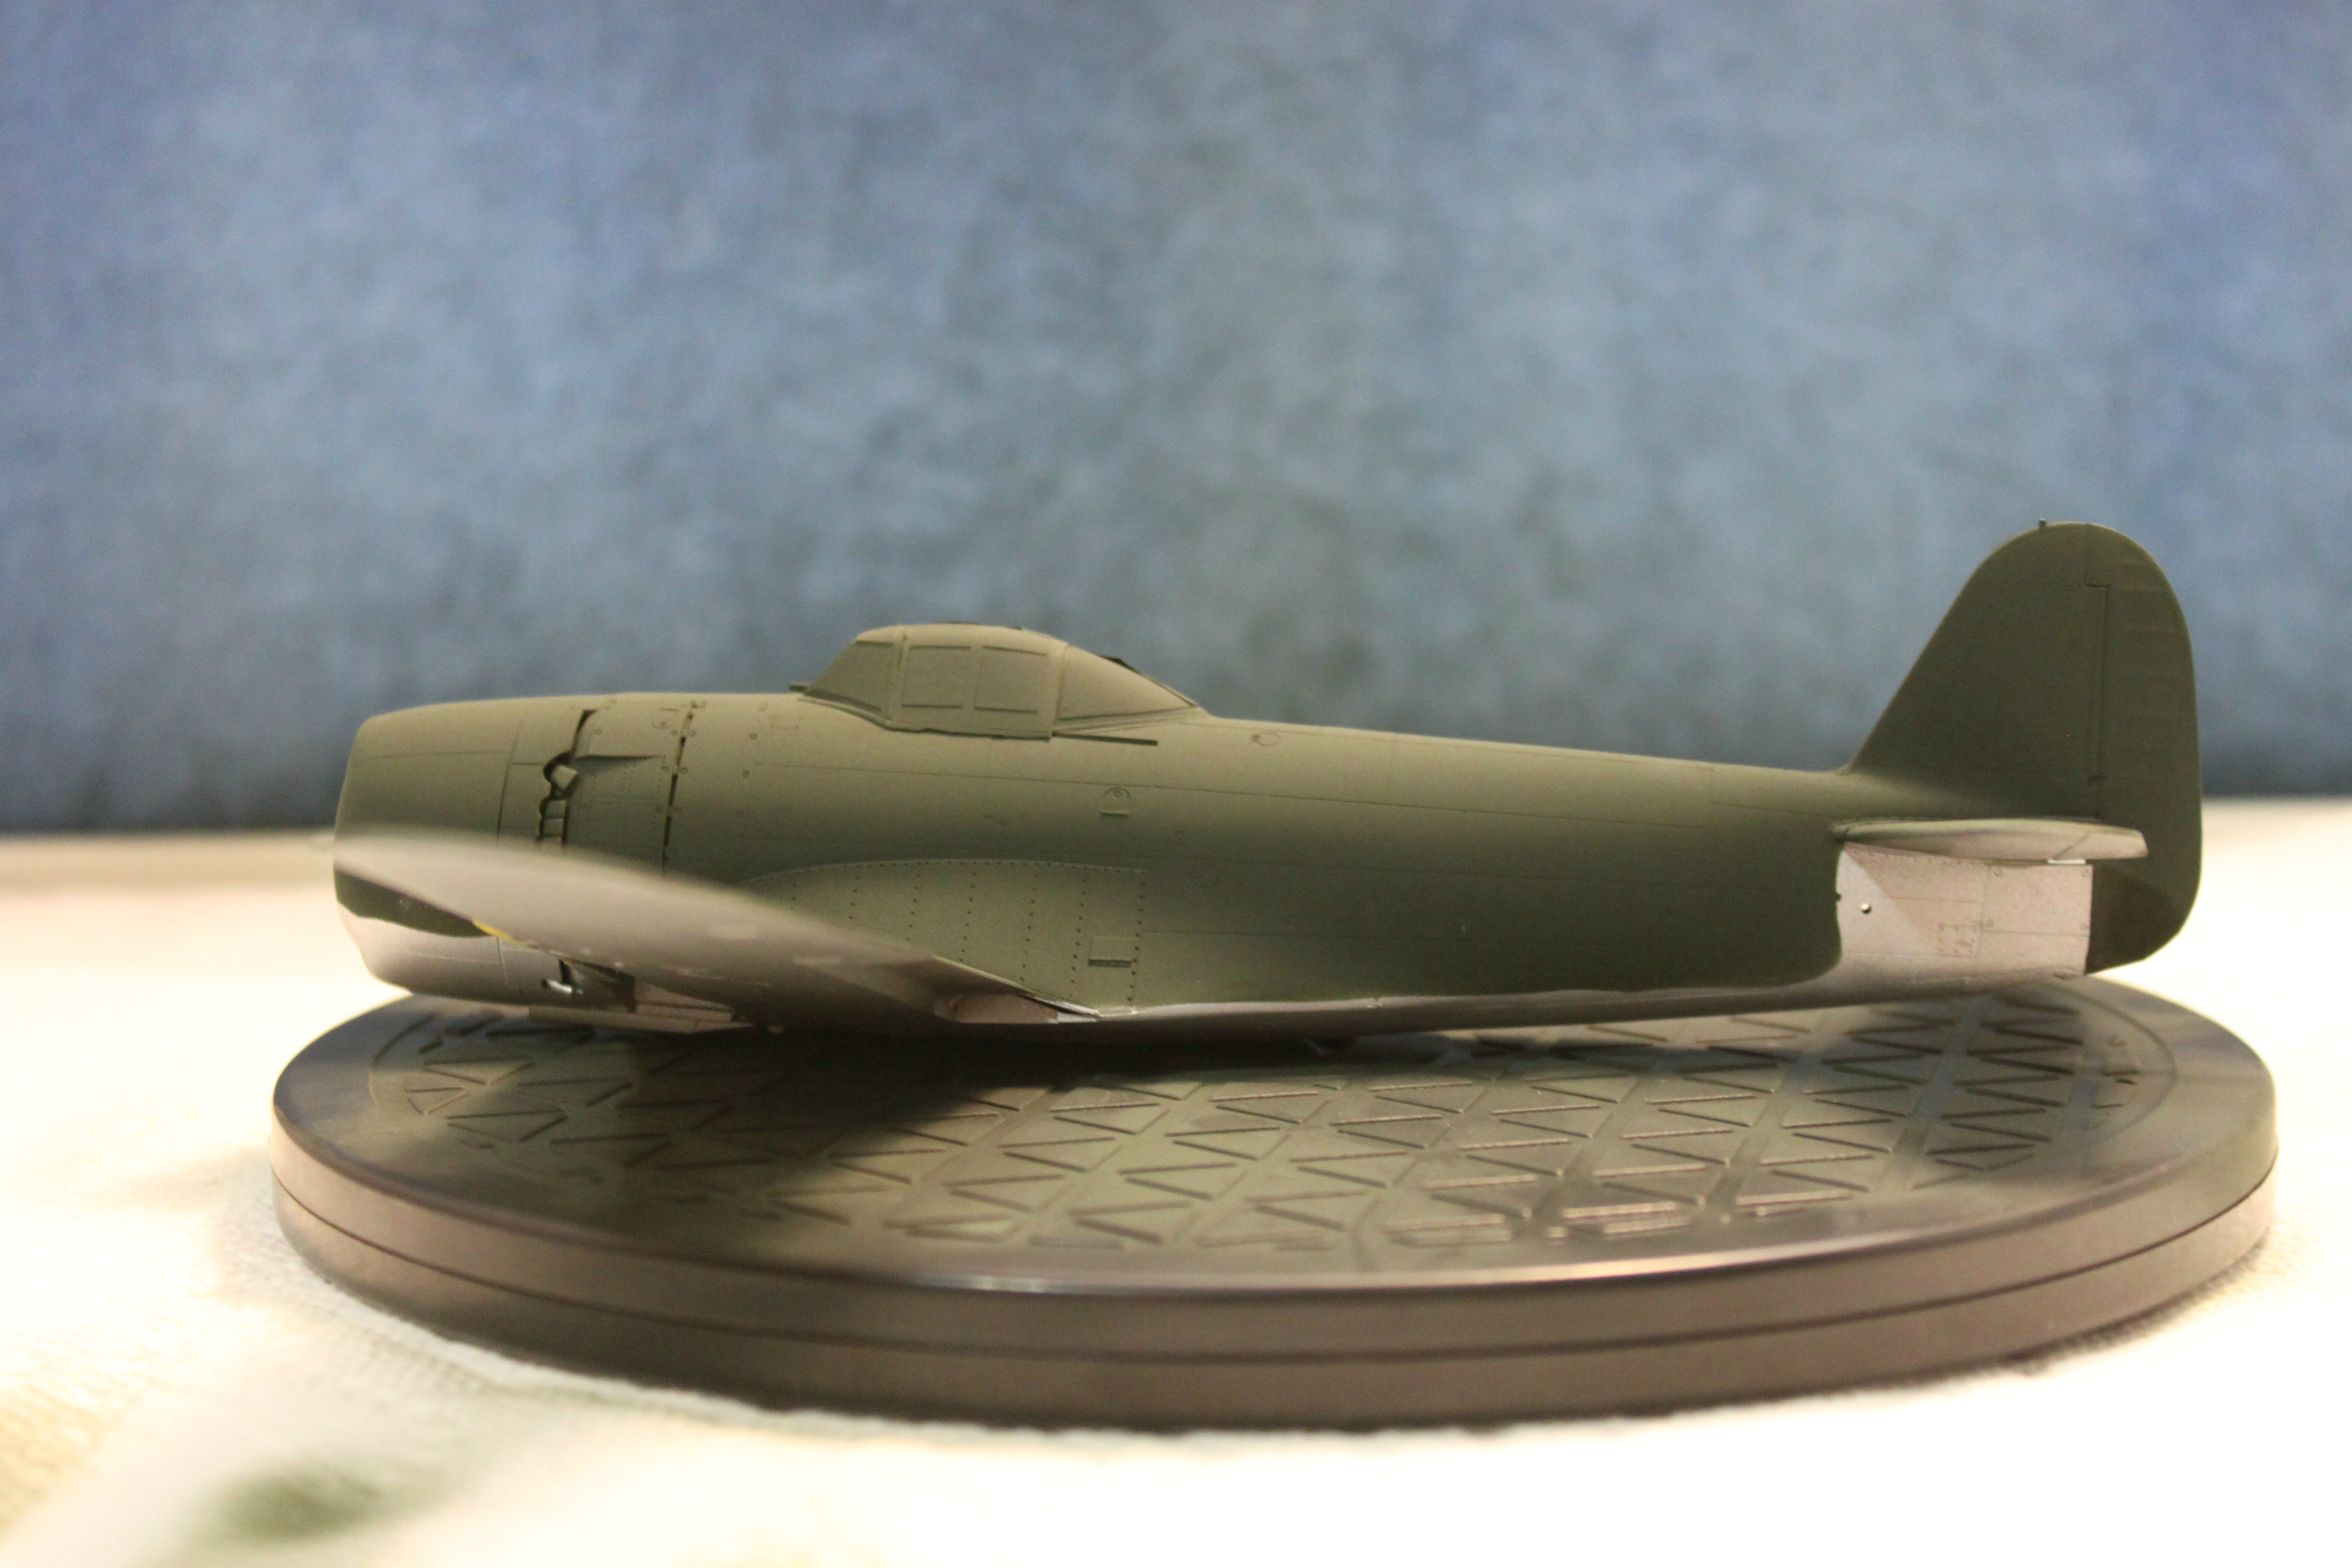
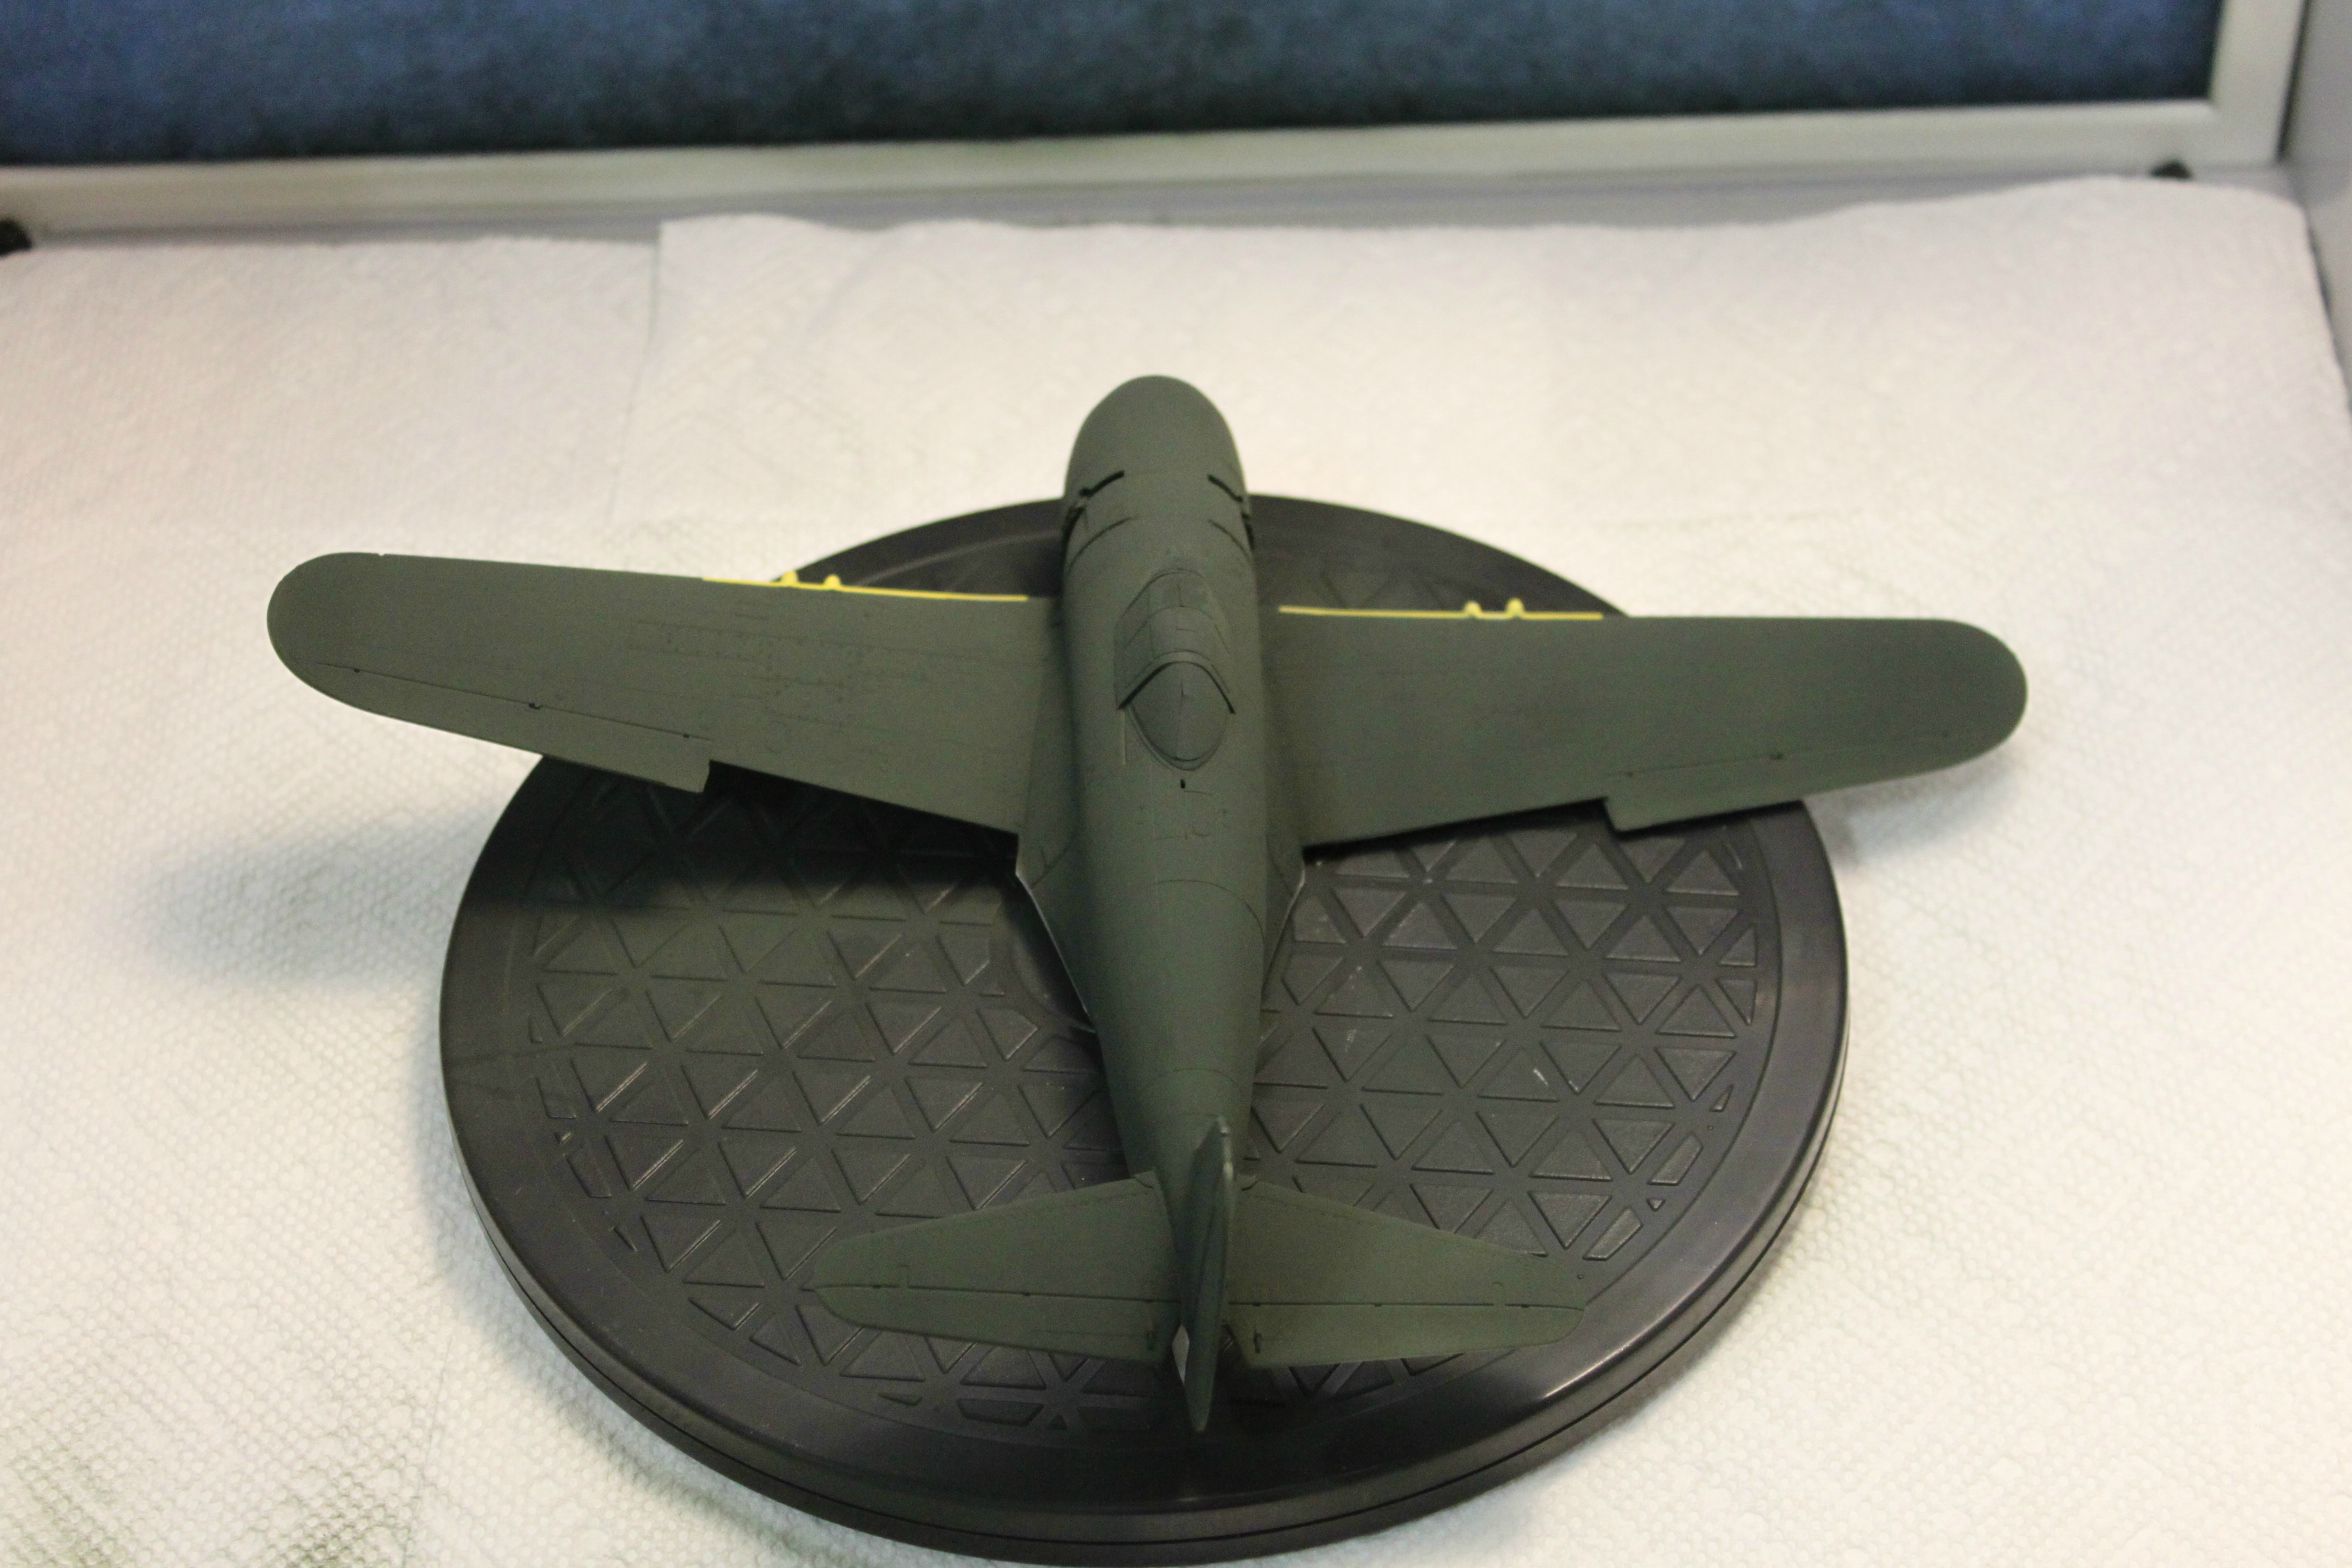
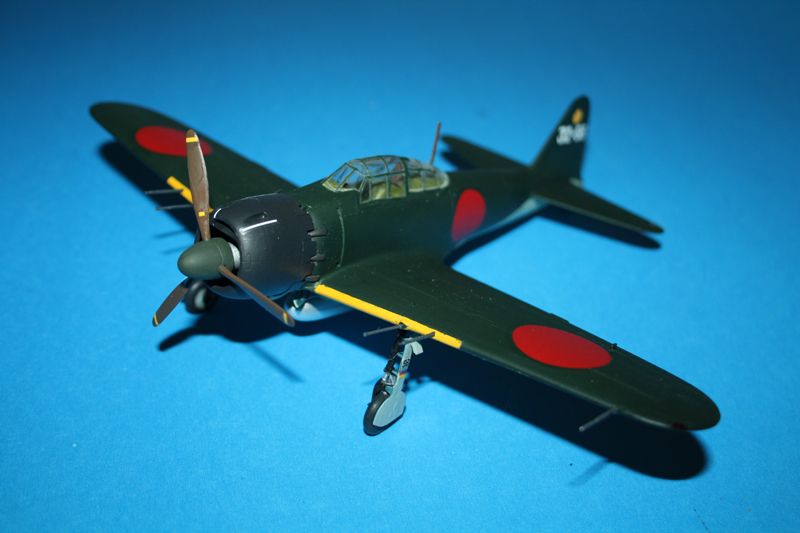
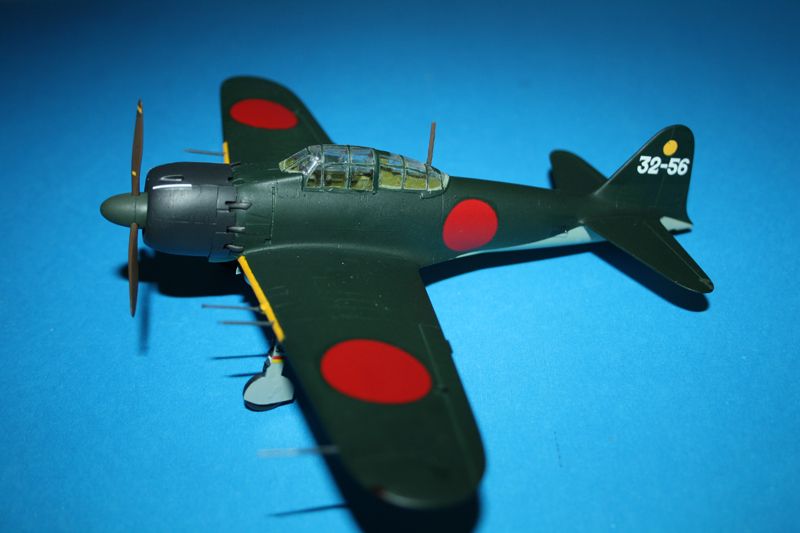
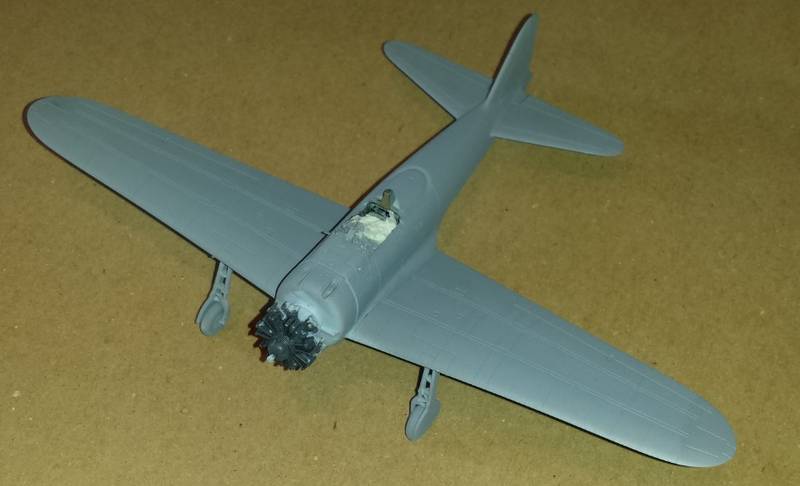
Richard, beautifully executed Zero you've done there.
Kevin K. that's some nice looking work on that N1K. I had to do a little reading on that aircraft, a very interesting subject.
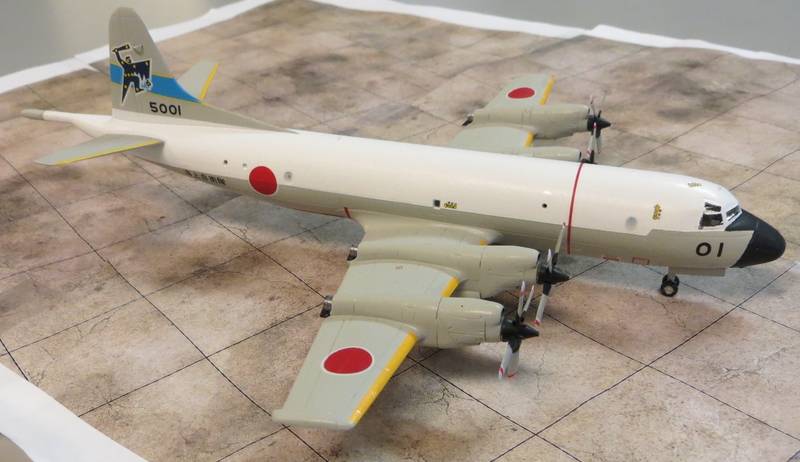
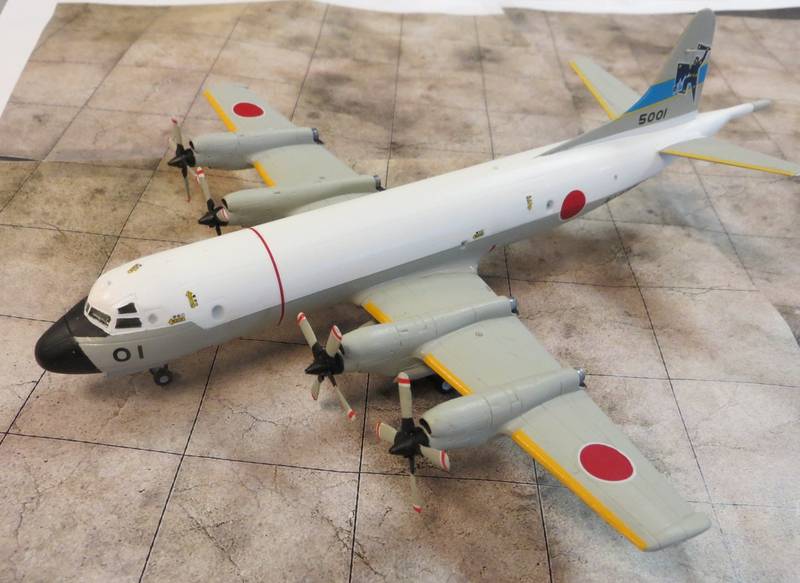
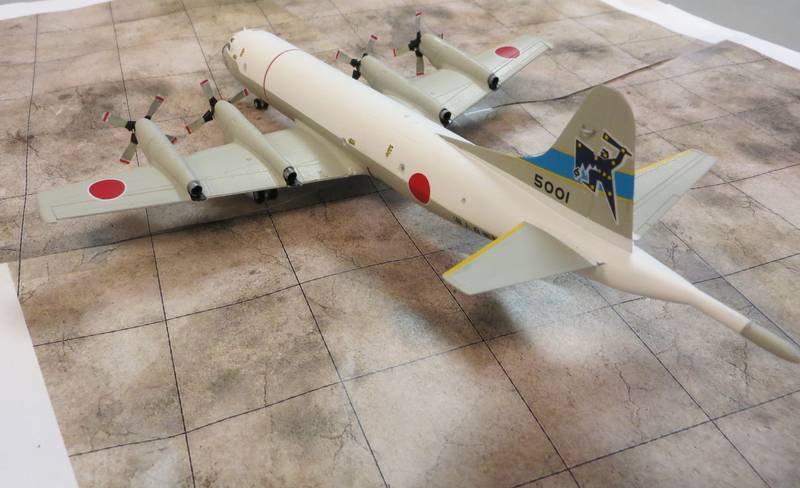
I am back in the game after a week long penalty. sanding the white painted areas down to primer and repainting wasn't hard, but doing the masking all over again, I was really unhappy about that.
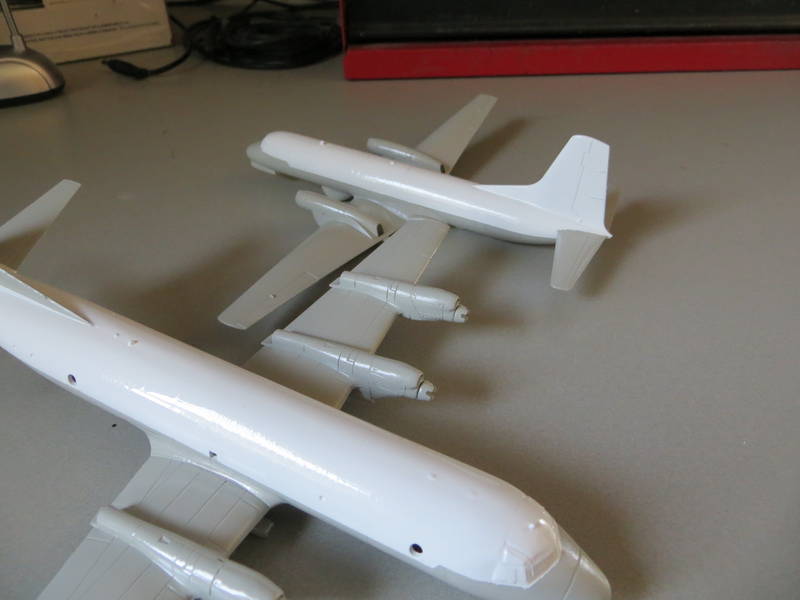
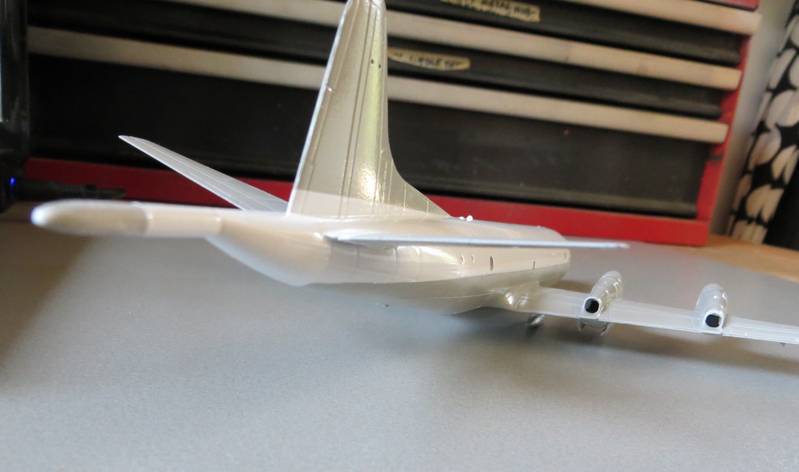
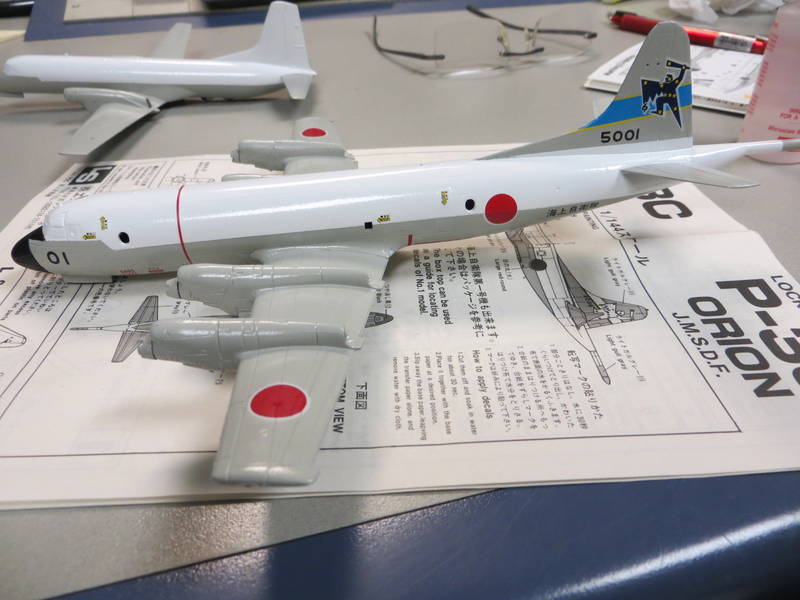
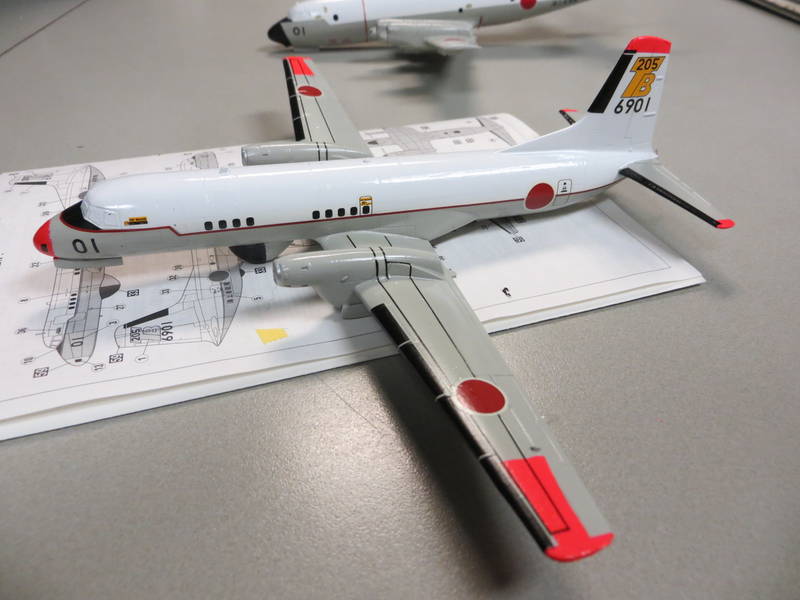
the only visible flaws are my lame attempts to restore the panel lines on the YS-11T. i never will be any good at that.
stripping all the way back to bare plastic would have been better, the molded detail, panel lines and so on have all but disappeared, but I'm moving ahead. In 1/144 scale actually, when you go into it, panel lines are practically invisible anyway.
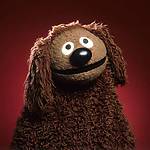
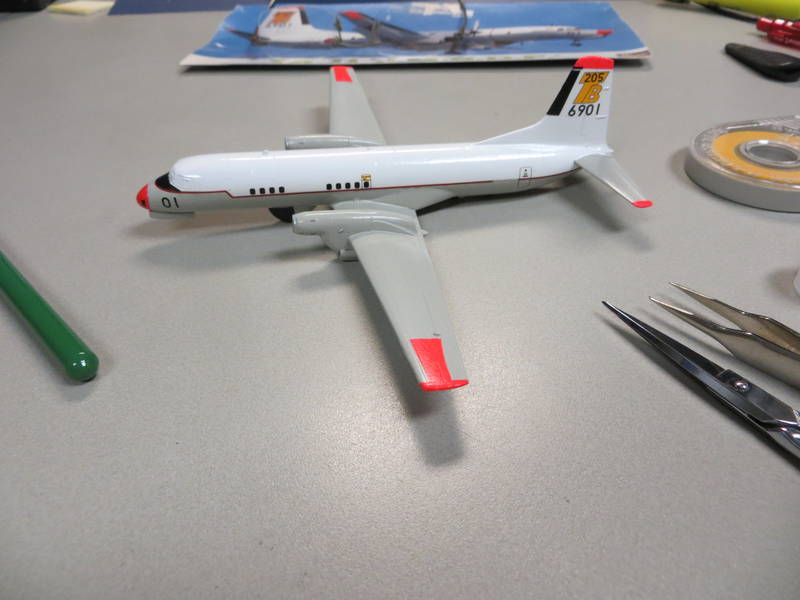
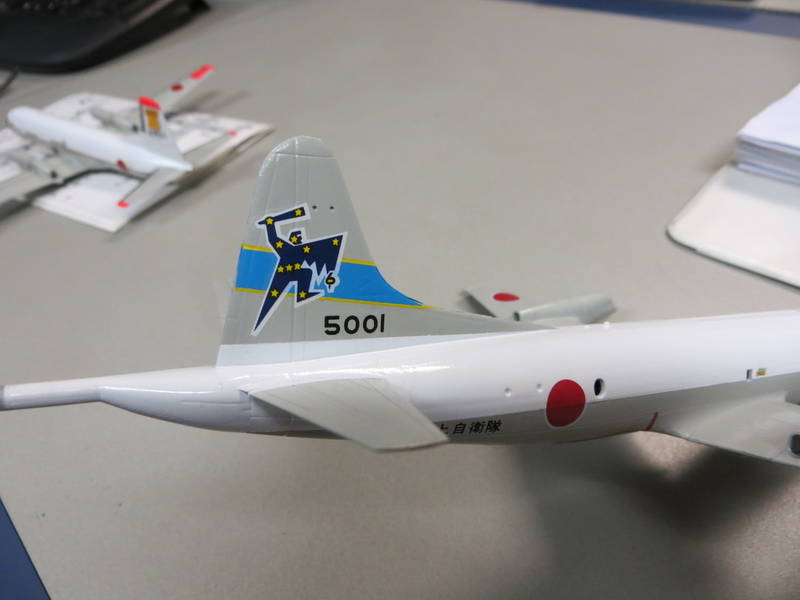
decals next. both kits have super nice looking decal sheets.
masking is a task where I feel I do get good results generally.