

1⁄1How to: Decal Canopy Frames
13
Comments
introduction
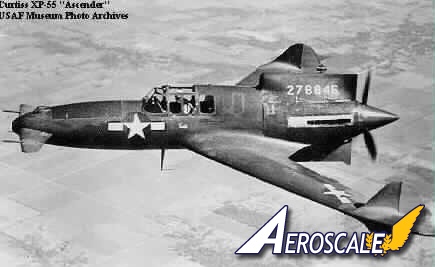
This method is perfect for World War II birdcage style canopies. The decal film may be cut in curves to do curved frames, but it works much better when used for short segments of straight frames.For this example, we will use my Curtiss XP-55 Ascender kit from MPM which has been sitting unfinished ever since the kit was new. The large greenhouse canopy is perfect for this method, because almost every one of its frames is a straight line; there are few awkward curves to bend the decal film around.
tools and materials required
- 1. Straightedge
- 2. Modelling knife
- 3. Dividers
- 4. Clear Decal Film
- 5. Paint
- 6. Decal Setting Solution
method
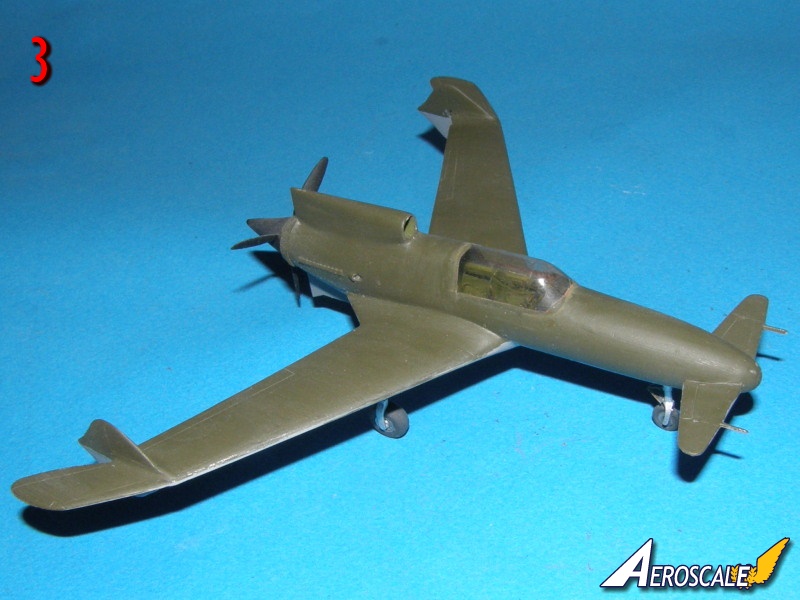
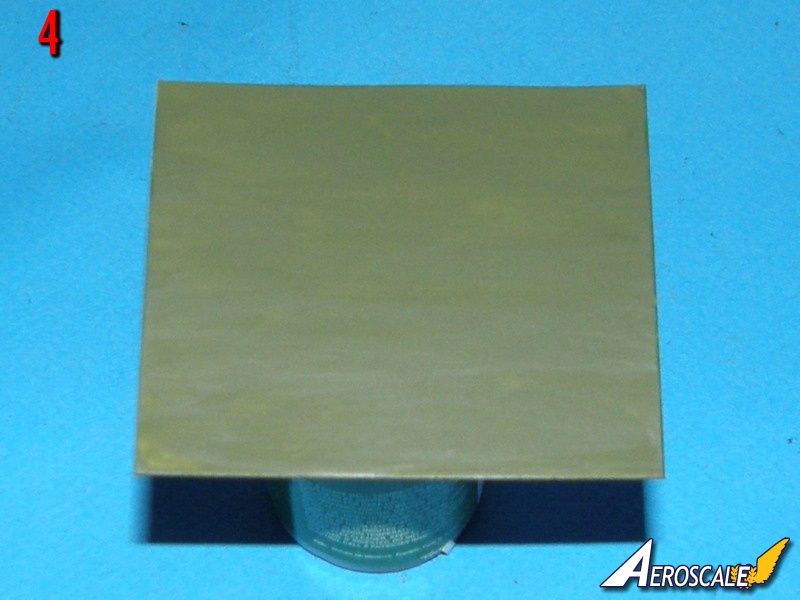
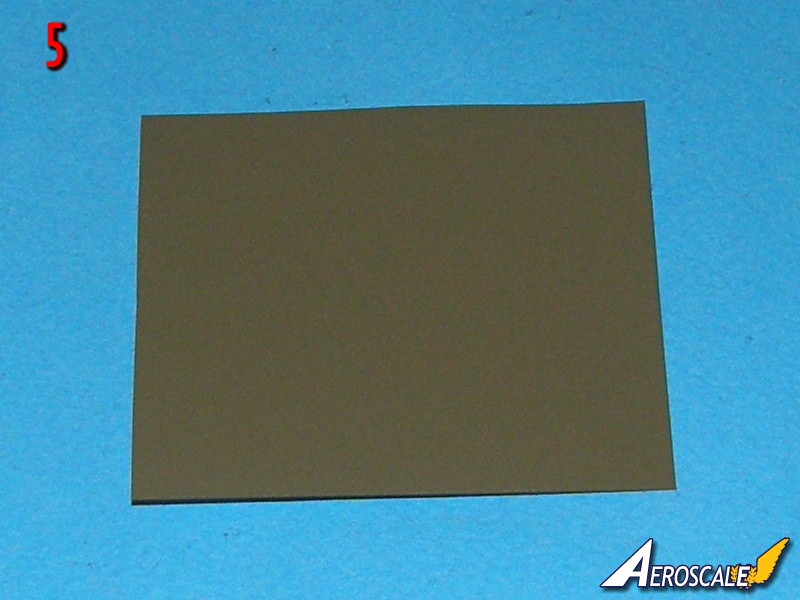
The first step is to assemble all your materials. Picture 1 shows the brand new clear decal sheet. Picture 3 shows the model awaiting its frames. Cut a piece of the trim film sheet to a manageable size and paint it with the interior colour matching the cockpit paint already in the model. In this case that's US Interior Green. I brush painted this, and didn't worry too much about brush marks. See picture 4.Once the interior colour is dry, paint the colour of the outside frames. For the Ascender that's US Olive drab. I sprayed this coat, covering up the brush marks which were visible in the interior colour. See picture 5.
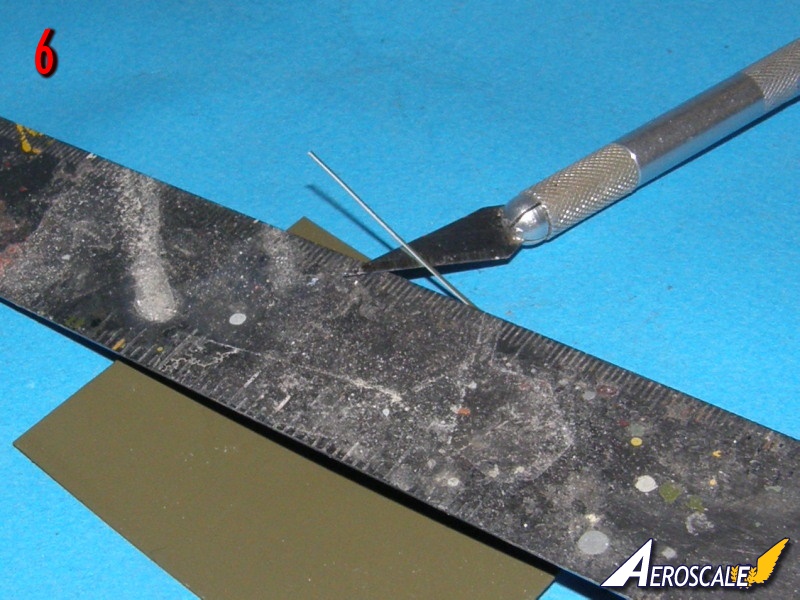
Using a sharp knife and a straightedge, cut the decal film into thin strips the width of the frames. See picture 6
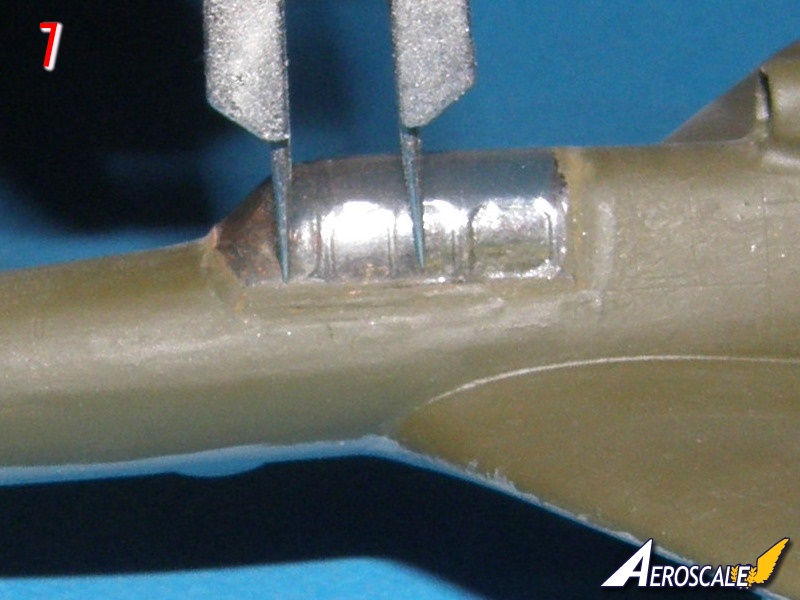
Measure the length of the frame required on your model. See picture 7
Cut each strip to the length desired for the frame segment you're doing. Soak and apply the decal as you would any other decal. Picture 8 shows the vertical frames in place.
Brush on some setting solution to help the frame settle into place. Larger areas such as the rear of the canopy between the side windows may be cut out and applied as one piece. Picture 9 shows all frames in position and softening under the influence of the setting solution. The model may now be left overnight for the decals to set.
conclusion
Canopy frames done using this technique are much sharper than freehand brush painting, and a great deal less frustrating than fussing with microscopic bits of masking tape.


About the Author


Comments

I used enamels for this demonstration, and quite hot water when soaking them. I do agree that the paint may flake, especially when it's bent sharply. It's been my experience that the thicker the paint, the more likely it is to flake.
DEC 15, 2012 - 04:36 PM

Generally after the decals have dried and any necessary tweaking has been done I'll seal it all down with Future. Once that's dry the frames may or may not get a brushing with clear flat.
DEC 18, 2012 - 03:30 PM

I've done this using spare decals from kits and a single brush coat Tamiya acrylic without problems, most recently on my Arado Ar196 for Ancient Airfix campaign. Masks are better if available, this is my preferred alternative.
JAN 20, 2013 - 09:51 AM


Ah, jessica, you reminded me of this just Days after I finished taping all the glass on my Airfix P-61
I've also used painted decal film for other features, like the scuff strips on my F-102 (that I forgot to paint when I did the rest of the flat black )


JUN 25, 2013 - 07:58 AM
Many years ago I used this very technique for 1/72 scale aircraft. Simple and effective. Back then all we had was enamel paints. There was a certain amount of stretch in the dried paint, which would makes it preferable over acrylics.
Joel
JUL 21, 2013 - 12:14 AM
Copyright ©2021 by Jessica Cooper. Images also by copyright holder unless otherwise noted. The views and opinions expressed herein are solely the views and opinions of the authors and/or contributors to this Web site and do not necessarily represent the views and/or opinions of AeroScale, KitMaker Network, or Silver Star Enterrpises. Images also by copyright holder unless otherwise noted. Opinions expressed are those of the author(s) and not necessarily those of AeroScale. All rights reserved. Originally published on: 2012-12-15 02:30:59. Unique Reads: 13238

WEB HOSTING BY


Copyright ©2021 AeroScale and Kitmaker Network, a subsidiary of Silver Star Enterprises
All Rights Reserved. Please read our Conditions of Use and Privacy Policy.
All Rights Reserved. Please read our Conditions of Use and Privacy Policy.