1⁄48Kitty Hawk MiG-25PD Feature Review
What’s in the Box
Fortunately Kitty Hawk has come to the rescue and done a very good job in doing so. What you get in the box are nearly 400 parts molded in light gray polystyrene plastic, seven molded in clear plastic, eight photo-etched parts, metal supports for the main gear struts, a ball bearing for nose weight and a sheet of decals and a 24 page instruction booklet (eight pages of which are the fold-out color profiles for the color and markings instructions).
I was struck by the compactness of the box given the number of parts and the large size of the subject (once you take it out of the box, it is a bit of a puzzle getting it back in). Parts are molded on 11 unique sprues, with two of the sprues being duplicated for weapons parts, and the two rear fuselage parts molded free of runners.
It’s very clear from the nature of the tooling that the kit was setup to be made into multiple versions. As discussed above, there are four primary families of MiG-25, the P interceptor series, the R reconnaissance series, B anti-radar series and the U trainer series. This release covers the later P series aircraft and we have see test shots of at least one R and one U, but the sprues betray other versions as being “in the works.” We’ll get to that later.
Breaking down the kit parts:
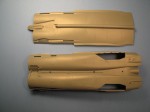
Parts A1 & A2 are the main rear fuselage sections, molded separately from other trees
 Sprue B: Upper Wings, intakes and drop tank
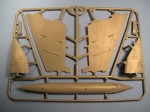 Sprue C: Lower Wings, intakes and drop tank
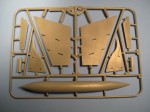 Sprue D: Vertical fins, afterburner parts
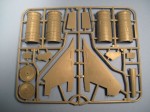 Sprue E: Alternate wing tips, horizontal tail planes, control surfaces, engine parts
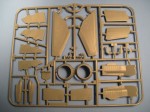 Sprue F: Main forward fuselage halves, wheels, control surfaces, wheel well pieces
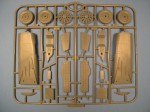 Sprue G: Pylons, and detail parts
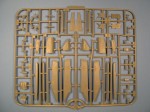 Sprue H: Landing gear details, wheel well parts, additional small details
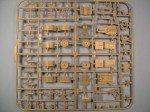 Sprue I (two included): R-40, R-60, R-73 missiles, FAB-1500 bombs, pylons
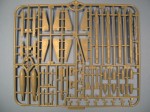 Sprue J (two included): Kh-58 missiles, FAB-500 bombs, pylons
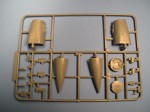
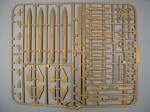 Sprue PD: Nose section parts, specific to the PD interceptor version
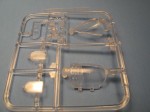
 Sprue GP: Clear parts
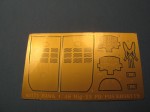
 Photoetched Parts
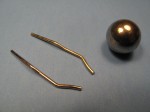
 Metal Parts: Nose Weight & Main Gear Inner Supports
The parts are very nicely molded, and while the runners and sprue attachment points are a bit heavy, the parts are largely free of notable sink marks, knock-out pin marks and flash. There are a couple of exceptions, which are noted in the details below. Surface details are finely molded, panel lines are crisp and even, and the rivet details are restrained. I can remember looking in the box of Kitty Hawk’s initial release (the 1:48 F-94C) and thinking it looked a bit on the crude side compared to the current state of molding technology. The MiG-25 has advanced well beyond that kit and even the more recent releases such as the Mirage F.1 and Saab JAS-39.
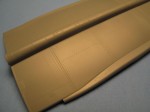
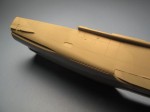
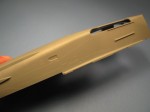
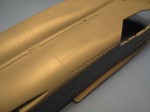
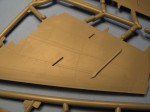
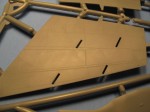
Interestingly, several of the parts that would normally be molded in halves by many other manufacturers – such as the vertical fins, tail planes, main weapons pylons, and similar parts are molded in one solid piece. Despite the solid molding, the parts are smooth and free of defects.
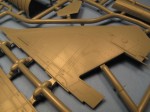

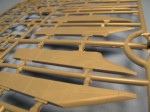
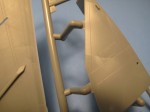
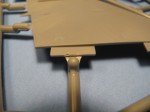
I will note that in removing the parts from the sprues I discovered that on a number of the bigger parts, the attachment points make for difficult part removal. This was particularly true on the leading edges of the intakes where long and heavy sprue attachments are present on the thin leading edge of the intake lip. Care – and something like a razor saw – will be required when removing these parts.
