

1⁄48The Dübendorf Brothers
27
Comments
Building the prototype conversion parts
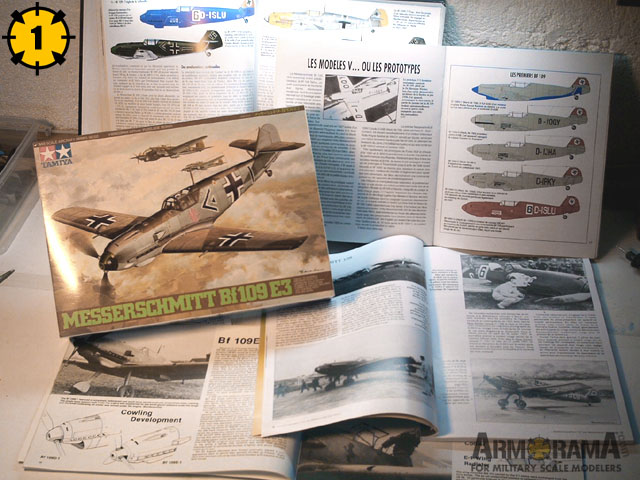
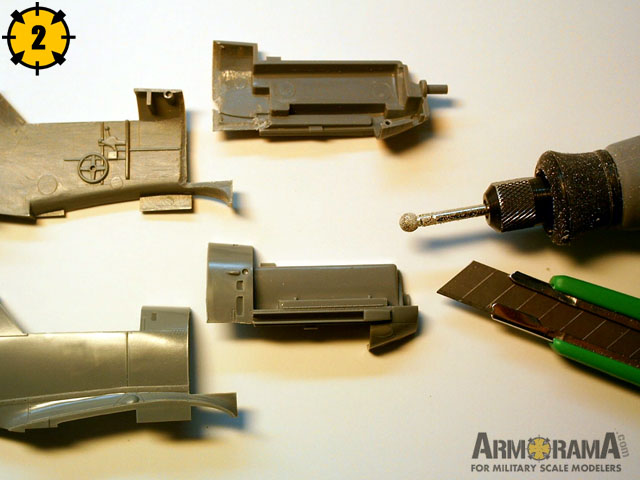
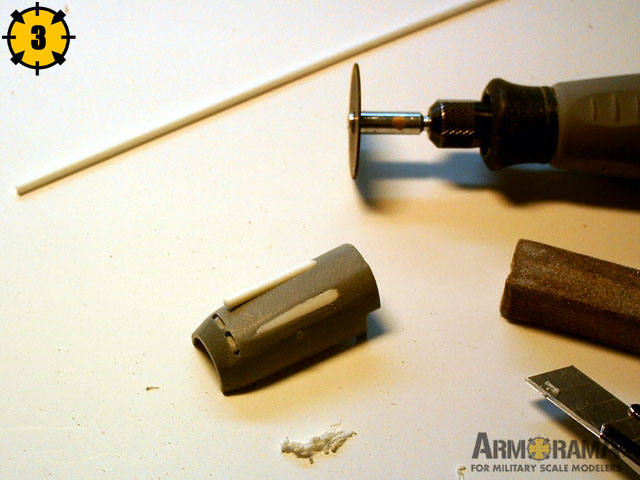
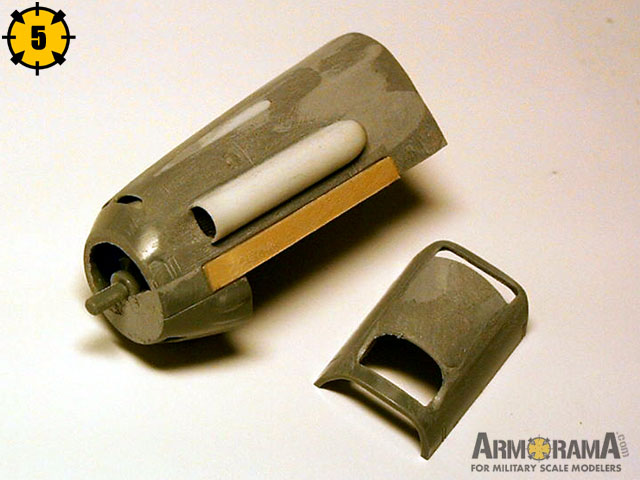
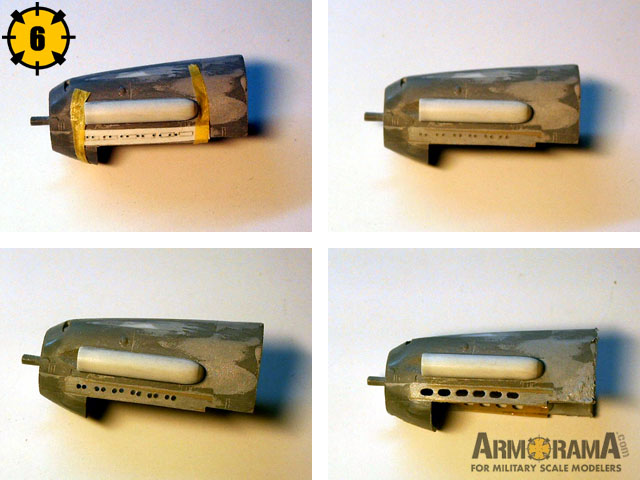
Prior to starting such a project, it is necessary to have enough reference material but also to choose the kit to be modified (picture 1). I decided it would be Tamiya's 1/48 scale Bf 109 E-3 as it is easy to find and easy to build. The kit is very good and quite accurate. Only minus is probably the cockpit which could have been more precisely done. But the quality of the external details is terrific and there is also the possibility to depict the plane with dropped flaps and slats.The First step was to separate the areas in front of the cockpit from the rest of the fuselage halves (picture 2). The V-13 and V-14 having no armament, the two gun openings were filled with plastic rods and sanded smooth (picture 3). The location of the supercharger air intake of the E variant was filled and a new one was made with a styrene tube (picture 4). This new intake is probably the most recognizable feature of this particular aircraft. In picture 5 you can see it finished. The typical exhausts of the "Emil" have also been deleted and replaced by a simple piece of plastic. The lower cowling in the same picture was my first attempt at modifying the original, but it wasn't convincing so I later replaced it with another. The exhausts were then drilled (picture 6) and sanded to shape using a round file as they were rectangular with round edges.
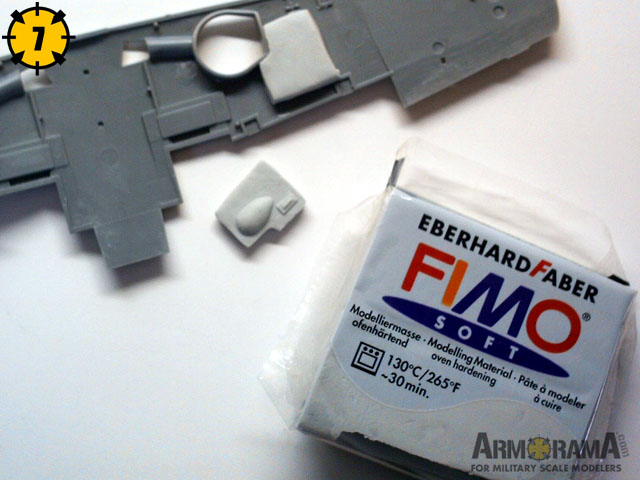
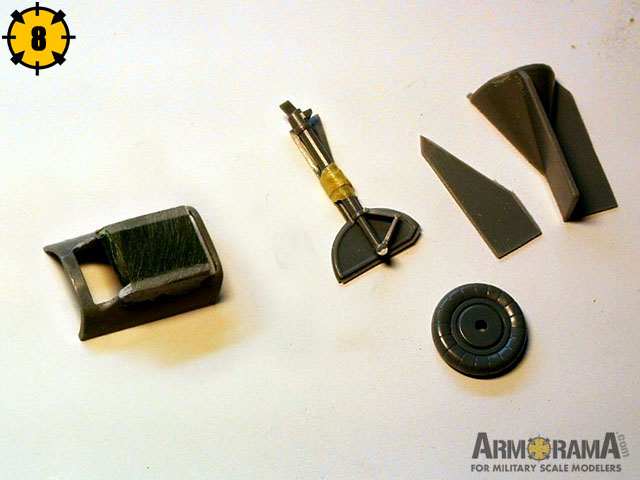
Having used a lot of filler on the main engine part, I decided to set it aside to dry and to concentrate on the wings. The V-13 and V-14, as said before, had no armament. Therefore, the typical underwing bulges, introduced on the Messerschmitt with the E-3 variant, had to be removed. I decided to copy the technique Hasegawa used to backdate their E-3 kit to the E-1 version and made two plugs to fill the underwing bulges (picture 7). I used "FIMO" Modeling Material to make these parts and once done, they were put in the oven to harden. I also had to modify the landing gear doors (they were longer on the prototypes) by adding small pieces of plastic. You can also see in picture 8 the new lower cowling taking shape.
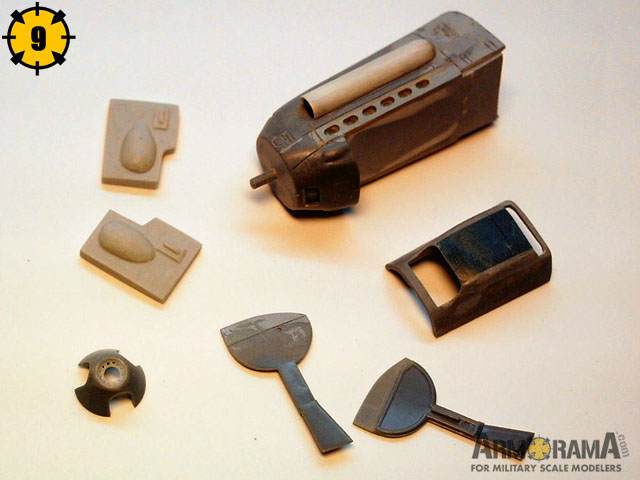
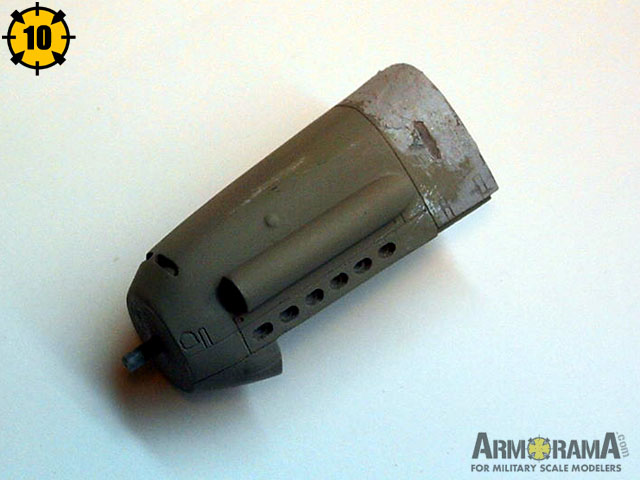
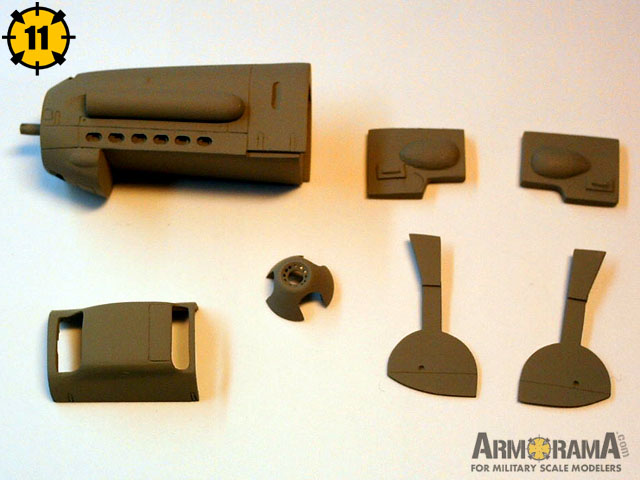
Picture 9 shows all the parts of the conversion set prior to painting. The spinner was also modified with the typical small venting holes. The first coat of paint is a good reveal for small imperfections (picture 10). Some areas had to be filled again and sanded smooth to achieve a perfect finish. This is necessary as every mistake will be visible on the resulting resin part if not eliminated prior to molding. Finally, after a lot of hesitation and refining, the original conversion set was finished! I choose to leave it with a matt finish (picture 11) because I think that resin parts are easier to work with such a surface. If you are not used to moldings, you should know that silicone replicates the texture of the initial part. If the prototype part has a glossy finish, the resulting resin part will also be glossy... and much harder to sand than a matt surface!

About the Author


FROM: MOSELLE, FRANCE
I'm mainly interested in WW2 aircraft and I build them in 1/48 scale.
Comments

Hi again Chuck!
After all, the good thing about that is that Armorama gets some publicity on other sites!
Jean-Luc
MAY 04, 2006 - 03:07 AM
But I know now!
Recently I sent two copies to a guy named Floyd S. Werner Jr. He signed up here and asked for two resin sets. As he was new, I thought it was a nice welcome gift... it's a small world sometimes...
Jean-Luc
MAY 04, 2006 - 03:22 AM

"No good deed, goes unpunished" :-)
Two nice fellows Floyd S. Werner Jr. and YOU !!!
MAY 04, 2006 - 03:26 AM

Excellent review and work jean-Luc. The history of the aircraft was as fascinating as the build itself.
You make casting resin sound so easy with your step by step instructions. One day i might have a go myself :-) .
Thanks and well done.
Andy (++)
MAY 05, 2006 - 01:04 AM

Hi Jean-Luc
Fantastic bit of work!!! I've forwarded the feature article to my small club, as we have two air race buffs in the crowd.
Frank
MAY 05, 2006 - 02:11 AM

Very impressive Jean-Luc! Totally out of my realm except for the info on Udet. Through and through very impressive! The characature head on the squatting image was Udets's self or should I say "elf" portrait.
MAY 05, 2006 - 04:56 AM

I just want to bump this
... and I did a little sawing and test fitting and I think jean-Luc's set will fit the Hasegawa kit with a bit of sanding and filling. Not sure about the Werner's Wings edition (this is a bit smaller than J-L's original set)
cheers
Steffen
NOV 10, 2009 - 09:11 PM
Copyright ©2021 by Jean-Luc Formery. Images also by copyright holder unless otherwise noted. The views and opinions expressed herein are solely the views and opinions of the authors and/or contributors to this Web site and do not necessarily represent the views and/or opinions of AeroScale, KitMaker Network, or Silver Star Enterrpises. Images also by copyright holder unless otherwise noted. Opinions expressed are those of the author(s) and not necessarily those of AeroScale. All rights reserved. Originally published on: 2006-05-01 00:00:00. Unique Reads: 44556

WEB HOSTING BY


Copyright ©2021 AeroScale and Kitmaker Network, a subsidiary of Silver Star Enterprises
All Rights Reserved. Please read our Conditions of Use and Privacy Policy.
All Rights Reserved. Please read our Conditions of Use and Privacy Policy.