1⁄48The Dübendorf Brothers
27
Comments
Converting the Tamiya kits
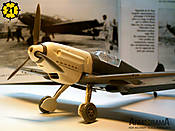
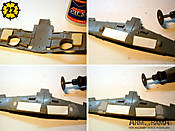
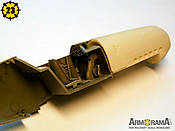
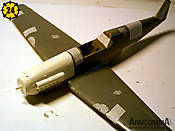
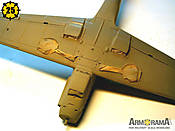
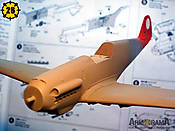
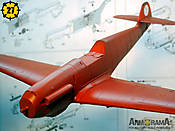
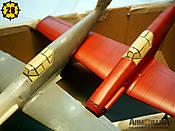
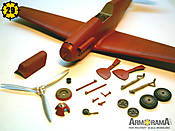
Now the resin parts were done, it was time to see if they would still fit the Tamiya kit. The best way to know was to test them directly on the model (picture 21). The result not being too bad, the conversion work could finally begin... at last!I started by deleting the underwing armament bulges using the resin plugs, cyanoacrylate glue and filler (picture 22). Once the cockpit was done (picture 23), I glued the resin conversion part (picture 24) and all was sanded smooth. I then applied a coat of grey acrylic paint to reveal the imperfections (picture 25) and, when necessary, applied some additional filler. Once I was happy with the result, I started to paint the rudder band (picture 26). A coat of white first for the roundel and then the red color. After that, I applied the overall red of the plane in several layers with the last one being a very transparent mix of acrylic paint and future. This gave the plane a nice satin/gloss finish without looking too "toyish" (picture 27). As I found it would give a nice contrast to its red brother, I also built the V-13 in the same time (picture 28). I didn't use the kit canopies for my models because I found two spare ones from a MPM Bf 109T kit that seemed to have been made for the Tamiya kits. Of course I could have used those provided in the kits, but the vacuformed ones had no holes for the antennas and this saved me the additional work of filling them. Picture 29 shows the finished model with all the small parts prior to decaling.
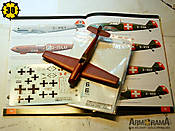
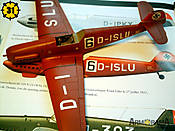
The D-ISLU letters gave me some troubles. More precisely, finding a way to paint them on the model was the biggest problem for me as I didn't find the appropriate decals. Fortunately, as I almost gave up the hope, I came across a decal sheet at my LHS that matched almost exactly the real letters: Carpena's 1/48 French Codes (picture 30). Ok, these are not German letters, but the difference isn't that big (picture 31). The number "6" came from the spares box (I think it belonged to a Revell Stuka kit) like all other decals.
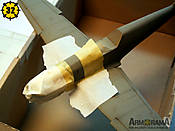
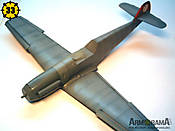
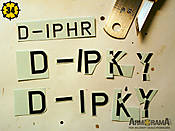
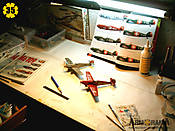
Painting the V-13 model was pretty the same procedure as painting the V-14... but in overall RLM 63 grey. In the picture of the real plane, I noticed the engine cowling panels had a different shade. I therefore masked these areas (picture 32) to achieve the same effect on my model (picture 33). The code D-IPKY was made using spare decals cut to form the right letters (picture 34). Once applied, I finally had my two Messerschmitts standing proudly side by side on my workbench! That was a great feeling for me after so much work...
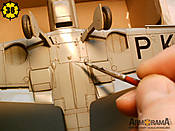
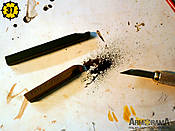
Last thing to do was to "paint" the panel lines using a mix of brown acrylic paint and Future applied with a small brush (picture 36) and add some weathering around the exhausts with black and brown pastel powder (picture 37). Now the "Dübendorf Brothers" were ready for the photo session!
Comments
Hi again Chuck!
After all, the good thing about that is that Armorama gets some publicity on other sites!
Jean-Luc
MAY 04, 2006 - 03:07 AM
But I know now!
Recently I sent two copies to a guy named Floyd S. Werner Jr. He signed up here and asked for two resin sets. As he was new, I thought it was a nice welcome gift... it's a small world sometimes...
Jean-Luc
MAY 04, 2006 - 03:22 AM
"No good deed, goes unpunished" :-)
Two nice fellows Floyd S. Werner Jr. and YOU !!!
MAY 04, 2006 - 03:26 AM
Excellent review and work jean-Luc. The history of the aircraft was as fascinating as the build itself.
You make casting resin sound so easy with your step by step instructions. One day i might have a go myself :-) .
Thanks and well done.
Andy (++)
MAY 05, 2006 - 01:04 AM
Hi Jean-Luc
Fantastic bit of work!!! I've forwarded the feature article to my small club, as we have two air race buffs in the crowd.
Frank
MAY 05, 2006 - 02:11 AM
Very impressive Jean-Luc! Totally out of my realm except for the info on Udet. Through and through very impressive! The characature head on the squatting image was Udets's self or should I say "elf" portrait.
MAY 05, 2006 - 04:56 AM
I just want to bump this
... and I did a little sawing and test fitting and I think jean-Luc's set will fit the Hasegawa kit with a bit of sanding and filling. Not sure about the Werner's Wings edition (this is a bit smaller than J-L's original set)
cheers
Steffen
NOV 10, 2009 - 09:11 PM
Copyright ©2021 by Jean-Luc Formery. Images also by copyright holder unless otherwise noted. The views and opinions expressed herein are solely the views and opinions of the authors and/or contributors to this Web site and do not necessarily represent the views and/or opinions of AeroScale, KitMaker Network, or Silver Star Enterrpises. Images also by copyright holder unless otherwise noted. Opinions expressed are those of the author(s) and not necessarily those of AeroScale. All rights reserved. Originally published on: 2006-05-01 00:00:00. Unique Reads: 44556


