Hello Friends!
I usually try to end one project before starting another but every now and then (and rather often lately...) something of special interest turns up. This time it is my third Xtrakit kit in less than six months, the new Canberra PR9 in 1/72 that has caught my interest. So the poor Hellcat and Avenger will be negleted for another month or so, I am sorry...
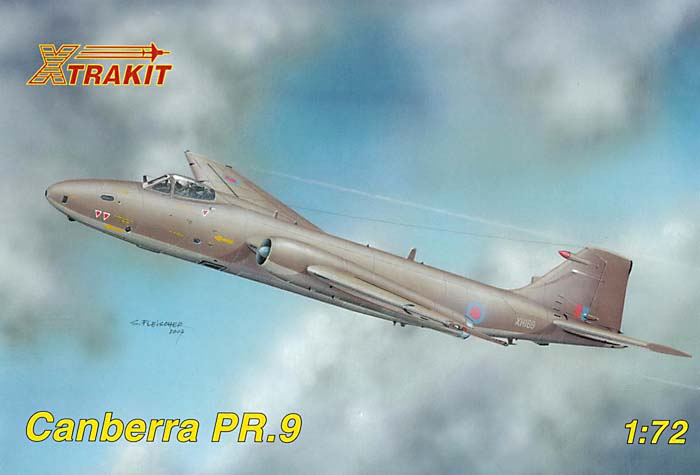
Boxart, the best yet on an Xtrakit I think!
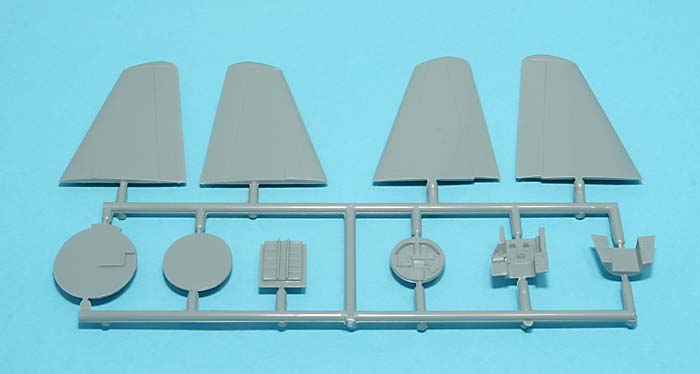
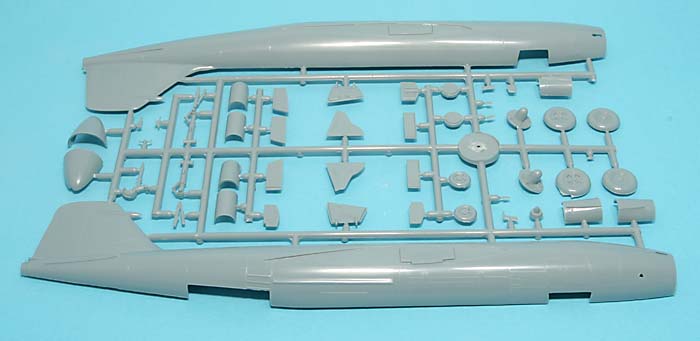
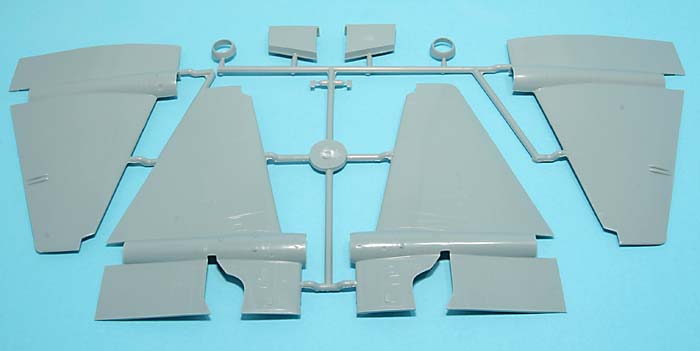
Three grey plastic sprues:
One clear sprue:
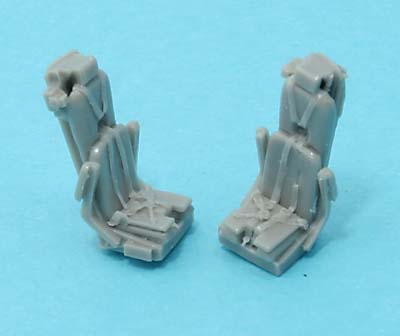
Two nice resin seats:
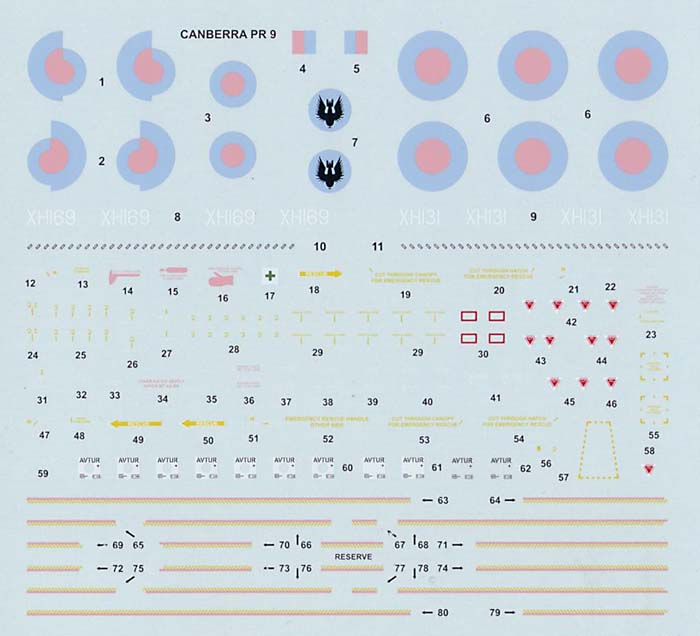
And a well printed decal sheet with lots of stencilling and options for two hemp coloured aircraft:
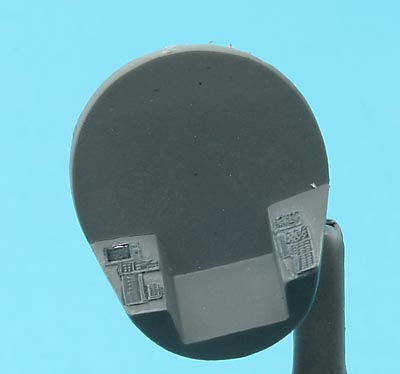
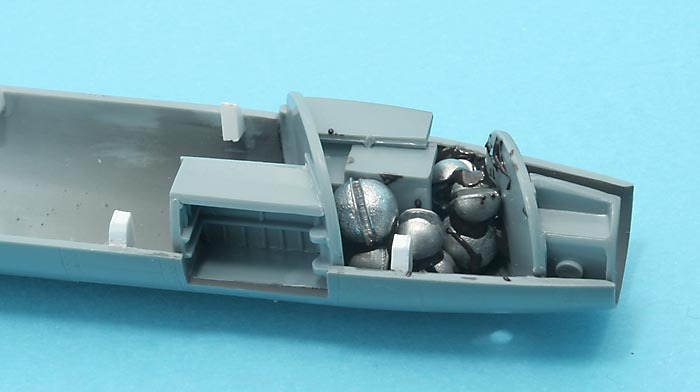
I have already started work on some sub assemblies, among them a pair of landing gear compartments with strategically placed ejector marks:
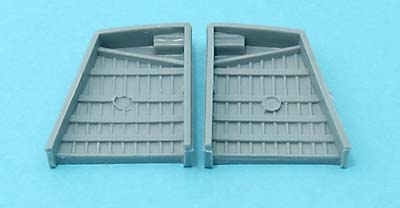
Even if their placement is awkward, it is possible to fix them with drill, scalpel, scrap plastic and patience:
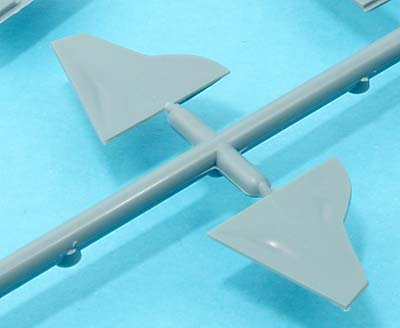
The only other trouble spots I have found yet are some easily removed sinkmarks in the gear covers:
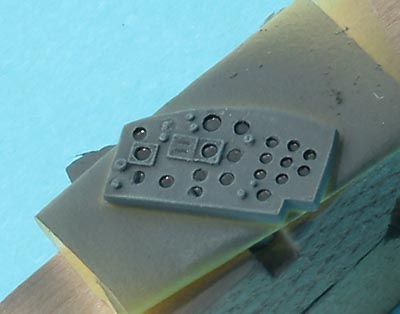
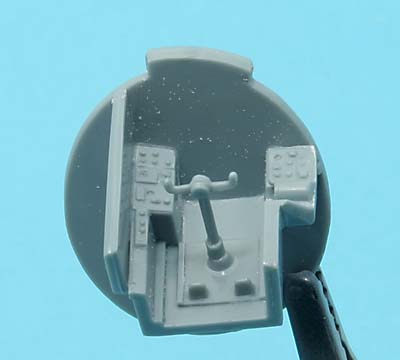
Cockpit interior is very nice and a good basis for superdetailing if it wasn't for the cockpit being black and with a very small opening to look in through...
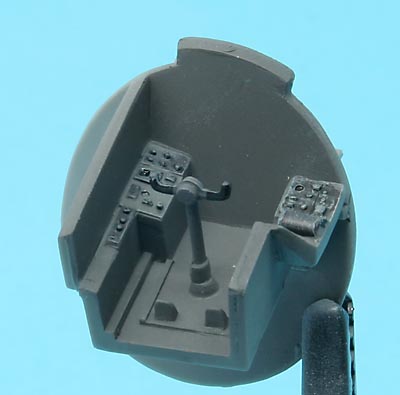
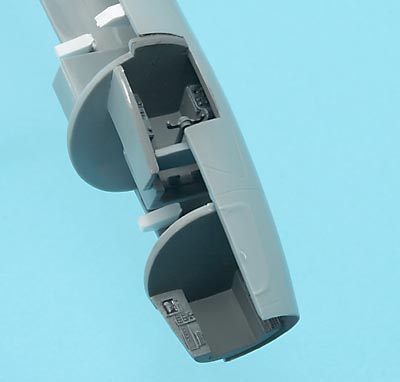
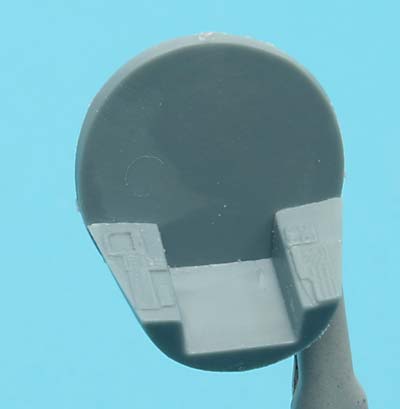
And this is the navigators compartment. For those who don't know: There is a poor guy riding in the nose of a Canberra PR9. He has an ejection seat but hardly any windows (there are a few small portholes and I guess he can see kind of forward through the camera sight but that is about it...). He climbs aboard through the nose cone that hinges to the right, there is a separate nose cone in the kit and I am toying with the idea of doing it with the cone open.
More to follow, stay tuned!
Magnus
Modern (1975-today)
Discuss the modern aircraft age from 1975 thru today.
Hosted by Jim Starkweather
Canberra PR9 build!
magnusf
Stockholm, Sweden
Joined: May 02, 2006
KitMaker: 1,953 posts
AeroScale: 1,902 posts
Joined: May 02, 2006
KitMaker: 1,953 posts
AeroScale: 1,902 posts
Posted: Monday, January 14, 2008 - 09:01 AM UTC
PolarBear
Västra Götaland, Sweden
Joined: February 23, 2005
KitMaker: 820 posts
AeroScale: 629 posts
Joined: February 23, 2005
KitMaker: 820 posts
AeroScale: 629 posts
Posted: Monday, January 14, 2008 - 10:25 AM UTC
Hi Magnus!
Not saving this gem for the photo-recce campaign?? Bummer!
Just kidding! I know you have something else planned for that one! Looking much forward to seeing your detailing skills and craftmanship on the Canberra! It sure is one beatiful aircraft! Don't forget all them camera windows!
Ps. You might want to check out http://www.spyflight.co.uk/pr9.htm for some nice pictures and info.
Cheers!
StenEk
Stockholm, Sweden
Joined: October 02, 2007
KitMaker: 31 posts
AeroScale: 29 posts
Joined: October 02, 2007
KitMaker: 31 posts
AeroScale: 29 posts
Posted: Monday, January 14, 2008 - 03:32 PM UTC
"Even you, my Brutus!"
Seems we are wakling in line abreast on this one at the moment. Although I suspect you will finish yours well ahead of me. BTW, thanks for the tip on how to remove those ugly push marks in the wheel wells!
I have spent several hours comparing the kit to the, without any doubt, absolutely best reference available for the PR.9; Aeroguide #34. Get it! I have found the kit to be about 95% accurate. The only differences I have found so far are a few missing small antennas, sensors and other small details, and two major omissions; the air scoop on the lower starboard fuselage in line with the cockpit and the prominent ILS antennas on each side of the fin. Also the two flat air "intakes" moulded below the inner wing leading edge, are in fact actually air outlets and should face the other way around.
Keep posting!
magnusf
Stockholm, Sweden
Joined: May 02, 2006
KitMaker: 1,953 posts
AeroScale: 1,902 posts
Joined: May 02, 2006
KitMaker: 1,953 posts
AeroScale: 1,902 posts
Posted: Wednesday, January 16, 2008 - 07:31 AM UTC
Björn: Thanks for the link! As you wrote, I have something else up my sleeve for the photo-recce campaign even it this one should have fitted nicely in every aspect except for the timing. This is a dead-line build for SAM so this birdie has to be finished before the end of February! Available modelling time will dictate how much of that "scratchbuilding craftmanship" I will be able to show you, if I run out of time I simply close the nose cap !
Sten: Thanks for the warning regarding things missing! I'll add them!
More work than modelling lately, I hope I get some time at the bench later this week!
Regards
Magnus
Sten: Thanks for the warning regarding things missing! I'll add them!
More work than modelling lately, I hope I get some time at the bench later this week!
Regards
Magnus
magnusf
Stockholm, Sweden
Joined: May 02, 2006
KitMaker: 1,953 posts
AeroScale: 1,902 posts
Joined: May 02, 2006
KitMaker: 1,953 posts
AeroScale: 1,902 posts
Posted: Monday, January 21, 2008 - 08:46 AM UTC
I've decided to spend the time on modelling rather than web updates lately but now it's time for one!
Both cockpits have been painted. I used "light black" (50/50 Tamiya black and XF-54 grey) as a base coat and then picked out some detail using "real black". A quick drybrush and a few drops of clear in the instrument faces completes this operation...
This level of detailing is more than enough considering what will be seen from the outside. If I decide to leave the nose cone open, I will add some more detail to that area through the front opening.
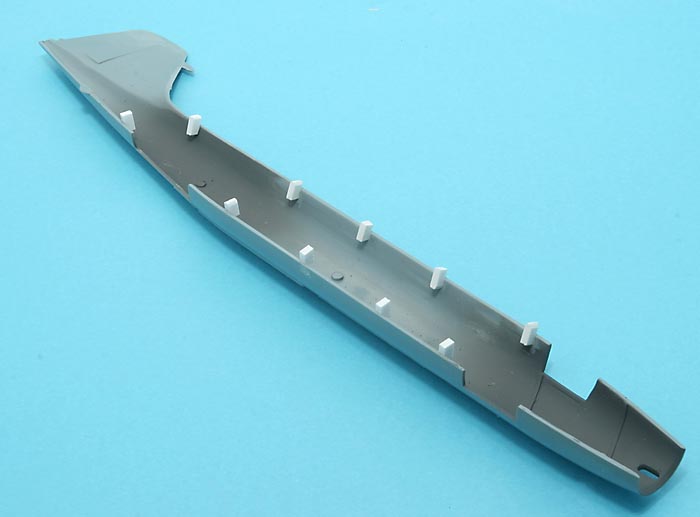
Fuselage halves aren't the same diameter, they differ a few millimetres. In order to get a good fit I added plastic tabs on the larger one. I adjusted them with the scalpel until the fuselage halves were level along the seam.
And this is what it looks like with the cockpit parts installed:
This one will not become a tailsitter!
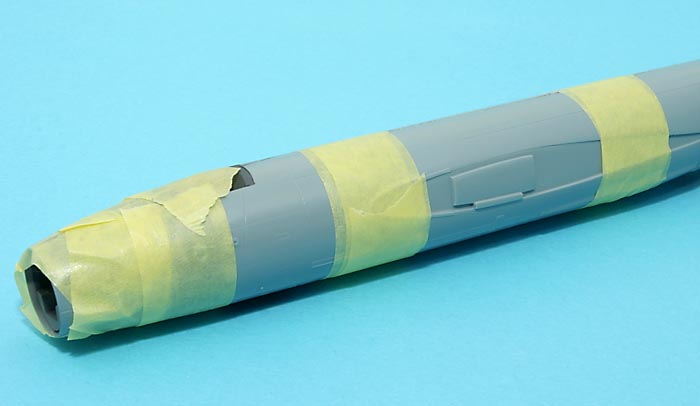
And finally the fuselage is closed. I have never dared to try using tape but Holdfast showed photos of him doing it and he's right: If you apply the tape after you have applied the liquid glue there is nothing that can seep under the tape!
Magnus
magnusf
Stockholm, Sweden
Joined: May 02, 2006
KitMaker: 1,953 posts
AeroScale: 1,902 posts
Joined: May 02, 2006
KitMaker: 1,953 posts
AeroScale: 1,902 posts
Posted: Sunday, January 27, 2008 - 04:41 AM UTC
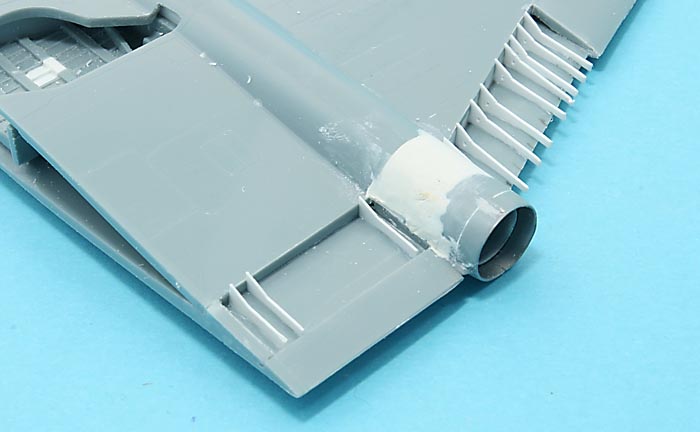
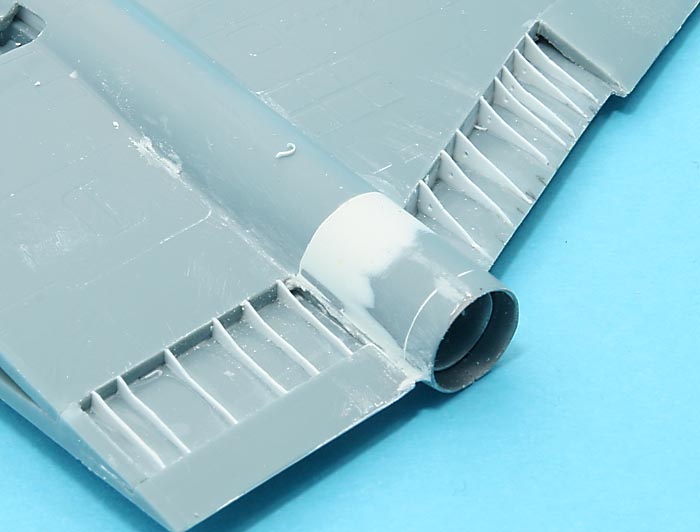
Another update, work has commenced on the wings. After recent experiences with the same kind of wing configuration I am trying a different tactic this time...
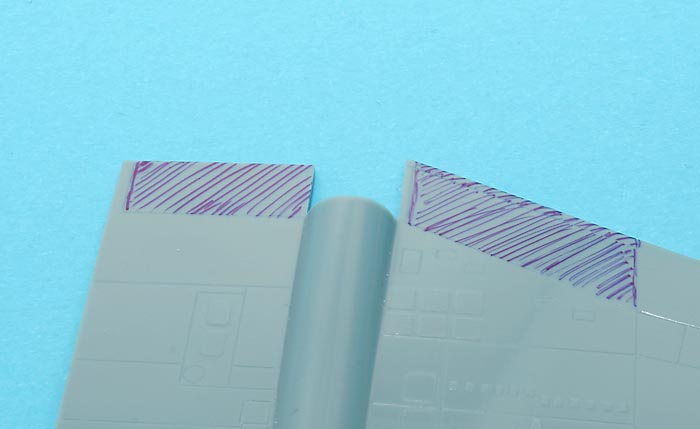
I have glued the rear part of the engine cover to the upper wing half and I hope this will result in better looking top surfaces. What happens below the engine nacelles is still important but not as visible...
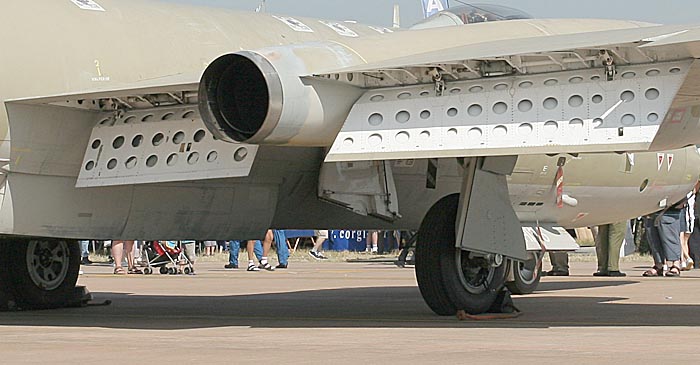
Since the static aircraft at Fariford 2006 was parked in this very tempting configuration I will make a try with deployed flaps
This will result in two rather unpleasant areas of missing plastic...
Magnus
magnusf
Stockholm, Sweden
Joined: May 02, 2006
KitMaker: 1,953 posts
AeroScale: 1,902 posts
Joined: May 02, 2006
KitMaker: 1,953 posts
AeroScale: 1,902 posts
Posted: Wednesday, February 06, 2008 - 01:46 AM UTC
Some more work has been done during this last week!
Jet engine pipe and flame holders have been painted
Getting the engine to fit inside the cowling took quite a lot of sanding, both inside and out:
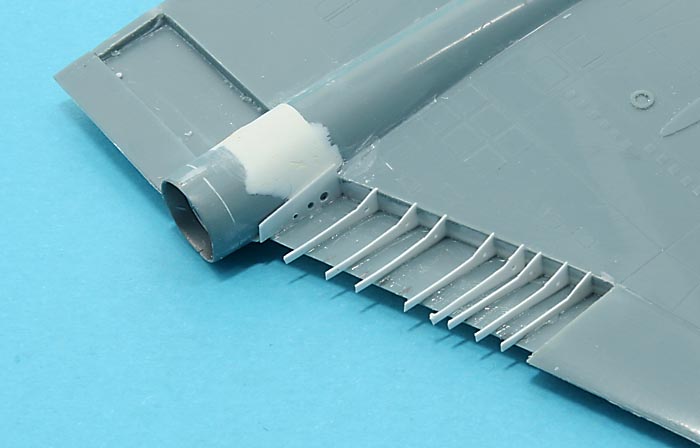
Starting to add rib detail in the flap wells...
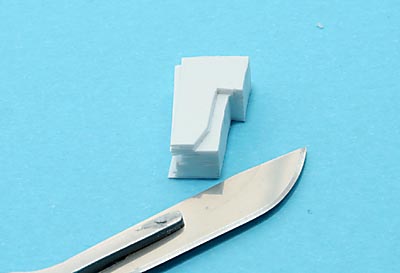
The ribs were carved from a block of plastic card pieces, laminated together along one of the edges.
They were then installed according to my reference photos. No, the distance between them isn't even on the real aircraft either!
Inner wells getting their ribs as well:
Work just about complete, with ribs trimmed to size using a sharp scalpel that ended up deep into my right thumb during the process... Just another reason to use surgical blades, they are sterile!
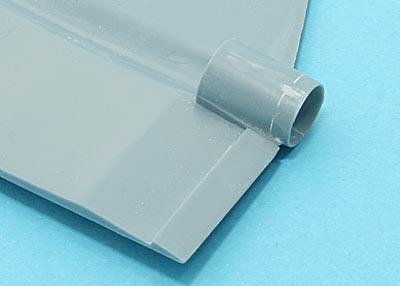
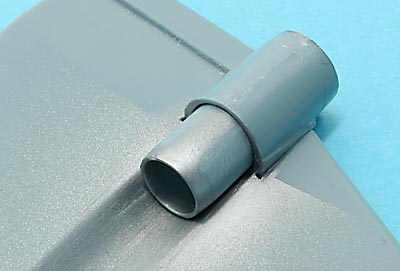
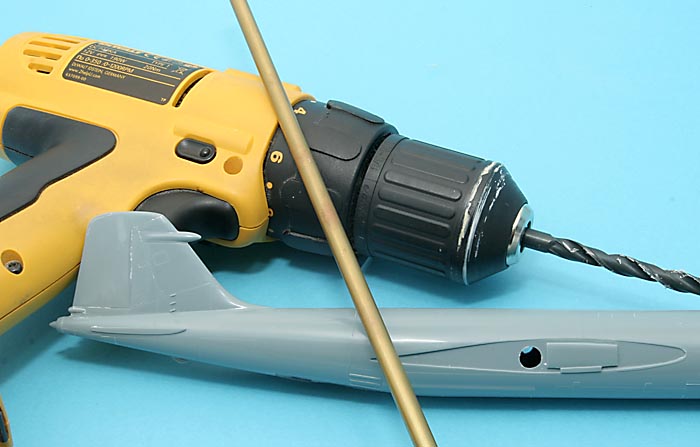
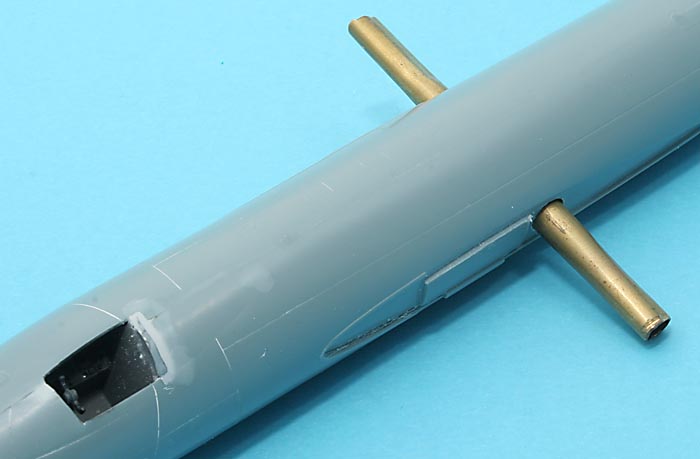
My friend Martin gave me some excellent advice the other day: This one needs a wing spar! I drilled a hole using the household power drill (it felt rather odd attacking the kit with a 6 mm industrial drill...) and inserted a piece of brass tubing.
And this is what it looks like before adding the wings using large amounts of my evil smelling epoxy glue!
Magnus
Jet engine pipe and flame holders have been painted
Getting the engine to fit inside the cowling took quite a lot of sanding, both inside and out:
Starting to add rib detail in the flap wells...
The ribs were carved from a block of plastic card pieces, laminated together along one of the edges.
They were then installed according to my reference photos. No, the distance between them isn't even on the real aircraft either!
Inner wells getting their ribs as well:
Work just about complete, with ribs trimmed to size using a sharp scalpel that ended up deep into my right thumb during the process... Just another reason to use surgical blades, they are sterile!
My friend Martin gave me some excellent advice the other day: This one needs a wing spar! I drilled a hole using the household power drill (it felt rather odd attacking the kit with a 6 mm industrial drill...) and inserted a piece of brass tubing.
And this is what it looks like before adding the wings using large amounts of my evil smelling epoxy glue!
Magnus
magnusf
Stockholm, Sweden
Joined: May 02, 2006
KitMaker: 1,953 posts
AeroScale: 1,902 posts
Joined: May 02, 2006
KitMaker: 1,953 posts
AeroScale: 1,902 posts
Posted: Wednesday, February 06, 2008 - 02:49 AM UTC
Just a quick second post tonight before it is bedtime!
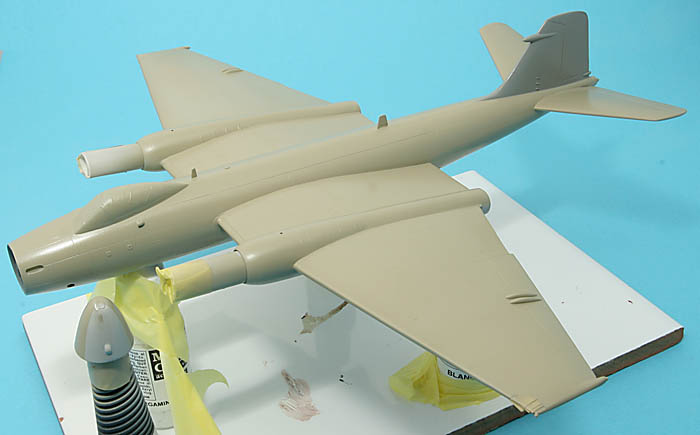
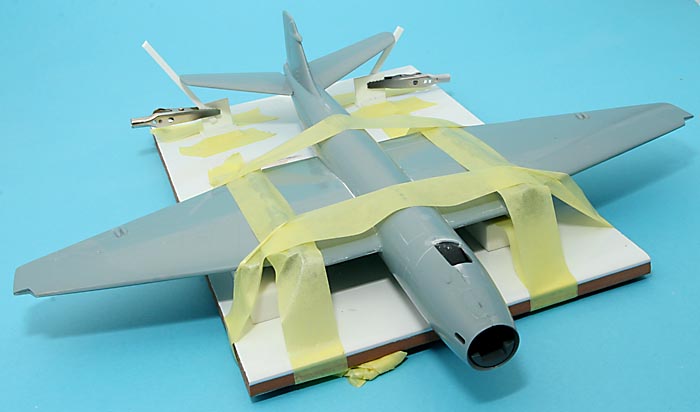
The Canberra is in the jig, everything glued fair and square I hope...
Magnus
The Canberra is in the jig, everything glued fair and square I hope...
Magnus
magnusf
Stockholm, Sweden
Joined: May 02, 2006
KitMaker: 1,953 posts
AeroScale: 1,902 posts
Joined: May 02, 2006
KitMaker: 1,953 posts
AeroScale: 1,902 posts
Posted: Friday, February 08, 2008 - 03:05 AM UTC
The traditional Friday Night Update is here!
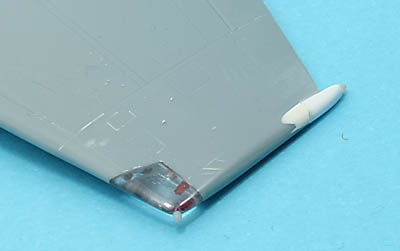
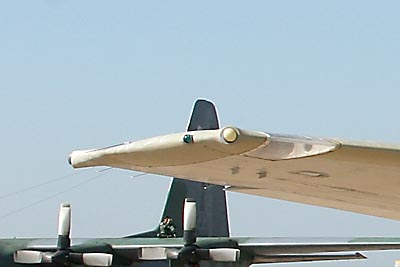
One thing missing on the model are the antennas/sensors at the wing tips. There are two on each wing tip, one pointing forwards and one pointing rearwards.
When asking nicely what they were for the people around the aircraft politely avoided answering. Even if the aircraft is 45 years old many of the systems are state-of-the-art. Anyway, as a modeller I don't really care what the bulges do and they couldn't deny that they were there at least!
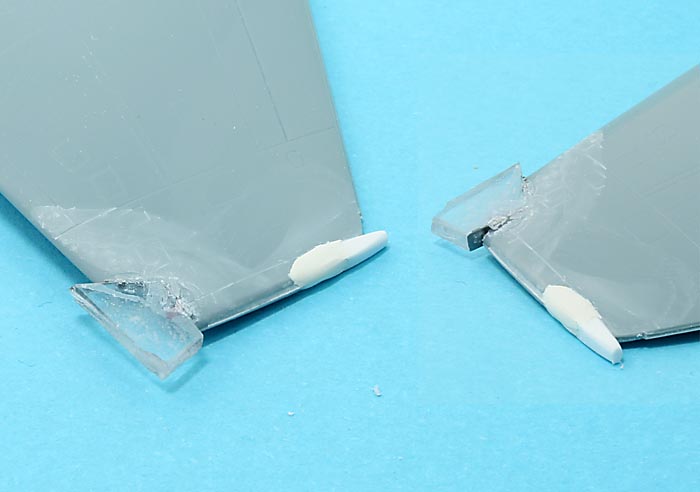
A rearward extension has been added and faired in using Milliput and a block of clear PS has been added in the wingtip cutout. The wingtip part included in the kit was a bit small and I also wanted to extend it forwards/outwards in order to fit the sensor later.
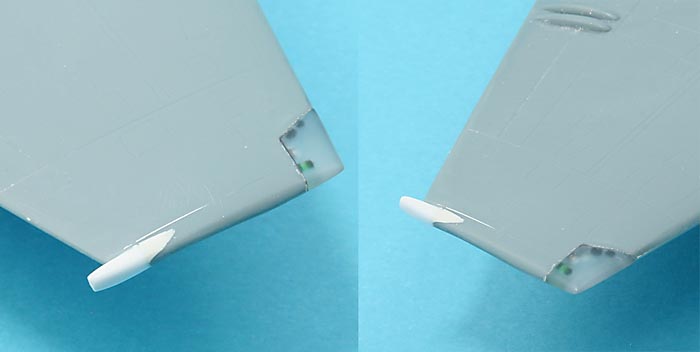
And this is the same part some filing and sanding later:
:-H
Magnus
Posted: Friday, February 08, 2008 - 03:33 AM UTC
Hi Magnus!
I must say this is top class chirurgical modelling you are doing here. Do you have pictures of your right thumb as well...
Good luck for the rest of the build, it looks very good so far!
Jean-Luc
I must say this is top class chirurgical modelling you are doing here. Do you have pictures of your right thumb as well...
Good luck for the rest of the build, it looks very good so far!
Jean-Luc
Posted: Friday, February 08, 2008 - 04:21 AM UTC
Very interesting build Magnus.
I don't think I'd like being in the nosecone of that thing all the same.
Posted: Friday, February 08, 2008 - 04:30 AM UTC
Yeah, yeah, I know... It's 1/72, I wouldn't fit!
magnusf
Stockholm, Sweden
Joined: May 02, 2006
KitMaker: 1,953 posts
AeroScale: 1,902 posts
Joined: May 02, 2006
KitMaker: 1,953 posts
AeroScale: 1,902 posts
Posted: Friday, February 08, 2008 - 11:38 AM UTC
Jean-Luc: The thumb is a lot less interesting than you might think: It has healed. Probably due to the sterile blade
Murdo: You will have to do like my friend Martin: Wait for the 1/48 version and see if that helps...
Thanks for commenting!
Magnus
Murdo: You will have to do like my friend Martin: Wait for the 1/48 version and see if that helps...
Thanks for commenting!
Magnus
StenEk
Stockholm, Sweden
Joined: October 02, 2007
KitMaker: 31 posts
AeroScale: 29 posts
Joined: October 02, 2007
KitMaker: 31 posts
AeroScale: 29 posts
Posted: Saturday, February 09, 2008 - 01:30 AM UTC
Quoted Text
Very interesting build Magnus.
I don't think I'd like being in the nosecone of that thing all the same.
If you look carefully you can see a very small window on either side of the nose. This was the navigator's only view of the world outside. Since not much could be seen through them, they were usually refered to as "day/night indicators". And in case of an emergency, you crossed your fingers and prayed that the charges that blew open the panel above the seat would go off before the ejection seat rockets ignited.
magnusf
Stockholm, Sweden
Joined: May 02, 2006
KitMaker: 1,953 posts
AeroScale: 1,902 posts
Joined: May 02, 2006
KitMaker: 1,953 posts
AeroScale: 1,902 posts
Posted: Wednesday, February 20, 2008 - 09:02 AM UTC
Good evening friends!
Time for a quick Canberra update. It has been a while since last time but nothing really interesting has happened. Mostly filling and sanding, a lot more than I had expected even if I have tried to dry-fit everything with outmost care!
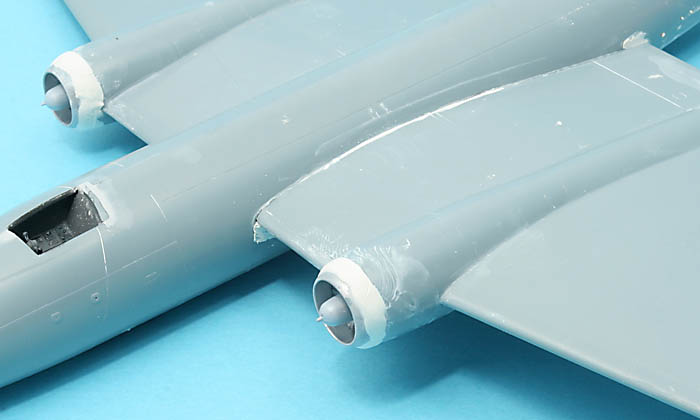
As expected, the nose rings didn't fit perfectly. In a random act of care for us modellers, the EE engineers didn't put a panel line around them so it is just a matter of filling and sanding with no scribing required! Thanks!
The most interesting secret sensors have been added to the wing tips.
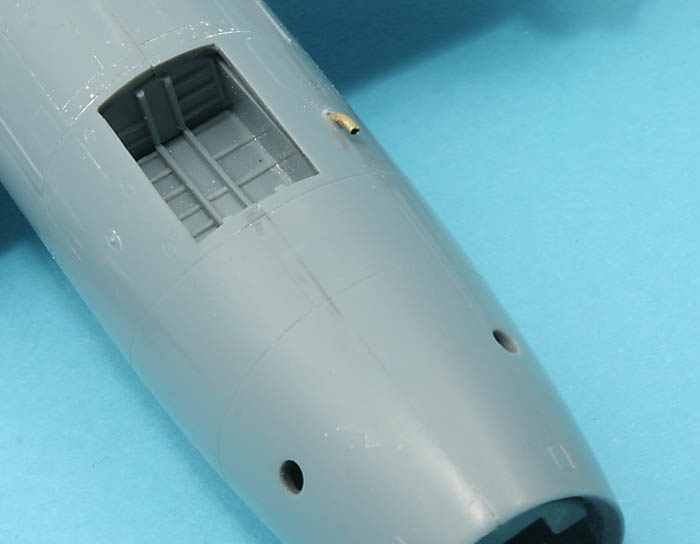
Quite a few of the small airscoops are missing, this is one that has to be scratch built:
And this is what it looks like before the first coat of primer:
Magnus
Posted: Wednesday, February 20, 2008 - 09:02 PM UTC
Looks good, Magnus. Suddenly the use of brass, plastic, power drill etc. is turning into a very nice Canberra
Looking forward to see more
magnusf
Stockholm, Sweden
Joined: May 02, 2006
KitMaker: 1,953 posts
AeroScale: 1,902 posts
Joined: May 02, 2006
KitMaker: 1,953 posts
AeroScale: 1,902 posts
Posted: Tuesday, February 26, 2008 - 11:53 AM UTC
Jesper, I am glad you like it! I am in a bit of a hurry now since Twin Spinners start on Saturday...
A late night update this time...
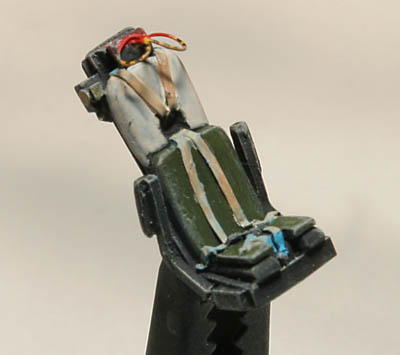
Final touches to the cockpit before closing the lid... The ejection seat, one of the resin ones that came with the kit:
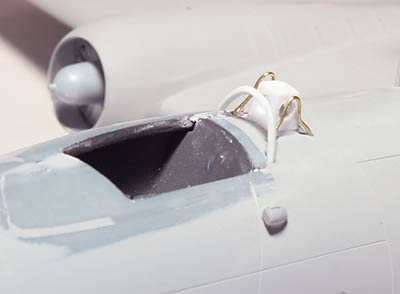
I made a simple reproduction of the structure behind the pilots seat. I don't have any really good photos of this area but I think this will do seen through the canopy:
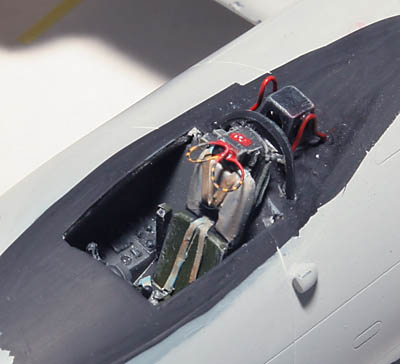
And this is after painting with the seat installed:
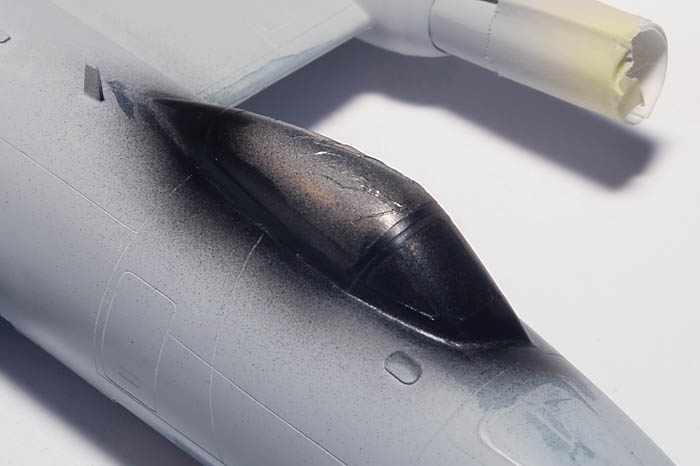
Canopy masked with bare metal foil and overpainted in black:
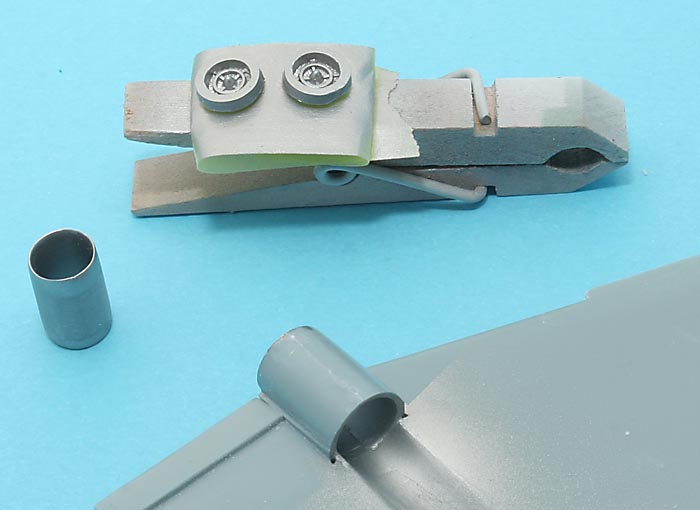
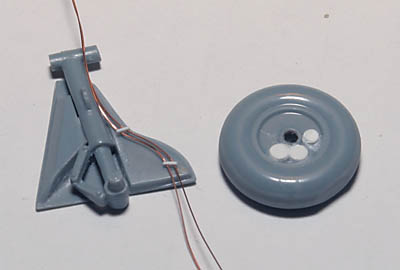
And finally a bit of detailing to the wheels (supposedly disc brakes) and brake lines added to the landing gear:
Magnus
magnusf
Stockholm, Sweden
Joined: May 02, 2006
KitMaker: 1,953 posts
AeroScale: 1,902 posts
Joined: May 02, 2006
KitMaker: 1,953 posts
AeroScale: 1,902 posts
Posted: Monday, March 03, 2008 - 03:09 AM UTC
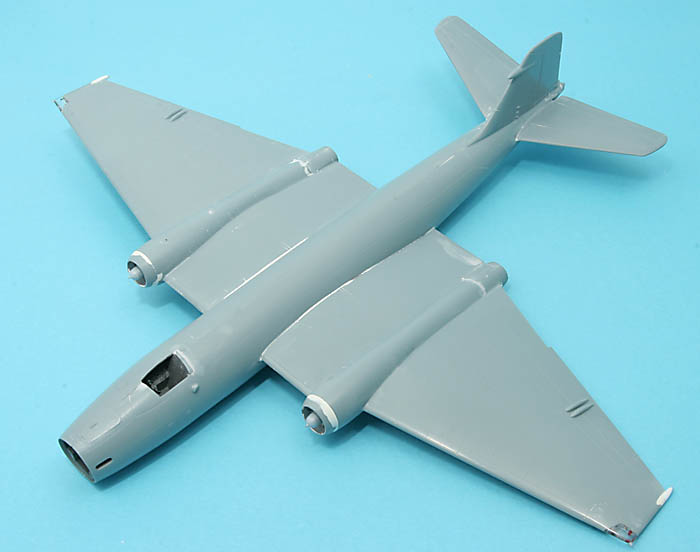
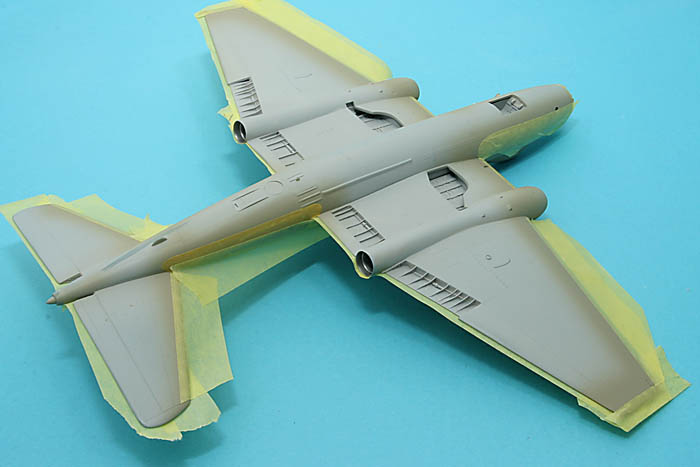
Masking before painting the lower surfaces:
And finally ready for decaling, there is lots of them!
Paints are Gunze mixed with gloss varnish for the top surfaces, fin and lower surfaces come from the Xtracrylix range. Gloss coat is Tamiya clear.
Magnus
And finally ready for decaling, there is lots of them!
Paints are Gunze mixed with gloss varnish for the top surfaces, fin and lower surfaces come from the Xtracrylix range. Gloss coat is Tamiya clear.
Magnus
NICK-NAUPLIO
Argolis, Greece / Ελλάδα
Joined: March 14, 2008
KitMaker: 67 posts
AeroScale: 4 posts
Joined: March 14, 2008
KitMaker: 67 posts
AeroScale: 4 posts
Posted: Friday, March 14, 2008 - 08:31 AM UTC
Great work Magnus,bravo
Posted: Friday, March 14, 2008 - 09:58 AM UTC
This is very cool Magnus!!
...neither my scale nor subject but still great modelling!!! ... hmm, maybe I need to get an Airfix Canberra when it comes out
Keep on and
all the best
Steffen
...neither my scale nor subject but still great modelling!!! ... hmm, maybe I need to get an Airfix Canberra when it comes out
Keep on and
all the best
Steffen
magnusf
Stockholm, Sweden
Joined: May 02, 2006
KitMaker: 1,953 posts
AeroScale: 1,902 posts
Joined: May 02, 2006
KitMaker: 1,953 posts
AeroScale: 1,902 posts
Posted: Tuesday, March 18, 2008 - 07:14 AM UTC
Nick: Thanks for the comments, I need the encouragement right now!
Steffen: I was never a Canberra-man myself before seeing one flying at Fairford in 2006, then the Xtrakit really got the ball rolling! Airfix really seems to be in Canberra-mood with the very cool B(I).8 in 1/48 for immediate release, at least a PR.9 to follow and then this autumn a few 1/72-releases as well. I am eagerly awaiting the 1/72 B(I).8!
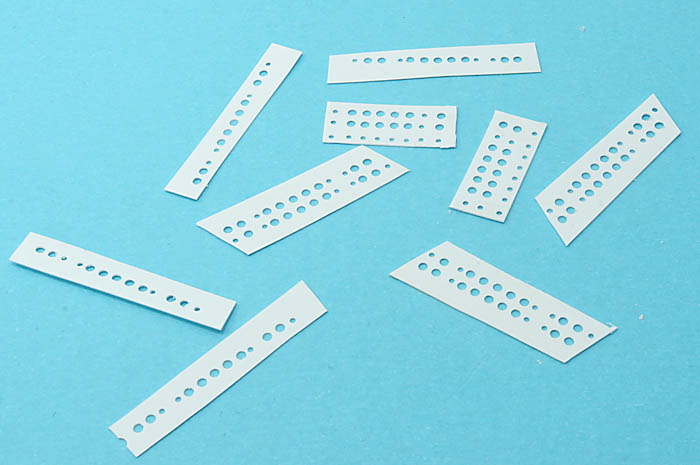
Decalling time, lots of the tiny little b......s...
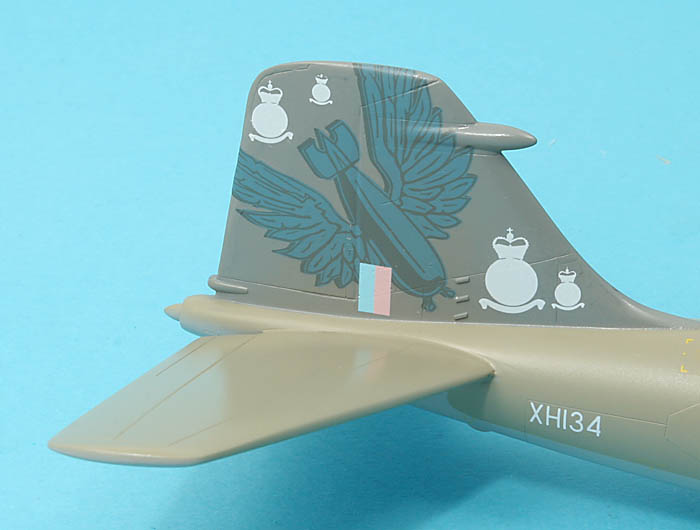
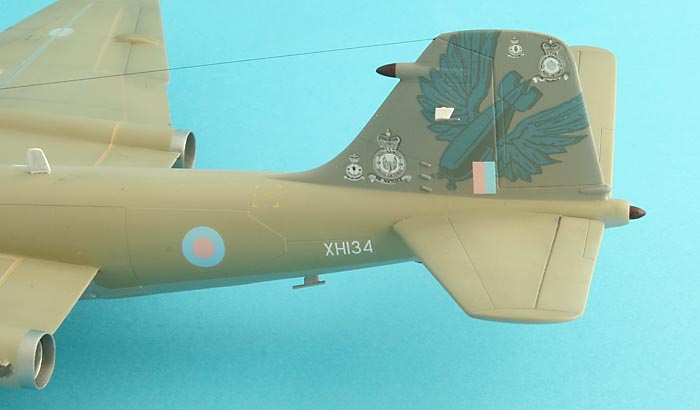
The fin requires some extra attention. I have never been a fan of large decals but the bomb motif behaved acceptably well... The white decals are backgrounds for the various squadron badges carried on the fin.
Decalling done and the natural metal wing spar top added using bare metal foil. The aircraft were nearing the end of their calculated fatigue lifes so the wing spars were left unpainted to aid in inspecting for cracks.
Bits and pieces that will make up the flaps. My easter project...
I get the feeling that my next model should be an Su-7, I wonder why...
I'll be going away over easter tomorrow but I'll bring the toolbox, the camera and the laptop so with a bit of luck there will be an update or two to look forward to between the eggs, the chickens and the easter hare!
Magnus
magnusf
Stockholm, Sweden
Joined: May 02, 2006
KitMaker: 1,953 posts
AeroScale: 1,902 posts
Joined: May 02, 2006
KitMaker: 1,953 posts
AeroScale: 1,902 posts
Posted: Tuesday, April 01, 2008 - 09:02 AM UTC
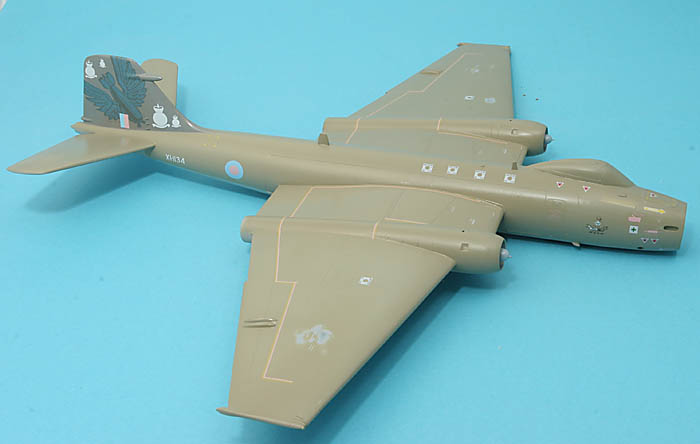
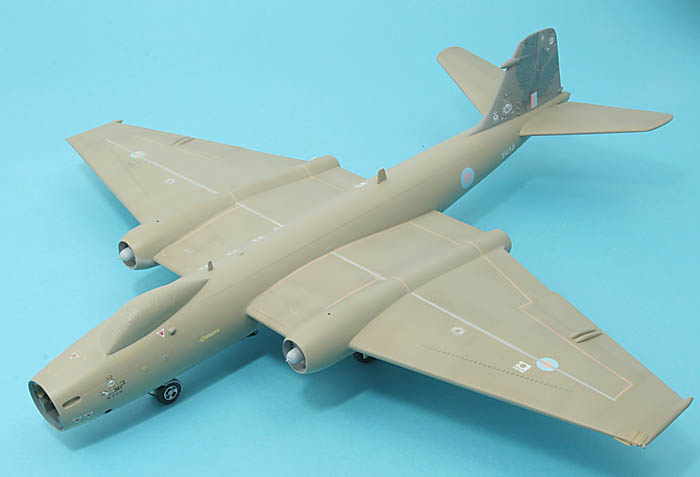
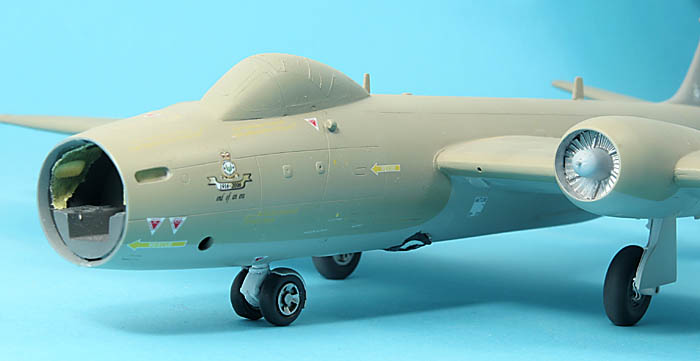
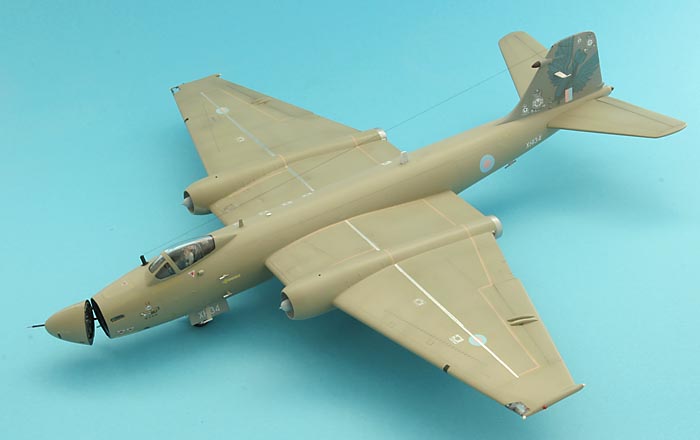
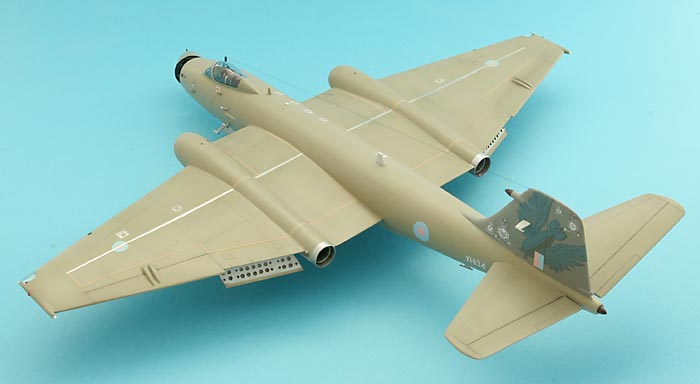
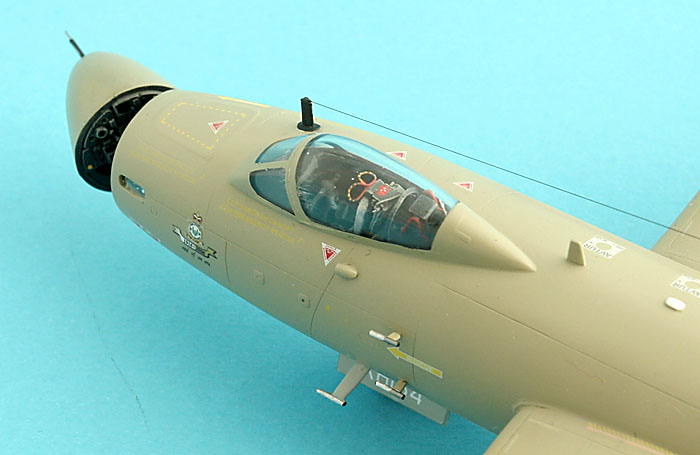
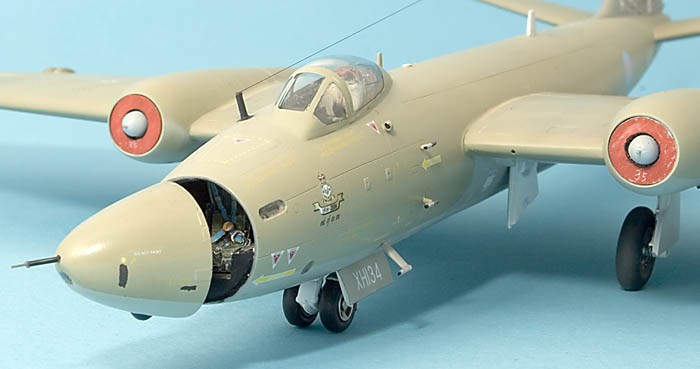
Too much panic to get the usual photo coverage of the en of the build but here it finally is, my finished Canberra!
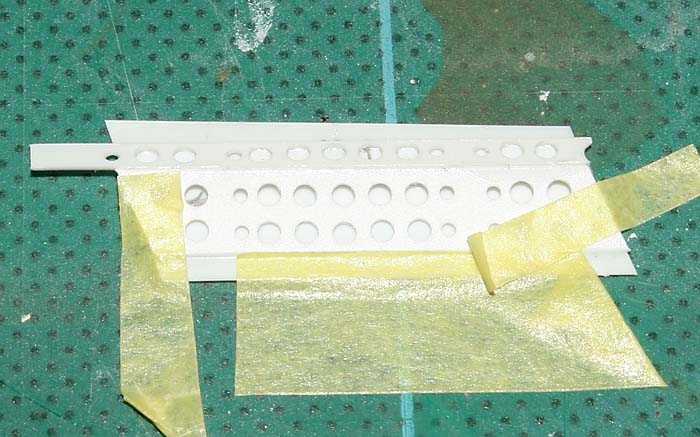
One photo of a flap under construction:
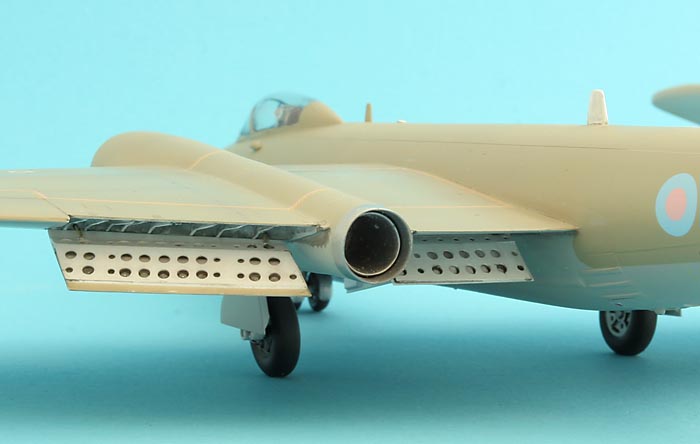
The flaps after installation:
And a few views of the finished model:
Magnus
One photo of a flap under construction:
The flaps after installation:
And a few views of the finished model:
Magnus
kenner
Ontario, Canada
Joined: October 14, 2007
KitMaker: 122 posts
AeroScale: 119 posts
Joined: October 14, 2007
KitMaker: 122 posts
AeroScale: 119 posts
Posted: Thursday, April 03, 2008 - 11:30 AM UTC
Great job on the Canberra Magnus!
Very inspiring (and a bit intimidating )
What did you use for the "venturi" tubes below the canopy on the port side?
(they look hollow)
Very inspiring (and a bit intimidating )
What did you use for the "venturi" tubes below the canopy on the port side?
(they look hollow)
Posted: Thursday, April 03, 2008 - 12:04 PM UTC
Great build Magnus. The extra details really make it stand out.
Makes me want to buy the Airfix one now as well.
Andy
Makes me want to buy the Airfix one now as well.
Andy
magnusf
Stockholm, Sweden
Joined: May 02, 2006
KitMaker: 1,953 posts
AeroScale: 1,902 posts
Joined: May 02, 2006
KitMaker: 1,953 posts
AeroScale: 1,902 posts
Posted: Wednesday, April 09, 2008 - 01:36 AM UTC
Quoted Text
Great job on the Canberra Magnus!
Very inspiring (and a bit intimidating )
What did you use for the "venturi" tubes below the canopy on the port side?
(they look hollow)
Thanks a lot for the comments, it wasn't as involved as it looks!
Kenneth: Regarding the venturi tubes (I think they are pitots actually): Of course they are hollow, how could they otherwise be pitot tubes? Just kidding: They are stretched sprue with a small drop of black paint added to the ends. I have mostly stopped drilling things like pitots, gun barrels and exhaust pipes: black paint is enough convincing in 1/72 scale!
Andy: Wait a few months for Airfix to do their work and you'll get it in the right scale as well!
I was away skiing this last weekend but I sent a few models with a friend to the IPMS Sweden national competition: My Canberra won the 1/72 modified jet class!
I have also delivered an article including coverage of the real aircraft to Scale Aircraft Modelling, with a bit of luck it will be published in their May issue!
Magnus