1/72 Hurricane IIc, India 1942
Western Australia, Australia
Joined: June 05, 2007
KitMaker: 2,166 posts
AeroScale: 105 posts
Posted: Saturday, March 15, 2008 - 06:00 PM UTC
Hi everyone,
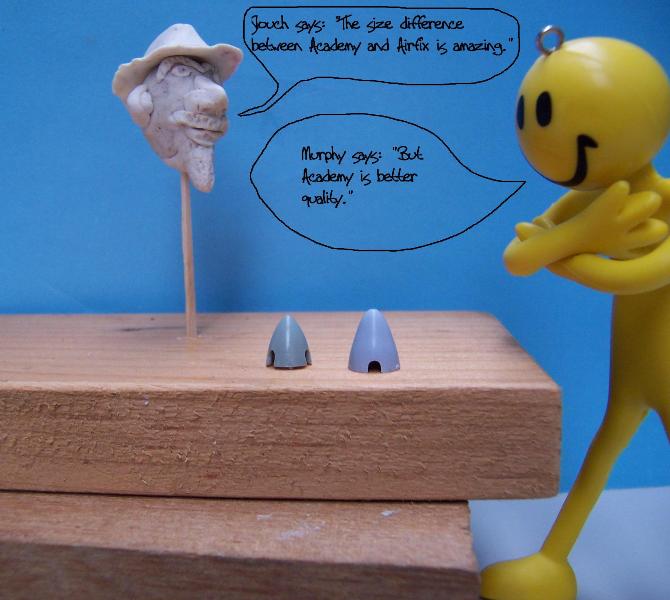
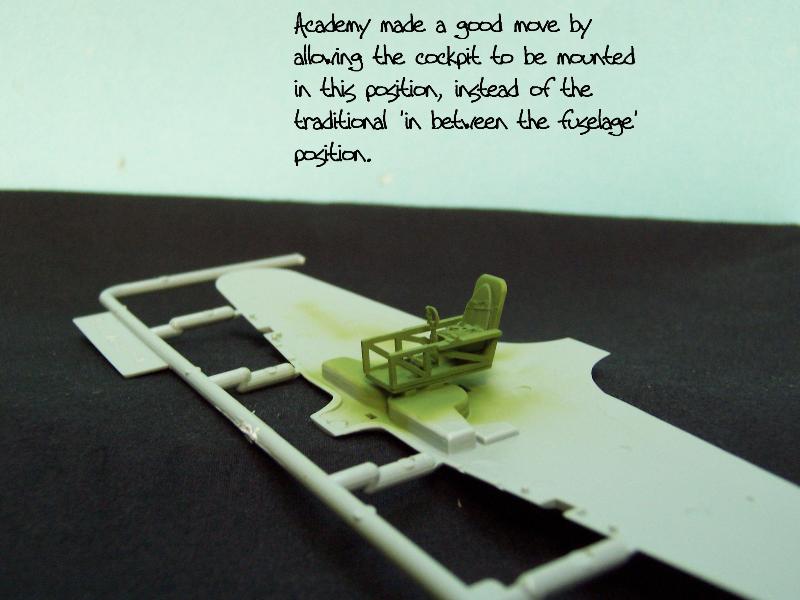
I'm starting a build for a pilot, Flt. Lt. J.P.B Greenwood who flew Hurricanes in the Battle of Britain, and then later on in India/Burma. I am hoping to present this model to him for his 88th birthday on the 3rd of April. I am using Academy's 1/72 Hurricane IIc, with a few adjustments to turn it troppo.
Please give me tips, help and feeback because I know this kit is not the most accurate one out. This is also my first serious aircraft kit using an airbrush and all the proper weathering/painting techniques.
Sit back, relax, (and bite your nails).
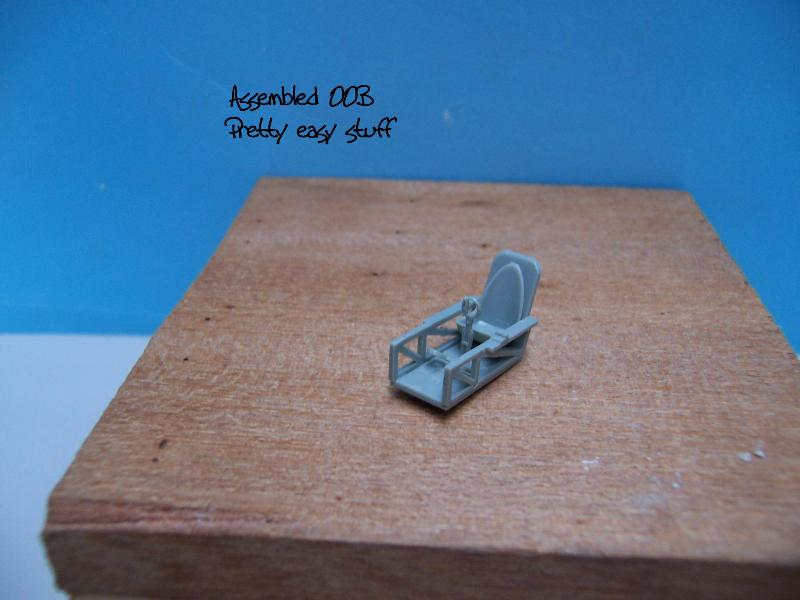

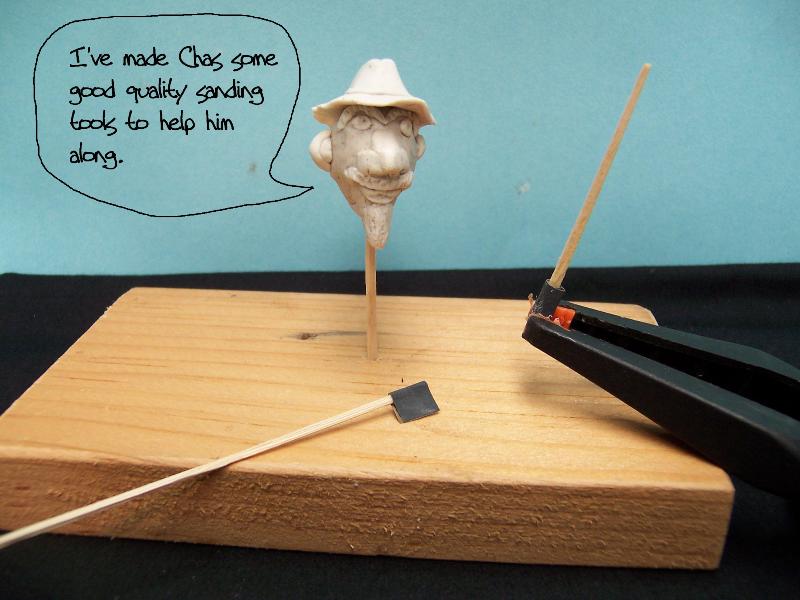
I'm not going to SUPER-DETAIL the cockpit any further. Too much time, effort and no-one will notice.
Bye for now,
Chas
Like Military History? Check out the History Club forum here on the Kitmaker Net.
Västra Götaland, Sweden
Joined: February 23, 2005
KitMaker: 820 posts
AeroScale: 629 posts
Posted: Saturday, March 15, 2008 - 07:26 PM UTC
Hi Chas!
I'm looking forward to the updates - primarilly because of the interesting build but also because of the intriguing discussions between the floating head and the yellow man...

Cheers! // PolarBear

Western Australia, Australia
Joined: June 05, 2007
KitMaker: 2,166 posts
AeroScale: 105 posts
Posted: Saturday, March 15, 2008 - 10:51 PM UTC
G'day Bjorn,
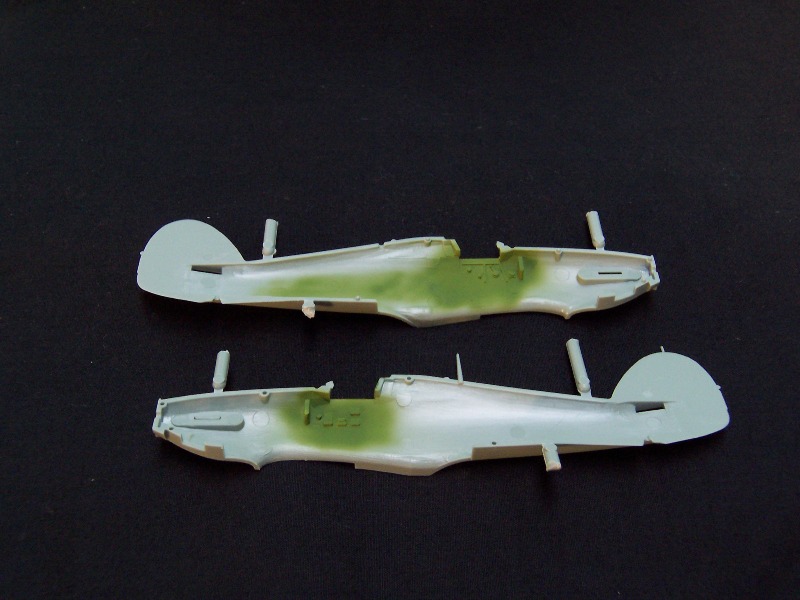
Welcome aboard, I hope you enjoy the thread. Here are some updates, photos taken in waning light so I'm sorry about quality.
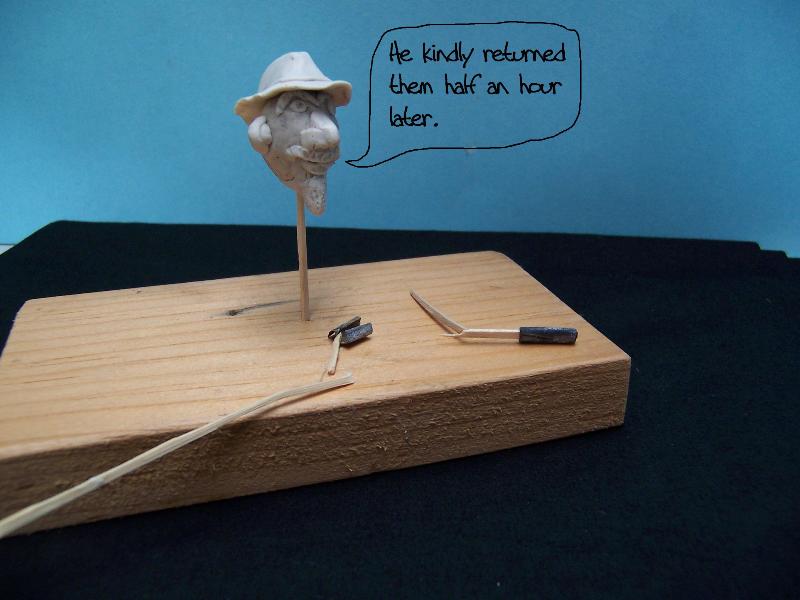
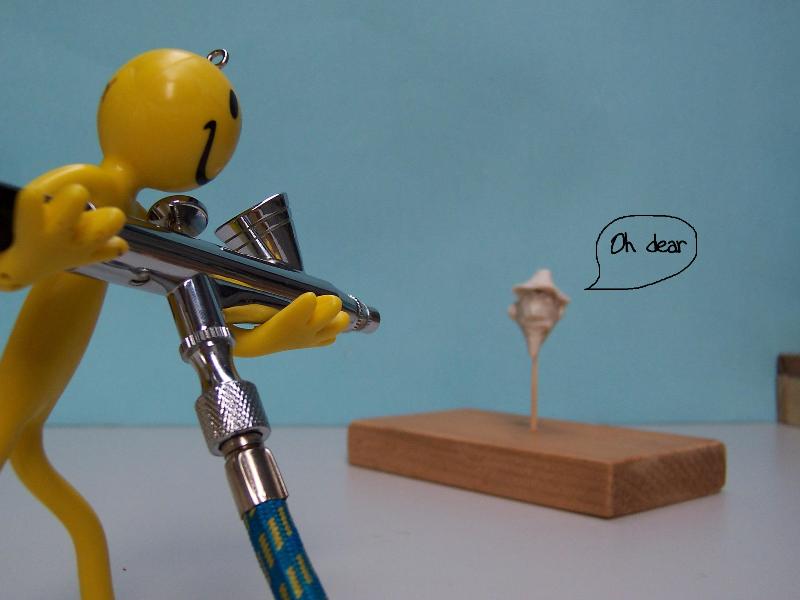
I let Murphy use the airbrush but he hasn't quite got the co-ordination.
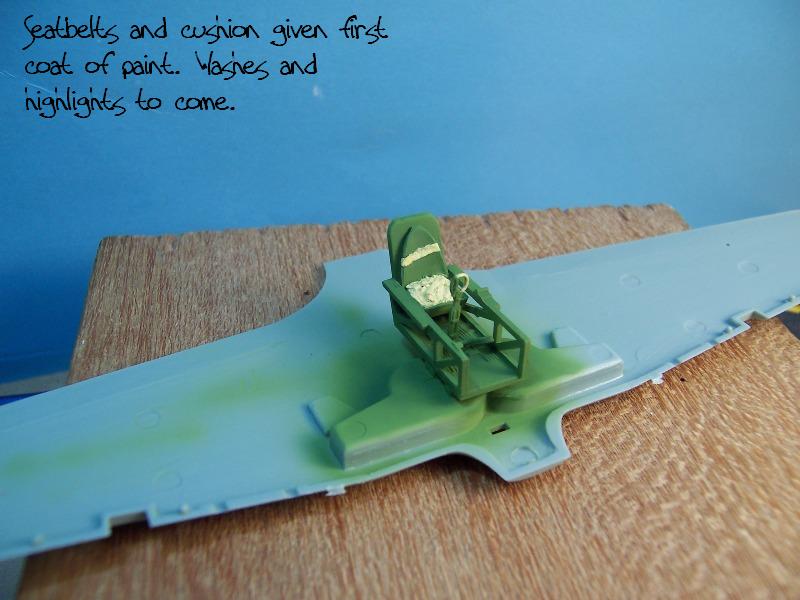
There are some molded pipes running along the bottom of the cockpit. What colour should those be painted?
Chas
Like Military History? Check out the History Club forum here on the Kitmaker Net.
Western Australia, Australia
Joined: June 05, 2007
KitMaker: 2,166 posts
AeroScale: 105 posts
Posted: Sunday, March 16, 2008 - 09:07 PM UTC
There are some molded pipes running along the bottom of the cockpit. What colour should those be painted?
No updates until I can get this question answered.
Please reply,
Chas
Like Military History? Check out the History Club forum here on the Kitmaker Net.
Uusimaa, Finland
Joined: March 30, 2004
KitMaker: 2,845 posts
AeroScale: 1,564 posts
Posted: Sunday, March 16, 2008 - 10:52 PM UTC
Do you mean on the sidewalls or the floor itself?
Here's an article with some good interior photos of the real thing to get you started:
http://www.warmkessel.com/jr/flying/td/jd/73.jsp
Western Australia, Australia
Joined: June 05, 2007
KitMaker: 2,166 posts
AeroScale: 105 posts
Posted: Sunday, March 16, 2008 - 11:21 PM UTC
The pipes run down the bottom of the floor and under the seat. Doesn't really matter, no-one can see it from the outside. I will just paint them a 'pipe colour' and get it over with.
Updates coming soon,
Chas
Like Military History? Check out the History Club forum here on the Kitmaker Net.
Western Australia, Australia
Joined: June 05, 2007
KitMaker: 2,166 posts
AeroScale: 105 posts
Posted: Monday, March 17, 2008 - 01:19 AM UTC
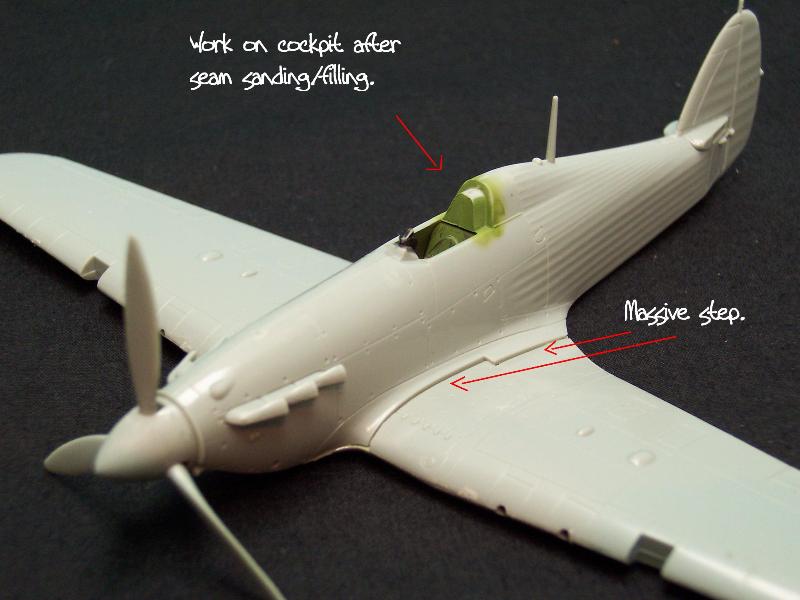
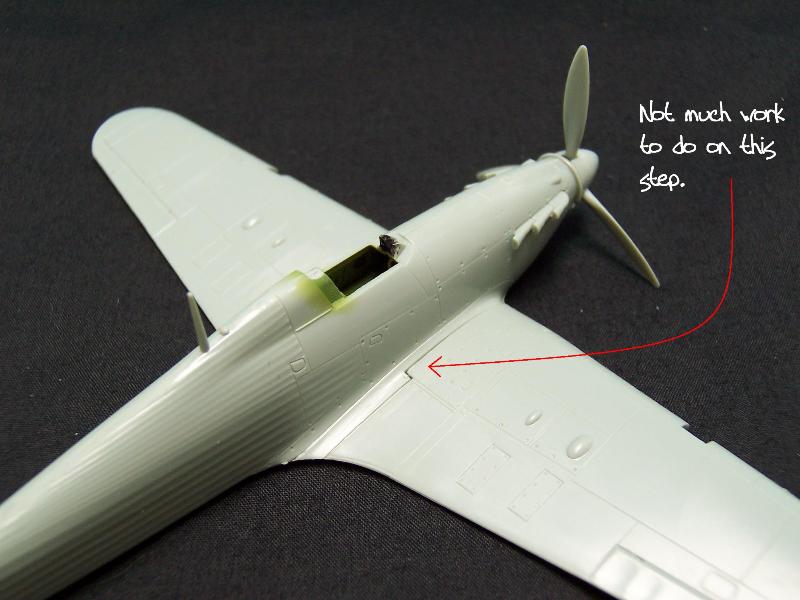
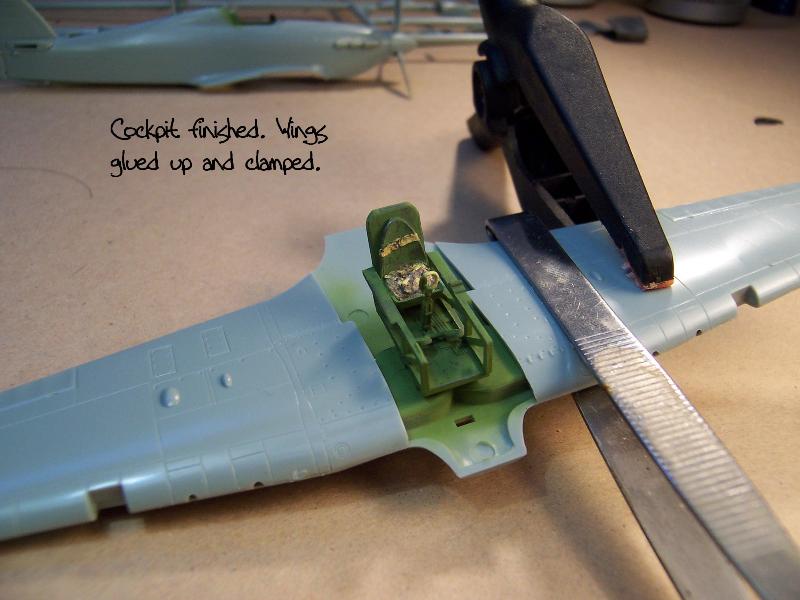
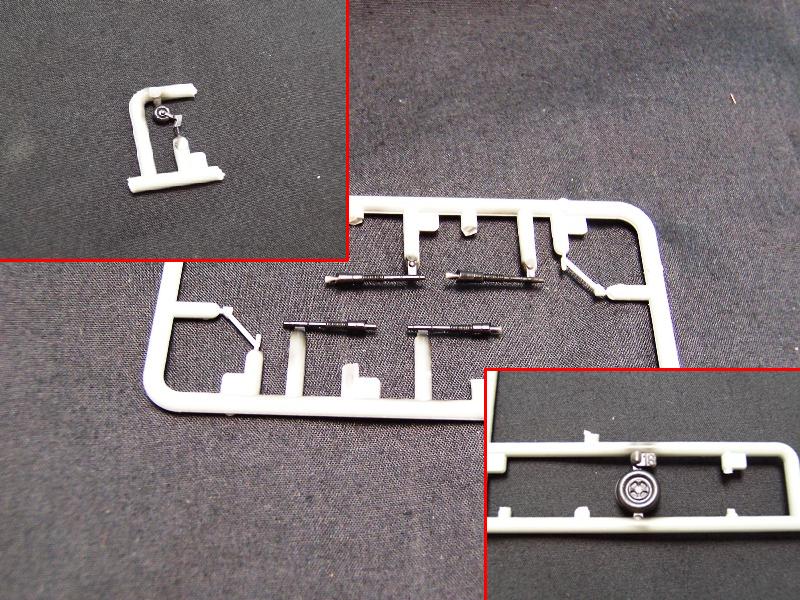
UPDATES!
Cutting the sprue joints off the parts was a challenge. My knife wasn't strong enough, had to resort to dental scissors!
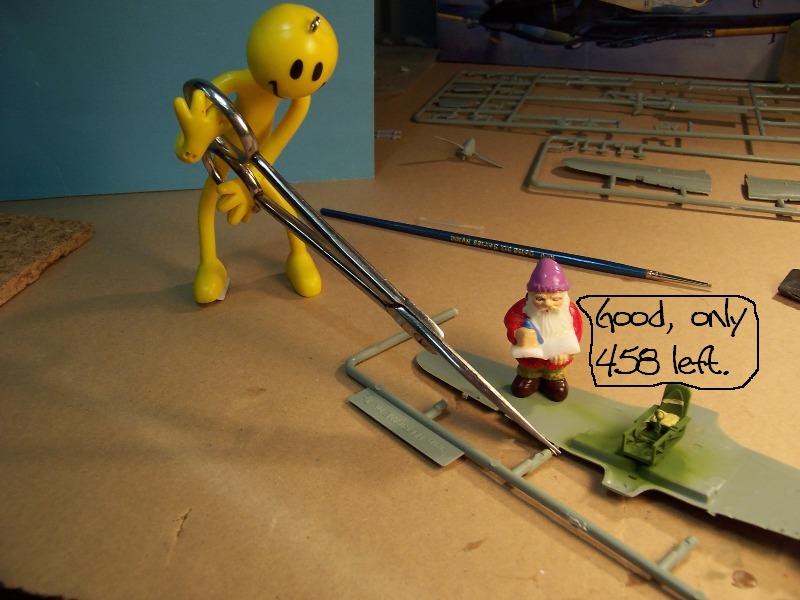
Here you can see the 'pipes' in question:
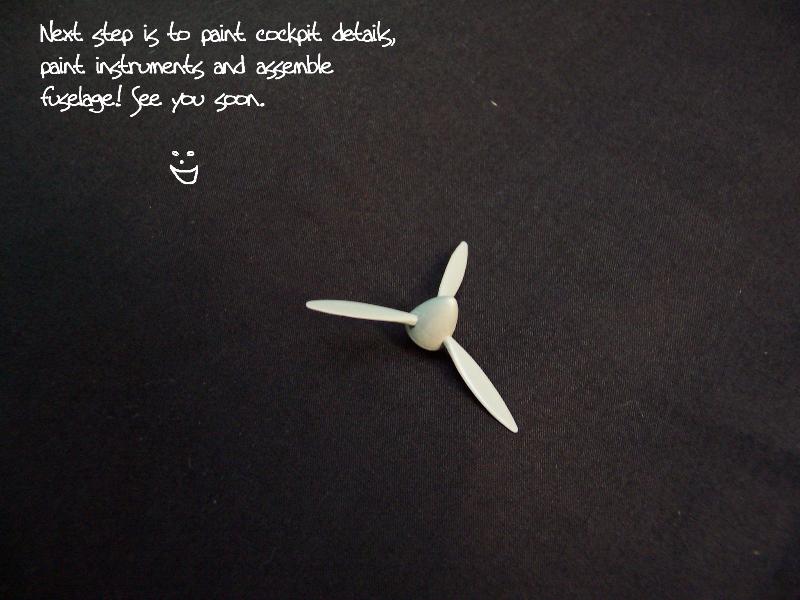
Coming up next, cockpit finished and fuselage glued!
Thanks for looking,
Chas
Like Military History? Check out the History Club forum here on the Kitmaker Net.
Western Australia, Australia
Joined: June 05, 2007
KitMaker: 2,166 posts
AeroScale: 105 posts
Posted: Monday, March 17, 2008 - 10:43 PM UTC
Hello everyone,
Hmm, no replies. No no news is good news I guess.
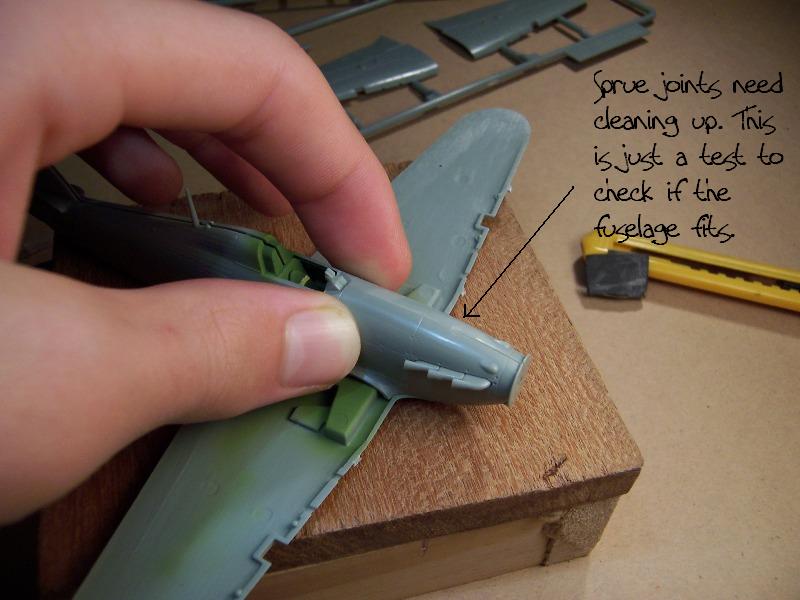
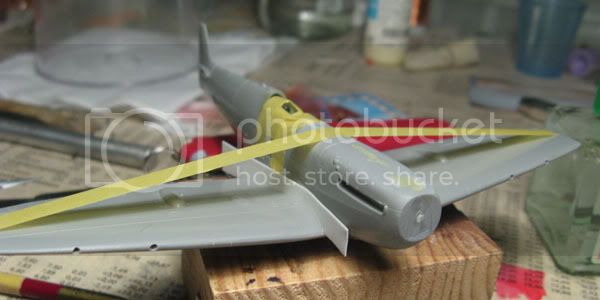
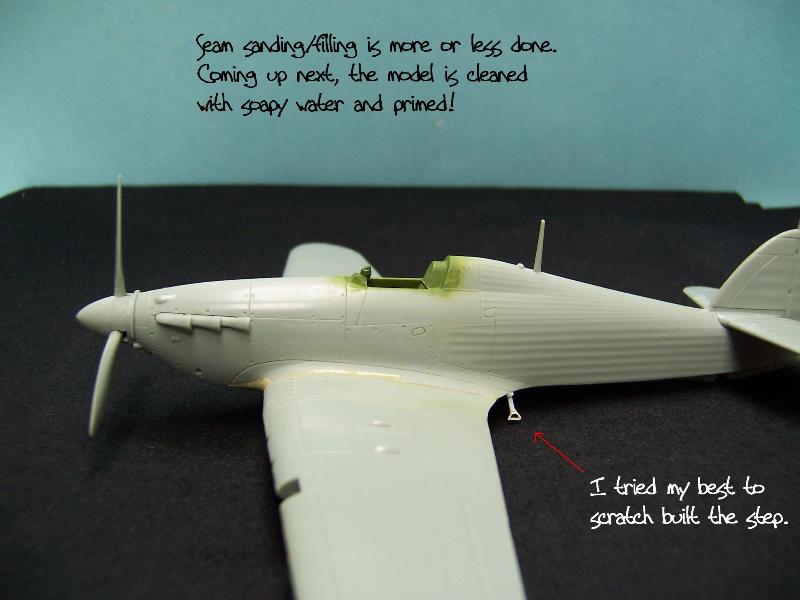
Work on the IIc is coming along slowly. Enjoy but please give feedback.


Will post better pictures of the canopy for sure

Next step: MAJOR CLEAN-UP
Like Military History? Check out the History Club forum here on the Kitmaker Net.
Ontario, Canada
Joined: October 14, 2007
KitMaker: 122 posts
AeroScale: 119 posts
Posted: Tuesday, March 18, 2008 - 02:57 AM UTC
I am REALLY enjoying this thread
Very entertaining

Nice model too
Looks like it's coming along very nicely
(I can tell you what I would have done with the "pipes" but that doesn't mean it's right: if in doubt, paint it interior green, dry brush silver, then give it a dark wash)
Charente, France
Joined: July 06, 2007
KitMaker: 289 posts
AeroScale: 231 posts
Posted: Tuesday, March 18, 2008 - 06:20 AM UTC
Great build thread; it's interesting to see how others work
Love the characters that help you with the build too

http://jaysscalemodeladventures.blogspot.com/
Colorado, United States
Joined: July 25, 2007
KitMaker: 886 posts
AeroScale: 332 posts
Posted: Tuesday, March 18, 2008 - 06:39 AM UTC
Your build is great love the kit and what your doing and your helpers are ...... well you know they have meds now for this sort of thing.

and maybe a nice quiet rest.

Western Australia, Australia
Joined: June 05, 2007
KitMaker: 2,166 posts
AeroScale: 105 posts
Posted: Friday, March 21, 2008 - 05:49 PM UTC
Like Military History? Check out the History Club forum here on the Kitmaker Net.
Uusimaa, Finland
Joined: March 30, 2004
KitMaker: 2,845 posts
AeroScale: 1,564 posts
Posted: Friday, March 21, 2008 - 09:31 PM UTC
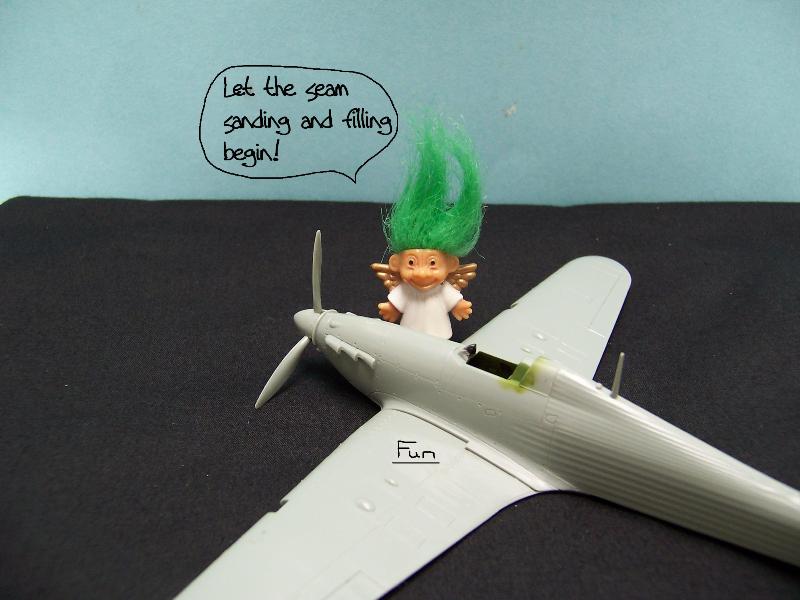
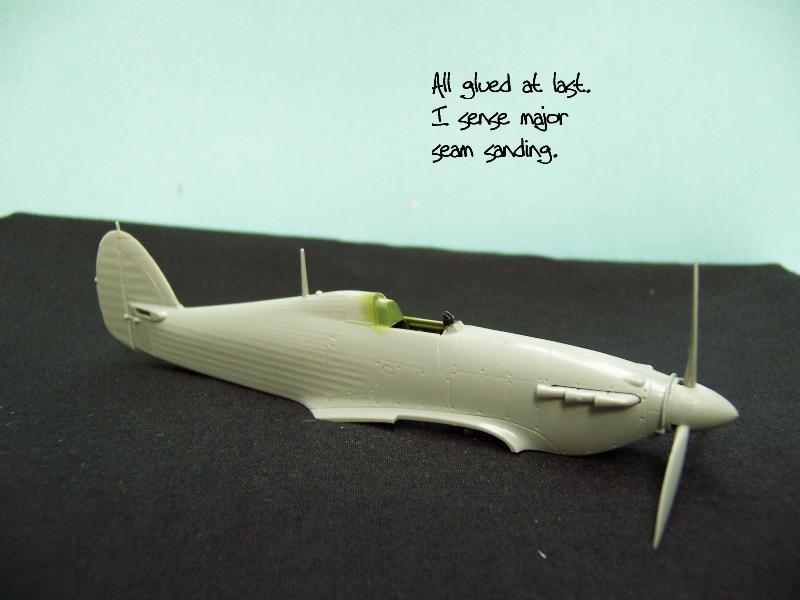
Bring out the milliput!
...Or whatever is your putty of choice. Exactly the same problem I had with my Revelll kit. Except that they're was a step on the underside as well, as that kit has the bottom of the fuselage as a separate part. The wings then didn't match perfectly to the mid section. The underside steps fortunately were solved by just sanding. The upper wing-to-fuselage seams required putty.
Btw, I'd recommend something robust like milliput for the seam with the step, as the panel lines on the seam will be very hard to scribe on regular putty.
Or use styrene sheet shims to fill most of the gap.
Good luck on being careful with the radio mast. I broke that on both Revell Hurricanes I've built.

Western Australia, Australia
Joined: June 05, 2007
KitMaker: 2,166 posts
AeroScale: 105 posts
Posted: Friday, March 21, 2008 - 11:06 PM UTC
Eetu,
Seam sanding/filling is underway. I am using Milliput and I agree, it is perfect for the job. I am also finding that squeezing glue through the seams works well as a filler. I will post pictures tomorrow morning.
Chas
Like Military History? Check out the History Club forum here on the Kitmaker Net.
Holdfast
 President
#056
England - South West, United Kingdom
Joined: September 30, 2002
KitMaker: 8,581 posts
AeroScale: 4,913 posts
Posted: Friday, March 21, 2008 - 11:34 PM UTC
Chas, very good modelling and entertaining as well
A tip for future builds on the step at the port wing root. If this is spotted when dry fitting, try slicing a piece of sprue, or 2, and position it/them at the wing root to lift the upper wing part to mate properly. It saves a lot of sanding. Another tip is to fit the upper wings first, this ensures a good wing root joint and any filling will be confined to the wing leading edge, where it's much easier. See my 1/32 Fw 190D-9 thread
Keep it up, this will be a great model when finished
Mal
MAL the MASK
BULLDOG # 6 (President)
BEWARE OF THE FEW
Sappers: First in, last out. (UBIQUE)
It's not the same, better, but not the same.
Western Australia, Australia
Joined: June 05, 2007
KitMaker: 2,166 posts
AeroScale: 105 posts
Posted: Saturday, March 22, 2008 - 12:37 AM UTC
Thanks Mal,
Excellent tip, I will definitely keep that in mind for my next build. Thanks for the encouragement. By the way, your FW 190D-9 looks awesome.
Chas
Like Military History? Check out the History Club forum here on the Kitmaker Net.
Uusimaa, Finland
Joined: March 30, 2004
KitMaker: 2,845 posts
AeroScale: 1,564 posts
Posted: Saturday, March 22, 2008 - 03:17 AM UTC
In case you come across the need to use shims to fill gaps, don't rush it and glue the parts together and then start fitting the shims.
On a Spitfire I'm building I assembled the wings and fuselage first, then dryfitted them together. After a swipe or two from a sanding stick, a piece of thin plastic sheet fitted nicely in the gap. Then I glued the shim to the wing and used masking tape and the fuselage to hold the sheet in place until the cement dried.
Keep in mind there's styrene cement only between the upper wing and the styrene shim.
Then it was dead easy to cut off the excess sheet and sand it down. When I then glued the fuselage to the wing, I got a clean seam without having to do any sanding on a tight spot near delicate details.
On height issues like that, it might result in easier seams to fix if you glued the upper wings to the fuselage first, then the lower piece in place. In that case, you could get away with just a couple of shims and a dab of regular putty.
Western Australia, Australia
Joined: June 05, 2007
KitMaker: 2,166 posts
AeroScale: 105 posts
Posted: Saturday, March 22, 2008 - 06:56 PM UTC
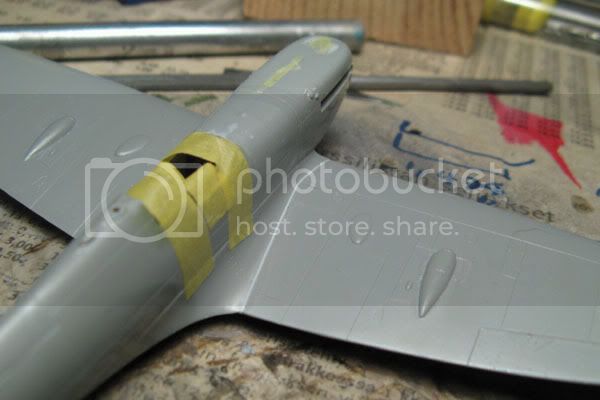
Thanks for the tips. I have used a combination of both styrene and milliput to fix the step issue on the wings. Here is the latest picture:
:p
Like Military History? Check out the History Club forum here on the Kitmaker Net.
Western Australia, Australia
Joined: June 05, 2007
KitMaker: 2,166 posts
AeroScale: 105 posts
Posted: Saturday, March 22, 2008 - 07:18 PM UTC
Actually, I'm going to scrap that scratchbuilt step. It looks awful. I'm going off to the LHS to buy Revell's Hurricane, I'm going to use the tropical filter, fuel tank attachment pieces and the pilot's step from that kit and add it to mine.
I really am doing things the hard way, I should've just bought Revell's kit in the first place! Oh well, it's a good challenge.
Like Military History? Check out the History Club forum here on the Kitmaker Net.
Western Australia, Australia
Joined: June 05, 2007
KitMaker: 2,166 posts
AeroScale: 105 posts
Posted: Sunday, March 23, 2008 - 12:13 AM UTC
More progress:
Sorry about the slightly bright pictures.
Chas
Like Military History? Check out the History Club forum here on the Kitmaker Net.
Western Australia, Australia
Joined: June 05, 2007
KitMaker: 2,166 posts
AeroScale: 105 posts
Posted: Sunday, March 23, 2008 - 02:20 AM UTC
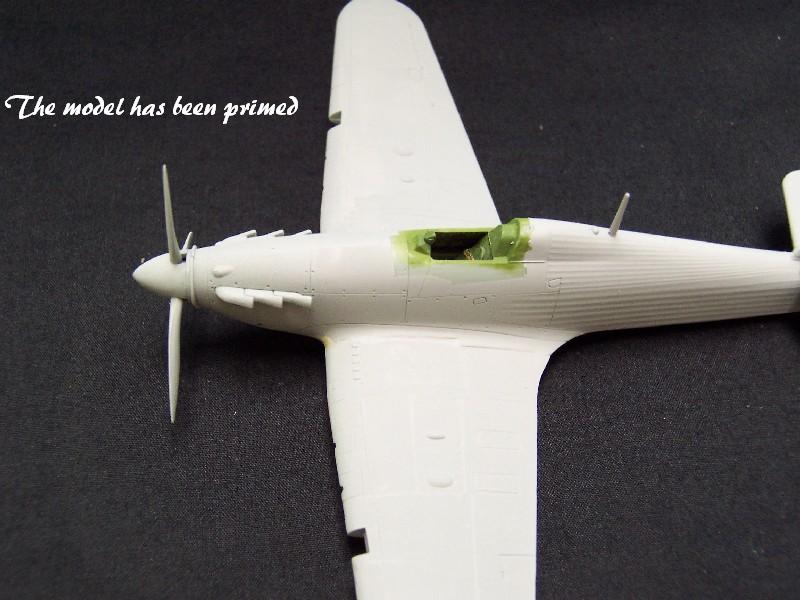
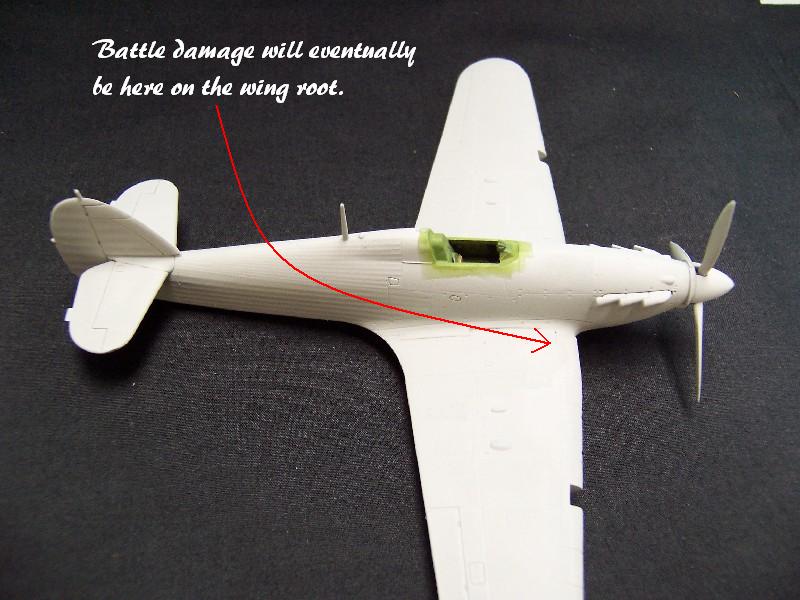
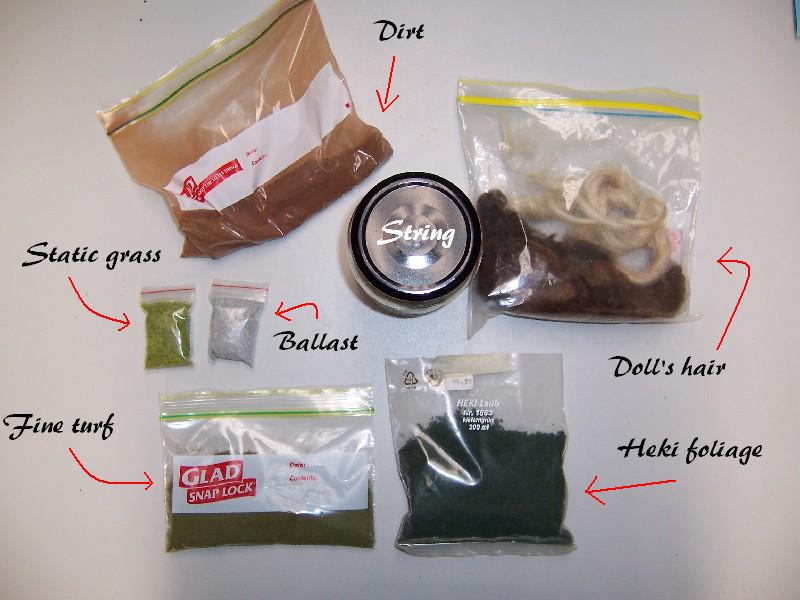
Updates: I may be a novice in aircraft modelling, but I'm quite and old dioramic hand. I love this part of the build, so I started it while the primer was drying.
Dioramic Materials:
PRE-Shading Tomorrow! Yay,
Chas
Like Military History? Check out the History Club forum here on the Kitmaker Net.
Western Australia, Australia
Joined: June 05, 2007
KitMaker: 2,166 posts
AeroScale: 105 posts
Posted: Sunday, March 23, 2008 - 01:02 PM UTC
Pre-Shading done:
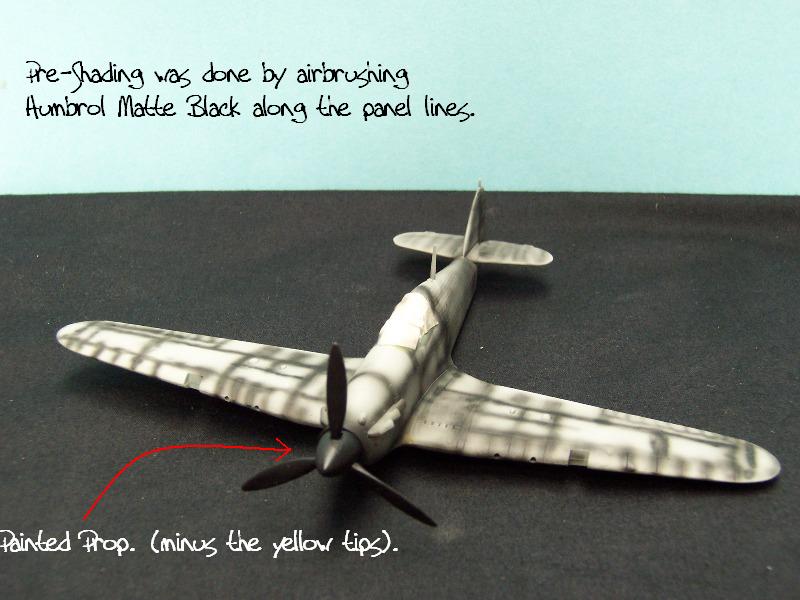
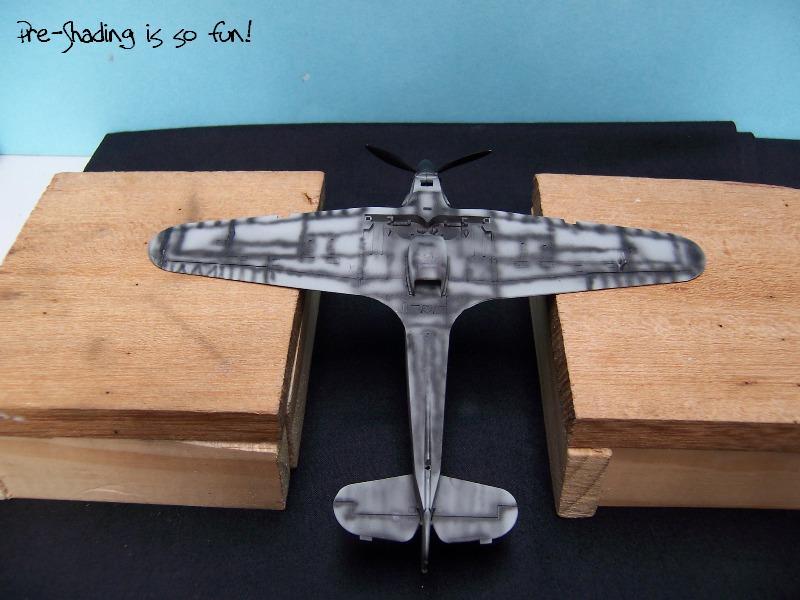
Feedback?
Like Military History? Check out the History Club forum here on the Kitmaker Net.
Western Australia, Australia
Joined: June 05, 2007
KitMaker: 2,166 posts
AeroScale: 105 posts
Posted: Monday, March 24, 2008 - 01:02 AM UTC
While waiting for the pre-shading to dry, I used the left over black paint to do the cannons, landing wheels etc.
Ok, I'm off to bed. The deadline for the model's completion is looming!
Chas
Like Military History? Check out the History Club forum here on the Kitmaker Net.
Holdfast
President #056
England - South West, United Kingdom
Joined: September 30, 2002
KitMaker: 8,581 posts
AeroScale: 4,913 posts
Posted: Monday, March 24, 2008 - 01:47 AM UTC
Hi Chas, If I remember correctly when the foot step is lowered it automatically opens the hand hold, below the cockpit, which has to be closed to raise the step.
Coming on well, keep it up
Mal
MAL the MASK
BULLDOG # 6 (President)
BEWARE OF THE FEW
Sappers: First in, last out. (UBIQUE)
It's not the same, better, but not the same.
Invercargill, New Zealand
Joined: December 08, 2006
KitMaker: 456 posts
AeroScale: 16 posts
Posted: Monday, March 24, 2008 - 09:33 AM UTC
Very comic blog oyup have going here man.
And nice slean work so far on the hurricane.
One of my favourite aircraft by the way.