I got the kit for Christmas *early* along with a couple of others best not mentioned here *green metal boxes with tracks*
Well, enough to say I never do anything the easy way, which probably is the reason why things take me so long.
Anyway heres a few pics of the kit so far.....Inspired by Lars's recent build as I said, I just hope it turns out half that good
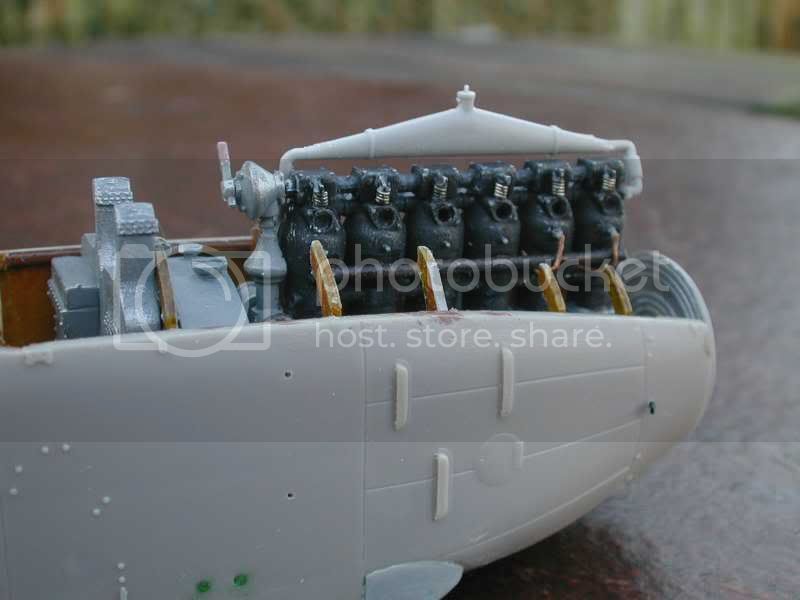
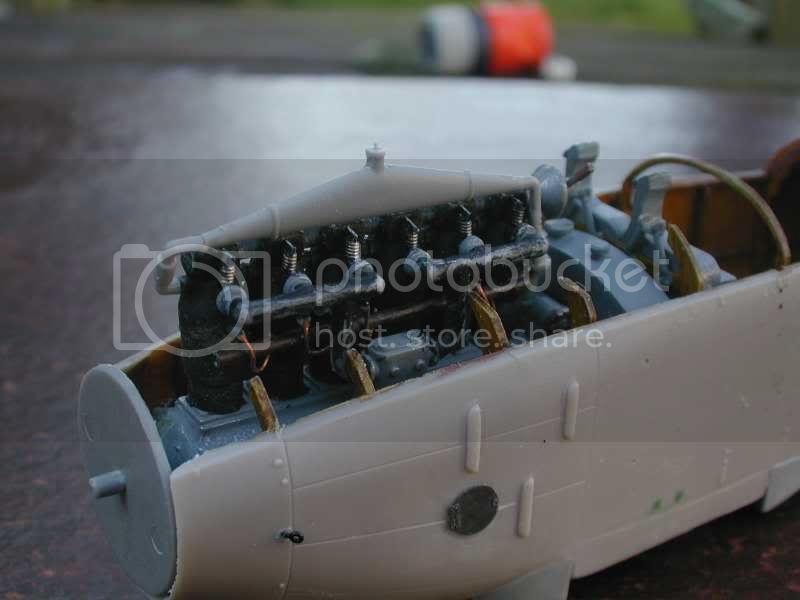
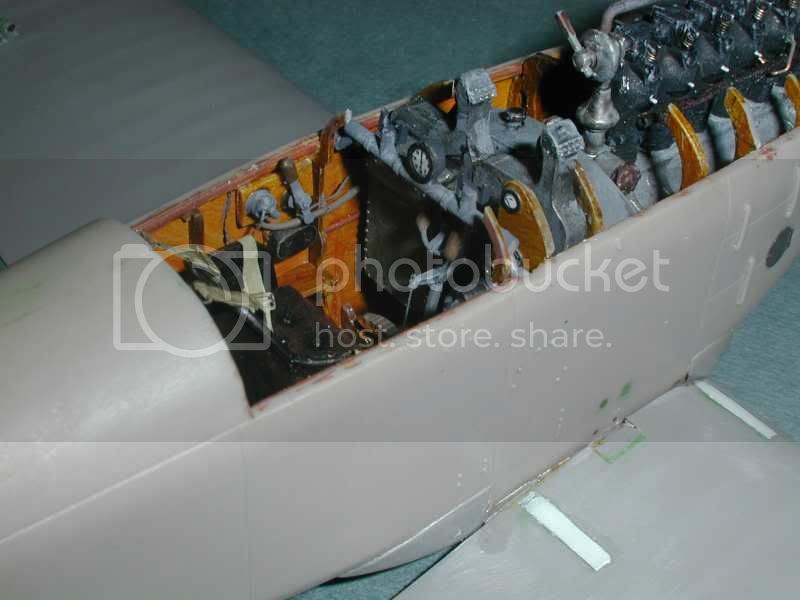
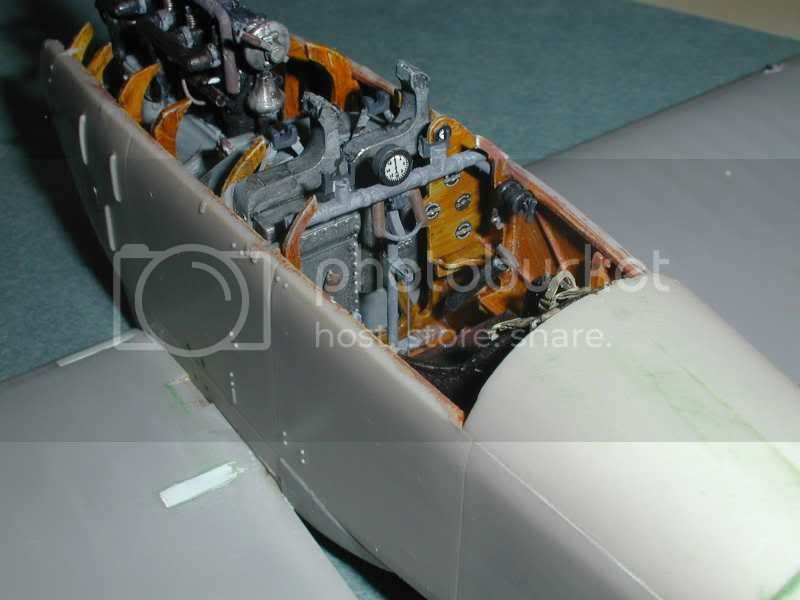
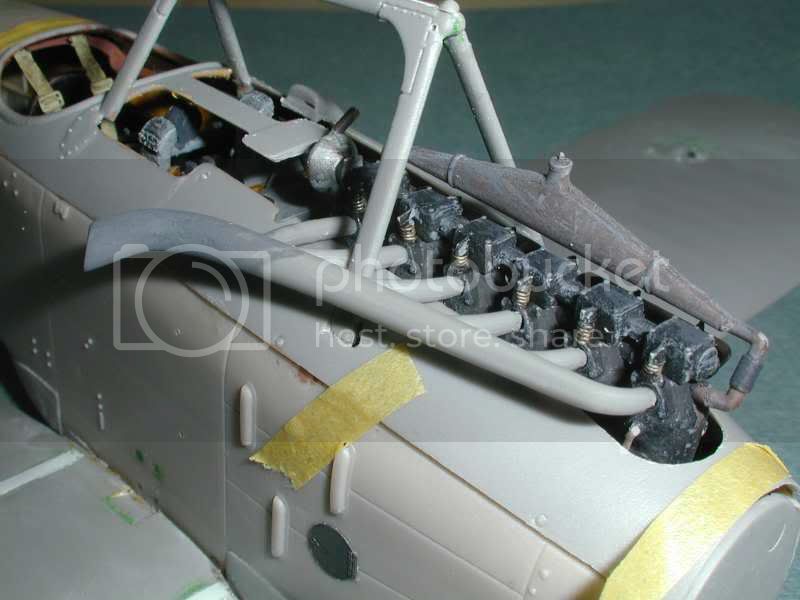
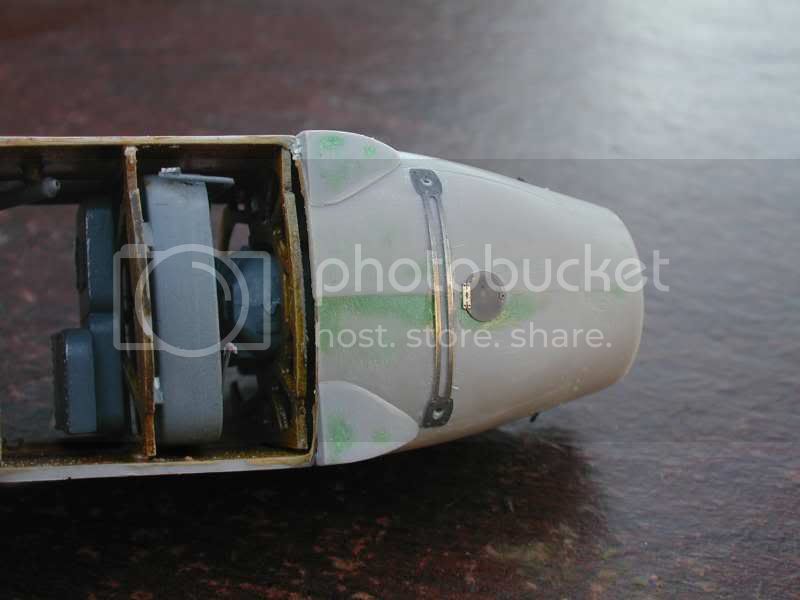
the nose and engine still lots to paint up as you see, I only plumbed the visible bits too. Valve springs are guitarstring and a slither of strip for the rocker arms, I put the big ring nuts on the manifold out of punched discs, this may have pushed the manifold a little tight to the cowling, it fits but just.
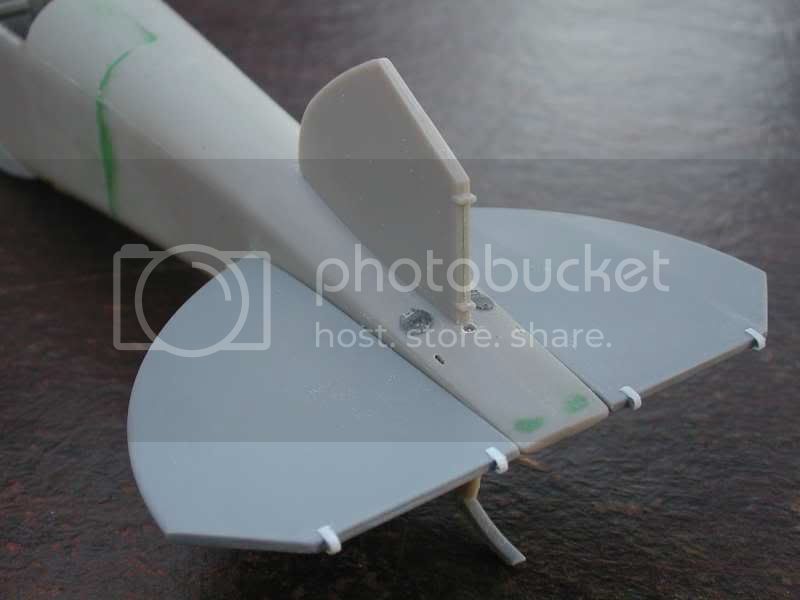
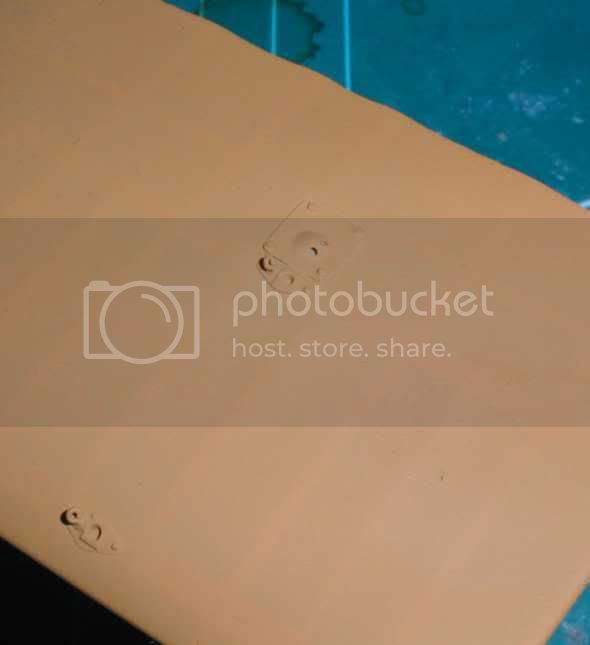
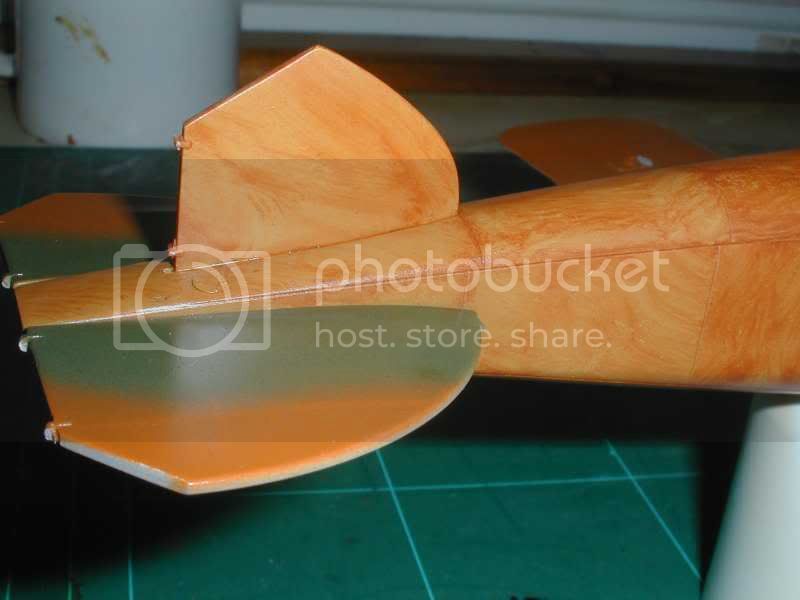
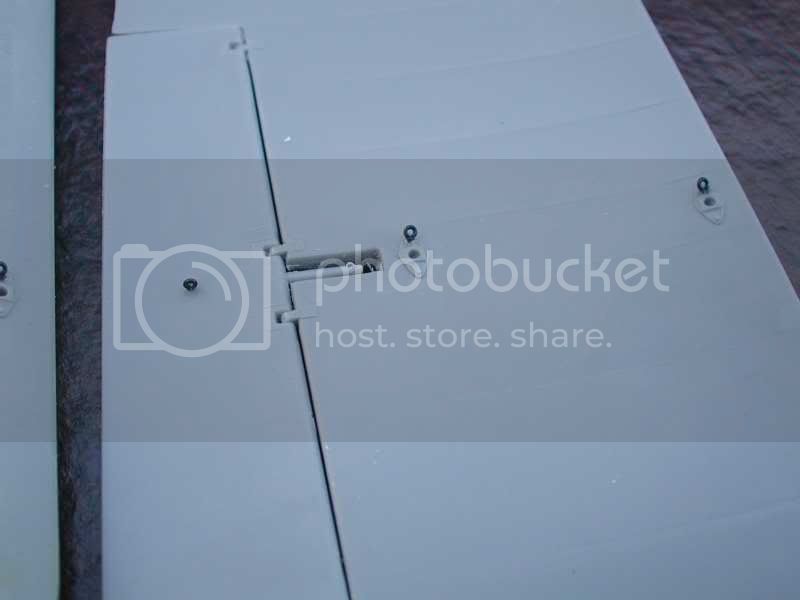
the tail, I replaced the little access doors with etch from the Eduard DIII set, it's hard to see here but I added the tube shaped mountings at the front of each tailplane, nuts still to add. and bulked up the elevatoy hinges a little, these are to be sanded down and discs added to simulate the fastenings.
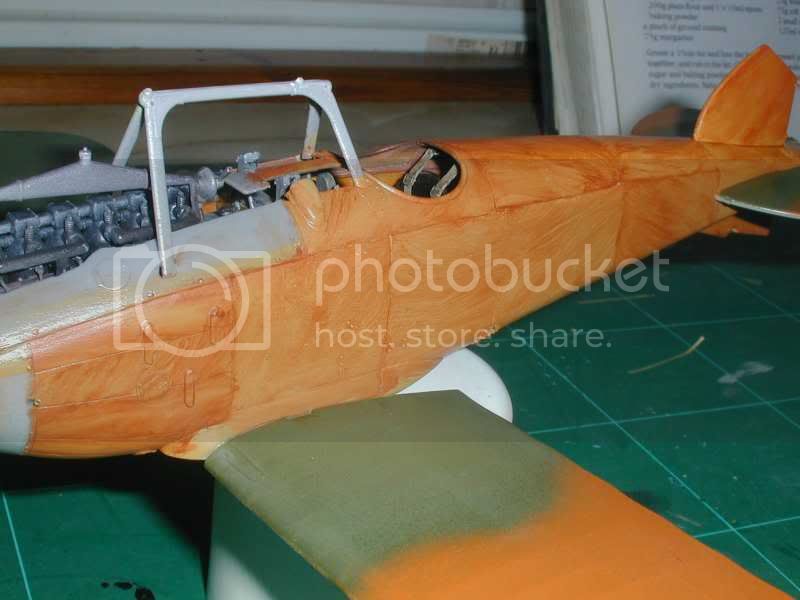
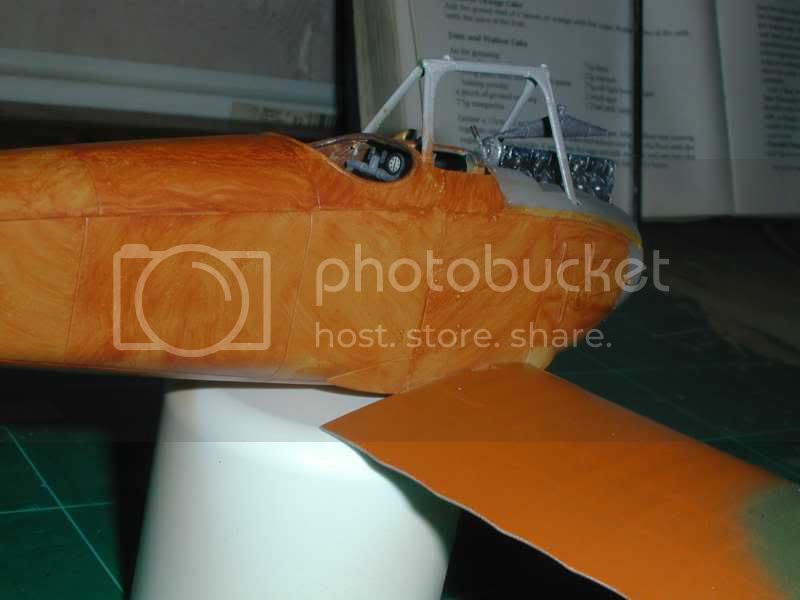
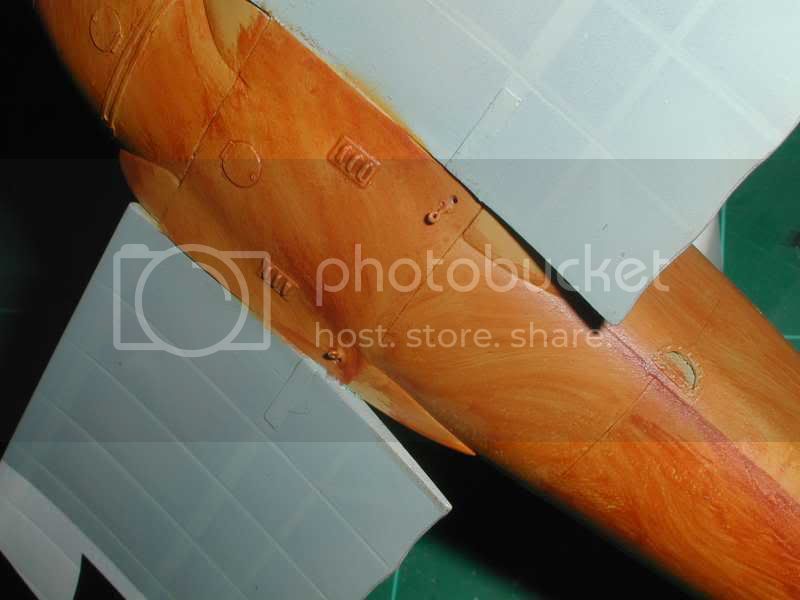
You will probably have noticed the band of filler on the fuselage side.......I will explain that later.
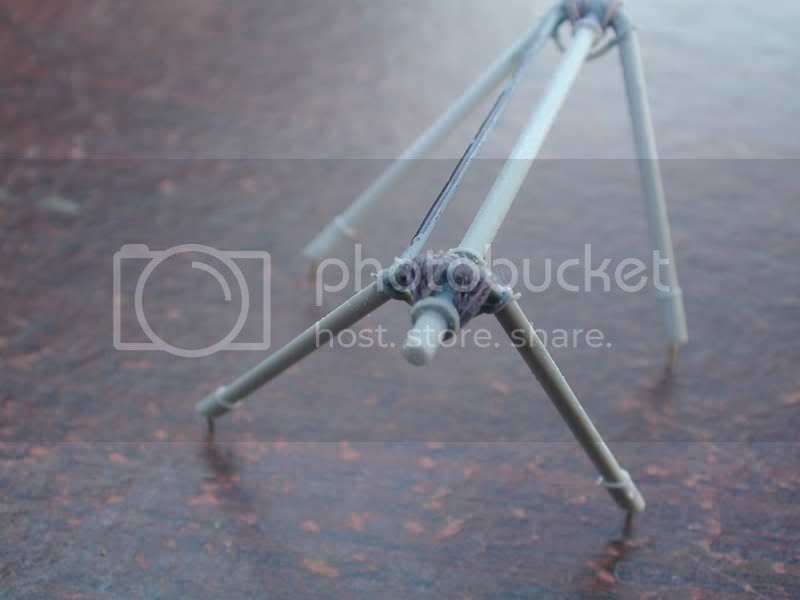
U/C added the heavy duty thread to simulate the elastic suspension and made the crossbar out of steel wire for strength, also for strength I drilled the body and wings and added brass rod instead of the weak kit lugs.
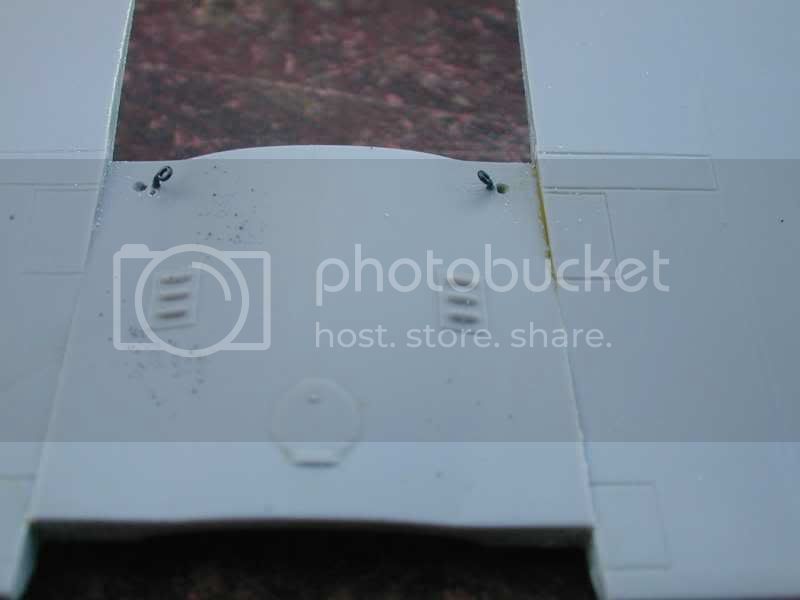
Wing details.....tiny fishing hook shanks clipped off are my first attempt at rigging points *size 19 fly hooks apparently* the guy in the tackle shop looked at me as if I was insane

the airleron wires in the lower wing I have yet to work out how to show, I havent found a decent pic and am not sure if the etch panel in the DIII set is correct for the DI but I'll cross thet bridge soon enough.
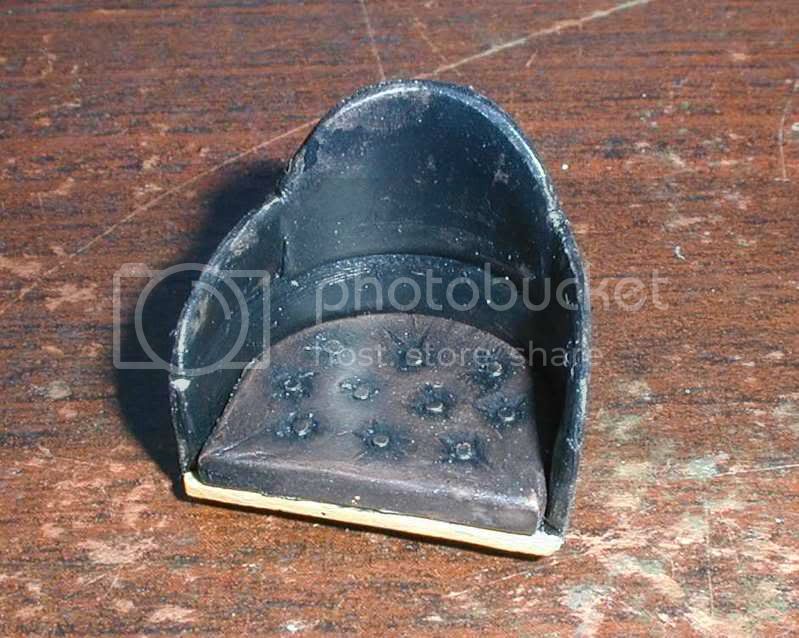
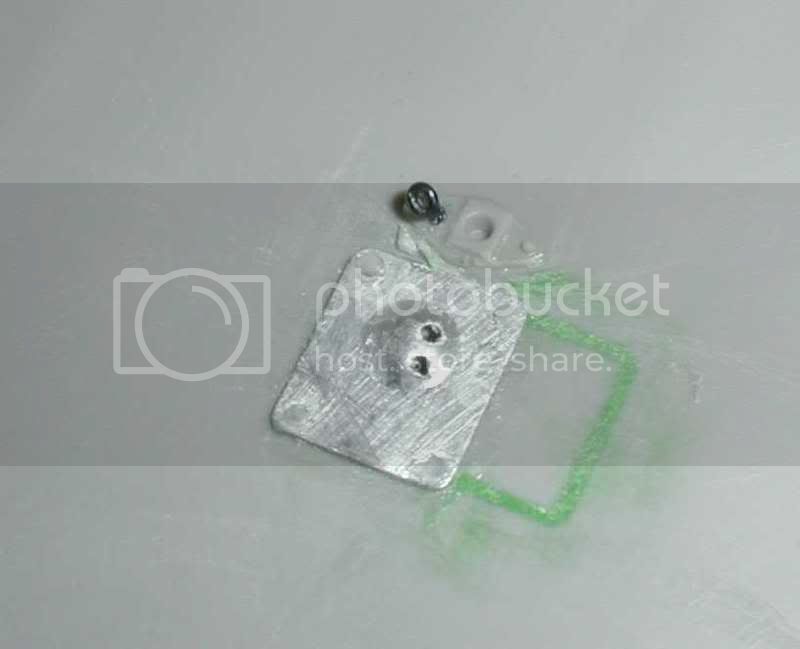
the seat rebuilt from kit parts and plasticard, all info and inspiration taken from this forum
It looks much tattier in the pic, for some reason the flash fired for this. basically painted redbrown and over painted with Citadel Black Ink, then rubbed back gently till the brown shows through.I like Citadel *Warhammer* paints and use them often, matching the colours can be odd though they have some ghastly descriptions.
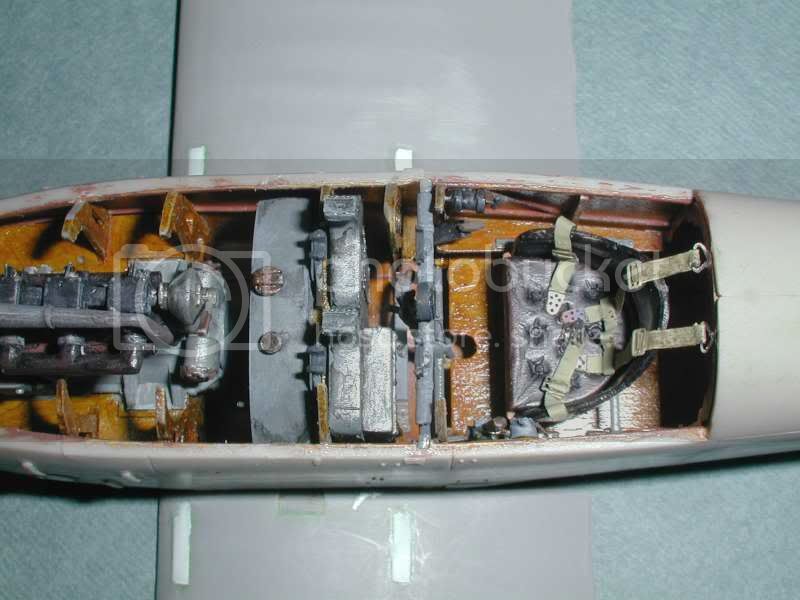
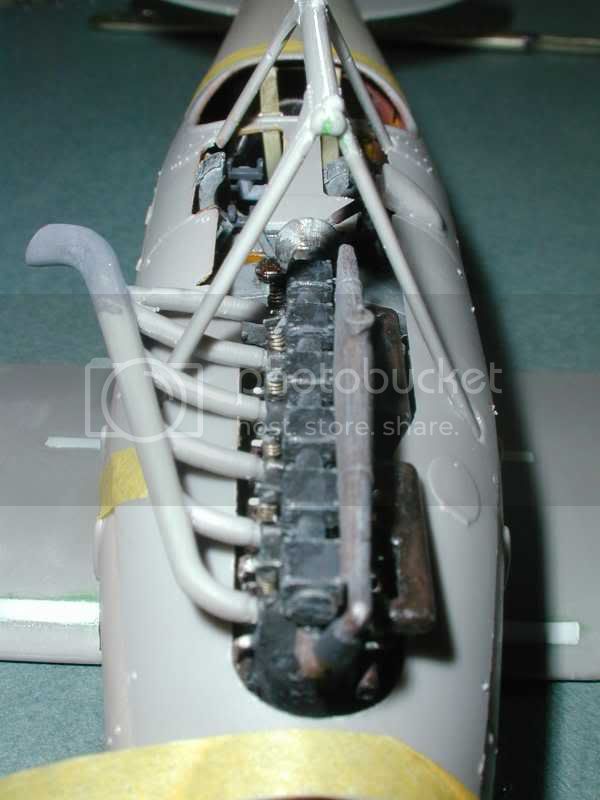
shot of the open underside....not much to see really...I spent a while adding an extra filler neck to and plumbing the tank then realised it will be 99% hidden NVM........pactice for when the DVa comes out LOL well I can hope :-P
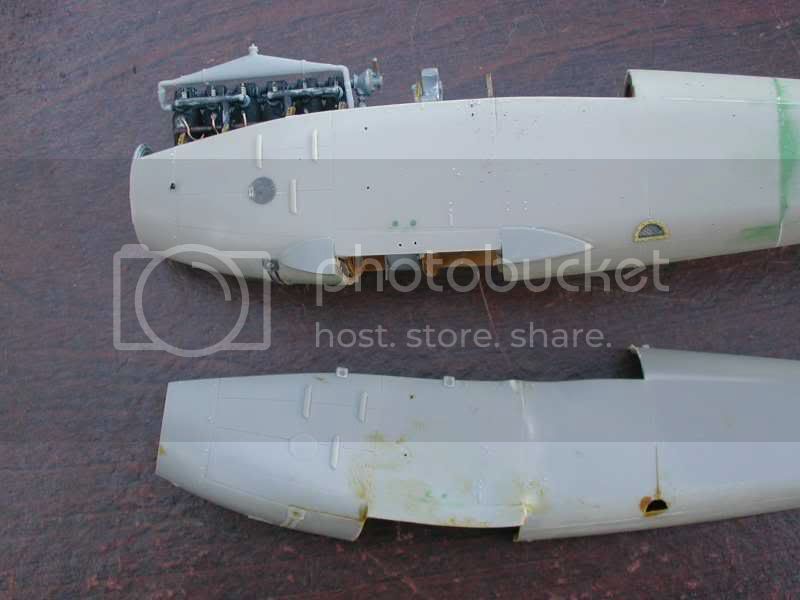
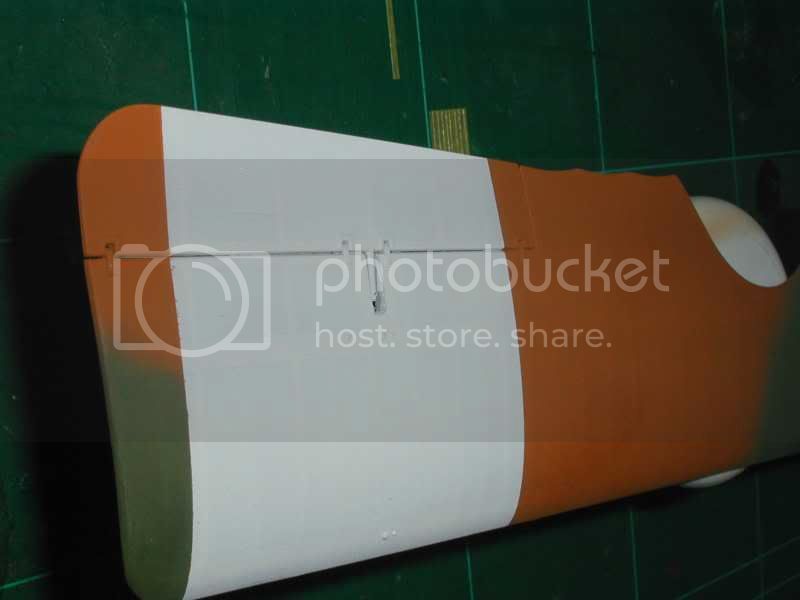
Finally.... those bright eyed ones may have noticed the twotone kit parts, the odd band of filler........... Enough to say force drying oil paint wood effect on Roden fuselages with your desk lamp is a nono! the pic shows the fuselage half after I tried to straighten it. Salvation came in the form of a Roden DIII kit I had messed up...I had glued the fuselage together thinking I could build and slip the cockpit section in after...result was 1 destroyed cockpit tub and a kit seemingly banished to the top shelf.
To sort the Roden kit I had to break the DIII fuelage as far back as was easy, saw it away and replace it once the interior was part built ......Lesson learned??? probably not.
Anyway enough yatter from me. All comments happily recieved good bad and especially advice... Cheers Keith.... and thanks again to all here who inspired and helped.