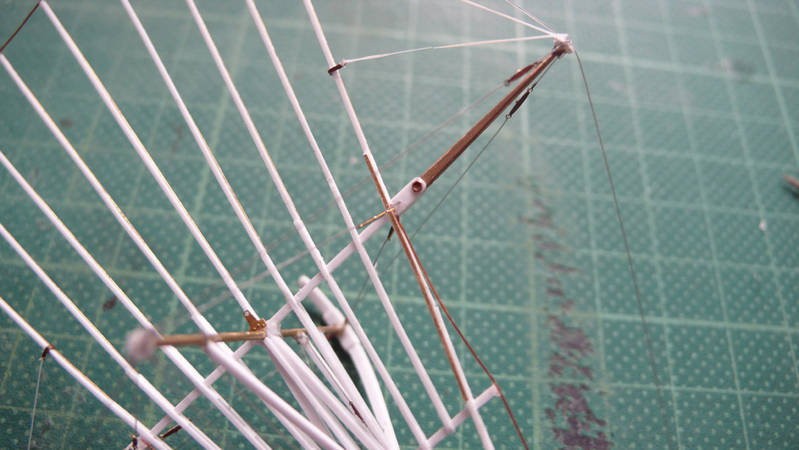
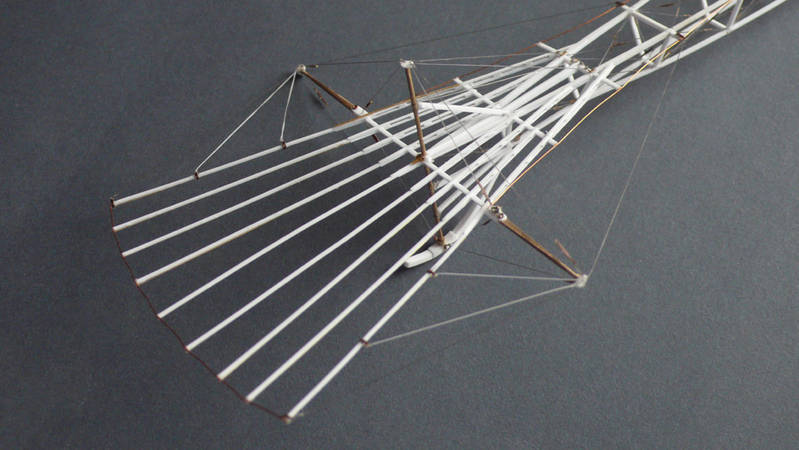
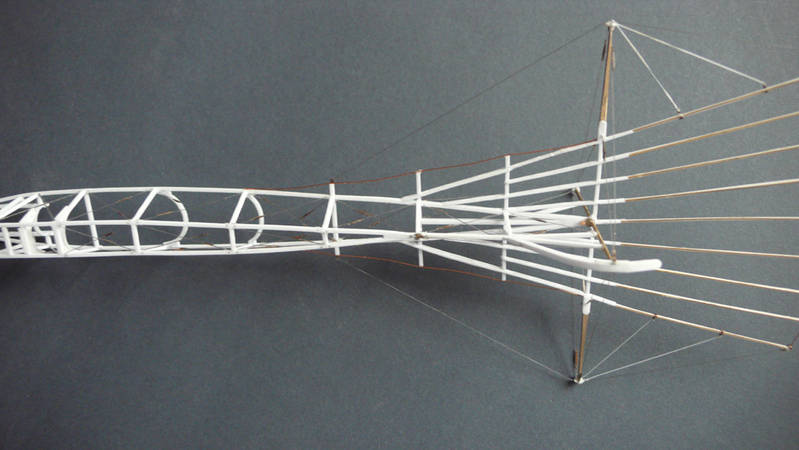
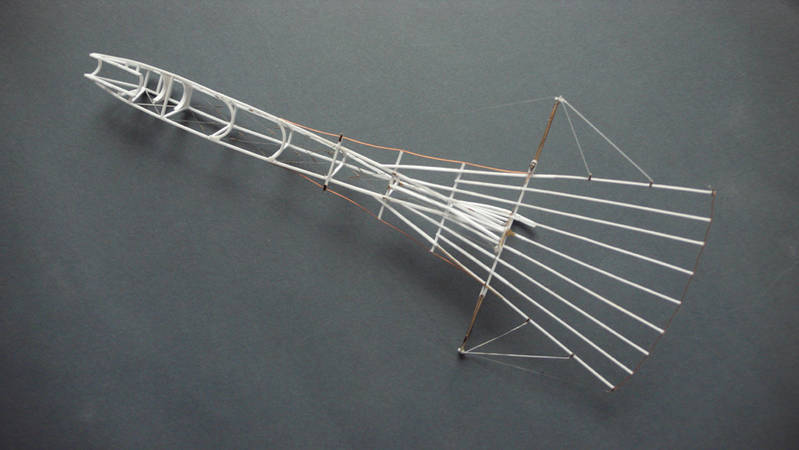
the Etrich Taube strip down
Wien, Austria
Joined: October 19, 2007
KitMaker: 77 posts
AeroScale: 72 posts
Posted: Saturday, February 07, 2009 - 11:33 AM UTC
Thank you all for your encouraging comments. They help a lot ,especially while rigging the tailplane. I never did something so difficult before. It warps and bends in all unwanted directions.
@Charles, yes indeed, somtimes I think a bigger scale would have been easier to build. I try hard to built this model exactly as the origin was made and this is often a source of headaches.
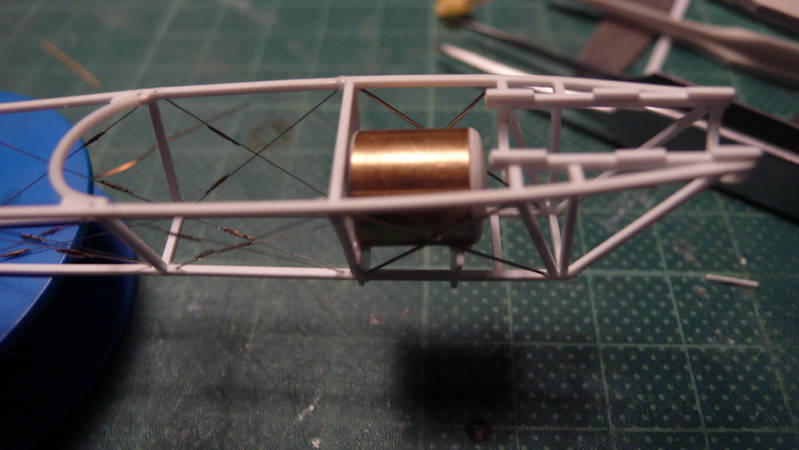
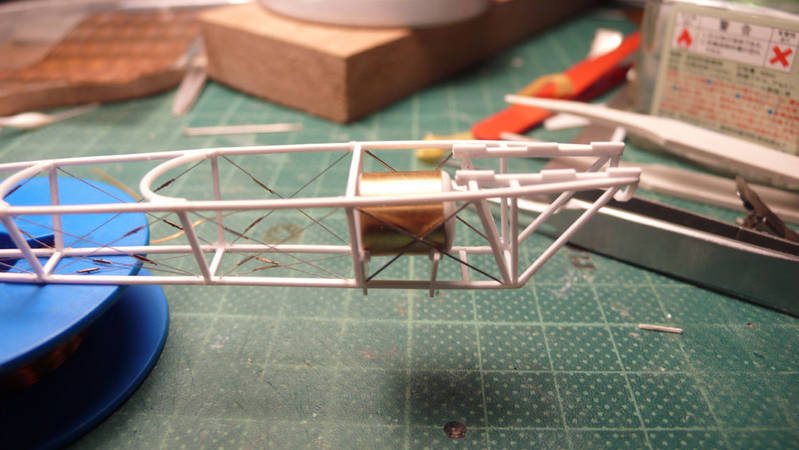
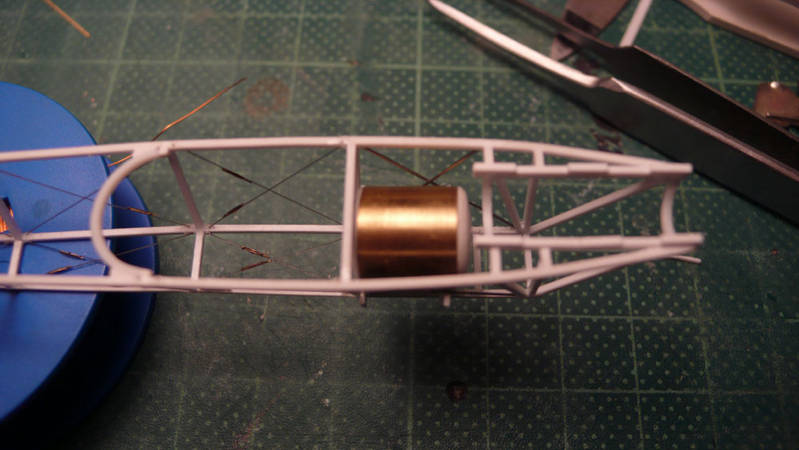
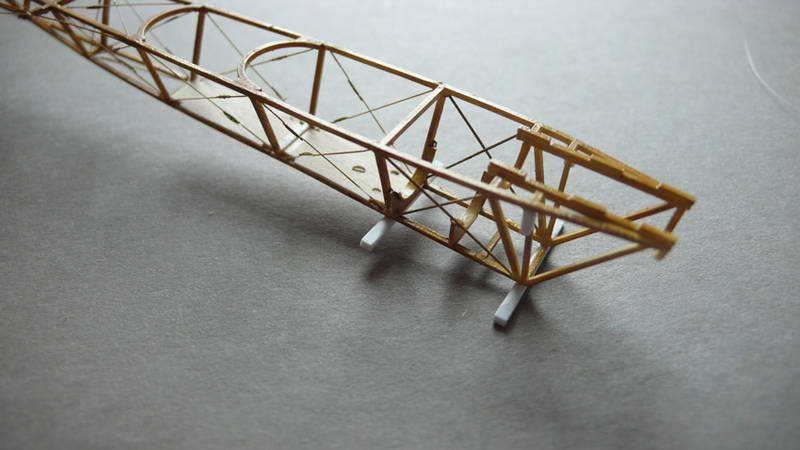
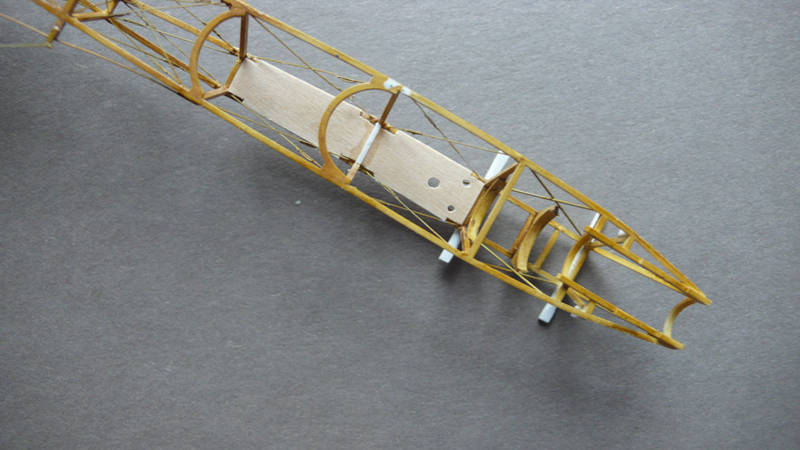
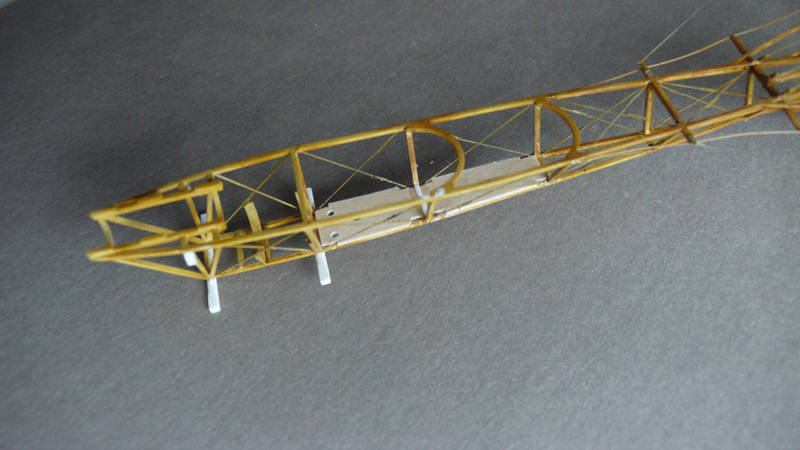
As I needed a short brake from the wires I started with the fuel tank. The pics display a testfit on its mounts.
Victoria, Australia
Joined: November 26, 2006
KitMaker: 608 posts
AeroScale: 602 posts
Posted: Saturday, February 07, 2009 - 01:40 PM UTC
Well, this just goes to prove that there is absolutely NOTHING that you cannot do with Evergreen Strip, A Sharp Knife, Good Drawings and Patience.
Sensational Stuff!
Cheers,
Hugh
Texas, United States
Joined: June 24, 2007
KitMaker: 82 posts
AeroScale: 81 posts
Posted: Sunday, February 08, 2009 - 04:27 AM UTC
This is truly amazing work.

Wien, Austria
Joined: October 19, 2007
KitMaker: 77 posts
AeroScale: 72 posts
Posted: Sunday, February 15, 2009 - 10:36 AM UTC
Colorado, United States
Joined: January 25, 2004
KitMaker: 11,669 posts
AeroScale: 11,011 posts
Posted: Sunday, February 15, 2009 - 05:10 PM UTC
Excellent Peter. I honestly did not believe that this was possible in plastic.
". . .The most important thing is to know why you build and then get the most that you can out of building." via D.D.
Alberta, Canada
Joined: January 19, 2008
KitMaker: 6,743 posts
AeroScale: 6,151 posts
Posted: Monday, February 16, 2009 - 02:24 AM UTC
Simplly awesome Peter ! this has turned out to be most enjoyable so far . Looking forward to more

West Virginia, United States
Joined: December 18, 2006
KitMaker: 1,121 posts
AeroScale: 1,063 posts
Posted: Monday, February 16, 2009 - 03:47 AM UTC
This will make an excellent diorama piece. Thanks for sharing, Peter.
Mark
Wien, Austria
Joined: October 19, 2007
KitMaker: 77 posts
AeroScale: 72 posts
Posted: Tuesday, February 24, 2009 - 11:02 AM UTC
Thank you all for your encouraging comments.
Scratch building si not that difficult but requierese a lot of patience. Especially if you think over a project while working, as I do. In this case I have changed my primary intensions and decieded to build a pair of new wings of an earlier version. I will display the modification from one version to another.
So I will start to build up the wings from the beginning step by step.
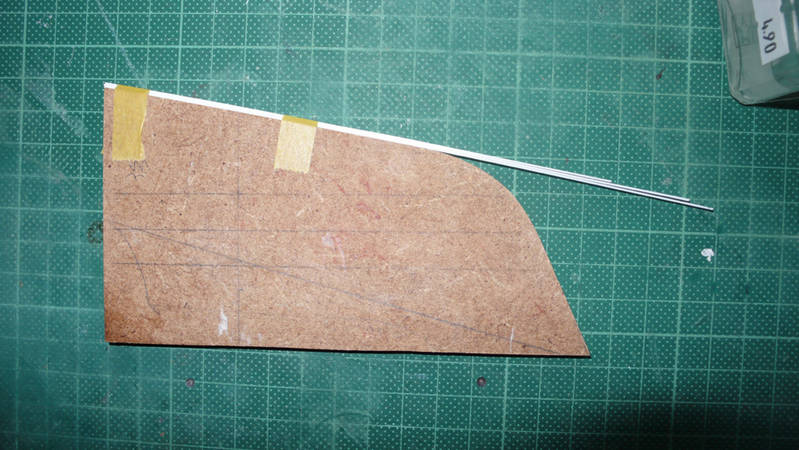
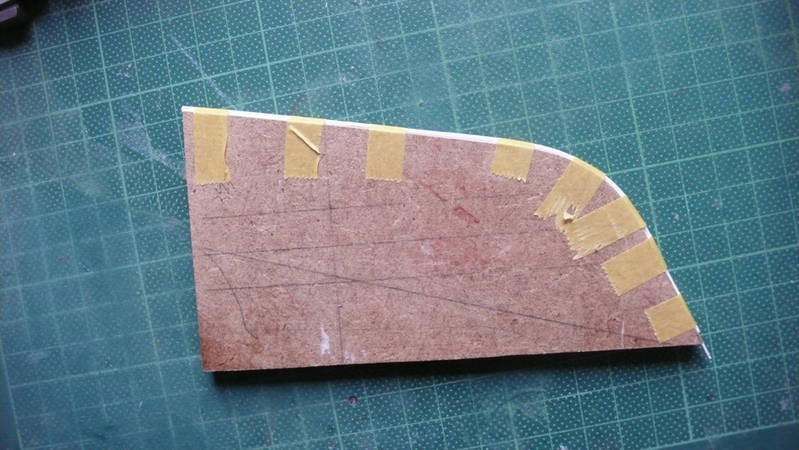
First part ist laminating the nose spar. It consist of 3 layers 0,5X1,5mm evergreen strips. Glued carefully together over a wooden former as shown on the pics. It needs to dry at least 2 days. The longer the better.

West Virginia, United States
Joined: December 18, 2006
KitMaker: 1,121 posts
AeroScale: 1,063 posts
Posted: Monday, April 13, 2009 - 09:31 AM UTC
Hi Peter,
Any new progress on the Taube and diorama?
Mark
Wien, Austria
Joined: October 19, 2007
KitMaker: 77 posts
AeroScale: 72 posts
Posted: Sunday, May 10, 2009 - 11:13 AM UTC
Sorry for being abscent such a long time. I have been stuck up in business. I hope you will still be interested in this slow project.
In the meantime there have been few steps done. First, I did start with the painting. Second I needed a long time to think about how the undercarriage could be done. Considering what material to use, either brass or plastic. The next steps will show how it was realized.
As usal I forgot something, the flooring of the cockpit area. For this veneer (0,3 mm thick) was used because i never will be able to paint woodgrain in a proper way.
West Virginia, United States
Joined: December 18, 2006
KitMaker: 1,121 posts
AeroScale: 1,063 posts
Posted: Monday, May 11, 2009 - 12:44 AM UTC
Peter,
Excellent, excellent work, my friend. You are a true master. The forms and rigging look awesome.
Mark
Colorado, United States
Joined: January 25, 2004
KitMaker: 11,669 posts
AeroScale: 11,011 posts
Posted: Monday, May 11, 2009 - 08:35 AM UTC
I swear if I am ever feeling low about building I simply show up here and check out what is being done. I have been sick the past couple of days.
Peter you made my day.
". . .The most important thing is to know why you build and then get the most that you can out of building." via D.D.
Wien, Austria
Joined: October 19, 2007
KitMaker: 77 posts
AeroScale: 72 posts
Posted: Tuesday, May 12, 2009 - 11:49 AM UTC
thank you Mark, thank you Stephen!
I always try to improve my skills and will never be satisfied. There are so many excellent modellers here in this forum whose work I really adore and it makes me very happy to be allowed to publish my work here and share my experiences.
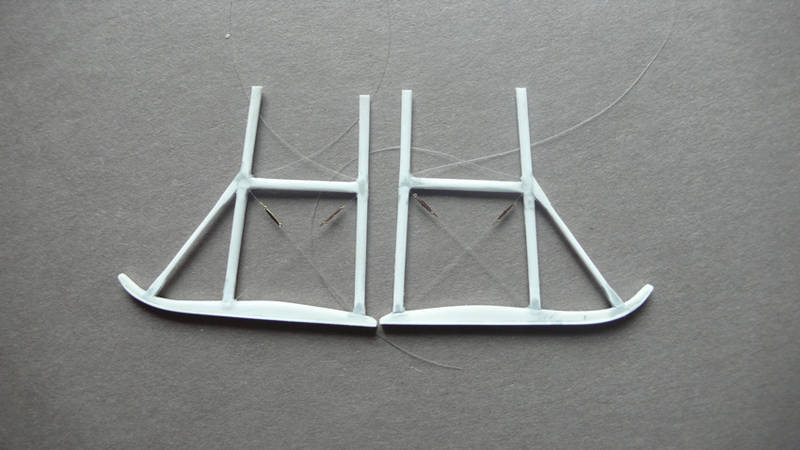
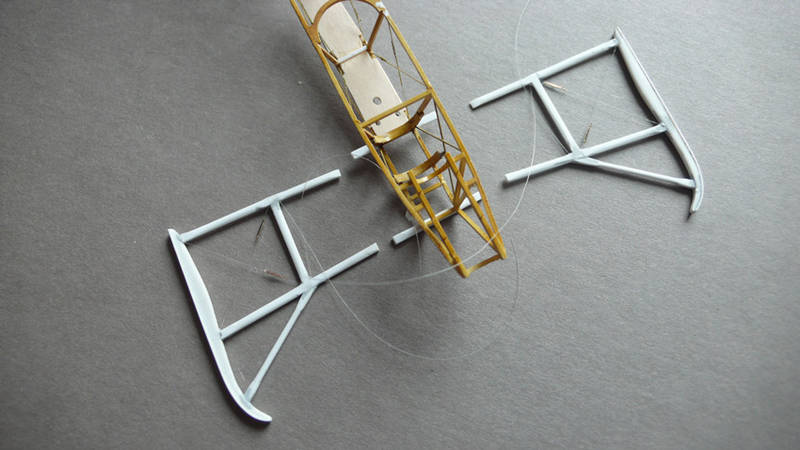
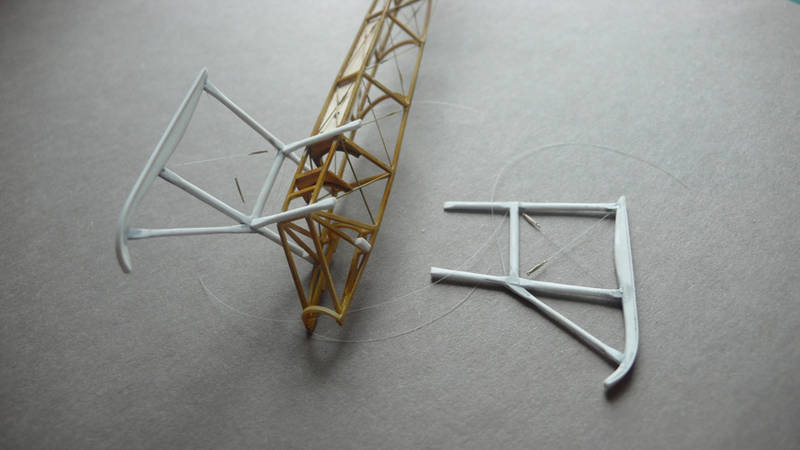
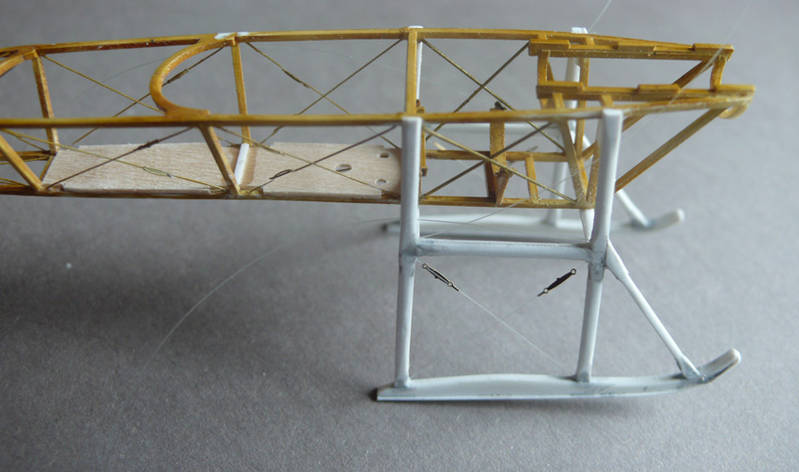
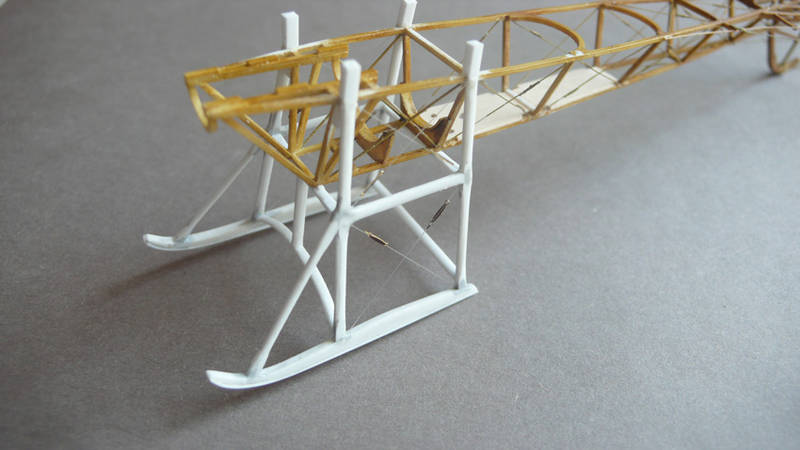
The undercarriage is a very tricky part. Originaly it was made from rectanguler ash-tree ridges which was profiled eliptical between the joints. That means a lot of difficile sanding. The skids supporting the wheels was made from laminated evergreen strips. The undercarriage frame is also important as it finally supports the wingjoints and and has so many fews to be out of angel.
Alberta, Canada
Joined: January 19, 2008
KitMaker: 6,743 posts
AeroScale: 6,151 posts
Posted: Wednesday, May 13, 2009 - 06:00 PM UTC
As also Peter this is truly enjoyable to watch your progress on this project . Wow it's cool !
Glad to see you back at it once more .
Wien, Austria
Joined: October 19, 2007
KitMaker: 77 posts
AeroScale: 72 posts
Posted: Friday, May 15, 2009 - 03:02 AM UTC
You are welcome Terry,
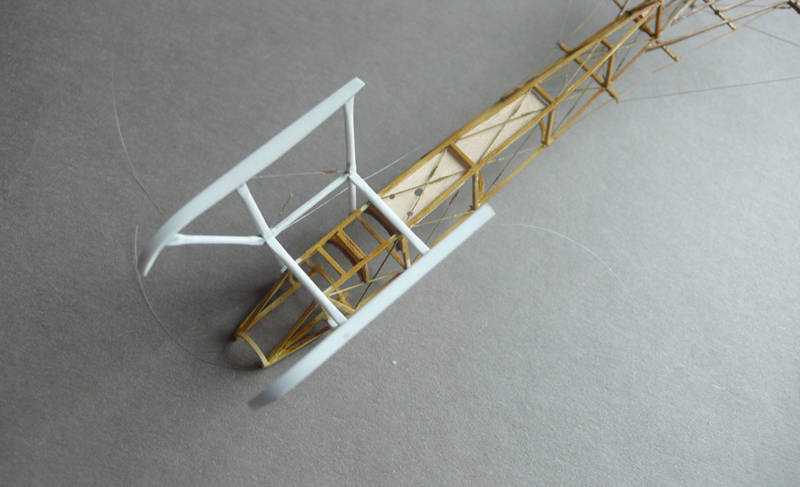
compared with the progress of the other builds in here my output seems a little bits slow and sturdy. These early birds are real rigging monsters and the do have more of a sailing vessel than of a plane.
The undercarriage is now completed except som riggs and the metal parts are missing but first it needs to be coloured.
Moselle, France
Joined: May 15, 2005
KitMaker: 5,653 posts
AeroScale: 4,347 posts
Posted: Friday, May 15, 2009 - 04:26 AM UTC
Hi Peter,
That's a fantastic build!

Jean-Luc

Better think one hour and build five minutes...
Than think five minutes and build an hour!
England - South East, United Kingdom
Joined: November 06, 2005
KitMaker: 1,667 posts
AeroScale: 1,551 posts
Posted: Friday, May 15, 2009 - 07:14 AM UTC
you make it sound so so simple and easy......excellent work and such attention to detail, I know I wouldnt have patience these days.
Keith
Still can't cure the AMS even with sausage finger implants & olde eyes.
Wien, Austria
Joined: October 19, 2007
KitMaker: 77 posts
AeroScale: 72 posts
Posted: Thursday, May 21, 2009 - 12:00 AM UTC
Thank you Jean Luc, thank you Keith
Somtimes the feeling appears the feeling that this "Taube" consist only of detail. Some more general parts would be sometimes appreciated.
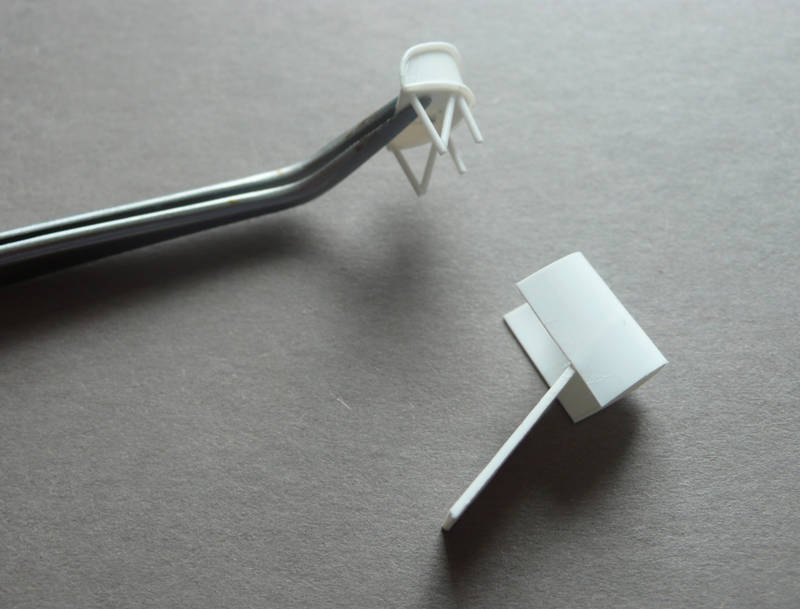
Now there are a lot of equipment parts to be done as the pilot seats and other cockpit equipment.
The seats have been made originally of simple plywood framed with rounded ridges . The rear seat was for the observer it was slightly more comfortable, as the observers have been commanding officers.

West Virginia, United States
Joined: December 18, 2006
KitMaker: 1,121 posts
AeroScale: 1,063 posts
Posted: Friday, May 22, 2009 - 01:38 AM UTC
Peter,
Looking great!! Are the skids laminated pieces or one part carved to shape?
Mark
Mendoza, Argentina
Joined: June 14, 2006
KitMaker: 222 posts
AeroScale: 219 posts
Posted: Friday, May 22, 2009 - 10:27 PM UTC
Stunning work, Peter!!!
I'm following your build closely because I want to use your techniques in a Pyro Bleriot IX.
Cheers,


Claudio
I have always imagined that Paradise will be a kind of library.
Siempre imagine que el paraíso sería algún tipo de biblioteca.
Jorge Luis Borges
Massachusetts, United States
Joined: April 13, 2009
KitMaker: 177 posts
AeroScale: 13 posts
Posted: Sunday, May 24, 2009 - 06:19 PM UTC
Blackadder (to Baldrick): 'If you were to serve up one of your meals in Staff HQ, you would be arrested for the greatest mass poisoning since Lucretia Borgia invited 500 of her close friends round for a wine and anthrax party.
Wien, Austria
Joined: October 19, 2007
KitMaker: 77 posts
AeroScale: 72 posts
Posted: Tuesday, May 26, 2009 - 11:35 AM UTC
@ Mark, the skids are laiminated as I usually do for these curved pieces.
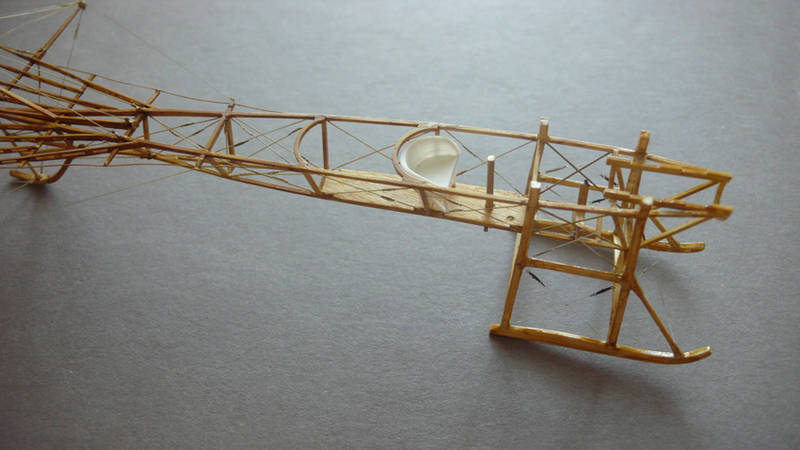
@ Claudio , a Bleriot would be a wonderful piece to biuld. I am wondering why there is no kit in 1/48 scale available of this famous plane. But it will also look gorgeous as a strip down.
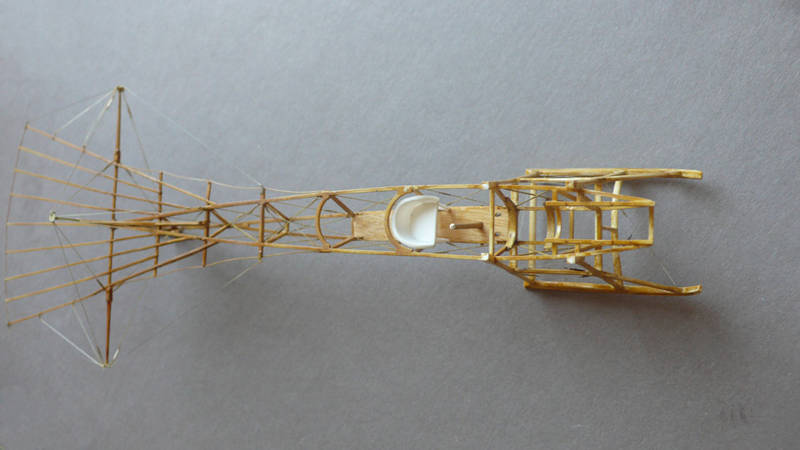
the following pics show some dry fits of the forward seat and he control column.
Wien, Austria
Joined: October 19, 2007
KitMaker: 77 posts
AeroScale: 72 posts
Posted: Wednesday, May 27, 2009 - 07:05 PM UTC
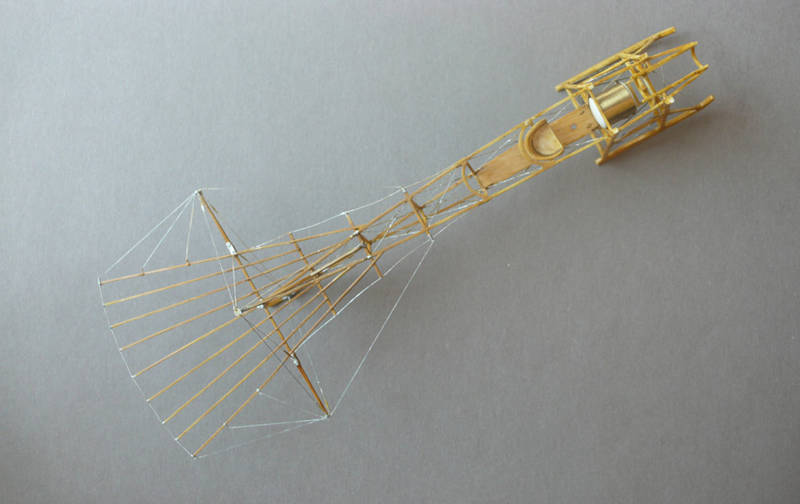
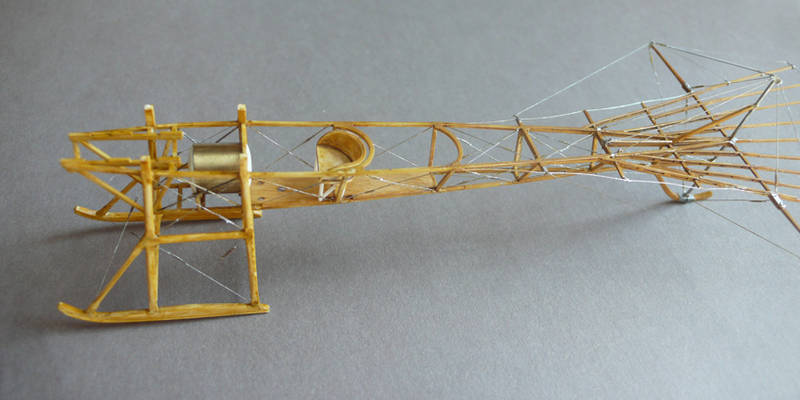
As you have regarded this piece is getting always a little more colourful. Painting is always a long term run and always a hazardous decission between what to paint when. I do always fail. There always appear some parts which can never be touched again or nobody knows how to paint when assmbled.
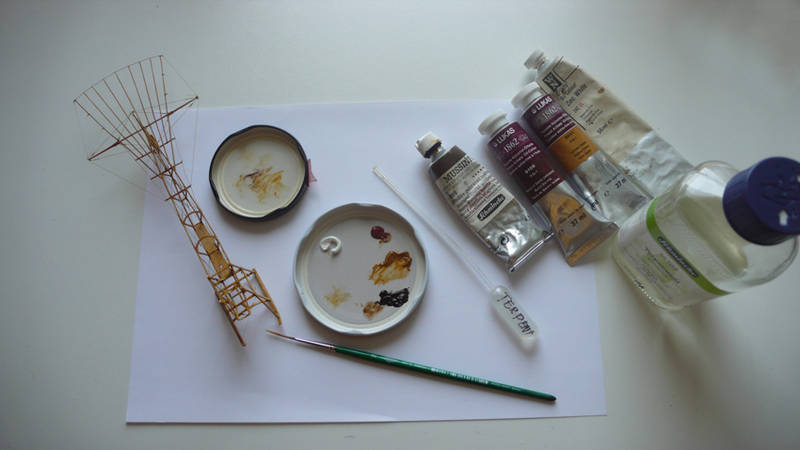
Basically I do use several airbrushes for foundation or finising. As you al know displaying wood is always a challenge. For larger surface I do apply real veneer, for me the most appreciating method. In this case as developed on some of my ship models I do it like his:
First I spray a thin layer with a broken white... white with a very little brown, with airbrush.
Next svereal thin layers with various oil colours are applied. For me, I do get best results with gold ockre, burnt siena and natural burnt umber, as thinner Terpentine oil is used. Terpentine generates a nice semi gloss to matt apperance.
This needs a lot of patience and confidence. The first oil layers simply look ugly. But the more layers added it develops nicely.
California, United States
Joined: November 28, 2007
KitMaker: 817 posts
AeroScale: 729 posts
Posted: Thursday, May 28, 2009 - 03:47 AM UTC
I've only just discovered this vein of pure gold in the mines of modeldom- and I'm both amazed and delighted! Peter, you're replicating in plastic what a few brave souls have ventured in balsa wood- right down to the laminated curves. Brilliant stuff- and wonderfully executed. Here's to wishing you steady hands and straight spars!
Cheers-
chuk
[url]http://chukw.blogspot.com/[/url]
Alberta, Canada
Joined: January 19, 2008
KitMaker: 6,743 posts
AeroScale: 6,151 posts
Posted: Thursday, May 28, 2009 - 04:11 AM UTC
Interesting method on the woodgrain , Having an off white as the base coat is different . Looks really good , will have to try this in the future ..........................


